Home>How-to Guides>For Women>How To Knit A Tank Top
For Women
How To Knit A Tank Top
Modified: August 5, 2023
Learn how to knit a stylish tank top for women with our easy-to-follow tutorial. Perfect for warmer weather and a great addition to any wardrobe.
(Many of the links in this article redirect to a specific reviewed product. Your purchase of these products through affiliate links helps to generate commission for Under-tec.com, at no extra cost. Learn more)
Table of Contents
Introduction
Welcome to the world of knitting! Whether you’re a seasoned knitter looking to expand your skills or a beginner eager to embark on a new creative journey, learning how to knit a tank top is a fantastic project to take on. Not only will you have the satisfaction of creating a stylish and versatile garment, but you’ll also be able to customize it to your unique style and preferences.
Knitting a tank top allows you to experiment with different stitches, patterns, and yarns, making it a truly customizable project. Plus, a tank top is a wardrobe staple that can be worn year-round, making it a practical addition to your closet. From lightweight and breathable designs for the summer months to cozy and warm options for cooler seasons, the possibilities are endless.
Don’t let the idea of knitting a tank top intimidate you. With some basic knitting skills and the right guidance, you’ll be able to create a beautiful garment that you’ll be proud to wear. In this article, we’ll walk you through the process step-by-step, from casting on to finishing touches.
Besides the satisfaction of creating something with your own hands, knitting offers numerous benefits. It’s a relaxing and therapeutic activity that can help reduce stress and anxiety. It also allows you to unleash your creativity, explore different color combinations, and experiment with various techniques.
So gather your knitting needles, choose your favorite yarn, and let’s get started on this exciting knitting adventure! By the end of this article, you’ll have the knowledge and skills to knit a tank top that fits you perfectly and reflects your personal style.
Materials Needed
Before you begin knitting your tank top, it’s essential to gather all the necessary materials. Having everything at hand will ensure a smooth and uninterrupted knitting process. Here are the materials you’ll need:
- Knitting Needles: Choose needles that are suitable for the yarn you’ve chosen and the desired gauge. Circular needles are recommended for knitting in the round, but straight needles can also be used.
- Yarn: Select a yarn that is appropriate for a tank top, considering the season and desired drape. Cotton or bamboo blends are perfect for summer wear, while wool or acrylic can provide warmth in cooler weather. Choose a yarn weight that matches your desired gauge.
- Tape Measure: A tape measure will come in handy for taking body measurements and ensuring the correct fit of your tank top.
- Stitch Markers: These are essential for marking specific points in your knitting, such as the beginning of a round or a particular stitch pattern.
- Darning Needle: This needle will be used for weaving in the loose ends of yarn and finishing details.
- Scissors: A pair of scissors is necessary for cutting yarn and trimming any excess.
- Stitch Holders or Scrap Yarn: These are used to hold stitches that will be worked later, such as for shaping armholes or the neckline.
- Pattern and Instructions: If you’re following a specific tank top pattern, make sure you have a printed copy or access to it online. The pattern will outline the specific stitch pattern and measurements.
- Optional: Embellishments such as buttons, beads, or ribbons, if you want to add a personal touch to your tank top.
Gathering these materials before you begin knitting will ensure that you have everything on hand and can focus on the enjoyable process of creating your tank top. So, gather your supplies, find a comfortable spot, and let’s dive into the world of tank top knitting!
Getting Started
Now that you have all your materials ready, it’s time to get started on your tank top knitting project. Before diving into the stitches, take some time to familiarize yourself with the pattern and instructions, if you’re following one. Understanding the construction and the stitch pattern will help you visualize the final product and make the knitting process more enjoyable.
If you’re not following a specific pattern, it’s a good practice to sketch out a rough design and take measurements of your body. Decide on the overall fit of your tank top and the length you desire. Having these details in mind will guide you as you progress through the knitting process.
Next, ensure that your knitting needles are the appropriate size for the yarn you have chosen. It’s a good idea to do a swatch by knitting a small square using your chosen stitch pattern to check that the gauge matches the pattern or your desired measurements. Adjust your needle size if needed to achieve the correct gauge.
Before you start, make sure you have a clear understanding of the basic knitting techniques such as casting on, knitting, purling, increasing, and decreasing. If you’re new to knitting, there are numerous online tutorials and videos available that can guide you through these techniques.
Find a comfortable spot with good lighting and make sure you have plenty of time to dedicate to your knitting project. Minimize distractions and create a peaceful environment where you can fully immerse yourself in the process.
Knitting a tank top requires focus and patience. Take breaks when needed, but try to maintain a consistent rhythm to ensure uniformity in your stitches. Remember to enjoy the journey and embrace any mistakes or imperfections as part of the creative process.
Now that you’re prepared and in the right mindset, it’s time to cast on and start knitting your tank top. The next sections will guide you through the step-by-step instructions, so be ready to bring your vision to life!
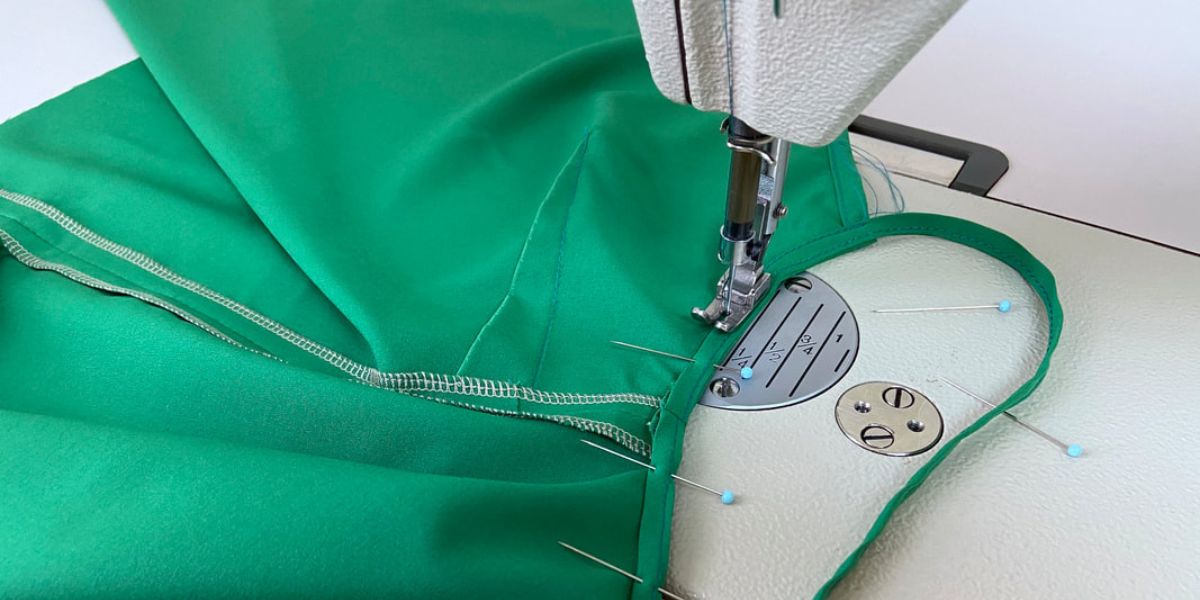
Casting On
With your materials ready and your knitting skills honed, it’s time to cast on and get started on your tank top. Casting on is the first step in creating the foundation row of stitches for your project. There are various casting on methods you can use, but the long-tail cast on is a popular choice for many knitting projects, including tank tops. Here’s how to do it:
- Start by making a slipknot. This will be the first stitch on your needle.
- Hold the slipknot in your dominant hand. Insert the needle through the slipknot, forming a loop around the needle and pulling it tight.
- Now, position your hands as if you were going to knit a stitch. Your working yarn should be over your index finger and the tail end of the yarn over your thumb.
- With the needle in your other hand, insert it into the loop on your thumb from front to back, while holding the slipknot securely with your index finger.
- With the tip of the needle, catch the working yarn from below and bring it through the loop on your thumb.
- Release the loop from your thumb and tighten the stitch on the needle by pulling gently on the tail end of the yarn.
- Repeat steps 3 to 6 until you have cast on the required number of stitches for your tank top.
The long-tail cast on method creates a neat and flexible foundation for your tank top. Remember to leave a long enough tail of yarn before making the slipknot, as this tail will be used later for weaving in ends.
Once you have cast on your desired number of stitches, you’re ready to move on to the next step – knitting the body of your tank top. In the following sections, we’ll guide you through the shaping, neckline, armholes, and straps to create a beautiful and well-fitting tank top.
Knitting the Body
With the foundation row of stitches cast on, it’s time to start knitting the body of your tank top. The body is the main section of the garment, and this is where you’ll create the length and width of the tank top. Here’s how to proceed:
- Begin by knitting across the first row of stitches. If you’re using the stockinette stitch, knit all the stitches in this row.
- Continue knitting every row until you’ve reached the desired length for your tank top. Remember to consult your pattern or measurements to ensure you achieve the desired fit.
- If you want to add some texture or pattern to your tank top, this is the perfect opportunity. You can experiment with different stitch patterns like ribbing, seed stitch, or lace panels. Just make sure to maintain the desired stitch count and keep track of any pattern repeats.
- As you knit, periodically try on your tank top to check the fit. This will help you make any necessary adjustments along the way.
- Continue knitting until you’ve reached the point where you want to start shaping the neckline or creating the armholes, depending on the design of your tank top. We’ll cover these steps in the following sections.
When knitting the body of your tank top, it’s essential to maintain tension and have even, consistent stitches. Take your time and enjoy the process, ensuring each stitch is well-formed and balanced. If you encounter any mistakes, don’t be afraid to undo and reknit as needed. Remember, knitting is a flexible and forgiving craft, allowing you to make adjustments as you go.
Once you’ve knit the body to the desired length and completed any pattern or texture elements, you’re ready to move on to the next steps – shaping the neckline and creating the armholes. These steps will bring your tank top to life and give it a polished and professional finish.
Shaping the Neckline
The neckline of a tank top adds a touch of elegance and defines the overall style of the garment. Shaping the neckline involves creating a flattering curve that frames the face and adds visual interest to your tank top. Here’s how you can shape the neckline:
- Decide on the desired depth of your neckline. Measure from the shoulder to the desired point of the neckline, keeping in mind your personal preference and comfort.
- Starting from the right side of your work, knit across the row until you reach the point where you want your neckline to begin. This will be the center front of your tank top.
- Mark the center stitch or the stitches that will be the center of your neckline using stitch markers or contrasting yarn.
- Continue knitting across the row until you reach the end.
- On the next row, when you reach the marked stitches, begin the neckline shaping process. This can be done in several ways, depending on the design of your tank top. Common methods include decreasing stitches evenly on both sides of the marked stitches or working short rows to create a subtle curve in the neckline.
- Follow the pattern instructions or create your own shaping technique based on your desired neckline style.
- Continue knitting the remaining stitches without any shaping until you’ve completed the desired depth of the neckline.
Shaping the neckline requires careful attention to detail and precision. Take your time to ensure that the decreases or short rows are executed correctly. Try on your tank top periodically to check the fit and adjust the shaping if necessary.
Once you’ve completed the neckline shaping, continue knitting the remaining rows according to your pattern or desired length. The next step will involve creating the armholes to complete the construction of your tank top.
Creating the Armholes
The armholes of a tank top provide comfort and mobility while adding a stylish element to the garment. Creating well-fitted and properly shaped armholes is crucial to achieve a flattering and comfortable tank top. Here’s how you can create the armholes:
- Decide on the desired depth and width of your armholes. Measure from the side of your tank top and determine how much coverage and freedom of movement you prefer.
- Starting from the right side of your work, knit across the row until you reach the point where you want your armhole to begin. This will typically be the side of your tank top.
- Mark the stitches on each side that will be the beginning and end of your armholes, using stitch markers or contrasting yarn.
- Continue knitting across the row until you reach the end.
- On the next row, when you reach the marked stitches, begin the armhole shaping process. This typically involves decreasing or binding off stitches on both sides of the marked stitches to create the desired armhole shape.
- Follow the pattern instructions or create your own shaping technique based on your desired armhole style and the stitch pattern you’ve chosen for your tank top.
- Continue knitting the remaining stitches without any shaping until you’ve achieved the desired armhole depth and completed the required number of rows for the armhole section.
Creating the armholes requires precision and attention to detail to ensure a professional finish. Take your time and carefully execute the decreases or bind-offs, referring to your pattern instructions or following your own shaping technique.
Once you’ve completed shaping the armholes, continue knitting the remaining rows until you’ve reached the desired length for your tank top. Remember to try on your tank top periodically to check the fit and adjust the length or shaping if needed.
Now that you’ve shaped both the neckline and the armholes, your tank top is taking shape! The next step is to add the straps to complete the construction and give your tank top its final touch.
Knitting the Straps
The straps of a tank top provide comfort and support while adding an extra design element to the garment. Knitting the straps is the final step in completing your tank top. Here’s how you can knit the straps:
- Decide on the desired width and length of your straps. Measure from the top of your tank top to the desired point on your shoulders for the perfect fit.
- Starting from one side of your tank top, pick up stitches along the edge of the armhole using your knitting needle. The number of stitches you pick up will depend on the width of your desired straps and the stitch pattern you’re using.
- Begin knitting the picked-up stitches, following the stitch pattern you’ve chosen. Common options for straps include garter stitch, ribbing, or a continuation of the stitch pattern used in the body of your tank top.
- Continue knitting the straps until you’ve reached the desired length, making sure they match in length on both sides.
- Once the straps are the desired length, bind off the stitches and secure the yarn, leaving a long enough tail for weaving in ends.
- Repeat the process on the other side of your tank top to create the second strap. Make sure to align the strap placement with the first strap for evenness.
As you knit the straps, it’s crucial to maintain tension and consistency in your stitches. This will ensure that the straps are uniform in width and appearance. Try on your tank top as you knit the straps to check the fit and adjust the length if necessary.
Once both straps are knitted and secured, weave in any loose ends and trim off any excess yarn. Smooth out the fabric and give your tank top a gentle blocking if needed to enhance its shape and drape.
Congratulations! You’ve successfully knitted the straps and completed your tank top. Try it on, admire your handiwork, and enjoy wearing your new, custom-made garment.
Remember, knitting is a versatile and creative craft, so feel free to experiment with different strap styles, colors, or decorative touches to make your tank top truly unique. Let your imagination and personal style guide you as you add your own finishing touches.
Finishing Touches
With the bulk of the knitting completed, it’s time to give your tank top those final finishing touches that will elevate it to perfection. Here are some steps you can take to add those professional and polished details:
- Weave in Ends: Take the time to securely weave in any loose ends from yarn changes or joining new balls of yarn. This will ensure that your tank top looks tidy and prevents any loose ends from unraveling.
- Block Your Tank Top: Blocking is the process of gently washing and reshaping your finished knitted piece. It helps to even out the stitches and give the fabric a smooth and professional finish. Follow the yarn manufacturer’s instructions for blocking or gently hand-wash your tank top, then lay it flat to dry in the desired shape.
- Add Embellishments: If you want to make your tank top truly unique, consider adding embellishments such as buttons, beads, or ribbons. Experiment with their placement and use them to complement the style and color of your tank top. Sew them on securely, making sure they enhance the overall design.
- Try On and Make Final Adjustments: Once your tank top is completely finished, try it on again to ensure the fit is just right. Check for any areas that might need tweaking or adjusting, such as the length or straps. Make any necessary modifications to achieve the desired fit and shape.
Remember, the finishing touches can make a significant difference in the overall look and feel of your tank top. Take your time to complete each step with care and attention to detail. The extra effort will be well worth it when you see the final result.
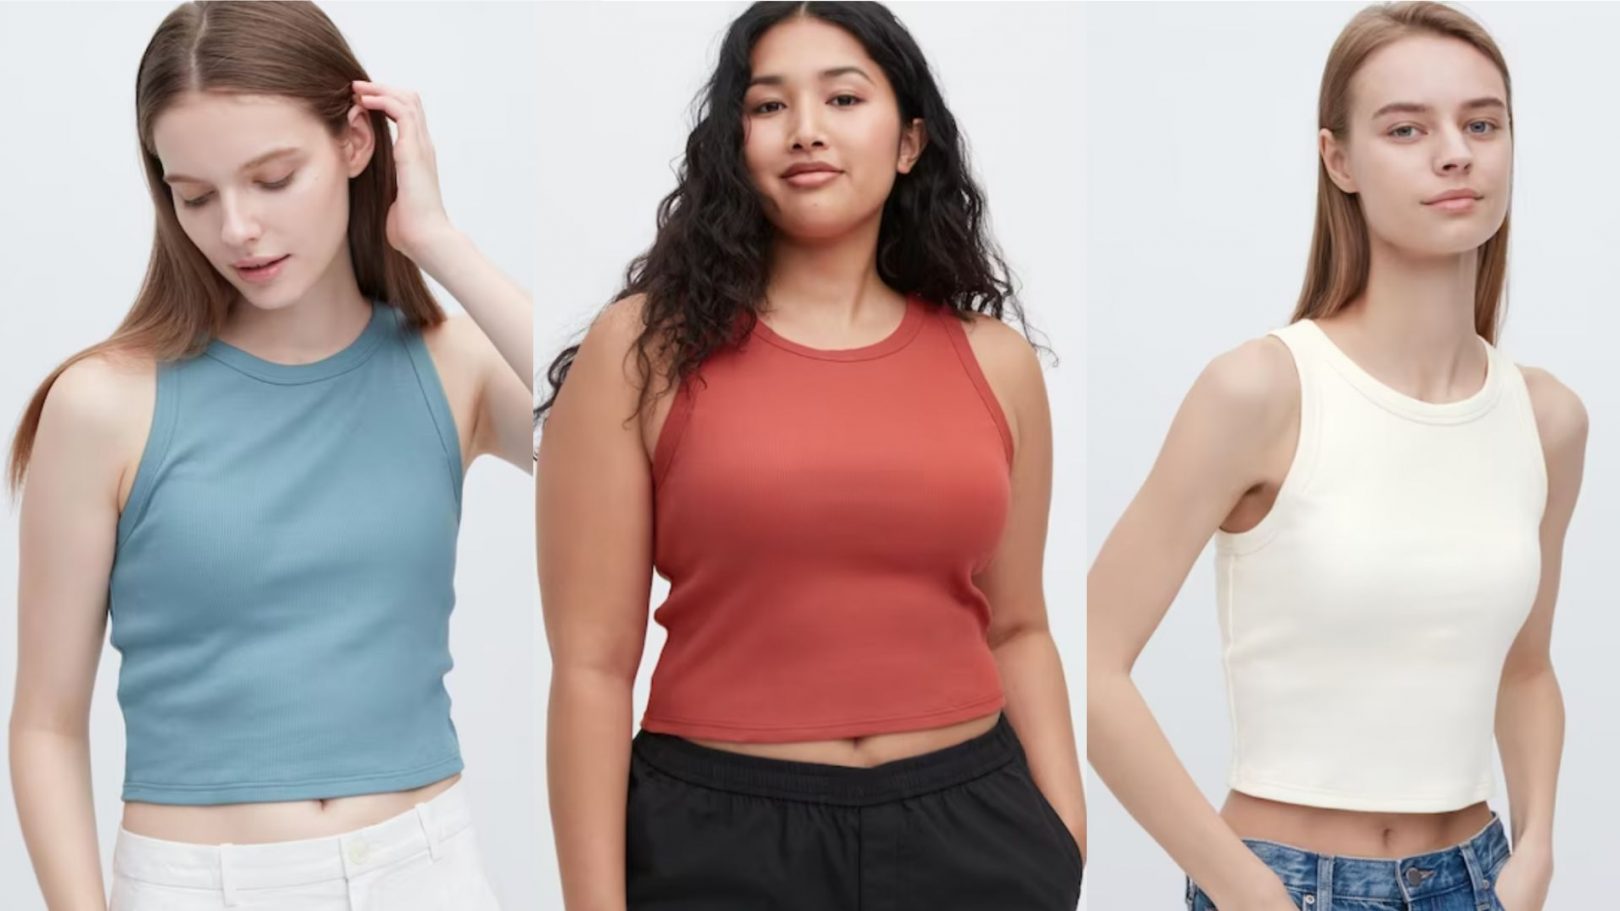
Once you are satisfied with the fit and appearance of your tank top, it’s time to proudly wear it! Pair it with your favorite bottoms, layer it with a cardigan or jacket, and showcase your knitting skills to the world.
As you wear your tank top, remember that it’s a unique creation made with love and passion. Embrace its individuality and enjoy the compliments that are sure to come your way. And who knows, this may be the start of a lifelong love affair with knitting and creating your own beautiful garments!
Conclusion
Congratulations on completing your knitted tank top! You’ve embarked on a creative journey, honed your knitting skills, and created a unique garment that reflects your personal style. Through each step, from casting on to finishing touches, you’ve put thought, effort, and love into your project.
Knitting a tank top allows you to explore different stitches, patterns, and yarns, making it a truly customizable project. The versatility of tank tops ensures that they can be worn year-round and can be tailored to suit any occasion or season.
Throughout the process, you’ve gained valuable knitting experience and learned skills that can be applied to future projects. Knitting offers a world of creativity and relaxation, allowing you to unwind while producing something useful and beautiful.
Remember to take pride in your work and embrace any imperfections as part of the uniqueness of a handmade item. Each stitch tells a story, and your tank top is a testament to your dedication and craftsmanship.
As you wear your tank top, enjoy the compliments and the satisfaction of wearing something that you’ve created with your own hands. Share your knowledge and inspire others to embark on their own knitting adventures.
So, whether you’re snuggled up by the fire in a cozy woolen tank top or enjoying the summer breeze in a lightweight cotton creation, your knitted tank top will be a cherished addition to your wardrobe.
Now, it’s time to take a moment to appreciate your accomplishment and revel in your newfound mastery of knitting. And who knows, this may be just the beginning of a lifelong passion for creating remarkable knitted garments. Happy knitting!