Home>How-to Guides>For Women>How To Turn A Tshirt Into A Cute Tank Top
For Women
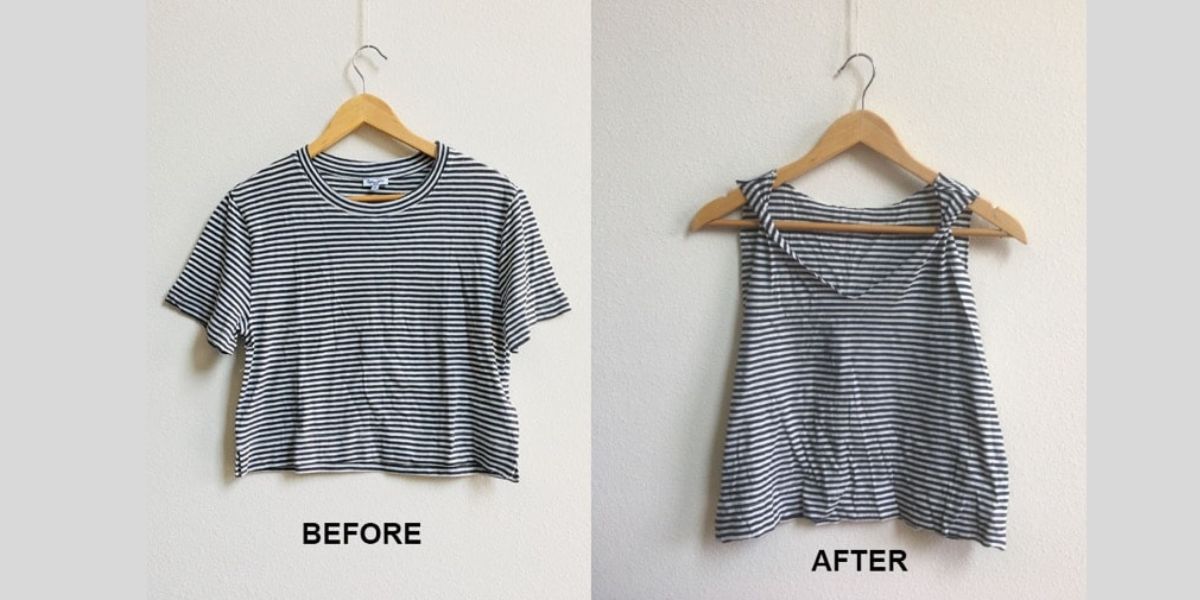
How To Turn A Tshirt Into A Cute Tank Top
Modified: August 5, 2023
Learn how to transform your favorite t-shirt into a stylish tank top for women. Step-by-step guide for a trendy and DIY fashion statement.
(Many of the links in this article redirect to a specific reviewed product. Your purchase of these products through affiliate links helps to generate commission for Under-tec.com, at no extra cost. Learn more)
Table of Contents
Introduction
Are you tired of wearing the same old t-shirts? Want to give them a new life and add some variety to your wardrobe? Look no further! In this article, we will show you how to transform a plain t-shirt into a stylish and trendy tank top.
Turning a t-shirt into a tank top is a fantastic way to repurpose your old clothes and create something unique. Not only is it environmentally friendly, but it also allows you to unleash your creativity and bring out your personal style.
Whether you’re a DIY enthusiast or just looking for a fun and cost-effective way to update your wardrobe, this tutorial is perfect for you. With just a few simple steps, you can transform your t-shirt into a cute tank top that you’ll love to wear.
In this article, we will guide you through the process, from gathering the necessary materials to putting on your newly created tank top. We’ll provide detailed instructions and tips along the way to ensure you achieve the best results.
So, let’s dive in and learn how to turn a t-shirt into a cute tank top that will make you stand out in style!
Materials Needed
Before you get started on your t-shirt transformation, it’s essential to gather all the necessary materials. These items are readily available and will make the process easier and more efficient. Here’s what you’ll need:
- A t-shirt: Choose a t-shirt that you no longer wear or one that you’d like to revamp. It can be an old oversized t-shirt or a plain one with a fun design.
- Scissors: Make sure you have a sharp pair of fabric scissors. This will ensure clean and precise cuts.
- Tailor’s chalk or a fabric marker: Use this to mark the areas where you’ll be cutting the t-shirt.
- A ruler or measuring tape: This will help you create even and symmetrical cuts.
- Pins: These will come in handy when you’re securing the fabric in place before cutting.
- Sewing machine or needle and thread (optional): If you want to add a finishing touch to your tank top by hemming the edges, you may need a sewing machine or needle and thread.
With these materials on hand, you’re all set to begin your t-shirt transformation. Take a moment to gather everything together before moving on to the next steps.
Step 1: Gather Your Supplies
Before you start the process of transforming your t-shirt into a cute tank top, it’s crucial to gather all the necessary supplies. Having everything prepared and within reach will make the process smoother and more efficient. Here’s what you’ll need:
- T-shirt: Choose a t-shirt that you no longer wear or one that you want to give a new lease of life. You can select an oversized t-shirt for a looser fit or a fitted shirt for a more tailored look. The color and design of the t-shirt are entirely up to your preference.
- Scissors: Ensure you have a sharp pair of fabric scissors. This will help you make clean, precise cuts and prevent fraying of the fabric.
- Tailor’s chalk or fabric marker: This will be used to mark the areas where you’ll be making your cuts. It’s important to use a marking tool that is clearly visible but can easily be removed or washed off after the project is complete.
- Measuring tape or ruler: This will assist you in creating even and symmetrical cuts. It’s helpful to measure and mark the desired lengths and widths before cutting to ensure consistency.
- Pins: These will come in handy for temporarily securing the fabric in place while you work. They help to keep the t-shirt from shifting or sliding, allowing for more precise cuts.
- Sewing machine or needle and thread (optional): If you’d like to add a finished touch to your tank top by hemming the edges, you may need a sewing machine or a needle and thread. This step is optional but can add durability and a professional look to your creation.
Take a moment to gather all these supplies before beginning the transformation process. Having everything readily available will make the project more enjoyable and streamline the steps as you go along.
Step 2: Mark the Design
With your supplies gathered, it’s time to move on to the next step: marking the design on your t-shirt. This step is crucial as it will guide your cutting and ensure that you achieve the desired look for your tank top. Here’s how you can do it:
- Put on the t-shirt: Before marking the design, put on the t-shirt to get a better idea of how it fits and where you want to make the cuts. This will help you envision the final result as you create your design.
- Decide on the style: Think about the style of tank top you want to create. Do you want a racerback tank top or a regular sleeveless one? Consider the neckline and the shape of the armholes as well. This is your chance to get creative and customize your design.
- Use tailor’s chalk or fabric marker: With your desired design in mind, use tailor’s chalk or a fabric marker to mark the areas where you’ll be making your cuts. For example, if you want to create a racerback tank top, mark where you want the straps to begin and where you want the back to be cut out.
- Measure and mark the length: Use a measuring tape or ruler to measure and mark the desired length of your tank top. Consider how long you want it to be, whether you prefer a cropped style or a longer length.
- Take off the t-shirt and lay it flat: Once you’ve marked the design while wearing the t-shirt, take it off and lay it flat on a clean surface. Smooth out any wrinkles or folds to ensure accuracy in your cutting.
- Double-check your markings: Before proceeding to cut, double-check your markings to ensure they are accurate and aligned. Make any adjustments if necessary.
By taking the time to mark the design on your t-shirt, you’ll have a clear guide to follow when it comes to cutting. This step is essential for achieving the desired style and ensuring that your tank top turns out exactly how you envision it.
Step 3: Cut out the Sleeves
Now that you have marked the design on your t-shirt, it’s time to move on to the next step: cutting out the sleeves. This step will transform your t-shirt into a sleeveless tank top. Follow these instructions to achieve clean and precise cuts:
- Start with one sleeve: Begin by focusing on one sleeve at a time. Hold the t-shirt firmly and locate the marking where the sleeve should start. This will depend on the design you want to achieve. Typically, you’ll want to cut just outside the shoulder seam.
- Make a small snip: Using your fabric scissors, make a small snip at the starting marking. This will allow you to easily insert the scissors and begin cutting along the marked line.
- Cut along the marking: Carefully cut along the marked line, following the curve of the sleeve. Use smooth and even strokes to ensure a clean cut. Take your time to avoid any accidental slips or uneven cutting.
- Repeat for the other sleeve: Once you have completed cutting out one sleeve, repeat the same process for the other sleeve. Make sure to maintain consistency in terms of length and shape.
- Check for symmetry: After cutting out both sleeves, step back and check for symmetry. Ensure that both armholes are of the same size and shape. Make any adjustments if needed.
By following these steps, you will successfully remove the sleeves from your t-shirt and transform it into a sleeveless tank top. Always be cautious when handling scissors and take your time to achieve accurate and precise cuts.
Step 4: Cut the Neckline
With the sleeves removed, it’s time to move on to the next step: cutting the neckline. This step will determine the shape and style of the tank top’s collar. Follow these instructions to achieve a clean and well-defined neckline:
- Decide on the neckline style: Consider the type of neckline you want for your tank top. Options include a crew neck, v-neck, scoop neck, or even a boat neckline. Choose the style that best suits your preference and the overall look you’re going for.
- Mark the neckline: Using your tailor’s chalk or fabric marker, mark the desired shape and size of the neckline. Be sure to reference tutorials or templates for guidance if needed. Start by marking the center point of the neckline and then the width and depth of the opening.
- Cut along the marking: Carefully cut along the marked line, following the shape of the neckline. Start with small snips, then gradually work your way along the line. Take your time to ensure accuracy and smooth edges.
- Try it on: Once you’ve finished cutting the neckline, try on the tank top to see how it fits and if you’re satisfied with the shape and size of the opening. Make any adjustments as necessary.
Remember to take your time when cutting the neckline to achieve the desired result. If you’re unsure about the shape or size, it’s better to start with a smaller cut and make adjustments as needed. You can always go back and trim more fabric if desired.
Cutting the neckline is an exciting step as it gives your tank top its unique and personal touch. Pay attention to detail and experiment with different styles to create a collar that enhances the overall look of your tank top.
Step 5: Cut the Sides
Now that you’ve cut the sleeves and neckline, the next step is to transform the fit of your t-shirt by cutting the sides. This step will give your tank top a more relaxed and comfortable feel. Follow these instructions to achieve the desired style:
- Put on the tank top: Before you start cutting the sides, put on the tank top to get a sense of how it fits and how much fabric you want to remove. This will help you determine the desired width of the tank top.
- Mark the desired side seam: Using your tailor’s chalk or fabric marker, mark where you want the new side seam to be. The location will depend on your preference and the fit you want to achieve. Consider marking a straight line or a gentle curve to create a more loose or fitted look.
- Take off the tank top and lay it flat: Once you’ve marked the new side seam, take off the tank top and lay it flat on a clean surface. Smooth out any wrinkles to ensure accuracy in your cutting.
- Cut along the marking: Carefully cut along the marked line, following the shape or curve you’ve decided on. Start with small snips, then gradually work your way along the line. Take your time to ensure even and straight cuts.
- Repeat for the other side: Once you’ve finished cutting one side, repeat the same process for the other side. Make sure to maintain consistency in terms of width and shape for a balanced look.
- Try it on and adjust if needed: After cutting both sides, try on the tank top again to see how it fits and if any further adjustments are necessary. If you want a more fitted look, you can trim more fabric from the sides. If you prefer a looser fit, you can leave it as it is.
By following these steps, you’ll achieve the desired fit and style for your tank top. Cutting the sides allows you to customize the width and comfort level of the garment, giving you a personalized and flattering fit.
Remember to take your time and carefully cut along the markings to ensure a neat and professional-looking finish. It’s always better to start with small snips and then make further adjustments based on your preference.
Step 6: Create a Racerback Design (Optional)
If you want to add an extra touch of style to your tank top, you can create a racerback design. A racerback adds a unique and sporty look to the tank top, exposing more of your shoulders and creating a distinct shape at the back. Follow these instructions to create a racerback design:
- Put on the tank top: Before starting, put on the tank top to visualize where you want the racerback design to begin and end. This will help you mark the areas accurately.
- Decide on the racerback shape: Consider the shape and width of the racerback you want to create. You can go for a narrow or wide cut, depending on your preference. The depth of the racerback will determine how much of your back will be exposed.
- Mark the racerback shape: Using your tailor’s chalk or fabric marker, mark the shape of the racerback on the back of the tank top. Start by marking where you want the straps to begin at the top of the tank top and where you want them to end near the center of the back.
- Cut along the marking: Carefully cut along the marked lines to create the racerback shape. Start with small snips, then gradually work your way along the lines. Take your time to ensure precise and clean cuts.
- Try it on and make adjustments if necessary: Once you’ve finished cutting, try on the tank top to see how it fits and if any further adjustments are needed. Make sure the racerback shape is symmetrical and that you’re happy with the overall look.
Creating a racerback design can give your tank top a trendy and eye-catching twist. It’s important to take your time and be precise with your cuts to achieve the desired racerback shape. Don’t forget to try on the tank top during the process to ensure a perfect fit.
Note that creating a racerback design is optional, and if you prefer a regular sleeveless tank top, you can skip this step and move on to the next.
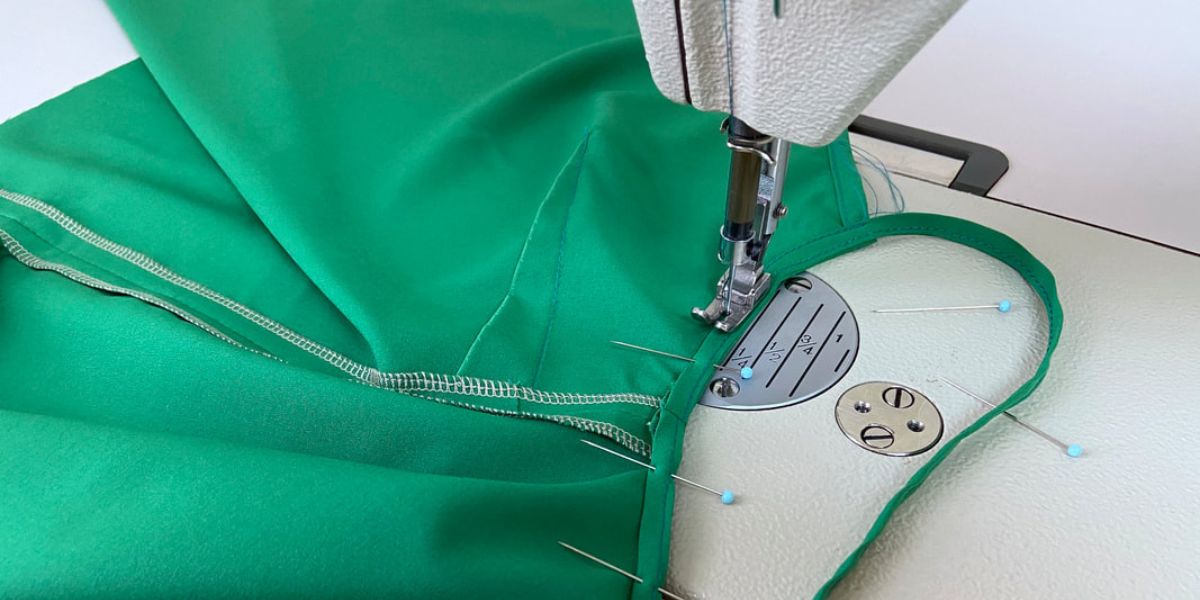
Step 7: Finish the Edges
After completing the main cutting and design steps, it’s time to add a finishing touch to your tank top by finishing the edges. This step is optional but can give your tank top a more polished and professional look. Follow these instructions to finish the edges:
- Choose a finishing method: There are a few different methods you can use to finish the edges of your tank top. You can either sew a hem, apply fabric adhesive, use fabric binding, or leave the edges raw for a more casual and relaxed look.
- If sewing a hem: If you choose to sew a hem, set up your sewing machine or thread your needle with a matching thread color. Fold the raw edge of the fabric under about ¼ inch (0.6 cm), pin it in place, and then sew a straight stitch along the edge. Make sure to sew around the entire armhole and neckline.
- If using fabric adhesive: If you prefer to use fabric adhesive, apply a thin line of adhesive along the raw edge of the fabric. Fold the edge under slightly to encase the raw edge, and press it firmly to secure it in place. Follow the adhesive’s instructions for drying and bonding time.
- If using fabric binding: Fabric binding is a great way to add a decorative element to your tank top’s edges. Cut your fabric binding to the desired length and width, and then follow online tutorials or packaging instructions to sew or apply it to the edges of the tank top.
- If leaving the edges raw: If you prefer a more relaxed and casual look, you can opt to leave the edges raw. However, keep in mind that the fabric may fray over time, so consider giving it a quick run-through with an iron to prevent excessive fraying.
Whichever method you choose, take your time to ensure a neat and clean finish. Pay attention to detail and make sure the edges are secured and well-kept. This step will add durability to your tank top and give it that extra touch of quality.
Remember, finishing the edges is an optional step, and if you prefer a more undone or bohemian look, you can leave the edges raw for a more relaxed appeal.
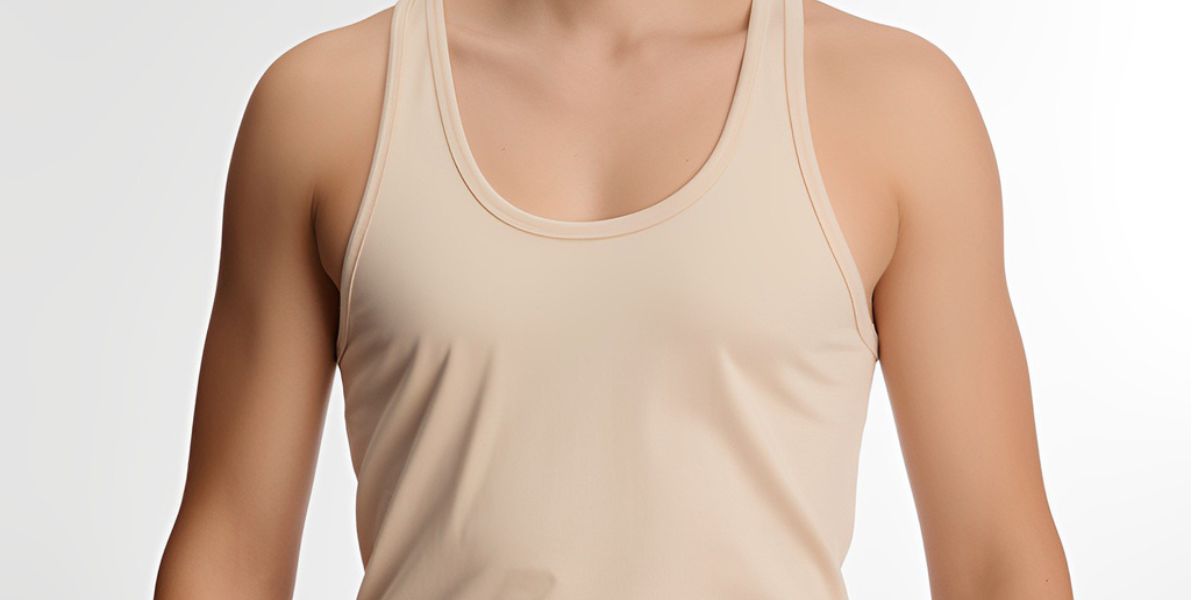
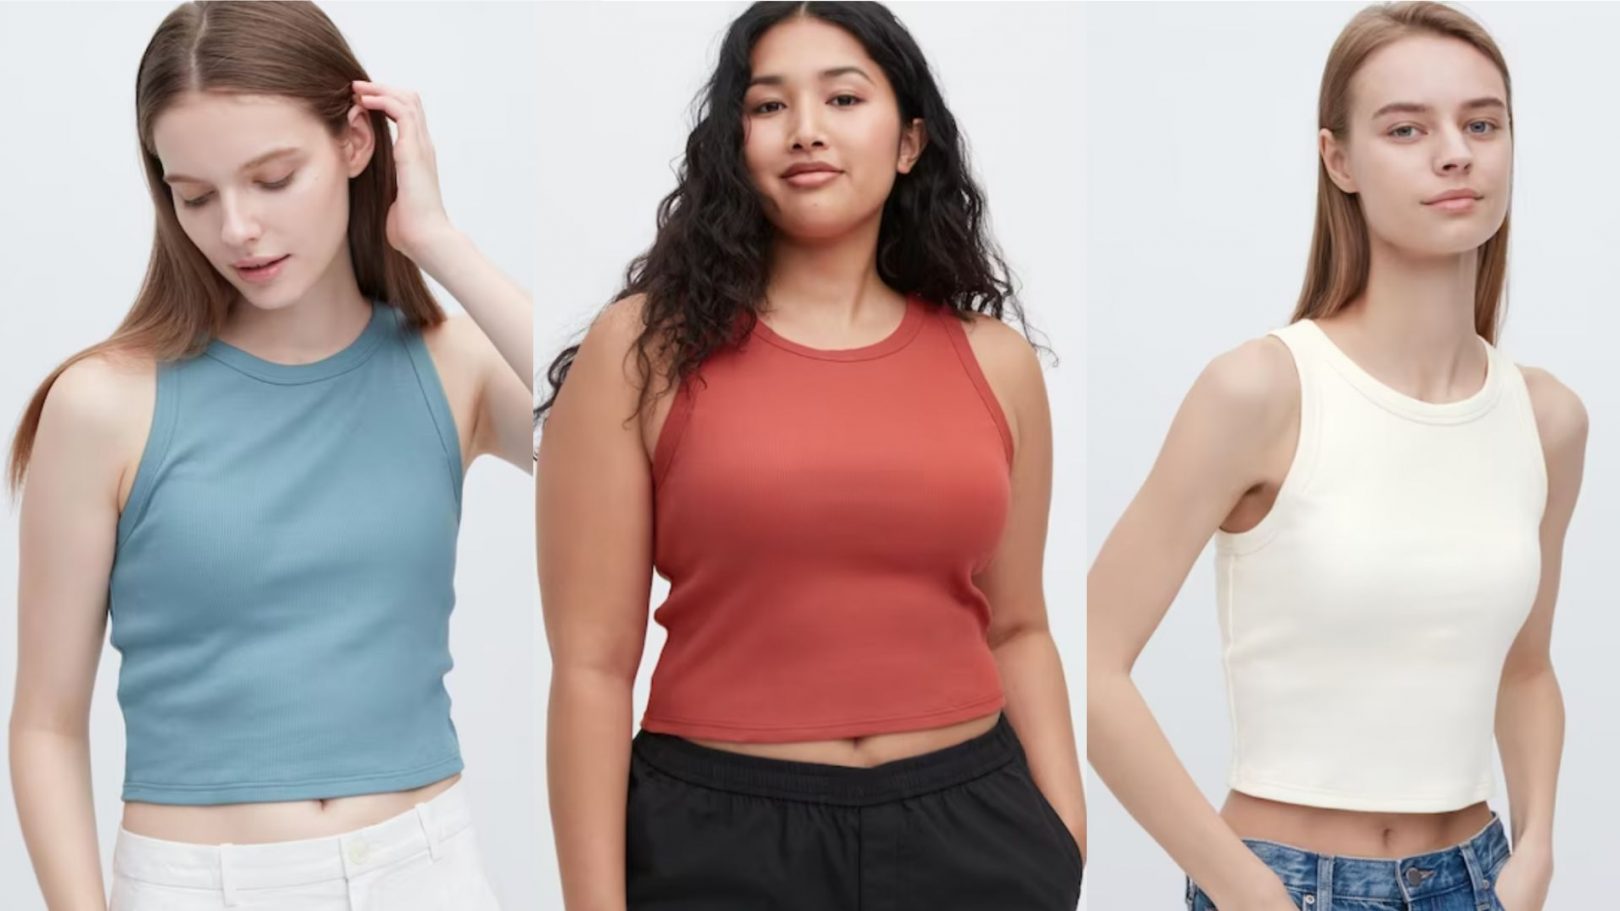
Step 8: Try on Your New Tank Top
Congratulations! You’ve reached the final step of transforming your t-shirt into a cute tank top. Now it’s time to try on your creation and see how it looks and feels. Follow these instructions to ensure the perfect fit:
- Put on your tank top: Slip on your newly transformed tank top and assess how it fits. Pay attention to the length, the shape of the neckline, the armholes, and the overall style. Take a moment to appreciate your creativity and the unique piece you’ve created.
- Check for any adjustments needed: While trying on the tank top, check for any areas that may require further adjustments. Look for any uneven cuts, loose threads, or areas that may need a bit of tweaking. Make any necessary alterations to achieve your desired look.
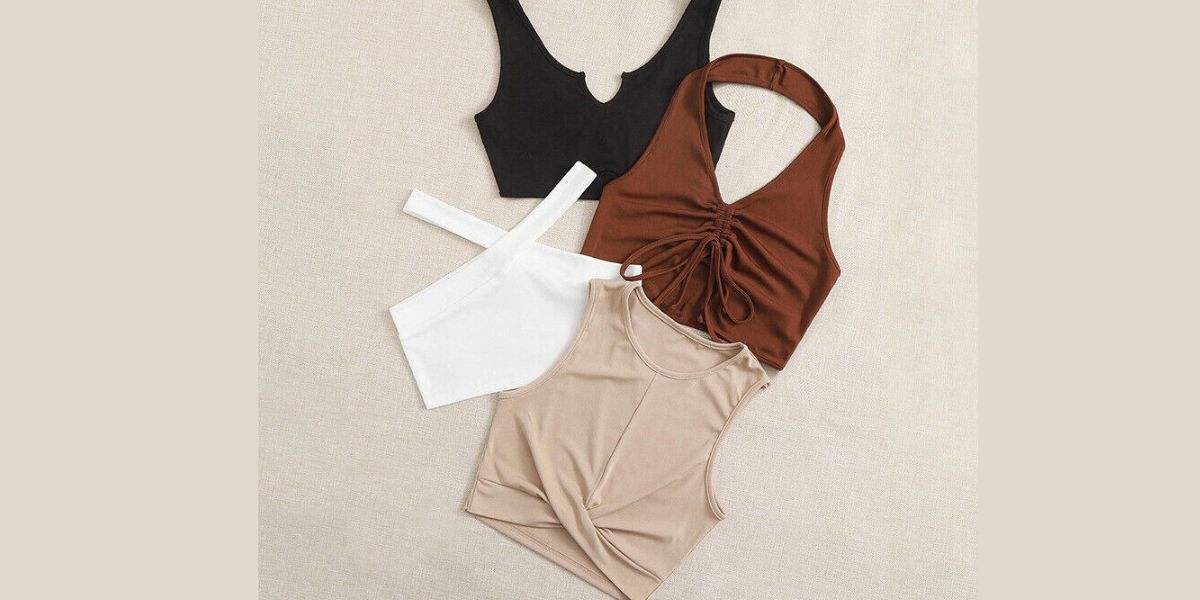
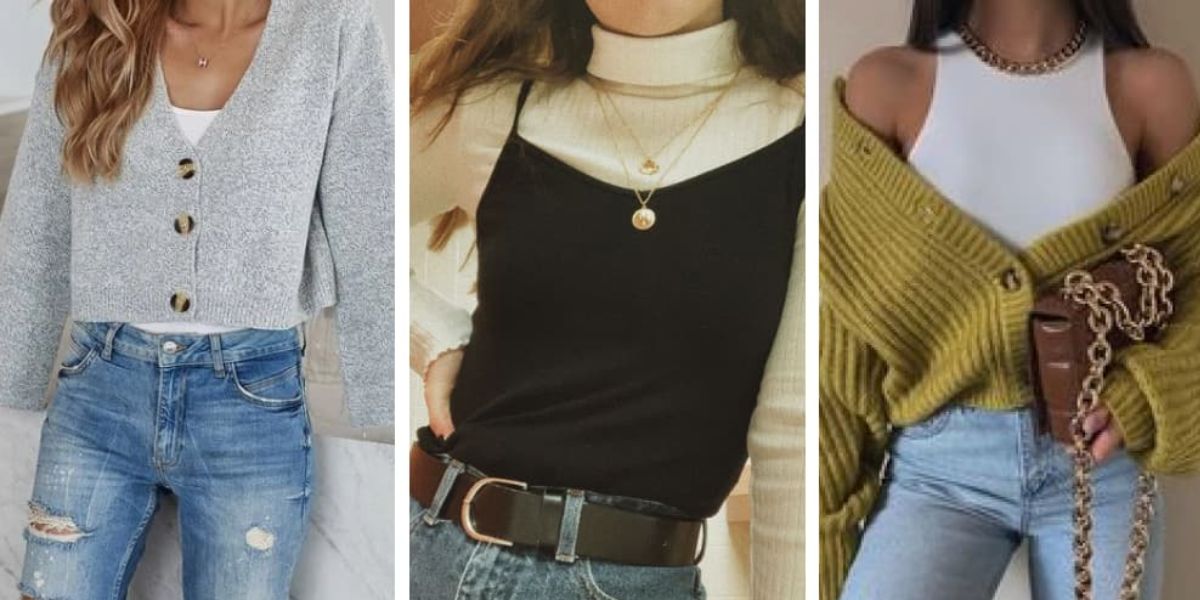
- Experiment with styling: Now that you have your new tank top, experiment with different ways to style it. Pair it with your favorite jeans, skirts, or shorts. Add accessories like necklaces, belts, or scarves to enhance your outfit. Let your creativity shine as you put together various looks that showcase your personal style.
- Show it off: Wear your new tank top proudly and show it off to your friends and family. Share your DIY success and inspire others to get creative with their own wardrobe transformations. Take some pictures to capture your new look and share it on social media if you wish.
Trying on your new tank top is an exciting moment that allows you to see the result of your hard work and creativity. Take the time to evaluate the fit and make any final adjustments to ensure that it’s exactly as you envisioned.
Remember, this tank top is a reflection of your personal style and individuality. Embrace it, enjoy wearing it, and confidently show off your unique fashion statement!
Conclusion
Congratulations on successfully transforming your t-shirt into a cute tank top! By following the step-by-step instructions in this article, you’ve learned how to unleash your creativity and give new life to your old clothes. Not only have you created a unique and stylish tank top, but you’ve also contributed to sustainable fashion by repurposing your garments.
Throughout the process, you gathered the necessary supplies, marked the design, cut out the sleeves, shaped the neckline, adjusted the sides, added a racerback design if desired, finished the edges, and finally tried on your new tank top. Each step allowed you to personalize your creation and achieve the desired style and fit.
Remember, this tutorial provides a foundation for your creativity. Feel free to experiment with different designs, fabrics, and embellishments to make your tank tops even more unique. You can create multiple variations, allowing you to express your personal style and have a diverse range of tanks to complement your wardrobe.
Don’t forget to share your DIY successes with others! Inspire your friends and family to dive into their own wardrobe transformations and embrace the joy of upcycling. Plus, by showcasing your new tank top, you might just inspire others to try their hand at crafting and sustainability.
Now that you have the skills and knowledge to turn a t-shirt into a cute tank top, you can continue exploring and experimenting. Enjoy the process of transforming old garments, adding your personal touch, and creating fashionable and eco-friendly pieces that reflect your unique style.
So, grab those scissors, gather your materials, and let the creativity flow as you embark on your next t-shirt transformation project. Happy crafting!