Home>How-to Guides>For Women>How To Turn Your Bikini Top Into A Tankini

For Women
How To Turn Your Bikini Top Into A Tankini
Modified: August 2, 2023
Learn how to easily transform your bikini top into a stylish tankini, perfect for women looking for versatile beachwear options.
(Many of the links in this article redirect to a specific reviewed product. Your purchase of these products through affiliate links helps to generate commission for Under-tec.com, at no extra cost. Learn more)
Table of Contents
Introduction
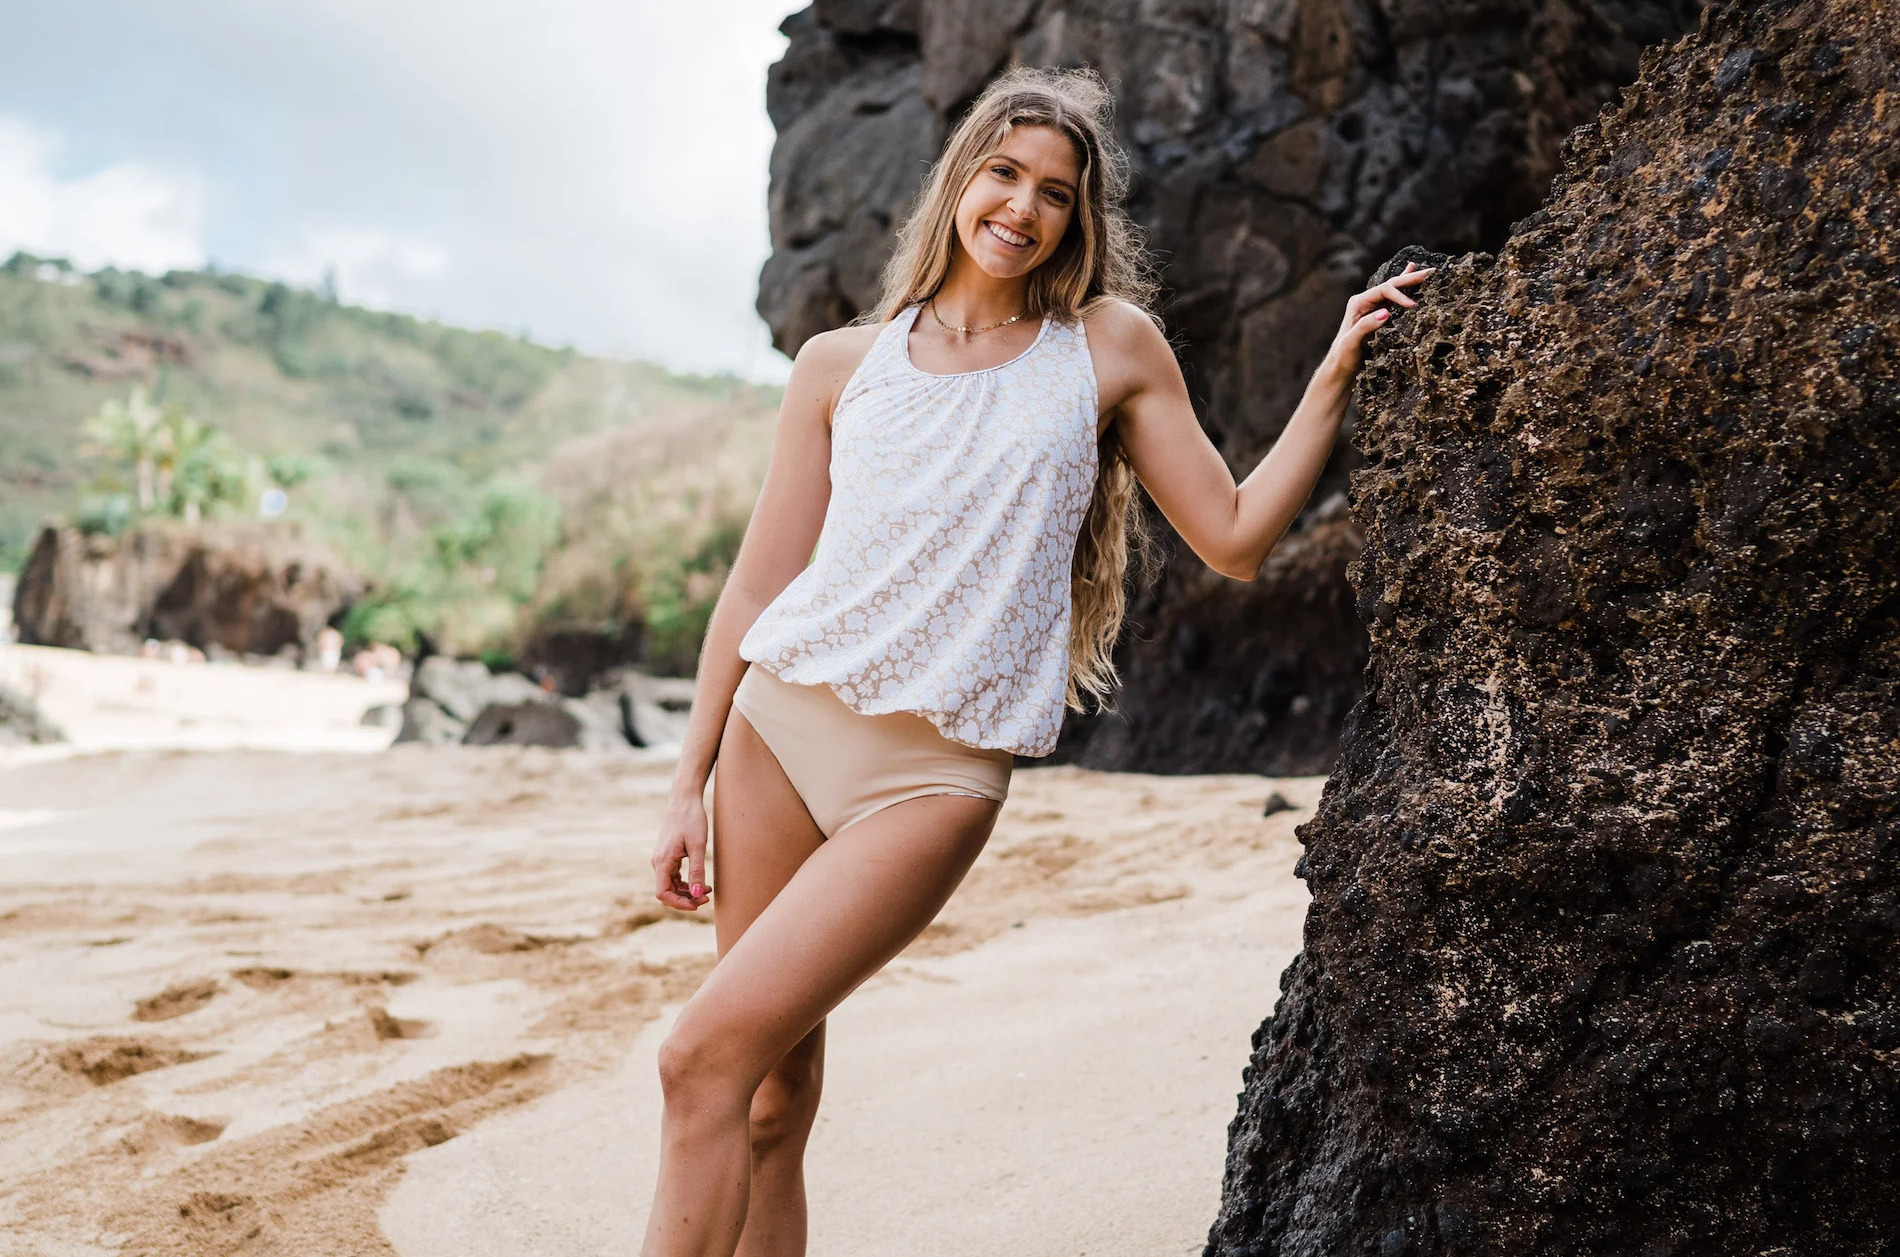
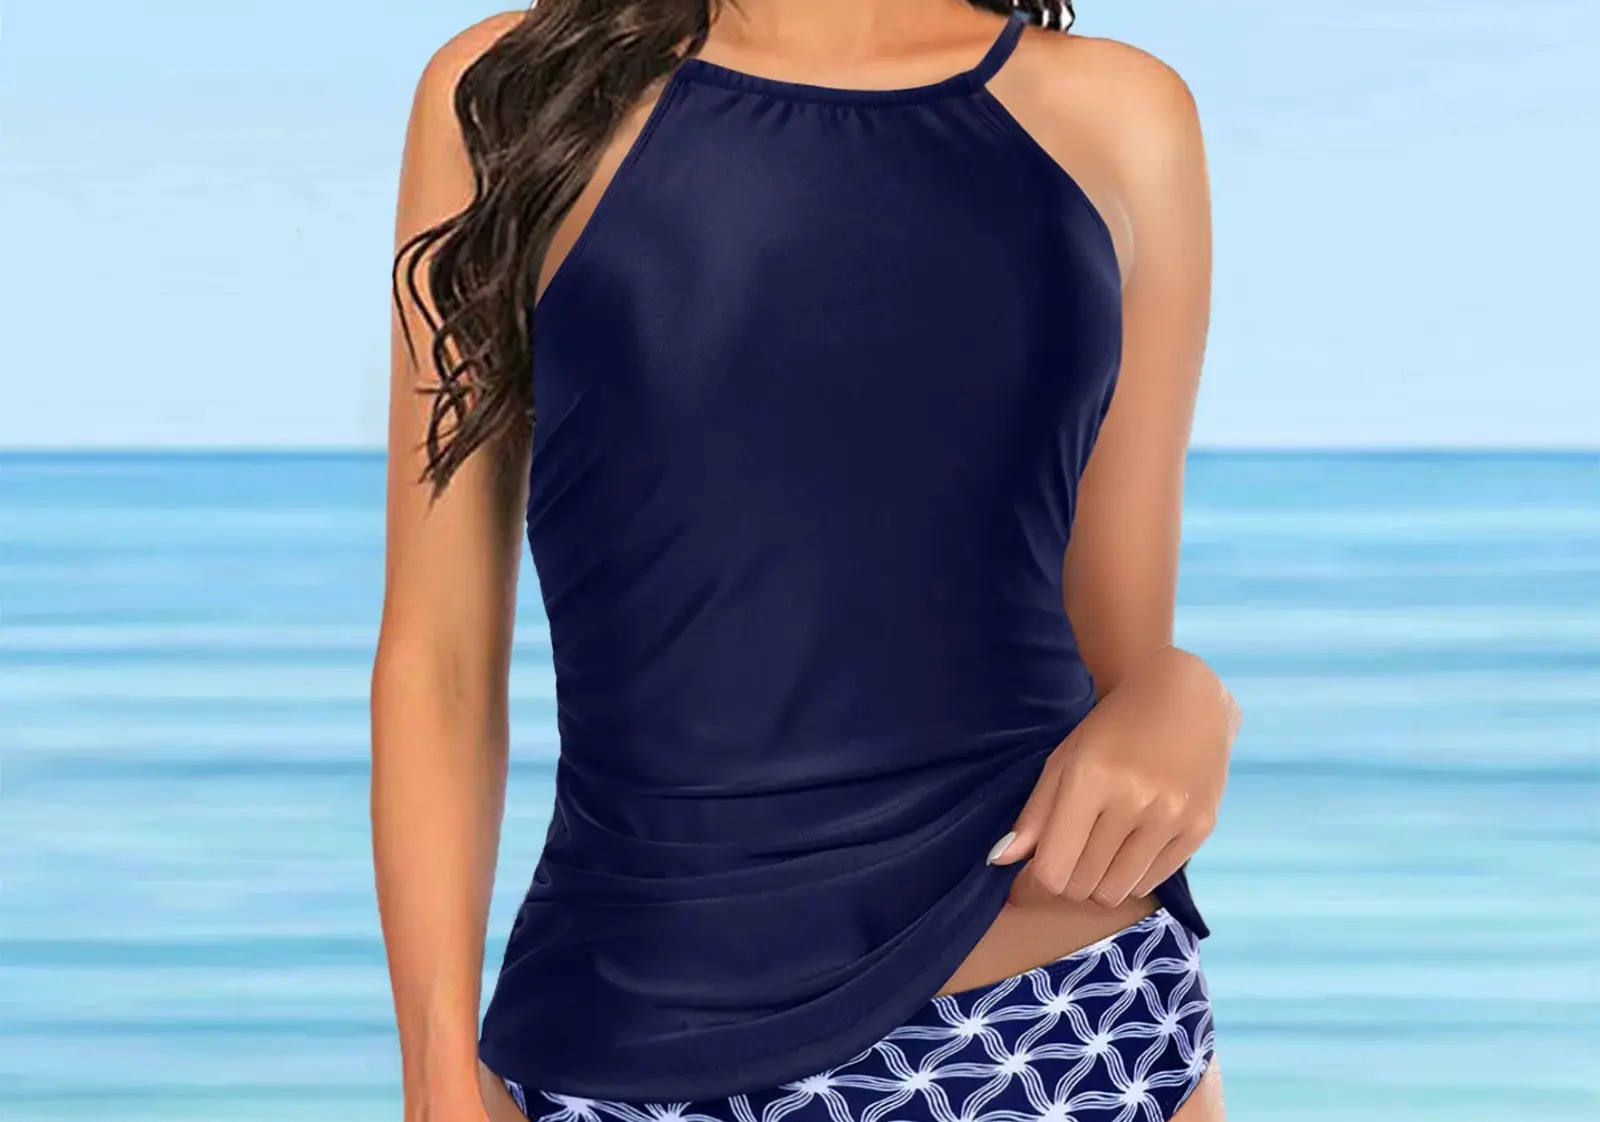
Whether you’re looking to update your swimwear collection or simply prefer more coverage, transforming your bikini top into a tankini is a clever and budget-friendly solution. A tankini combines the comfort of a tank top with the stylish appeal of a bikini, allowing you to feel confident and fashionable at the beach or by the pool.
In this step-by-step guide, we’ll show you how to turn your bikini top into a tankini with just a few simple materials and basic sewing skills. With this DIY project, you can customize the fit and style of your tankini, ensuring it suits your unique body shape and personal preferences.
Creating your own tankini not only allows you to save money, but it also gives you the opportunity to repurpose a bikini top that you love but may not feel entirely comfortable wearing. By adding extra fabric and transforming it into a tankini, you can achieve the perfect balance of coverage and style.
So, let’s dive in and discover how you can easily transform your bikini top into a trendy tankini!
Step 1: Gather the necessary materials
Before you begin your tankini transformation, make sure you have all the materials you’ll need. Having everything prepared ahead of time will make the process much smoother and more efficient. Here’s a list of the essential items:
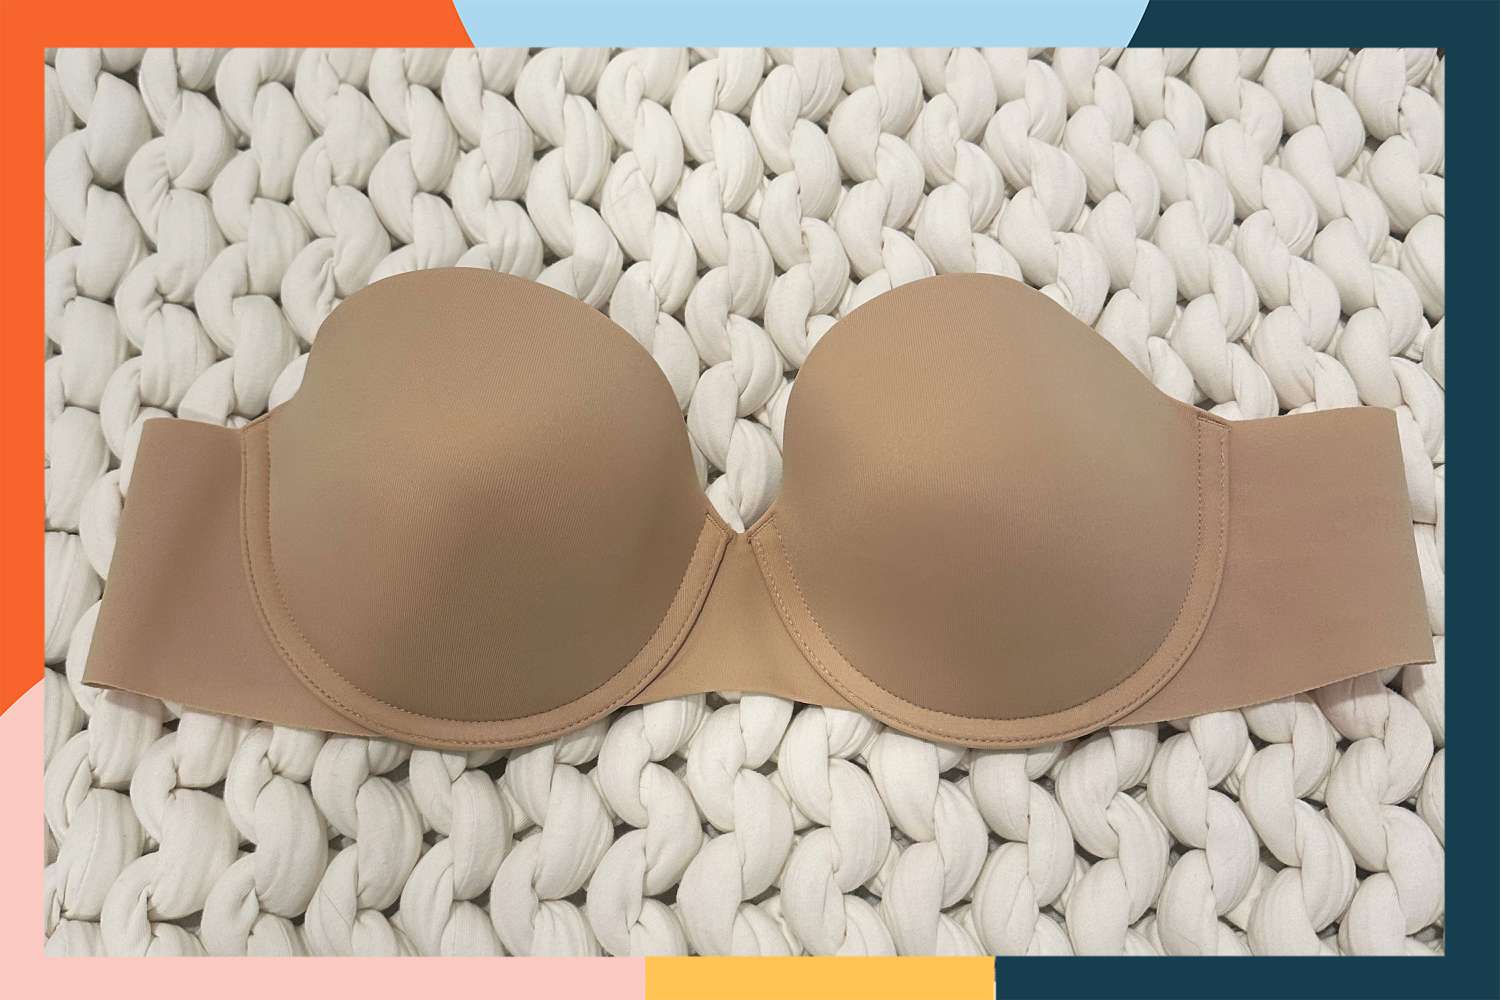
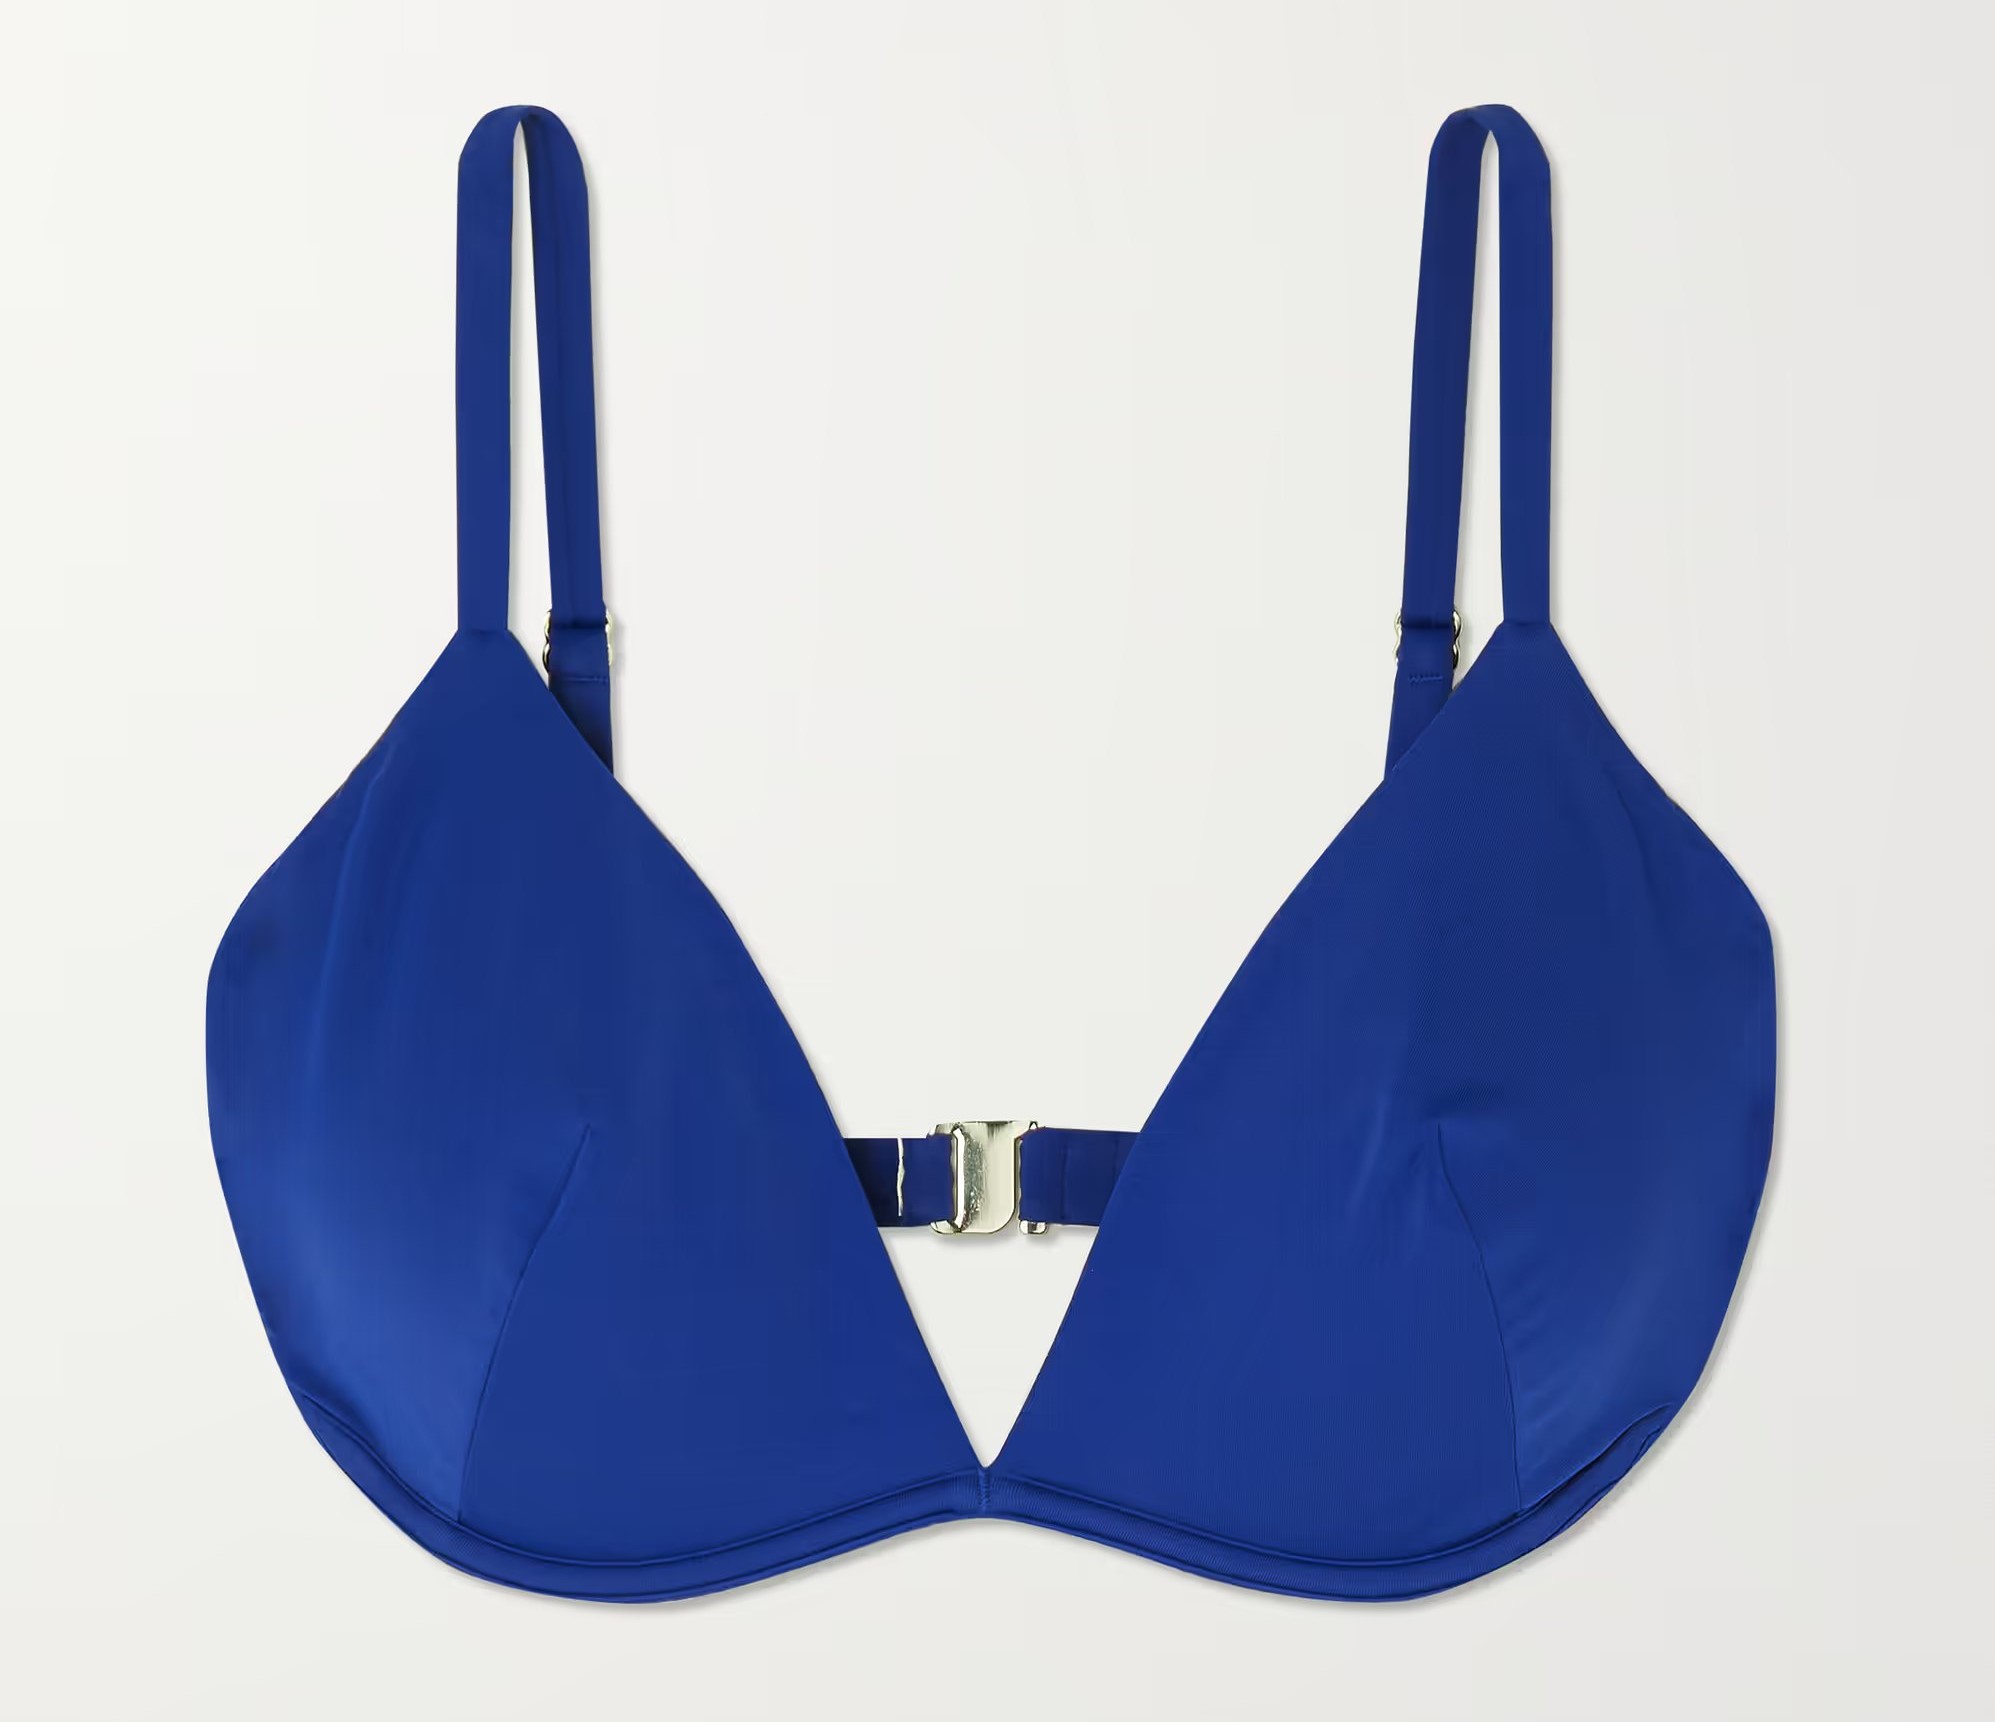
- Bikini top: Choose a bikini top that you love and feel comfortable in. This will serve as the base for your tankini.
- Fabric: Look for a stretchy fabric in a color or pattern that complements your bikini top. Aim for a fabric with good drape and a similar weight to the bikini top.
- Metric ruler and fabric scissors: These tools are crucial for measuring and cutting the fabric accurately.
- Sewing machine or needle and thread: Depending on your sewing skills and preference, you can either use a sewing machine or hand sew the tankini. Ensure you have the appropriate needles and thread for your chosen method.
- Pins: These will help secure the fabric in place during the sewing process.
- Measuring tape: It’s essential to measure your body dimensions accurately to ensure the tankini fits well.
- Optional embellishments: If you’d like to add extra flair to your tankini, consider gathering any decorative elements such as buttons, beads, or ribbons.
Having these materials ready and easily accessible will make your tankini project go smoothly. Now that you have everything prepared, let’s move on to the next step: measuring and cutting the bikini top.
Step 2: Measure and cut the bikini top
Now that you have gathered all the necessary materials, it’s time to measure and cut the bikini top to transform it into a tankini. Follow these steps:
- Put on the bikini top: Start by putting on the bikini top. This will help you accurately measure the length and width you need for the tankini.
- Measure the desired length: Use a metric ruler or measuring tape to measure from the bottom edge of the bikini top down to the desired length you want for your tankini. Make sure to measure from the center front of the bikini top and keep the tape parallel to the ground for an accurate measurement.
- Mark the measurement: Once you have determined the desired length, use a fabric pencil or washable marker to mark the measurement on both sides of the bikini top.
- Measure the width: Next, measure the width of the bikini top. This will determine the amount of fabric you need to add to create the tankini. Measure from one side seam to the other, ensuring that the tape is parallel to the ground.
- Calculate the fabric width: To calculate the width of the fabric you need to add, subtract the width of the bikini top from your desired width for the tankini. Divide this measurement in half to determine the amount of fabric to add on each side.
- Cut the fabric: Using fabric scissors, carefully cut a strip of fabric that matches the calculated width and desired length of the tankini. Make sure the fabric is long enough to go around the bikini top.
Once you have measured and cut the fabric, you are ready to move on to the next step: sewing the straps.
Step 3: Sew the straps
Now that you have cut the fabric, it’s time to sew the straps for your tankini. Follow these steps:
- Measure the strap length: Place the fabric strip along the shoulder of the bikini top to determine the desired strap length. Measure from the top edge of the bikini top to where you want the straps to end, typically around the mid-back.
- Mark the strap length: Use a fabric pencil or washable marker to mark the measurement on both ends of the fabric strip.
- Cut the fabric strip: Cut the fabric strip along the marked lines to create two separate straps.
- Fold and secure the strap edges: With the wrong side of the fabric facing up, fold each strap in half lengthwise, bringing the long edges together. Pin the edges in place to secure them for sewing.
- Sew the strap edges: Using a sewing machine or a needle and thread, sew along the long edge of each strap to secure the folded edges. You can use a straight stitch or a zigzag stitch for added durability.
- Trim any excess fabric: Once you have sewn the strap edges, trim any excess fabric to ensure clean and neat straps.
With the straps sewn, you are one step closer to completing your tankini transformation. The next step is to attach the straps to the bikini top.
Step 4: Attach the straps to the bikini top
Now that you have created the straps, it’s time to attach them to the bikini top to complete your tankini. Follow these steps:
- Position the straps: Place the bikini top on a flat surface with the wrong side facing up. Position the straps on each side of the bikini top, aligning the ends of the straps with the marks you made earlier.
- Pin the straps in place: Use pins to secure the straps to the bikini top. Make sure the straps are evenly spaced and aligned with the side seams of the bikini top.
- Try on the tankini: Once you have pinned the straps, it’s a good idea to try on the tankini top to ensure the straps are in the desired position and provide a comfortable fit.
- Make any necessary adjustments: While trying on the tankini, check the strap length and placement. If needed, make adjustments by repositioning the pins or trimming the strap ends for a better fit.
- Sew the straps: Using a sewing machine or a needle and thread, sew the straps securely to the bikini top. Start at one end of the strap and sew along the edge, following any existing stitching lines if present. Repeat the process for the other strap.
- Double-stitch for reinforcement: For added durability, consider double-stitching the straps by sewing a second line of stitching parallel to the first. This will help prevent the straps from coming loose over time.
- Remove the pins: Once you have sewn the straps in place, carefully remove the pins to reveal your newly attached tankini straps.
With the straps securely attached, you’re almost ready to enjoy your transformed tankini. The next step is to test the fit and make any necessary adjustments.
Step 5: Test the fit and make any necessary adjustments
Now that you have attached the straps to the bikini top, it’s time to test the fit and make any necessary adjustments to ensure your tankini fits comfortably and flatters your body shape. Follow these steps:
- Put on the tankini: Put on the tankini and assess how it fits on your body. Pay attention to the strap placement, the overall length of the tankini, and the coverage it provides.
- Check the strap length: Verify that the strap length is suitable for you. If the straps are too long or too short, carefully detach them from the bikini top and make the necessary adjustments by trimming or repositioning the straps.
- Assess the coverage: Consider the coverage of the tankini. If you desire more or less coverage, you can modify the length of the tankini by trimming the fabric or adding additional fabric to the bottom hem.
- Ensure a comfortable fit: Pay attention to how the tankini feels on your body. If it feels too tight or too loose, you may need to make further adjustments to the strap placement or consider adding elastic or drawstrings to customize the fit.
- Make necessary alterations: Once you have assessed the fit, make any necessary alterations to the tankini. This may involve sewing, trimming, or adding extra fabric to achieve the desired fit and style.
Remember, the goal is to create a tankini that makes you feel comfortable and confident. By testing the fit and making any necessary adjustments, you’ll ensure that your tankini is tailored to your body and personal preferences. With the fit perfected, it’s time to move on to the next step: finishing the edges of the tankini.
Step 6: Finish the edges
With the fit of your tankini perfected, it’s time to finish the edges to give it a polished and professional look. Follow these steps to complete this final touch:
- Choose your finishing method: Decide on the finishing method that suits your skill level and desired aesthetic. You can use a variety of techniques, such as folding the fabric edge and sewing a straight stitch or using a serger for a clean and professional finish. Alternatively, you can use bias tape or elastic to finish the edges.
- Finish the armhole edges: If your tankini has exposed armholes, fold the raw edges of the fabric inside and secure them with pins. Use your chosen finishing method to enclose the raw edges and create a neat finish. Repeat this process for both armhole edges.
- Finish the bottom edge: For the bottom edge of the tankini, fold the raw edge of the fabric inside and pin it in place. Use your chosen finishing method to sew along the edge, ensuring the raw edge is enclosed and the fabric is secured.
- Finish the neckline: If your tankini has a neckline that requires finishing, follow a similar process as the armhole edges. Fold the raw edge of the fabric inside and secure it with pins. Use your chosen finishing method to enclose the raw edge and create a clean finish for the neckline.
- Press the finished edges: After finishing the edges, use an iron to gently press the seams. This will give your tankini a professional and polished look.
By completing this step, you add the final touch to your tankini, making it look even more stylish and well-crafted. With the edges finished, it’s time to move on to the final step: trying on your new tankini!
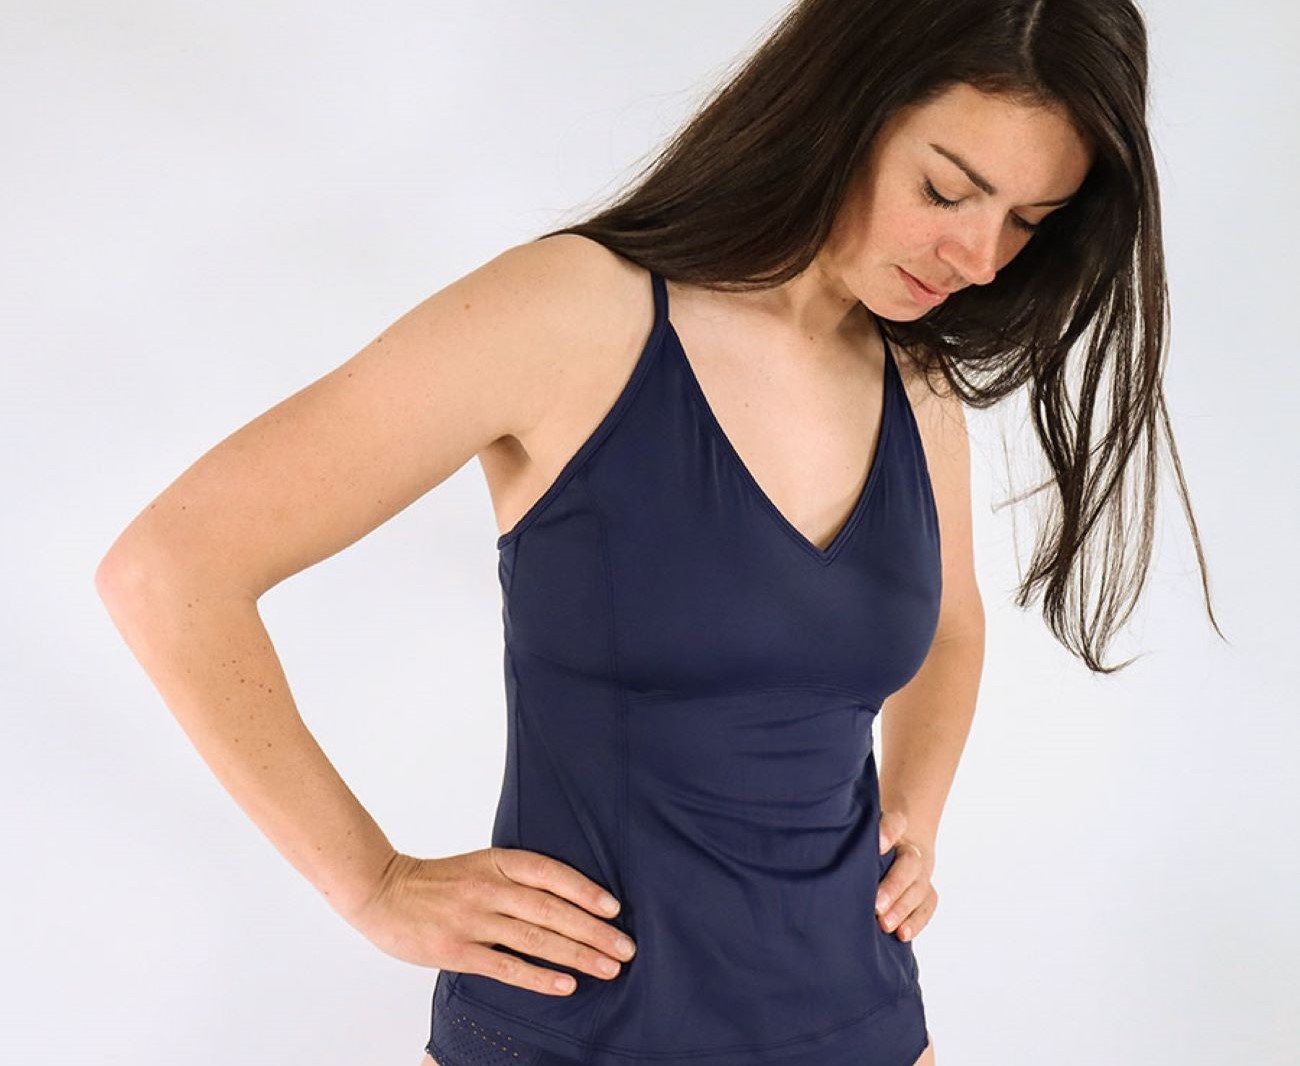
Step 7: Try on your new tankini!
Congratulations! You’ve reached the final step of transforming your bikini top into a trendy tankini. Now it’s time to try on your creation and see the results. Follow these steps to enjoy your new tankini:
- Put on the tankini: Slip into your newly transformed tankini and take a moment to appreciate your handiwork.
- Check the fit: Assess how the tankini fits on your body. Pay attention to the straps, the length, and the overall comfort of the garment.
- Move around: Take a few steps, raise your arms, and move around to ensure that the tankini stays in place and provides the coverage and support you desire.
- Feel confident: Embrace the confidence that comes with wearing a garment that you have personally customized to suit your style and preferences.
- Make any final adjustments: If you notice any areas that require further adjustments, such as strap length or overall fit, make any necessary alterations to achieve the perfect fit.
Now that you have tried on your new tankini and made any necessary changes, you are ready to rock your stylish swimwear at the beach or pool. Enjoy the compliments and the comfort of wearing a tankini that is uniquely yours!
Remember, this DIY project allows you to tap into your creativity and customize your swimwear, giving new life to an old bikini top. With your newly transformed tankini, you can embrace your personal style while enjoying the confidence and comfort of a garment that you have crafted yourself.
So grab your towel, slip into your new tankini, and make a splash with your fashionable swimwear creation!
Conclusion
Transforming your bikini top into a tankini is a fun and rewarding DIY project that allows you to update your swimwear collection with minimal cost and effort. By following the steps outlined in this guide and using your creativity, you can customize the fit, style, and coverage of your tankini, ensuring it perfectly suits your body shape and personal preferences.
With just a few basic materials and some simple sewing skills, you can achieve a trendy and fashionable tankini that makes you feel confident and comfortable at the beach or by the pool. The DIY aspect of this project not only allows you to save money but also gives you the opportunity to repurpose a bikini top that you already love but may not feel entirely comfortable wearing.
From gathering the necessary materials to finishing the edges, each step of the process is designed to guide you towards creating a tankini that is perfectly tailored to your body and style. Whether you’re looking for extra coverage, wanting to update an old bikini, or simply enjoy the satisfaction of a DIY project, transforming your bikini top into a tankini is a fantastic option.
So, why not dive into this creative project and enjoy the process of transforming your bikini top into a trendy and personalized tankini? Let your imagination run wild as you experiment with different fabrics, designs, and finishing techniques. The end result will be a stylish and unique swimwear piece that you can proudly wear and show off.
Remember, the key to a successful tankini transformation lies in your creativity and attention to detail. Take your time, measure accurately, and make any necessary adjustments along the way to achieve the perfect fit. As you try on your new tankini, revel in the confidence and satisfaction of wearing a swimwear piece that you have crafted yourself.
Now, go ahead and enjoy the summer with your one-of-a-kind tankini that blends style and comfort effortlessly!