Home>How-to Guides>For Women>How To Make A Bikini Into A Tankini
For Women
How To Make A Bikini Into A Tankini
Modified: August 2, 2023
Learn how to transform your bikini into a trendy tankini for women. Step-by-step guide to upgrading your swimwear and staying stylish.
(Many of the links in this article redirect to a specific reviewed product. Your purchase of these products through affiliate links helps to generate commission for Under-tec.com, at no extra cost. Learn more)
Table of Contents
Introduction
Are you tired of wearing the same old bikini but don’t want to invest in a brand new tankini? Well, you’re in luck! In this article, we will guide you through the process of transforming your bikini into a trendy tankini. Not only will you save money, but you’ll also have a unique swimwear piece that suits your style. Whether you’re looking for more coverage or simply want to switch up your look, this DIY project is perfect for you.
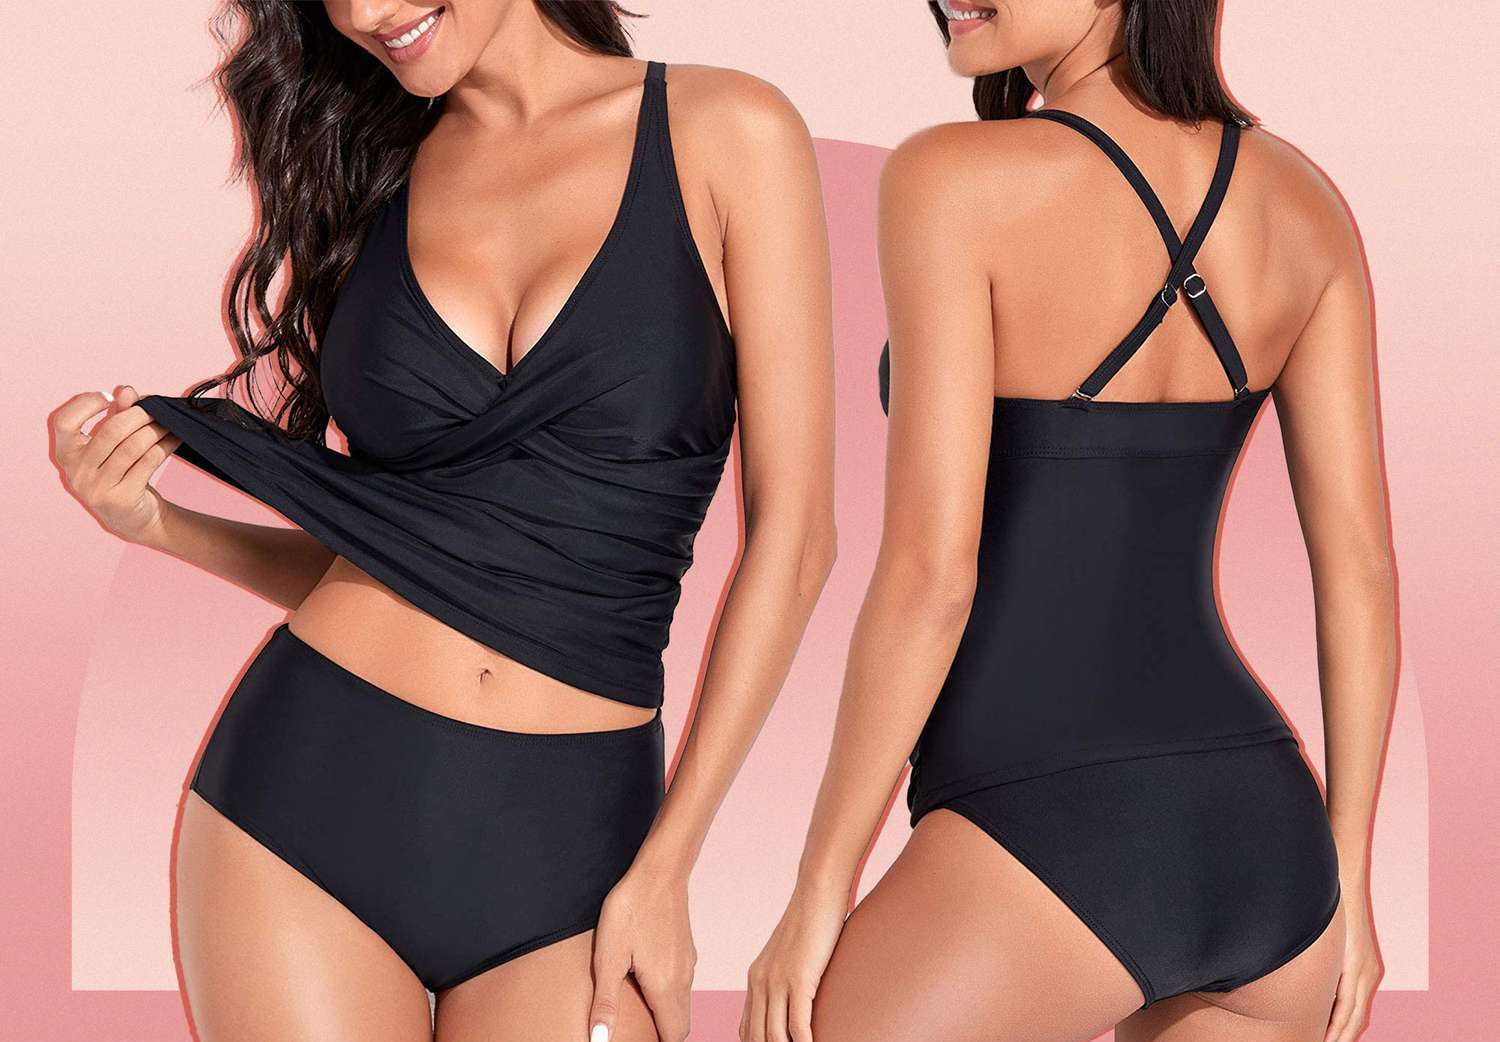
Turning a bikini into a tankini is a fun and creative way to upgrade your swimwear collection. With just a few simple steps, you can easily modify your bikini top to provide more coverage and support. Plus, you’ll have the flexibility to mix and match different bikini bottoms to create endless style options.
Before we dive into the step-by-step process, it’s important to gather all the materials you’ll need for this project. You’ll want to have a sewing kit or needle and thread, scissors, and some ribbons or extra fabric on hand. These materials will help you to customize your tankini and make it unique to your personal taste.
So, get ready to unleash your inner fashion designer and let’s dive into the exciting world of transforming a bikini into a fabulous tankini. Follow the instructions below to create a stylish and personalized swimwear piece that will make heads turn at the beach or pool!
Step 1: Gather Your Materials
Before you begin the transformation process, it’s important to gather all the necessary materials. By having everything ready, you can proceed smoothly through the steps and avoid any unnecessary interruptions. Here’s what you’ll need:
- A bikini top: Choose a bikini top that you want to convert into a tankini. It’s best to select one that fits well and is in good condition.
- Sewing kit or needle and thread: You’ll need these to secure the new straps or ribbons onto the bikini top.
- Scissors: A pair of sharp scissors will come in handy for cutting the bikini top.
- Ribbons or extra fabric: These will serve as the new straps or embellishments for your tankini. Choose colors or patterns that complement your bikini top.
Once you have gathered all the necessary materials, find a comfortable and well-lit workspace. This will make the process easier and more enjoyable. Make sure to have a clear area where you can lay out your bikini top and work on it without any obstructions.
It’s also a good idea to have a mirror nearby. This will allow you to try on the tankini during the process and make any necessary adjustments along the way.
Now that you have everything ready, let’s move on to the next step: measuring and marking the bikini top for the transformation.
Step 2: Measure and Mark
Now that you have gathered your materials, it’s time to measure and mark the areas where you will make the necessary cuts and attachments. This step is crucial in ensuring that your tankini fits well and is comfortable to wear.
Start by placing your bikini top on a flat surface. Smooth out any wrinkles or folds to ensure accurate measurements. Use a measuring tape to determine the desired length of the tankini. Keep in mind that you want to add enough fabric to cover your midriff area.
Once you have determined the desired length, mark it with a fabric pencil or a small pin. Make sure the marks are visible and easily identifiable. This will serve as a guide during the cutting process.
Next, take the ribbons or extra fabric that you have selected for the straps or embellishments. Measure the desired length for the straps by placing the fabric over your shoulders and extending it to where you want the straps to end.
Mark the measurement on the fabric and cut it accordingly. Remember to leave a little extra length for attaching the straps to the bikini top later on.
After measuring and marking both the length of the tankini and the straps, double-check your markings to ensure accuracy. This will help prevent any mistakes or misalignments during the cutting and sewing process.
Now that you have measured and marked all the necessary areas, you are ready to move on to the next step: cutting the bikini top.
Step 3: Cut the Bikini
With the measurements and markings in place, it’s time to grab your trusty pair of scissors and start cutting the bikini top. This step is the most crucial, as it determines the overall shape and style of your tankini.
Begin by carefully cutting along the marked line for the length of the tankini. Take your time to ensure a smooth and even cut, following the guidance from your markings. If there are any curved edges, make small, precise cuts to maintain the shape of the bikini top.
Once you have finished cutting the desired length, check the overall shape and make any necessary adjustments. If needed, trim any uneven edges or stray threads to achieve a clean finish.
Now it’s time to focus on the straps or embellishments. Use your scissors to cut small slits on both sides of the bikini top where you want the straps to be attached. Make sure the slits are wide enough to accommodate the ribbons or fabrics you are using.
Take the pre-cut fabric straps and insert them into the slits you created. For added security, you can sew the straps onto the bikini top using a needle and thread. This will ensure that they stay in place and provide the necessary support.
Alternatively, if you prefer a more decorative look, you can use ribbons or fabric strips as embellishments. Simply thread them through the slits and tie them in a bow or knot, depending on your desired style.
After cutting the bikini and attaching the straps or embellishments, carefully inspect the entire piece. Make sure everything is aligned and secure. If you notice any loose threads or areas that need reinforcement, use your sewing kit to make any necessary adjustments.
Now that your bikini top has been transformed into a tankini, it’s time to move on to the next step: adjusting and customizing the fit.
Step 4: Attach Straps or Ribbons
With the bikini top cut and the slits in place, it’s time to attach the straps or ribbons that will provide support and add style to your tankini. This step allows you to customize the fit and create a unique look that suits your personal taste.
If you are using fabric straps, take one end of the strap and thread it through one of the slits on the side of the bikini top. Pull it through until only a small portion of the strap is left on the inside. Repeat the process on the other side, ensuring that the strap lengths are even.
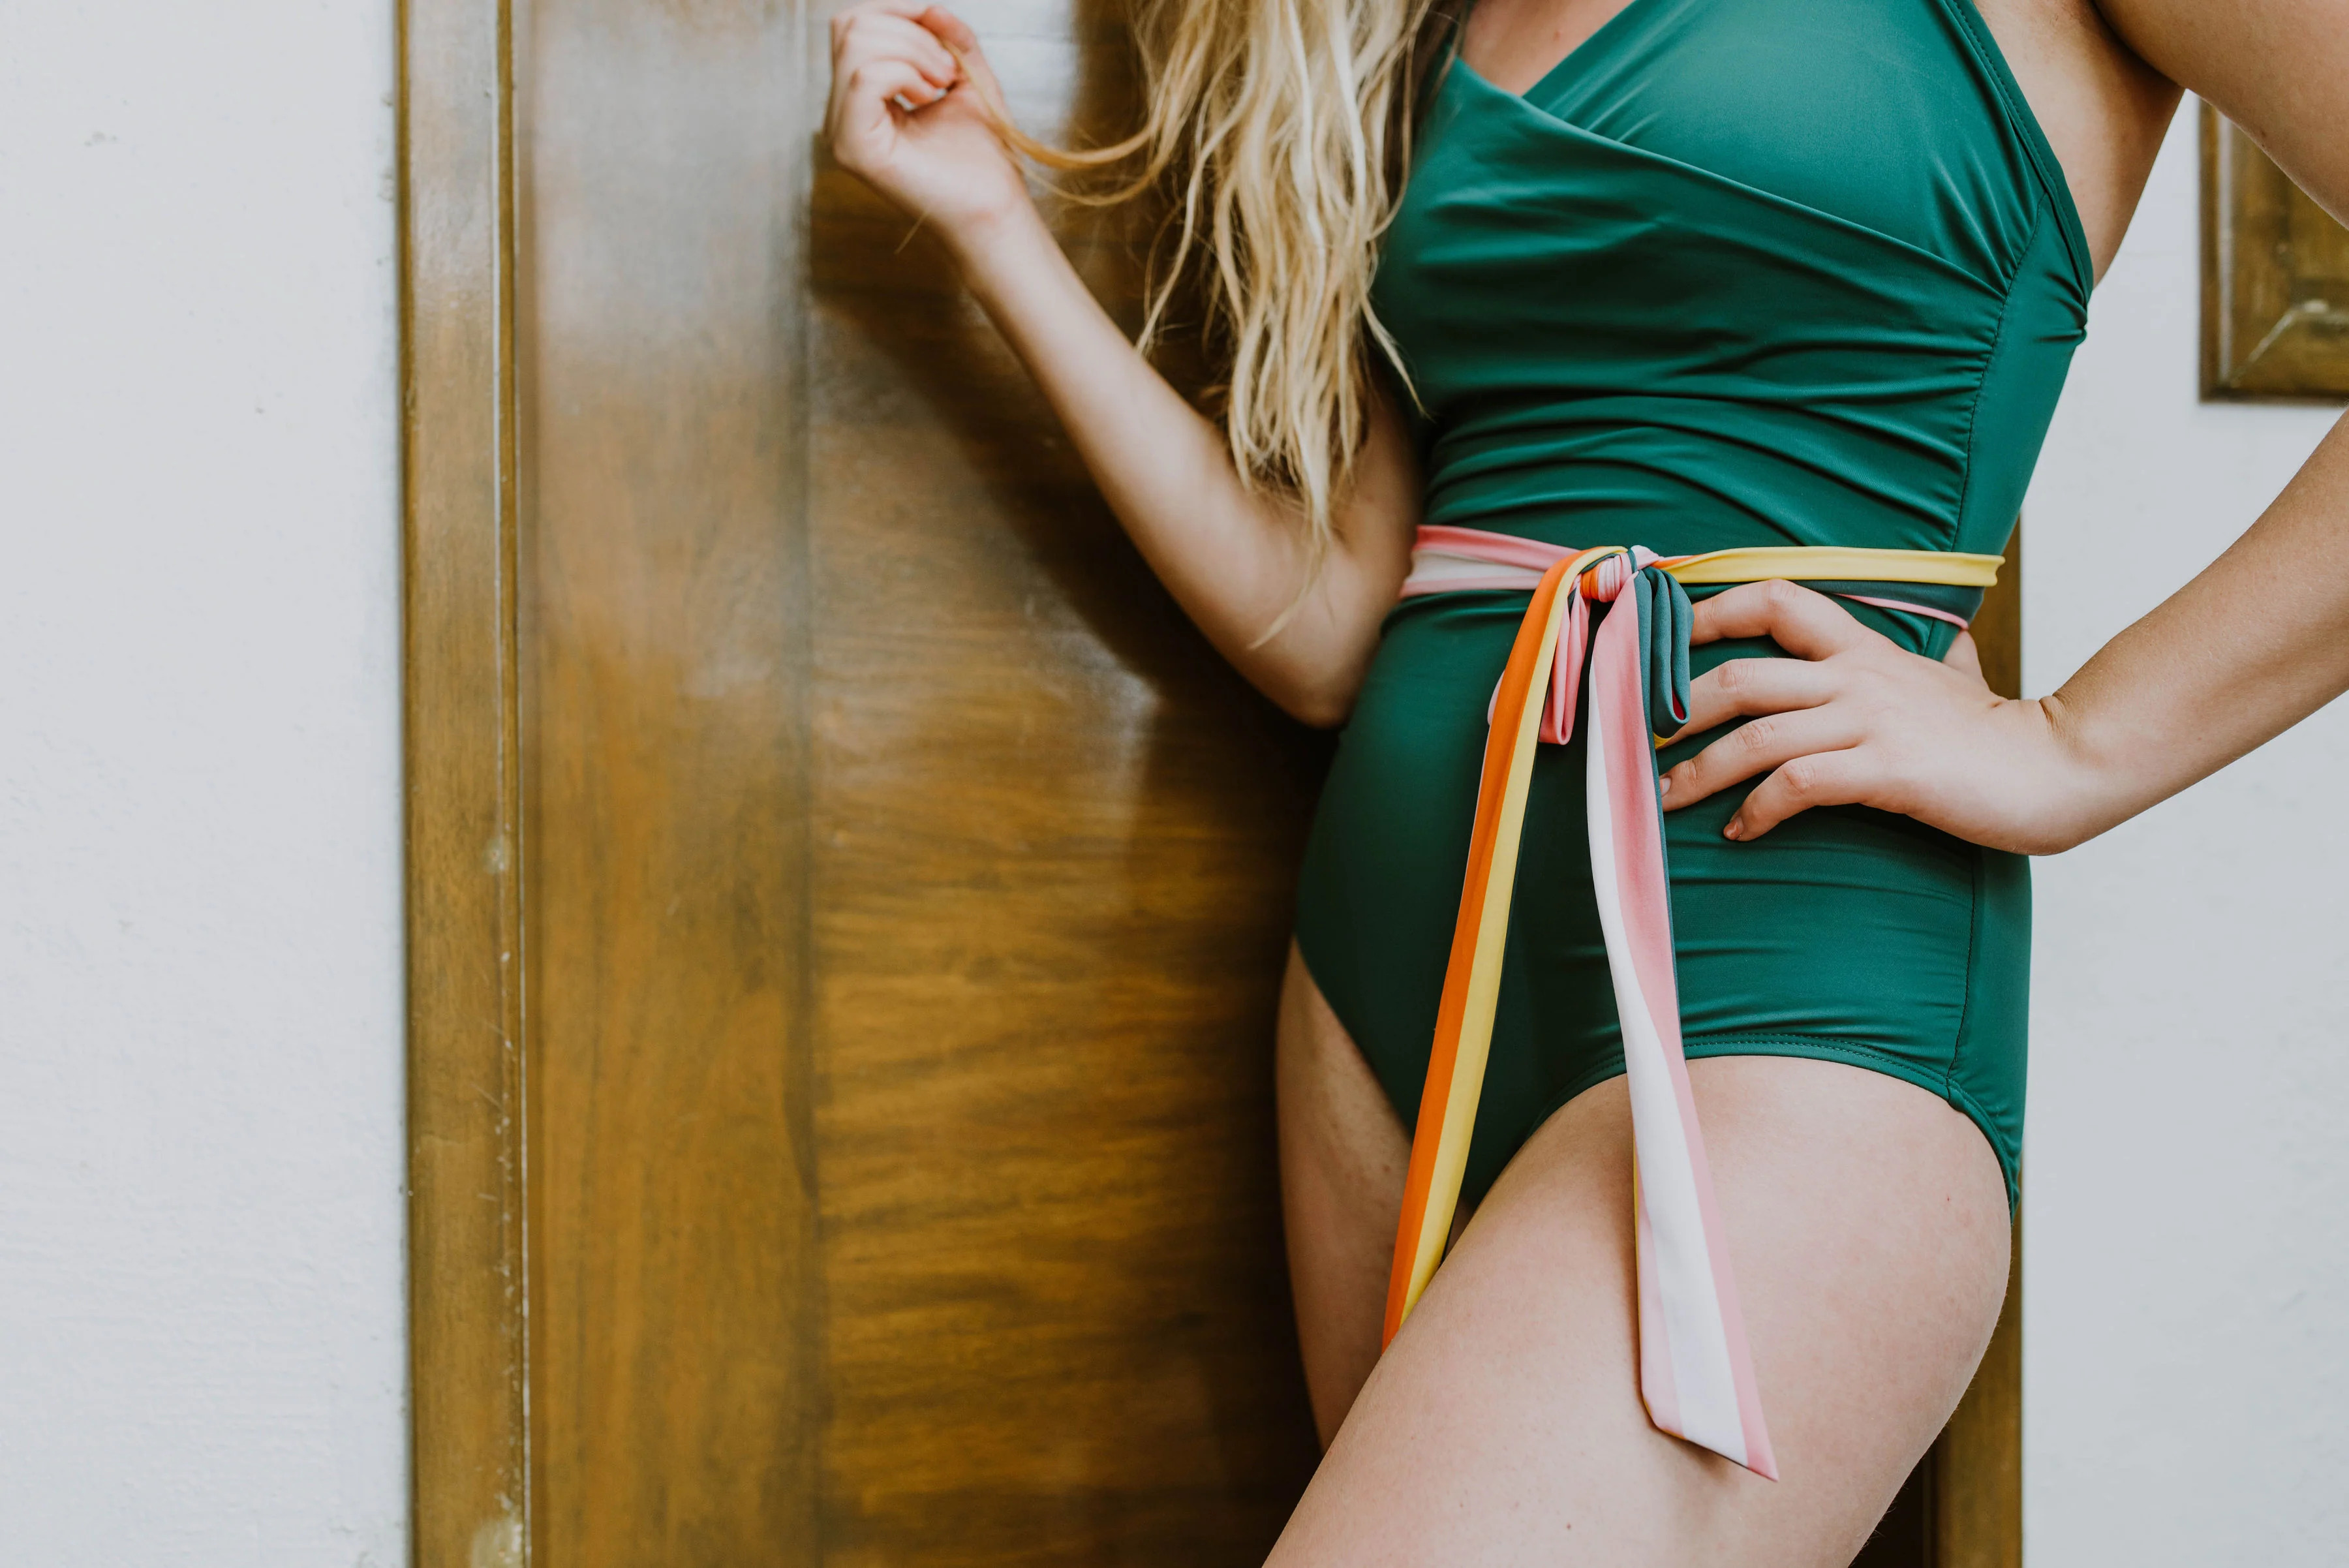
If you prefer ribbons or fabric strips as embellishments, start by threading them through the slits on both sides of the bikini top. How you tie or fasten the ribbons is entirely up to you. You can choose to tie them in a bow, knot, or any other creative way that adds visual interest to your tankini.
Once you have attached the straps or ribbons, try on the tankini to ensure a comfortable fit. Adjust the straps as needed by either pulling them tighter or loosening them for optimal support. You want the tankini to feel secure but not too tight, allowing for movement and flexibility.
Take a moment to look in the mirror and assess the overall look and fit of your transformed bikini top. This is your opportunity to make any final adjustments or additions to enhance the tankini’s appearance.
Remember, the beauty of this DIY project is that you can get creative with your design. Add additional embellishments, such as beads, sequins, or lace, to further personalize your tankini. Explore different ways to tie or fasten the straps or ribbons to create a unique and eye-catching look.
Once you are satisfied with the fit and style of your tankini, it’s time to move on to the next step: trying on the tankini and making final adjustments.
Step 5: Adjust and Customize
Now that you have attached the straps or ribbons, it’s time to try on your newly transformed tankini. This step is crucial to ensure a perfect fit and make any necessary adjustments or customizations.
Start by putting on the tankini and checking how it feels on your body. Move around and see if there are any areas that need to be tightened or loosened. Pay attention to the straps and make sure they provide enough support without digging into your skin.
If you find that the tankini is too loose or needs more shaping, you can use your sewing kit to make adjustments. This can include taking in the sides for a more tailored fit or adding elastic to the back for extra support.
Additionally, you can further customize your tankini by adding padding or cups for additional coverage and shape. These can be sewn into the lining or inserted into pockets that you create within the bikini top. This customization allows you to feel more confident and comfortable while wearing your tankini.
Don’t be afraid to experiment with different ways of tying or fastening the straps or ribbons. Play around with different styles to find one that suits your body and personal style. You can have crossed straps, a halter neck, or even a one-shoulder look. The possibilities are endless!
Once you have made all the necessary adjustments and customizations, take a moment to admire your completed tankini. It’s now a unique swimwear piece that reflects your personal style and fits you perfectly.
Remember, the fun doesn’t stop here. You can continue to accessorize and style your tankini with various cover-ups, sarongs, or jewelry to create different looks for different occasions. Let your creativity shine as you embrace your DIY tankini!
Now that you have perfected your tankini, it’s time to move on to the final step: trying on the tankini and making any final adjustments.
Step 6: Try on and Make Final Adjustments
Congratulations! You’re almost done with your bikini to tankini transformation. The final step is to try on your tankini and make any necessary final adjustments to ensure a perfect fit.
Slip into your tankini and take a moment to assess how it feels on your body. Move around and stretch to ensure that it provides the desired coverage and comfort. Pay attention to how the straps or ribbons are holding up and make any necessary tweaks.
If you find that the tankini is too loose in certain areas, you can use your sewing kit to make some final adjustments. For example, you can bring in the sides or back of the tankini for a snugger fit. Conversely, if it feels too tight, you can let out some seams or add additional fabric to provide more room.
During this step, you can also analyze the overall aesthetics of your tankini. Take a look in the mirror and consider if any additional embellishments or decorative elements would further enhance the style. Perhaps you’d like to add some lace or sequins for a touch of glamour.
Once you’re satisfied with the fit and appearance of your tankini, take a moment to appreciate your creativity and craftsmanship. You’ve successfully transformed a bikini into a trendy tankini that is uniquely yours.
Now that your tankini is ready, it’s time to show it off! Whether you’re heading to the beach, pool, or even lounging in your backyard, you can confidently wear your personalized tankini and make a fashion statement.
Remember to care for your tankini by following the care instructions for the original bikini fabric. Proper maintenance will ensure that your tankini stays in great condition, allowing you to enjoy it for many swim seasons to come.
So go ahead and rock your DIY tankini with confidence and pride. And don’t forget to inspire others by sharing your creative journey and encouraging them to unleash their inner fashion designer as well.
Conclusion
Transforming a bikini into a tankini is a fun and cost-effective way to upgrade your swimwear collection. By following the step-by-step process outlined in this article, you have successfully turned a bikini top into a stylish and personalized tankini that suits your style and provides the desired coverage.
Throughout this DIY project, you learned how to gather the necessary materials, measure and mark the bikini top, cut it to the desired length, and attach new straps or ribbons. You also discovered how to adjust and customize the fit to ensure a comfortable and flattering look.
By infusing your tankini with your personal touch and creativity, you have created a swimwear piece that reflects your unique style and personality. Whether you’re lounging by the pool, strolling along the beach, or participating in water activities, your DIY tankini will make you feel confident and stylish.
Remember, this project is not limited to just one tankini. You can repeat the process with multiple bikini tops, allowing you to expand your swimwear options without breaking the bank. Mix and match different bottoms to create endless combinations and embrace your inner fashion designer.
So, put on your new tankini, embrace your creativity, and get ready to turn heads with your one-of-a-kind swimwear. Share your transformation journey with others and inspire them to unleash their DIY skills. With a bit of imagination and some simple modifications, you can transform any bikini into a trendy tankini that is uniquely yours.