Home>How-to Guides>For Women>How To Make Panties Out Of Boxers
For Women
How To Make Panties Out Of Boxers
Published: July 31, 2023
Learn how to transform boxers into comfortable panties for women with our step-by-step guide. Perfect for adding a feminine touch to your wardrobe!
(Many of the links in this article redirect to a specific reviewed product. Your purchase of these products through affiliate links helps to generate commission for Under-tec.com, at no extra cost. Learn more)
Table of Contents
Introduction
Welcome to the world of DIY fashion! You don’t always need to buy new underwear when you can get creative and make your own. If you have a pair of old boxers lying around, why not transform them into cute and comfortable panties? Not only will you have a unique piece of clothing, but you’ll also save money and reduce waste.
In this article, we will guide you through the steps for turning boxers into panties. You don’t need to be an experienced seamstress to accomplish this DIY project. With just a few materials and some basic sewing skills, you’ll have a stylish pair of panties in no time.
Before we dive into the steps, it’s important to note that this tutorial is specifically designed for women who want to make panties out of boxers. However, feel free to adapt the process for different preferences or body types. Let your creativity guide you!
So, gather your materials and let’s get started on this fun and unique DIY project.
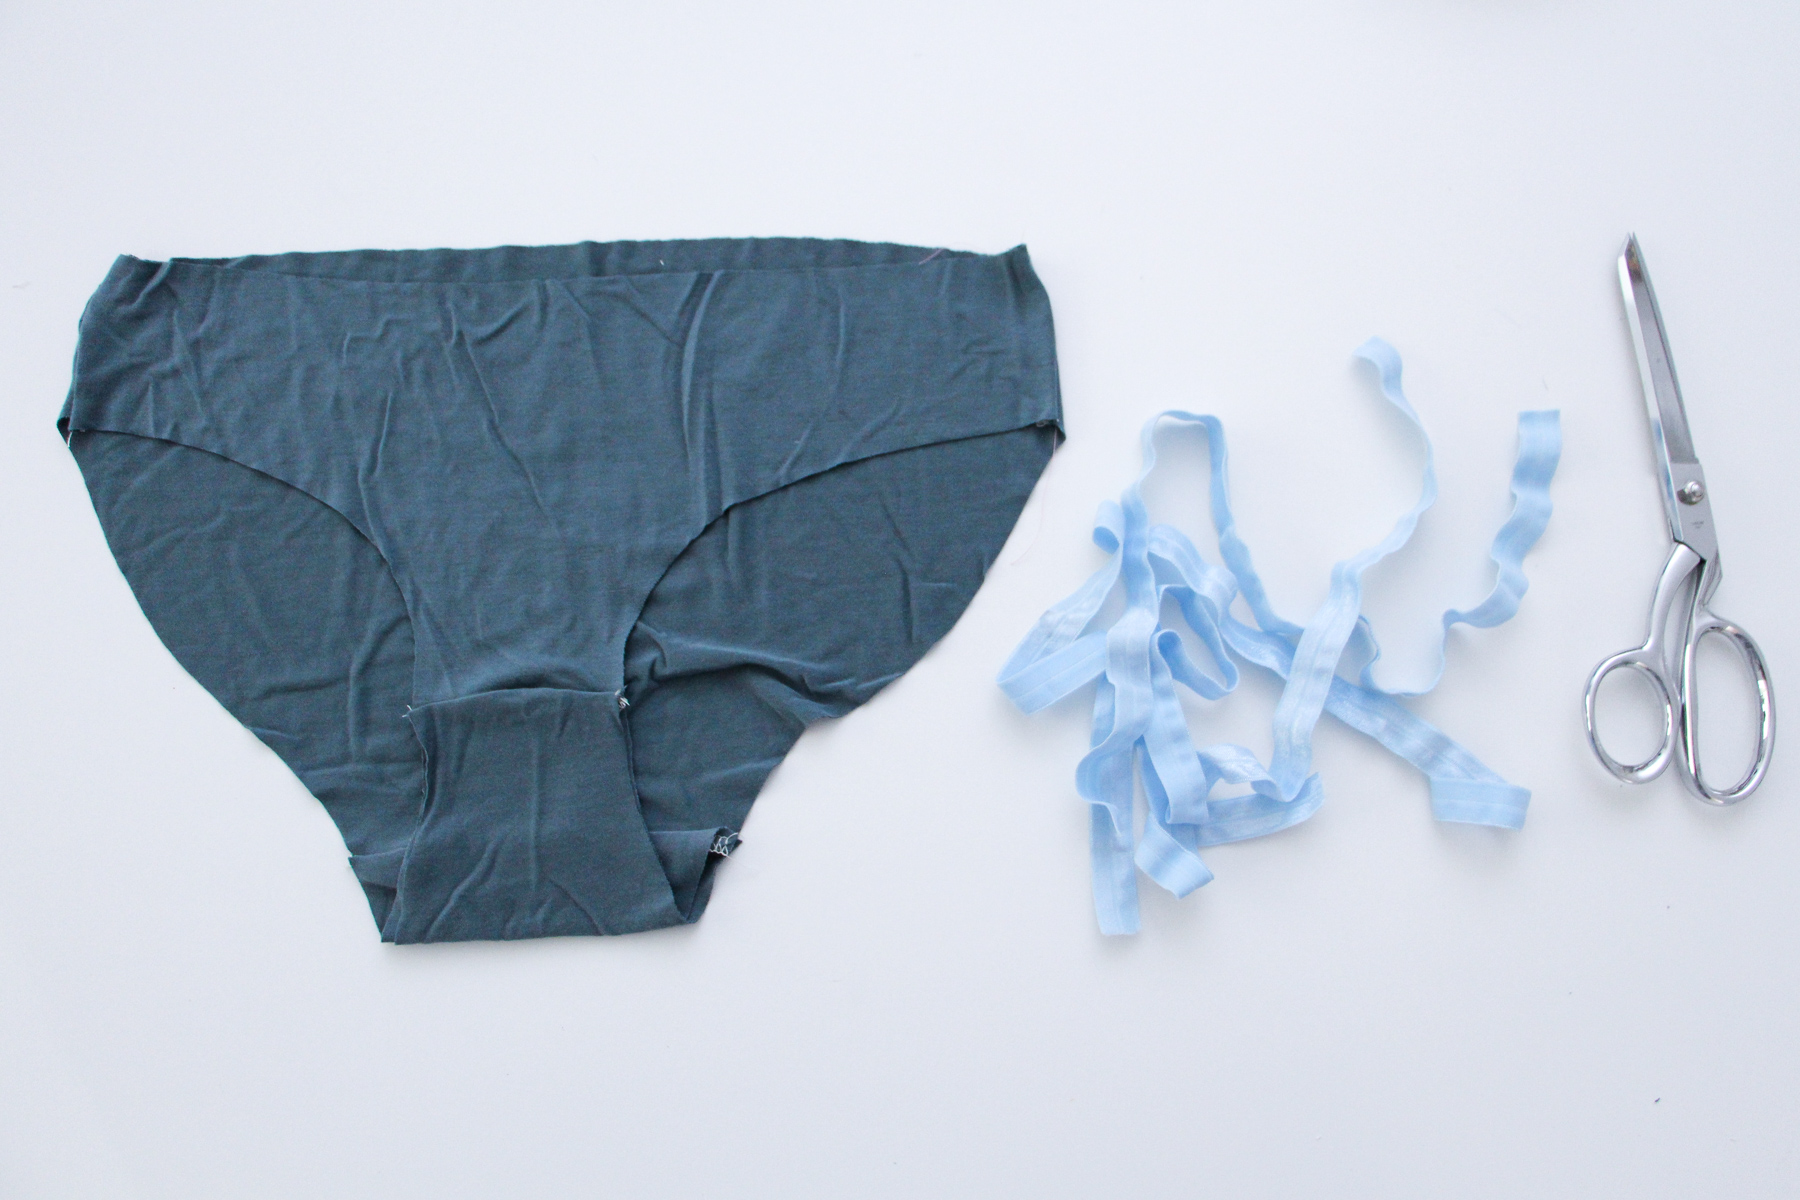
Step 1: Gather Materials
Before you begin transforming your boxers into panties, make sure you have the following materials handy:
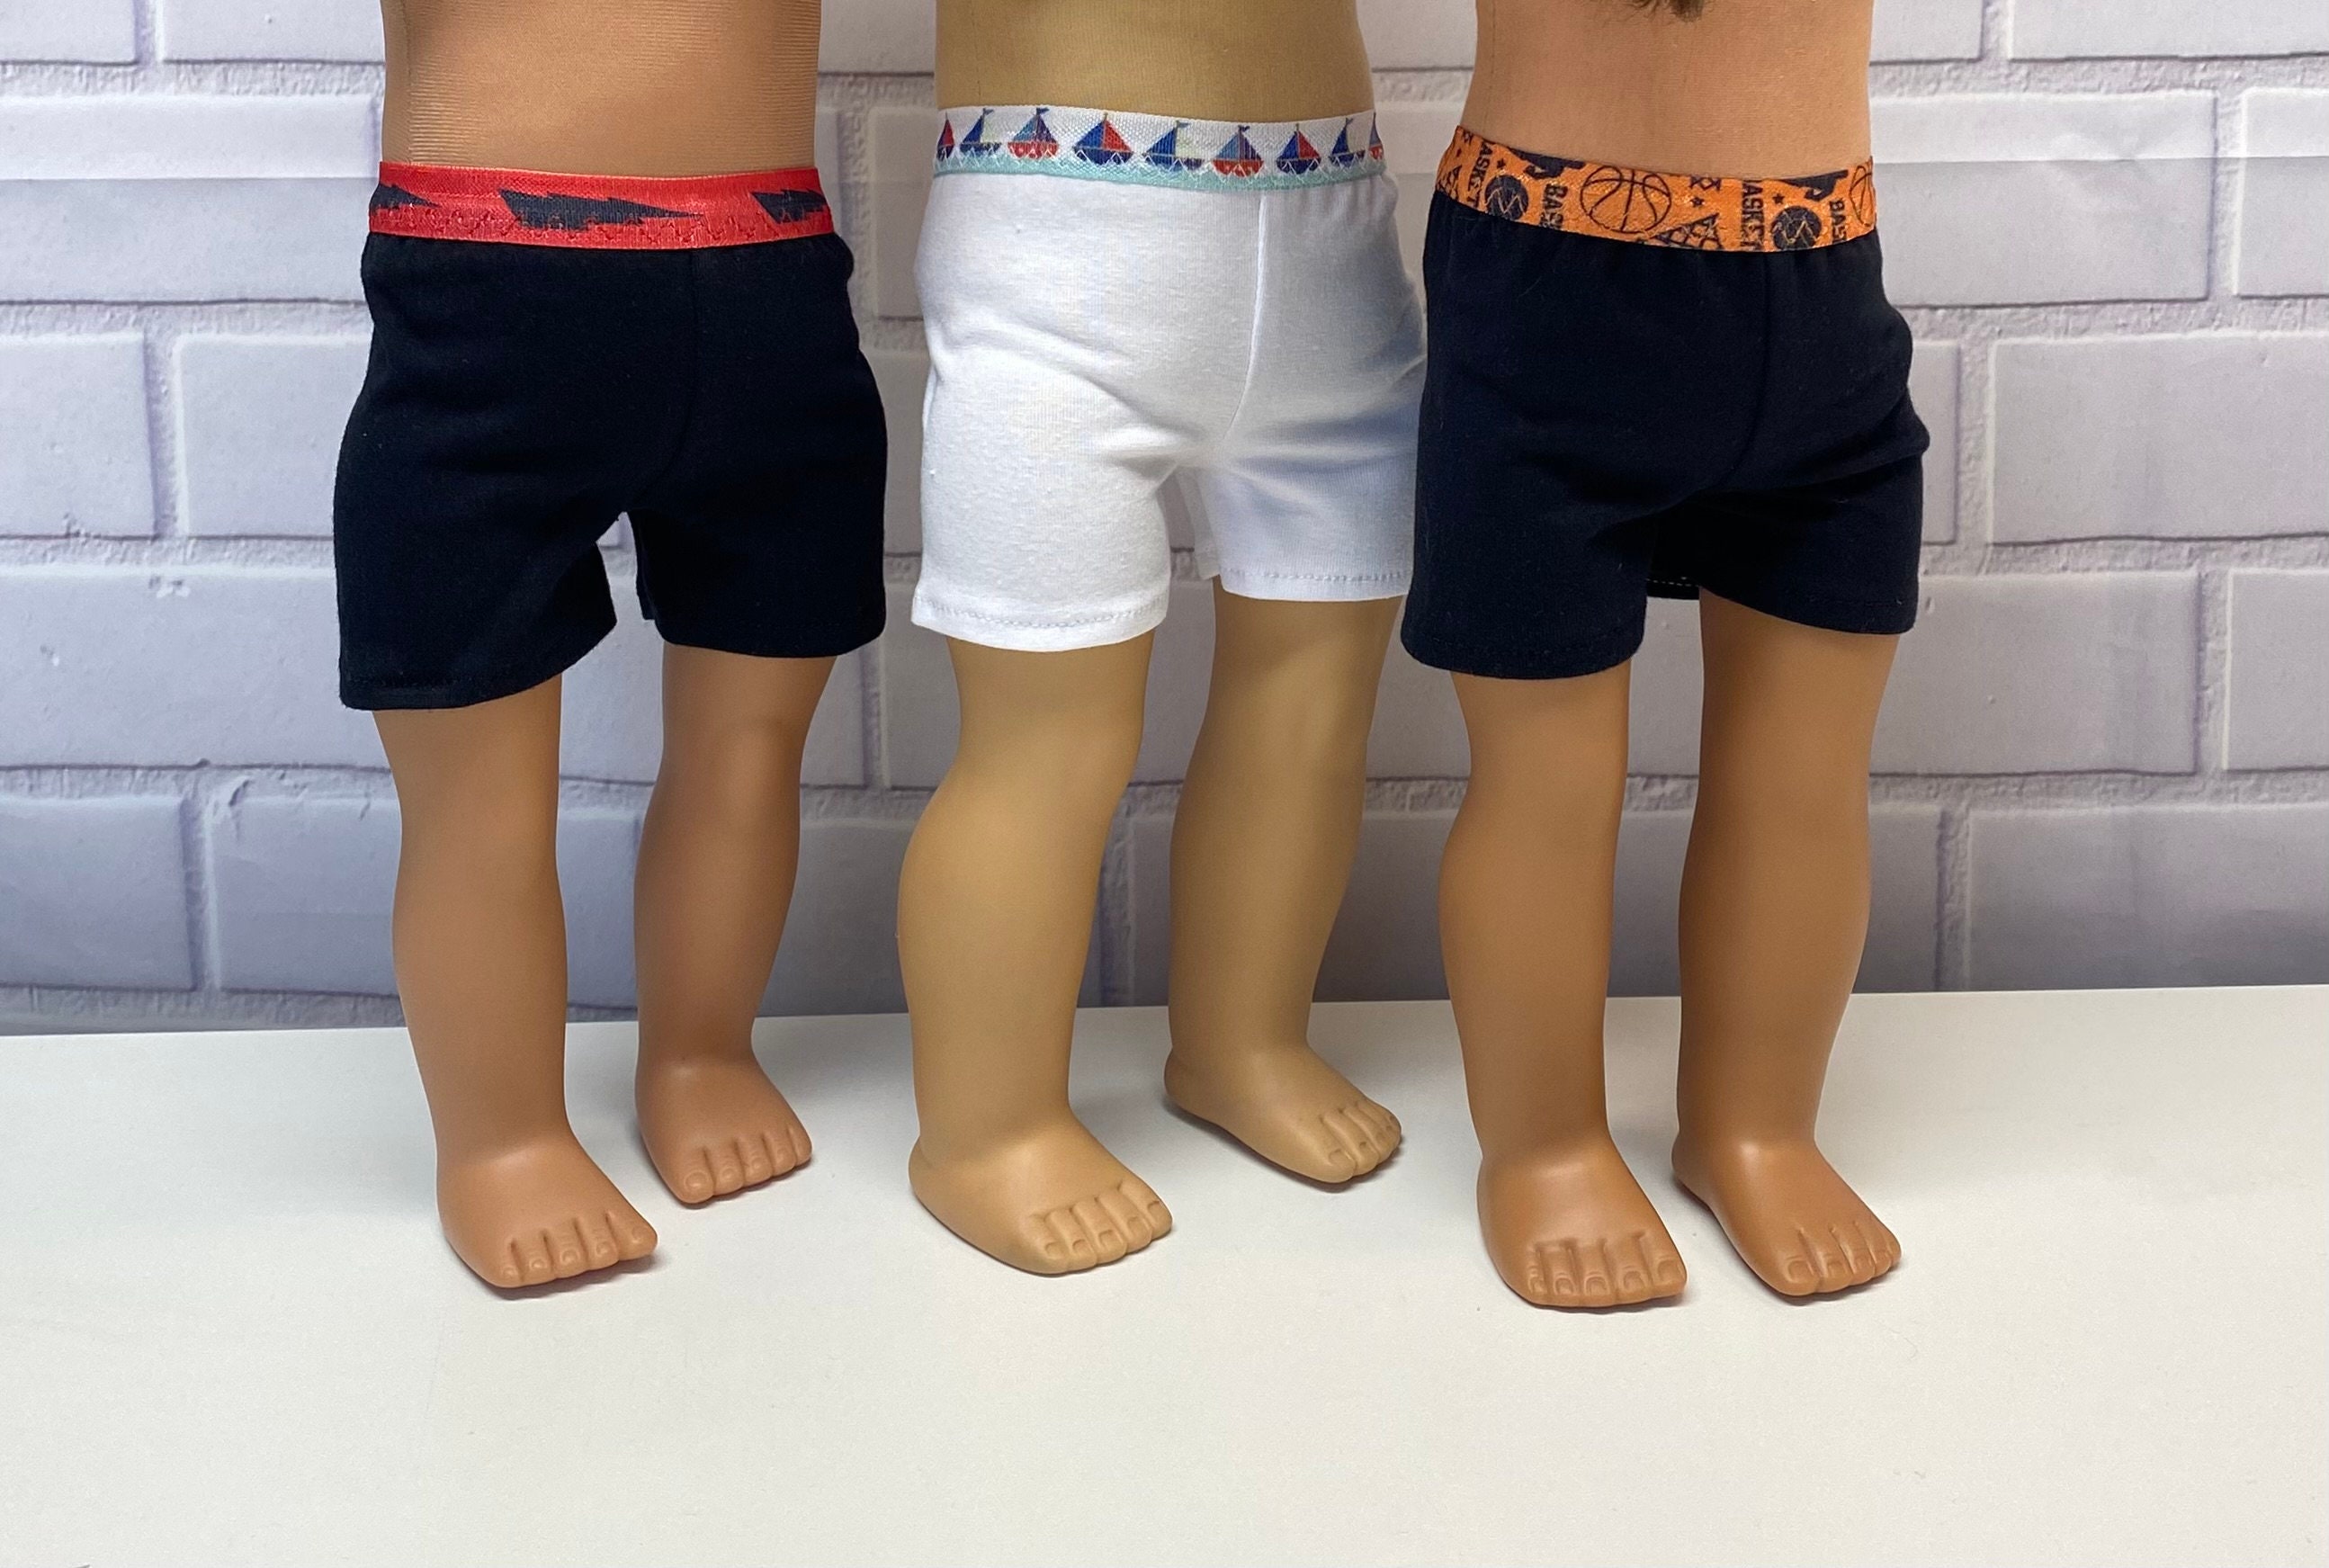
- Old boxers – Choose a pair that is in good condition and fits you comfortably around the waist.
- Measuring tape – This will help you determine the dimensions for cutting and sewing.
- Fabric scissors – Make sure they are sharp and suitable for cutting fabric.
- Sewing machine or needle and thread – Depending on your sewing skills and preferences, you can use either a machine or hand-sew the panties.
- Elastic band – You’ll need this to create the waistband of the panties.
- Pins – These will hold the fabric in place as you sew.
- Optional: Lace, ribbons, or decorative elements – If you want to add some flair to your panties, gather some additional materials for embellishments.
Take a moment to gather all of these materials before moving on to the next step. Having everything prepared will make the process more efficient and enjoyable.
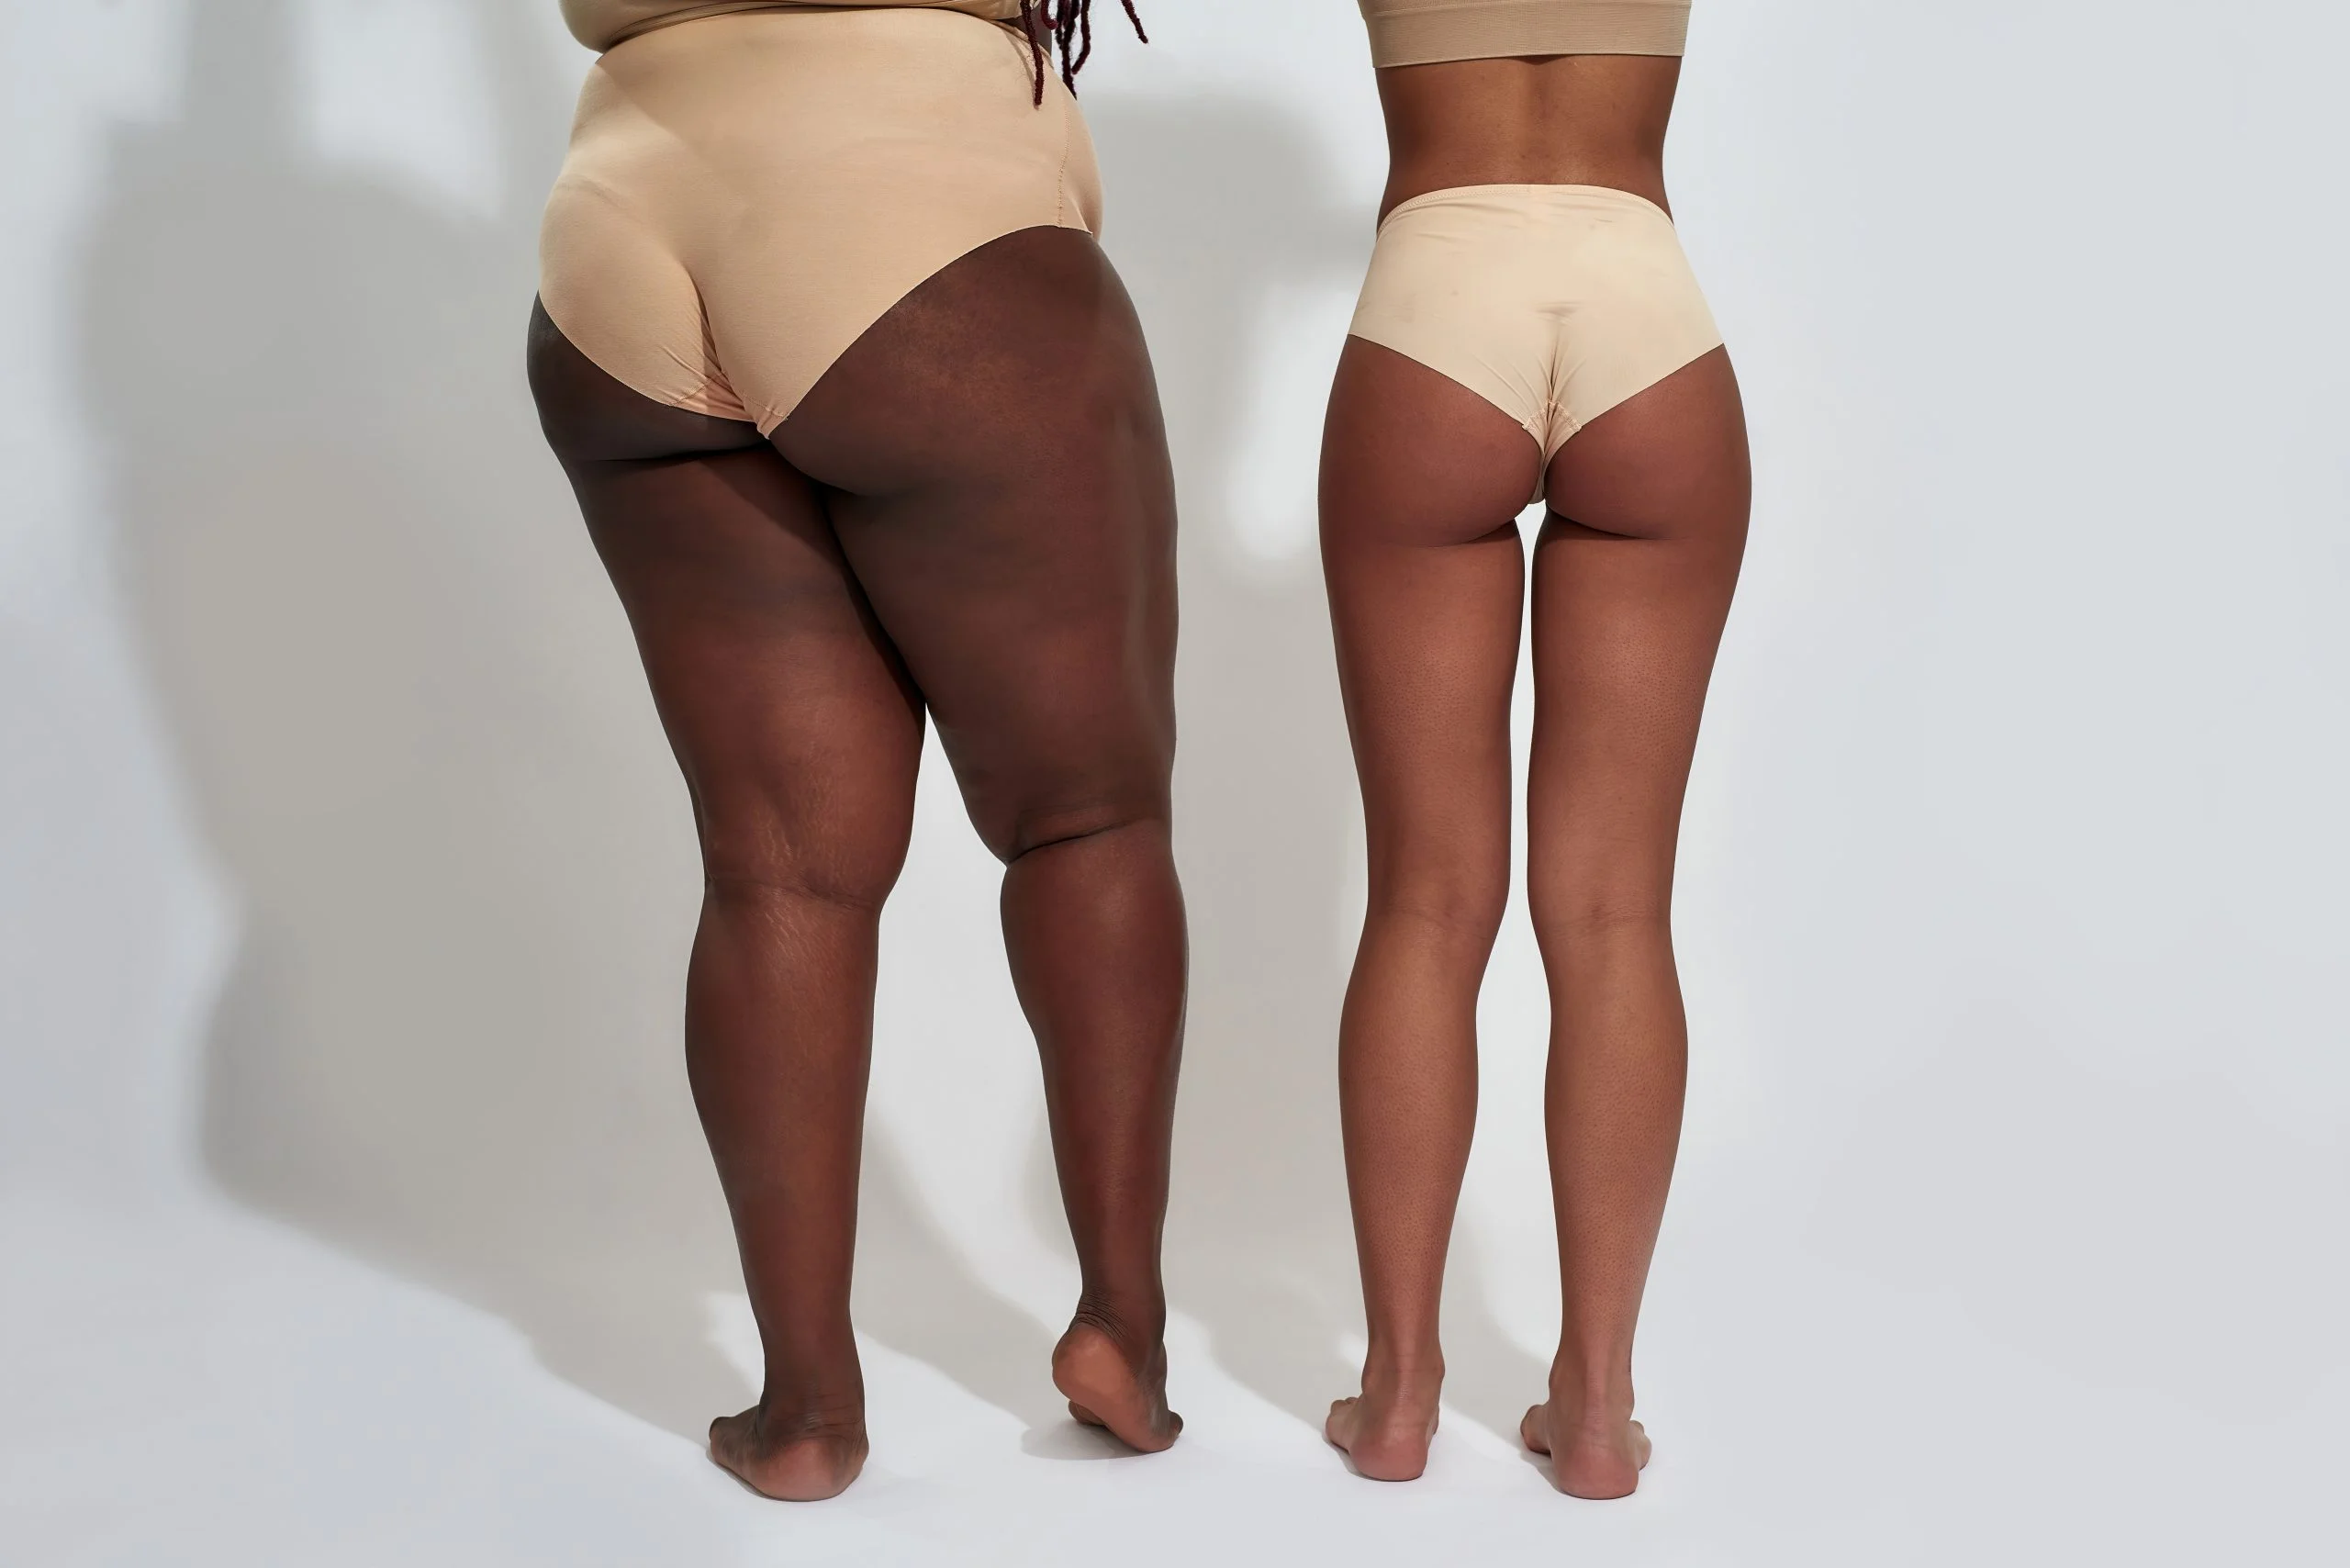
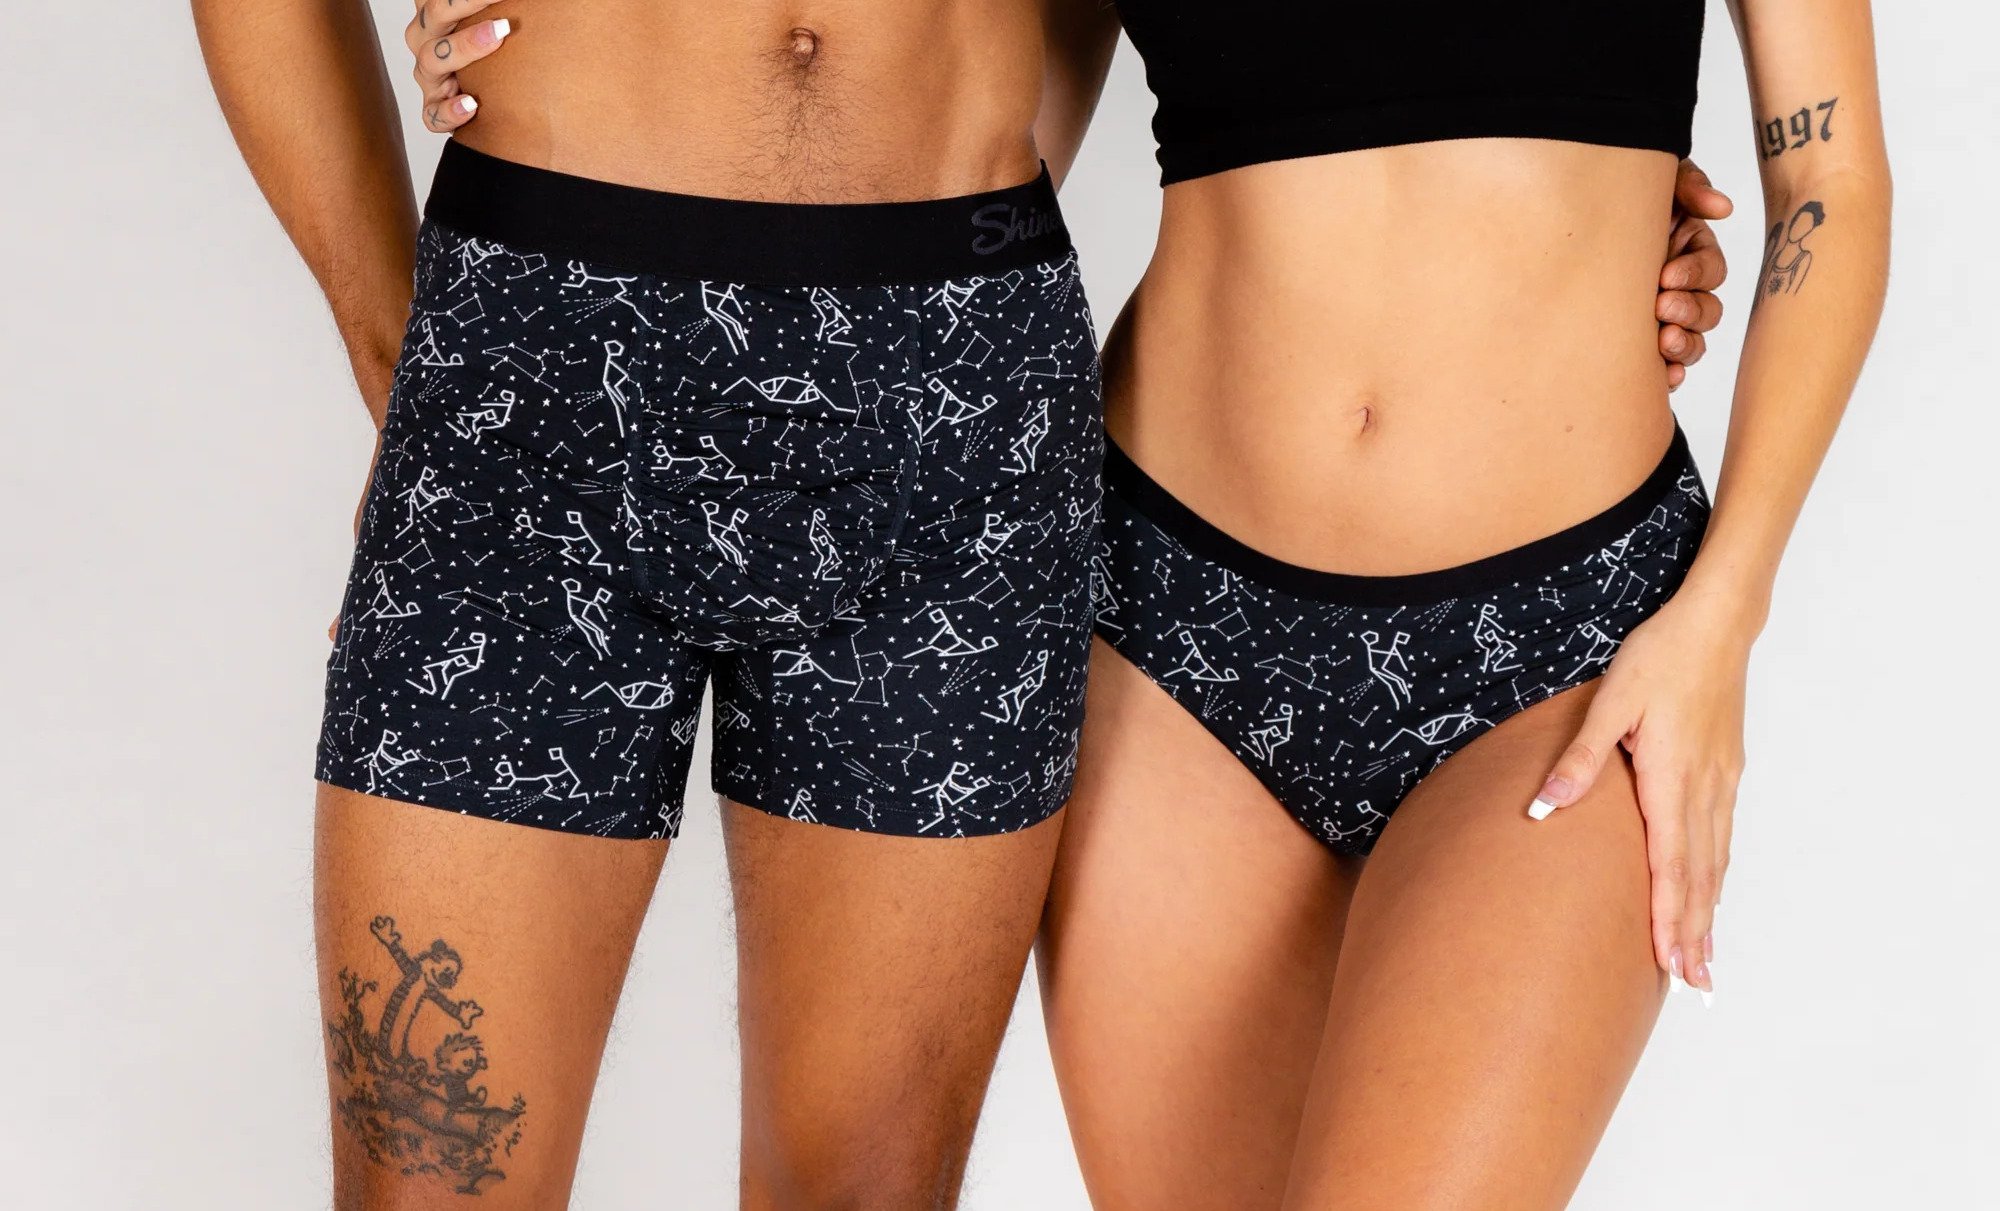
Step 2: Choose the Right Boxers
When it comes to transforming boxers into panties, choosing the right pair is crucial. Here are a few things to consider:
1. Fit: Select boxers that fit you comfortably around the waist and hips. Avoid ones that are too tight or too loose, as this will affect the fit and comfort of the final panties.
2. Fabric: Look for boxers made from soft, breathable fabric like cotton. This will ensure that the panties are comfortable to wear all day long.
3. Pattern and Design: If you want your panties to have a unique and stylish look, choose boxers with a fun pattern or design. This will add a touch of personality to your final creation.
4. Condition: Ensure that the boxers are in good condition without any holes or significant wear and tear. This will make the sewing process easier and ensure the longevity of the finished garments.
Remember, the boxers you choose will serve as the foundation for your new panties. Keep these factors in mind as you select the perfect pair for your DIY project.
Step 3: Measure and Mark
Measuring and marking the boxers is an important step to ensure a proper fit for your new panties. Follow these steps:
1. Determine the desired length: Decide how high or low you want the waistline of your panties to sit. Using a measuring tape, measure from your desired waistline down to where you want the leg openings to be. Note down this measurement as “A”.
2. Measure the leg openings: Measure the circumference of both leg openings on the boxers. If you want your panties to fit snugly, subtract one inch from the measured circumference. Note down this value as “B”.
3. Mark the fabric: Lay the boxers flat on a table or cutting mat. Use a fabric pen or chalk to mark “A” from the waistline down and “B” at the leg openings. Make sure the markings are clear and visible.
4. Decide the width of the crotch: Determine how wide you want the crotch area to be. This will depend on your personal preference and comfort level. Mark the width of the crotch at the bottom center of the boxers.
Proper measurements and markings are essential for achieving the right fit. Take your time with this step to ensure accurate results.
Step 4: Cut the Boxers
Now that you have your boxers measured and marked, it’s time to cut them to the desired shape. Follow these steps:
1. Lay the boxers flat: Place the boxers on a clean, flat surface, ensuring that all the seams are facing up.
2. Cut along the marked lines: Use a pair of sharp fabric scissors to carefully cut along the marked lines. Start by cutting the waistline, then move on to the leg openings. Take your time and cut slowly to ensure precision.
3. Trim the crotch area: If necessary, trim the crotch area to the desired width. This will help achieve a comfortable fit and prevent any excess fabric from bunching up.
Make sure your cuts are smooth and even, following the marked lines precisely. Take extra care around curves and corners to maintain the desired shape.
Once you’ve finished cutting, you should have a basic panty shape. Don’t worry if it looks a bit rough at this stage – the next steps will refine and transform it into a beautiful finished garment.
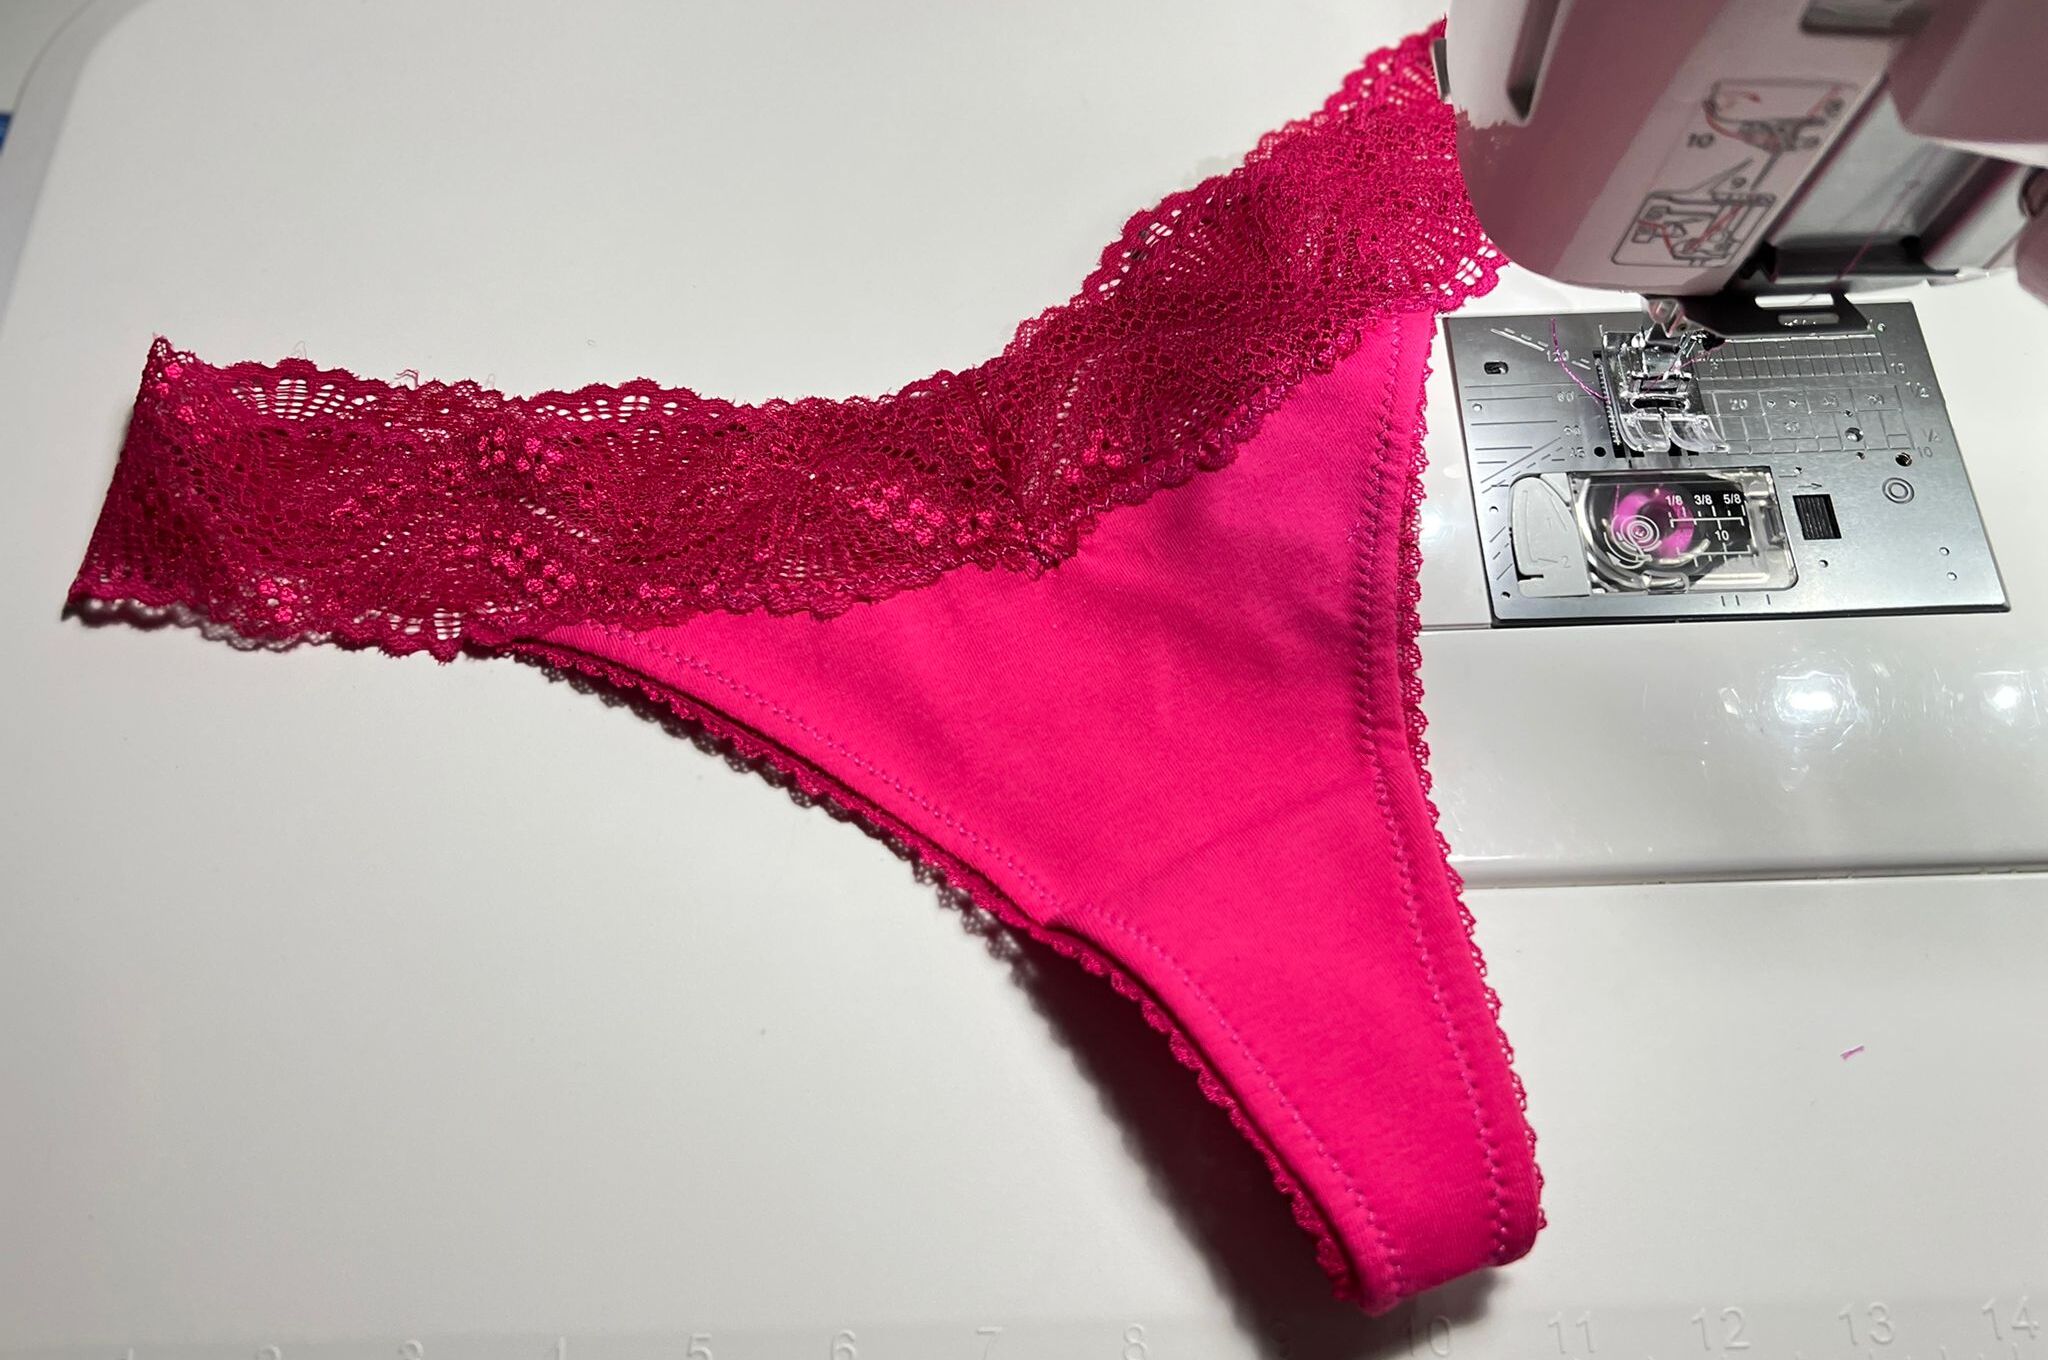
Step 5: Sew the Sides
Now that you have the boxers cut to the desired shape, it’s time to sew the sides. Follow these steps:
1. Fold the fabric: Take one side of the panty and fold it inwards, matching the edges together. Pin along the folded edge to secure the fabric in place.
2. Sew along the pinned edge: Using a sewing machine or needle and thread, stitch along the pinned edge with a straight stitch. Make sure to backstitch at the beginning and end to secure the seam.
3. Repeat on the other side: Repeat the folding and sewing process on the other side of the panty, ensuring that the edges match up. This will create the seams that will hold the sides of the panties together.
4. Trim excess fabric (optional): If there is any excess fabric sticking out from the seam, you can trim it to create a neater finish. Be careful not to cut into the seam itself.
By sewing the sides of the panty, you are shaping it and ensuring that it will fit snugly. Take your time and sew with precision to achieve a professional-looking finish.
Step 6: Create and Attach the Waistband
Creating and attaching a waistband will give your DIY panties a comfortable and secure fit. Follow these steps:
1. Measure the elastic band: Wrap the elastic band around your waist to measure the desired length. Ensure it is snug but not too tight. Cut the elastic band accordingly, adding an extra inch for overlapping and sewing.
2. Sew the elastic ends: Overlap the ends of the elastic band by half an inch and sew them together with a zigzag stitch. This will create a secure loop of elastic to form the waistband.
3. Divide the waistband and fabric: Divide the waistband and the upper edge of the panty fabric into four equal sections. Mark these sections with small pins or fabric markers. This will help distribute the elastic evenly when attaching it to the fabric.
4. Pin and sew the waistband: Pin the elastic waistband to the upper edge of the panty fabric, matching the marked points on both. Use a zigzag stitch to sew the elastic to the fabric, stretching the elastic slightly as you sew to ensure a snug fit. Be careful not to stretch the fabric.
5. Trim excess fabric and elastic: Once the waistband is securely attached, trim any excess fabric or elastic for a clean finish. Be careful not to cut the stitches or the elastic itself.
By attaching the waistband, you are ensuring a comfortable and adjustable fit for your panties. Take your time and sew with care to achieve a neat and professional-looking finish.
Step 7: Finish the Leg Openings
Finishing the leg openings of your DIY panties will give them a polished and comfortable fit. Follow these steps:
1. Fold the fabric: Take one leg opening and fold it inwards about 1/4 inch. Then, fold it inwards again about 1/2 inch to enclose the raw edge. Pin along the fold to hold it in place. Repeat this process for the other leg opening.
2. Sew the folded edge: Using a sewing machine or needle and thread, sew along the pinned fold to secure it in place. You can use a straight stitch or a zigzag stitch for added durability. Remember to backstitch at the beginning and end to secure the seam.
3. Repeat on the other leg opening: Repeat the folding and sewing process on the other leg opening to finish it as well. This will ensure that both leg openings have a clean and neat edge.
4. Trim any excess fabric: Once the leg openings are sewn, trim any excess fabric if needed. Be careful not to cut into the seam or the main fabric of the panties.
By finishing the leg openings, you are ensuring a smooth and comfortable fit for your panties. Take your time and sew with precision to achieve a professional-looking finish.
Step 8: Final Adjustments and Finishing Touches
You’re almost done with your DIY panties! In this final step, you’ll make any necessary adjustments and add some finishing touches. Follow these steps:
1. Try on the panties: Before you finish, try on the panties to check the fit. If they feel too loose or too tight, make any minor adjustments by taking in or letting out the seams accordingly.
2. Add decorative elements (optional): If you want to add some extra flair to your panties, now is the time to get creative. You can sew on lace trim, ribbon accents, or any other decorative elements to personalize your design.
3. Secure loose threads: Trim any loose threads or excess fabric from the stitching to give your panties a polished look. Be careful not to cut any important seams or fabric in the process.
4. Give them a final press: If desired, use a warm iron to press your DIY panties, smoothing out any wrinkles and giving them a crisp finish. Be cautious when ironing delicate fabrics, and avoid ironing over any elastic sections.
Once you’ve completed these final adjustments and added any desired finishing touches, your DIY panties are ready to be worn! Slip them on and enjoy your unique and comfortable creation.
Remember, this tutorial can be adapted to your own preferences and style. Get creative and experiment with different fabrics, patterns, and embellishments to make your DIY panties truly unique.
Conclusion
Congratulations! You have successfully transformed your old boxers into stylish and comfortable panties. By following these step-by-step instructions, you were able to create a unique piece of clothing while reducing waste and saving money.
Through gathering the materials, choosing the right boxers, measuring and marking, cutting and sewing, creating and attaching the waistband, finishing the leg openings, and making final adjustments, you have transformed a simple pair of boxers into a personalized and functional garment.
Remember, this DIY project allows for customization and creativity. Feel free to experiment with different fabrics, patterns, and embellishments to put your own unique spin on each pair of panties you create. You can even make them as gifts for friends or loved ones!
We hope this tutorial has inspired you to explore your creativity and take on more DIY projects in the future. Making your own clothing not only allows for self-expression, but it also promotes sustainability by repurposing and reimagining existing items.
So, what are you waiting for? Get started on your next sewing adventure and experience the joy and satisfaction of creating something beautiful with your own hands. Happy sewing!