Home>How-to Guides>For Men>How To Make Boxer Briefs Into A Jockstrap

For Men
How To Make Boxer Briefs Into A Jockstrap
Modified: September 23, 2023
Learn how to transform your boxer briefs into a functional jockstrap designed specifically for men. Step-by-step guide and tips for maximum comfort and support.
(Many of the links in this article redirect to a specific reviewed product. Your purchase of these products through affiliate links helps to generate commission for Under-tec.com, at no extra cost. Learn more)
Table of Contents
Introduction
Welcome to the world of DIY fashion! Are you tired of the limited options available in stores when it comes to men’s underwear? If you’re feeling adventurous and looking to add some excitement to your underwear collection, why not try turning your regular boxer briefs into a jockstrap?
A jockstrap is a type of athletic supporter that provides support and protection to the male genitalia during physical activities. It consists of a waistband and a pouch that holds the genitals in place, while leaving the buttocks exposed. Jockstraps are commonly worn by athletes, but they have also gained popularity as a daring and provocative underwear choice.
By using some basic sewing skills and a little creativity, you can transform your ordinary boxer briefs into a unique and stylish jockstrap. Not only will this customization give you a customized garment that suits your personal style, but it can also be a fun and rewarding DIY project.
Before diving into the step-by-step process, there are a few things you’ll need to get started.
Materials Needed
Before you start transforming your boxer briefs into a jockstrap, make sure you have the following materials on hand:
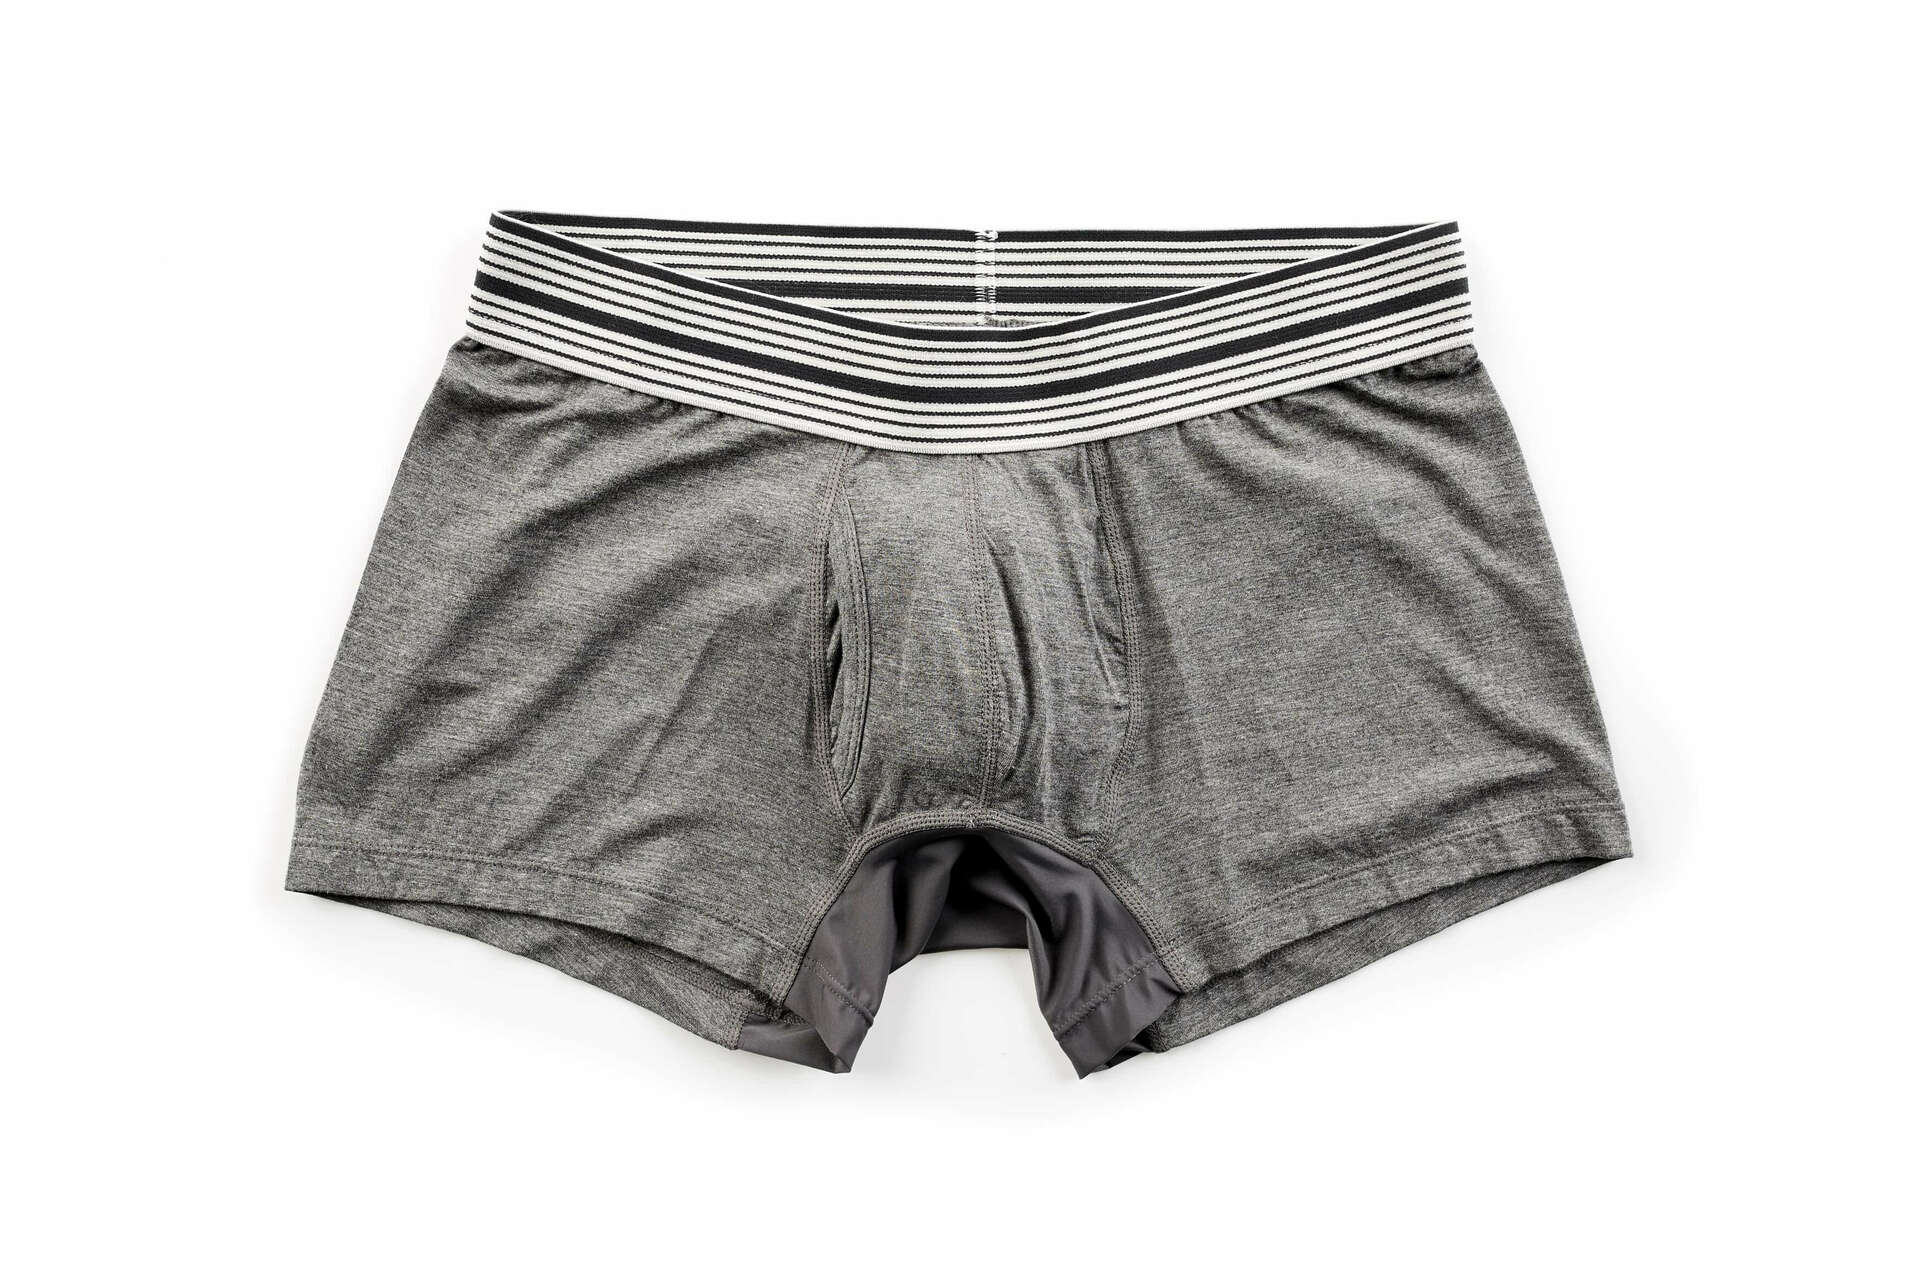
- Boxer briefs: Choose a pair that you are willing to transform. It’s best to select a tight-fitting pair for optimal support.
- Scissors: You’ll need a sharp pair of scissors to cut the fabric of the boxer briefs.
- Elastic band: Look for a wide elastic band that will serve as the waistband of your jockstrap. Choose a length that is suitable for your waist measurement.
- Sewing machine or needle and thread: Depending on your sewing skills and preferences, you can either use a sewing machine or a needle and thread to stitch the necessary parts together.
- Pins: These will help you hold the fabric in place while you sew.
- Measuring tape: This will come in handy when measuring the waistband and determining the length of the elastic.
- Fabric marker or chalk: To mark and measure the fabric accurately.
- Iron and ironing board: These will be used to press and smooth the fabric for a clean finish.
Gather these materials before you start the transformation process to ensure a seamless and efficient DIY experience.
Step 1: Gather Your Supplies
Before you begin the process of turning your boxer briefs into a jockstrap, it’s essential to gather all the necessary supplies. This will ensure that you have everything you need on hand, making the transformation process smooth and efficient.
First and foremost, locate a pair of boxer briefs that you are willing to transform. Choose a pair that fits you well and is made of a sturdy material that will provide the necessary support for your jockstrap. It’s best to choose a solid-colored pair to make the customization process easier.
Next, make sure you have a sharp pair of scissors. These will be used to cut the fabric of the boxer briefs to create the desired shape for the jockstrap. Ensure that your scissors are in good condition to make clean and precise cuts.
Additionally, you will need an elastic band for the waistband of your jockstrap. Look for a wide elastic band that is durable and provides sufficient support. The length of the elastic band should be suitable for your waist measurement, so have a measuring tape on hand to measure your waist accurately.
If you prefer to use a sewing machine, ensure that it is in good working condition and gather the necessary sewing supplies, such as pins, thread, and a fabric marker or chalk. If you’re more comfortable with hand sewing, make sure you have a needle and thread that matches the color of your boxer briefs.
Lastly, having an iron and ironing board nearby is important to press and smooth the fabric during the transformation process. This will give your jockstrap a clean and professional finish.
By gathering these essential supplies before you start, you’ll be fully prepared and equipped to turn your boxer briefs into a stylish and functional jockstrap.
Step 2: Cut the Boxer Briefs
Now that you have your supplies ready, it’s time to start transforming your boxer briefs into a jockstrap. The first step is to carefully cut the fabric to create the desired shape.
Start by laying your boxer briefs flat on a clean surface, ensuring that all the seams are flat and aligned. Smooth out any wrinkles or folds in the fabric to ensure accurate cutting.
Using a fabric marker or chalk, mark the areas where you want to make the cuts. The goal is to create a pouch at the front and expose the buttocks at the back, similar to a traditional jockstrap.
Begin by cutting along the side seams of the boxer briefs, from the waistband to the leg openings. Make sure to cut through both layers of fabric to create an opening on each side.
Next, you’ll need to create the pouch at the front of the jockstrap. Measure and mark the desired width and height of the pouch, taking into account your comfort and support needs. Once you have marked the dimensions, carefully cut along the marked lines, ensuring that the cuts are clean and straight.
After cutting the pouch, you may want to consider tapering the fabric at the bottom of the pouch to create a more secure and comfortable fit. This can be accomplished by cutting a slight curve, gradually narrowing towards the center of the pouch.
Once you have made all the necessary cuts, double-check the shape and size of the jockstrap. Make any adjustments as needed to ensure a perfect fit and desired aesthetic.
Now that you have successfully cut the boxer briefs into the shape of a jockstrap, you’re ready to move on to the next step – sewing the pouch.
Step 3: Sew the Pouch
With the boxer briefs cut into the shape of a jockstrap, it’s time to sew the pouch to ensure a secure and comfortable fit.
First, fold the edges of the fabric on the inside of the pouch and pin them in place. This will create a clean edge and prevent fraying. Ensure that the edges are folded evenly and securely pinned.
If you are using a sewing machine, set it to a straight stitch with a matching thread color. Sew along the pinned edges of the pouch, removing the pins as you go. Ensure that your stitches are straight and secure, reinforcing the edges to ensure durability.
If you prefer to hand sew, use a needle and thread to stitch along the folded edges of the pouch. Make small, even stitches, ensuring that the thread is securely holding the fabric together. Take your time and be mindful of maintaining a consistent stitch length.
Once you have sewn the edges of the pouch, give it a gentle tug to ensure that the stitches hold. If needed, reinforce any areas that feel loose or unstable.
After sewing the pouch, take a moment to admire your work. The seams should be clean and secure, providing a functional and attractive jockstrap shape.
Now that the pouch is sewn, it’s time to move on to the next step – attaching the waistband.
Step 4: Attach the Waistband
Now that the pouch is securely sewn, it’s time to attach the waistband to complete your jockstrap. The waistband will provide support and hold the jockstrap in place.
Start by measuring the length of the elastic band needed for your waist. Use a measuring tape to determine the appropriate length, making sure to leave a small overlap for stitching the ends together.
Once you have the correct length, cut the elastic band using scissors. Ensure that the cut is straight and clean to prevent fraying.
Now, take the cut elastic band and find the center. This will be the back of your jockstrap. Align the center of the elastic band with the center of the back of the jockstrap pouch, matching the raw edges.
If you’re using a sewing machine, start sewing the elastic to the jockstrap, stretching the elastic slightly as you sew. Use a zigzag stitch or a stretch stitch to secure the elastic in place. Make sure the elastic is evenly distributed across the back of the pouch. Continue sewing until you reach the end, ensuring the elastic is securely attached.
If you’re hand sewing, use a needle and thread to stitch the elastic to the jockstrap, again stretching the elastic slightly. Make small, even stitches along the edge of the elastic, ensuring that it is securely attached. Double-check that the elastic is evenly distributed across the back of the pouch.
Once the elastic band is attached, double-check that the waistband stretches comfortably and holds the jockstrap securely in place. Make any necessary adjustments at this stage.
Congratulations! You have successfully attached the waistband to your jockstrap. It’s almost time to try it on and test the fit.
Before you do that, let’s move on to the final step – adjusting and testing the jockstrap.
Step 5: Adjust and Test
Now that your jockstrap is nearly complete, it’s time to make any necessary adjustments and put it to the test.
Start by trying on the jockstrap and checking the fit. Make sure the pouch provides enough support and comfortably accommodates your genitals. The elastic waistband should hold the jockstrap securely in place without being too tight or restrictive.
If you find that the fit is not ideal, you can make adjustments as needed. For example, you may need to tighten or loosen the elastic waistband by resizing it and reattaching it to the pouch.
If the pouch feels too loose, you can add additional stitching to create a more secure fit. Conversely, if the pouch feels too tight, you may need to make slight alterations to the fabric or consider using a different pair of boxer briefs.
Take the time to ensure that the jockstrap fits comfortably and provides the necessary support. It’s important to remember that everyone’s preferences and body shapes are different, so don’t be afraid to make customizations to suit your individual needs.
Once you are satisfied with the fit of your jockstrap, give it a final inspection. Check for any loose threads or areas that may need reinforcement. Make any necessary touch-ups and ensure that the jockstrap is durable and built to last.
Now, it’s time to put your newly transformed jockstrap to the test. Wear it during physical activities or as part of your everyday underwear collection. Enjoy the comfort, support, and style that your DIY jockstrap provides.
Congratulations on successfully turning your plain boxer briefs into a unique and functional jockstrap. Embrace your creativity and continue exploring other DIY fashion projects to add a personal touch to your wardrobe.
Conclusion
Congratulations on successfully transforming your boxer briefs into a unique and stylish jockstrap! By following the step-by-step process and utilizing your sewing skills, you have created a customized garment that reflects your personal style and provides the necessary support.
Remember, DIY fashion allows you to showcase your creativity and individuality. It’s all about exploring new possibilities and making garments that truly represent who you are.
As you continue to experiment with DIY fashion, you may discover new techniques and designs to further enhance your creations. Don’t be afraid to push boundaries and try new things. The world of DIY fashion is vast and filled with endless possibilities.
Whether you choose to wear your DIY jockstrap during physical activities or as part of your everyday style, embrace the confidence and comfort it brings. Your jockstrap is a reflection of your unique personality and a testament to your creative abilities.
So go ahead, wear your jockstrap with pride and share your DIY journey with others. Who knows, you may inspire someone else to embark on their own creative fashion adventure.
Remember to have fun throughout the process and enjoy the satisfaction that comes with creating something with your own hands. Happy DIYing!