Home>How-to Guides>For Women>How To Make Easy Womens Boxer Shorts (With Free Pattern)
For Women
How To Make Easy Womens Boxer Shorts (With Free Pattern)
Modified: August 2, 2023
Learn how to make comfortable and stylish boxer shorts for women with our free pattern. Perfect for any sewing enthusiast!
(Many of the links in this article redirect to a specific reviewed product. Your purchase of these products through affiliate links helps to generate commission for Under-tec.com, at no extra cost. Learn more)
Table of Contents
Introduction
Welcome to the world of sewing! If you’re a beginner looking for a fun and easy project, making your own women’s boxer shorts is a great place to start. Not only will you have a stylish and comfortable garment, but you’ll also have the satisfaction of creating something with your own hands.
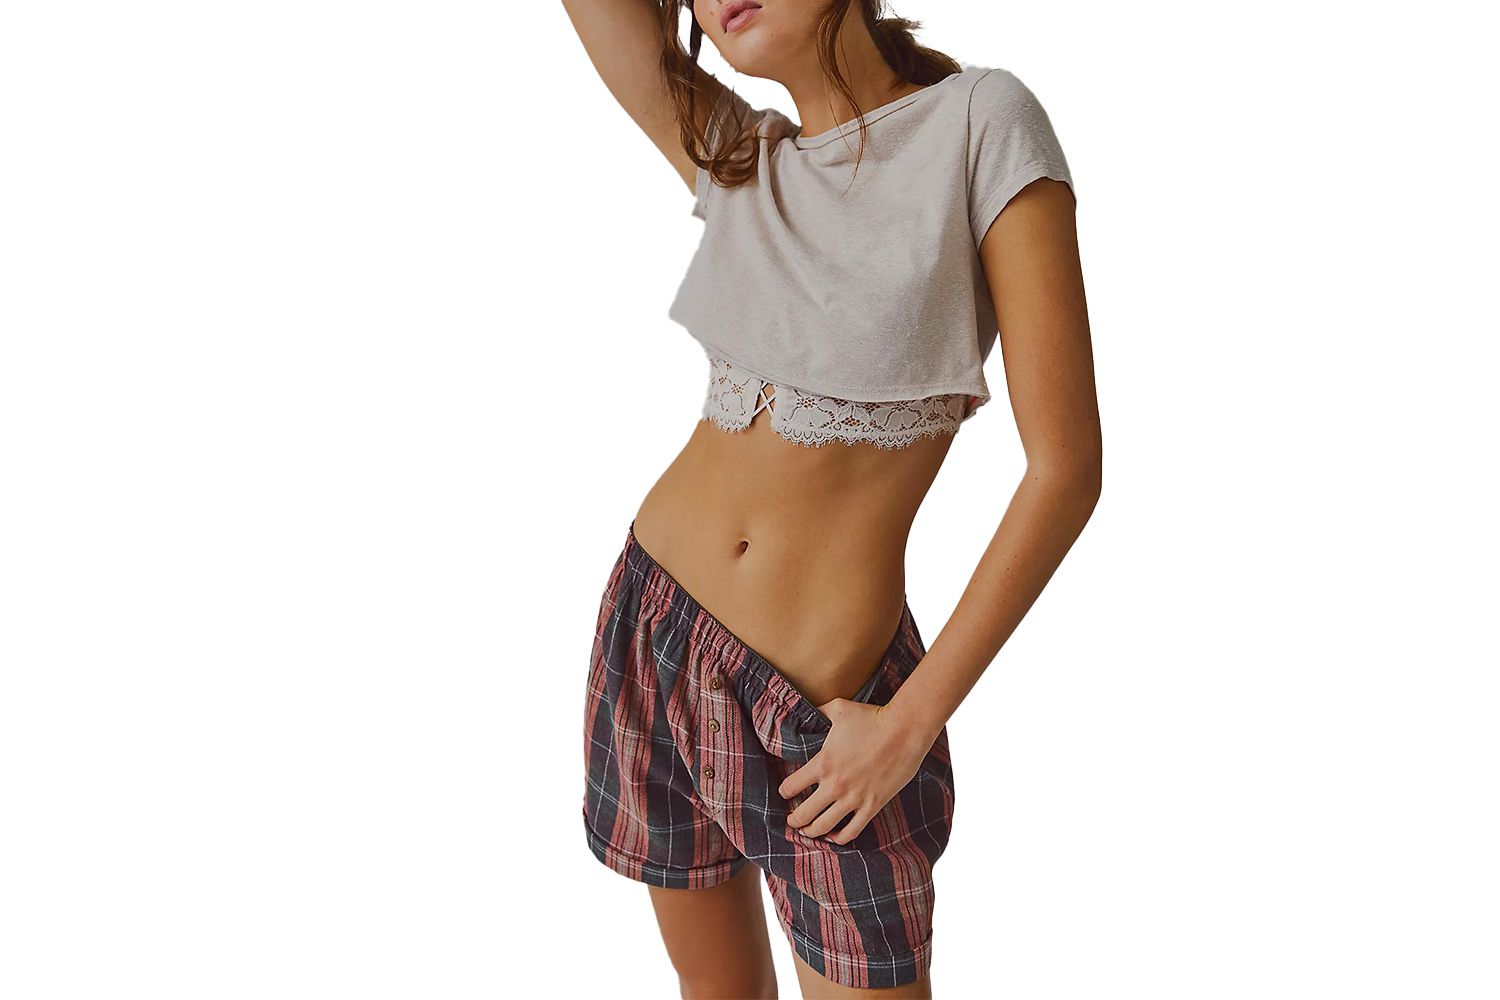
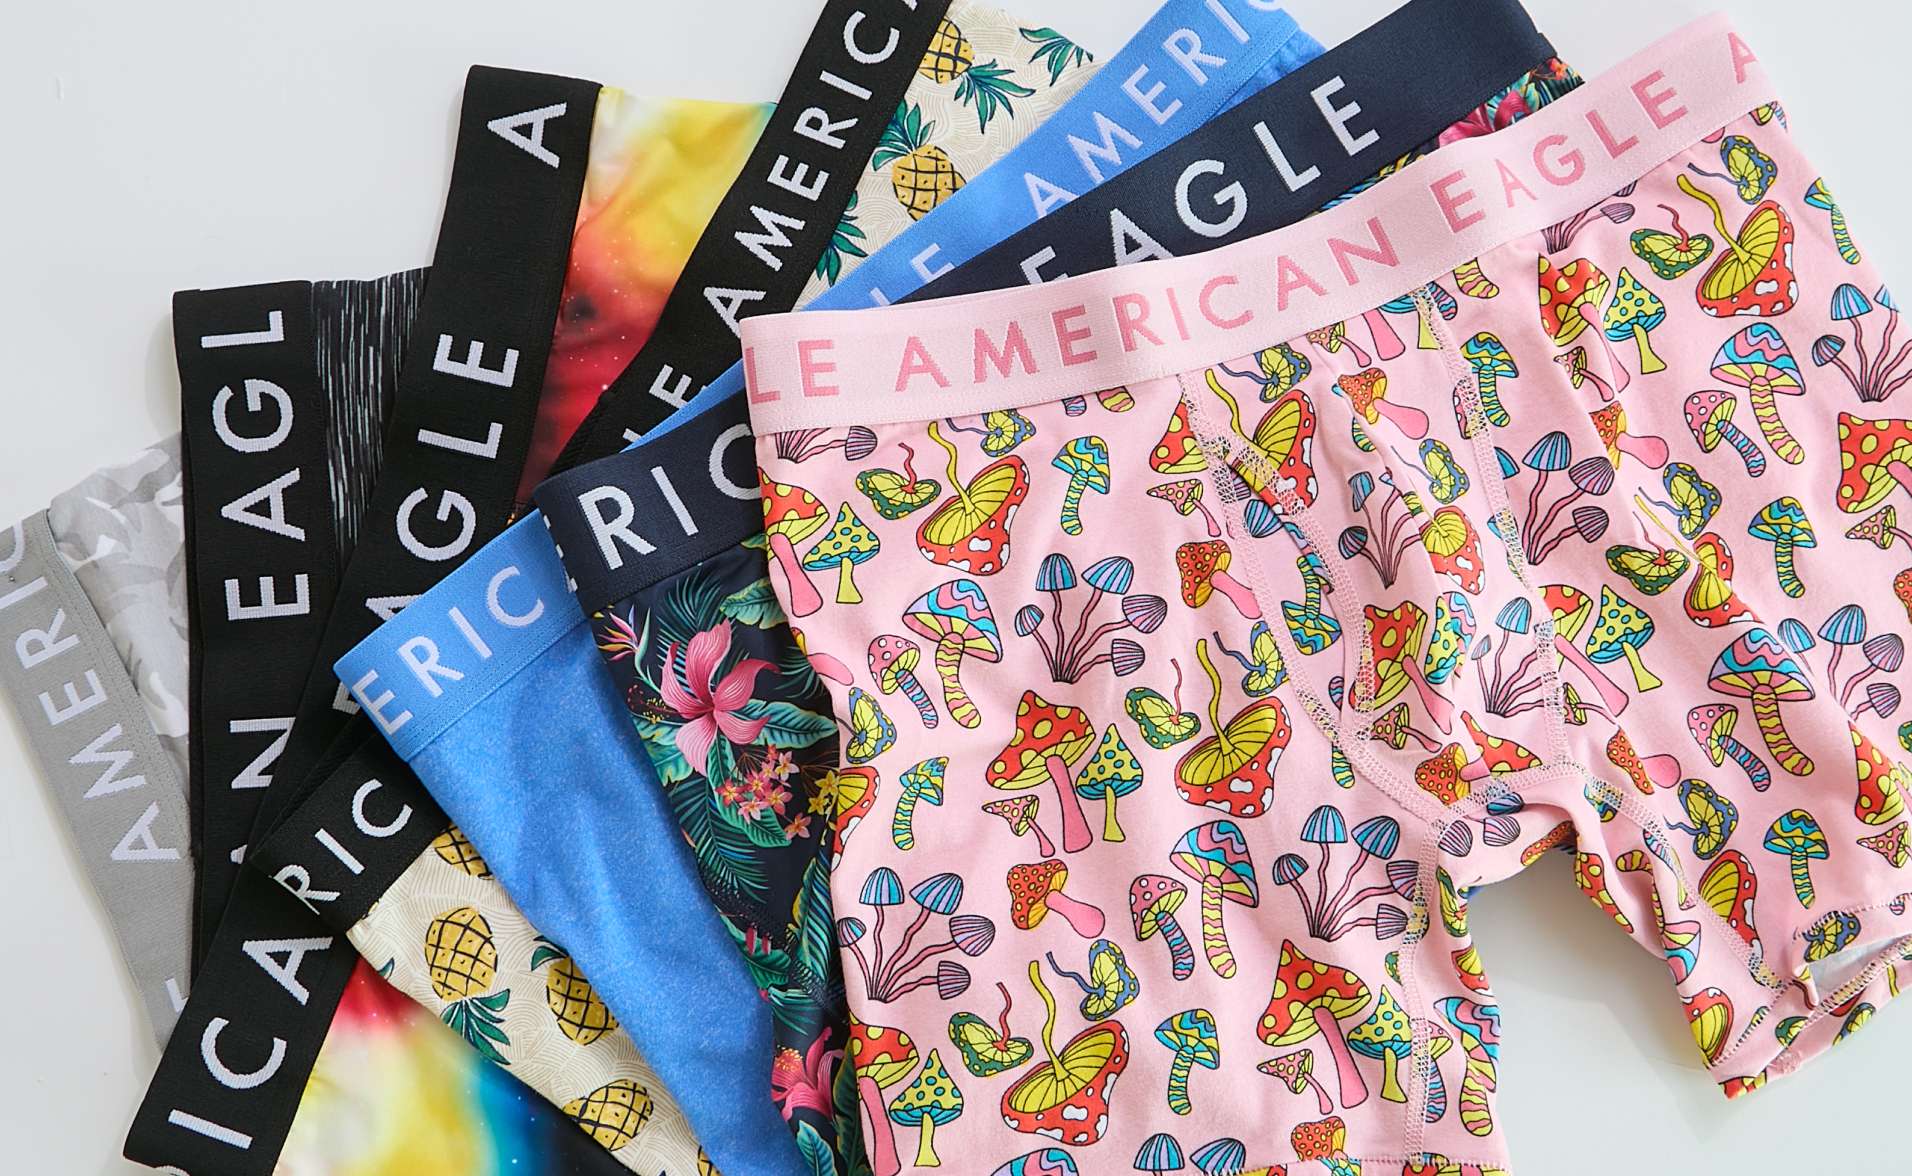
Women’s boxer shorts are a versatile wardrobe staple. They can be worn as loungewear, pajamas, or even as an alternative to traditional underwear. Plus, with the right fabric choices, you can customize them to your personal style and preferences.
In this article, we’ll take you through the step-by-step process of making your own women’s boxer shorts, complete with a free pattern to get you started. Whether you’re a sewing enthusiast or a beginner, you’ll find this project accessible and enjoyable.
Before we dive into the sewing process, let’s gather all the materials you’ll need to complete this project. Having everything ready will ensure a smooth and efficient sewing experience.
Materials Needed
Before starting your project, make sure you have the following materials:
- Fabric: Choose a soft and breathable fabric such as cotton or flannel. You’ll need about 1.5 yards of fabric for this project.
- Elastic: Select a 1-inch wide elastic for the waistband. Measure your waist to determine the desired length.
- Scissors: You’ll need a pair of fabric scissors to cut out the pattern and fabric.
- Pins: Use sewing pins to secure the fabric pieces together.
- Sewing Machine: A basic sewing machine will suffice for this project.
- Thread: Choose a thread color that matches your fabric.
- Measuring Tape: Use a measuring tape to take your waist and hip measurements.
- Iron: An iron will be necessary to press the fabric and create crisp seams.
- Pattern: Download and print the free women’s boxer shorts pattern from a reliable sewing website or create your own by tracing a pair of well-fitting shorts.
Having these materials on hand will make the sewing process smoother and more enjoyable. Now, let’s move on to getting the free pattern.
Getting the Free Pattern
Before you can start cutting and sewing your women’s boxer shorts, you’ll need to obtain a free pattern. There are a few different options for acquiring a pattern:
- Online Patterns: Browse reputable sewing websites or blogs that offer free patterns. Look for patterns specifically designed for women’s boxer shorts. Download and print the pattern according to the provided instructions.
- Trace Existing Shorts: If you have a pair of boxer shorts that fit you well, you can create your own pattern by tracing them onto paper. Lay the shorts flat on a table, and trace around them, adding a 1/2 inch seam allowance.
- Draft Your Own Pattern: If you’re feeling confident and adventurous, you can draft your own pattern from scratch. In this case, you’ll need a basic understanding of pattern drafting, or you can follow a tutorial or book to guide you through the process.
Once you have your pattern, carefully cut it out along the designated lines. Take your time to ensure accurate and crisp edges. Now you’re ready to move on to the exciting part – cutting out the fabric!
Step 1: Cutting out the Fabric
Now that you have your pattern ready, it’s time to cut out the fabric for your women’s boxer shorts. Follow these steps:
- Prepare the Fabric: Lay the fabric out flat on a clean, spacious surface. If the fabric has any wrinkles, press it with an iron to smooth them out.
- Place the Pattern: Fold the fabric in half, matching the selvage edges together. Lay the pattern on top of the fabric, aligning the straight edge of the pattern with the fold line of the fabric. Pin the pattern to the fabric, ensuring it doesn’t shift while cutting.
- Trace and Cut: Use fabric scissors to carefully trace around the pattern, transferring all the markings. Cut through both layers of fabric along the traced lines. Take your time and make clean, even cuts.
- Repeat for Other Pieces: Depending on the pattern, you may have additional pieces such as a waistband or pocket. Repeat the tracing and cutting process for these pieces.
It’s important to be accurate and precise while cutting out the fabric. This will ensure that your boxer shorts fit well and look professional. Once you’ve cut out all the necessary pieces, set them aside and prepare for the next step: sewing the front and back pieces together.
Step 2: Sewing the Front and Back Pieces Together
With the fabric pieces cut out, it’s time to start sewing your women’s boxer shorts. Follow these steps to sew the front and back pieces together:
- Lay the Pieces Right Sides Together: Take the front piece and place it on top of the back piece, aligning the raw edges. The right sides of the fabric should be facing each other.
- Pin the Sides: Use sewing pins to secure the sides of the front and back pieces together. Make sure the edges are aligned and the fabric doesn’t shift while sewing.
- Sew the Sides: Set your sewing machine to a straight stitch and sew along the pinned edges, starting from the waistline and ending at the leg openings. Use a 1/2 inch seam allowance and backstitch at the beginning and end to secure the stitches.
- Finish the Raw Edges: Trim the seam allowance with fabric scissors to reduce bulk. You can also use pinking shears to prevent the fabric from fraying.
- Press the Seams: Use an iron to press the seams open or to one side. This will give your boxer shorts a professional finish.
Once you’ve sewn the front and back pieces together, you can move on to adding the waistband. This step will help give your boxer shorts a comfortable and secure fit.
Step 3: Adding the Waistband
Adding the waistband is an important step in creating a secure and comfortable fit for your women’s boxer shorts. Follow these steps to add the waistband:
- Measure and Cut the Waistband: Measure your waist and add 1 inch to determine the length of your elastic. Cut a piece of 1-inch wide elastic to this measurement.
- Prepare the Waistband: Fold the waistband piece in half lengthwise with the wrong sides together. Press it with an iron to create a crease.
- Attach the Waistband: With the right side of the fabric facing up, pin the raw edge of the waistband to the top edge of the boxer shorts. Ensure that the creased edge is facing towards the shorts.
- Sew the Waistband: Set your sewing machine to a zigzag stitch or a stretch stitch. Sew along the pinned edge, stretching the elastic slightly as you sew. This will allow the waistband to stretch when worn.
- Finish the Waistband: Trim any excess fabric or elastic from the waistband. Fold the waistband over to the inside of the shorts, covering the raw edge. Press it with an iron to create a neat finish.
Adding the waistband not only gives your boxer shorts a polished look but also ensures a comfortable and secure fit around your waist. Now that the waistband is attached, let’s move on to sewing the crotch seam in the next step.
Step 4: Sewing the Crotch Seam
Now that the waistband is securely attached, it’s time to sew the crotch seam of your women’s boxer shorts. Follow these steps to sew the crotch seam:
- Align the Front and Back: Match the front and back pieces of the shorts with right sides together. Pin the crotch seam from the front to the back, ensuring that the edges align.
- Sew the Crotch Seam: Using a straight stitch, sew along the pinned crotch seam. Start from the front waistband and sew all the way to the back waistband. Use a 1/2 inch seam allowance and backstitch at the beginning and end to secure the stitches.
- Finish the Raw Edges: Trim the seam allowance with fabric scissors to reduce bulk. You can also use pinking shears or serge the edges to prevent fraying.
- Press the Seam: Open the seam and press it with an iron. This will help create a smooth and neat finish.
The crotch seam is an essential part of your boxer shorts as it ensures a comfortable and seamless fit. Once you’ve sewn the crotch seam, you’re ready to move on to the next step: hemming the leg openings.
Step 5: Hemming the Leg Openings
Hemming the leg openings of your women’s boxer shorts is the final touch before they are ready to be worn. Follow these steps to hem the leg openings:
- Prepare the Hem: Fold the raw edge of the leg opening towards the wrong side of the fabric, creating a 1/4 inch fold. Use pins to secure the fold in place.
- Sew the Hem: Set your sewing machine to a straight stitch and sew along the pinned fold, approximately 1/8 inch from the folded edge. Make sure to backstitch at the beginning and end to secure the stitches.
- Finish the Raw Edge: If desired, trim the raw edge of the fabric with pinking shears or use a serger to prevent fraying. This will give your boxer shorts a clean and professional finish.
- Press the Hem: Use an iron to press the hem flat. This will help create a crisp and polished look.
Hemming the leg openings not only adds durability but also gives your women’s boxer shorts a finished appearance. Now that the leg openings are hemmed, it’s time to add the elastic waistband in the next step.
Step 6: Adding the Elastic Waistband
The elastic waistband is what provides a comfortable and adjustable fit to your women’s boxer shorts. Follow these steps to add the elastic waistband:
- Measure and Cut the Elastic: Measure your waist and cut a piece of elastic to this measurement. Make sure to add an extra inch to allow for overlap.
- Attach the Safety Pin: Attach a safety pin to one end of the elastic. This will make it easier to guide the elastic through the waistband.
- Insert the Elastic: Insert the safety pin end of the elastic into the waistband casing. Guide it through the casing until it comes out on the other end.
- Overlap the Ends: Once the elastic is threaded through, overlap the ends by 1 inch and pin them together.
- Sew the Elastic: Stitch the overlapping ends of the elastic together securely. You can use a zigzag stitch or a straight stitch to ensure it stays in place.
- Close the Waistband: Use a needle and thread to stitch the opening of the waistband closed, ensuring the elastic is held securely in place.
- Distribute the Elastic: Evenly distribute the gathers around the waistband by gently pulling on the fabric.
Adding the elastic waistband is the final step in completing your women’s boxer shorts. Once you’ve finished this step, you’re ready to wear and enjoy the fruits of your sewing labor!
Step 7: Finishing Touches
Now that you’ve completed all the main steps, it’s time to add some finishing touches to your women’s boxer shorts. These optional steps will give your shorts an extra touch of personalization and polish:
- Add Embellishments: If desired, you can add decorative elements such as lace trim, ribbon, or fabric appliques to your boxer shorts. Sew them onto the hem or waistband for an added touch of style.
- Personalize with Embroidery: Consider adding a monogram, initials, or a small design using embroidery. This will add a unique and personal touch to your boxer shorts.
- Add Pockets: If you prefer to have pockets in your boxer shorts, you can sew them onto the sides. This will provide a convenient spot to hold small items like a phone or keys.
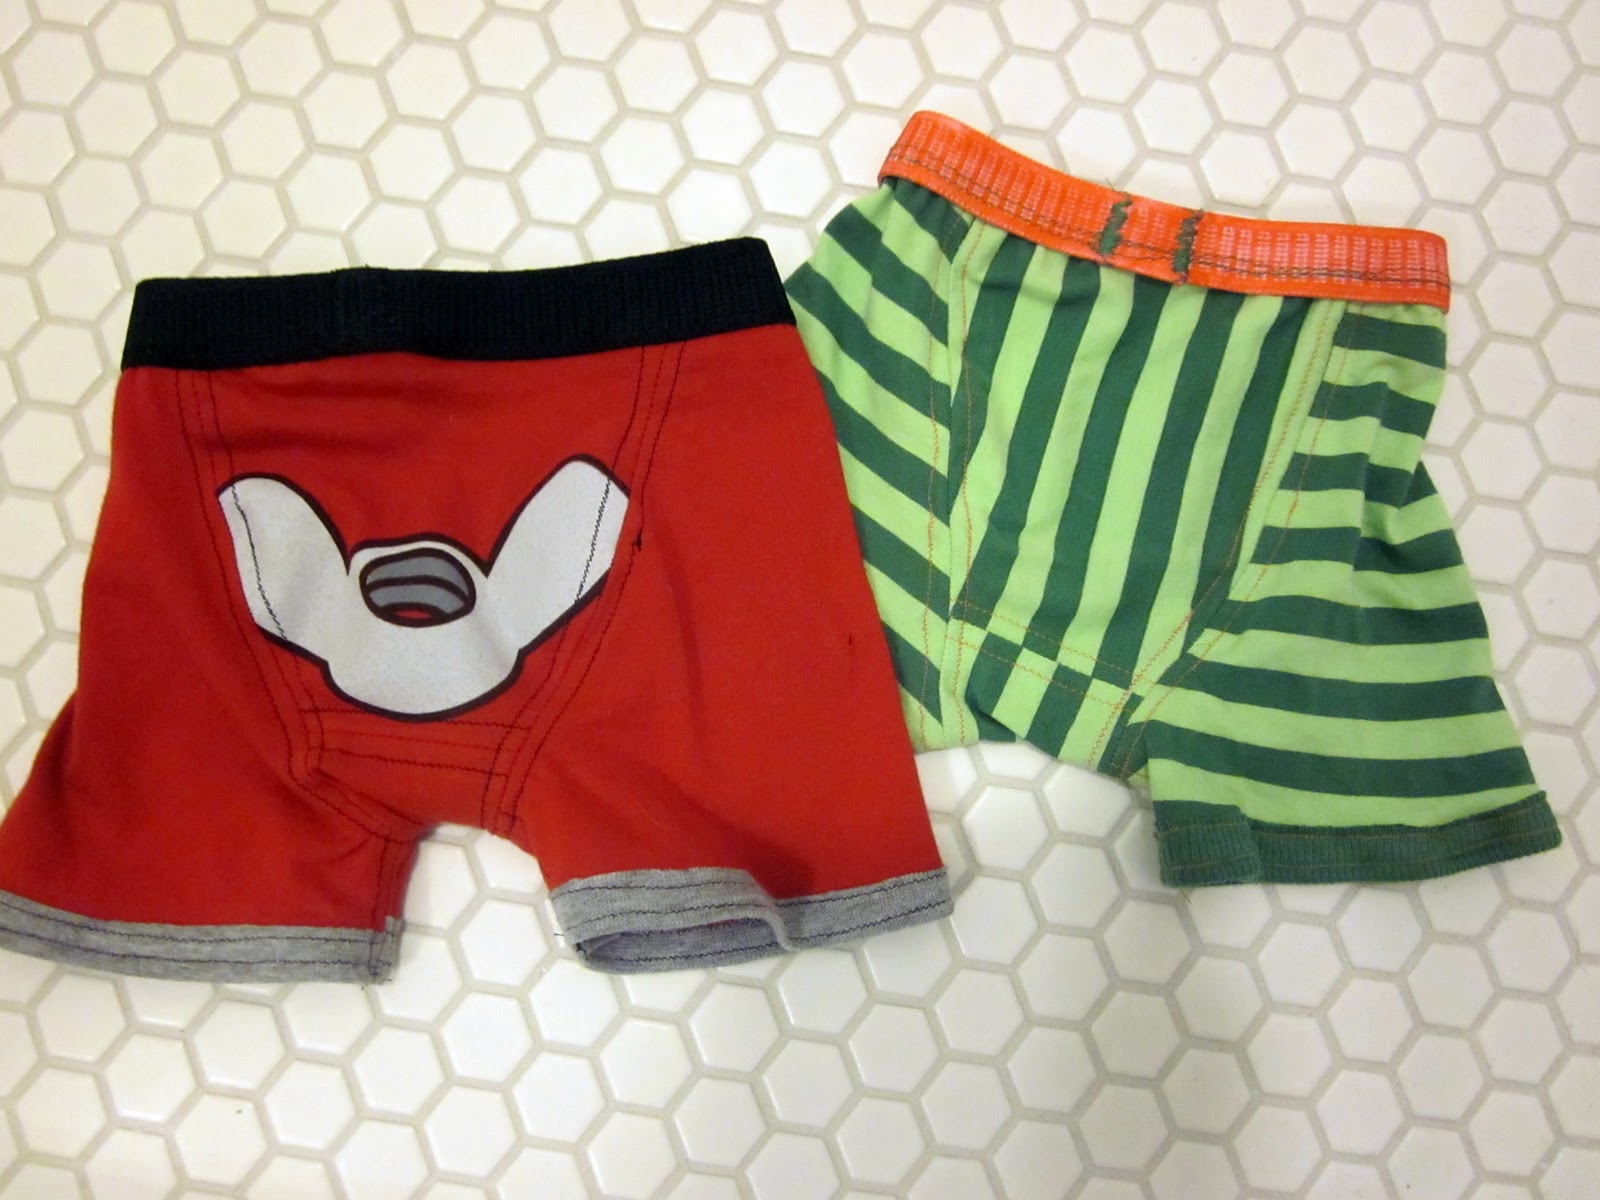
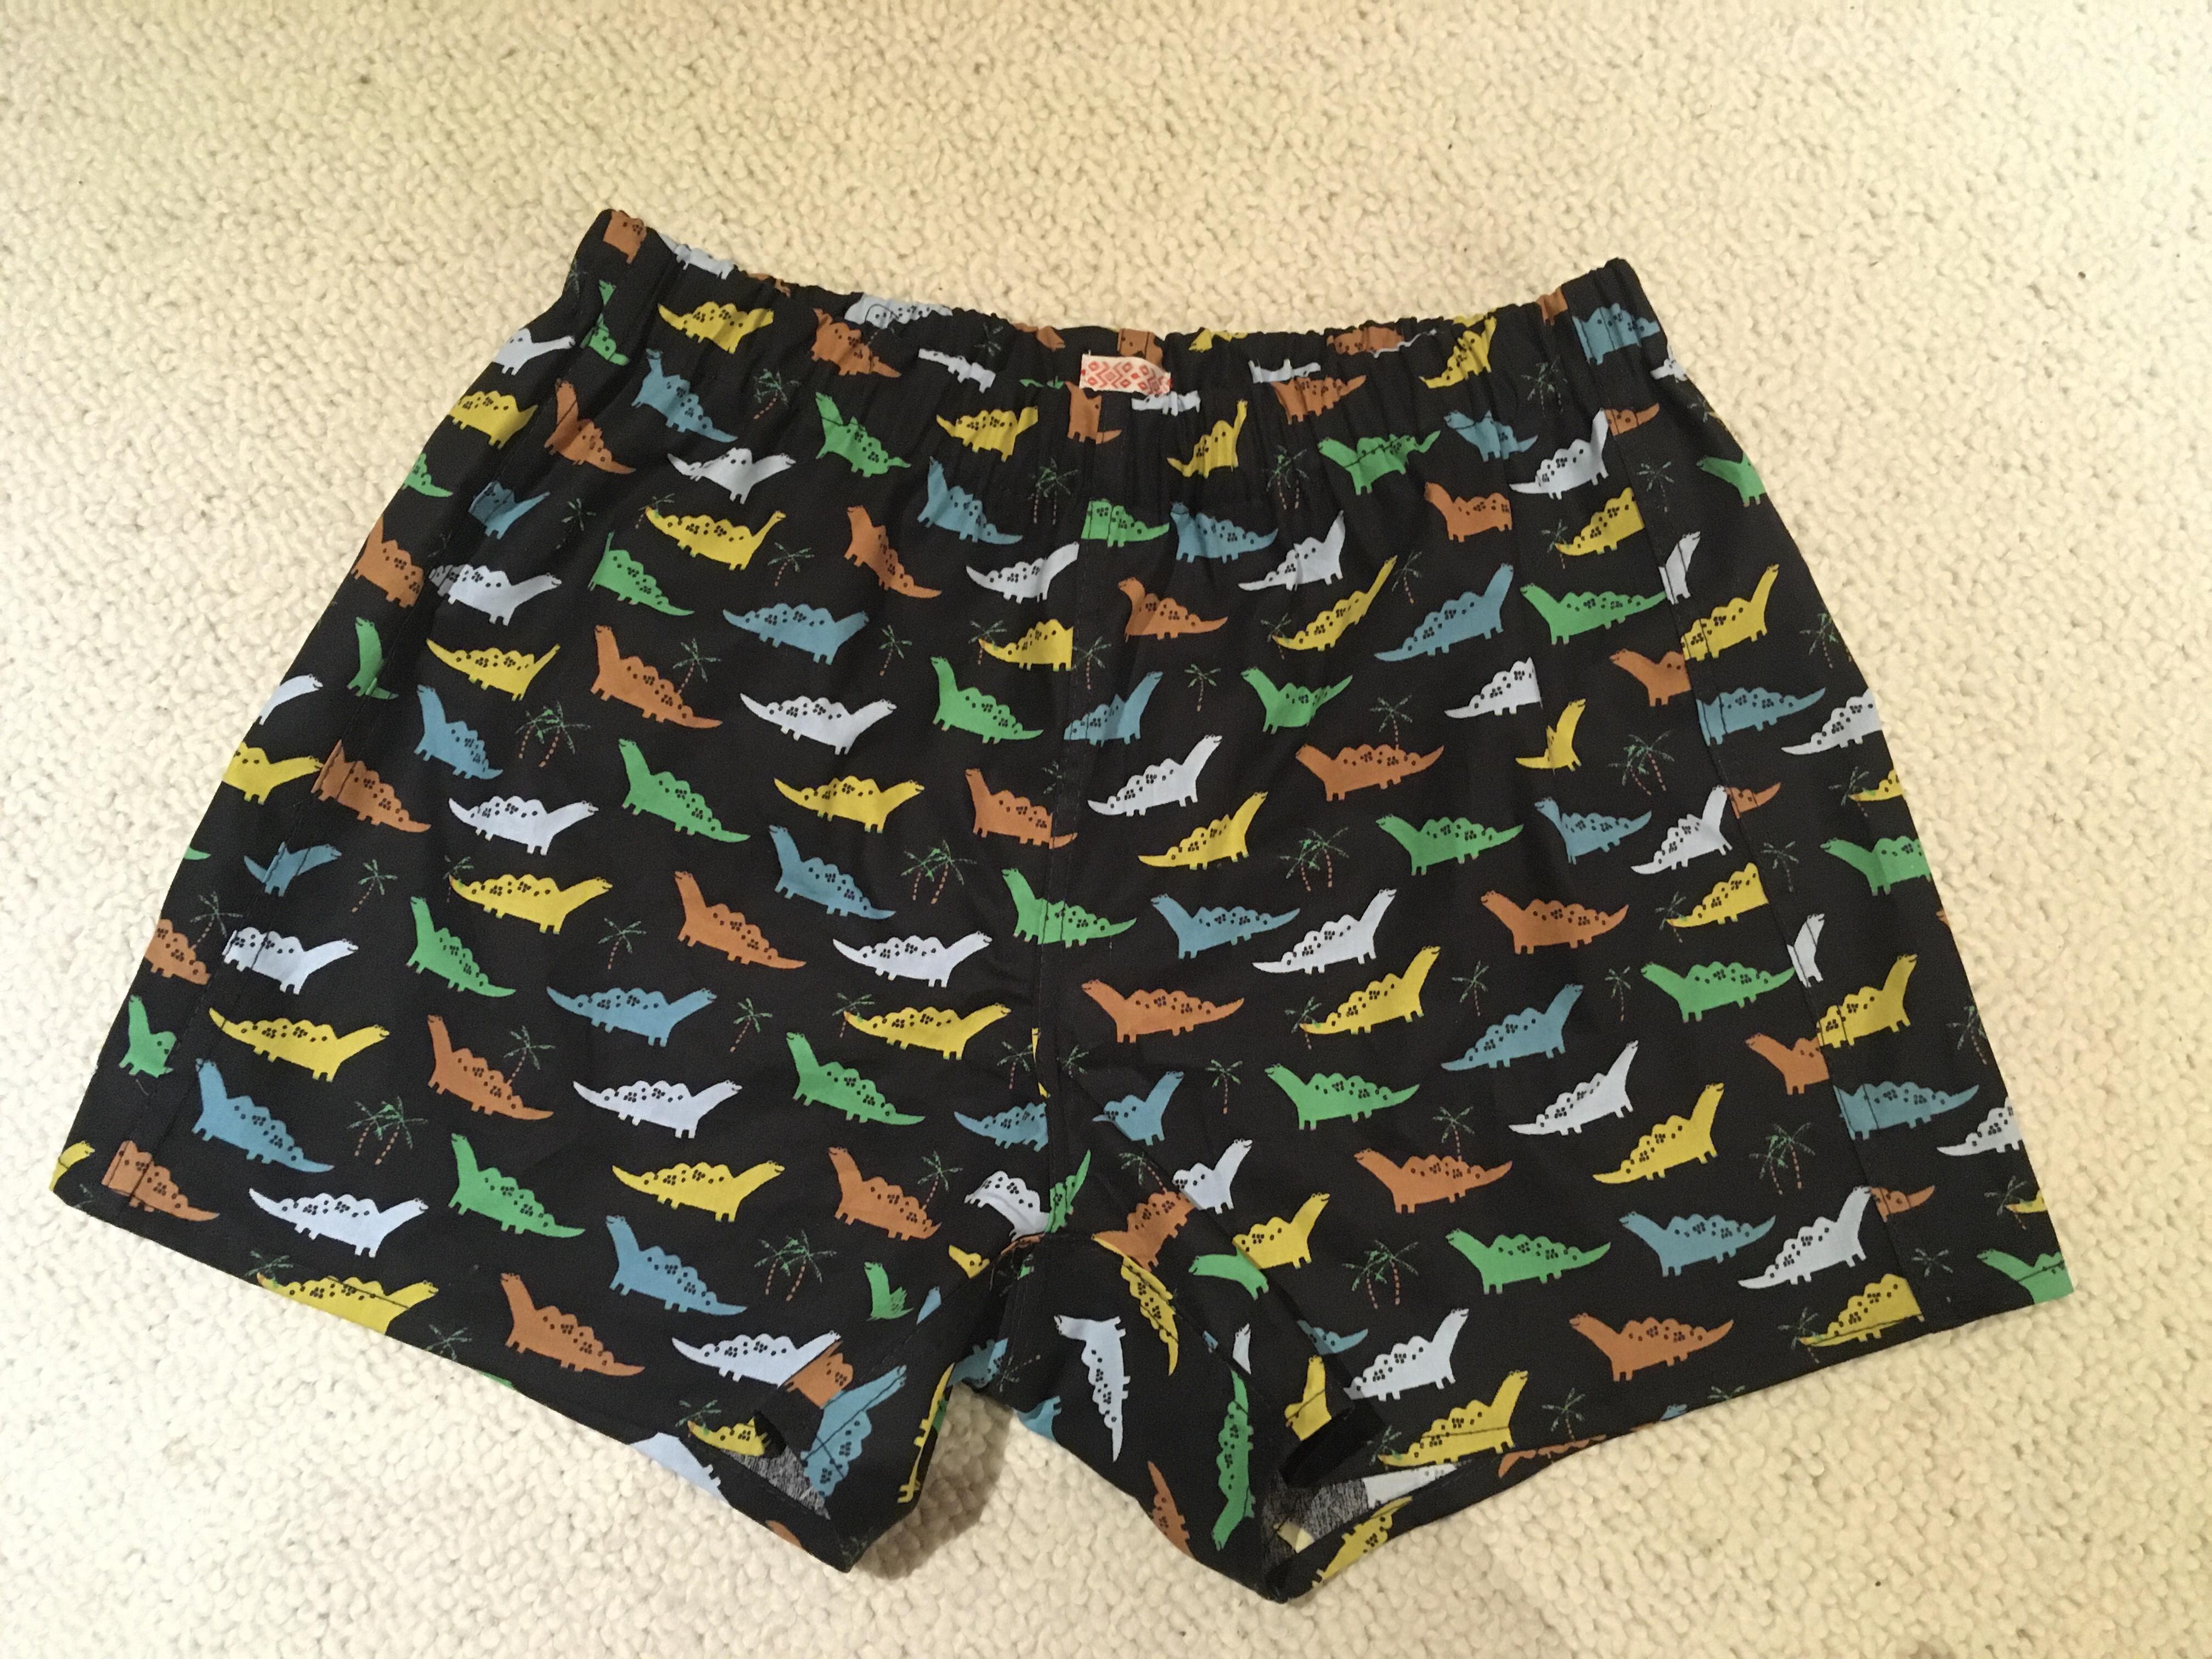
- Try Different Fabrics: Experiment with different fabrics to create a variety of boxer shorts for different occasions. Cotton for everyday comfort, silk for a touch of luxury, or flannel for cozy winter nights.
- Experiment with Prints and Colors: Have fun with choosing prints and colors that express your personality. Whether it’s floral, polka dots, or bold patterns, let your creativity shine.
Adding these finishing touches is a great way to put your own personal stamp on your women’s boxer shorts. Remember, these steps are optional, so feel free to customize your shorts to suit your preferences and style.
Once you’ve completed the finishing touches, it’s time to step back and admire your handiwork. You now have a pair of comfortable, stylish, and uniquely crafted women’s boxer shorts to enjoy for years to come.
Conclusion
Congratulations! You have successfully learned how to make your own women’s boxer shorts from start to finish. By following these step-by-step instructions, you’ve created a comfortable and stylish garment that reflects your personal taste and fits you perfectly.
Not only is sewing your own boxer shorts a fulfilling and enjoyable project, but it also allows you to embrace your creativity and customize your wardrobe. You can experiment with different fabrics, prints, and styles to create a collection of boxer shorts that cater to your preferences and needs.
Remember, practice makes perfect. If this was your first sewing project, don’t be too hard on yourself if things didn’t go exactly as planned. Embrace any imperfections as part of the learning process, and each project you undertake will continue to hone your sewing skills.
Now that you’ve mastered the art of making women’s boxer shorts, you can explore other sewing projects and expand your repertoire. Sewing opens up a whole world of possibilities, from garments to accessories to home decor items.
So, gather your materials, choose your favorite fabric, and embark on your sewing journey. Let your creativity flow as you create unique and beautiful pieces that reflect your personal style. Enjoy the process, and most importantly, have fun sewing!