Home>How-to Guides>For Men>How To Sew Boxer Shorts With Fly
For Men
How To Sew Boxer Shorts With Fly
Modified: August 2, 2023
Learn how to sew boxer shorts with a fly for men. Step-by-step instructions and tips to create comfortable and stylish underwear.
(Many of the links in this article redirect to a specific reviewed product. Your purchase of these products through affiliate links helps to generate commission for Under-tec.com, at no extra cost. Learn more)
Table of Contents
Introduction
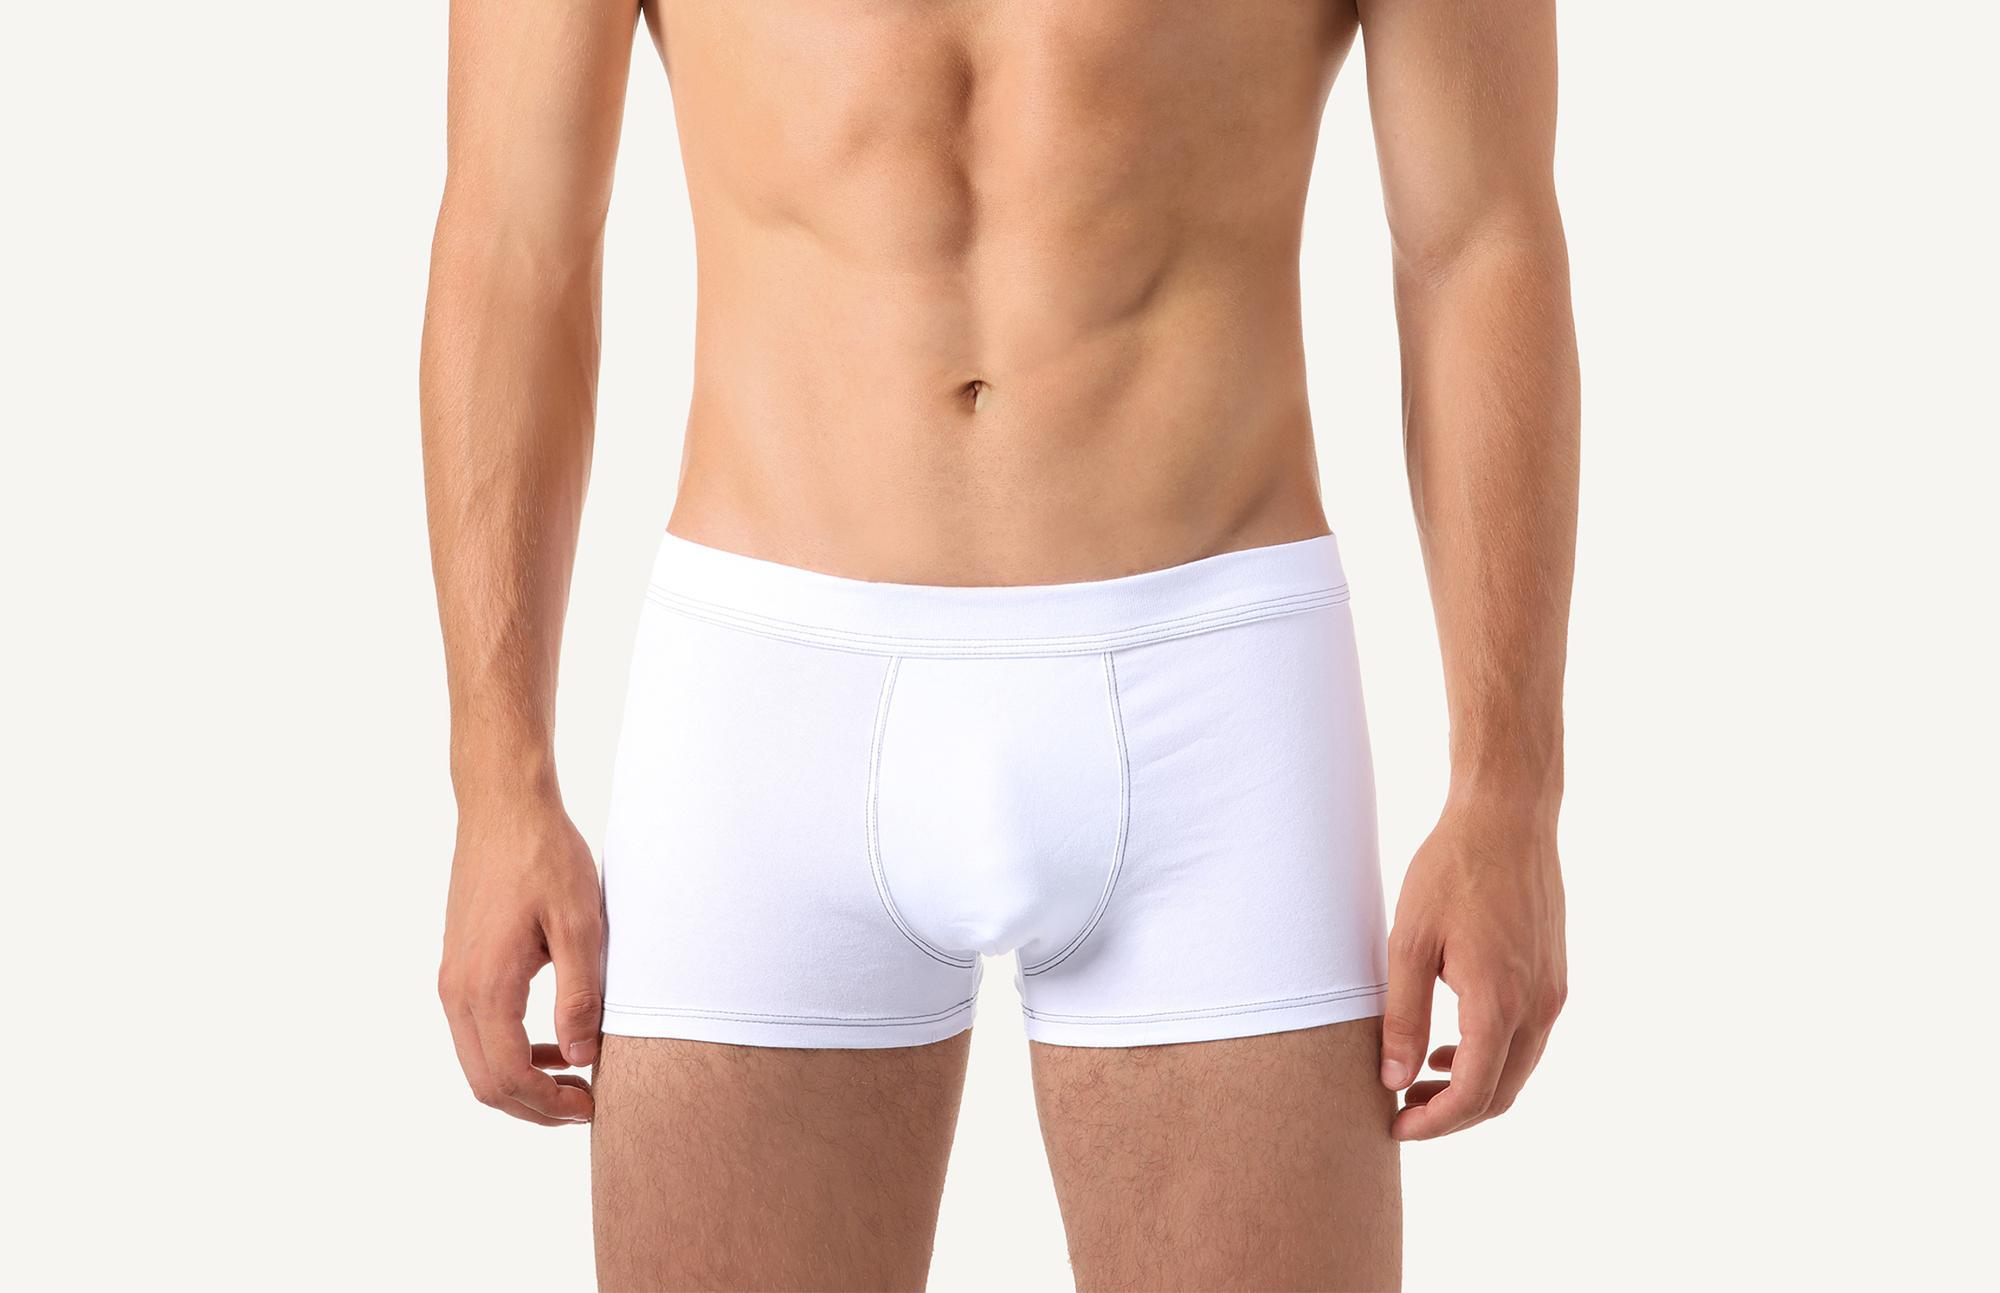
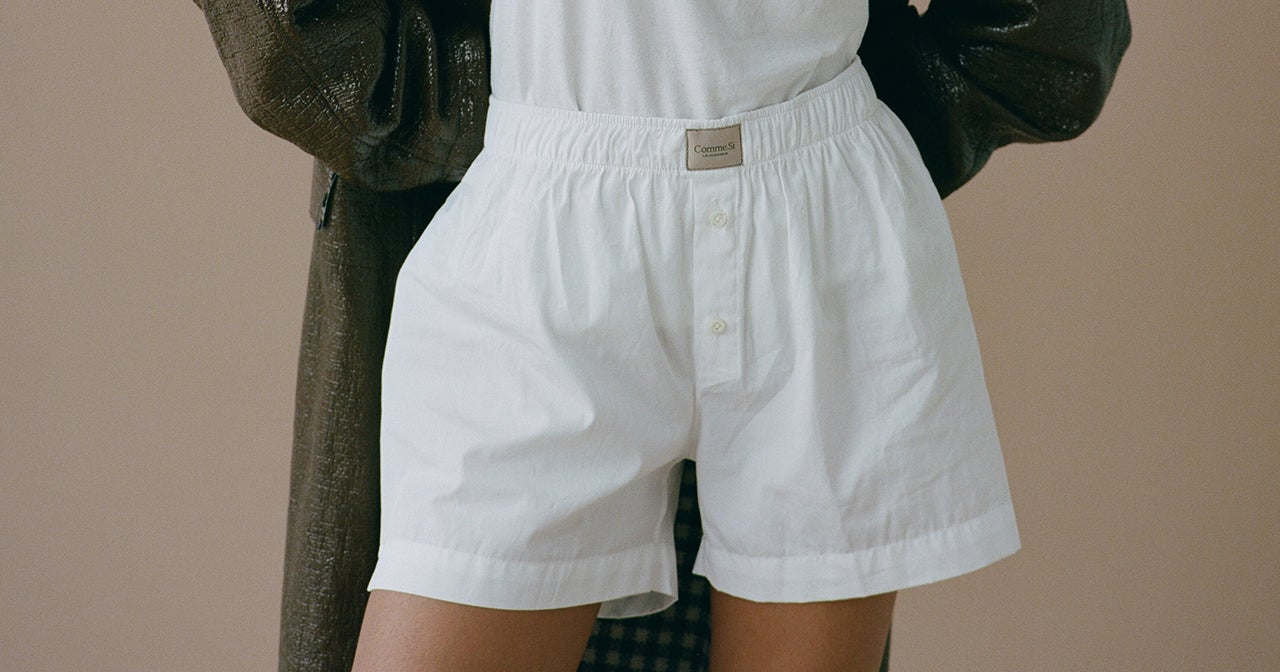
Welcome to this step-by-step guide on how to sew your own boxer shorts with a fly! Whether you’re a sewing enthusiast looking to create custom-made underwear, or a beginner eager to try out a new project, this tutorial is perfect for you. Sewing your own boxer shorts not only allows you to personalize the fabric and design, but also gives you a snug and comfortable fit that is tailored to your body.
With the right materials and a little bit of sewing knowledge, you’ll be able to create stylish and functional boxer shorts in no time. In this guide, we’ll walk you through each step of the process, from preparing the pattern to adding the finishing touches. So, dust off your sewing machine, gather your supplies, and let’s get started!
Before we dive in, let’s talk about the materials you’ll need for this project. You’ll need a sewing machine, fabric, matching thread, scissors, pins, measuring tape, and a ruler. It’s also helpful to have a fabric marker or chalk to mark your fabric for cutting. For the waistband, you’ll need elastic that is comfortable and fits snugly. Choose a fabric that is breathable and comfortable for underwear, such as cotton or flannel.
Now that you have an overview of what to expect, let’s move on to the first step: preparing the pattern.
Materials Needed
Before you begin sewing your boxer shorts with a fly, make sure you have the following materials ready:
- A sewing machine
- Fabric
- Matching thread
- Scissors
- Pins
- Measuring tape
- Ruler
- Fabric marker or chalk
- Elastic for the waistband
It’s important to choose the right fabric for your boxer shorts. Opt for a breathable and comfortable fabric like cotton or flannel. You want to ensure that the fabric feels soft against your skin and allows for proper airflow.
When selecting thread, make sure it matches the color of your fabric to create a seamless finished look. This will help to ensure that any visible stitches blend in and don’t stand out.
Sharp sewing scissors are essential for cutting out the fabric and trimming any excess threads. Be sure to have a dedicated pair of fabric scissors to prevent dulling the blades when cutting other materials.
Pins are crucial for holding your fabric pieces together during the sewing process. Use them to secure your pattern pieces and fabric layers, ensuring that they stay in place and don’t shift while sewing.
A measuring tape and ruler are indispensable tools for taking accurate measurements and ensuring precision in your sewing. Whether you’re measuring your waistband or determining the length of the leg openings, these tools will help you achieve the right fit.
A fabric marker or chalk is useful for marking your fabric prior to cutting. You can mark your pattern pieces, seam lines, and any other necessary guidelines to ensure accuracy and ease during the sewing process.
Lastly, don’t forget about the elastic for the waistband. Choose a type and width of elastic that is comfortable and fits snugly without causing discomfort. Make sure to measure your waist accurately before cutting the elastic for the perfect fit.
Now that you have all the necessary materials, you’re ready to begin sewing your boxer shorts. Let’s move on to the first step: preparing the pattern.
Step 1: Preparing the Pattern
The first step in sewing your own boxer shorts with a fly is to prepare the pattern. If you’re using a commercial pattern, follow the instructions provided. However, if you want to create your own custom pattern, follow these steps:
- Take your waist measurement using a measuring tape. This will be the basis for the width of the waistband.
- Decide on the desired length of your boxer shorts. Measure from your waist down to where you want the hem to fall.
- Using a ruler, draw a rectangular shape on pattern paper or tracing paper. The width of the rectangle should be half of your waist measurement plus an additional inch for seam allowance.
- For the height of the rectangle, measure from your waist down to your desired length and add an inch for seam allowance.
- Next, create the leg openings by drawing a curved line from the top corner down to the side edge of the rectangle. You can use a rounded object, such as a plate or compass, to help create a smooth curve.
- Cut out the pattern, and you now have your custom boxer shorts pattern ready to use.
Remember, it’s always a good idea to add seam allowances to your pattern pieces. Typically, a ⅝ inch seam allowance is standard for garment sewing, but you can adjust it according to your preference and sewing experience.
Once you have your pattern ready, use it to cut out your fabric pieces. Lay the pattern on the fabric, pin it in place, and carefully cut around the edges. Be sure to cut two mirror image pieces for the front and back of the boxer shorts.
With your fabric pieces cut out, you’re now ready for the next step: sewing the fly. Let’s dive in and learn how to tackle this important detail.
Step 2: Cutting the Fabric
Now that you have your pattern prepared, it’s time to cut out the fabric pieces for your boxer shorts. Follow these steps for precise and accurate cutting:
- Place your fabric on a flat surface, making sure it is free from wrinkles and folds. If necessary, press your fabric with an iron to remove any creases.
- Take your pattern pieces and place them onto the fabric. Pay attention to the grainline of your fabric and make sure it aligns with the straight edges of the pattern pieces.
- Pin your pattern pieces in place to secure them to the fabric. Start by pinning the corners and then add additional pins along the edges, ensuring that the fabric stays flat and smooth.
- Using fabric scissors, carefully cut around the edges of the pattern pieces. Follow the lines of the pattern, cutting precisely to create accurate fabric pieces for your boxer shorts.
- As you cut, be mindful of any markings or notches on the pattern pieces. These markings are essential for aligning and sewing the fabric pieces together correctly.
- After cutting out all the necessary fabric pieces, remove the pins and set aside the excess fabric.
It’s important to take your time during the cutting process to ensure accuracy and minimize mistakes. Double-check that you have cut two mirror image pieces for both the front and back of the boxer shorts.
Once you have your fabric pieces cut out, organize them and set them aside. You’re now ready to move on to the next step: sewing the fly. This step adds functionality and style to your boxer shorts, and we’ll guide you through the process to make it easy and straightforward.
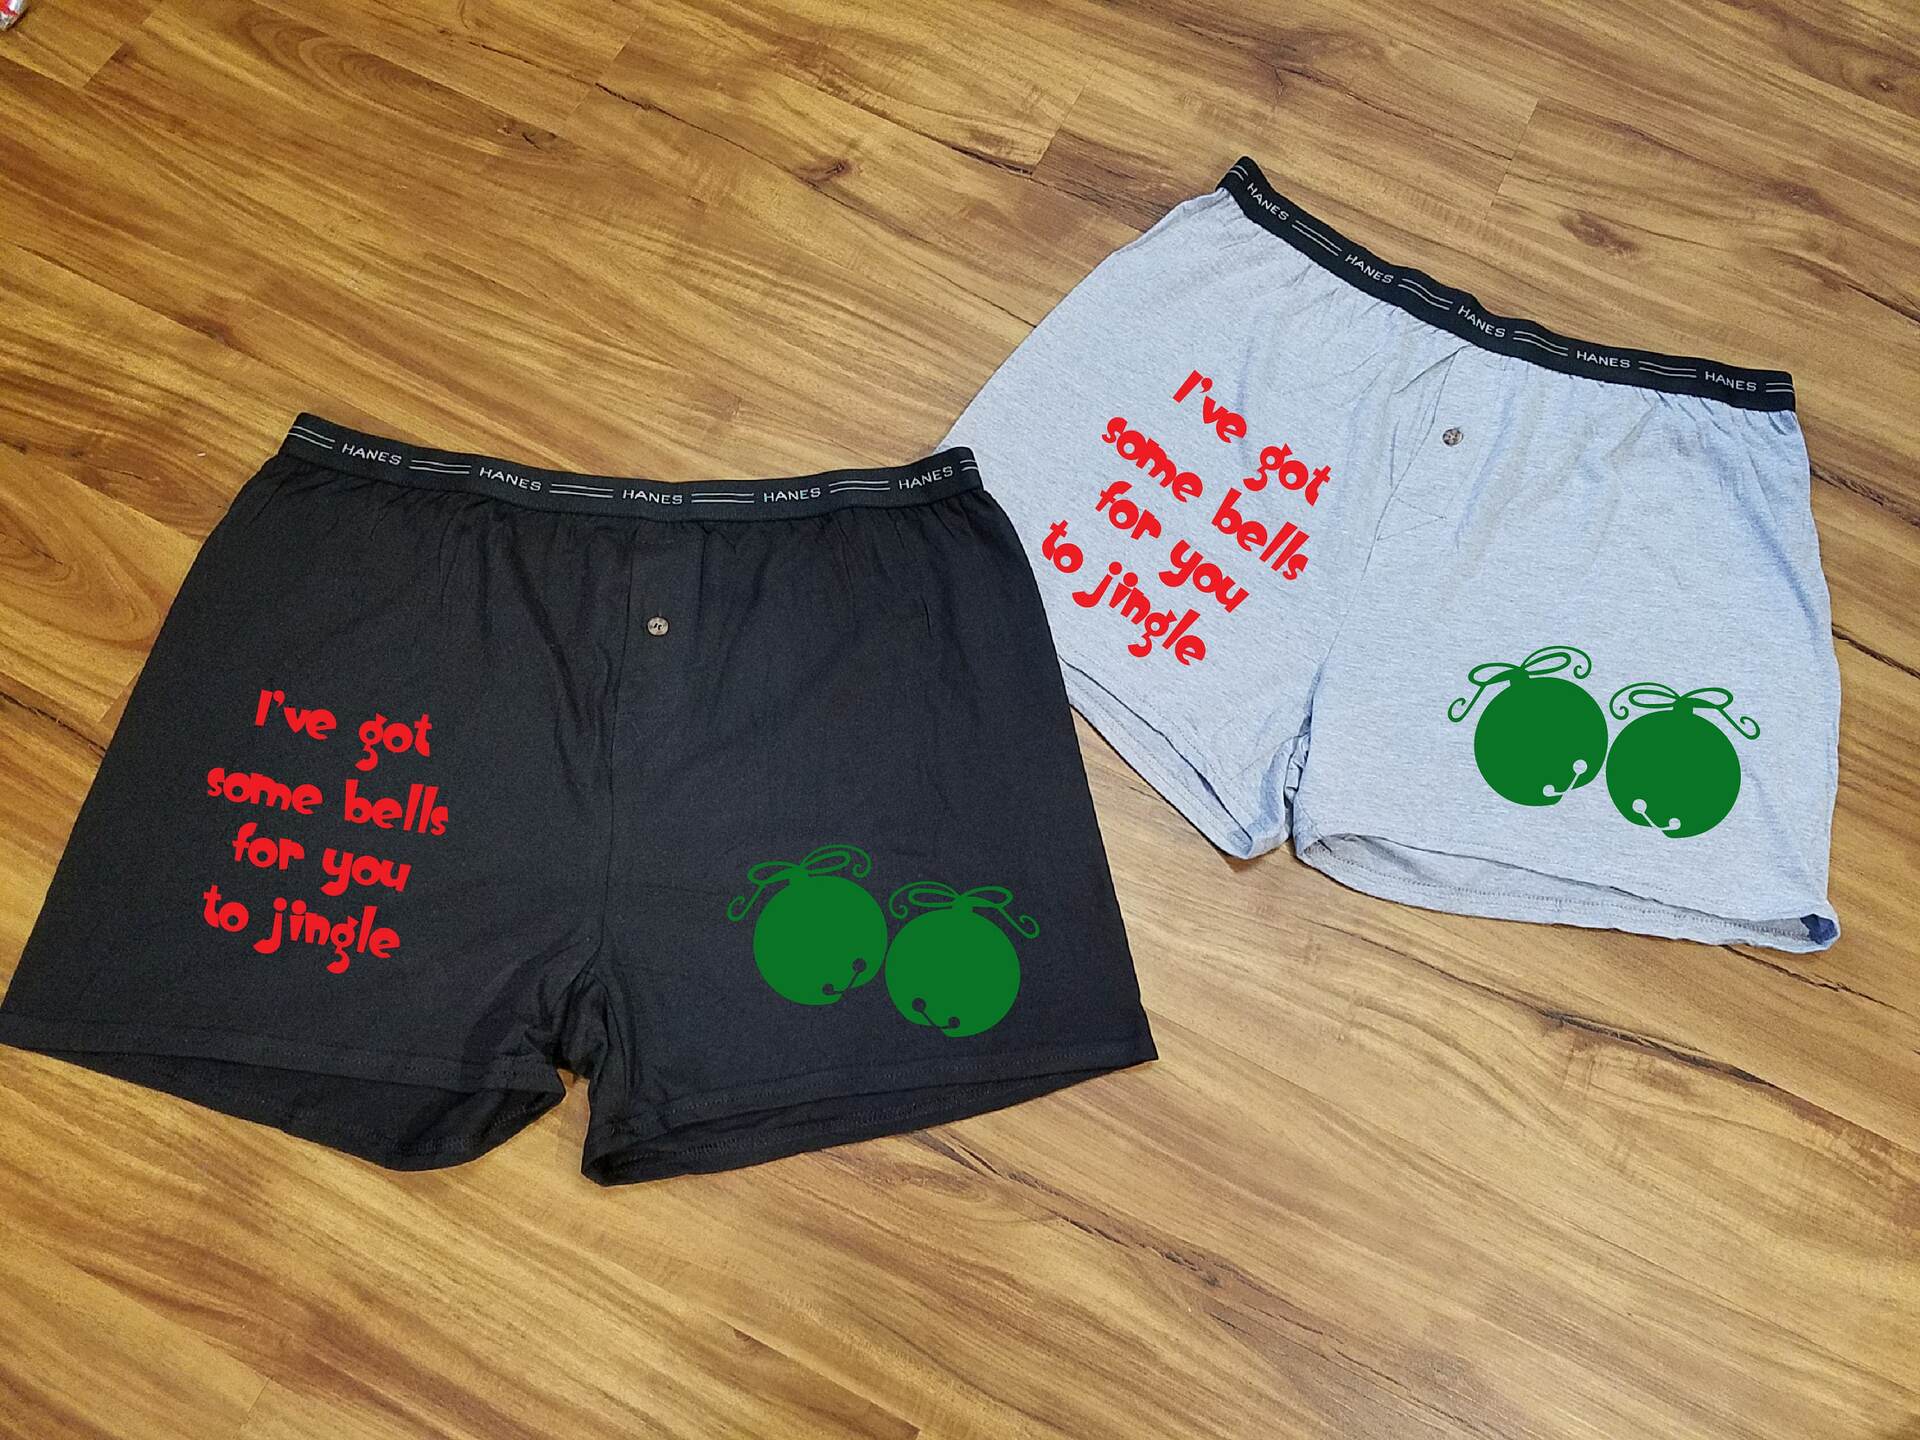
Step 3: Sewing the Fly
Now that your fabric pieces are cut out, it’s time to sew the fly of your boxer shorts. The fly is the opening in the front that allows for easy access. Here’s how to sew it:
- Take your front fabric piece and fold the fly extension towards the wrong side of the fabric. Press it with an iron to create a crisp fold.
- Next, fold the fly extension back towards the right side of the fabric, creating a overlap with the wrong side facing out.
- Pin the fly extension in place to hold it securely during sewing. Make sure to align the edges of the fabric pieces accurately.
- Using a sewing machine, stitch along the edge of the fly extension, starting at the top and sewing down towards the bottom. This creates the topstitching on the fly.
- Once the topstitching is done, unfold the fabric and press the seam with an iron to flatten it.
- Now, take the other front fabric piece and place it right sides together with the fabric piece with the fly extension. Align the edges of the fabric pieces, making sure the fly overlap is on top.
- Pin the sides of the fabric pieces together, starting just below the fly and all the way down to the leg opening. Leave the top of the fly unsecured for now.
- Using a straight stitch on your sewing machine, sew along the pinned edges, carefully removing the pins as you go. This creates the seam of the fly and secures the front fabric pieces together.
Once you’ve sewn the fly, give it a final press with an iron to smooth out any wrinkles or creases. Check that the fly opens and closes easily and lays flat against the fabric. With the fly completed, you’re ready to move on to the next step: sewing the side seams.
Step 4: Sewing the Side Seams
With the fly sewn in, it’s time to focus on sewing the side seams of your boxer shorts. Follow these steps to join the front and back fabric pieces:
- Place your front and back fabric pieces right sides together, aligning the side edges. Make sure the fly overlap is on top and the raw edges are matched.
- Pin the side edges to secure them in place, starting from the waistband down to the leg opening. Leave a small opening at the top of the waistband for inserting the elastic later.
- Using a straight stitch on your sewing machine, sew along the pinned edges, removing the pins as you go. Start at the waistband opening and sew down to the leg opening, ensuring a consistent seam allowance.
- Once the side seams are sewn, press the seam allowance open with an iron to create a smooth finish. This helps to reduce bulk and allows the boxer shorts to lay flat.
- If desired, you can finish the raw edges of the seam allowance with a serger or zigzag stitch to prevent fraying. This step is optional but can add longevity to your boxer shorts.
After sewing the side seams, try on the boxer shorts to check the fit. If any adjustments are needed, you can make minor alterations at this stage, such as taking in the waist or adjusting the leg openings.
With the side seams complete, your boxer shorts are starting to come together. The next step is to sew the waistband and add the elastic, providing a comfortable and secure fit. Let’s dive into the details of this step to complete your boxer shorts.
Step 5: Sewing the Waistband
Now that the side seams are sewn, it’s time to focus on the waistband of your boxer shorts. Follow these steps to sew the waistband:
- Measure the elastic for the waistband by wrapping it around your waist where you want the boxer shorts to sit. Cut the elastic to this measurement, ensuring it is comfortable and snug but not too tight.
- Place the waistband fabric piece right side down on your work surface. Fold the top edge of the fabric down by the width of the elastic plus ½ inch for seam allowance.
- With the folded edge in place, pin the waistband fabric to the top edge of your boxer shorts, aligning the raw edges. Pin it all the way around, ensuring even distribution of fabric and avoiding any gathers or pleats.
- Using a straight stitch on your sewing machine, sew along the pinned edges, leaving a small opening to insert the elastic.
- Attach a safety pin to one end of the elastic, and thread it through the waistband casing, working it all the way around until it comes out the other end. Be careful not to twist the elastic as you thread it through.
- Overlap the ends of the elastic by ½ inch, ensuring a secure fit, and stitch them together securely. Then, sew the opening of the waistband casing closed, making sure the elastic is evenly distributed within the waistband.
Once the waistband is complete, give it a gentle pull to ensure it sits comfortably on your waist without digging in or being too loose. Adjust the elastic if needed to achieve the desired fit.
With the waistband sewn and the elastic in place, you’re almost done with your boxer shorts. The next step is to hem the leg openings, adding the finishing touches to your handmade creation.
Step 6: Attaching the Elastic
With the waistband securely sewn in place, the next step in sewing your boxer shorts is to attach the elastic to create a comfortable and adjustable fit. Follow these steps:
- Measure your leg openings to determine the length of elastic needed. Cut two pieces of elastic to this measurement.
- Starting with one leg opening, fold the fabric towards the wrong side by ½ inch to create a casing for the elastic.
- Pin the folded edge in place to keep it secure while sewing.
- Using a straight stitch on your sewing machine, sew along the pinned edge, leaving a small opening to insert the elastic.
- Attach a safety pin to one end of the elastic and thread it through the casing, being careful not to twist it.
- Once the elastic is threaded through, overlap the ends by ½ inch and stitch them together securely. Close the small opening in the casing.
- Repeat the same steps for the other leg opening to attach the second piece of elastic.
It’s essential to ensure the elastic isn’t too tight or too loose. Give it a gentle tug to ensure it has enough tension to keep the leg openings in place without causing discomfort or cutting into your skin.
Attaching the elastic to the leg openings not only helps to keep the boxer shorts in place but also adds a professional and finished look to your handmade garment.
With the elastic attached, your boxer shorts are almost complete. The final step is to hem the leg openings, adding the finishing touches and completing your DIY creation.
Step 7: Hemming the Leg Openings
The last step in sewing your boxer shorts is to hem the leg openings. Hemming not only gives a polished look to your garment but also helps prevent fraying and adds durability. Follow these steps to hem the leg openings:
- On each leg opening, fold the raw edge towards the wrong side of the fabric by ¼ inch.
- Then, fold the fabric again by another ¼ inch to create a double-fold hem.
- Pin the folded edge in place to hold it securely.
- Using a straight stitch on your sewing machine, sew along the folded edge, ensuring you catch both layers of fabric.
- Continue sewing all the way around the leg opening, removing the pins as you go.
- Repeat this process for the other leg opening, ensuring consistency in the hem width and stitch quality.
Take your time to sew the leg openings neatly, ensuring the hem is even and the stitches are straight. This final step adds a professional finish to your boxer shorts and ensures they’ll withstand regular wear and wash.
Once you’ve finished hemming both leg openings, give them a final press with an iron to smooth out any wrinkles and ensure a crisp hem. This will help your boxer shorts maintain their shape and enhance the overall appearance.
Now, you can proudly admire your handiwork and try on your newly sewn boxer shorts. Congratulations on successfully completing the sewing process!
Remember, this step-by-step guide is just one method of sewing boxer shorts with a fly. Feel free to personalize and modify the pattern or techniques to suit your preferences. Happy sewing!
Step 8: Finishing Touches
With the leg openings hemmed, you’re almost done with your handmade boxer shorts. However, a few finishing touches can elevate the look and functionality of your garment. Consider these final steps:
- Trim any loose threads or excess fabric from the seams and hems. This neatens the appearance and ensures a clean finish.
- If desired, add decorative elements such as buttons or appliques to personalize your boxer shorts. Sew them securely in place, taking care not to hinder the functionality of the fly or interfere with comfort.
- Take a final fitting and make any necessary adjustments. If certain areas feel too tight or loose, you can alter the seam allowance or elastic for a better fit.
- Try out your finished boxer shorts and appreciate the comfort and style of your DIY creation. Feel proud of your accomplishment and share your sewing journey with others!
Remember, these finishing touches are optional and depend on your personal preference. You can keep your boxer shorts simple and functional, or unleash your creativity and experiment with various embellishments.
Finally, take the time to care for your handmade boxer shorts. Follow the fabric care instructions, ensuring proper washing and drying to maintain the quality and longevity of your creation.
Congratulations! By following this step-by-step guide, you have successfully sewn your own boxer shorts with a fly. Embrace the satisfaction of creating something unique and enjoy wearing your comfortable and stylish homemade underwear.
Thank you for joining us on this sewing journey, and happy crafting!
Conclusion
Congratulations on successfully sewing your own boxer shorts with a fly! Through this step-by-step guide, you’ve learned how to create custom-made underwear tailored to your body and preferences. By following the detailed instructions, you’ve transformed fabric into a functional and stylish garment.
Throughout this tutorial, we discussed the importance of selecting the right materials, preparing the pattern, cutting the fabric, sewing the fly, attaching the elastic, and hemming the leg openings. Each step contributes to the overall construction and comfort of your boxer shorts.
Remember, this guide provides one method of sewing boxer shorts, but feel free to experiment and make adjustments to suit your own style. Whether you prefer a bold pattern, unique embellishments, or a more minimal design, the possibilities are endless.
Creating your own boxer shorts with a fly allows you to express your creativity, develop your sewing skills, and enjoy the satisfaction of wearing handmade clothing. It’s also a sustainable and eco-friendly alternative to store-bought options.
So, take pride in your craftsmanship and enjoy wearing your one-of-a-kind boxer shorts. Share your sewing journey with friends and loved ones, and inspire others to embark on their own DIY projects. With practice and experience, you can create a wide range of customized garments that reflect your personal style.
Thank you for joining us on this sewing adventure. We hope you’ve found this guide helpful and inspiring. Happy sewing!