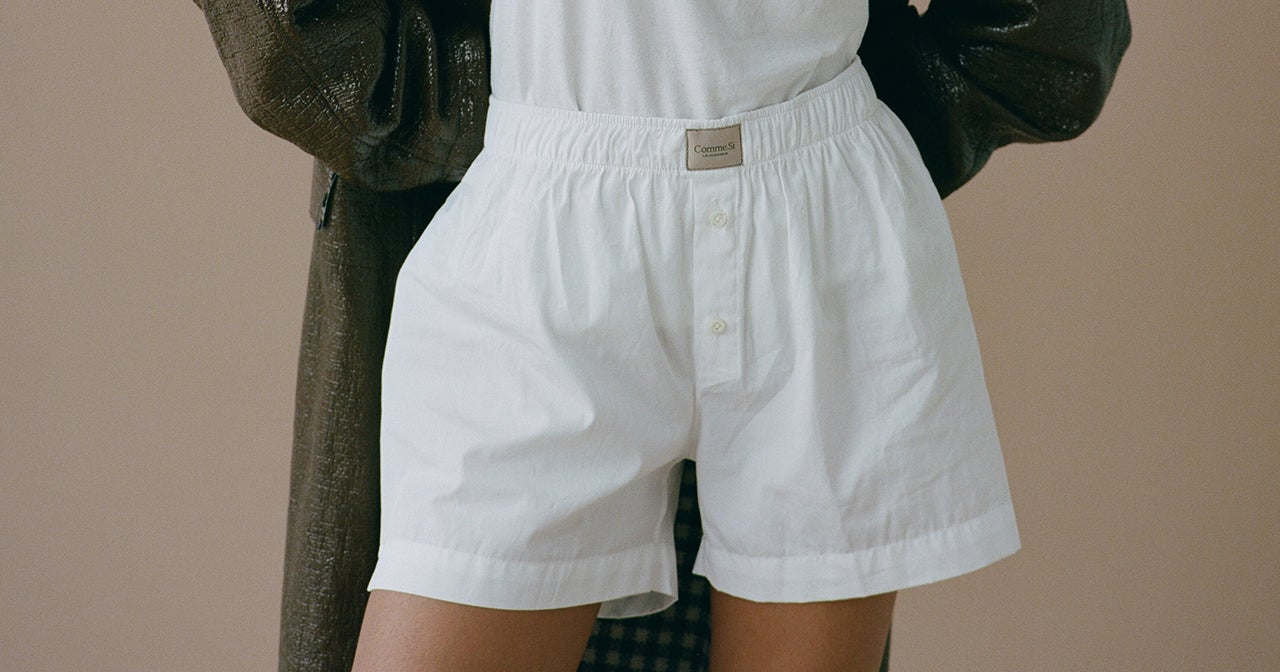
Home>How-to Guides>For Men>How To Sew Boxer Shorts Step By Step
For Men
How To Sew Boxer Shorts Step By Step
Modified: August 2, 2023
Learn how to sew boxer shorts for men in this step-by-step guide. Create your own stylish and comfortable underwear with easy-to-follow instructions.
(Many of the links in this article redirect to a specific reviewed product. Your purchase of these products through affiliate links helps to generate commission for Under-tec.com, at no extra cost. Learn more)
Table of Contents
Introduction
Welcome to the world of sewing your own boxer shorts! Whether you’re an experienced sewer or a beginner looking to try your hand at a new project, this step-by-step guide will walk you through the process of creating your very own custom-fit boxer shorts.
Why opt for handmade boxer shorts, you might ask? Well, besides the satisfaction of wearing something you’ve created with your own two hands, sewing your own boxers allows you to have complete control over the design, fit, and fabric choice. Not to mention, it can be a cost-effective way to replenish your underwear drawer.
In this guide, we will break down the process into easy-to-follow steps, accompanied by detailed instructions and helpful tips to ensure your success. From gathering the necessary materials to adding those final finishing touches, you’ll be able to create comfortable and stylish boxer shorts that reflect your personal taste and style.
Even if you’re new to sewing, don’t fret. This project is beginner-friendly, and with a little patience and practice, you’ll be amazed at what you can accomplish. So, dust off that sewing machine, gather your supplies, and let’s get started on creating the perfect pair of boxer shorts that will make you feel confident and comfortable.
Step 1: Gather Your Materials
Before diving into your sewing project, it’s important to gather all the necessary materials. Here’s a list of what you’ll need:
- Fabric: Choose a lightweight and breathable fabric, such as cotton, linen, or flannel. Make sure to select a print or color that matches your personal style.
- Elastic: Opt for an elastic band that is comfortable and has good stretch and recovery. The width should be around 1 inch (2.5 cm) for a snug and secure fit.
- Thread: Select a thread color that complements your fabric choice. It’s always a good idea to have extra thread on hand, just in case.
- Scissors: A sharp pair of fabric scissors will make cutting out your fabric pieces much easier.
- Sewing Machine: While it’s possible to sew boxer shorts by hand, a sewing machine will save you time and ensure a more professional finish.
- Pins or Clips: These will come in handy for keeping your fabric pieces in place during the sewing process.
- Measuring Tape: A measuring tape will help you accurately measure and cut the fabric to the correct size.
- Iron and Ironing Board: Pressing your fabric and seams will give your boxer shorts a polished and finished look.
- Pencil or Fabric Marker: These tools will allow you to mark the fabric for accurate cutting and sewing.
Once you have gathered all the necessary materials, you’ll be ready to move on to the next step. Having everything prepared and within reach will make the sewing process much more efficient and enjoyable.
A quick tip: If you’re unsure about the fabric type or print to choose, consider checking out some online sewing communities or fabric stores for inspiration. Don’t be afraid to get creative and experiment with different colors and patterns that reflect your personal style.
Step 2: Cut Out the Fabric Pieces
Now that you have all your materials ready, it’s time to start cutting out the fabric pieces for your boxer shorts. Follow these steps:
- Wash and pre-shrink your fabric: Before cutting, it’s important to wash and pre-shrink your fabric to prevent any unwanted shrinkage after your boxer shorts are sewn. Follow the fabric’s care instructions for best results.
- Take accurate measurements: Measure your waist and hips using a measuring tape. Use these measurements to determine the dimensions of the pattern pieces. It’s important to ensure a snug fit without being too tight or restrictive.
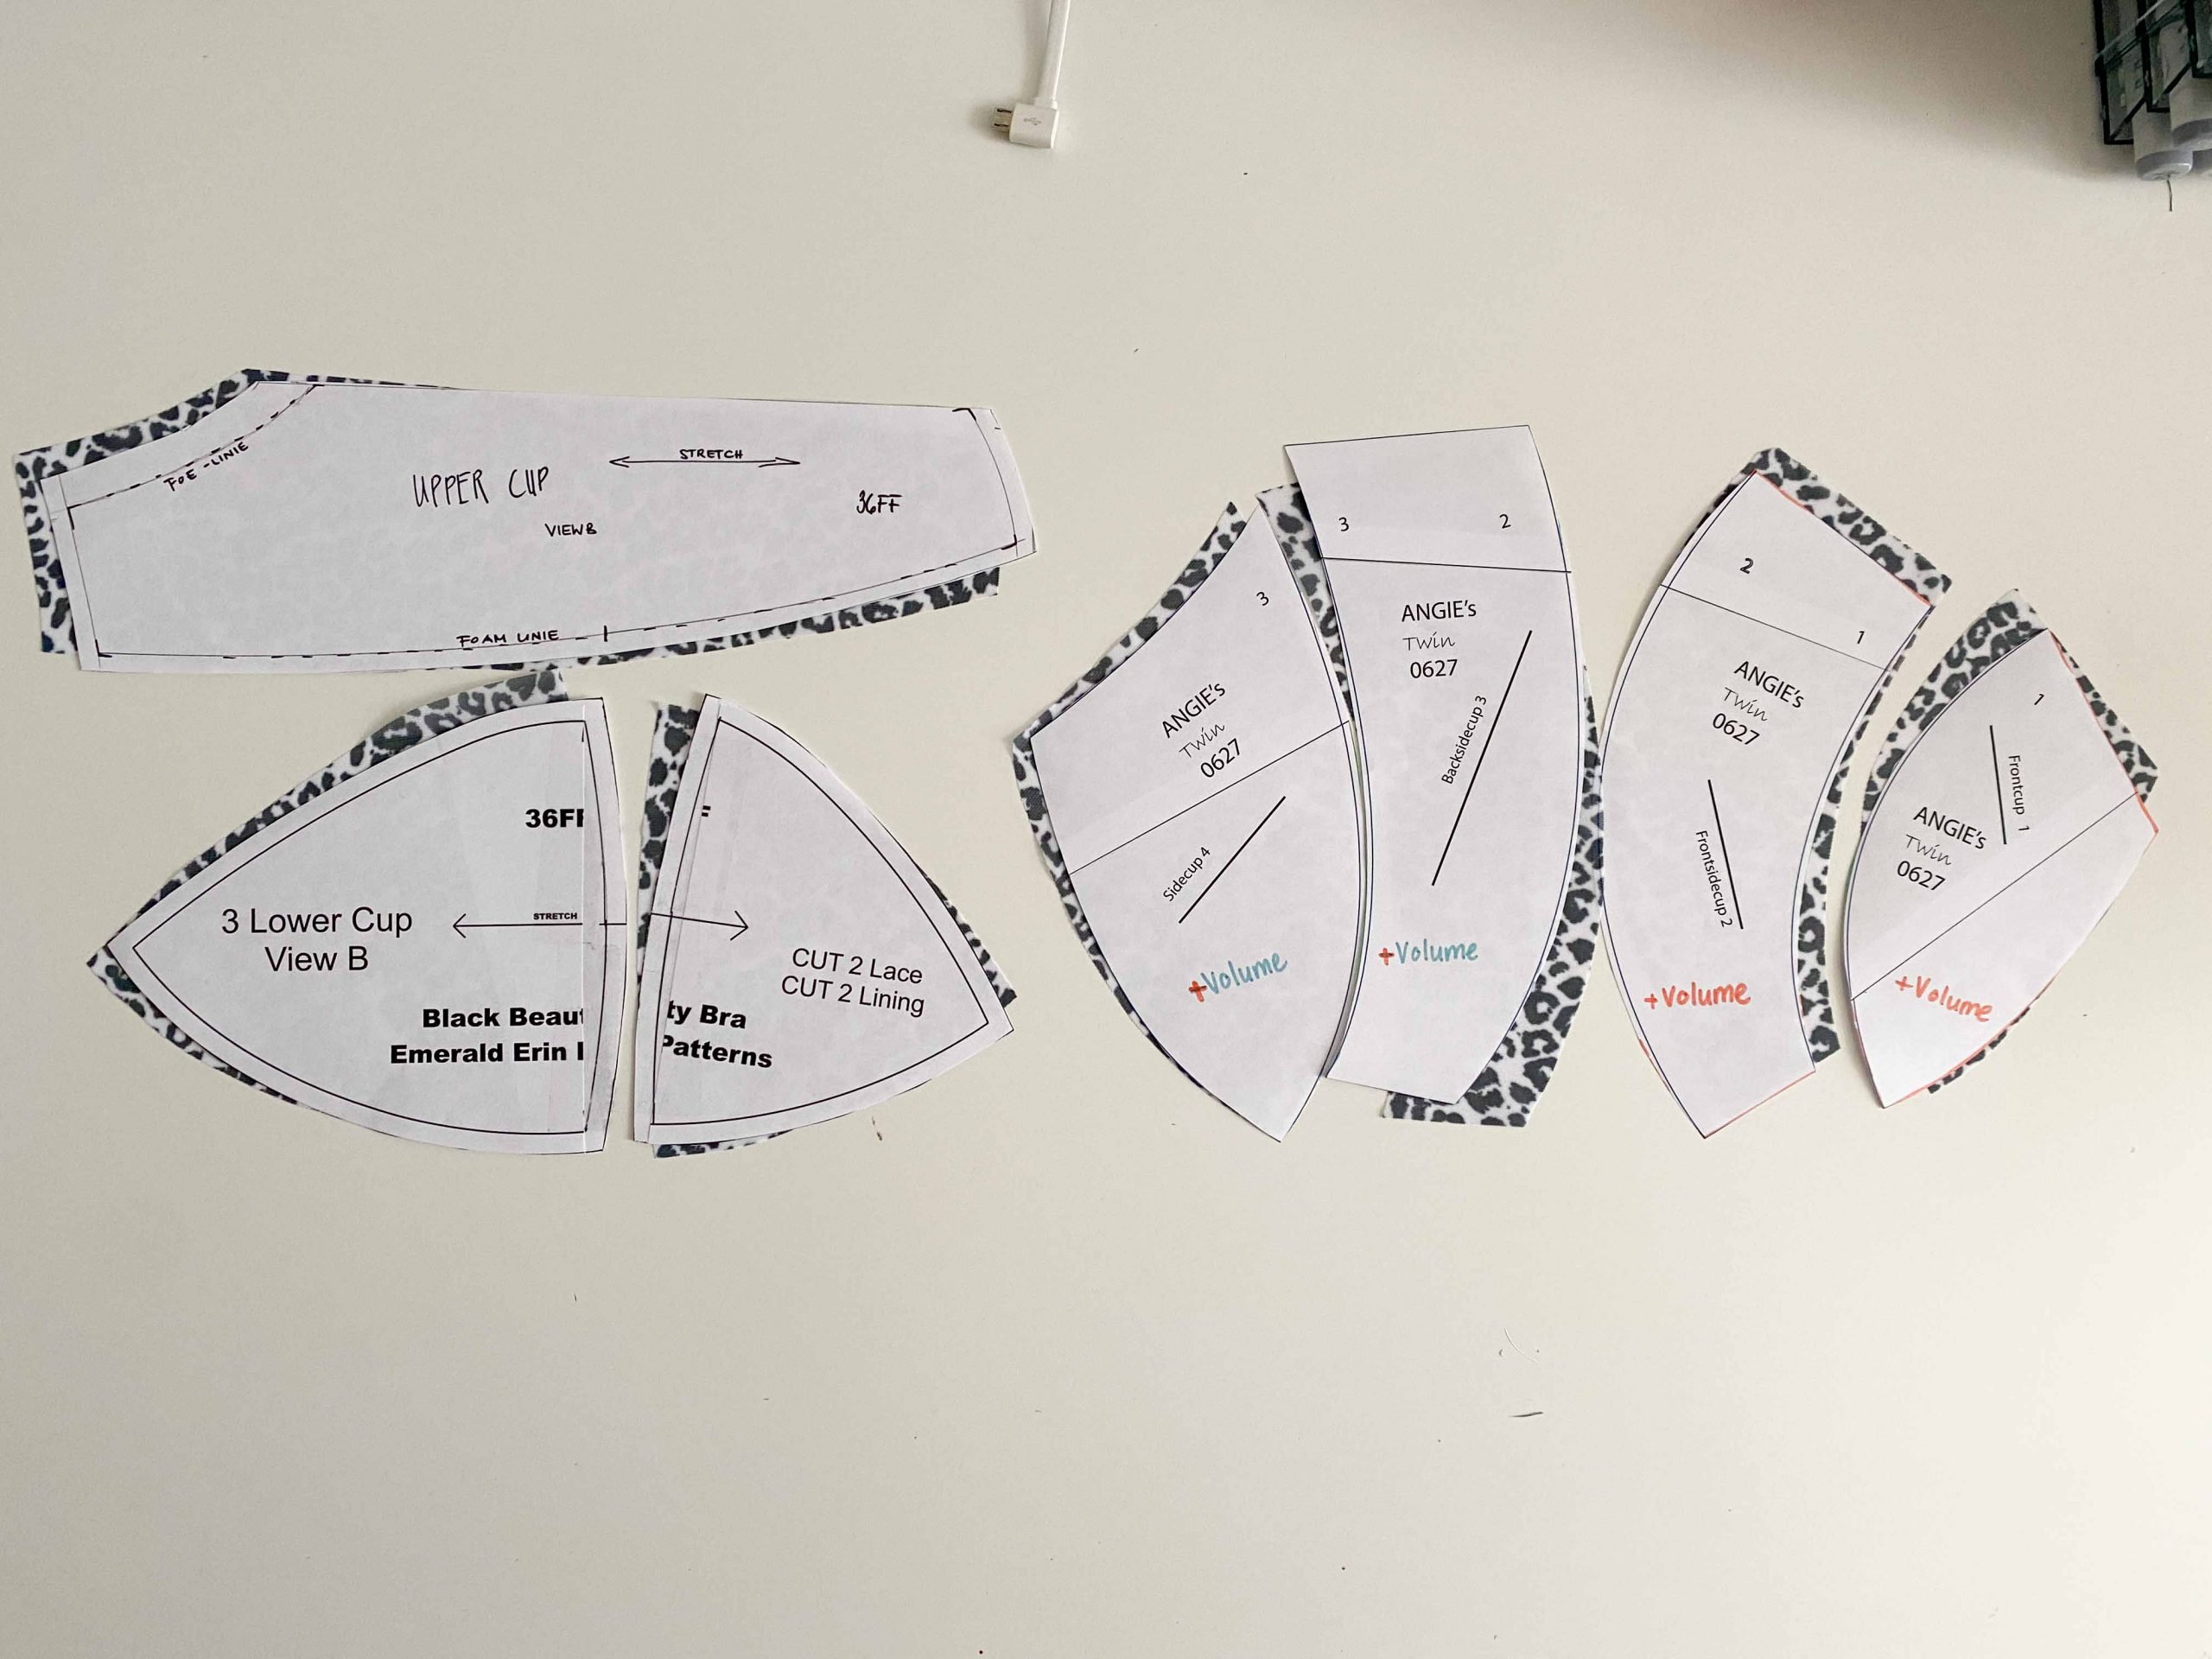
- Prepare the pattern: If you’re using a commercial pattern, carefully cut out the pattern pieces according to your size. If you’re making a custom pattern, trace the pattern pieces onto pattern paper or plain tissue paper.
- Position the pattern pieces: Place the pattern pieces on the fabric, ensuring that the grainline markings are parallel to the selvage edge. This will help with the drape and fit of the boxer shorts.
- Pin or trace the pattern: Use straight pins or fabric marking tools to secure the pattern pieces onto the fabric. Alternatively, you can carefully trace around the pattern pieces with a pencil or fabric marker.
- Cut out the fabric pieces: Using fabric scissors, carefully cut along the marked lines to separate the fabric pieces from the rest of the fabric. Take your time to ensure precise cuts and smooth edges.
A quick tip: If you’re unsure about cutting the fabric or positioning the pattern pieces, consider practicing on a scrap piece of fabric first. This will help build your confidence and ensure that you’re comfortable with the process before moving on to the actual fabric.
Once you have cut out all the fabric pieces, double-check to make sure you have everything you need. Keep the fabric pieces organized and labeled to avoid confusion later on in the sewing process. With the cutting step complete, you’re now ready to move on to the exciting part: sewing your boxer shorts!
Step 3: Prepare the Waistband
In this step, we will focus on preparing the waistband, which provides comfort and support to your boxer shorts. Follow these steps:
- Measure and cut the elastic: Measure the circumference of your waist and subtract an inch (2.5 cm) to determine the length of your elastic band. Cut the elastic to the desired length using sharp scissors.
- Join the elastic ends: Overlap the ends of the elastic by about 1 inch (2.5 cm) and secure them together using a zigzag stitch on the sewing machine. This will create a loop for the waistband.
- Fold and press the waistband: Fold the elastic loop in half lengthwise, aligning the raw edges. Use an iron on a low heat setting to press the fold, creating a crisp crease. Be careful not to melt or damage the elastic while ironing.
- Mark the waistband quarters: Using a fabric marker or small snips with scissors, mark the quarter points of the folded waistband. These markings will help evenly distribute the waistband when attaching it to the boxer shorts.
A quick tip: If you prefer a more decorative waistband, you can also use fabric instead of elastic. Cut a fabric strip about 2 inches (5 cm) wider than your desired finished waistband width. Fold the strip in half lengthwise, right sides facing, and sew a quarter-inch (0.6 cm) seam allowance along the long edge. Turn the fabric tube right side out, press, and proceed to fold and press the same way as described above.
Preparing the waistband is an essential step in creating comfortable and well-fitting boxer shorts. With the waistband ready, we’re now ready to move on to sewing the crotch seam.
Step 4: Sew the Crotch Seam
In this step, we will sew the crotch seam, which joins the front and back panels of the boxer shorts. Follow these steps:
- Place the front and back panels right sides together, aligning the curved edges that form the crotch area.
- Pin or clip the fabric together along the crotch seam, ensuring that the raw edges are aligned.
- Using a straight stitch on your sewing machine, sew along the pinned or clipped edge, securing the panels together. Start at the waistband edge and sew all the way to the leg opening.
- Remove the pins or clips and press the seam open with an iron. Make sure to press both sides of the seam for a neat finish.
- To reinforce the crotch seam, sew a second row of stitches close to the first seam. This will provide extra durability and prevent the seam from unraveling over time.
A quick tip: If you prefer a more finished look, you can finish the raw edges of the crotch seam with an overlock stitch on a serger or use a zigzag stitch on your sewing machine. This will help prevent fraying and add a professional touch.
Sewing the crotch seam is an important step in constructing the boxer shorts, as it helps shape the garment and ensure a comfortable fit. With the crotch seam securely sewn, we’re ready to move on to sewing the side seams in the next step.
Step 5: Sew the Side Seams
In this step, we will sew the side seams of the boxer shorts, which will bring together the front and back panels. Follow these steps:
- With the crotch seam already sewn, fold the boxer shorts in half lengthwise, right sides together, aligning the side seams.
- Pin or clip the fabric along the side seams, making sure that the raw edges are properly aligned.
- Starting from the waistband edge, sew the side seam using a straight stitch. Sew all the way down to the bottom hem of the legs.
- Remove the pins or clips and press the side seam open with an iron. This will help create a crisp and polished finish.
- Repeat the above steps for the other side seam.
A quick tip: To reinforce the side seams, you can sew a second row of stitches close to the original seam. This will provide additional strength to the seams and ensure they withstand regular wear and washing.
By sewing the side seams, you’re one step closer to completing your boxer shorts. The side seams help define the shape of the garment and ensure a comfortable fit. Let’s move on to the next step and attach the waistband.
Step 6: Attach the Waistband
In this step, we will attach the waistband to the boxer shorts, providing a comfortable and secure fit. Follow these steps:
- With the boxer shorts turned wrong side out, fold the raw edge of the waistband towards the inside, aligning it with the top edge of the shorts. The folded edge should cover the seam allowance of the crotch seam.
- Pin or clip the folded waistband in place, ensuring it is evenly distributed around the waist of the shorts.
- Using a stretch stitch or a zigzag stitch on your sewing machine, sew along the lower edge of the folded waistband, securing it to the shorts. Be sure to stretch the waistband slightly as you sew to accommodate for the elastic.
- Trim any excess fabric from the waistband if necessary, staying close to the stitching line.
- Flip the waistband up and away from the shorts, then press it gently with an iron to help it lay flat.
A quick tip: To ensure a neat and professional finish, you can topstitch along the upper edge of the waistband, close to the folded edge. This will help keep the waistband in place and add a decorative touch.
Attaching the waistband is a crucial step in creating comfortable boxer shorts. It provides a secure and adjustable fit, completing the overall construction of the garment. We’re almost there! Let’s move on to the next step and hem the leg openings.
Step 7: Hem the Leg Openings
In this step, we will hem the leg openings of the boxer shorts, giving them a clean and finished look. Follow these steps:
- Turn the boxer shorts right side out.
- Fold the raw edge of one leg opening towards the inside by about ½ inch (1.3 cm), and then fold it over again by the same amount. This will encase the raw edge.
- Pin or clip the folded hem in place, making sure it is even all the way around.
- Repeat the same process for the other leg opening.
- Using a straight stitch on your sewing machine, sew along the folded edge of the hem, securing it in place. Remember to backstitch at the beginning and end to secure the stitches.
A quick tip: To add a decorative touch, you can use a twin needle or a decorative stitch to hem the leg openings. This will create a unique and personalized finish.
By hemming the leg openings, you’re adding the final touch to your boxer shorts. The neatly folded hems enhance the overall appearance and help prevent fraying. Let’s move on to the last step and add those finishing touches!
Step 8: Finishing Touches
In this final step, we will focus on adding some finishing touches to complete your handmade boxer shorts. Follow these steps:
- Inspect the seams: Take a moment to carefully inspect the seams of your boxer shorts. Trim any loose threads and make sure all the seams are secure.
- Try on the boxer shorts: Now is the perfect time to try on your newly sewn boxer shorts. Ensure that they fit comfortably and adjust the elastic waistband if necessary.
- Personalize with embellishments (optional): If you want to add a personal touch, consider adding embellishments such as buttons, ribbons, or decorative stitching. Get creative and make your boxer shorts uniquely yours.
- Give the boxer shorts a final press: Use an iron to give your boxer shorts a final press. This will help smooth out any wrinkles and give them a polished appearance.
- Enjoy your handmade boxer shorts: Once all the finishing touches are complete, it’s time to enjoy your custom-made boxer shorts. Put them on and feel proud of your sewing accomplishment!
A quick tip: Take note of any adjustments or modifications you made during the process. This will come in handy for future sewing projects, allowing you to fine-tune the fit and style of your boxer shorts even further.
Congratulations! You have successfully completed the step-by-step process of sewing your very own boxer shorts. With these newfound skills, you can continue to explore and experiment with different fabrics, designs, and patterns to create a wardrobe full of personalized boxer shorts. Happy sewing!
Conclusion
Embarking on the journey of sewing your own boxer shorts can be a rewarding and fulfilling experience. Not only does it allow you to express your creativity, but it also provides you with the opportunity to create garments that fit your body perfectly and reflect your personal style.
Throughout this step-by-step guide, we’ve walked you through the process of gathering materials, cutting out fabric pieces, preparing the waistband, sewing the crotch seam, sewing the side seams, attaching the waistband, hemming the leg openings, and finally, adding those finishing touches.
From choosing the right fabric to adding unique embellishments, each step plays a crucial role in crafting a pair of boxer shorts that are comfortable, stylish, and tailored to your preferences. It’s important to remember that sewing is a skill that improves with practice, so don’t be discouraged if your first attempt isn’t perfect.
As you gain more experience, you can experiment with different fabric choices, pattern variations, and decorative elements to further customize your boxer shorts. The possibilities are endless, and each new pair you create will enhance your sewing skills and bring you closer to achieving the perfect fit and style.
So, whether you’re looking to expand your sewing repertoire or simply want to indulge in a fun and practical DIY project, sewing your own boxer shorts is a fantastic choice. With a little time, patience, and creativity, you’ll be able to enjoy the comfort and satisfaction of wearing your very own handmade creations.
Now, it’s time to grab your sewing machine, gather your materials, and take the first step towards sewing your own unique and stylish boxer shorts. Happy sewing!