Home>How-to Guides>For Men>How To Place Elastic In Boxer Shorts
For Men
How To Place Elastic In Boxer Shorts
Modified: September 23, 2023
Learn how to place elastic in boxer shorts for men with our step-by-step guide. Create comfortable and stylish underwear for yourself with this simple technique.
(Many of the links in this article redirect to a specific reviewed product. Your purchase of these products through affiliate links helps to generate commission for Under-tec.com, at no extra cost. Learn more)
Table of Contents
Introduction
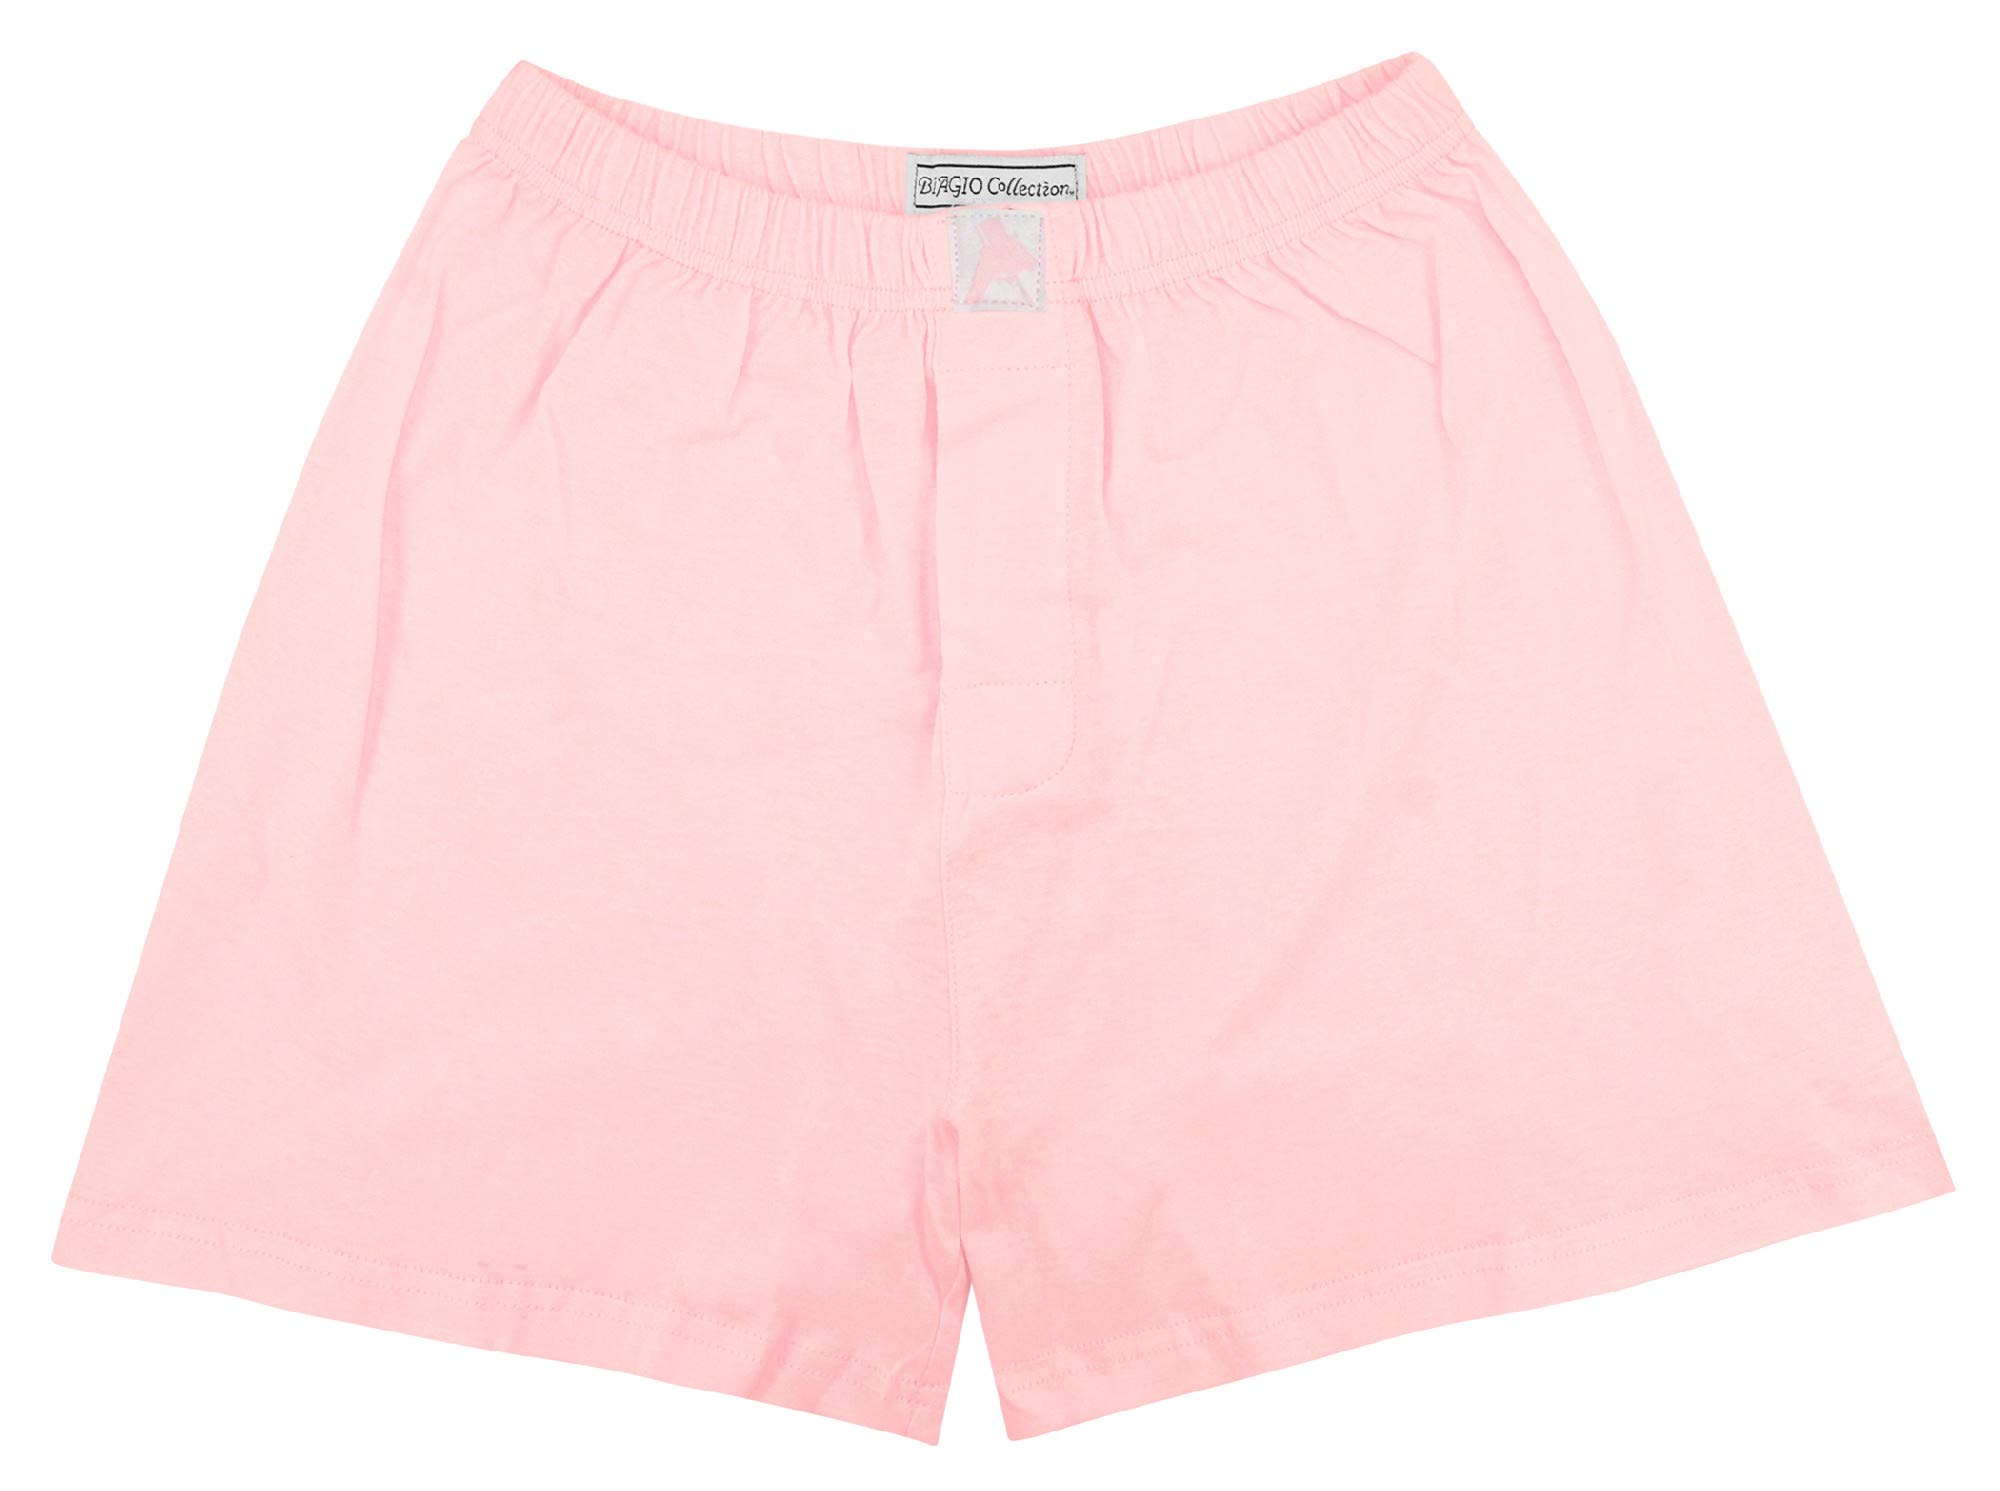
Welcome to our guide on how to place elastic in boxer shorts. Whether you’re looking to repair your favorite pair of boxers or customize a new pair to your liking, knowing how to add or replace elastic in boxer shorts is a valuable skill. Elastic is an essential component of boxer shorts as it provides the necessary stretch and ensures a comfortable fit.
In this step-by-step guide, we will walk you through the process of placing elastic in boxer shorts, helping you achieve a professional-looking finish. You don’t need to be an expert seamstress or tailor to accomplish this task; with a few basic materials and some patience, you can easily complete this project.
By following the steps outlined in this guide, you’ll be able to save money by repairing your worn-out boxer shorts or create personalized and customized pairs that fit your body perfectly. So, let’s gather our materials and get started on transforming your boxer shorts!
Materials Needed
Before you begin adding elastic to your boxer shorts, it’s important to gather all the necessary materials. Here’s a list of things you’ll need:
- Fabric: Choose a fabric that is suitable for boxer shorts, such as cotton or a cotton blend.
- Elastic: Select a high-quality elastic that is comfortable against the skin and has the appropriate width for your desired level of support.
- Measuring tape: A measuring tape will help you determine the length of elastic needed for each section of the boxer shorts.
- Fabric scissors: These will be used to cut the fabric and elastic to the required lengths.
- Sewing machine: While it is possible to sew the elastic by hand, a sewing machine will ensure a more secure and professional-looking finish.
- Sewing thread: Choose a thread color that closely matches the color of your fabric to create clean and seamless seams.
- Pins or clips: These will be used to hold the fabric and elastic in place while sewing.
- Iron and ironing board: These will help you press and smooth the fabric, ensuring crisp edges and professional results.
- Optional: Serger or overlock machine: If you have access to a serger or overlock machine, you can use it to finish the raw edges of the fabric for added durability.
Having these materials on hand will make the process of adding elastic to your boxer shorts much smoother and more efficient. Make sure to gather all the necessary items before getting started on this project.
Step 1: Preparing the Boxer Shorts
Before we begin adding elastic to the boxer shorts, we need to prepare the fabric for sewing. Here’s how you can get started:
- Wash and iron the fabric: If you’re working with new fabric, it’s important to pre-wash it to prevent any shrinkage later on. After washing, iron the fabric to remove any wrinkles.
- Cut and shape the fabric: If you’re starting from scratch, take the measurements of your waist and hips, and use a boxer shorts pattern to cut out the fabric pieces accordingly. If you’re working with an existing pair of boxers, use them as a template to cut out the fabric pieces.
- Serge or zigzag stitch the edges (optional): To prevent fraying and add durability to the boxer shorts, you can use a serger or a zigzag stitch on the edges of the fabric. This step is optional but recommended.
Once you’ve completed these preparation steps, you’re ready to move on to the next stage of adding elastic to your boxer shorts. Taking the time to properly prepare the fabric will ensure a clean and professional-looking finish.
Step 2: Measuring and Cutting the Elastic
Now that your boxer shorts are prepared, it’s time to measure and cut the elastic that will provide the necessary stretch and secure fit. Follow these steps:
- Measure your waist and hips: Use a measuring tape to measure around your waist and hips, depending on where the elastic will be placed. Take note of these measurements as they will determine the length of elastic needed.
- Add allowances: Add 1-2 inches to the waist and hip measurements to allow for a comfortable fit and ease of movement. This additional length will account for the overlap when sewing the elastic ends together.
- Cut the elastic: Using the adjusted measurements, cut the elastic strips to the appropriate lengths. Remember to label the elastic pieces for easy identification later on.
It’s important to note that the width of the elastic should be chosen based on personal preference and the level of support you desire. Wider elastic generally provides more support but may be less comfortable for some individuals. Experiment with different widths to find what works best for you.
By taking accurate measurements and cutting the elastic to the correct lengths, you’ll ensure a proper and secure fit for your boxer shorts. This step sets the foundation for a comfortable and well-fitting end result.
Step 3: Marking the Placement of Elastic
With the elastic cut and ready, the next step is to mark the placement of the elastic on the fabric. This is crucial to ensure that the elastic is evenly distributed and provides the desired fit. Follow these steps:
- Try on the boxer shorts: Put on the boxer shorts and adjust them to your desired position on your waist and hips. Take note of where the top edge of the boxer shorts sits, as this is where the elastic will be attached.
- Mark the placement: Using chalk or fabric markers, mark the position on the fabric where the top edge of the elastic should be attached. Make sure the markings are evenly spaced and consistent all around the waistband and leg openings. This will ensure that the elastic is evenly distributed for a comfortable and secure fit.
It’s important to be precise and careful when marking the placement of the elastic. Take your time and double-check your markings before moving on to the next step. Accurate placement will lead to a well-fitting and visually appealing final product.
Step 4: Sewing the Elastic
Now that the markings are in place, it’s time to sew the elastic onto the boxer shorts. This step will secure the elastic in position and create the perfect fit. Follow these steps:
- Pin the elastic: Start by pinning one end of the elastic strip to the marked placement on the fabric. Ensure that the fabric and elastic are aligned properly.
- Stretch and sew: Using a zigzag stitch or a stretch stitch on your sewing machine, begin sewing the elastic to the fabric. As you sew, gently stretch the elastic to match the length of the fabric. This will help create a snug and comfortable fit.
- Sew all around: Continue sewing along the marked line, guiding the fabric and elastic under the presser foot. Take care to maintain an even stitch length and tension throughout the process.
- Overlap and secure: Once you reach the starting point, overlap the ends of the elastic by about an inch. Sew back and forth several times to secure the ends and prevent any unraveling.
- Remove pins: Carefully remove the pins as you sew, making sure not to sew over them. This will prevent any accidental needle breakage or damage to your sewing machine.
Throughout the sewing process, make sure to use a thread color that matches the elastic or fabric to create a seamless and professional finish. Take your time and sew with precision to achieve the best results.
Once you’ve completed this step, you’ll see your boxer shorts taking shape and the elastic securely attached. It’s an exciting step towards the finished product.
Step 5: Finishing Touches
Now that the elastic is sewn in place, it’s time to add the finishing touches to your boxer shorts. These final steps will ensure a professional and polished look. Follow these steps:
- Trim excess fabric and elastic: Carefully trim any excess fabric and elastic from the seam allowance. Be cautious not to cut into the seam or the elastic itself.
- Press the seams: Use an iron set on a low heat setting to press the seams for a smooth and neat appearance. Make sure to avoid direct contact with the elastic to prevent any damage.
- Optional: Topstitch the waistband and leg openings: For added durability and a professional finish, consider topstitching along the waistband and leg openings. This will help keep the elastic in place and provide a clean edge.
- Inspect and make adjustments: Take a close look at your finished boxer shorts and make any necessary adjustments. Check for loose threads, uneven stitching, or any areas that may need reinforcement.
- Try on and enjoy: Finally, try on your newly finished boxer shorts to ensure a proper fit. Admire your craftsmanship and take pride in your personalized creation. Enjoy the comfort and style of your customized boxer shorts!
Remember, the finishing touches are what take your boxer shorts from homemade to professionally crafted. These final steps will elevate the overall look and functionality of your garment.
Congratulations! You have successfully learned how to place elastic in your boxer shorts. With this newfound skill, you can repair and customize your favorite pairs or create new ones with the perfect fit. Get creative with different fabrics and elastic types to make boxer shorts that suit your style and comfort preferences.
Happy sewing!
Conclusion
Adding elastic to boxer shorts is a practical skill that allows you to repair or customize your undergarments to fit your body perfectly. With the step-by-step guide provided, you now have the knowledge and confidence to undertake this project. By following the outlined steps and using the recommended materials, you can achieve professional-looking results.
Remember, preparation is key. Washing, ironing, and shaping the fabric ensures a clean and polished finish. Accurately measuring and cutting the elastic guarantees a secure fit that is comfortable for everyday wear. Marking the placement of the elastic and sewing it onto the fabric with precision creates a customized and snug fit that hugs your body in all the right places.
Don’t forget the finishing touches. Trimming excess fabric and pressing the seams will contribute to the overall professional appearance of your boxer shorts. Consider adding topstitching to reinforce the waistband and leg openings for added durability.
Now, armed with this knowledge, you are ready to embark on your own elastic-placing journey. Repair your worn-out favorites, customize new designs, or even create unique gifts for loved ones. The possibilities are endless.
Enjoy the process of transforming simple fabric into comfortable, stylish, and well-fitting boxer shorts. Embrace your creativity and take pride in your handmade creations. Celebrate the fact that you have acquired a valuable skill that will serve you well for years to come.
So, gather your materials, follow the steps outlined in this guide, and get sewing. The world of customized boxer shorts awaits!