Home>How-to Guides>For All>How To Make A Dog Diaper Out Of Underwear
For All
How To Make A Dog Diaper Out Of Underwear
Modified: August 2, 2023
Learn how to make a dog diaper out of underwear for all sizes. Protect your floors and furniture with this affordable and easy DIY solution.
(Many of the links in this article redirect to a specific reviewed product. Your purchase of these products through affiliate links helps to generate commission for Under-tec.com, at no extra cost. Learn more)
Table of Contents
Introduction
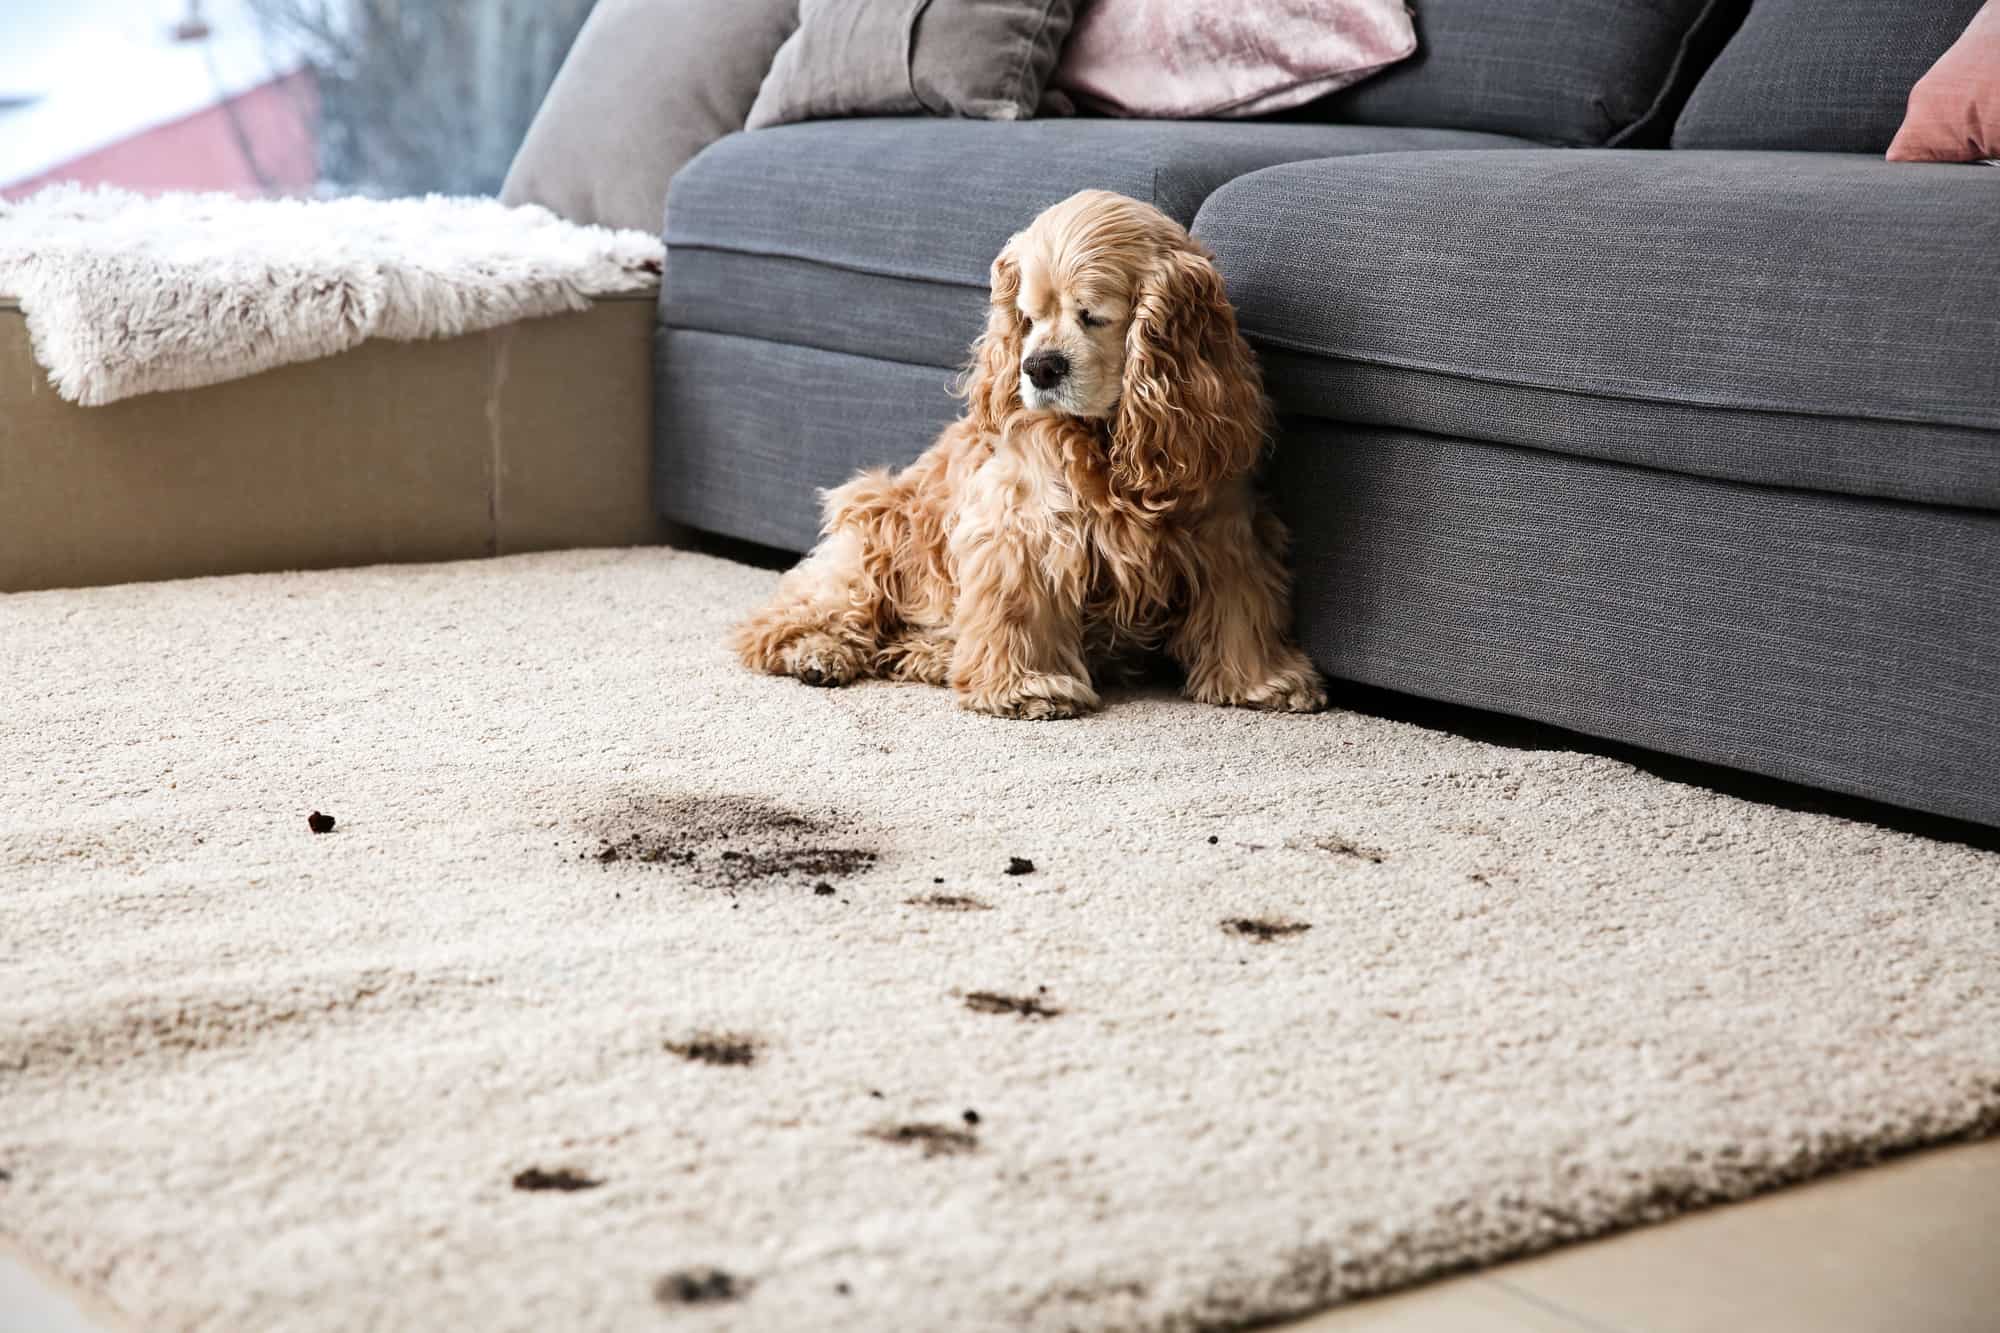
Welcome to our step-by-step guide on how to make a dog diaper out of underwear. Whether you have a new puppy who is still in the process of being house-trained or a senior dog dealing with urinary incontinence, a dog diaper can be a convenient solution to avoid accidents and keep your home clean. While there are commercial dog diapers available in the market, making your own can save you money and allow you to customize the fit and absorbency for your furry friend.
Not only will this DIY dog diaper be cost-effective, but it will also be more sustainable as you can reuse washable materials instead of disposable ones. In this article, we will walk you through the step-by-step process of making a dog diaper out of underwear, using easily accessible materials. With a little bit of creativity and some basic sewing skills, you’ll have a functional and comfortable diaper for your dog in no time.
Before we jump into the instructions, let’s take a look at the materials you will need for this project. Don’t worry, you probably already have most of them at home!
Materials Needed
Before you start making a dog diaper out of underwear, gather the following materials:
- Old underwear: Choose a pair of underwear that fits your dog appropriately. Make sure it is clean and free of any holes or tears.
- Elastic bands: You will need elastic bands to ensure a snug and secure fit for the diaper. Opt for elastic bands that are soft and flexible.
- Fabric or diaper liner: The inside of the diaper should have a layer of fabric or a diaper liner to provide absorption. You can use an old towel, cloth diaper, or purchase fabric specifically designed for this purpose.
- Sewing kit: Grab a needle, thread, and scissors to sew the diaper together. Choose a thread color that matches the underwear to create a seamless look.
- Optional extras: Depending on your dog’s needs, you may want to consider additional materials such as disposable pads or puppy training pads for additional absorption. These extras can be placed inside the diaper for extra protection.
Once you have gathered all the necessary materials, you are ready to move on to the next step: measuring your dog.
Step 1: Choosing the Right Underwear
The first step in making a dog diaper out of underwear is to select the appropriate pair of underwear. Keep in mind the size, comfort, and flexibility of the underwear for your furry friend. Here’s how you can choose the right underwear:
- Size: The underwear should be the right size to fit your dog comfortably. Consider their waist measurement and choose underwear that is snug but not too tight. Avoid underwear with loose elastic that may not provide a secure fit.
- Material: Look for underwear made of soft, breathable fabric like cotton. Avoid underwear with rough or scratchy material, as it may cause discomfort or irritation for your dog.
- Style: Choose an underwear style that will allow for easy adjustment and fastening of the diaper. Boxer briefs or boyshorts tend to work well as they provide ample coverage and have a more secure fit compared to other styles.
- Color: While the color of the underwear is not crucial, selecting a darker shade may be more practical in hiding any stains or accidents.
If you do not have any suitable underwear at home, you can consider purchasing a pack of inexpensive underwear from a thrift store or online. Just make sure to thoroughly wash and sanitize the underwear before using it for your dog’s diaper.
Once you have chosen the ideal pair of underwear, it’s time to move on to the next step: measuring your dog.
Step 2: Measuring Your Dog
Measuring your dog accurately is crucial to ensure the dog diaper fits properly and provides maximum comfort. Here’s how you can measure your dog for the diaper:
- Waist Measurement: Use a flexible measuring tape or a piece of string to measure the circumference around your dog’s waist. Start from just in front of their hind legs and bring the measuring tape or string around the waist, back to the starting point. Take note of the measurement in inches or centimeters.
- Length Measurement: Measure the length from the base of your dog’s tail to the point where you want the diaper to reach on their body. This will depend on the size of your dog and their specific needs. Generally, it is recommended to have the diaper cover the genital area and go slightly beyond for added security.
It’s important to measure your dog when they are in a standing position, as this will give you the most accurate measurements. Keep in mind that dog sizes can vary greatly, even within the same breed, so it’s crucial to measure your individual dog rather than relying solely on breed averages.
Once you have measured your dog’s waist and length, make a note of these measurements. They will be used as a guide when adjusting the diaper later on.
Now that you have measured your dog, it’s time to move on to the next step: preparing the underwear.
Step 3: Preparing the Underwear
Before you start assembling the dog diaper, you need to prepare the underwear to ensure it is ready for the next steps. Follow these instructions to get the underwear ready:
- Wash the underwear: Start by washing the underwear to remove any dirt, dust, or chemicals that may be present. Use a mild detergent and follow the manufacturer’s instructions.
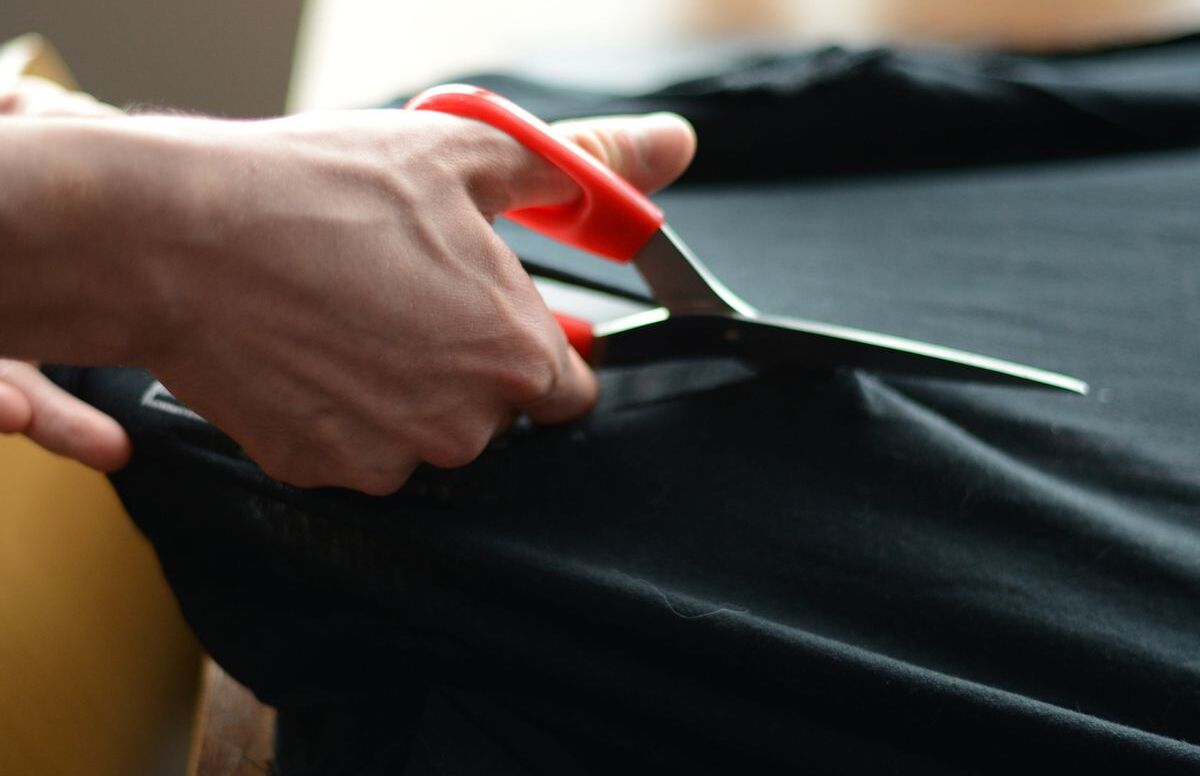
- Cut off the waistband: Carefully cut off the waistband of the underwear, as this will later be replaced with the elastic band. Make sure to cut as close to the body of the underwear as possible, but be careful not to cut into the fabric.
- Attach the elastic bands: Measure and cut two pieces of elastic band, each long enough to fit around your dog’s waist comfortably. Attach one end of each elastic band where the waistband used to be, on either side of the underwear. Secure the elastic bands by sewing them in place using a strong and sturdy stitch.
- Trim any excess: Once the elastic bands are securely attached, trim any excess fabric or threads from the edges of the underwear. This will give the diaper a neater and more finished appearance.
By following these steps, you should now have a set of prepared underwear that is ready to be transformed into a dog diaper. With the underwear prepared, you are ready to move on to the next step: adding absorbent materials.
Step 4: Adding Absorbent Materials
Adding absorbent materials to the dog diaper is crucial to keep your furry friend dry and prevent any leaks or accidents. Here’s how you can do it:
- Choose absorbent fabric: Select an absorbent fabric or diaper liner that will line the inside of the diaper. This layer will capture and hold any liquids, keeping your dog comfortable and minimizing messes. You can choose to reuse an old towel or cloth diaper, or purchase fabric specifically designed for this purpose.
- Cut the fabric to size: Measure and cut the fabric to fit the inside of the underwear. It should cover the area where your dog’s genital region would be when wearing the diaper.
- Attach the fabric: Place the cut fabric inside the underwear, positioning it so that it will sit comfortably against your dog’s body. Use a few hand stitches or fabric adhesive to secure the edges of the fabric to the underwear. This will help keep the fabric in place during use.
- Optional: Add additional absorbency: If your dog requires extra absorbency, you can consider adding disposable pads or puppy training pads to the diaper. Simply place them on top of the fabric layer, adjusting the position as needed for maximum coverage.
By adding absorbent materials to the dog diaper, you are ensuring that any liquid is absorbed, keeping your dog dry and minimizing messes. With this step completed, you are now ready to move on to the next step: adjusting the diaper for your dog’s comfort.
Step 5: Adjusting the Diaper for Your Dog
Adjusting the diaper to fit your dog properly is essential for their comfort and to prevent any leakage. Here’s how you can adjust the diaper for a perfect fit:
- Try it on your dog: Put the diaper on your dog without fastening it. Make sure the fabric or absorbent material is facing inward and the elastic bands are positioned around their waist.
- Check the fit: Adjust the diaper’s position so that it covers your dog’s genital area and extends slightly beyond. The diaper should fit snugly but not too tightly. Make sure there is enough room for them to move comfortably without any restriction.
- Mark the position: Use a fabric marker or safety pin to mark the position where the Velcro or other fastening mechanism will be attached. This will ensure that the diaper is consistently put on in the correct position for future use.
- Make necessary adjustments: If the diaper is too loose, you can sew additional elastic bands or make tighter adjustments by folding or tucking the fabric appropriately. If it’s too tight, consider using a larger size of underwear or loosening the elastic bands.
- Test the fit: Once you have made the necessary adjustments, test the fit by having your dog move around or even walk. Ensure that the diaper stays in place and does not cause any discomfort or chafing.
By properly adjusting the diaper to fit your dog, you are ensuring their comfort and preventing any potential leakage. Once you are satisfied with the fit, it’s time to move on to the next step: putting the diaper on your dog.
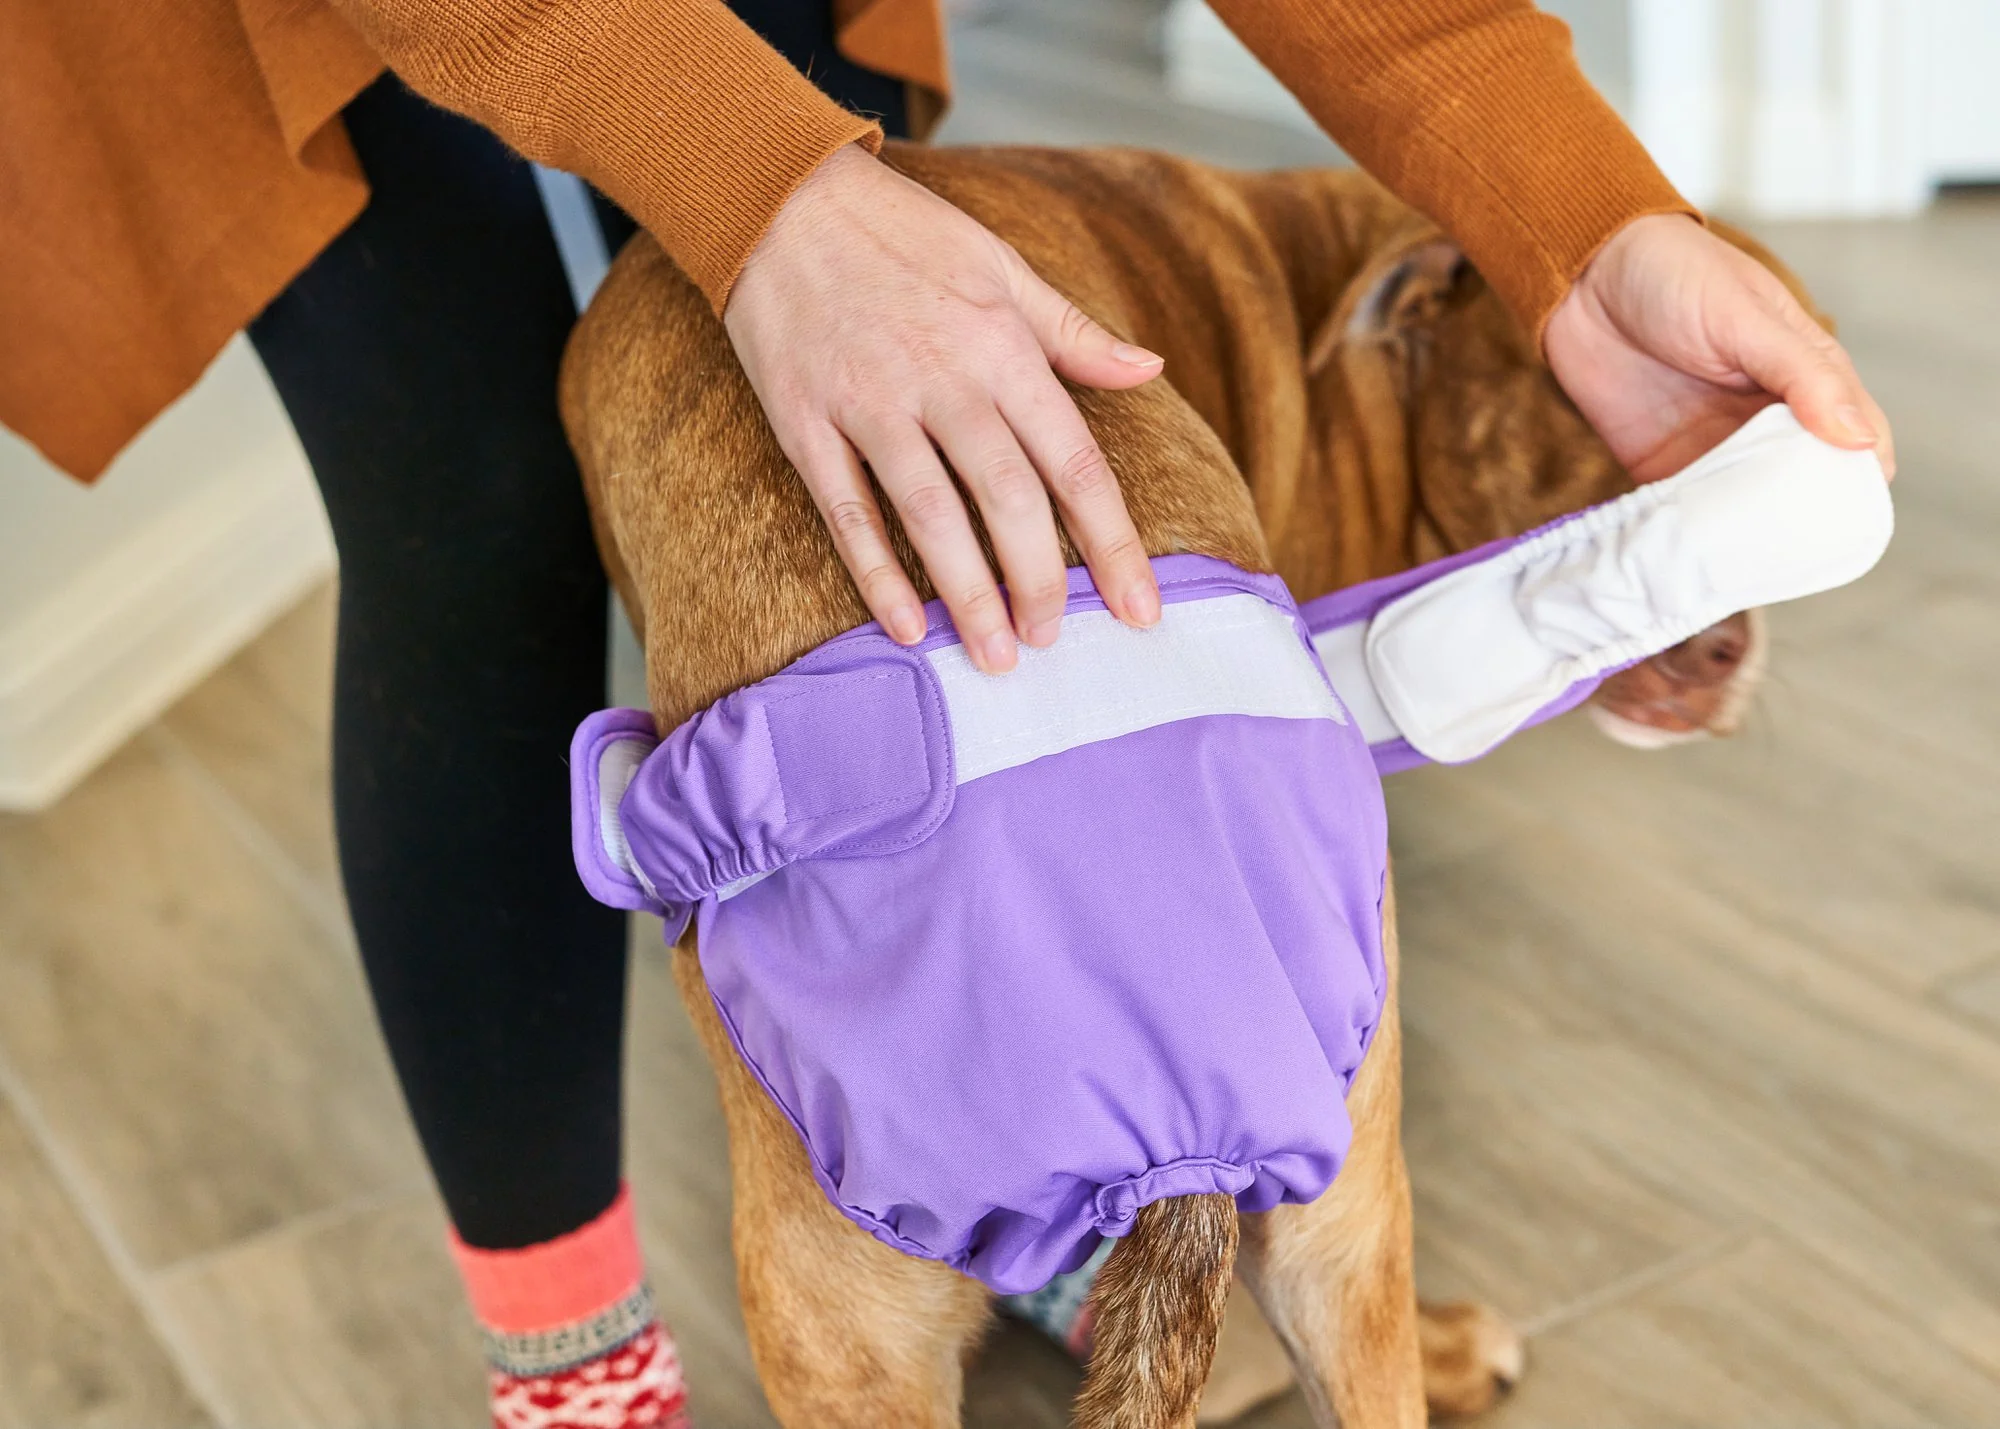
Step 6: Putting the Diaper on Your Dog
Putting the diaper on your dog may take a little practice, but with patience and some praise and treats, it can become a smooth process. Here’s how you can put the diaper on your dog:
- Have your dog in a calm state: Choose a quiet and comfortable area where you can put the diaper on your dog without distractions. Make sure your dog is in a calm state and offer treats or praise to help them associate the process with something positive.
- Open the diaper: If you are using a diaper with Velcro or snaps, undo the closure so that the diaper is open and ready to be put on.
- Guide your dog’s tail through the hole: Gently lift your dog’s tail and guide it through the hole in the back of the diaper. Make sure the fabric or absorbent material is positioned against their body.
- Secure the diaper: Wrap the front part of the diaper under your dog’s belly and bring it up towards their back. Fasten the Velcro or snaps securely, ensuring a snug but comfortable fit.
- Check for adjustments: Double-check that the diaper is properly positioned and does not cause any discomfort or restrict their movement. Make any necessary adjustments to ensure a proper fit.
- Give praise and rewards: Once the diaper is on, offer praise and treats to your dog to reinforce positive behavior. This will help them associate wearing the diaper with a positive experience.
Remember, it may take some time for your dog to adjust to wearing the diaper. Be patient and provide positive reinforcement to help them become comfortable with the process.
Now that the diaper is securely on your dog, you can move on to the final step: monitoring and changing the diaper as needed.
Step 7: Monitoring and Changing the Diaper
Monitoring your dog while they wear the diaper is important to ensure their comfort, hygiene, and prevent any skin irritation or leakage. Here’s how you can effectively monitor and change the diaper as needed:
- Regular checks: Check the diaper regularly to ensure it is clean, dry, and doesn’t need changing. The frequency of diaper changes will depend on your dog’s needs, activity level, and bladder/bowel habits.
- Monitor for signs of discomfort: Watch for any signs of discomfort in your dog such as excessive licking or scratching around the diaper area. This may indicate that the diaper needs to be changed or adjusted for a better fit.
- Change the diaper promptly: When it’s time to change the diaper, carefully remove it from your dog. Dispose of any disposable pads or soiled absorbent materials properly and wash reusable fabric liners before using them again.
- Sanitize and clean: Clean the diaper area on your dog with mild soap and warm water, gently patting it dry before putting on a fresh diaper. This will help maintain good hygiene and minimize the risk of skin irritations.
- Continue positive reinforcement: Throughout the diapering process, continue to provide praise and rewards to your dog. This will help them associate the diaper changes with positive experiences and make the process more pleasant for both of you.
Remember, every dog is different, and their diaper needs may vary. Be attentive to their behavior and adjust the frequency of diaper changes as necessary to ensure their comfort and cleanliness.
Congratulations! You have now successfully learned how to make and use a dog diaper out of underwear. This DIY solution allows for a cost-effective and customizable option to manage your dog’s hygiene needs. With a little practice and patience, you and your furry friend can enjoy a cleaner and stress-free living environment.
Conclusion
Creating a dog diaper out of underwear is not only practical and cost-effective but also allows for a customized fit for your canine companion. By following the step-by-step guide outlined in this article, you can provide your dog with comfort, protection, and maintain a clean living environment.
Remember to choose the right underwear based on size, material, and style, ensuring a comfortable and secure fit. Measure your dog accurately to ensure the diaper fits properly, and prepare the underwear by removing the waistband and attaching elastic bands.
Adding absorbent materials such as fabric or diaper liners will help keep your dog dry and prevent leaks. Adjust the diaper to fit your dog’s specific needs, and make sure it is secure without causing any discomfort or restrictions.
Putting the diaper on your dog may require some practice, but with patience and positive reinforcement, it will become easier over time. Regularly monitor and change the diaper, ensuring your dog’s comfort and hygiene.
By following these steps, you can provide your dog with a washable and reusable diaper solution that not only saves you money but is also environmentally friendly.
With your newfound knowledge and DIY skills, you can confidently make a dog diaper out of underwear and provide your furry friend with the care and protection they need. Enjoy a cleaner home and worry-free time with your beloved pet!