Home>How-to Guides>For Women>How To Make Period Underwear
For Women
How To Make Period Underwear
Modified: September 23, 2023
Discover how to make period underwear for women and stay comfortable and confident during your menstrual cycle. Step-by-step guide and tips on creating your own reusable period underwear.
(Many of the links in this article redirect to a specific reviewed product. Your purchase of these products through affiliate links helps to generate commission for Under-tec.com, at no extra cost. Learn more)
Table of Contents
Introduction
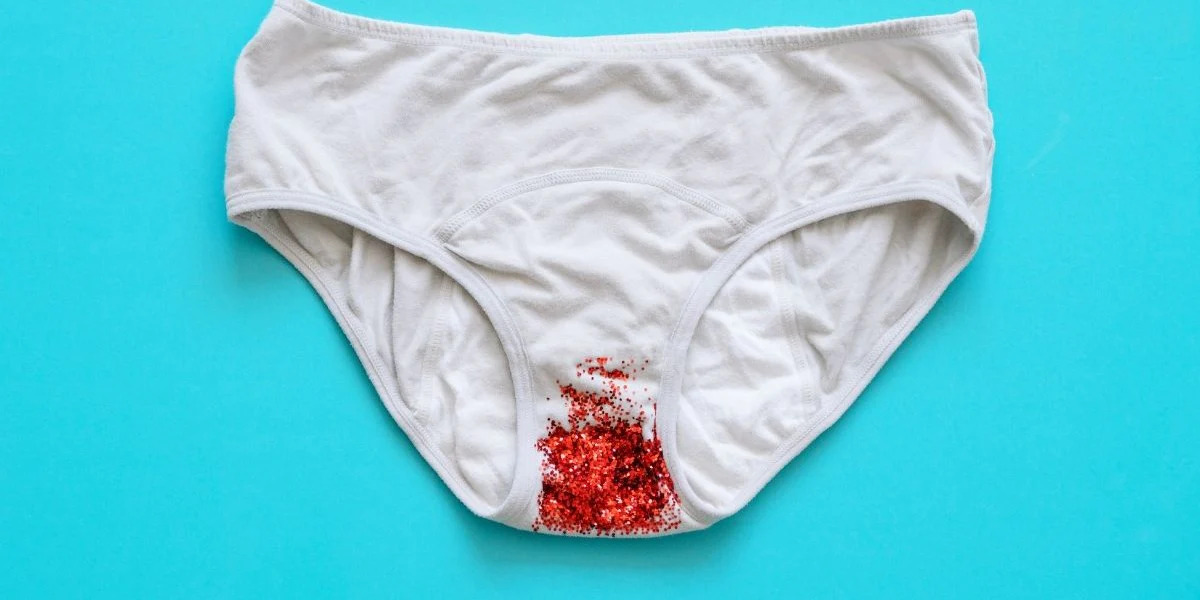
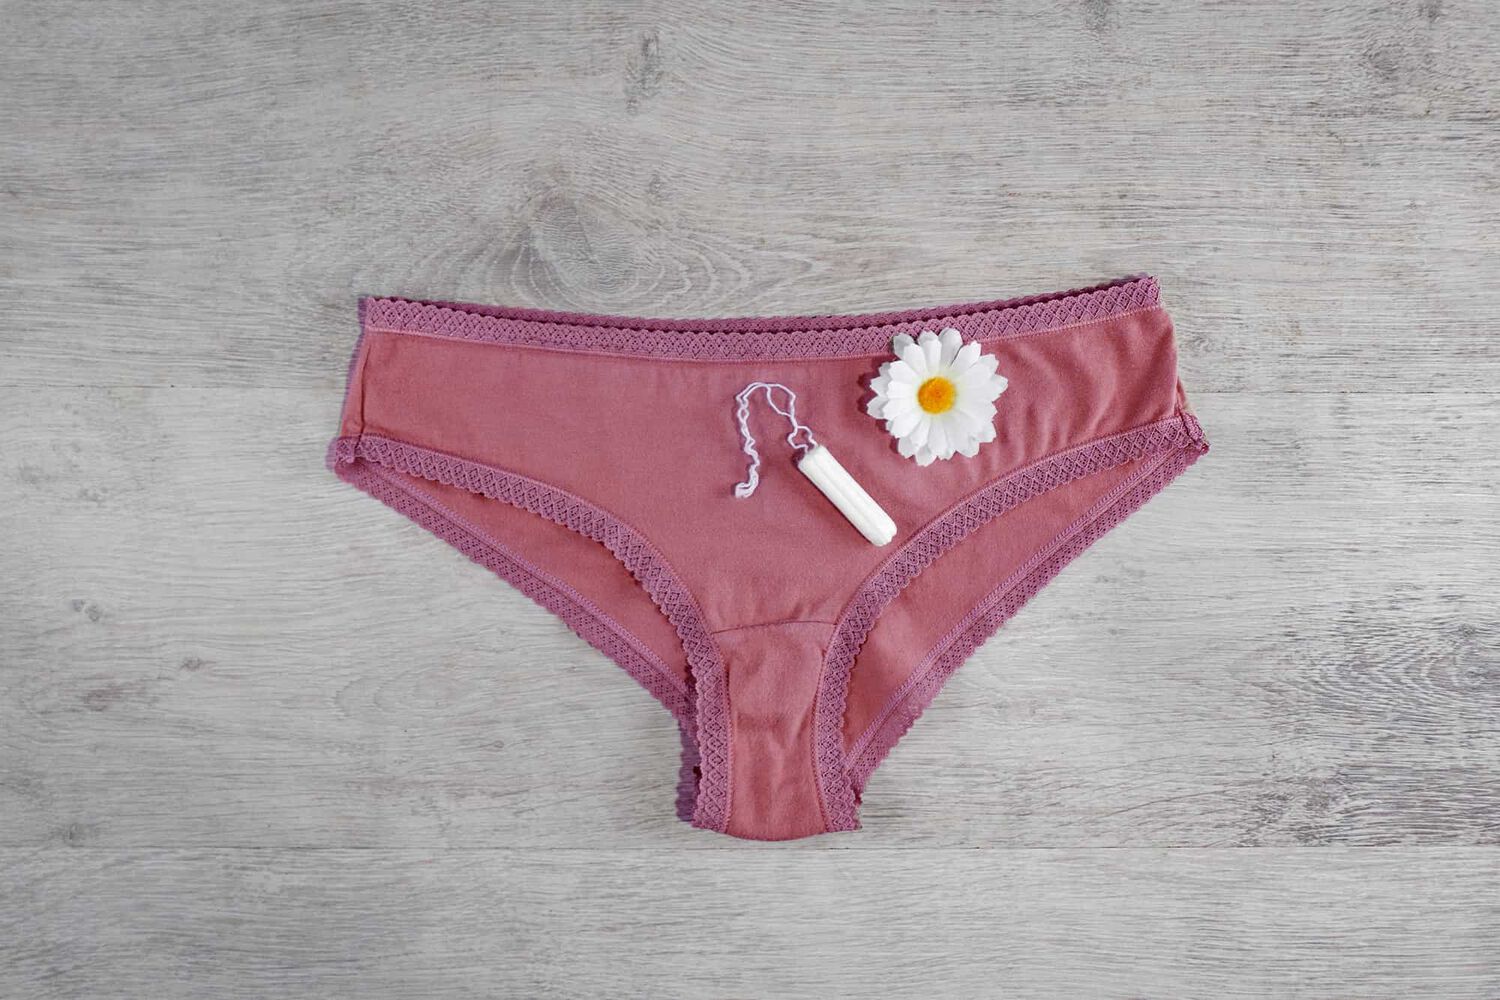
Periods are a normal part of a woman’s life, but dealing with them can be challenging and expensive. Traditional disposable products, such as pads and tampons, can be costly and have a negative impact on the environment. That’s where period underwear comes in – a more sustainable and affordable alternative.
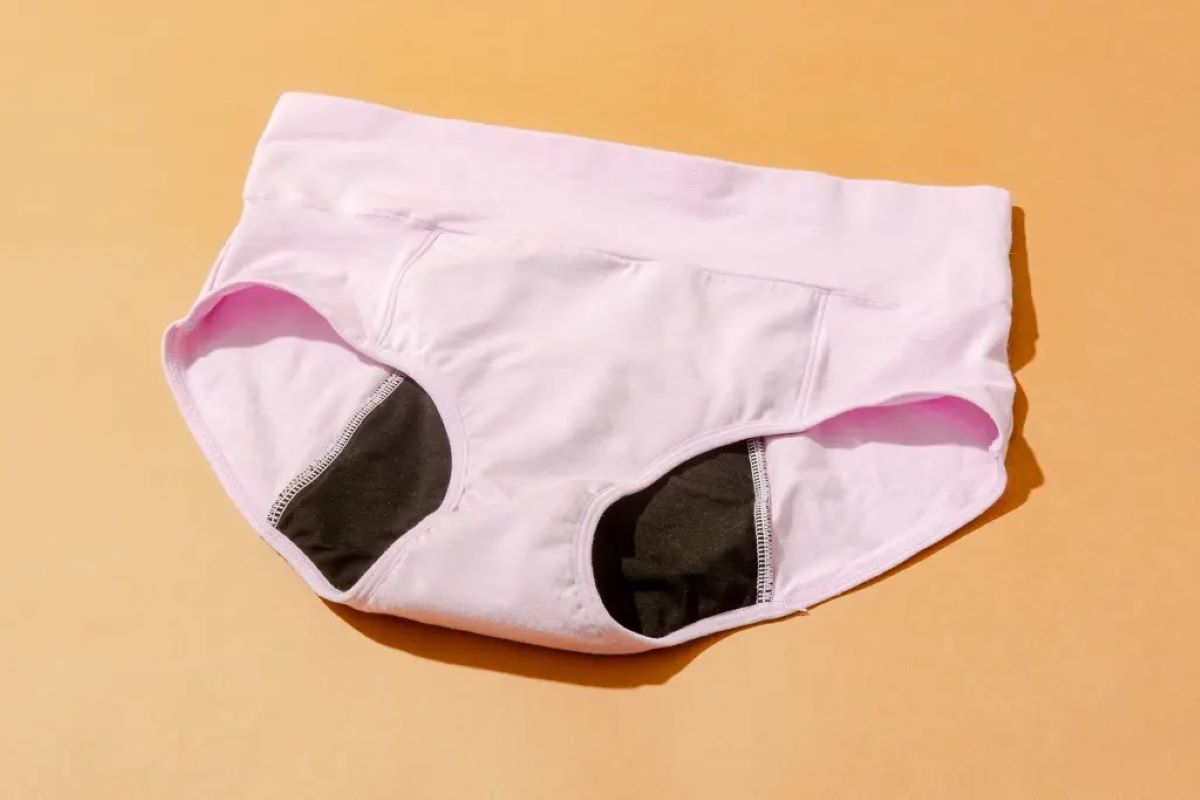
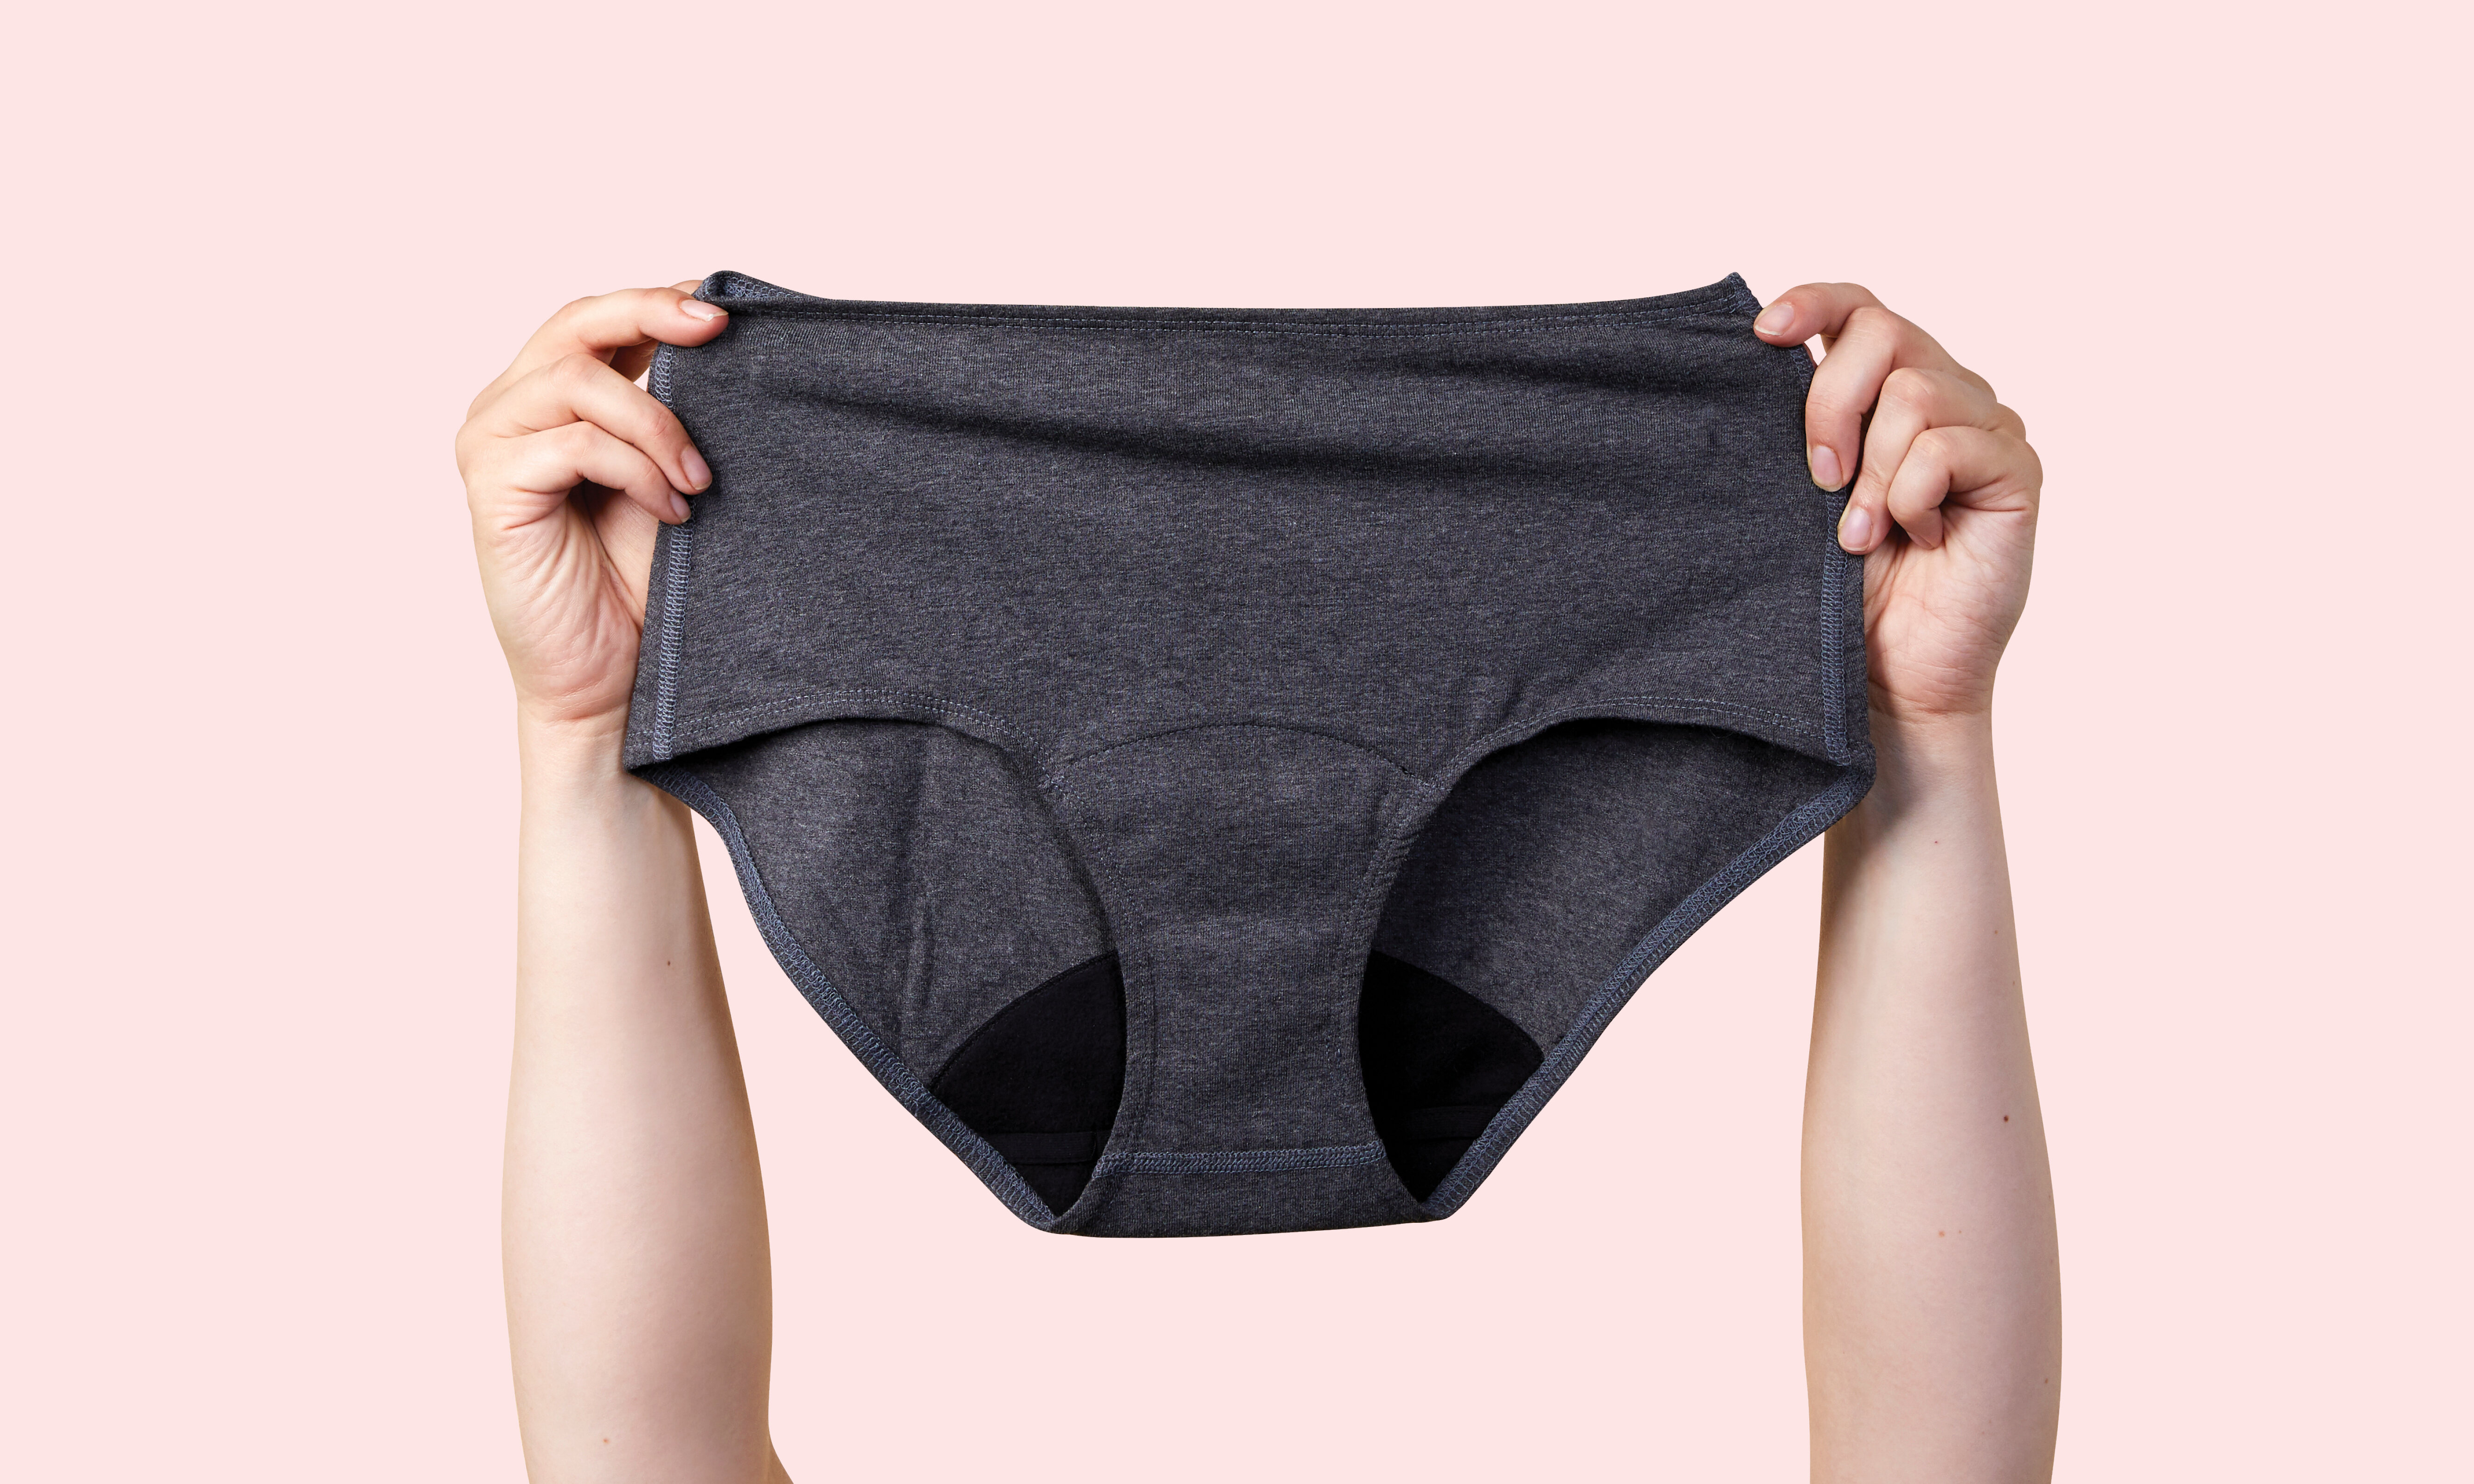
Period underwear is specially designed to absorb menstrual flow while providing comfort and protection. It consists of multiple layers of fabric, with an absorbent layer in the crotch area to prevent leaks. The fabric used is usually a blend of natural fibers and synthetic materials that wick away moisture and keep you feeling dry.
While period underwear can be easily purchased, making your own allows you to customize the fit, design, and absorbency level according to your needs. It also gives you the opportunity to choose environmentally-friendly fabrics and reduce waste.
In this article, we will guide you through the process of making your own period underwear. We will cover everything from selecting the right fabric to adding absorbent layers and sewing the elastic waistband. By the end of this article, you’ll have a comfortable and eco-friendly pair of period underwear that you can use during your menstrual cycle.
Materials Needed
Before you start making your own period underwear, gather the following materials:
- Fabric:
- Outer layer fabric: This can be a soft and breathable cotton or a moisture-wicking fabric like bamboo or microfiber.
- Lining fabric: Choose a fabric that is absorbent, such as cotton flannel or bamboo fleece.
- Elastic: You will need elastic for the waistband and leg bands. Choose a width that is comfortable yet secure.
- Thread: Use a matching or contrasting thread to sew the layers together.
- Scissors: Sharp fabric scissors are essential for cutting the fabric accurately.
- Measuring tape: Use a measuring tape to take accurate measurements for your pattern.
- Pattern: You can either use a pre-made pattern or create your own based on your measurements.
- Pins: These are necessary for holding the layers of fabric together while sewing.
- Sewing machine: While you can sew the underwear by hand, a sewing machine will make the process faster and more efficient.
- Sewing clips or binder clips: These can be used as an alternative to pins for holding the fabric layers together.
- Optional: If you prefer extra absorbency, you can include an additional layer of organic cotton or hemp fabric.
Having all the necessary materials ready and organized before you start will make the process smoother and more enjoyable. Additionally, gather any other tools or supplies that you deem necessary for your specific design or customization preferences.
Step 1: Selecting the Right Fabric
The choice of fabric is crucial when making period underwear. You want a fabric that is not only comfortable against the skin but also effective in absorbing and wicking away moisture. Here are some considerations when selecting the fabric for your period underwear:
- Outer Layer Fabric: The outer layer fabric should be soft, breathable, and comfortable to wear. Opt for natural fibers like cotton or bamboo, as they are gentle on the skin and allow for better airflow. Avoid synthetic materials that may cause discomfort or irritation.
- Lining Fabric: The lining fabric is the layer that directly absorbs the menstrual flow. It should be highly absorbent and moisture-wicking. Cotton flannel or bamboo fleece are good options, as they are soft, absorbent, and breathable. Remember, the absorbency of your period underwear will depend on the number of layers of this fabric you use.
- Additional Absorbent Layer (optional): If you prefer extra absorbency, you can include an additional layer of organic cotton or hemp fabric. This layer can be placed between the outer layer and the lining fabric. Be mindful that adding too many absorbent layers may affect the comfort and fit of the underwear.
- Elastic: Choose elastic that is soft, comfortable, and has good stretch recovery. For the waistband, a ⅜-inch to ½-inch wide elastic is typically suitable. For the leg bands, a ¼-inch to ⅜-inch wide elastic works well. Avoid using elastic that is too tight, as it may cause discomfort.
- Pattern Considerations: Keep in mind that different fabrics may have different stretch and recovery properties. When selecting your pattern or creating your own, make sure it accounts for the fabric stretch and ease, so the underwear fits snugly and moves with your body.
Before purchasing your fabric, consider researching environmentally-friendly options. Organic cotton, bamboo, and other sustainable materials are better choices as they have less impact on the environment. Additionally, check the fabric care instructions to ensure that the fabric can withstand regular washing and maintain its absorbency over time.
By carefully selecting the right fabric, you’ll be on your way to creating comfortable and effective period underwear that meets your needs.
Step 2: Measurements and Pattern
Once you have your fabric selected, it’s time to take measurements and create a pattern for your period underwear. Follow these steps to ensure a proper fit:
- Measurements:
- Waist Measurement: Take a measuring tape and measure around your natural waistline, which is typically the narrowest part of your torso.
- Hip Measurement: Measure around the fullest part of your hips to get an accurate hip measurement.
- Crotch Depth Measurement: This will determine how high or low the underwear sits on your body. Measure from the top of your waistband at the front, down through the crotch, to the top of the waistband at the back.
- Thigh Measurement: Measure the circumference of your thigh at the desired height for the leg bands of your underwear.
- Creating the Pattern:
- Use a large piece of pattern paper or any large, clean surface to create your pattern. Alternatively, you can use an existing pair of underwear that fits you well as a template.
- Start by drawing a straight line equal to half of your waist measurement, plus seam allowance, down the center of the paper.
- From the center line, measure half of your hip measurement, plus seam allowance, and mark it at the appropriate distance on both sides.
- Next, use your crotch depth measurement to mark the front and back rise on the waistline.
- Connect the marks to create the curved lines for the waistline and leg openings.
- Add seam allowance to all sides of the pattern, typically around ¼ inch to ½ inch.
- Once you have the basic underwear pattern, it’s time to create the pattern for the absorbent layers. Use the same pattern, but cut the lining fabric with additional length and width to account for the absorbency layer.
Remember to label your pattern pieces for future reference. Having a well-fitted pattern will ensure that your period underwear fits comfortably and provides proper coverage and protection.
Take your time with measurements and pattern creation, as accuracy in this step is crucial to ensure a well-fitting end product. Once you have your pattern ready, you’re one step closer to making your own period underwear!
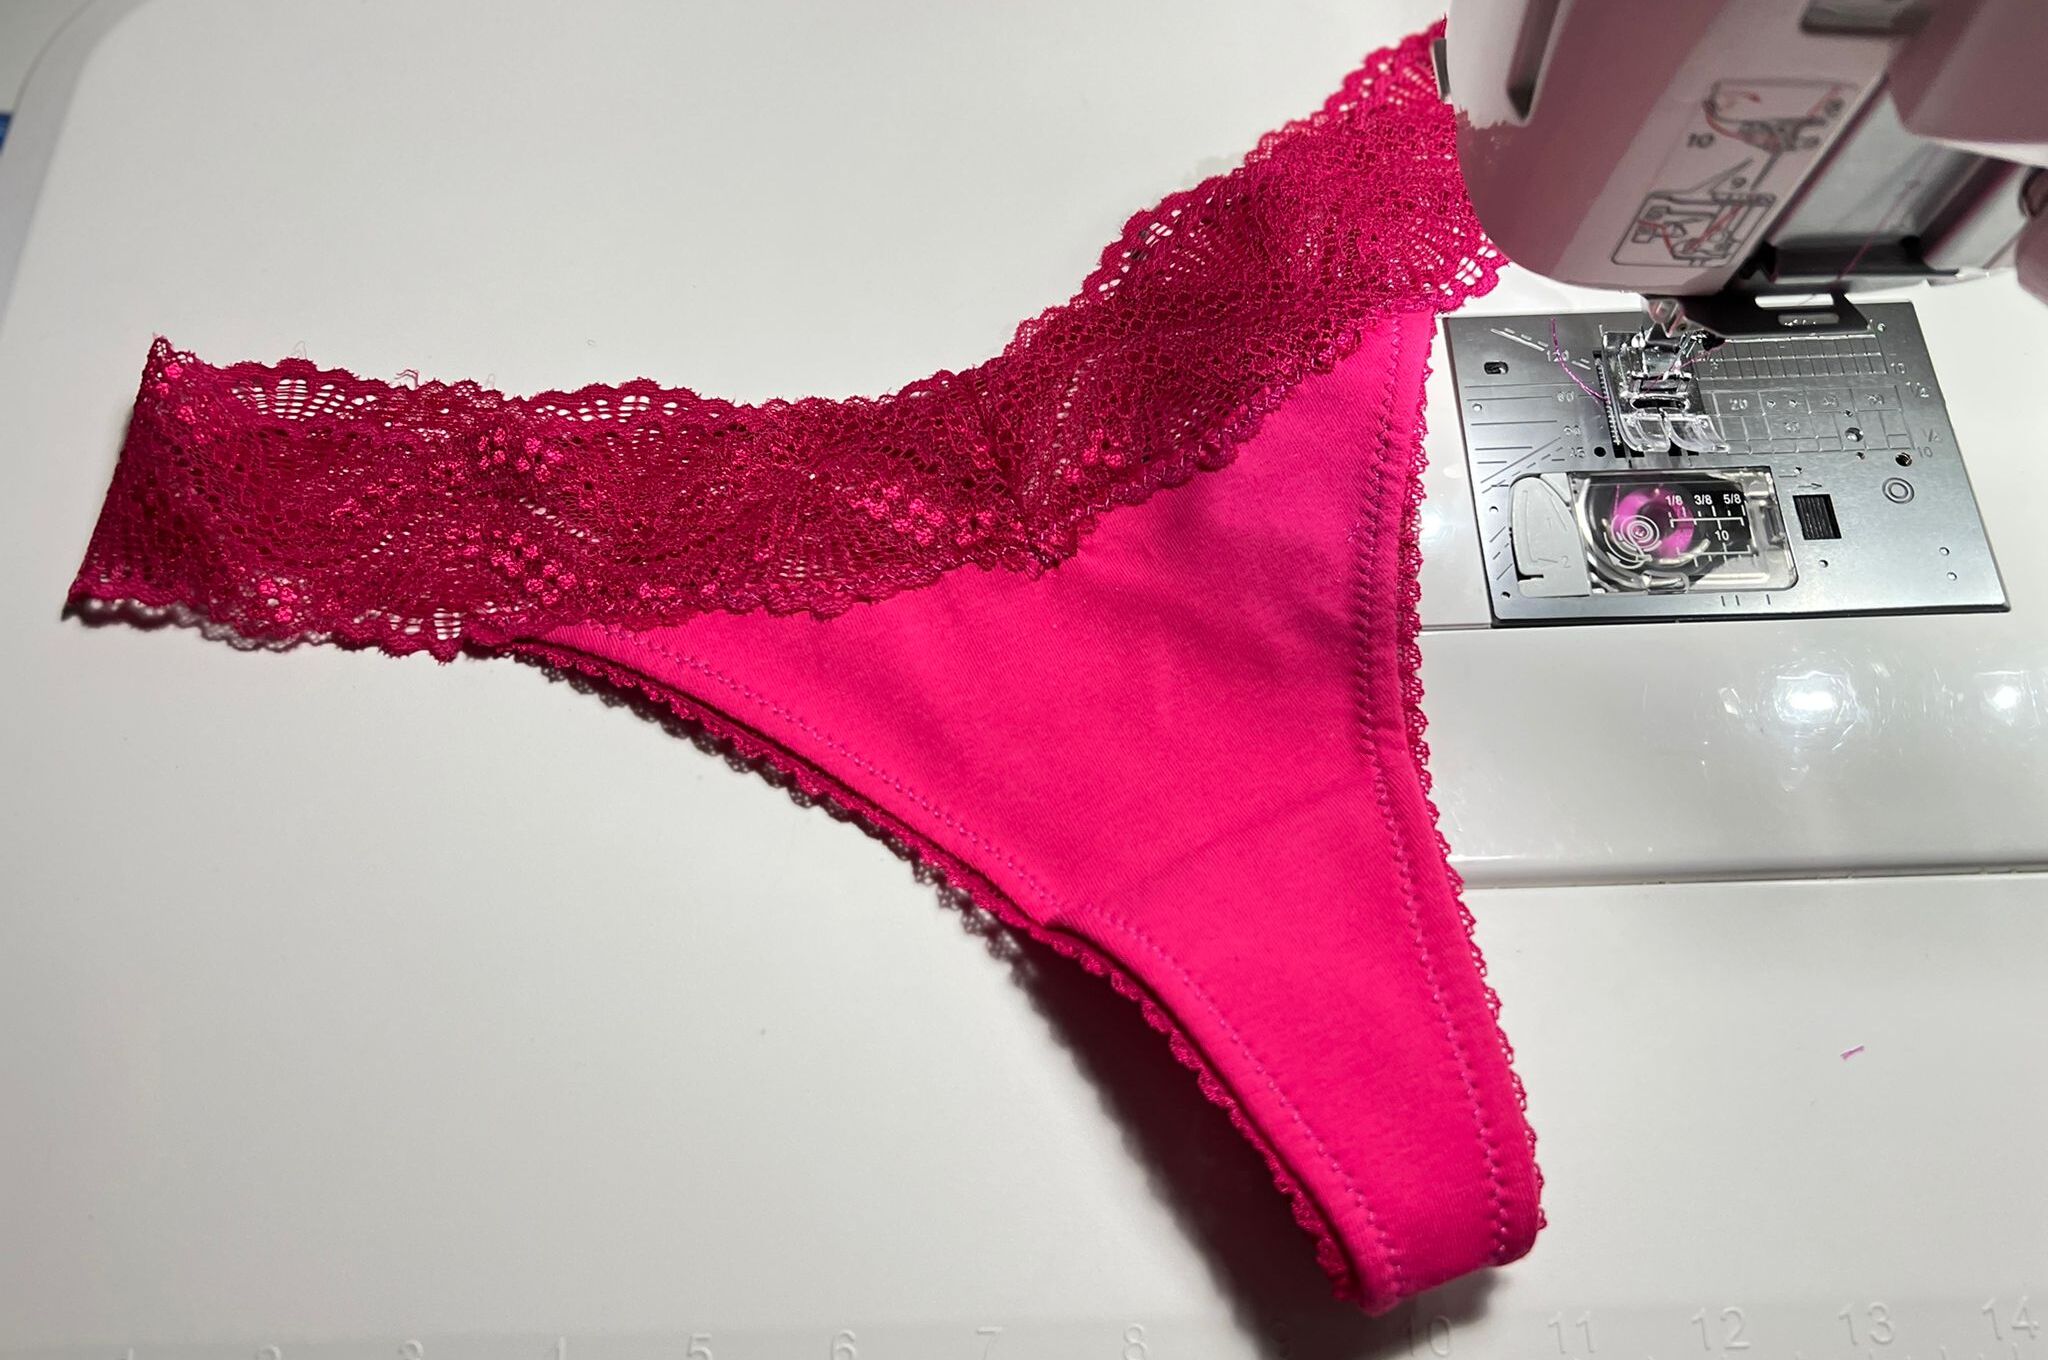
Step 3: Cutting and Sewing the Layers
Now that you have your pattern, it’s time to cut out the fabric layers and start sewing. Follow these steps to cut and sew the layers of your period underwear:
- Place the pattern on the outer fabric and the lining fabric respectively. Pin or use sewing clips to secure the pattern in place.
- Carefully cut along the pattern lines, making sure to cut through both layers of fabric. Take your time to ensure clean and accurate cuts.
- Once all the pieces are cut, separate the outer fabric and lining fabric layers.
- Place the lining fabric pieces on top of the outer fabric pieces, aligning the edges.
- Pin or use sewing clips to hold the layers together, making sure they stay in place while sewing.
- Using a sewing machine or a needle and thread, sew along the edges of the fabric layers, leaving the waistband and leg openings open.
- Remove the pins or sewing clips as you go along, taking care not to sew over them.
- Trim any excess fabric and threads once you have finished sewing the layers together.
- Inspect the seams to ensure they are secure and free from any loose threads or fraying edges.
If you are using an additional absorbent layer, now is the time to sew it onto the lining fabric layer. Simply place the absorbent layer in the desired position, aligning the edges, and sew it onto the lining fabric along the edges.
Remember to backstitch at the beginning and end of your sewing lines to reinforce the seams and avoid them coming undone with wear and washing.
Once you have sewn the layers together, you’re ready to move on to the next step: adding absorbent layers to enhance the protection of your period underwear.
Step 4: Adding Absorbent Layers
Adding absorbent layers is an essential step in making period underwear. These layers enhance the absorption capacity and prevent leaks. Follow these steps to add absorbent layers to your period underwear:
- Place your sewn fabric layers on a flat surface, with the lining fabric facing upwards.
- Measure and cut your absorbent fabric to match the dimensions of the lining fabric, leaving a small seam allowance on all sides.
- Place the absorbent fabric on top of the lining fabric, aligning the edges.
- Secure the absorbent fabric in place by either pinning or using sewing clips along the edges.
- Next, sew around the edges of the absorbent fabric, attaching it securely to the lining fabric.
- Take care to sew close to the edges, ensuring that the absorbent fabric stays in place during use and washing.
- Remove any pins or sewing clips as you sew along the edges.
- Inspect the seams to make sure they are secure and ensure there are no loose threads.
If you prefer additional layers of absorbency, repeat these steps, placing the extra absorbent layers on top of each other and sewing them securely to the lining fabric.
Once you have added the absorbent layers, your period underwear will have enhanced absorption capacity, providing you with the protection you need during your menstrual cycle.
Next, move on to the next step: sewing the elastic waistband to ensure a comfortable and secure fit.
Step 5: Sewing the Elastic Waistband
The elastic waistband is an important component of period underwear as it provides a comfortable and secure fit. Follow these steps to sew the elastic waistband onto your period underwear:
- Measure the length of elastic needed for your waistband by wrapping it around your waist, ensuring a snug but not tight fit.
- Cut the elastic to the measured length, adding an extra inch for overlap.
- Using a straight pin or a fabric marker, mark the halfway point on the elastic to indicate the center.
- Pin the elastic center onto the center back of the waistband, aligning the raw edges.
- Stretch the elastic slightly as you continue to pin it around the waistband, distributing the excess fabric evenly.
- Once the elastic is pinned in place, use a zigzag stitch on your sewing machine to sew the elastic onto the fabric.
- Start sewing at the center back, backstitching to secure the stitching, and continue sewing towards the front.
- As you sew, make sure to stretch the elastic slightly to match the fabric length.
- Overlap the elastic by an inch at the front and sew it down, ensuring it lays flat and doesn’t twist.
- Trim any excess elastic and threads once you have finished sewing.
Once the elastic waistband is securely sewn, gently tug on it to ensure it has the right amount of stretch and securely hugs your waist. The elastic should provide a comfortable fit without feeling tight or restrictive.
Now that the waistband is complete, it’s time to move on to the next step: attaching the leg bands for additional comfort and protection.
Step 6: Attaching Leg Bands
Attaching leg bands to your period underwear helps prevent leaks and provides a secure fit around the thighs. Follow these steps to attach the leg bands:
- Measure the elastic needed for the leg bands by wrapping it around your thigh at the desired height, ensuring a comfortable but not too tight fit.
- Cut the elastic to the measured length, adding an extra inch for overlap.
- Using a straight pin or a fabric marker, mark the halfway point on the elastic to indicate the center.
- Pin the elastic center onto the side seam of the leg opening, aligning the raw edges.
- Stretch the elastic slightly as you continue to pin it along the leg opening, distributing the excess fabric evenly.
- Once the elastic is pinned in place, use a zigzag stitch on your sewing machine to sew the elastic onto the fabric.
- Start sewing at the side seam, backstitching to secure the stitching, and continue sewing towards the front or back.
- As you sew, make sure to stretch the elastic slightly to match the fabric length.
- Overlap the elastic by an inch at the end, sew it down, and trim any excess elastic and threads.
- Repeat the same process for the other leg opening.
Once the leg bands are attached, gently tug on them to ensure they have the right amount of stretch and comfortably hug your thighs without feeling too tight. The leg bands should stay in place and provide a secure fit during movement.
With the leg bands attached, your period underwear is nearly complete. The next step involves adding the finishing touches to ensure a polished and professional-looking finish.
Step 7: Finishing Touches
After completing the main construction of your period underwear, it’s time to add the finishing touches to ensure a polished and professional-looking finish. Follow these steps to complete your period underwear:
- Inspect the seams and edges of your period underwear. Trim any loose threads or excess fabric to give a clean and tidy appearance.
- Try on the underwear to check the fit and make any adjustments if necessary. You may need to make minor alterations depending on your body shape and personal preferences.
- Secure any unfinished edges or seams with a zigzag stitch or a serger to prevent fraying and enhance the durability of the underwear.
- Consider adding a small tag or label to identify your handmade period underwear. This can be a fun and personalized detail.
- Carefully press the finished period underwear with an iron on a low heat setting. This will smooth out any wrinkles and give a neat finish.
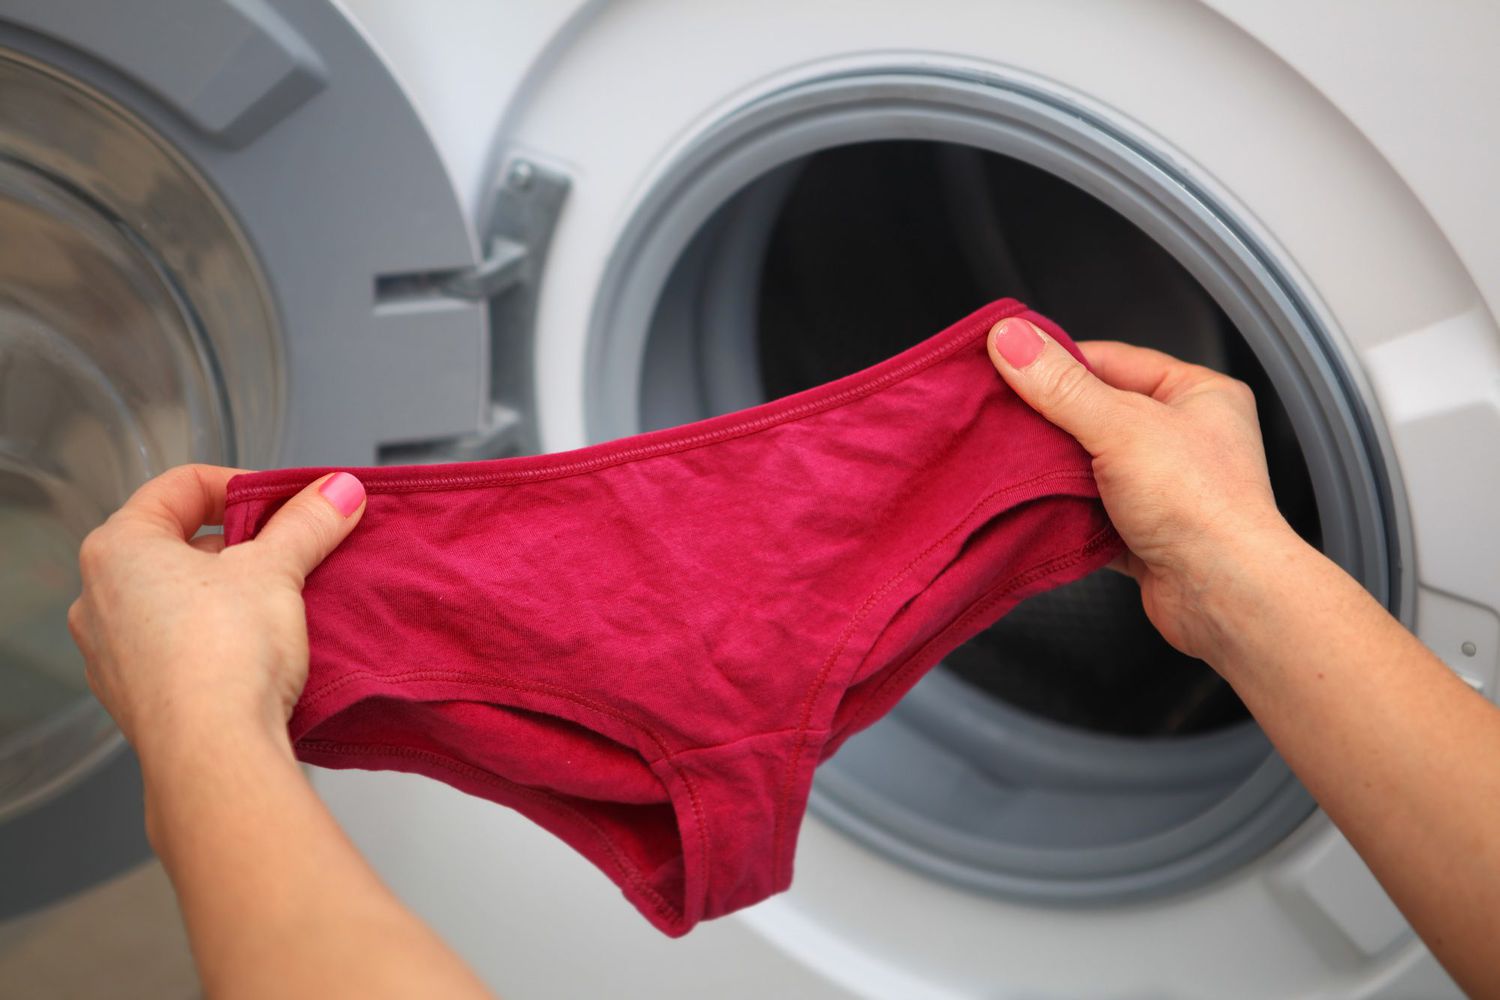
- Wash and dry your handmade period underwear following the care instructions of the fabric used.
- Store your period underwear in a clean and dry place, ready for use during your menstrual cycle.
Adding these finishing touches will ensure that your period underwear is comfortable, well-finished, and ready for use. Additionally, they will contribute to the longevity and durability of your handmade underwear.
Congratulations! You have successfully completed all the steps to make your own period underwear. By creating your own, you have not only saved money but also contributed to reducing waste and promoting sustainability. Now, enjoy the comfort and convenience of your handmade period underwear during your menstrual cycle.
Conclusion
Congratulations! You have successfully learned how to make your own period underwear. By following the steps outlined in this guide, you have created a comfortable, eco-friendly, and cost-effective alternative to traditional disposable products.
Period underwear offers a sustainable solution for managing your menstrual cycle, providing the absorbency and protection you need while reducing waste. Making your own period underwear allows you to customize the fit, fabric, and absorbency level according to your preferences and body shape.
Remember, the key steps involved in making period underwear include selecting the right fabric, taking accurate measurements, creating a pattern, cutting and sewing the fabric layers, adding absorbent layers, sewing the elastic waistband, attaching leg bands, and finishing with any necessary touches.
As you embark on this journey of crafting your own period underwear, don’t forget to infuse your creativity and personal style into the process. You can experiment with different fabric prints, colors, or embellishments to make your period underwear truly unique and representative of your personality.
With your new set of period underwear, you can enjoy the benefits of comfort, absorbency, and environmental consciousness. Remember to care for and maintain your period underwear by following the fabric care instructions and keeping them clean and hygienic.
By making your own period underwear, you have taken a significant step towards embracing sustainability and empowering yourself during your menstrual cycle. So, embrace your DIY skills, get creative, and enjoy the comfort and confidence that comes with wearing your handmade period underwear!