Home>How-to Guides>For Women>How To Make Your Underwear Into A Thong
For Women
How To Make Your Underwear Into A Thong
Published: July 31, 2023
Learn how to transform your regular underwear into a stylish thong! Perfect for women looking for an easy and affordable fashion upgrade.
(Many of the links in this article redirect to a specific reviewed product. Your purchase of these products through affiliate links helps to generate commission for Under-tec.com, at no extra cost. Learn more)
Table of Contents
Introduction
When it comes to underwear styles, many women prefer the comfort and coverage of briefs or boyshorts. However, there may be occasions when you want to switch things up and add a touch of allure to your lingerie collection. One popular option is to transform your regular underwear into a thong. The thong style provides minimal coverage while still offering support, making it an ideal choice for outfits that require a seamless and panty-line-free silhouette.
The great news is that you don’t have to invest in new lingerie to achieve the thong look. With a few simple steps, you can easily convert your existing underwear into a thong and enjoy the benefits of this trendy style. Whether you’re preparing for a special occasion or just want to add a bit of excitement to your everyday intimates, learning how to make your underwear into a thong is a fun DIY project that allows you to customize your lingerie to your own preferences.
In this article, we will guide you through the steps to transform your underwear into a thong, allowing you to unleash your inner fashionista and spice up your lingerie drawer. We’ll cover the materials you’ll need, the step-by-step process, and even provide some optional variations to add extra flair to your newly created thongs. Follow the instructions carefully, and you’ll be rocking a sexy and comfortable thong in no time.
Materials Needed
Before you dive into transforming your underwear into a thong, it’s important to gather the necessary materials. Don’t worry, you won’t need a whole lot of supplies – just a few basic items that you might already have around the house or can easily find at a craft store. Here’s a list of what you’ll need:
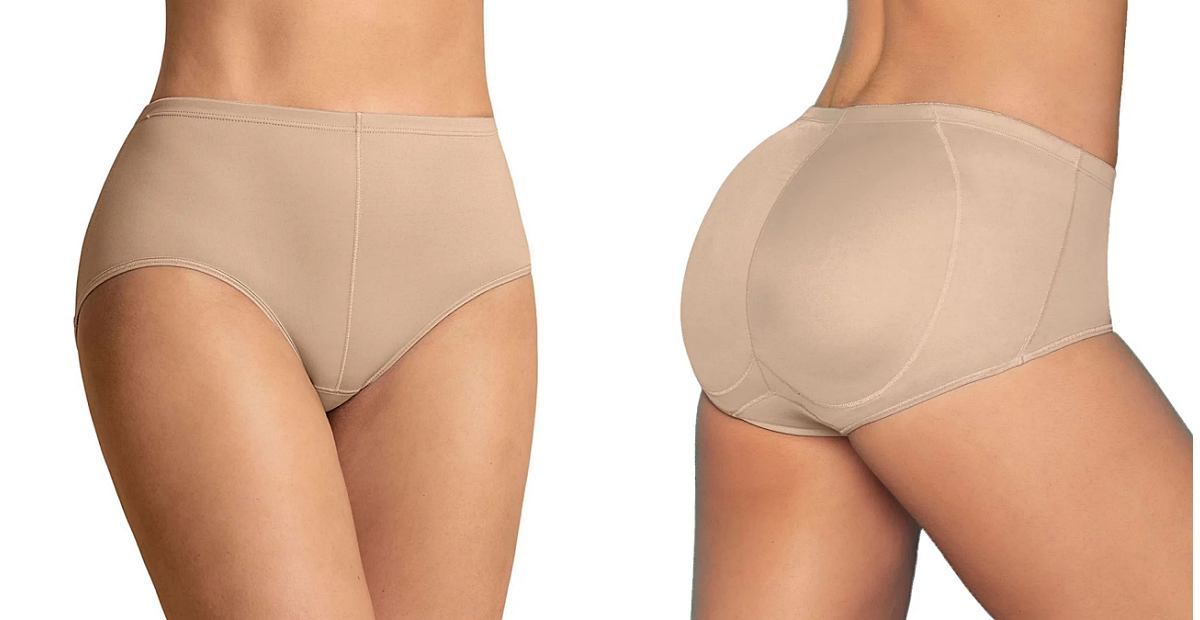
- A pair of underwear: Choose a pair in a style, color, and fabric that you love. Make sure they fit well and are comfortable to wear.
- Scissors: A sharp pair of fabric scissors will come in handy for cutting the necessary sections of your underwear.
- Elastic band (optional): If you prefer a more secure fit or want to add some extra stretch to your thong, you can opt to use an elastic band.
- Needle and thread: If you choose to use an elastic band, you’ll need a needle and thread to attach it to the underwear.
That’s it! With these basic materials, you’ll have everything you need to get started on transforming your underwear into a thong. Remember to choose quality materials that will ensure longevity and comfort.
Step 1: Determine Your Desired Style
Before you begin cutting and altering your underwear, take a moment to consider the style of thong you’d like to create. Thongs come in various designs, ranging from classic to more intricate styles. By determining your desired style upfront, you can ensure that the end result matches your preferences.
Here are a few popular thong styles to consider:
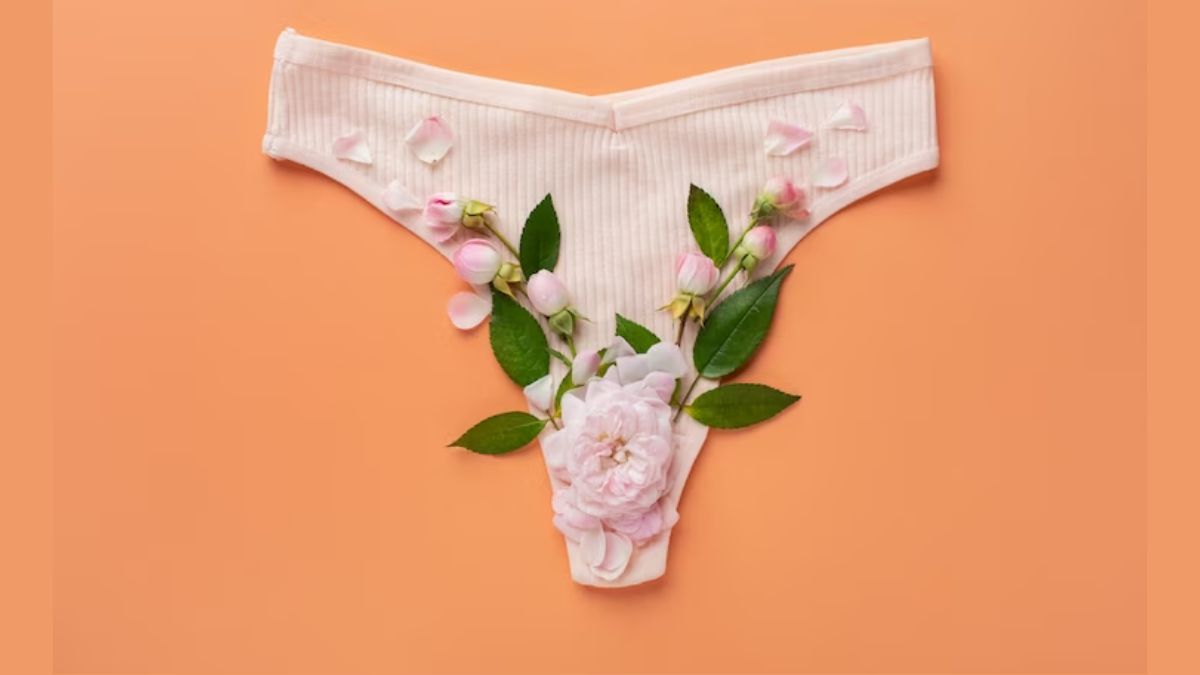
- Classic Thong: This is the most common thong style, featuring a thin strip of fabric running up the back and a triangular shape on the front.
- G-String: Similar to a classic thong, but with an even smaller back coverage. It provides minimal coverage while still offering support.
- Lace Thong: For an added touch of luxury and femininity, consider using lace fabric for your thong. This style adds a hint of romance to your underwear drawer.
- Low-Rise Thong: If you prefer a thong that sits lower on the hips, opt for a low-rise style. It offers comfort and a more discreet fit under low-rise pants or skirts.
Take some time to browse through lingerie catalogs or online shops to find inspiration for your desired thong style. Consider your personal taste, comfort level, and the occasions you plan to wear the thong for. Once you have a clear idea of the style you want to create, it’s time to move on to the next step.
Step 2: Cut the Sides of the Underwear
Now that you’ve determined the style of thong you want to create, it’s time to start altering your underwear. The first step is to cut the sides of the underwear to achieve the desired thong shape.
- Put on the underwear and determine how much fabric you want to remove from the sides. You can use a fabric marker or chalk to lightly mark the area if needed.
- Take off the underwear and lay it flat on a clean surface.
- Using a sharp pair of fabric scissors, carefully cut along the marked lines on both sides of the underwear. Make sure to cut in a straight line to maintain an even appearance.
- Try on the underwear to see if you’re happy with the resulting thong shape. If you need to make any adjustments, you can always trim a little more fabric as needed.
It’s important to take your time and be cautious while cutting the sides of the underwear to avoid any accidental tears or uneven cuts. Remember, you can always start with a smaller cut and make adjustments until you achieve the desired look. Once you’re satisfied with the shape, you can move on to the next step.
Step 3: Cut the Crotch Area
Now that you’ve cut the sides of the underwear to create a thong shape, the next step is to modify the crotch area. This step is crucial for achieving the classic thong design and ensuring comfort.
- Lay the underwear flat with the front facing up.
- Identify the crotch area, which is the fabric between the front and back of the underwear.
- Using your fabric scissors, carefully cut a narrow strip of fabric from the crotch area. This strip should be about 1-2 inches wide, depending on your preferences and the coverage you desire.
- Make sure to cut in a straight line and remove any excess fabric.
- Try on the underwear to see if the crotch area feels comfortable and provides the desired coverage. If needed, you can make further adjustments by trimming any additional fabric.
It’s important to exercise caution while cutting the crotch area to avoid unwanted tears or uneven cuts. Take your time and make sure the fabric is symmetrical and aligned properly. Remember, you can always remove a little more fabric if you prefer a narrower strip or less coverage. Once you’re satisfied with the result, you can move on to the next step.
Step 4: Attach Elastic Straps (Optional)
If you prefer a more secure fit or want to add some stretch to your thong, you can choose to attach elastic straps to the sides of your underwear. This step is optional and can provide extra comfort and flexibility to your newly transformed thong.
- Measure the length of elastic you’ll need by wrapping it around your hips, where the thong will sit.
- Cut two equal lengths of elastic, ensuring they are long enough to cover the sides of the thong.
- Pin one end of the elastic to the top of one side of the thong and secure it with a few stitches using a needle and thread. Repeat this step with the other end of the elastic on the other side of the thong.
- Stretch the elastic across the underside of the thong, making sure it sits comfortably against your skin. Pin the other ends of the elastic to the bottom of each side.
- Stitch the ends of the elastic securely to the bottom of the thong.
Make sure to use a thread that matches the color of your underwear to create a seamless look. Additionally, try to use a stretchy and comfortable elastic to ensure a snug fit without sacrificing comfort.
The elastic straps can provide added support and prevent the thong from shifting or sliding, giving you confidence and peace of mind while wearing your newly transformed underwear. However, if you prefer a more minimalistic design without the straps, you can skip this step and proceed to the final step.
Step 5: Try On and Make Adjustments
Now that you’ve completed the transformation process, it’s time to try on your newly created thong and make any necessary adjustments for the perfect fit. This step is essential to ensure comfort and satisfaction with your DIY lingerie project.
- Put on the thong and assess how it feels against your skin. Pay attention to the fit, comfort, and coverage.
- Check if the thong sits at the desired height on your hips and if the elastic straps (if added) provide the right amount of tension without causing discomfort or digging into your skin.
- Move around and perform various activities to determine if the thong stays in place and provides the desired level of support.
- If you notice any areas that need adjustment, make small modifications by trimming excess fabric or adjusting the elastic straps if necessary.
Take your time during this step to ensure that your DIY thong meets your expectations. You may need to make minor tweaks until you achieve the ideal fit and comfort level for your body.
Remember that everyone has different preferences when it comes to lingerie, so don’t be afraid to experiment and make further adjustments to suit your needs and style. The most important aspect is that you feel confident and comfortable in your newly transformed thong.
Conclusion
Congratulations! You’ve successfully transformed your regular underwear into a stylish and comfortable thong. By following these simple steps and using basic materials, you’ve customized your lingerie to suit your preferences and added a touch of allure to your wardrobe.
Remember, making your own thong allows you to create a personalized fit and style that may not be readily available in stores. Whether you prefer a classic thong, a lacy design, or a low-rise style, you now have the ability to tailor your underwear to your liking.
As with any DIY project, don’t be afraid to experiment and make adjustments along the way. Each person has unique preferences and body shapes, so feel free to tailor the steps to suit your individual needs. The key is to have fun and enjoy the process of transforming your underwear into a thong that makes you feel confident and glamorous.
Now that you’ve mastered the art of making your own thong, you can explore different fabrics, patterns, and styles to expand your lingerie collection. Whether you want to create a thong for a special occasion or simply enjoy wearing them as daily underwear, knowing how to make your own thongs opens up a world of possibilities.
So go ahead, embrace your creativity, and let your inner fashionista shine with your newly transformed thongs!