Home>How-to Guides>For Women>How To Make Garters To Hold Up Your Stockings
For Women
How To Make Garters To Hold Up Your Stockings
Published: July 31, 2023
Discover how to make beautiful garters for women to stylishly hold up their stockings with our step-by-step guide. Perfect for adding a touch of elegance to any outfit.
(Many of the links in this article redirect to a specific reviewed product. Your purchase of these products through affiliate links helps to generate commission for Under-tec.com, at no extra cost. Learn more)
Table of Contents
- Introduction
- Materials Needed
- Step 1: Choosing the Right Elastic
- Step 2: Measuring and Cutting the Elastic
- Step 3: Sewing the Elastic Ends Together
- Step 4: Attaching the Garter Clips
- Step 5: Testing the Length and Adjustments
- Step 6: Adding Decorative Embellishments (Optional)
- Step 7: Styling Tips and Variations
- Conclusion
Introduction
Welcome to the world of timeless elegance and femininity – garters. Worn for centuries, garters have been a symbol of sensuality and sophistication. These beautiful accessories not only add a touch of glamour to your attire but also serve a practical purpose: holding up your stockings. Whether you’re getting ready for a special occasion or simply want to embrace your inner vintage goddess, making your own garters can be a fun and rewarding DIY project.
In this article, we’ll guide you through the process of creating your own garters from start to finish. We’ll cover everything from choosing the right elastic to adding decorative embellishments. Whether you’re a seasoned seamstress or a beginner with a knack for crafts, this step-by-step tutorial will make the process easy and enjoyable.
So, get ready to dive into the world of garters and unleash your creativity. From classic lace designs to bold and modern styles, the possibilities are endless. Let’s get started on making garters that will make you feel fabulous and confident!
Materials Needed
Before you begin making your own garters, it’s important to gather all the necessary materials. Here’s a list of items you’ll need:
- Elastic: Choose a soft and stretchy elastic that is comfortable against your skin. Opt for a width between 3/8 inch to 1 inch, depending on your personal preference.
- Garter clips: These are the small metal or plastic clips that will hold your stockings in place. You can find them at craft stores or online.
- Thread: Select a thread color that matches your elastic for a seamless finish.
- Scissors: A good pair of sharp scissors will be essential for cutting the elastic.
- Sewing machine or needle: Depending on your sewing skills and preference, you can use either a sewing machine or a needle and thread to sew the garters.
- Ruler or measuring tape: Accurate measurements are crucial for a proper fit, so make sure you have a ruler or measuring tape on hand.
- Decorative embellishments (optional): If you want to add some flair to your garters, gather any decorative elements you’d like to incorporate. This can include lace trim, ribbons, bows, or any other embellishments that suit your style.
Once you have all the necessary materials, you’ll be ready to move on to the next step: choosing the right elastic for your garters.
Step 1: Choosing the Right Elastic
The first step in making your own garters is selecting the right elastic. The elastic you choose will determine the comfort and functionality of your garters. Here are a few factors to consider when choosing your elastic:
- Width: The width of the elastic will affect the look and feel of your garters. A narrower elastic, such as 3/8 inch, will create a delicate and feminine look, while a wider elastic, around 1 inch, will provide more support. Choose a width that suits your personal style and comfort level.
- Stretch: Make sure the elastic you choose has enough stretch to comfortably hold up your stockings. Test the stretchiness of the elastic by gently pulling it to ensure it has a good amount of give.
- Softness: It’s important to select elastic that feels soft against your skin, as it will be in direct contact with your legs. Look for elastic with a smooth texture that won’t irritate or chafe your skin.
- Durability: Consider the durability of the elastic, as you want your garters to withstand regular use. Choose elastic that is strong and resilient, able to hold up to the weight of your stockings without losing its shape or elasticity.
- Color: Select an elastic color that complements your lingerie or the outfit you plan to wear with the garters. Nude, black, and white are versatile options that can match a variety of styles.
Take your time to find the perfect elastic for your garters. Remember, the right elastic will not only provide functionality but also add to the overall aesthetics of your garters. Once you’ve chosen the perfect elastic, you’re ready to move on to the next step: measuring and cutting the elastic.
Step 2: Measuring and Cutting the Elastic
Now that you have chosen the perfect elastic for your garters, it’s time to measure and cut it to the appropriate length. Follow these steps to ensure a proper fit:
- Measure your thigh: Using a measuring tape, gently wrap it around the widest part of your thigh where you want the garter to sit. Make sure to measure snugly, but not too tight.
- Record the measurement: Once you have your thigh measurement, add about 2 inches to allow for overlap and adjustment. This will determine the length of your elastic.
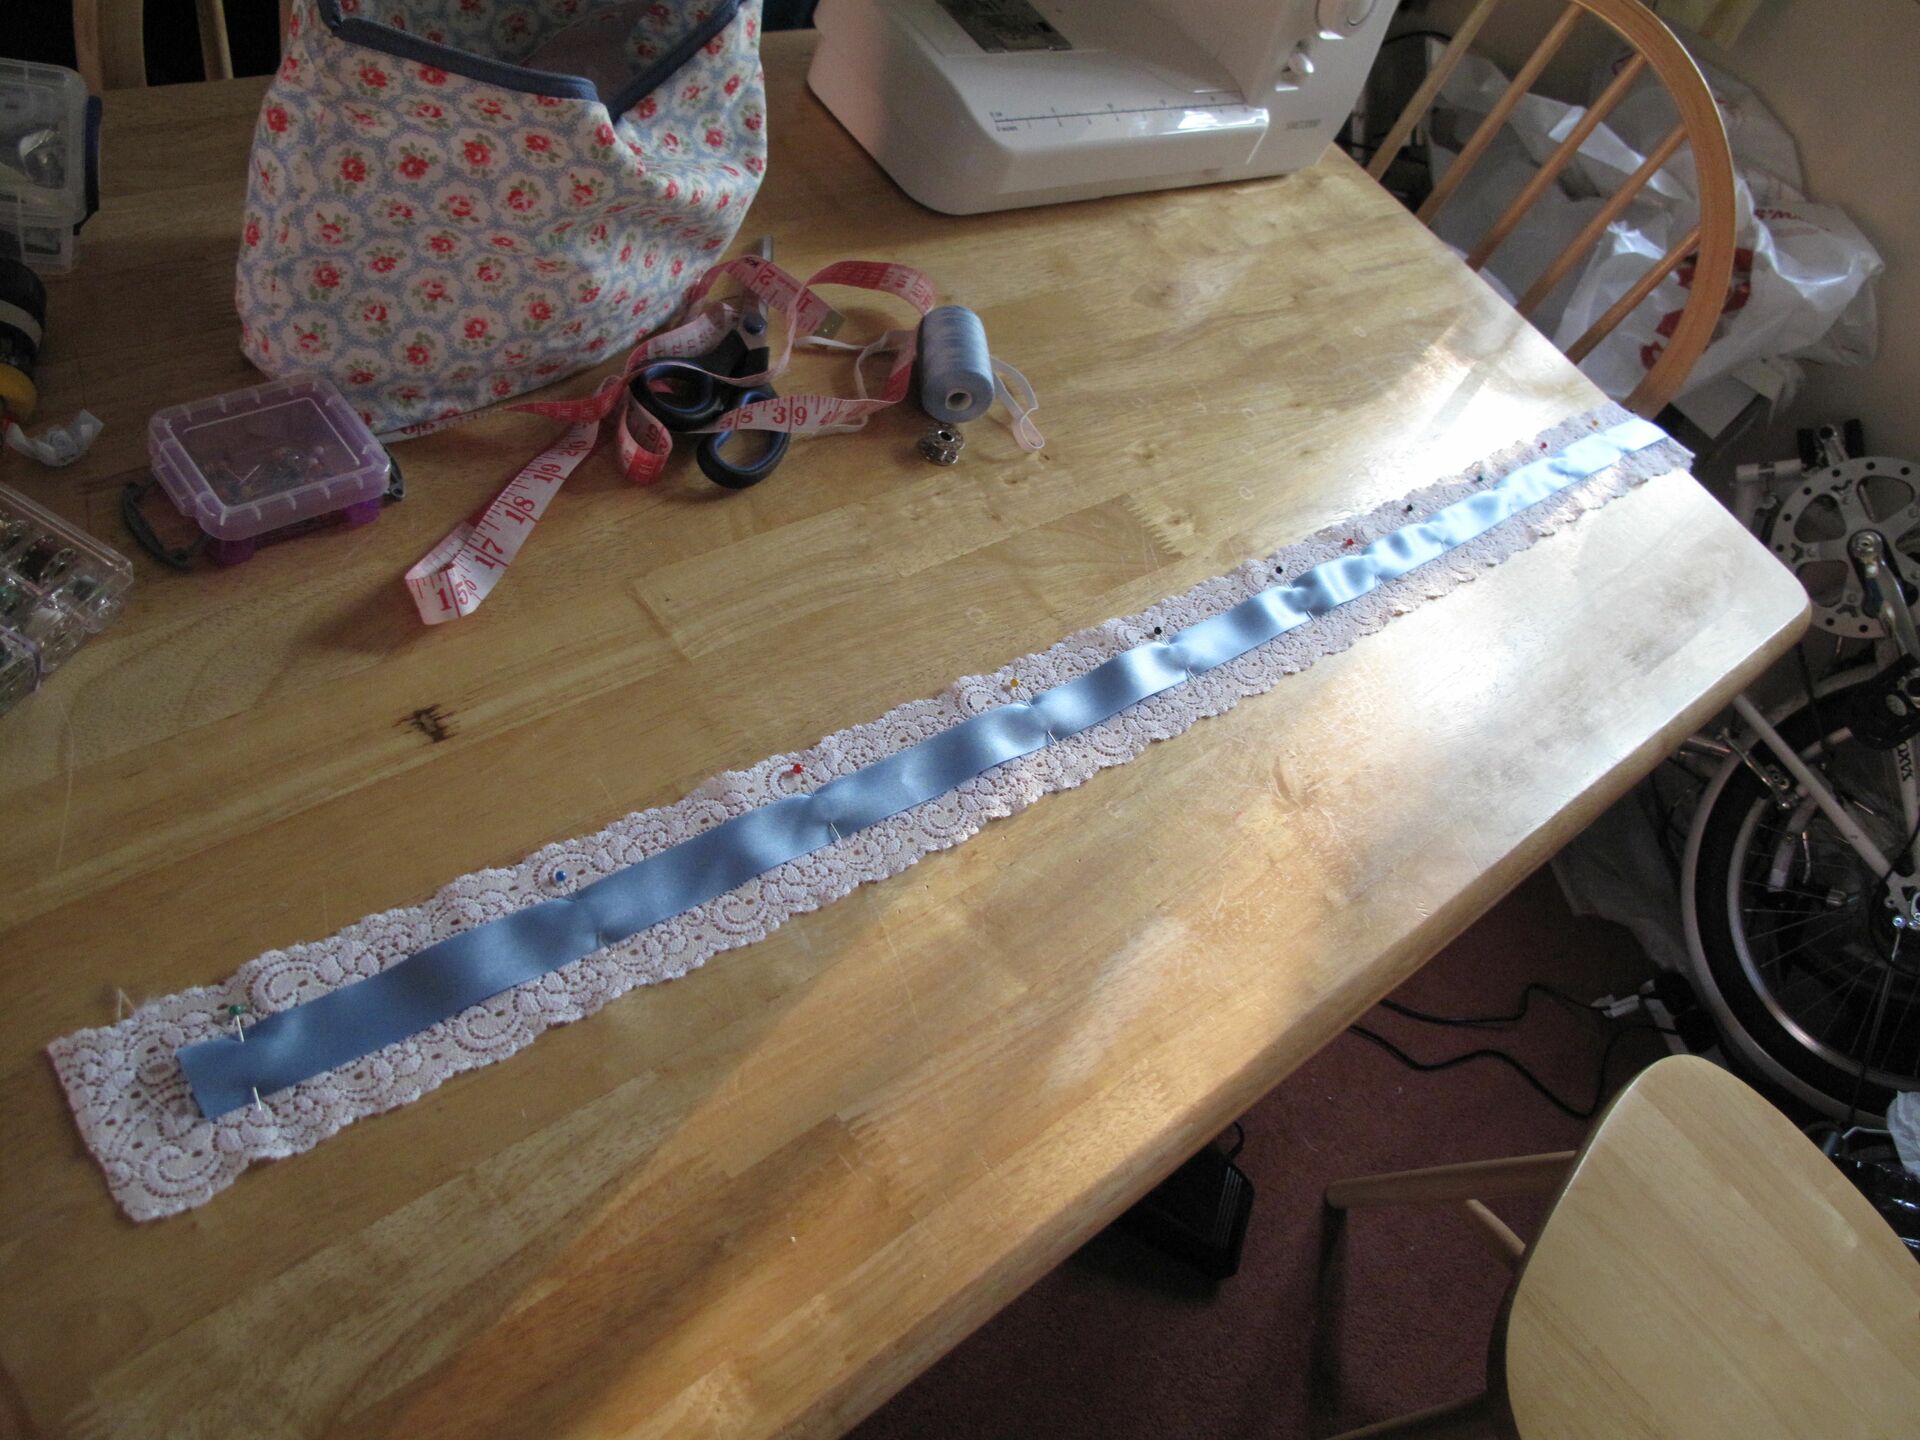
- Prepare the elastic: Lay the elastic out flat on a clean surface, ensuring there are no twists or tangles. Using a ruler or measuring tape, mark the determined length on the elastic with a fabric pencil or pin.
- Cut the elastic: Carefully cut the elastic at the marked point. Make sure to use sharp scissors for a clean and precise cut.
Remember, it’s always better to cut the elastic slightly longer if you’re unsure, as you can always trim it down later. It’s easier to make adjustments and shorten the elastic than to add length once it’s been cut.
Now that you have measured and cut the elastic to the correct length, you’re ready to move on to the next step: sewing the elastic ends together.
Step 3: Sewing the Elastic Ends Together
With your elastic cut to the appropriate length, it’s time to sew the ends together to create a continuous loop for your garters. Follow these steps to secure the elastic:
- Overlap the ends: Take one end of the elastic and overlap it with the other end by about 1 inch. Ensure that the right sides of the elastic are facing each other.
- Sew the ends: Using a sewing machine or a needle and thread, sew a straight stitch across the overlapped ends, about 1/4 inch from the edges. Make sure to backstitch at the beginning and end to secure the stitches.
- Trim any excess: Trim any excess thread and fabric from the ends to create a clean and neat finish.
By sewing the elastic ends together, you have created a continuous loop that will form the base of your garters. Ensure that the seam is secure and that there are no loose threads or uneven stitches.
If you prefer a more decorative finish, you can use a decorative stitch or add lace trim along the seam. This will add a touch of elegance and style to your garters. However, it is optional and depends on your personal preference.
With the elastic ends sewn together, you have completed this step. Your garters are starting to take shape, and it’s time to move on to the next step: attaching the garter clips.
Step 4: Attaching the Garter Clips
Now that you have a continuous loop of elastic, it’s time to attach the garter clips. These clips will securely hold your stockings in place. Follow these steps to easily attach the garter clips:
- Locate the garter clips: Take your garter clips and ensure that you have the necessary number for your garter loop. Typically, you will need four clips, one for each corner of your loop.
- Identify the front and back: Determine which side of the elastic loop will be the front and which will be the back. This will help you position the garter clips correctly.
- Attach the garter clips: Starting with the front, position one garter clip on the edge of the elastic loop, ensuring that the teeth of the clip are facing towards the center of the loop. Use a sewing machine or a needle and thread to securely stitch the garter clip in place, making sure to stitch over the attachment points of the clip. Repeat this process for the remaining garter clips.
When attaching the garter clips, it’s important to position them evenly around the elastic loop. This will ensure that your stockings are held up securely without any slippage. Take your time and be precise in your stitching to ensure a strong and durable attachment for the clips.
Once you have attached all of the garter clips, test the strength and stability of each one. Give the clips a gentle tug to ensure they are securely attached and will hold your stockings in place.
With the garter clips in place, your garters are nearly complete. It’s time to move on to the next step: testing the length and making adjustments if necessary.
Step 5: Testing the Length and Adjustments
Now that you have attached the garter clips, it’s important to test the length of your garters and make any necessary adjustments. Follow these steps to ensure a comfortable and secure fit:
- Put on the garters: Gently slide your garters up your legs and position them where you want them to sit on your thighs.
- Check the length: Take a moment to check the length of your garters. They should be snug enough to hold up your stockings but not too tight that they cause discomfort or restrict circulation. The garter clips should be at a height where they can easily attach to your stockings.
- Make adjustments if needed: If you find that the garters are too loose or too tight, you can make adjustments at this stage. If they’re too loose, you can trim a small amount of elastic from the ends and sew them back together. If they’re too tight, you may need to replace the elastic with a longer piece and reattach the garter clips.
It’s important to achieve a comfortable and secure fit with your garters. Take the time to make any necessary adjustments before moving on to the next steps.
Once you’re satisfied with the fit and comfort of your garters, you can proceed to the next step: adding decorative embellishments (if desired).
Step 6: Adding Decorative Embellishments (Optional)
If you want to add a personal touch and enhance the aesthetics of your garters, you can choose to add decorative embellishments. Here are some ideas to inspire you:
- Lace trim: Attach a delicate lace trim along the edges of the elastic loop for a feminine and romantic look. Choose lace that complements the color and style of your garters.
- Ribbons: Add satin or grosgrain ribbons to your garters by sewing them onto the elastic loop. You can tie them in bows for a charming and playful touch.
- Beads or sequins: For a touch of sparkle, consider adding small beads or sequins to the elastic or along the lace trim. This can add a subtle but eye-catching detail to your garters.
- Embroidery: If you have embroidery skills, you can create intricate designs or monograms on the elastic loop. This adds a personal and unique element to your garters.
When adding decorative embellishments, it’s important to consider the overall design and balance of your garters. Make sure the embellishments complement each other and create a cohesive look. Experiment with different placement options before securing them in place to ensure you achieve the desired effect.
Remember, adding decorative embellishments is optional. If you prefer a more minimalist or classic look, you can choose to leave your garters as they are after attaching the garter clips.
Once you have added the desired embellishments, your garters are complete and ready to be showcased. Pair them with your favorite stockings and enjoy the feeling of elegance and confidence they bring.
Step 7: Styling Tips and Variations
Now that you have successfully made your own garters, it’s time to explore different styling options and variations. Here are some tips to help you make the most of your garters:
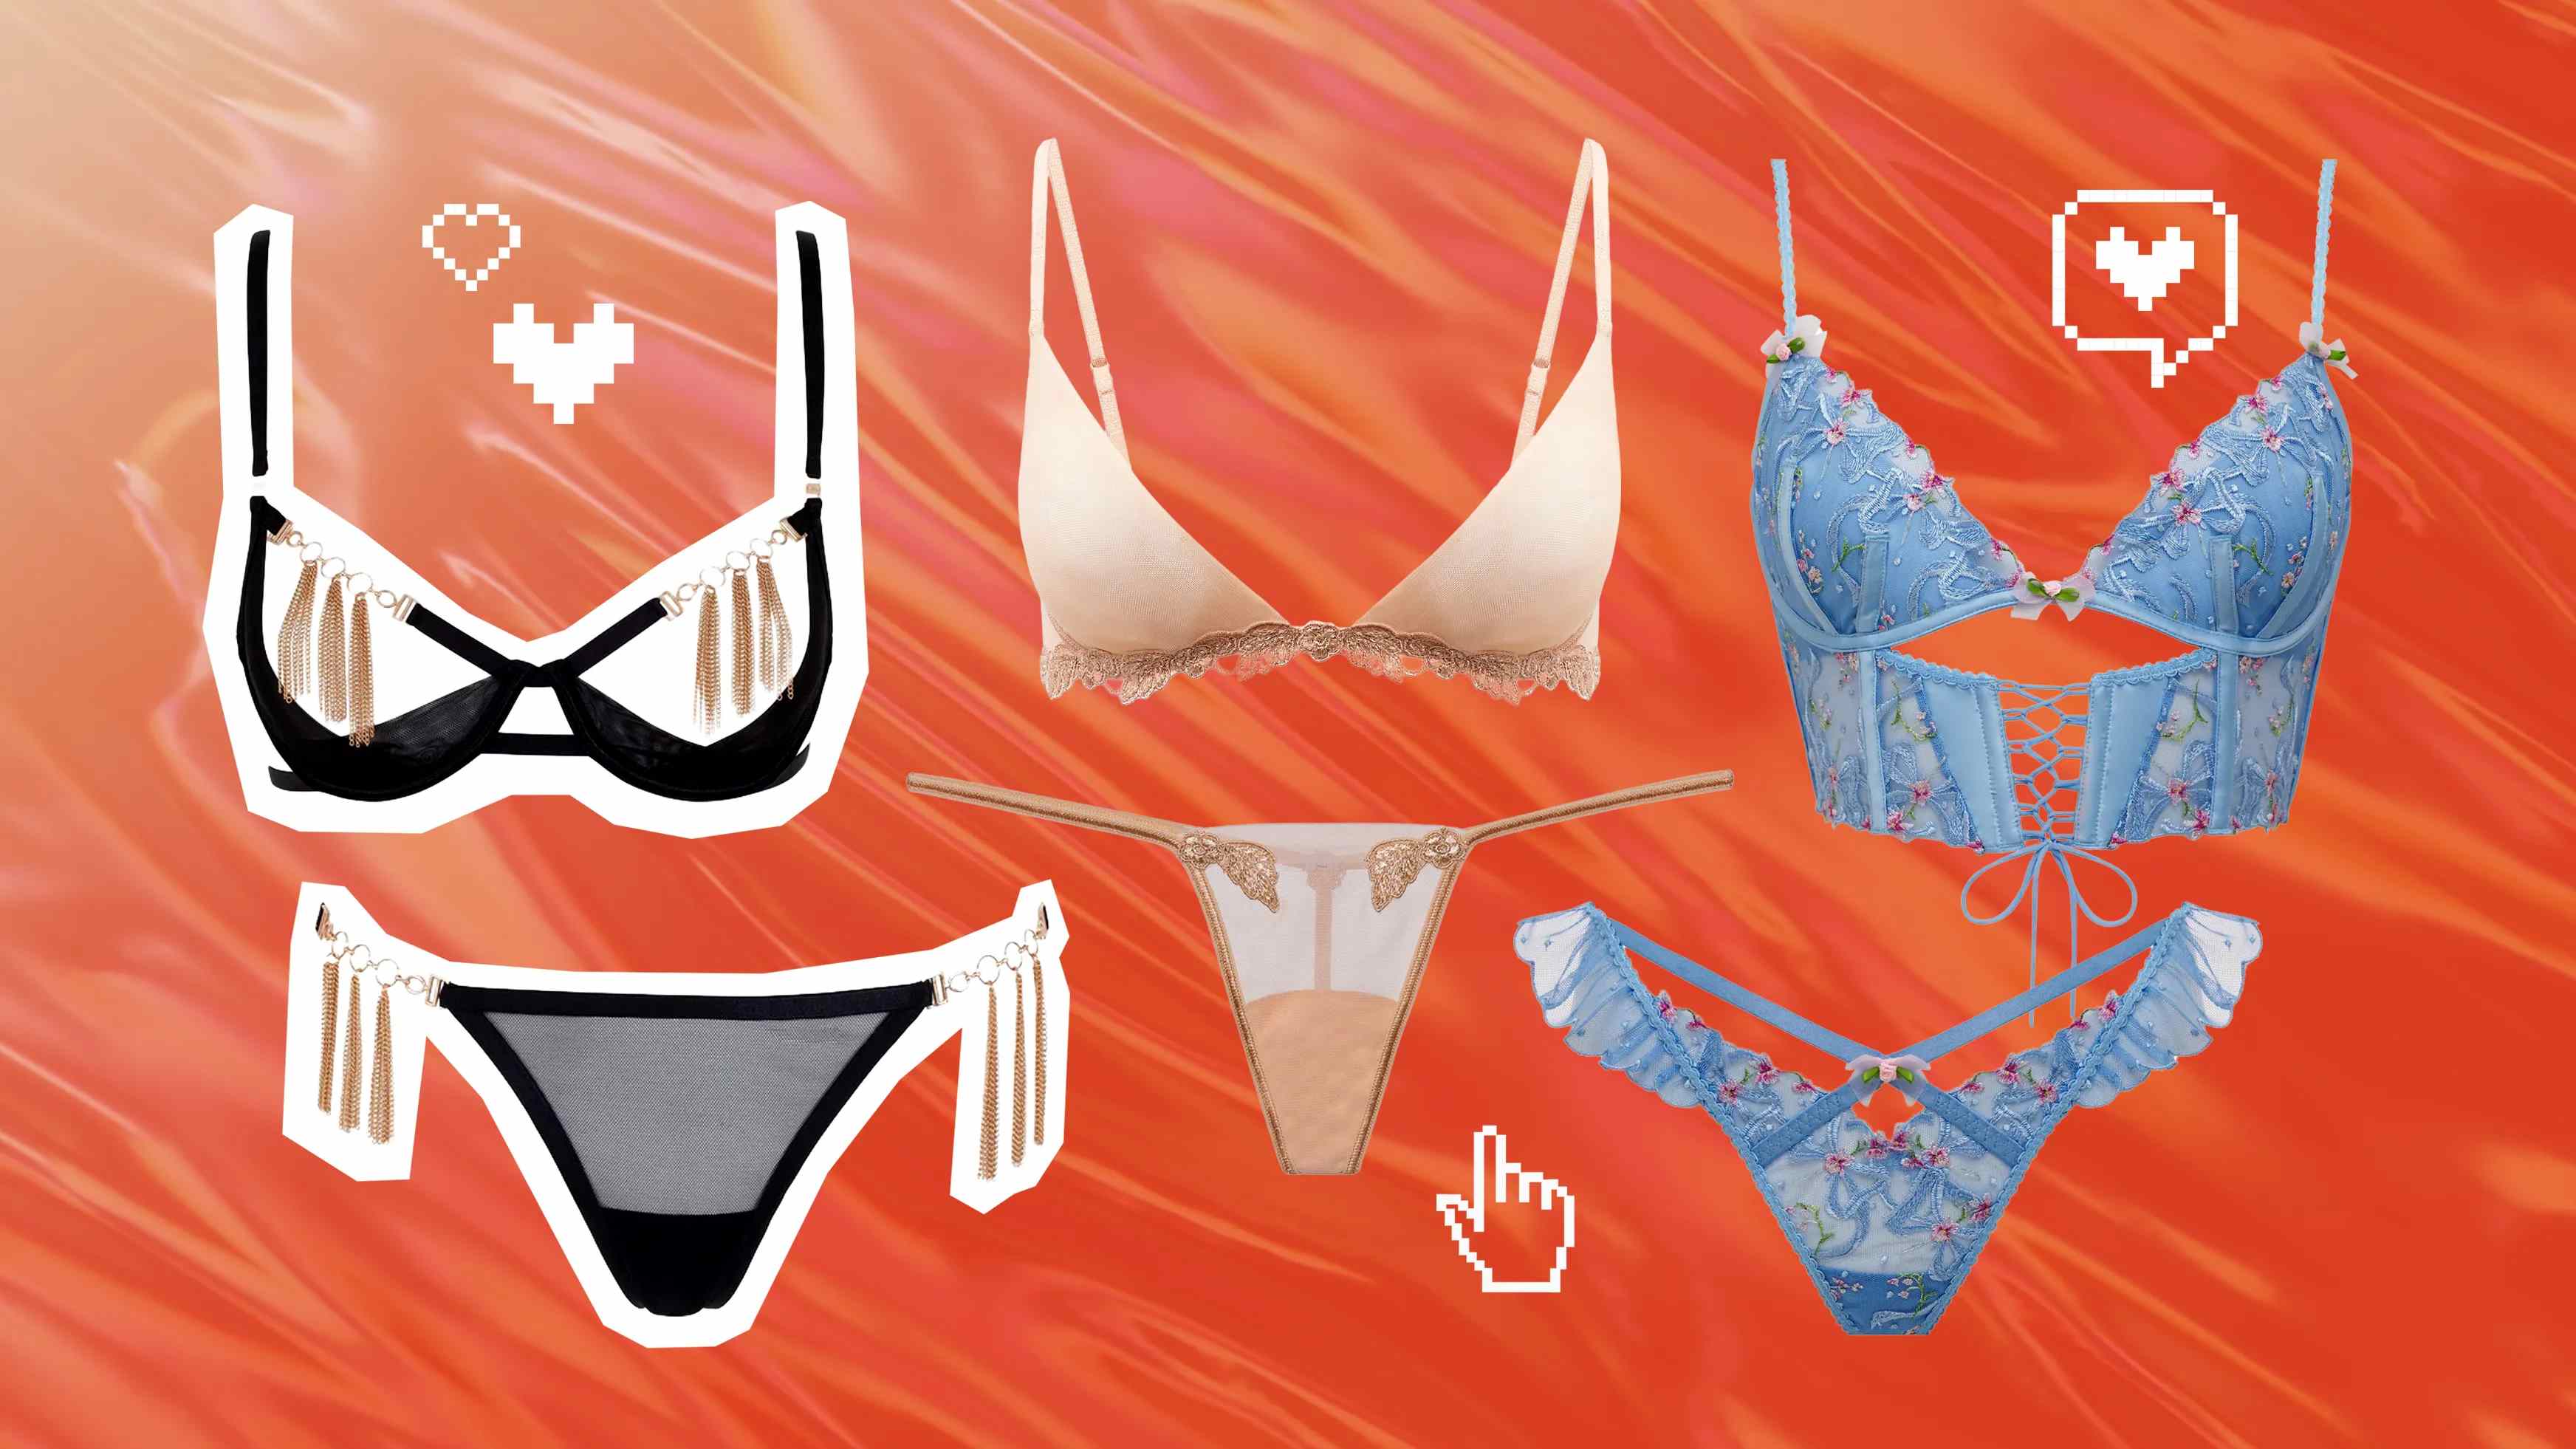
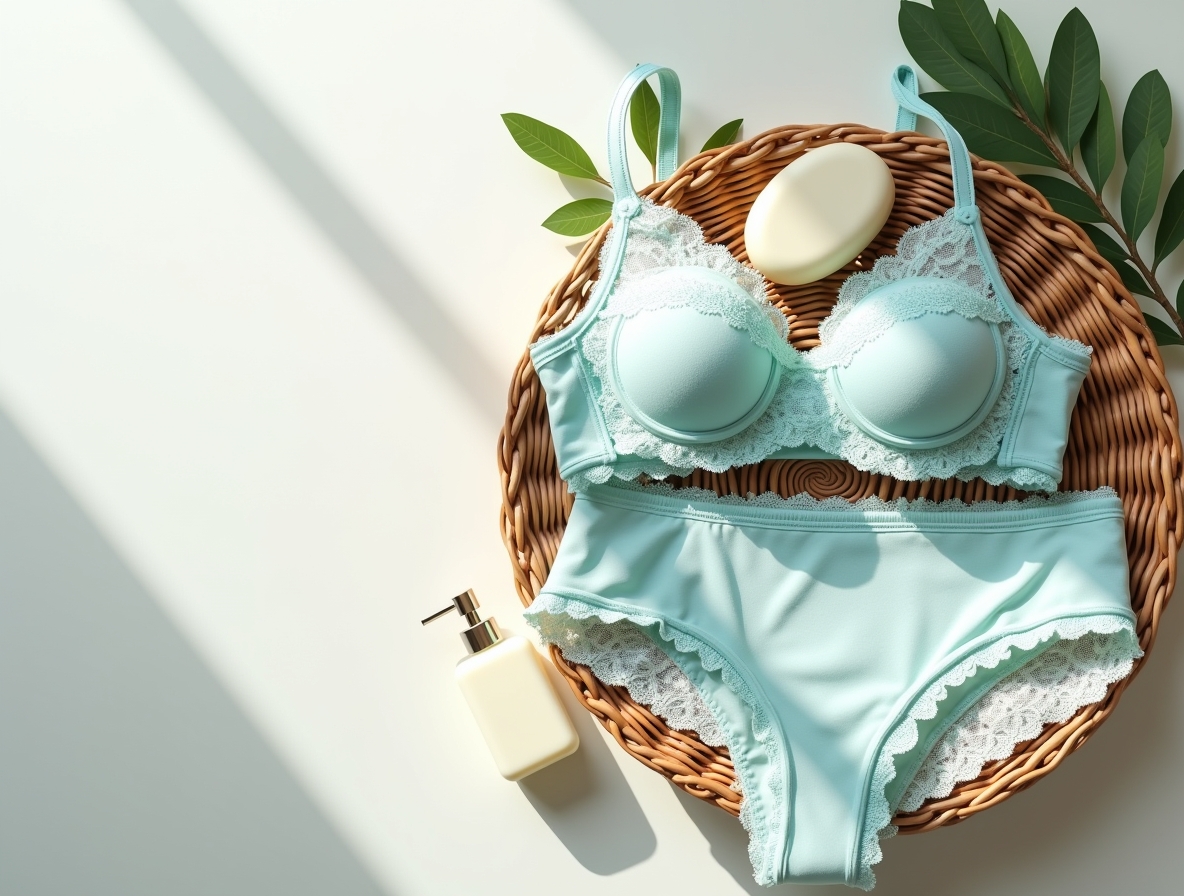
- Coordinate with your lingerie: Choose garters that complement the style and color of your lingerie. Matching them with a bra or panty set can create a cohesive and alluring look.
- Experiment with colors and materials: Don’t be afraid to play with different colors and materials for your garters. Satin, velvet, or even leather can bring a unique and avant-garde twist to your ensemble.
- Consider different clip designs: While traditional garter clips are functional and timeless, you can also explore different clip designs, such as heart-shaped or decorative clips, to add an extra touch of charm.
- Layer your garters: For a bold and fashionable statement, consider layering your garters over fishnet or patterned stockings. This creates a visually appealing contrast and adds an edgy element to your outfit.
- Pair with a skirt or dress: Garters can be a delightful surprise when paired with a skirt or dress. Choose a hemline that allows your garters to peek out for a seductive and playful look.
- Wear them for special occasions: Garters are perfect for special occasions such as weddings, anniversaries, or romantic evenings. They can make you feel like a true femme fatale and enhance your overall confidence.
- Customize for different themes: If you’re attending a themed event or costume party, you can customize your garters to match the theme. Incorporate unique embellishments or accessories to complete your look.
Remember, when it comes to styling your garters, the sky’s the limit. Embrace your creativity and personal style to make your garters a reflection of your individuality and sensuality.
Now that you have learned how to make and style your own garters, it’s time to put your newfound skills to good use. Have fun exploring different designs and putting together stunning ensembles that make you feel confident and empowered. Enjoy the timeless beauty and allure of garters!
Conclusion
Congratulations! You have successfully learned how to make your own garters. By following the step-by-step instructions provided in this article, you have acquired the skills to create beautiful and functional garters that will hold up your stockings with style and elegance.
From choosing the right elastic to adding decorative embellishments, each step has allowed you to put your creativity to work and personalize your garters to suit your unique taste. Whether you prefer a classic and sophisticated look or want to explore more daring and unconventional designs, the possibilities are endless.
By wearing your handmade garters, you can feel an undeniable sense of confidence and sensuality. Every time you put them on, they will remind you of the time and effort you put into creating something beautiful and special.
Remember, garters are not only functional accessories but also symbols of femininity and allure. Whether you’re wearing them for a special occasion or just to add a touch of glamour to your everyday outfit, your garters will always make a statement.
Now that you have mastered the art of making garters, don’t be afraid to experiment with different styles, colors, and materials. Let your imagination run wild and create unique variations that express your personal style and make you feel absolutely extraordinary.
So go ahead, embrace your inner DIY goddess, and enjoy the satisfaction and joy that comes from crafting your own garters. Happy garter-making, and may your stockings always stay perfectly in place!