Home>How-to Guides>For All>How To Make Mums And Garters For Homecoming
For All
How To Make Mums And Garters For Homecoming
Published: July 31, 2023
Learn how to make stunning mums and garters for homecoming with this comprehensive guide. Perfect for all homecoming events.
(Many of the links in this article redirect to a specific reviewed product. Your purchase of these products through affiliate links helps to generate commission for Under-tec.com, at no extra cost. Learn more)
Table of Contents
- Introduction
- Materials Needed
- Step 1: Choosing the Right Ribbon and Colors
- Step 2: Making the Base of the Mum or Garter
- Step 3: Adding the Decorative Elements
- Step 4: Personalizing with Names and Charms
- Step 5: Attaching the Mum or Garter to a Backing
- Step 6: Tips and Tricks for a Professional Finish
- Step 7: Enhancing the Mum or Garter with Additional Elements
- Conclusion
Introduction
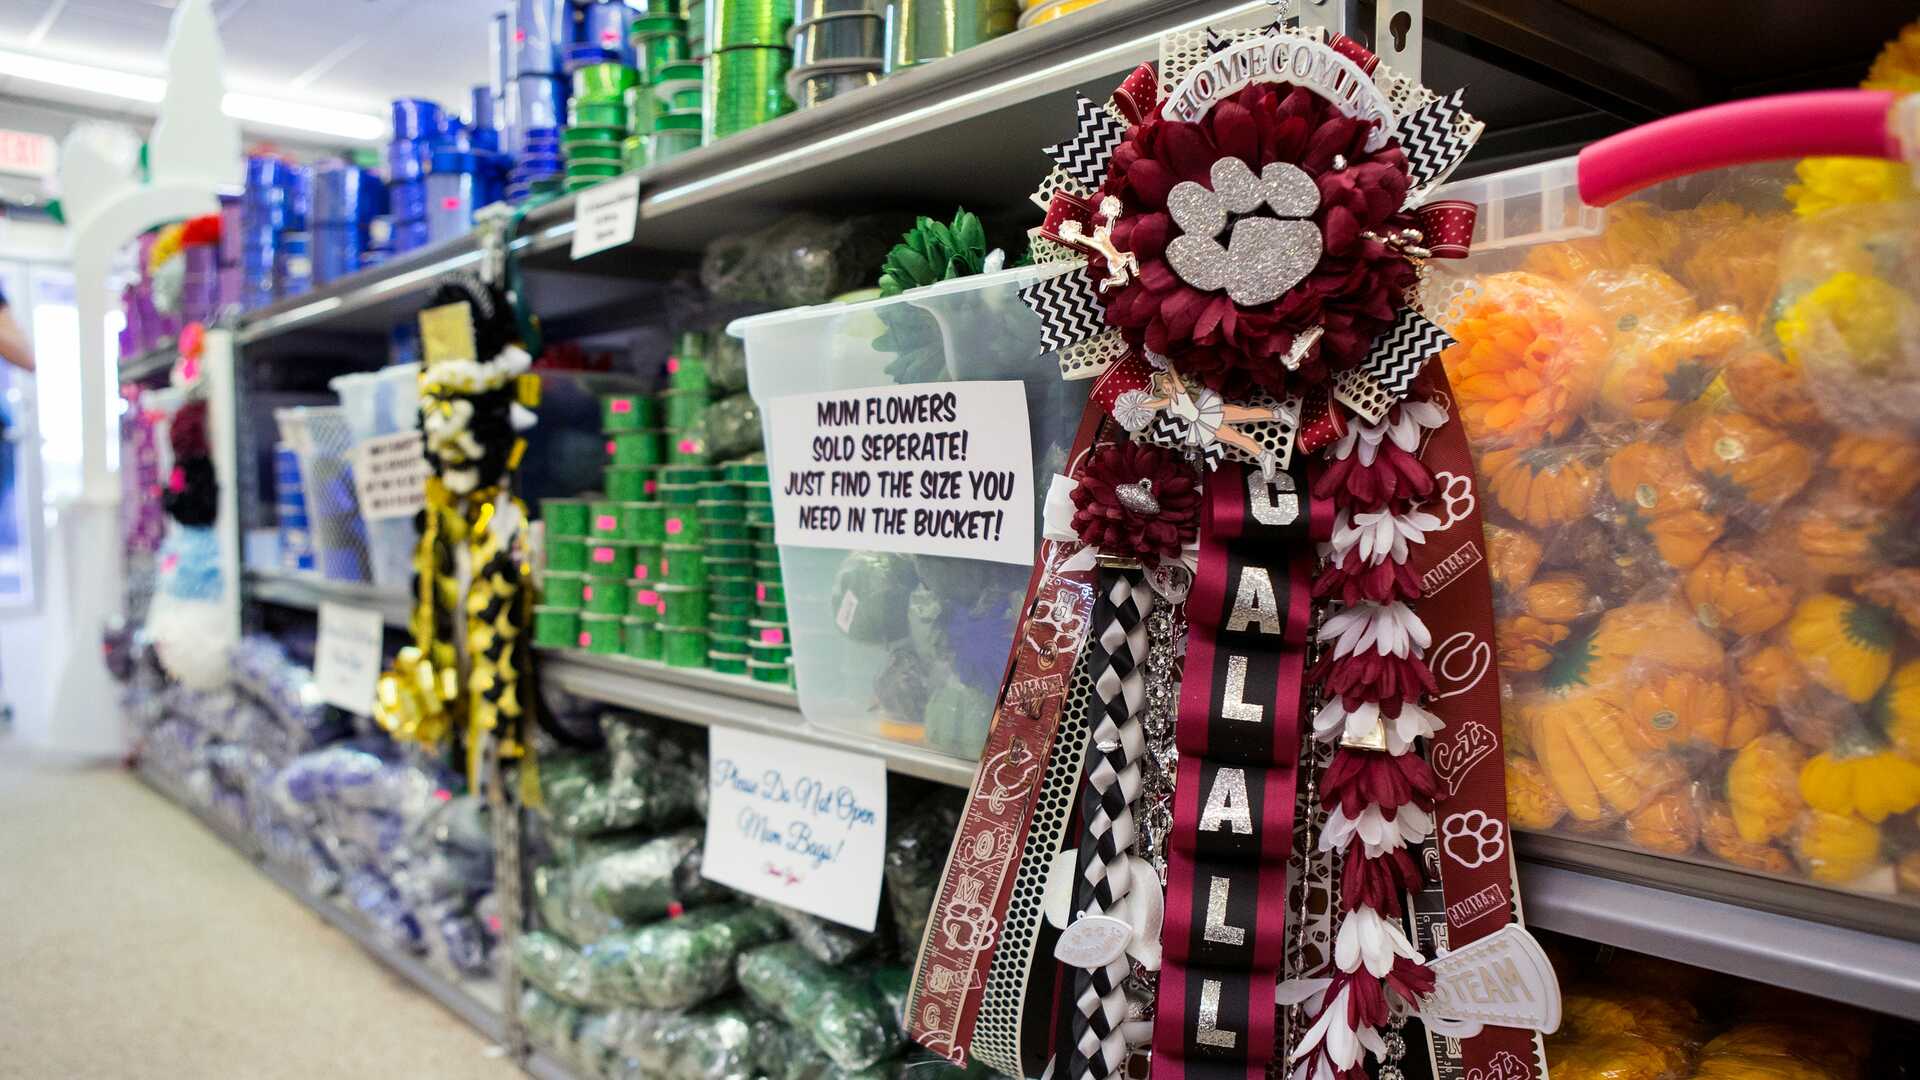
Welcome to the world of mums and garters, the beloved tradition of homecoming festivities! For those unfamiliar, mums and garters are ornate floral accessories worn during homecoming events in the United States. These intricately designed tributes are typically crafted by students or their loved ones as a way to show school spirit and celebrate the occasion.
Creating a stunning mum or garter is not only a way to symbolize school pride but also an opportunity for creativity and personalization. From choosing the right ribbon and colors to adding unique charms and names, each element represents a significant aspect of the wearer’s life and interests.
This article is here to guide you through the process of crafting your own mums and garters, ensuring that you have all the necessary materials and step-by-step instructions. Whether you’re a student, parent, or simply someone who wants to learn this beautiful tradition, this article will provide you with all the information you need to create a memorable and impressive accessory for homecoming.
So, let’s dive into the world of mums and garters and discover how to create these dazzling and meaningful accessories. From the choice of colors to the personalization possibilities, we’ll explore each step of the process and share tips and tricks for achieving a professional finish. Get ready to unleash your creativity and make a statement with your very own mum or garter!
Materials Needed
To create a stunning mum or garter for homecoming, you will need the following materials:
- Ribbon: Choose a wide ribbon in the colors of your school or team. You will need at least 2-3 yards of ribbon for the base.
- Flower petals: Select artificial flower petals in coordinating colors to add depth and texture to your mum or garter.
- Floral wire: This will be used to secure the ribbon and attach the decorative elements.
- Trinkets and charms: Personalize your mum or garter with small trinkets and charms that reflect your interests and personality.
- Bells or trinkets: These can be added to give your mum or garter a unique touch and create a delightful jingling sound as you move.
- Hot glue gun: A hot glue gun will be your best friend during the crafting process. It will help you attach the ribbon and decorative elements securely.
- Scissors: A good pair of scissors will come in handy for cutting ribbons and trimming flower stems.
- Backings: Depending on your preference, you can choose between a pin or a stretchy garter band as the backing for your creation.
- Name ribbons: Personalize your mum or garter by adding ribbons with names or initials of the wearer or loved ones.
These are the basic materials you will need to create your own mum or garter. However, feel free to get creative and add any additional elements that represent your unique style and spirit. Now that you have all the necessary materials, let’s move on to the next steps to bring your creation to life!
Step 1: Choosing the Right Ribbon and Colors
When it comes to creating a beautiful mum or garter, choosing the right ribbon and colors is crucial. The ribbon will be the foundation of your creation and sets the tone for the overall design. Here’s how you can make the best choices:
1. School Colors: Start by considering your school or team’s colors. Using these colors in your mum or garter will show your support and loyalty. If you’re uncertain about the exact shade, check with your school or team’s official colors.
2. Complementary Colors: To add visual interest and dimension to your creation, select complementary colors. These are colors that are opposite each other on the color wheel. For example, if your school color is blue, you can complement it with orange or yellow accents.
3. Accent Colors: In addition to your school colors, you can also incorporate accent colors that represent your individual style or interests. These can be colors that reflect your favorite hobbies, sports teams, or personal preferences.
4. Patterned Ribbons: Don’t be afraid to use patterned ribbons to add a unique touch to your mum or garter. Stripes, polka dots, or even floral patterns can make your creation stand out.
Remember, the ribbon choice should reflect your personal style and represent the spirit of homecoming. Once you have selected your ribbon and colors, you are ready to move on to the next step of creating the base for your mum or garter. Get ready to dive into the exciting world of crafting!
Step 2: Making the Base of the Mum or Garter
Now that you have chosen the perfect ribbon and colors, it’s time to create the base of your mum or garter. The base provides the structure and support for the decorative elements that will be added later. Follow these steps to make the base:
1. Measure and Cut: Determine the length of ribbon you need for your mum or garter. Use a measuring tape to wrap around your wrist or arm, depending on where you plan to wear it. Add a few extra inches to ensure a comfortable fit. Cut the ribbon to the desired length.
2. Fold and Pin: Take one end of the ribbon and fold it to create a loop. Secure it with a small safety pin or hot glue to hold the loop in place. This will serve as the starting point for your mum or garter.
3. Create Layers: Gradually layer the remaining ribbon on top of the loop, keeping it flat and even. Align the edges of the ribbons as you go and secure them with small stitches or hot glue. This will give your base a neat and polished look.
4. Repeat for a Garter: If you’re making a garter, continue wrapping the ribbon around itself, creating layers until you reach the desired thickness. Ensure that it’s snug but not too tight for a comfortable fit.
5. Secure the Ends: Once you have reached the end of the ribbon, fold the last section, tucking it under the base and securing it with stitches or hot glue. This will prevent the ribbon from unraveling and give your mum or garter a clean finish.
By following these steps, you will have created a sturdy and well-crafted base for your mum or garter. Now, it’s time to move on to the most exciting part – adding the decorative elements that will make your creation truly unique and eye-catching!
Step 3: Adding the Decorative Elements
With the base of your mum or garter complete, it’s time to bring it to life by adding the decorative elements. This is where you can let your creativity shine and add personalized touches that reflect your unique style and interests. Follow these steps to add the decorative elements:
1. Attach Flowers: Using floral wire or hot glue, carefully attach artificial flowers to the base of your mum or garter. Arrange them in a visually pleasing way, placing larger flowers towards the center and smaller flowers around the edges. Play with different colors and textures to create a stunning floral arrangement.
2. Incorporate Ribbons: Cut smaller pieces of ribbon in various lengths and attach them to the base. You can curl them using scissors or leave them straight for a different effect. These ribbons will not only add movement and visual interest but also serve as a canvas for personalization.
3. Add Trinkets and Charms: Attach small trinkets and charms that represent your interests, hobbies, or school spirit. These can include miniature sports equipment, musical notes, or even symbols of your favorite activities. Secure them to the base using floral wire or hot glue.
4. Include Bells or Trinkets: For a fun and whimsical touch, consider adding small bells or trinkets that will create a delightful jingling sound as you move. These can be attached to the ribbons or nestled amongst the flowers on your mum or garter.
Remember to step back and evaluate the balance and placement of the decorative elements as you go along. You can always adjust and rearrange them to achieve your desired look. By adding these personalized and eye-catching elements, your mum or garter will truly stand out!
Step 4: Personalizing with Names and Charms
One of the most special aspects of mums and garters is the opportunity to personalize them with names and charms. This step allows you to add a personal touch and make your creation truly unique. Follow these steps to personalize your mum or garter:
1. Name Ribbons: Create name ribbons by cutting thin strips of ribbon and writing names or initials on them. Use fabric markers or glitter fabric glue to make the names stand out. Attach these ribbons to the base of your mum or garter, either by stitching them or using hot glue.
2. Embroidery or Beading: If you’re skilled in embroidery or beading, consider adding intricate designs or patterns to your mum or garter. This can include adding initials, school logos, or other personalized symbols. Use small beads, sequins, or embroidery floss to bring these designs to life.
3. Custom Charms: Seek out charms that represent your hobbies, interests, or achievements. These can include sports charms, music notes, graduation caps, or any other symbol that holds significance for you. Attach these charms to your mum or garter using jump rings or small pieces of wire.
4. Photos: For an extra touch of nostalgia, include photos of loved ones or memorable moments. Print out small photos and attach them to the mum or garter using decorative photo corners or small adhesive squares. This will add a personal and sentimental touch to your creation.
Take your time with this step and think about the elements that hold the most meaning to you. Whether it’s a name, symbol, or a memorable photograph, personalization will make your mum or garter truly one-of-a-kind and a cherished keepsake.
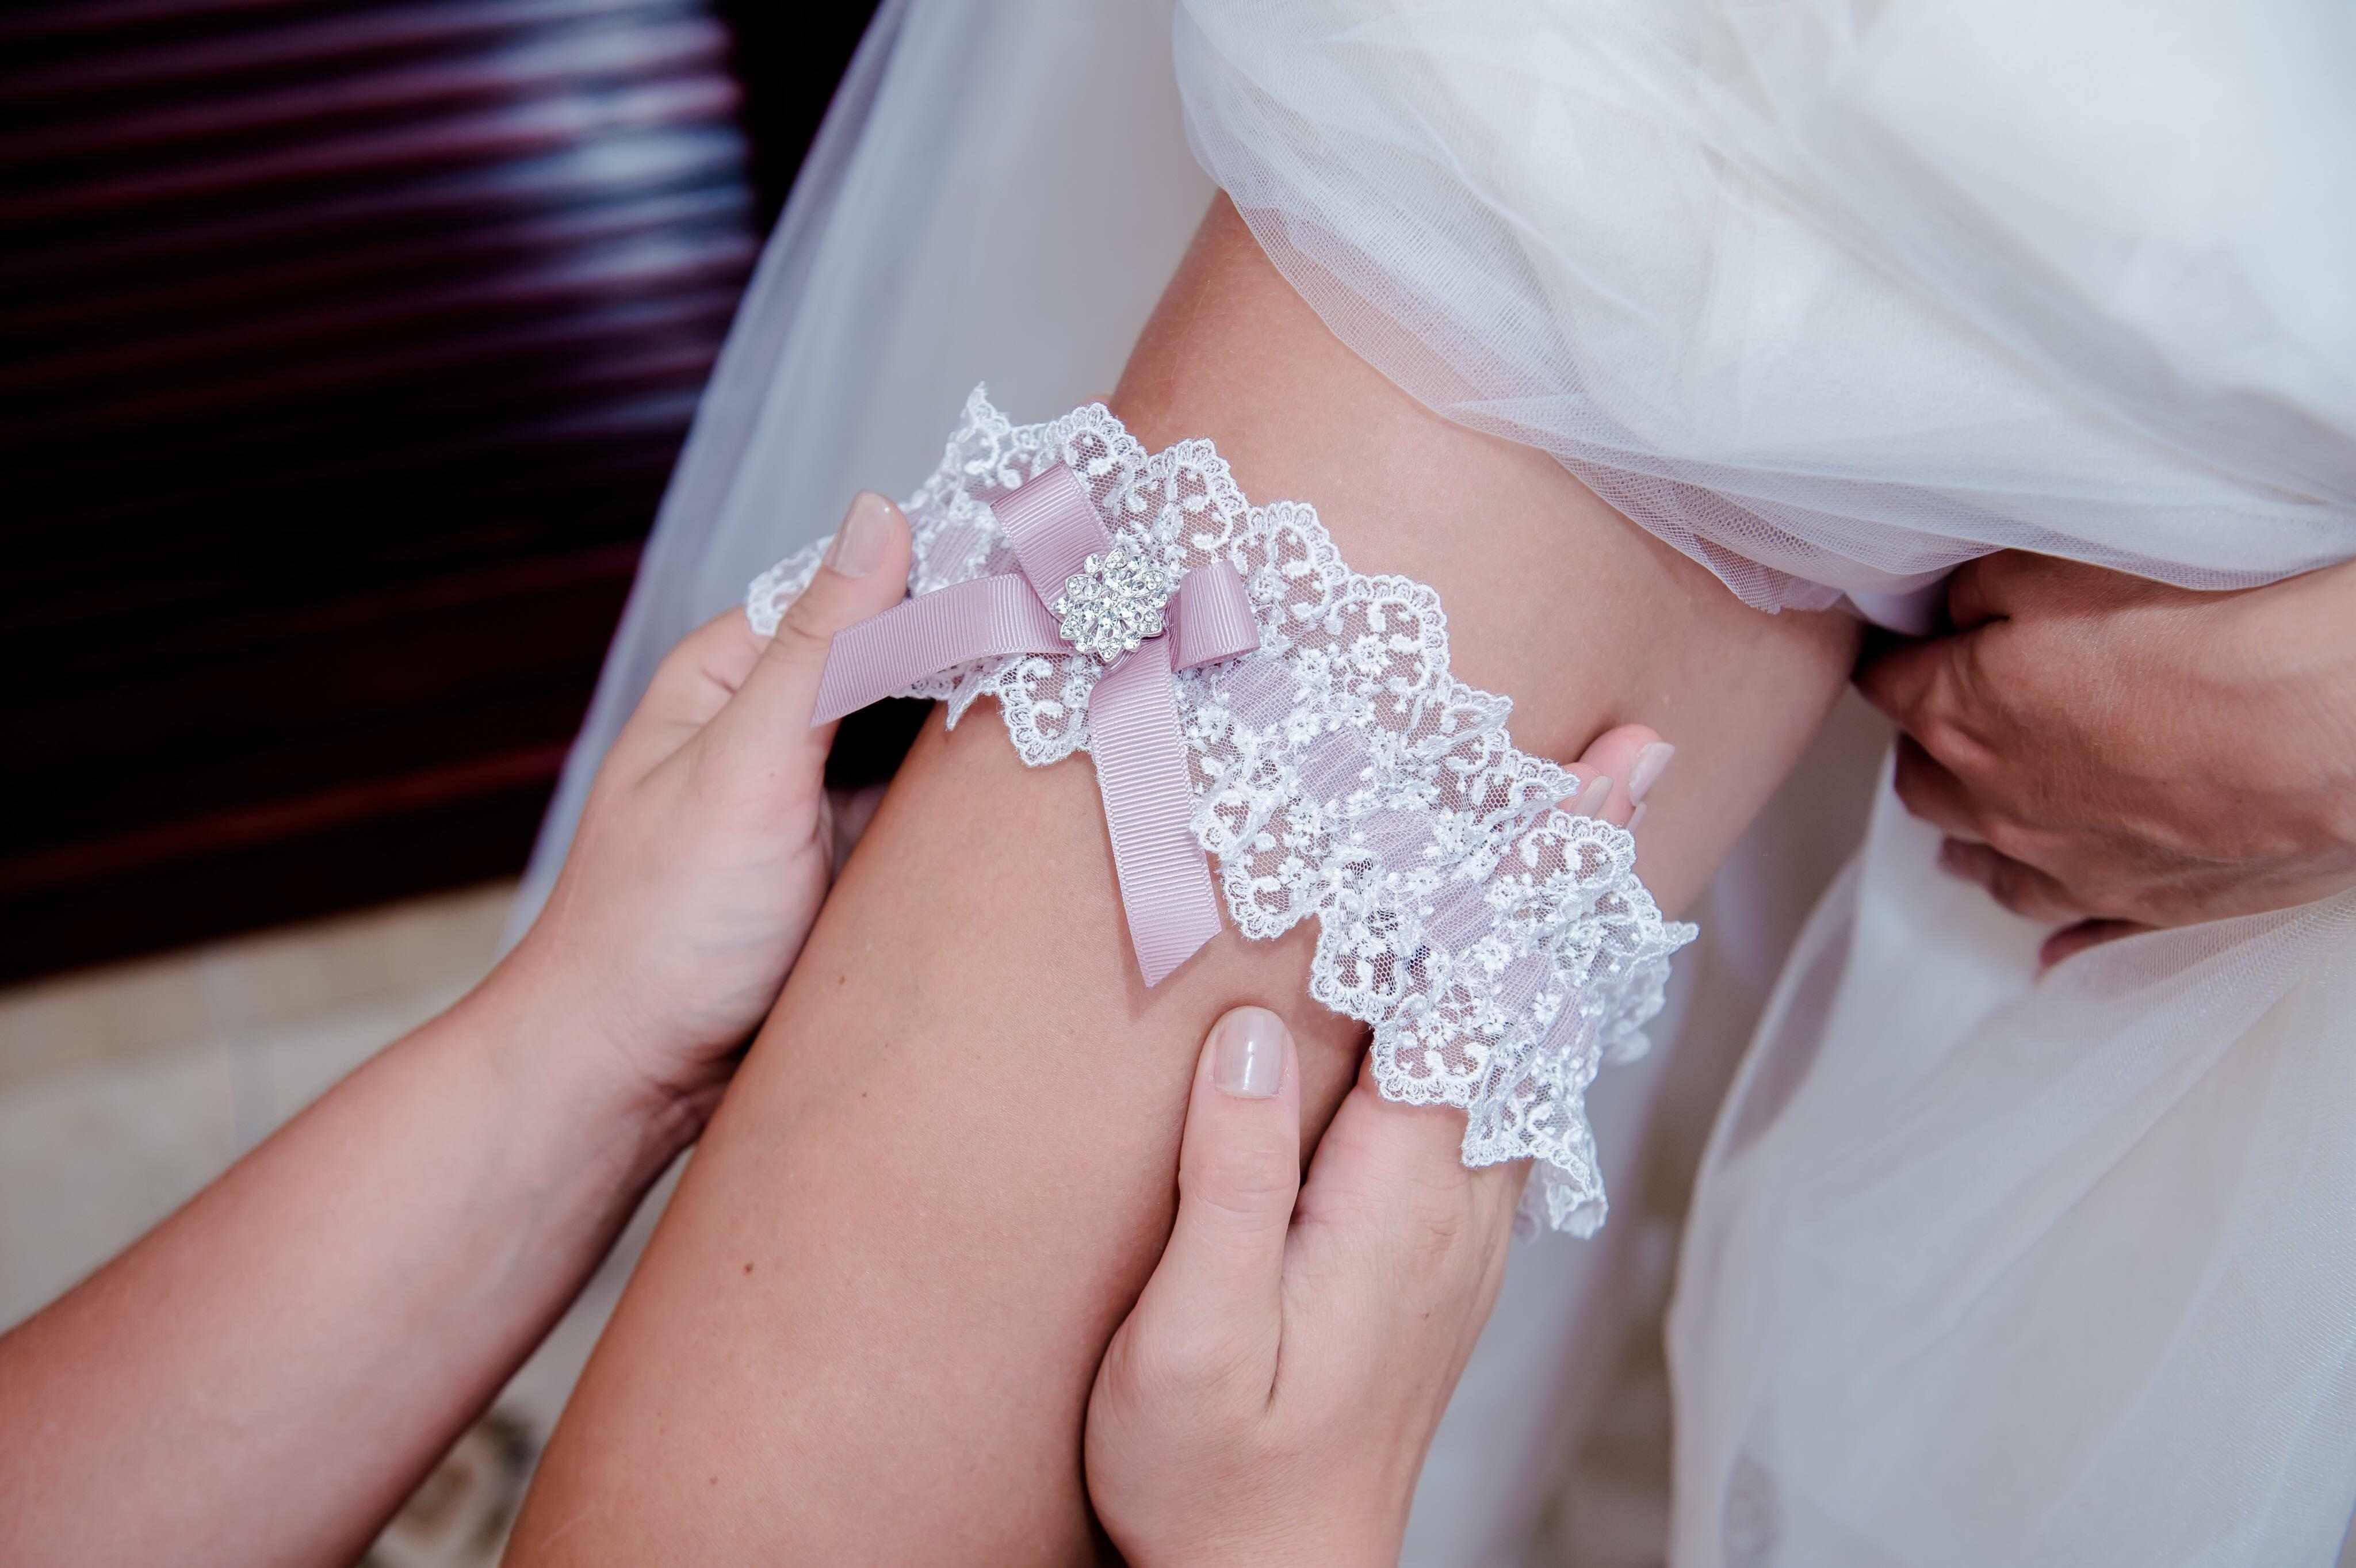
Step 5: Attaching the Mum or Garter to a Backing
After putting in all the hard work to create the perfect mum or garter, it’s time to securely attach it to a backing for wearing or display. The type of backing you choose will depend on your personal preference and intended use. Follow these steps to attach your mum or garter to a backing:
1. Pin Backing: If you’re creating a mum, you can use a pin backing. Sew or glue a pin back to the backside of the base of your mum. Make sure it is securely attached so that your mum stays in place when worn.
2. Stretchy Garter Band: For a garter, you will need a stretchy garter band. Measure the circumference of your thigh and cut the garter band accordingly. Sew or glue the ends together to create a loop. Next, carefully attach your mum or garter to the band, ensuring it is centered and securely fastened.
3. Velcro Straps: For a more versatile option, you can attach Velcro straps to the back of your mum or garter. Cut two small strips of Velcro and attach one to the base of your creation and the other to the backing of your choice, such as a wristband or a headband.
4. Ribbon Ties: Another option is to use ribbon ties for attaching your mum or garter. Cut two lengths of ribbon and attach them to the back of your creation. These can then be tied around the wrist, arm, or leg, depending on where you want to wear it.
Ensure that the backing you choose is secure and comfortable when worn. Test it out to see if it stays in place and does not cause any discomfort. Now that your mum or garter is attached to a backing, it’s time to add the finishing touches for a professional and polished look.
Step 6: Tips and Tricks for a Professional Finish
Creating a mum or garter is a labor of love, and you want to ensure it has a professional and polished finish. Here are some helpful tips and tricks to elevate your creation:
1. Secure Everything: As you add each element to your mum or garter, make sure it is securely attached. Use hot glue, stitching, or wire to ensure that flowers, ribbons, and charms stay in place, even with movement.
2. Trim Excess Ribbon: After attaching ribbons, trim any excess that hangs too long. This will give your mum or garter a cleaner and neater look. Be careful not to cut too close to the base to avoid unraveling.
3. Hide the Back: When attaching the backings, make sure they are discreetly hidden from view. This will ensure that the front of your creation remains the focal point.
4. Quality Flowers: Choose high-quality artificial flowers that look realistic and will hold up over time. Avoid using paper flowers or those that easily fade or fray.
5. Even Distribution: As you add flowers and decorative elements, distribute them evenly around the base. This will create a balanced and visually appealing design.
6. Embrace Layers: Layering is key to creating depth and dimension in your mum or garter. Add flowers and ribbons at different heights and angles to achieve an eye-catching and multidimensional look.
7. Use Color Accents: Introduce pops of color throughout your mum or garter to add visual interest. This can be achieved through colored ribbons, strategically placed flowers, or contrasting charms.
8. Attention to Detail: Pay attention to the small details that can make a big difference. Trim any loose threads, ensure that all edges are neat and clean, and double-check for any imperfections before finalizing your creation.
Remember, practice makes perfect. Don’t be afraid to experiment and try different techniques until you achieve the desired professional finish. With these tips and tricks, your mum or garter will look like it was made by a seasoned craftsman!
Step 7: Enhancing the Mum or Garter with Additional Elements
Now that you have created a beautiful and professionally finished mum or garter, it’s time to take it to the next level by adding some additional elements. These extra touches will add extra flair and make your creation truly unique. Here are some ideas to enhance your mum or garter:
1. LED Lights: For a captivating and whimsical effect, consider incorporating LED lights into your mum or garter. You can weave them along the ribbons or tuck them among the flowers to create a mesmerizing glow.
2. Feathers: Add a touch of elegance and playfulness by incorporating feathers into your design. Choose feathers in coordinating colors to complement the ribbon and flowers. Attach them securely using hot glue or wire.
3. Sparkling Rhinestones: Embellish your mum or garter with shimmering rhinestones to add a touch of glamour and sparkle. Place them strategically in the center of flowers or along the ribbons to catch the light and make your creation even more eye-catching.
4. Dangling Charms: Attach small charms or trinkets that dangle from the ribbons or flower stems. These dangling elements will add movement to your mum or garter and create an eye-catching visual effect.
5. Glitter and Sequins: For a touch of glitz, incorporate glitter or sequins into your design. Apply them to the flowers, ribbons, or even the base itself for a shimmering effect. Use fabric glue or a hot glue gun to ensure they stay in place.
6. Satin Bows: Enhance the elegance of your mum or garter by adding satin bows in coordinating colors. You can attach them to the base or ribbon loops for an added touch of sophistication.
Remember to consider the overall aesthetic and balance of your mum or garter as you add additional elements. The key is to enhance its beauty without overwhelming the design. These extra touches will make your creation truly standout during homecoming festivities!
Conclusion
Congratulations! You have now learned the art of creating stunning mums and garters for homecoming. Crafting these beautiful accessories allows you to showcase your school spirit, creativity, and personal style. By following the steps outlined in this guide, you can create a unique and eye-catching mum or garter that reflects your individuality and captures the essence of the homecoming tradition.
We began by choosing the right ribbon and colors that represent your school or team spirit. We then moved on to making the base of the mum or garter, ensuring it provides a sturdy foundation for the decorative elements. Adding those elements, such as flowers, ribbons, trinkets, and charms, infused your creation with personal touches and style. Personalizing your mum or garter with names, embroidery, or photos made it even more special and sentimental.
Attaching the mum or garter to a backing, whether it’s a pin, garter band, Velcro straps, or ribbon ties, ensures a secure and comfortable fit. Finally, we explored tips and tricks for achieving a professional and polished finish, as well as enhancing your creation with extra elements like LED lights, feathers, rhinestones, and more.
Remember, the process of creating mums and garters is not only about the end result but also about the joy and creativity it brings. Embrace this opportunity to express yourself and have fun along the way. Whether you’re making a mum for yourself, a loved one, or even as a gift, the pride and happiness it will bring are immeasurable.
Now that you have all the tools and knowledge, it’s time to let your imagination soar and create something truly remarkable. Share your creation with friends, family, and fellow homecomers, and let the beauty of your mum or garter shine bright during the homecoming festivities!