Home>How-to Guides>For Women>How To Embroider Wedding Garters
For Women
How To Embroider Wedding Garters
Published: July 31, 2023
Learn how to beautifully embroider wedding garters for women and add a personal touch to their special day. Step-by-step guide and tips for stunning results.
(Many of the links in this article redirect to a specific reviewed product. Your purchase of these products through affiliate links helps to generate commission for Under-tec.com, at no extra cost. Learn more)
Table of Contents
Introduction
Wedding garters hold a special significance on the big day, symbolizing a tradition that dates back centuries. These delicate and beautiful accessories are worn by the bride as a symbol of love and fertility. They have become a popular keepsake and heirloom that can be passed down through generations.
If you are looking to add a personal touch to your wedding garter, why not try embroidering it yourself? Embroidering your wedding garter allows you to customize it with a design or message that is meaningful to you and your partner. Not only will this add a unique element to your bridal attire, but it will also create a cherished memory of your special day.
Embroidering a wedding garter may seem like a daunting task if you have limited experience with needlework. However, with the right materials, a little patience, and the following steps, you’ll be able to create a beautiful and personalized embroidered garter that will be a cherished memento for years to come.
Materials Needed
Before you begin embroidering your wedding garter, ensure that you have all the necessary materials. Having everything on hand will make the process smoother and more enjoyable. Here is a list of materials you’ll need:
- A plain wedding garter – Choose a garter that matches your wedding theme and personal style. It can be made of lace, satin, or any other fabric of your choice.
- Embroidery hoop – This tool will help stretch your fabric and keep it taut while you work.
- Embroidery floss – Select the color(s) of embroidery floss that complement your wedding colors or design choice. Opt for high-quality threads that are strong and won’t easily fray.
- Embroidery needles – Choose needles that are appropriate for your embroidery floss and fabric. Sharp needles with a small eye are ideal for delicate work.
- Embroidery scissors – A pair of sharp, fine-tipped scissors specifically for trimming floss and fabric.
- Transfer material – Depending on the method you choose to transfer your design, you will need transfer paper or washable fabric markers.
- Design template – Find or create a design template that suits your taste and style. Consider elements such as initials, flowers, or motifs that hold personal significance.
- Embellishments (optional) – If you want to add extra sparkle or texture to your garter, consider incorporating beads, sequins, or small pearls. These add-ons can elevate the overall look of your embroidered garter.
Ensure that you have a clean and well-lit workspace. A comfortable chair, good lighting, and a flat surface to work on can make a significant difference in the embroidery process. Once you have gathered all the necessary materials, you’re ready to move on to the next step: choosing a design for your wedding garter.
Step 1: Choosing the Design
Choosing the design for your embroidered wedding garter is an exciting opportunity to personalize your bridal accessory. The design can reflect your personality, wedding theme, or hold a special meaning for you and your partner. Here are a few steps to help you select the perfect design for your garter:
- Consider your wedding theme and style – If you have a specific wedding theme or color scheme, incorporate elements that align with it. For example, if you are having a rustic-themed wedding, you might consider floral designs or earthy motifs. Let your garter be a reflection of your overall wedding aesthetic.
- Think about personalization – Incorporating your initials, wedding date, or a meaningful symbol into the design can add a sentimental touch to your garter. It can serve as a reminder of your special day and the love you share.
- Look for inspiration – Browse through bridal magazines, wedding websites, or social media platforms like Pinterest for inspiration. You can find a wide range of embroidery patterns and designs that can spark your creativity.
- Consider the size and placement – Garters come in different sizes, so consider the dimensions of your garter and choose a design that will fit well within the available space. Also, think about where you want to place the embroidery on the garter. It could be on the front, back, or both sides.
- Keep it simple or elaborate – Decide whether you want a simple and minimalist design or a more intricate and detailed one. This will depend on your personal style, embroidery skills, and the time you have available.
Remember, the design you choose should be something that resonates with you and brings you joy. Take your time in selecting a design that you will cherish and be proud to wear on your special day. Once you have chosen the design, you are ready to move on to the next step: preparing the garter for embroidery.
Step 2: Preparing the Garter
Before you start embroidering your wedding garter, it’s essential to prepare the fabric to ensure a smooth and successful embroidery process. Follow these steps to prepare your garter for embroidery:
- Wash and iron the garter – If your garter is brand new, it’s a good idea to wash it first to remove any dirt or residue that may be present. Follow the care instructions on the label. After washing, gently iron the garter to ensure it is smooth and wrinkle-free. This will provide a clean canvas for your embroidery work.
- Pick the right hoop size – Choose an embroidery hoop that matches the size of the area you plan to embroider. It should securely hold the fabric without distorting or stretching it. Place the inner hoop underneath the fabric and stretch it over the outer hoop, tightening the screw to hold everything in place.
- Secure the garter in the hoop – Carefully position the area of the garter you want to embroider within the hoop. Make sure it is centered and taut. Adjust the tension of the hoop as needed until the fabric feels secure.
- Trim excess fabric – If there is excess fabric outside of the hoop, carefully trim it away with a pair of embroidery scissors. This will prevent any interference or accidental snagging of the fabric during the embroidery process.
By taking the time to properly prepare your garter, you ensure that the fabric is clean, smooth, and securely held in place. This sets the foundation for successful and precise embroidery. Once your garter is prepared, you’re ready to move on to the next step: transferring the design onto the fabric.
Step 3: Transferring the Design
Transferring the design onto the fabric is an important step in ensuring accurate and well-placed embroidery. There are several methods you can use to transfer your chosen design. Choose the method that works best for you and your garter fabric. Here are a few common techniques:
- Using transfer paper – Print or trace your design onto transfer paper, following the manufacturer’s instructions. Place the transfer paper face down onto the fabric and secure it in place. Apply gentle pressure with a pen or stylus, tracing over the design to transfer the ink onto the fabric. Once the transfer is complete, remove the transfer paper.
- Tracing with washable fabric markers – Place your design template underneath the fabric and use a washable fabric marker to trace the design onto the garter. Ensure that your lines are clear and easy to see while being mindful not to press too hard on delicate fabrics.
- Freehand drawing – If you are confident in your drawing skills, you can freehand the design directly onto the fabric with a washable fabric marker. This method allows for more spontaneity and creativity in your embroidery.
- Using iron-on transfers – Some embroidery designs come in the form of iron-on transfers. Simply follow the instructions provided with the transfer to apply it to the fabric. Once applied, you can easily follow the design lines for your embroidery.
Regardless of the method you choose, make sure that your design is transferred accurately and clearly onto the fabric. Take your time during this step to ensure the design is positioned correctly before moving on to the next step: embroidering the design itself.
Step 4: Embroidering the Design
Embroidering the design on your wedding garter is where your creativity and skill come to life. Take your time and enjoy the process of bringing your chosen design to fruition. Here are some steps to help you embroider your garter design:
- Select the appropriate embroidery floss – Choose the color(s) of embroidery floss that best complement your design and garter fabric. Separate the floss into individual strands, typically 2-3 strands are used for embroidery. Thread your needle with the desired number of strands, knot the end, and trim any excess.
- Start with the outline – Begin by embroidering the outline of your design. Use a backstitch or running stitch to create clean and crisp lines. Work carefully, following the transferred design lines, and ensure that your stitches are evenly spaced.
- Add the fill stitches – Once the outline is complete, move on to fill stitches to add depth and texture to your embroidery. Popular fill stitches include satin stitch, French knots, or seed stitch. Experiment with different techniques to achieve the desired effect.
- Work in sections – Depending on the complexity of your design, it may be helpful to work on one section at a time. This will ensure that you maintain accuracy and prevent the embroidery from getting tangled or distorted. Take breaks between sections to avoid fatigue and maintain focus.
- Pay attention to tension – Keep the tension of your stitches consistent throughout the embroidery process. Avoid pulling the thread too tightly or leaving it too loose, as it can affect the overall appearance of your embroidery. Regularly check the back of your work to make sure there are no loose threads or messy stitches.
- Take breaks – Embroidery can be a time-consuming process, so be sure to take breaks to rest your eyes, hands, and mind. This will help you maintain focus and prevent strain. Enjoy some tea or listen to music to relax and recharge.
Remember, embroidery is a creative endeavor, and perfection is not the goal. Embrace any imperfections as part of the unique character of your embroidery. With each stitch, you add a personal touch to your wedding garter, making it truly one-of-a-kind. Once you have completed the embroidery, it’s time to add additional embellishments if desired, which we will cover in the next step.
Step 5: Adding Additional Embellishments (Optional)
Adding additional embellishments to your embroidered wedding garter can elevate its appearance and make it even more special. These optional embellishments can add a touch of sparkle, texture, or personalization. Here are some ideas to consider:
- Beads and sequins – Embellish your garter by sewing on beads or sequins. Choose ones that complement your design and wedding theme. Scatter them around the embroidered areas or create a pattern with them.
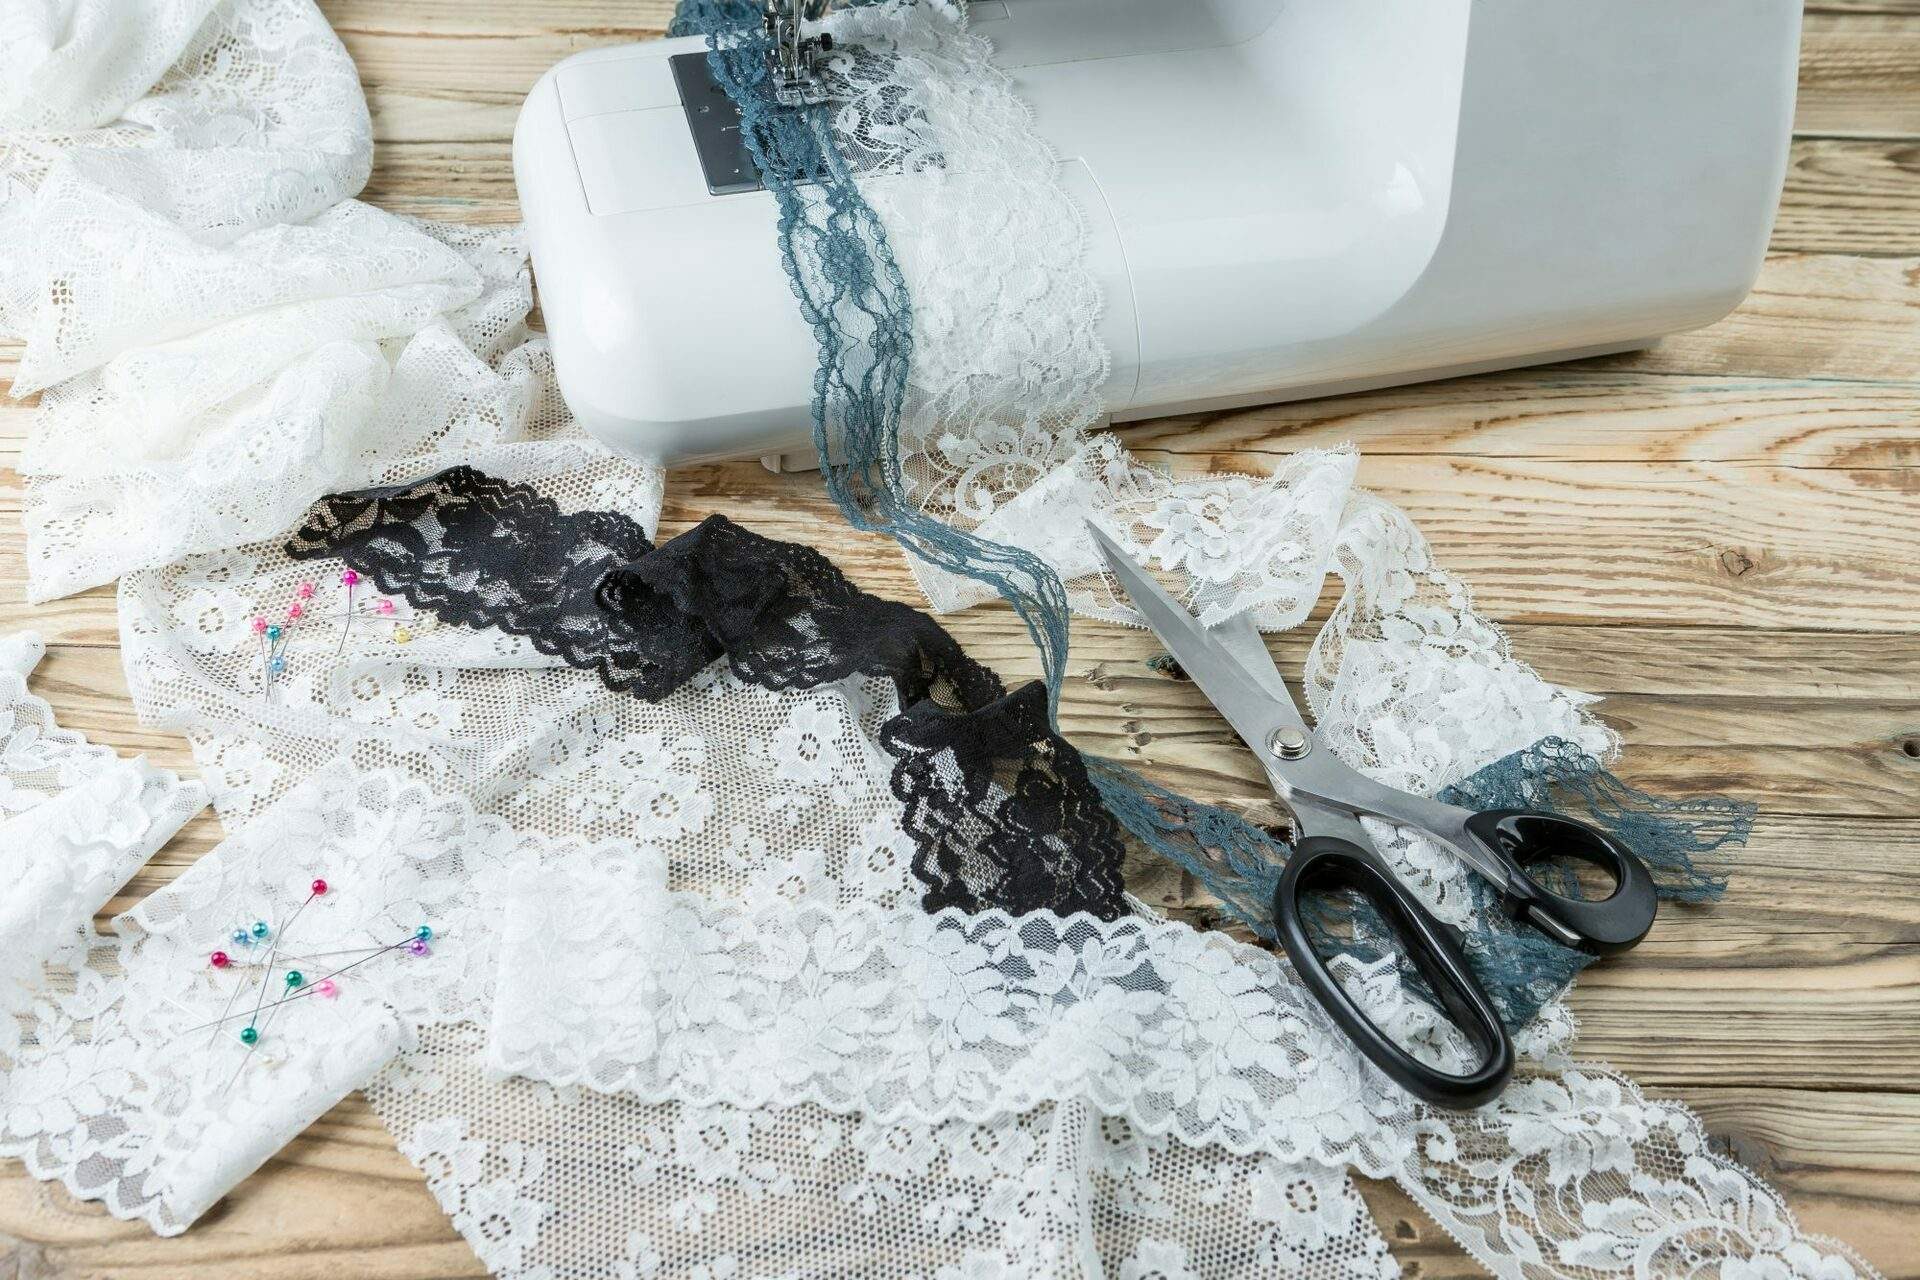
- Ribbons and lace – Enhance the aesthetic of your garter by attaching ribbons or lace trim. You can stitch them along the edges or create loops for a decorative effect. Choose ribbons and lace that match the color and style of your garter.
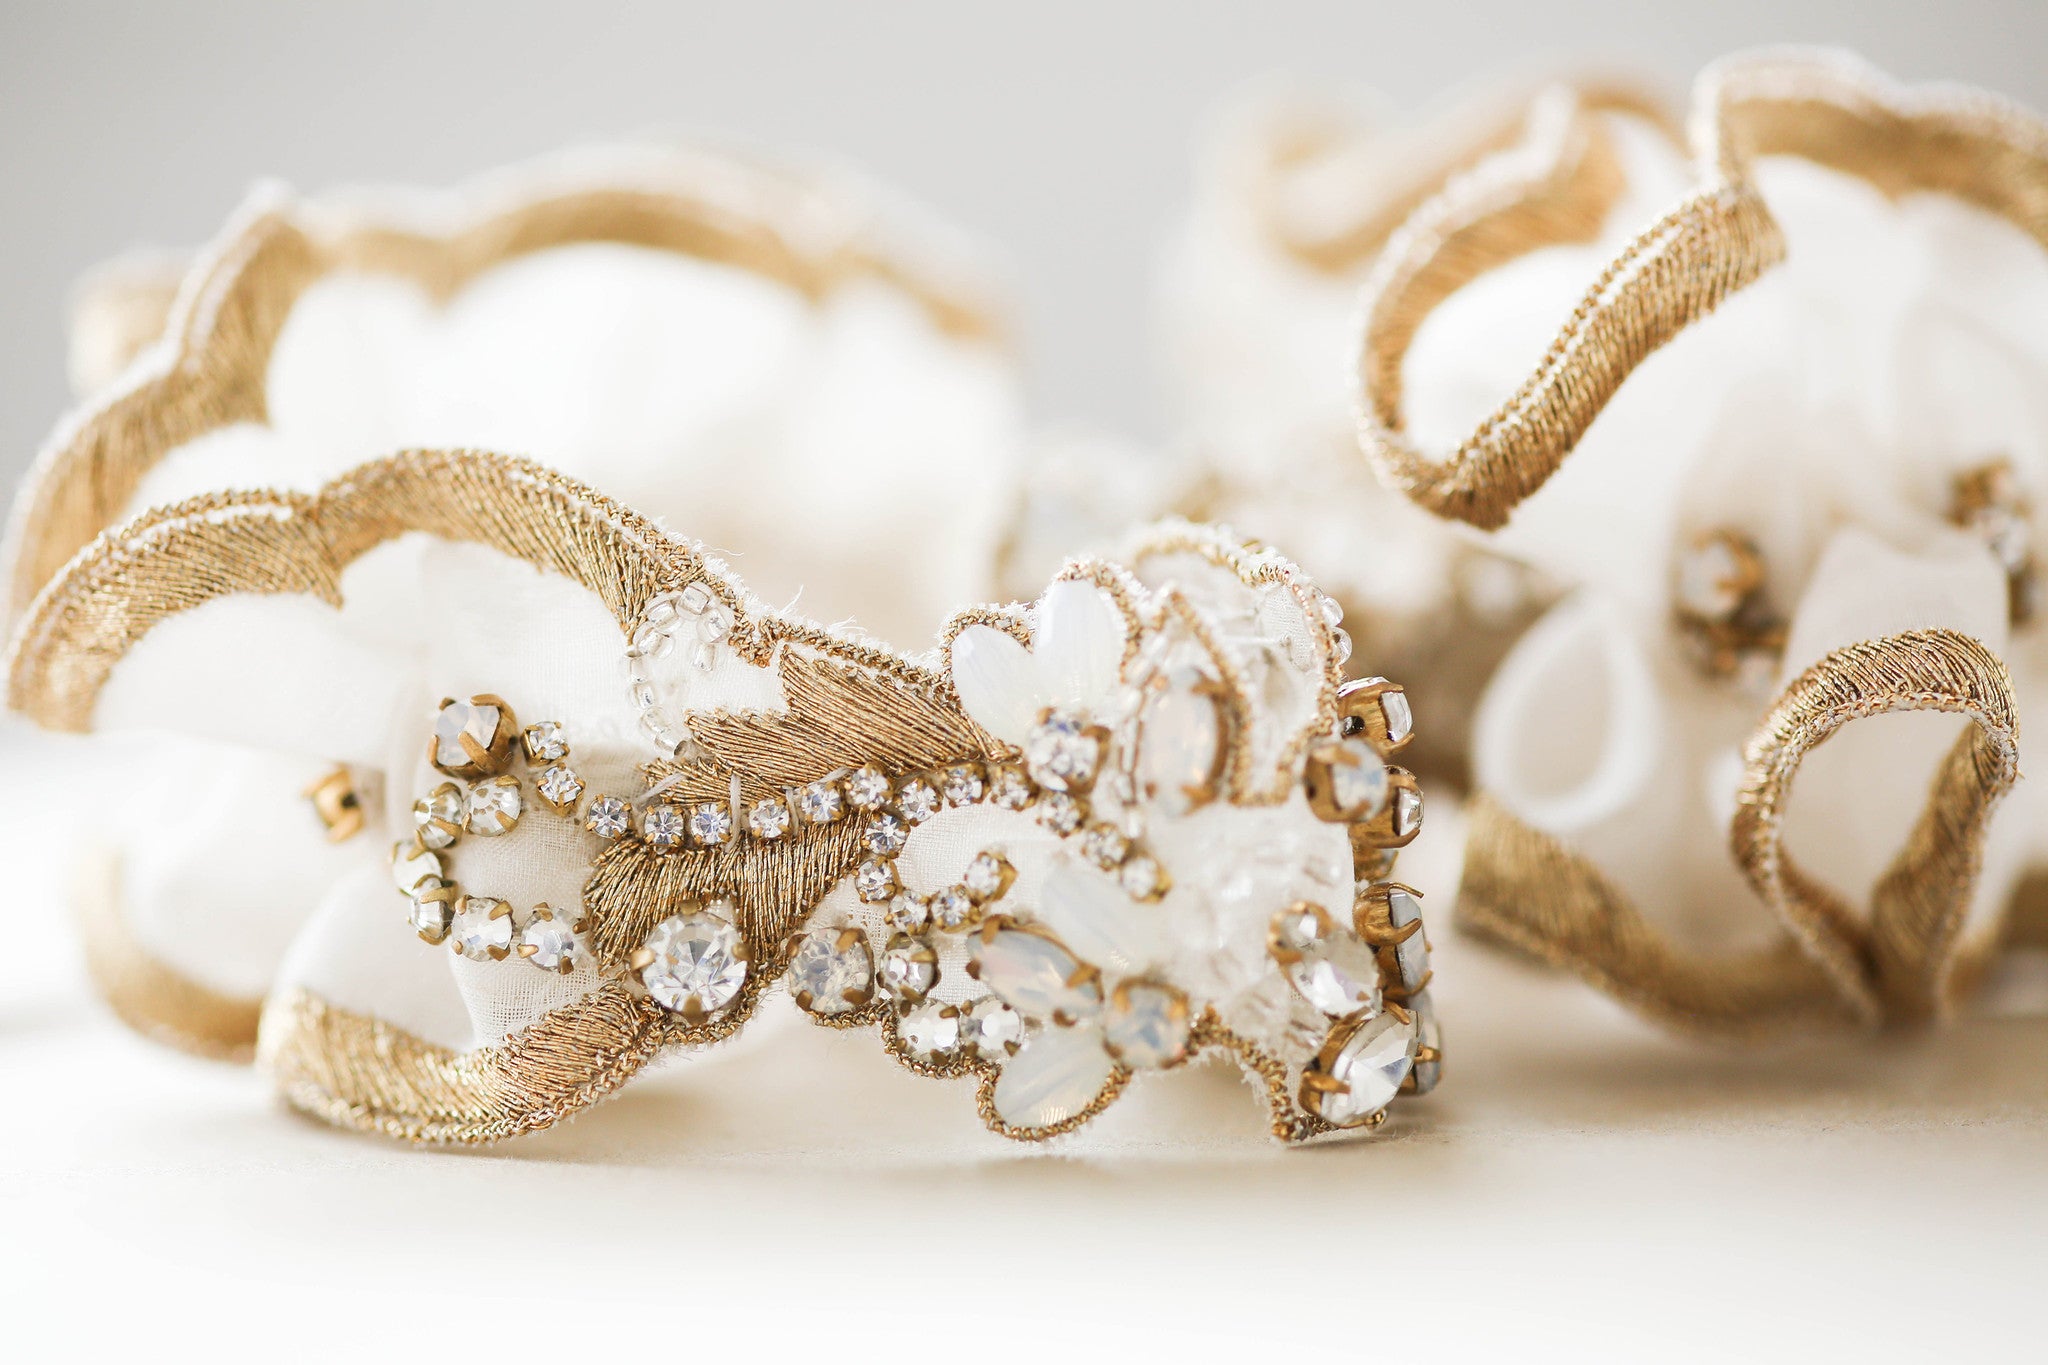
- Pearls or gemstones – Add an elegant touch by incorporating pearls or gemstones into your design. Sew them onto the embroidery or create clusters for a stunning effect. Make sure they are securely attached to prevent any accidental damage.
- Personalized tags – Consider attaching a small personalized tag to your garter. It could include your initials, wedding date, or a special quote. This adds a sentimental and personalized element that makes the garter even more meaningful.
- Ribbon bows – Tie a satin or silk ribbon into a beautiful bow and attach it to your garter. The bow can be a subtle accent or a prominent feature, depending on your preference. Choose a ribbon color that complements your embroidery and overall design.
When adding additional embellishments to your garter, ensure that they are securely attached and do not interfere with the comfort of wearing the garter. Be mindful of the weight and placement of the embellishments, as you want to maintain the functionality of the garter during your wedding day. Once you are satisfied with the additional embellishments, it’s time for the final step: putting the finishing touches on your embroidered garter.
Step 6: Finishing Touches
After all the hard work you put into embroidering and embellishing your wedding garter, it’s time to add the finishing touches to ensure it is ready to be worn on your special day. Follow these steps for the final touches:
- Secure any loose threads – Carefully inspect your embroidery to make sure there are no loose threads or unraveled stitches. Use a small needle or embroidery scissors to trim any excess threads and secure any loose ends.
- Steam or iron the garter – Give your garter a final touch-up by gently steaming or ironing it. This will help remove any creases or wrinkles that may have occurred during the embroidery process. Be sure to follow the fabric care instructions to avoid damaging delicate materials.
- Store it properly – Once your garter is finished, store it in a safe place where it will remain clean and protected until your wedding day. Consider using a fabric pouch or box to ensure it stays in pristine condition.
- Coordinate with your bridal attire – Take the time to try on your garter with your wedding dress or ensemble to ensure it complements your overall look. Make any necessary adjustments to the positioning or fit to ensure it stays comfortably in place throughout the day.
- Celebrate your accomplishment – Take a moment to celebrate your creativity and hard work. Admire your finished embroidered garter and appreciate the personal touch you’ve added to your wedding ensemble.
Your embroidered garter is now ready to be worn with pride on your wedding day. It signifies your attention to detail and adds a unique and sentimental touch to your bridal attire. This labor of love will surely be cherished as a cherished keepsake long after your wedding day.
Remember, enjoy the process of creating and personalizing your wedding garter. Let your creativity flow and embrace the uniqueness of your design. Your embroidered garter will be a beautiful reminder of your love and wedding day for years to come.
Conclusion
Embroidering your own wedding garter is a delightful way to add a personal touch to your bridal attire. Through careful design selection, meticulous embroidery work, and optional embellishments, you can create a garter that is uniquely yours. This process allows you to infuse your personality, style, and love into this special accessory.
Remember, take your time in choosing the design that holds meaning and resonates with you. Prepare your garter carefully, ensuring it is clean and securely held in the embroidery hoop. Transfer your chosen design accurately onto the fabric before beginning the intricate embroidery process. Add optional embellishments to further enhance its beauty and uniqueness. Finally, perfect the finishing touches and savor the accomplishment of creating a personalized wedding garter.
Embroidering your wedding garter not only adds charm and individuality to your wedding day ensemble but also creates a cherished keepsake that can be passed down through generations. This labor of love represents your creativity and dedication, making it even more meaningful.
As you walk down the aisle, wearing your embroidered garter, it will serve as a reminder of the love and commitment you share with your partner. It is a symbol of your special day and the beginning of your beautiful journey together as a married couple.
So, embrace the joy and creativity involved in embroidering your wedding garter. Enjoy the process, let your imagination run wild, and create a treasured piece that will forever hold a place in your heart.