Home>How-to Guides>For Women>How to Make Wedding Garters
For Women
How to Make Wedding Garters
Modified: August 11, 2023
Find out how to make beautiful wedding garters for women with our step-by-step guide. Get creative and add a personal touch to your special day.
(Many of the links in this article redirect to a specific reviewed product. Your purchase of these products through affiliate links helps to generate commission for Under-tec.com, at no extra cost. Learn more)
Table of Contents
Introduction
A wedding is a momentous occasion filled with love, joy, and celebration. It’s a day when every detail matters, and the bride’s attire plays a significant role in creating a memorable experience. While the wedding dress captures most of the attention, there is one accessory that holds a special significance for the bride – the wedding garter.
A wedding garter is a traditional accessory worn by the bride, hidden beneath her wedding gown. It is a symbol of femininity, romance, and, in some cultures, even good luck. Making your own wedding garter allows you to personalize this intimate accessory, infusing it with your unique style and personality.
Creating a wedding garter is not only a fun and creative project, but it also gives you the opportunity to incorporate sentimental elements, such as heirloom lace or a special ribbon that holds meaning to you. Whether you’re a DIY enthusiast or simply want to add a personal touch to your wedding day ensemble, making your own wedding garter can be a rewarding endeavor.
In this article, we will guide you through the process of making a beautiful and customized wedding garter. We will provide step-by-step instructions, design ideas, and tips for ensuring a secure and comfortable fit. So, let’s get started on this delightful journey of creating a one-of-a-kind wedding garter that will add a touch of charm and elegance to your special day.
Choosing the Right Materials
When it comes to creating a wedding garter, choosing the right materials is essential for achieving a beautiful and comfortable accessory. Here are some key considerations to keep in mind:
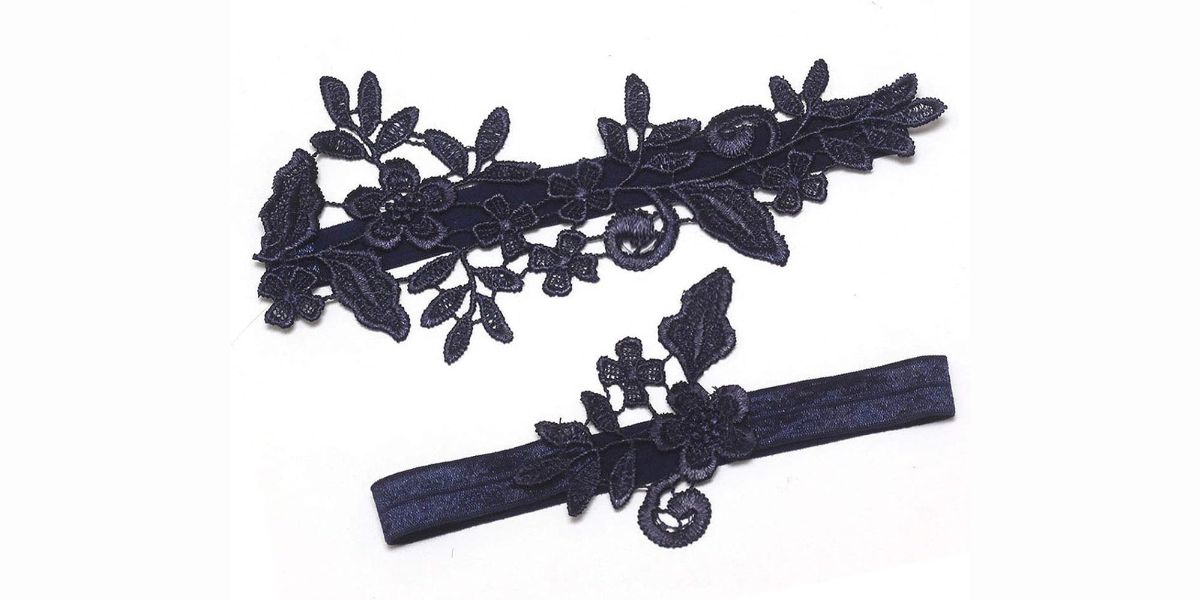
- Lace: Lace is a classic choice for a wedding garter as it adds a touch of femininity and elegance. Look for lace that is soft, delicate, and matches the overall aesthetic of your wedding dress. You can choose from various lace options, such as Chantilly lace, Alençon lace, or Guipure lace.
- Elastic: The elastic band is the foundation of your wedding garter, providing a comfortable and secure fit. Opt for high-quality elastic that is soft, durable, and has enough stretch to ensure a snug fit without causing discomfort. Consider using a width of around 1/2 to 1 inch (1.3 to 2.5 cm) for the band.
- Ribbon: Adding a ribbon to your wedding garter can enhance its visual appeal. Choose a ribbon that complements the color scheme of your wedding or matches any specific theme you have in mind. Satin, organza, or silk ribbons are popular choices and can be tied into a beautiful bow or left loose for a more relaxed look.
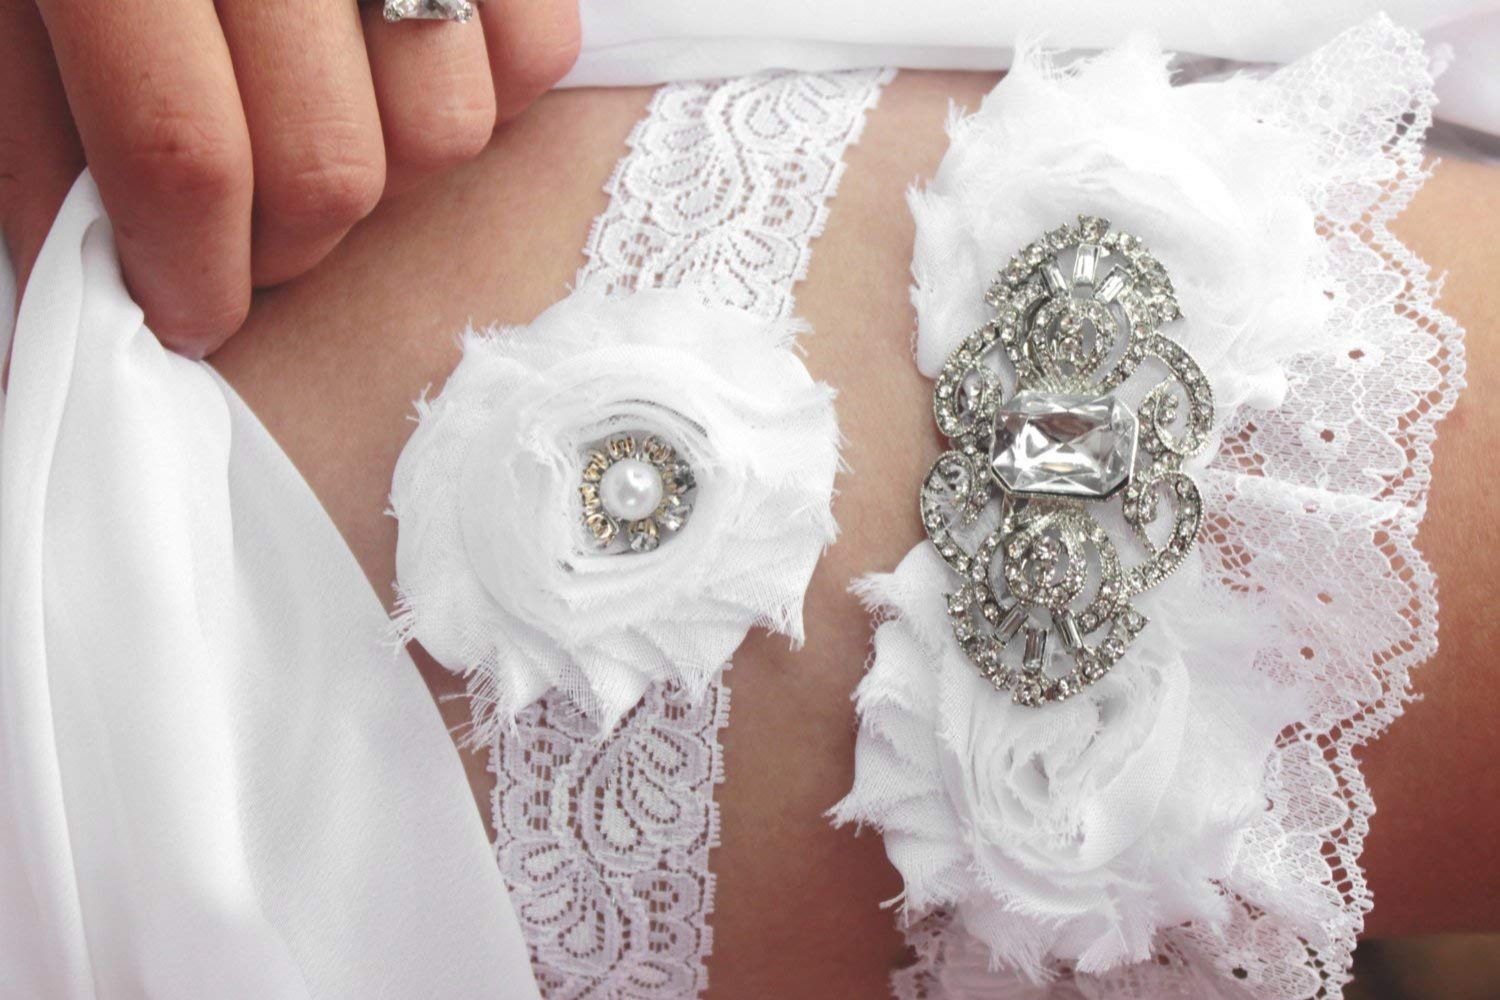
- Embellishments: Consider adding embellishments to your wedding garter to make it truly unique. This can include small satin bows, delicate pearls, rhinestones, or even a charm that holds sentimental value. Be sure to choose embellishments that are flat and lightweight to ensure they don’t cause any discomfort or add excessive bulk to the garter.
- Thread and Needles: To sew the various components of your wedding garter together, you’ll need a strong and durable thread. Nylon or polyester thread in a color that matches or blends with your materials is a good choice. Additionally, have a variety of sewing needles on hand, ranging in size to accommodate different fabric thicknesses.
By carefully selecting the right materials, you can ensure that your wedding garter not only looks beautiful but also feels comfortable throughout the day. Remember to consider the theme and style of your wedding when choosing your materials, as well as any personal touches you want to incorporate to make your garter truly special.
Measuring for the Perfect Fit
One of the most important aspects of creating a wedding garter is ensuring the perfect fit. Follow these steps to measure your leg accurately:
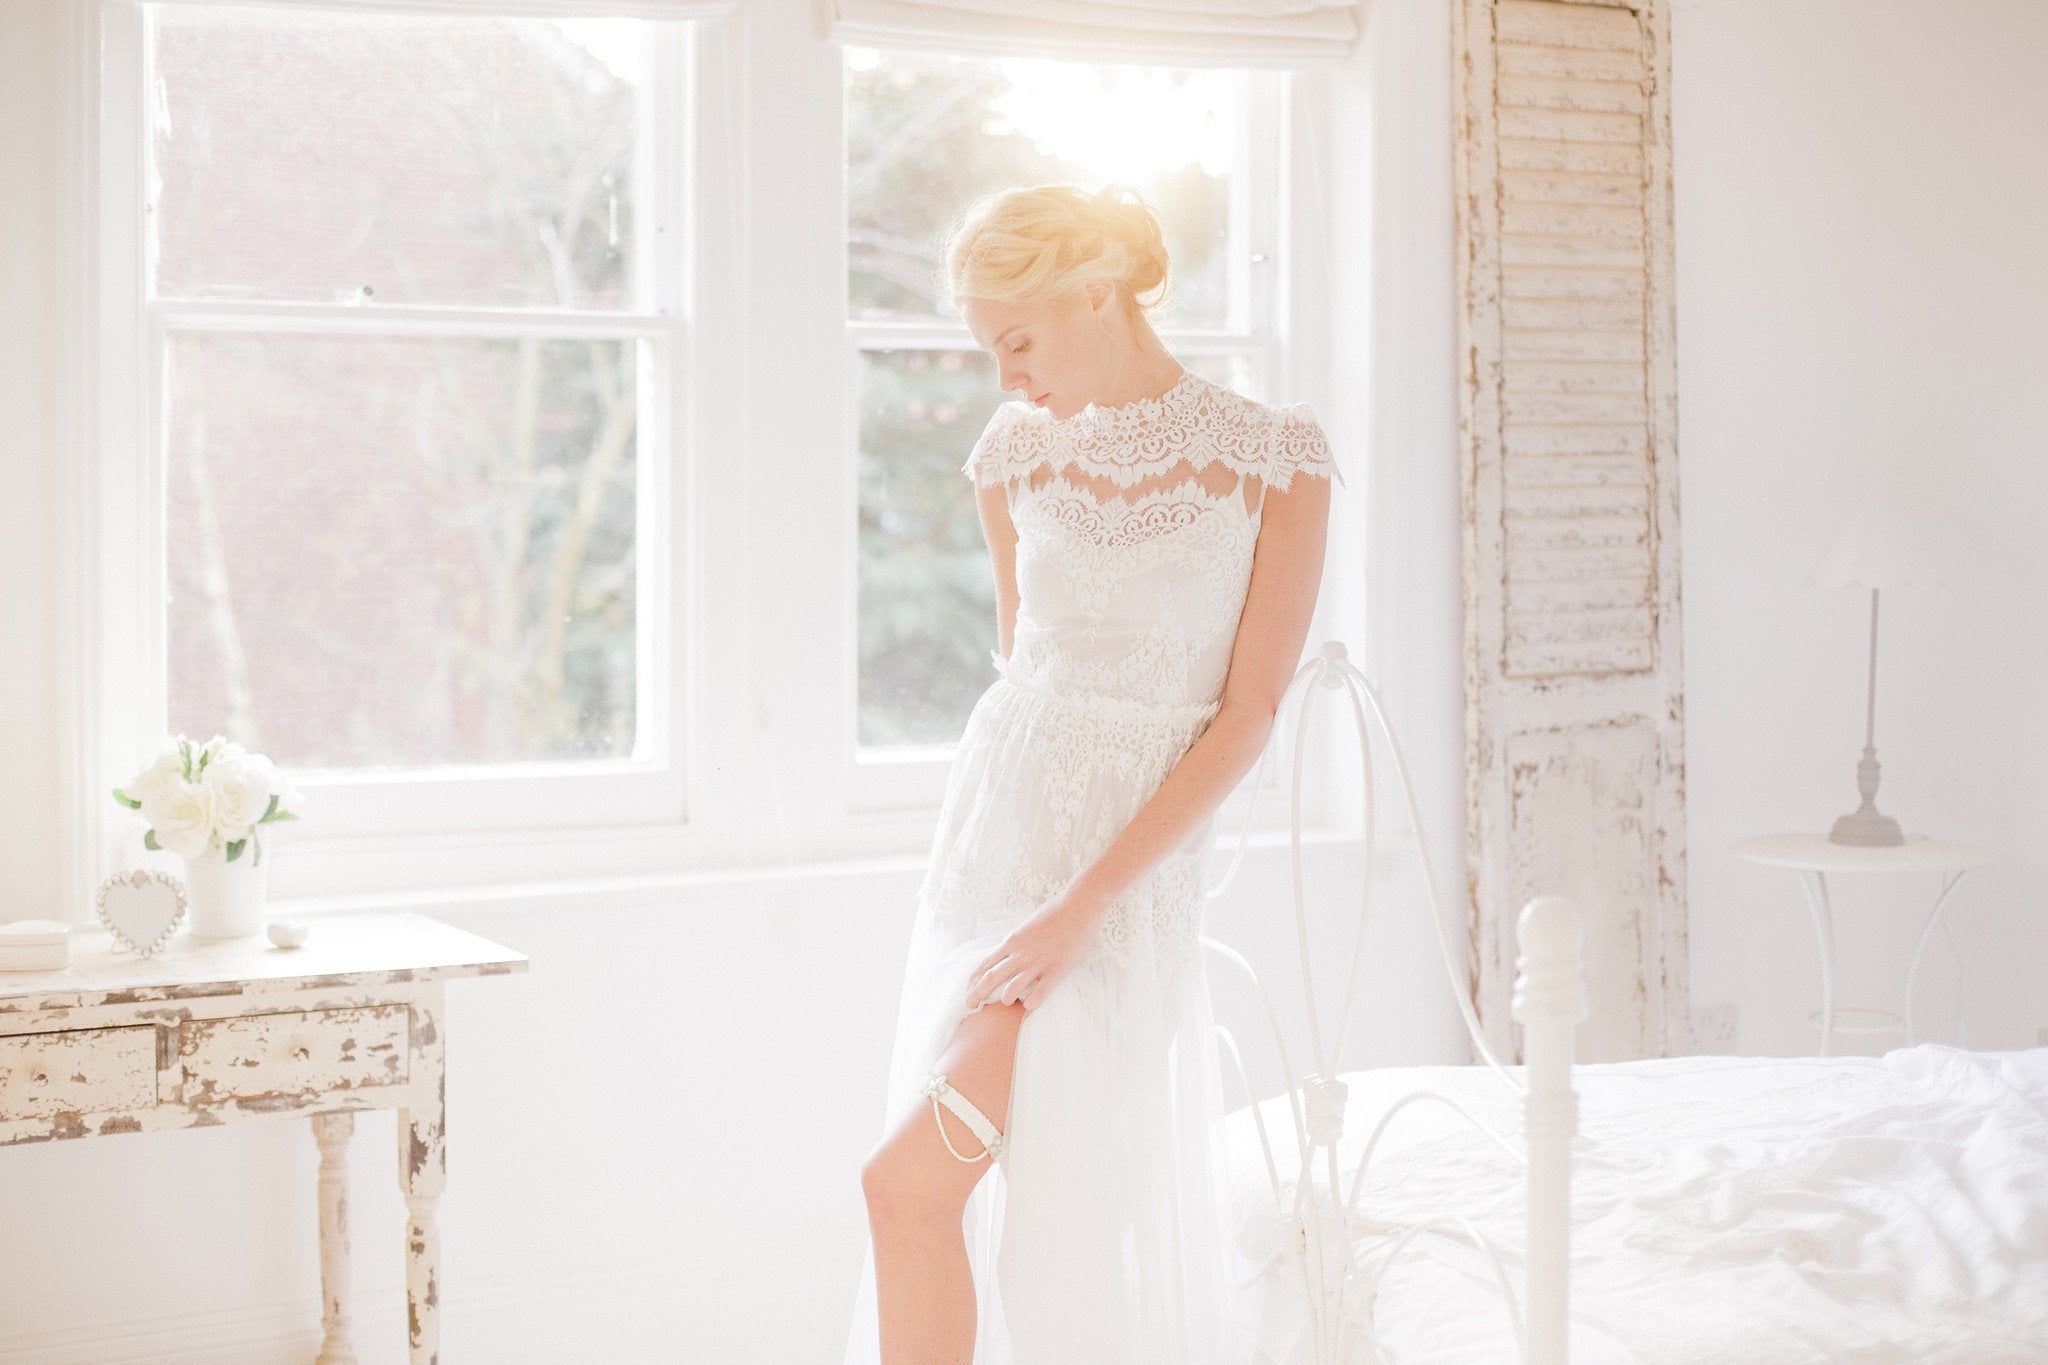
- Measure the Thigh: Use a soft measuring tape to measure the circumference of your thigh, where you plan to wear the garter. This is typically a few inches above the knee. Make sure the tape is snug but not too tight.
- Allow for Comfort: It’s important to add a little extra room to your measurement to ensure a comfortable fit. Add about 1/4 to 1/2 inch (0.6 to 1.3 cm) to your thigh measurement so that the garter won’t be too tight and will stay in place without digging into your skin.
- Consider the Stretch: Keep in mind that most wedding garters use elastic bands, so they can stretch to accommodate different leg sizes. If you are in between sizes or have concerns about fit, opt for a garter with adjustable sizing or choose a wider elastic band for added flexibility.
It’s always better to err on the side of caution and choose a slightly larger size, as you can always adjust the garter to fit more snugly if needed. Remember, you want your wedding garter to be comfortable enough to wear throughout the day and dance the night away without any discomfort.
Once you have determined your measurement, you can proceed with the next steps of creating your wedding garter, confident that it will fit perfectly and stay securely in place.
Design Ideas and Inspiration
Designing your own wedding garter allows you to unleash your creativity and personalize it to match your wedding theme or style. Here are some design ideas and inspiration to help you get started:
- Classic and Timeless: If you prefer a traditional look, opt for a simple lace garter with a satin bow in a color that complements your wedding dress. You can embellish it with a small pearl or rhinestone for a touch of elegance.
- Vintage Charm: Embrace a vintage-inspired style by using heirloom lace or incorporating delicate lace appliques onto your garter. Consider adding a vintage brooch or a cameo for a nostalgic and romantic feel.
- Something Blue: Incorporate the “something blue” tradition by choosing a blue ribbon or adding a small blue charm or bow to your garter. This subtle pop of color adds a unique and meaningful element to your ensemble.
- Rustic and Boho: For a more relaxed and bohemian vibe, consider using natural materials like burlap or lace with a frayed edge. Add earthy elements such as feathers, twine, or small wildflowers to complete the rustic look.
- Glamorous and Sparkling: Go all out with a glamorous garter by using glittery fabrics, sequins, or metallic lace. Create a statement piece by incorporating a crystal-encrusted charm or a larger rhinestone applique.
- Personalized Details: Add a personal touch to your garter by incorporating small charms or trinkets that hold sentimental value, such as a charm with your initials or a symbol that represents your love story.
Remember to ensure that your design choices align with the overall look and feel of your wedding. Whether you prefer a traditional, vintage, rustic, glamorous, or personalized style, let your creativity guide you and make your wedding garter a reflection of your unique personality and love story.
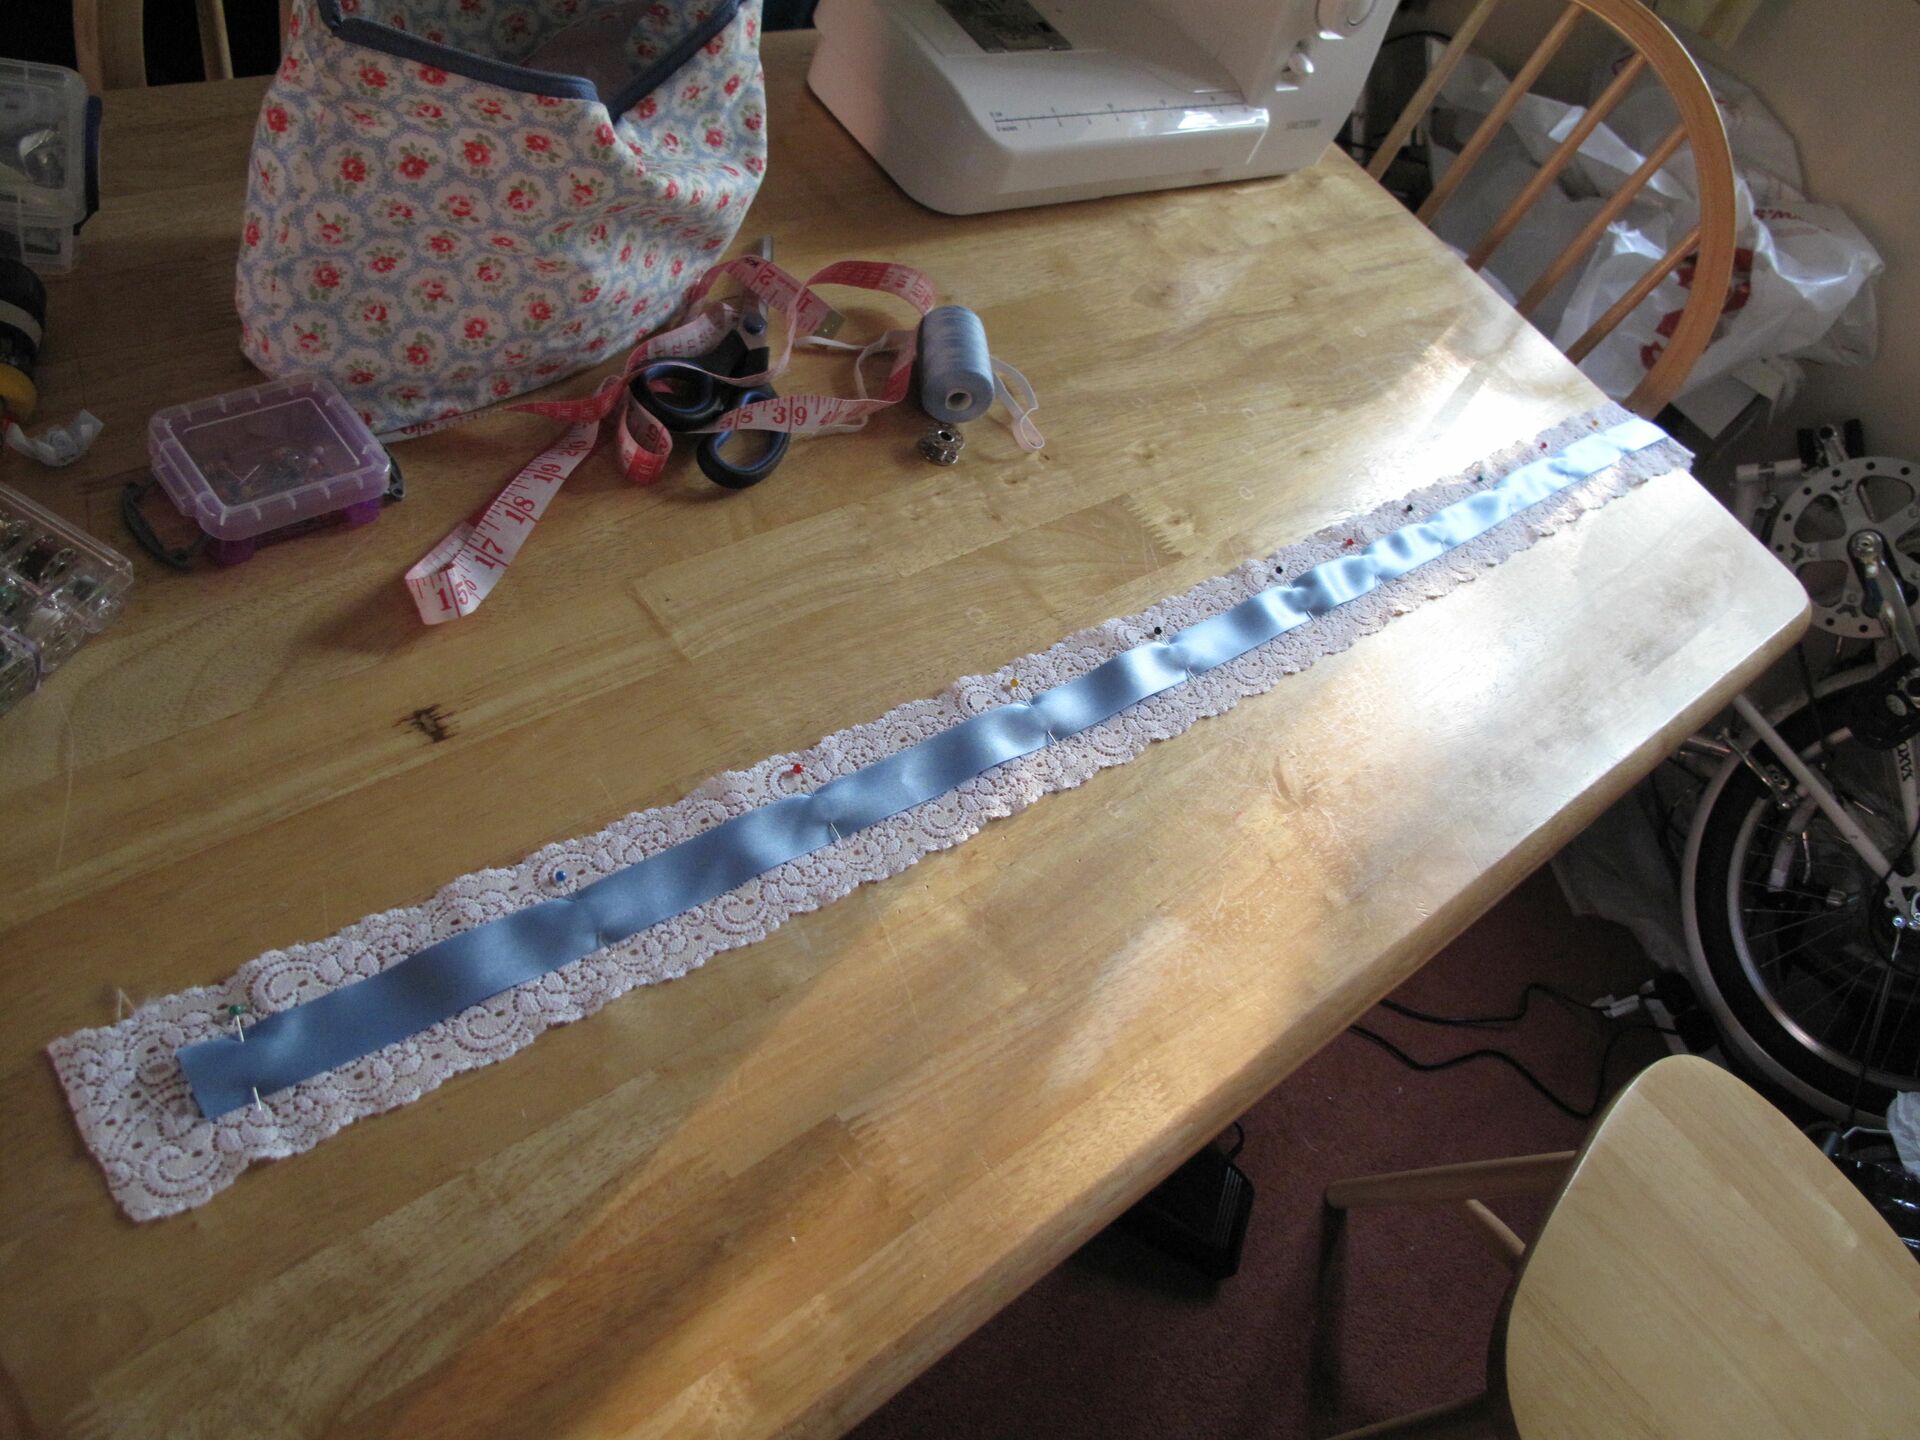
Step-by-Step Guide to Making a Wedding Garter
Creating your own wedding garter can be a rewarding and enjoyable project. Follow these step-by-step instructions to make a beautiful and personalized wedding garter:
- Measure and Gather Materials: Measure your thigh as mentioned earlier and gather all the materials needed, including lace, elastic, ribbon, thread, needles, and any embellishments you want to add.
- Prepare the Elastic Band: Cut the elastic to the desired length, adding the extra room for a comfortable fit. Make sure the elastic is securely stitched together at the ends.
- Attach the Lace: Cut a piece of lace to match the length of the elastic band. Sew the lace onto the top of the elastic, ensuring it is evenly distributed and centered around the band.
- Add Embellishments: If you want to include any embellishments, such as a bow, charm, or beadwork, now is the time to attach them. Sew them securely onto the lace, taking care not to make the garter too bulky or uncomfortable.
- Finishing Touches: Once all of the elements are securely attached, check for any loose threads and trim them. You can also add a small satin ribbon bow or a personalized tag with your initials or wedding date.
- Trial and Adjust: Once the garter is complete, try it on to ensure it fits comfortably and stays in place. Make any necessary adjustments to the elastic or lace if needed.
Remember, the beauty of DIY projects is that you can tailor them to your preferences and creativity. Feel free to experiment with different variations and techniques to create a wedding garter that is truly unique and special.
Adding Personalized Embellishments
Adding personalized embellishments to your wedding garter is a wonderful way to make it truly yours and infuse it with sentimental value. Here are some ideas for adding unique touches to your garter:
- Charms and Trinkets: Attach small charms or trinkets that represent your love story or hold special meaning to you. These can include heart-shaped charms, engraved initials, or even miniature replicas of meaningful objects like a bicycle or a favorite animal.
- Embroidery: Consider embroidering your initials, wedding date, or a meaningful quote onto the garter. You can use colored thread that matches your wedding color scheme or opt for metallic thread for a touch of elegance.
- Fabric Embellishments: Use fabric appliques or patches to add texture and visual interest to your garter. These can be pre-made or hand-cut from fabric scraps that hold sentimental value, such as a piece of your mother’s wedding dress or a fabric pattern that reminds you of a special moment.
- Ribbons and Bows: Experiment with different ribbons and bows to adorn your garter. You can tie a small satin bow with long trailing ribbons, incorporate a velvet ribbon for a luxurious feel, or even use lace ribbon for an added touch of romance.
- Hand-Embroidered Monogram: If you have excellent embroidery skills, you can hand-embroider a monogram onto the garter. This personalized touch adds a unique and elegant flair.
- Something Old, Something New: Incorporate pieces of vintage jewelry or sentimental heirlooms into your garter. For example, you can add a small brooch, a locket with a photo, or a bead from your grandmother’s necklace. This not only adds personalization but also carries a sense of family legacy and tradition.
Get creative and think outside the box when it comes to adding personalized embellishments to your wedding garter. The goal is to make it a meaningful and cherished accessory that reflects your love story and personality.
Tips for a Secure and Comfortable Fit
Ensuring a secure and comfortable fit for your wedding garter is essential to make sure it stays in place throughout the day and doesn’t cause any discomfort. Consider these tips to achieve the perfect fit:
- Measure Accurately: Make sure to measure your thigh correctly, following the instructions mentioned earlier. Measure the circumference at the desired location, allowing for a little extra room for comfort.
- Choose the Right Elastic: Select a high-quality elastic band that is both soft and durable. The elastic should have enough stretch to fit snugly without feeling tight or constricting.
- Secure Stitching: Ensure that all the elements of your garter, such as lace and embellishments, are securely stitched onto the elastic band. This will prevent any accidental unraveling during the day.
- Avoid Excessive Tightness: While you want the garter to stay in place, avoid making it too tight as it may cause discomfort or restrict your circulation. It should fit snugly but comfortably around your thigh.
- Consider Adjustable Options: If you are unsure about the exact fit or anticipate any changes in your thigh size, choose a garter with adjustable features, such as a ribbon tie or hook-and-eye closure. This will allow for easy adjustments as needed.
- Test Wear: Before the big day, wear your garter for a trial run to ensure it stays in place and feels comfortable. Move around, sit, and walk to see if any adjustments are needed.
- Extra Support: If you have concerns about the garter slipping down, consider using garter grips or adhesive strips to provide extra stability and prevent any unwanted movement.
- Comfortable Placement: Position the garter on your thigh where it feels most comfortable for you. Some brides prefer it higher up, while others may find it more comfortable slightly lower. Find the placement that feels secure and doesn’t rub against your skin.
Remember, your wedding day is a long and joyous occasion, so ensuring a secure and comfortable fit for your garter is crucial. Take the time to make any necessary adjustments beforehand, so you can enjoy your special day without any worries.
Alternative Options for Wedding Garters
While the wedding garter is a traditional and popular accessory, it may not be the perfect fit for every bride. If you’re looking for alternative options or want to add something extra to your wedding ensemble, consider these alternatives to the classic wedding garter:
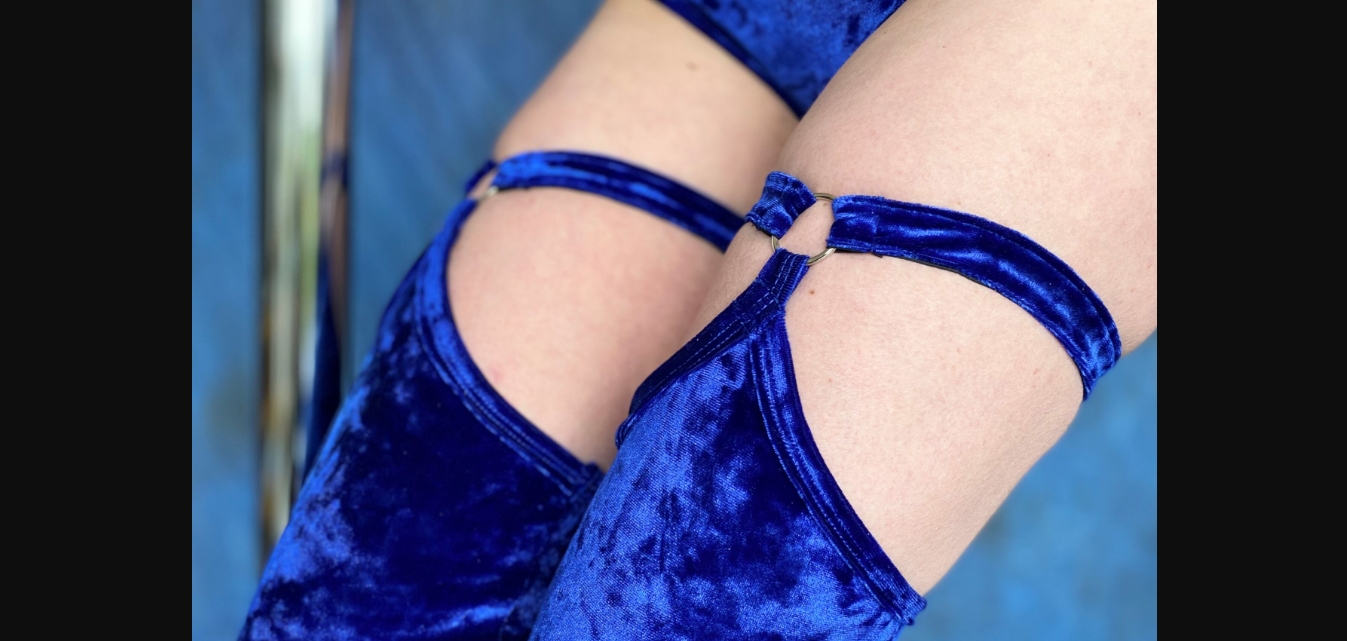
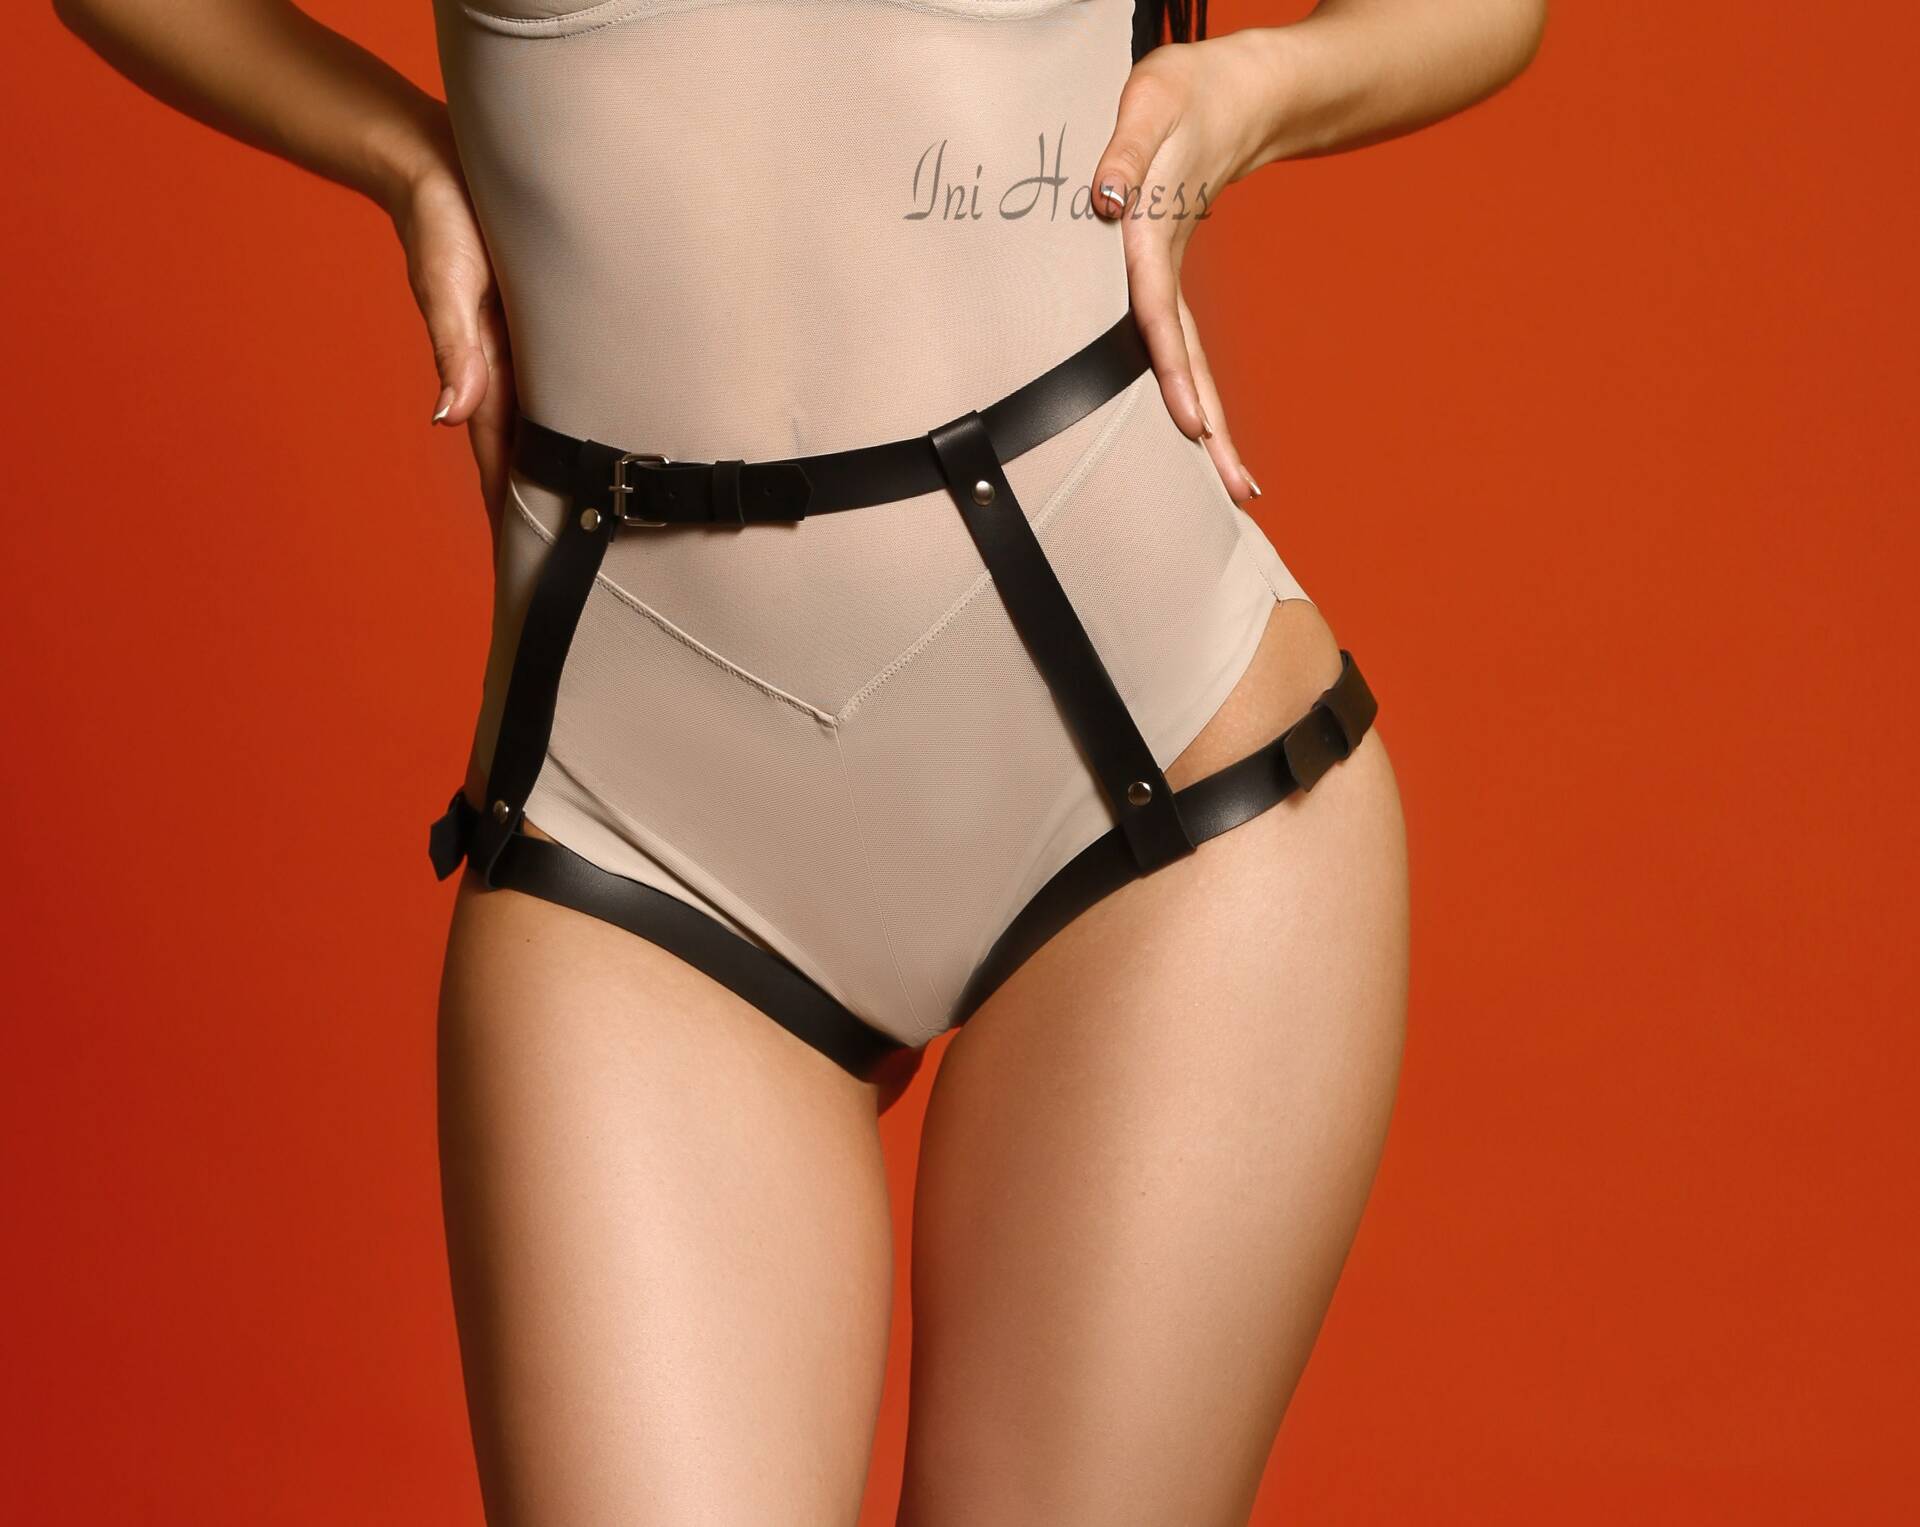
- Wedding Garter Belt: A wedding garter belt is a stylish and practical alternative. It consists of a belt that sits at the waist and attaches to stockings, providing a sophisticated and lingerie-inspired look. This option is perfect if you plan to wear stockings or want to add a touch of glamour to your outfit.
- Leg Jewelry: For a unique and eye-catching accessory, opt for leg jewelry. Leg chains, anklets, or foot bracelets can add a bohemian or beachy vibe to your ensemble while accentuating your legs. Choose delicate designs with shimmering details or go for bold and statement-making pieces.
- Sewn-In Garter: If you prefer a discreet option, consider having a garter sewn into the lining of your wedding dress. This choice ensures that you still adhere to the tradition while keeping the garter hidden from view. It offers convenience and eliminates the need to adjust or wear an extra accessory.
- Alternative Keepsakes: Instead of wearing a traditional wedding garter, you can opt for alternative keepsakes that hold symbolic value. For instance, you can wear a locket containing a photo of a loved one, a charm bracelet with meaningful charms, or a special piece of jewelry that represents your relationship.
- Bouquet Wrap: Incorporate the garter element into your bouquet by wrapping it with a lace or ribbon. This allows you to honor the tradition in a unique way while also adding an additional decorative element to your bouquet.
- Personalized Accessories: Rather than wearing a physical garter, consider incorporating the garter tradition with personalized accessories. Sew a small piece of lace or fabric onto the inside of your wedding dress, add a charm or ribbon to your bouquet, or include a hidden message on the soles of your wedding shoes.
Remember, your wedding day is about celebrating your love and personal style. Explore these alternative options to find the one that best represents your personality and preferences. Whether you choose a traditional garter or experiment with something different, the goal is to create a meaningful and memorable accessory for your special day.
Conclusion
Creating a wedding garter can be a delightful and meaningful project, allowing you to personalize a cherished accessory for your special day. By choosing the right materials, measuring accurately, and adding personalized embellishments, you can craft a wedding garter that reflects your unique style and love story.
Remember to consider the comfort and fit of your garter, ensuring it stays securely in place without causing any discomfort. Take the time to try it on and make any necessary adjustments to ensure a perfect fit.
If the traditional wedding garter doesn’t suit your preferences, don’t hesitate to explore alternative options such as garter belts, leg jewelry, or personal keepsakes. The key is to select an option that aligns with your style and adds a special touch to your wedding ensemble.
Whether you choose a simple and elegant design or opt for a more elaborate and personalized garter, the process of creating it will be a memorable experience. Your wedding garter will not only be a beautiful accessory but also a symbol of love and tradition as you walk down the aisle.
So, embrace your creativity, enjoy the journey of making your own wedding garter, and let it be a unique and cherished element that adds to the magic of your wedding day.