Home>How-to Guides>For All>How To Make Kimono Sleeves

For All
How To Make Kimono Sleeves
Modified: August 25, 2023
Learn how to make kimono sleeves for all types of garments with our step-by-step guide. Discover the versatile style and effortless elegance of kimono sleeves.
(Many of the links in this article redirect to a specific reviewed product. Your purchase of these products through affiliate links helps to generate commission for Under-tec.com, at no extra cost. Learn more)
Table of Contents
Introduction
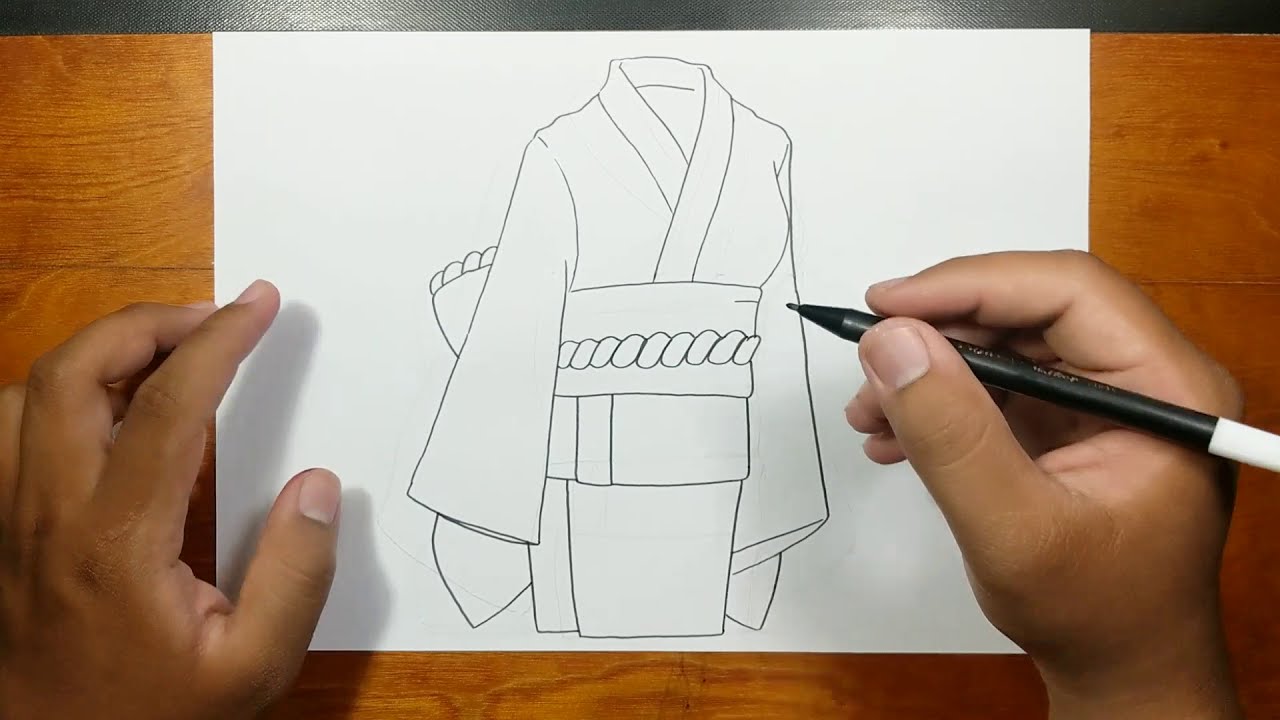
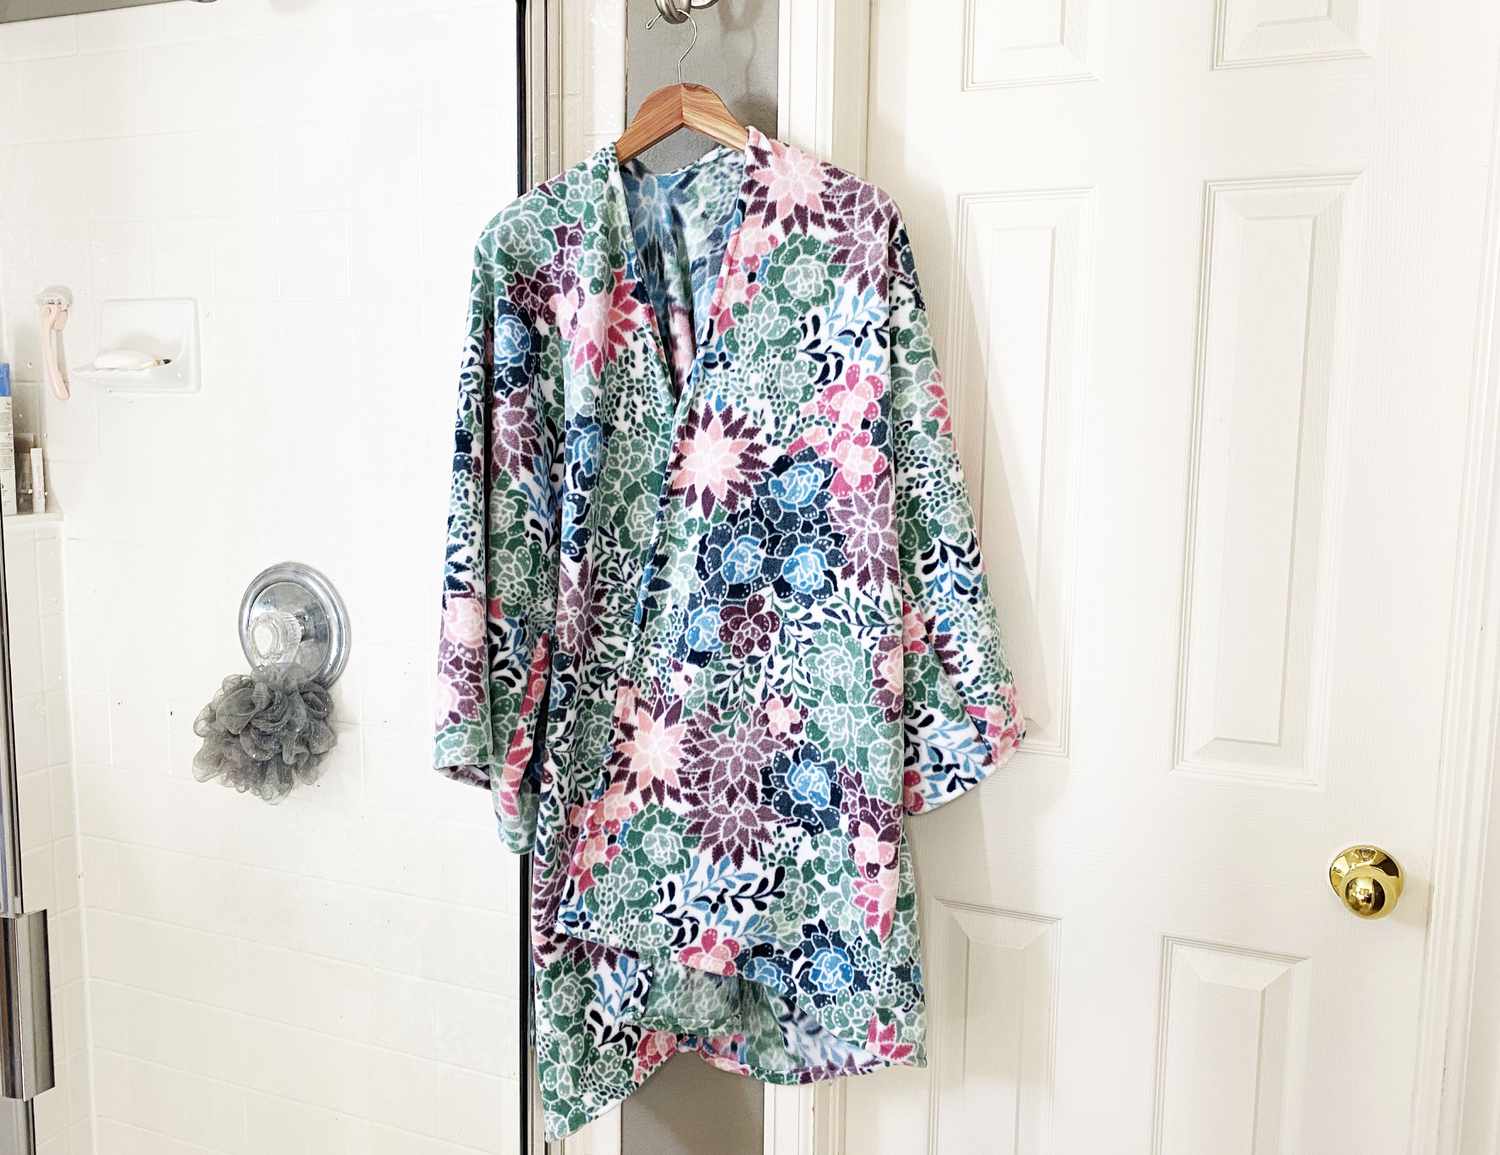
Welcome to our guide on how to make kimono sleeves! Kimono sleeves, also known as dolman sleeves, are a stylish and versatile addition to any garment. Whether you are a seasoned seamstress or a beginner looking to expand your sewing skills, this tutorial will help you create beautiful and comfortable kimono sleeves for your next project.
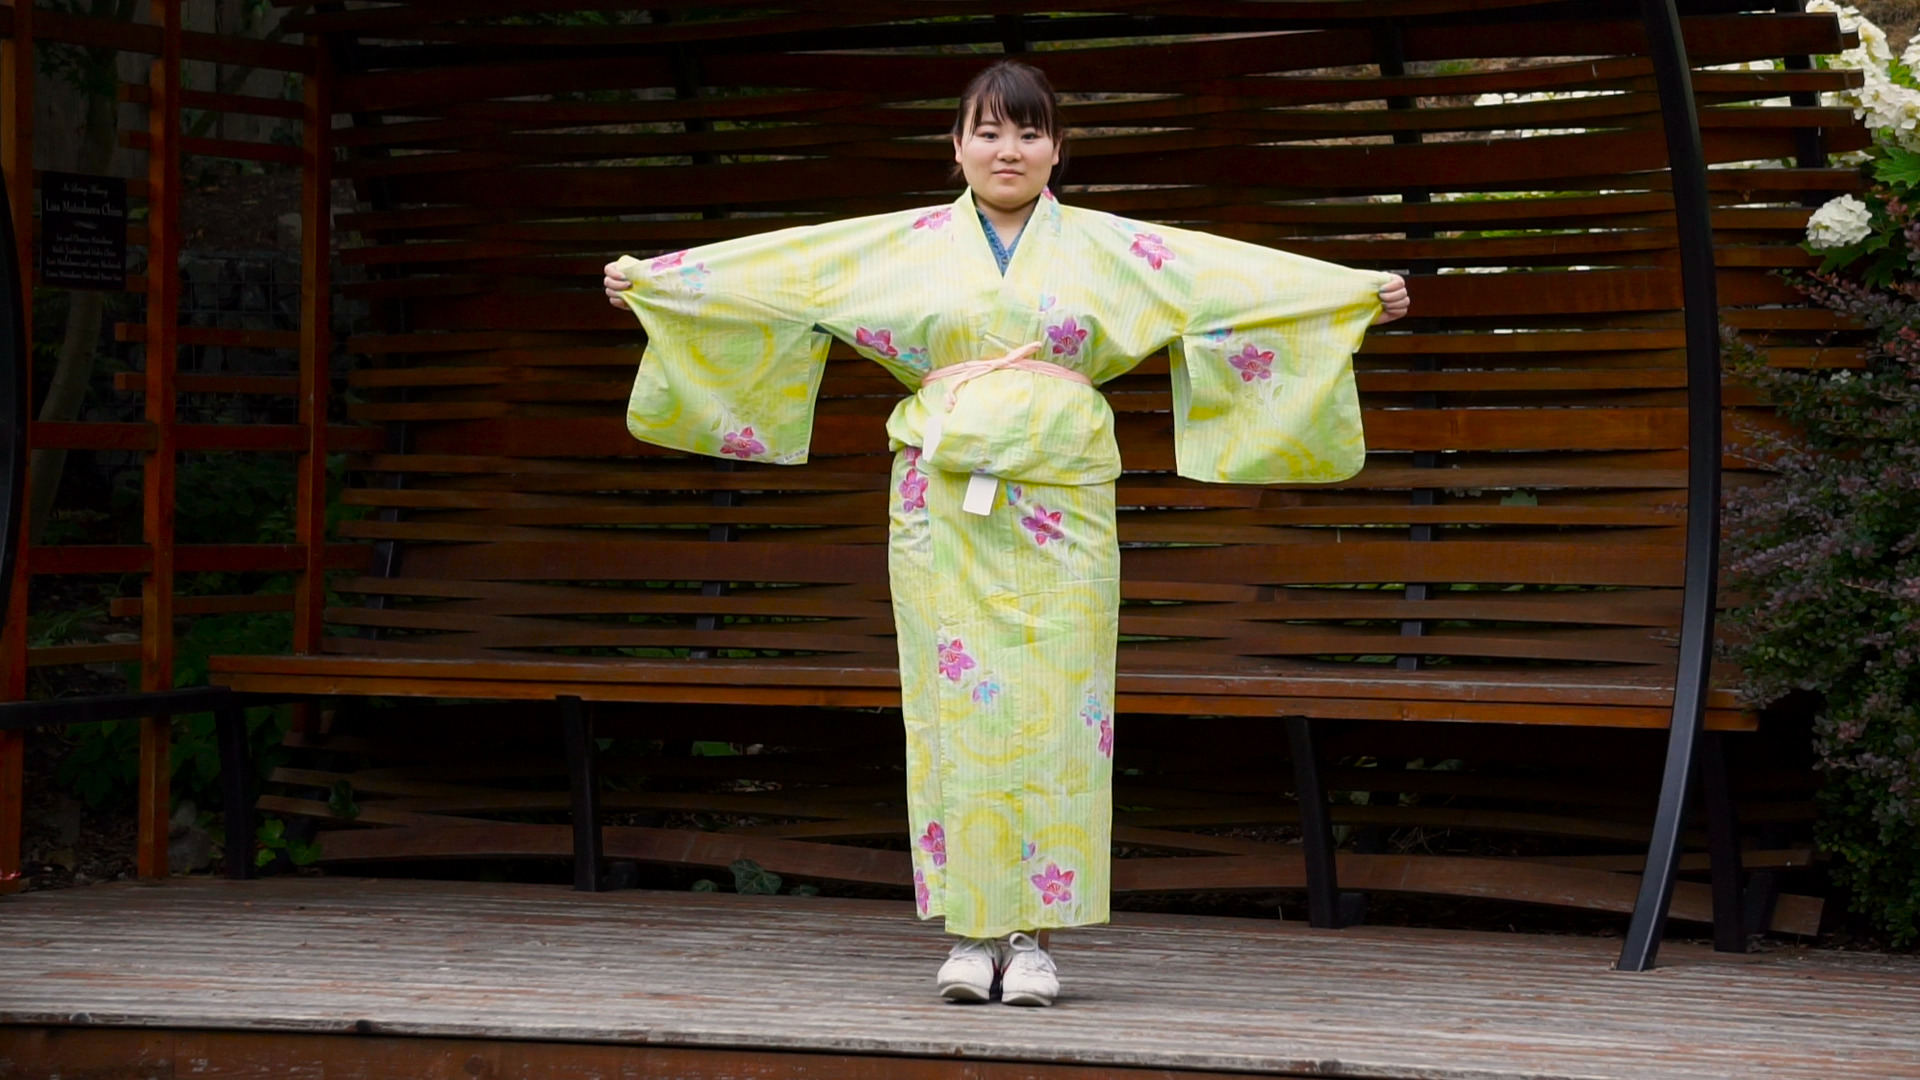
Kimono sleeves are characterized by their loose and wide design, which provides a relaxed and effortless look. They can be added to a variety of garments such as dresses, tops, or jackets, instantly elevating their style and adding a touch of elegance.
In this tutorial, we will walk you through the step-by-step process of measuring, drafting, cutting, and sewing kimono sleeves. We will also provide tips on how to attach them to your garment seamlessly and give you ideas on how to add personalized finishing touches.
Before we dive into the tutorial, let’s gather the materials you will need for this project.
Materials Needed
Before you get started, gather the following materials:
- Fabric of your choice (ensure you have enough to cut out the desired sleeve shape)
- Measuring tape
- Ruler or straight edge
- Fabric scissors
- Pins
- Sewing machine
- Thread matching your fabric
- Iron and ironing board
- Optional: Interfacing for added structure
When selecting your fabric, choose one that drapes well and suits the style of your garment. Light to medium-weight fabrics such as silk, rayon, cotton, or lightweight knits work best for kimono sleeves. Avoid heavy or stiff fabrics as they may hinder the flow and movement of the sleeves.
Ensure that you have a measuring tape to accurately measure your body or the pattern piece for your garment. A ruler or straight edge will come in handy for drawing straight lines and measuring the sleeve length.
Invest in a good pair of fabric scissors to ensure clean and precise cuts. Don’t forget to have plenty of pins on hand to secure your fabric during the sewing process.
A sewing machine is essential for stitching the sleeve seams, but you can also sew them by hand if you prefer. Make sure you have the appropriate thread color to match your fabric.
An iron and ironing board are crucial for pressing your fabric and seams. Pressing is essential to achieve crisp and professional-looking sleeves.
Finally, consider using interfacing for added structure and stability, especially if you are working with lightweight fabrics. Interfacing can be fused or sewn into the cuff area of the kimono sleeves.
Now that you have gathered all the necessary materials, let’s move on to taking measurements for precise sleeve sizing.
Step 1: Taking Measurements
Before you start drafting the pattern for your kimono sleeves, it’s important to take accurate measurements. These measurements will help ensure that your sleeves fit well and have the desired length. Here’s how to take the necessary measurements:
- Shoulder Width: Measure across the back, from shoulder point to shoulder point. Make a note of this measurement as it will determine the width of your sleeves.
- Sleeve Length: Start at the shoulder point and measure down to the desired length of the sleeve. You can adjust the length based on your preference, whether you want a shorter or longer sleeve.
- Armhole Depth: Measure from the shoulder seam down to the underarm point. This measurement will determine the depth of your kimono sleeve.
It is important to note that these measurements should be taken with a relaxed arm. Avoid taking measurements with your arm lifted as it can result in inaccurate sleeve length.
Once you have taken these measurements, you can move on to drafting the pattern for your kimono sleeves. Taking precise measurements ensures that your sleeves will fit comfortably and flatteringly. It will also help you in cutting the fabric accurately.
With the measurements in hand, you’re now ready to move on to the next step: drafting the pattern for your kimono sleeves.
Step 2: Drafting the Sleeve Pattern
Now that you have taken your measurements, it’s time to draft the pattern for your kimono sleeves. Here’s how:
- Start with a large sheet of paper or pattern drafting paper. Place it on a flat surface.
- Draw a straight horizontal line across the top of the paper. This will represent the shoulder line.
- From the ends of the shoulder line, measure and mark the shoulder width measurement you took earlier. These points will be the armhole points.
- At each armhole point, draw a straight vertical line down to the desired length of the sleeve. This will be the length of your kimono sleeve.
- From the bottom of the sleeve length line, draw a slightly curved line outwards. This curve will create the width of the sleeve, accommodating a relaxed fit.
- Connect the bottom of the curved line to the opposite armhole point with a straight line. This will complete the sleeve pattern shape.
- To finish the pattern, add seam allowances around the outer edges of the sleeve pattern. A 1/2 inch to 1 inch seam allowance is typically sufficient.
Remember to label your pattern with relevant information such as the sleeve length, armhole depth, and any other identifying details.
Once you have finished drafting the pattern, cut it out along the outer edges, including the seam allowances. Your sleeve pattern is now ready to be transferred onto your fabric.
In the next step, we will guide you through cutting the fabric for your kimono sleeves.
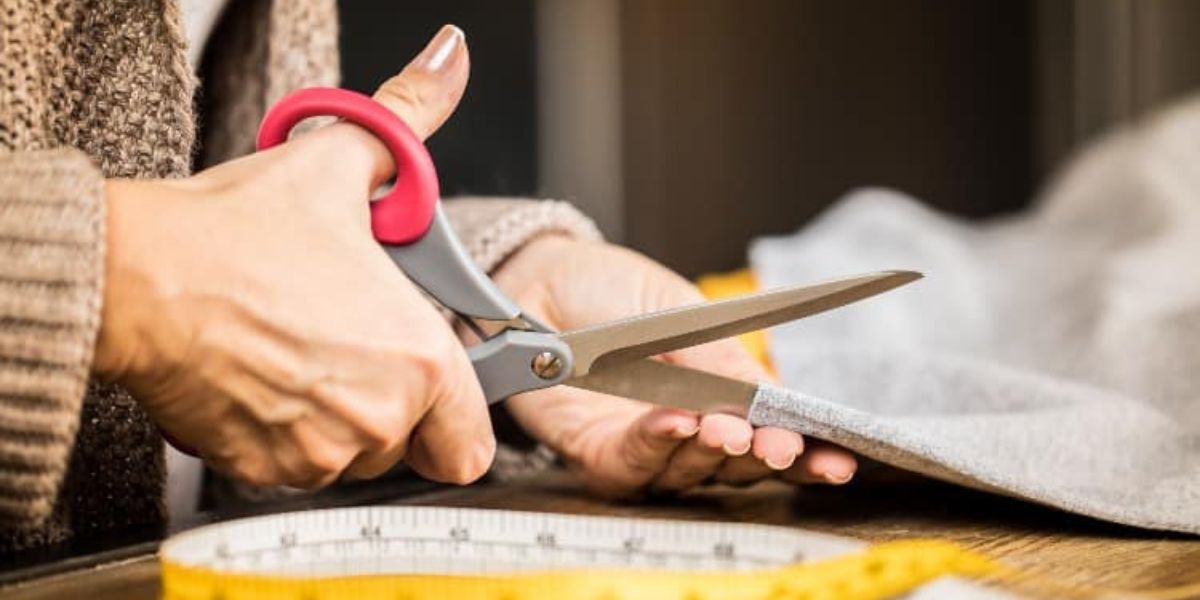
Step 3: Cutting the Fabric
With your sleeve pattern in hand, it’s time to cut the fabric for your kimono sleeves. Follow these steps for a precise and clean cut:
- Lay your fabric flat on a cutting surface, ensuring that it is smooth and free from wrinkles.
- Place your sleeve pattern on top of the fabric, aligning the straight edge of the pattern with the selvage edge of the fabric. This will ensure that the pattern is parallel to the grain line of the fabric.
- Pin the pattern to the fabric to secure it in place, making sure the pins are placed outside the cutting lines to avoid distorting the shape.
- Using fabric scissors, carefully cut around the outer edges of the pattern, following the cutting lines. Take your time to ensure clean and precise cuts.
- Remove the pins and gently lift off the pattern, being careful not to shift or distort the fabric.
Repeat these steps to cut the fabric for the second kimono sleeve.
If you are using interfacing for added structure, now is the time to cut and apply it to the cuff area of the sleeves. Simply trace the shape of the cuff onto the interfacing, cut it out, and fuse or sew it onto the fabric.
Double-check that you have cut two matching sleeve pieces, and confirm that the fabric is cut correctly according to your desired sleeve length and width.
With the fabric cut, you are now ready to move on to the next step: sewing the sleeve seams.
Step 4: Sewing the Sleeve Seams
Now that your fabric is cut, it’s time to sew the sleeve seams to create the kimono sleeve shape. Follow these steps for a professional and polished finish:
- Place the two sleeve pieces right sides together, aligning the raw edges.
- Pin the sleeve seams together, starting from the cuff end and working your way up to the armhole.
- Using a straight stitch, sew along the pinned seam, securing the raw edges with a 1/2 inch to 1 inch seam allowance. Remember to backstitch at the beginning and end of the seam for added strength.
- Once the seam is sewn, press it open with an iron to create crisp and flat seams. Pressing is important for a professional-looking finish.
- Repeat the above steps for the second sleeve, ensuring that both sleeves have sewn and pressed seams.
If you are using lightweight or delicate fabrics, consider finishing the raw edges of the seams with a serger or a zigzag stitch to prevent fraying.
With the sleeve seams sewn and pressed, you are now ready to move on to the next step: attaching the sleeves to the garment.
Step 5: Attaching the Sleeves to the Garment
With the sleeves sewn, it’s time to attach them to your garment. Follow these steps to ensure a secure and seamless attachment:
- With the right side of the garment facing up, place the sleeve on top, aligning the raw edges of the sleeve with the armhole of the garment. Pin the sleeve and garment together, starting at the underarm point and working your way around the armhole.
- Distribute the fabric evenly along the armhole, adjusting any gathers or pleats if necessary. The amount of ease will depend on your preference and the desired fit of the garment.
- Once the sleeve is pinned in place, sew along the armhole, attaching the sleeve to the garment with a 1/2 inch to 1 inch seam allowance. Take your time to ensure a smooth and even seam.
- Repeat the above steps to attach the second sleeve to the other armhole of the garment, making sure the placement and stitching are symmetrical.
After sewing the sleeve to the garment, press the seam allowance towards the sleeve to create a neat finish. Pressing the seams will also help the sleeves lay flat and minimize any puckering.
If desired, you can topstitch along the armhole seam for added durability and a polished look. This step is optional but can provide a professional touch to your garment.
With the sleeves attached to the garment, you are almost finished. Let’s move on to the final step: adding some finishing touches.
Step 6: Finishing Touches
With the sleeves successfully attached to your garment, it’s time to add those final finishing touches to complete your kimono sleeves. Here are some optional but delightful details you can consider:
- Hemming: Depending on your desired look, you may choose to hem the bottom edge of the sleeves. Fold the raw edge under and stitch it in place using a straight stitch or a decorative hemming stitch.
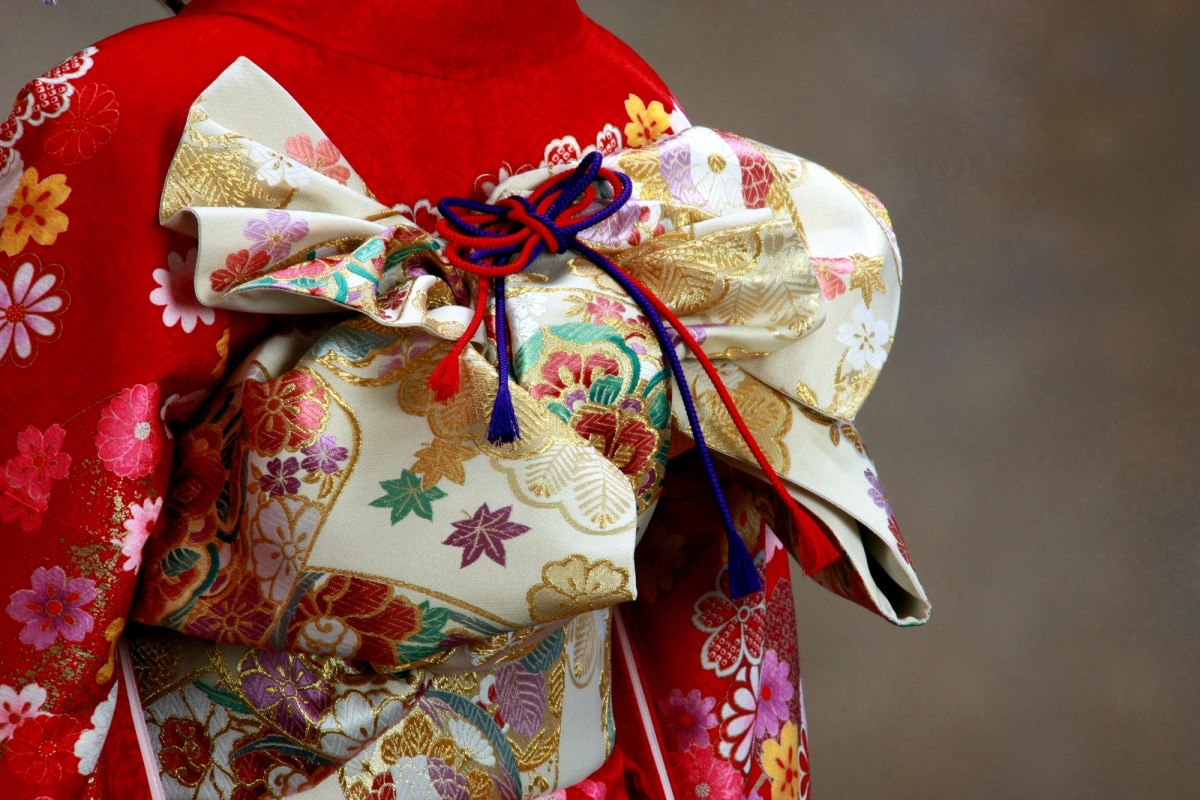
- Trim or Embellishments: To add a touch of personality, consider adding trim or embellishments along the sleeve edges. This could be lace, ribbons, or decorative stitching. Get creative and experiment with different options to achieve a unique and customized look.
- Pressing: Take the time to press your finished sleeves and garments once more. This final press will help smooth any wrinkles and give your project a polished and professional appearance.
Remember, these finishing touches are optional and should be tailored to your personal style and the overall aesthetic of your garment.
Once you have completed the finishing touches, try on your garment to ensure that the kimono sleeves fit comfortably and look visually appealing. Make any necessary adjustments as needed.
Congratulations! You have successfully made kimono sleeves for your garment. This versatile sleeve style adds a touch of elegance and modern flair to any outfit.
Now that you’ve mastered the art of creating kimono sleeves, feel free to experiment with different fabrics, lengths, and styles to create unique and eye-catching looks. Enjoy the process of sewing and creating beautiful garments that showcase your personal style and creativity!
Conclusion
Congratulations on completing your journey to learn how to make kimono sleeves! By following the steps outlined in this guide, you have gained the knowledge and skills to create elegant and comfortable sleeves for your garments. Whether you are adding kimono sleeves to a dress, top, or jacket, they are sure to elevate its style and give it a unique touch.
Throughout the process, we explored the importance of taking accurate measurements, drafting the pattern, cutting the fabric, sewing the sleeve seams, attaching the sleeves to the garment, and adding those final finishing touches. Each step plays a crucial role in achieving well-fitted and beautifully crafted kimono sleeves.
Remember to choose the right fabric that drapes well and suits the style of your garment. Take your time to cut and sew with precision, ensuring clean lines and polished seams. Don’t be afraid to add your personal touch with embellishments or decorative stitching.
Now that you have mastered the art of making kimono sleeves, the possibilities are endless. Experiment with different fabrics, sleeve lengths, and styles to create unique and eye-catching looks. Let your creativity flourish as you continue to explore new sewing projects.
As with any skill, practice will only make you better. So, keep sewing, experimenting, and honing your craft. The more you practice, the more confident you will become in creating beautiful garments that reflect your personal style.
Thank you for joining us on this sewing adventure. We hope you’ve enjoyed learning how to make kimono sleeves and that you are inspired to continue exploring the world of dressmaking. Happy sewing!