Home>How-to Guides>For All>How To Put On A Kimono

For All
How To Put On A Kimono
Modified: September 23, 2023
Learn how to put on a kimono and achieve the perfect traditional look. Suitable for all, this step-by-step guide will ensure you master the art with ease.
(Many of the links in this article redirect to a specific reviewed product. Your purchase of these products through affiliate links helps to generate commission for Under-tec.com, at no extra cost. Learn more)
Table of Contents
Introduction
Have you ever been fascinated by the elegance and beauty of a kimono? This traditional Japanese garment is not only a fashion statement but also a cultural symbol. Wearing a kimono requires precision and attention to detail, as each garment is carefully wrapped and secured using various accessories. Whether you’re preparing for a special event or simply curious about the art of kimono dressing, this guide will walk you through the step-by-step process of putting on a kimono with ease.
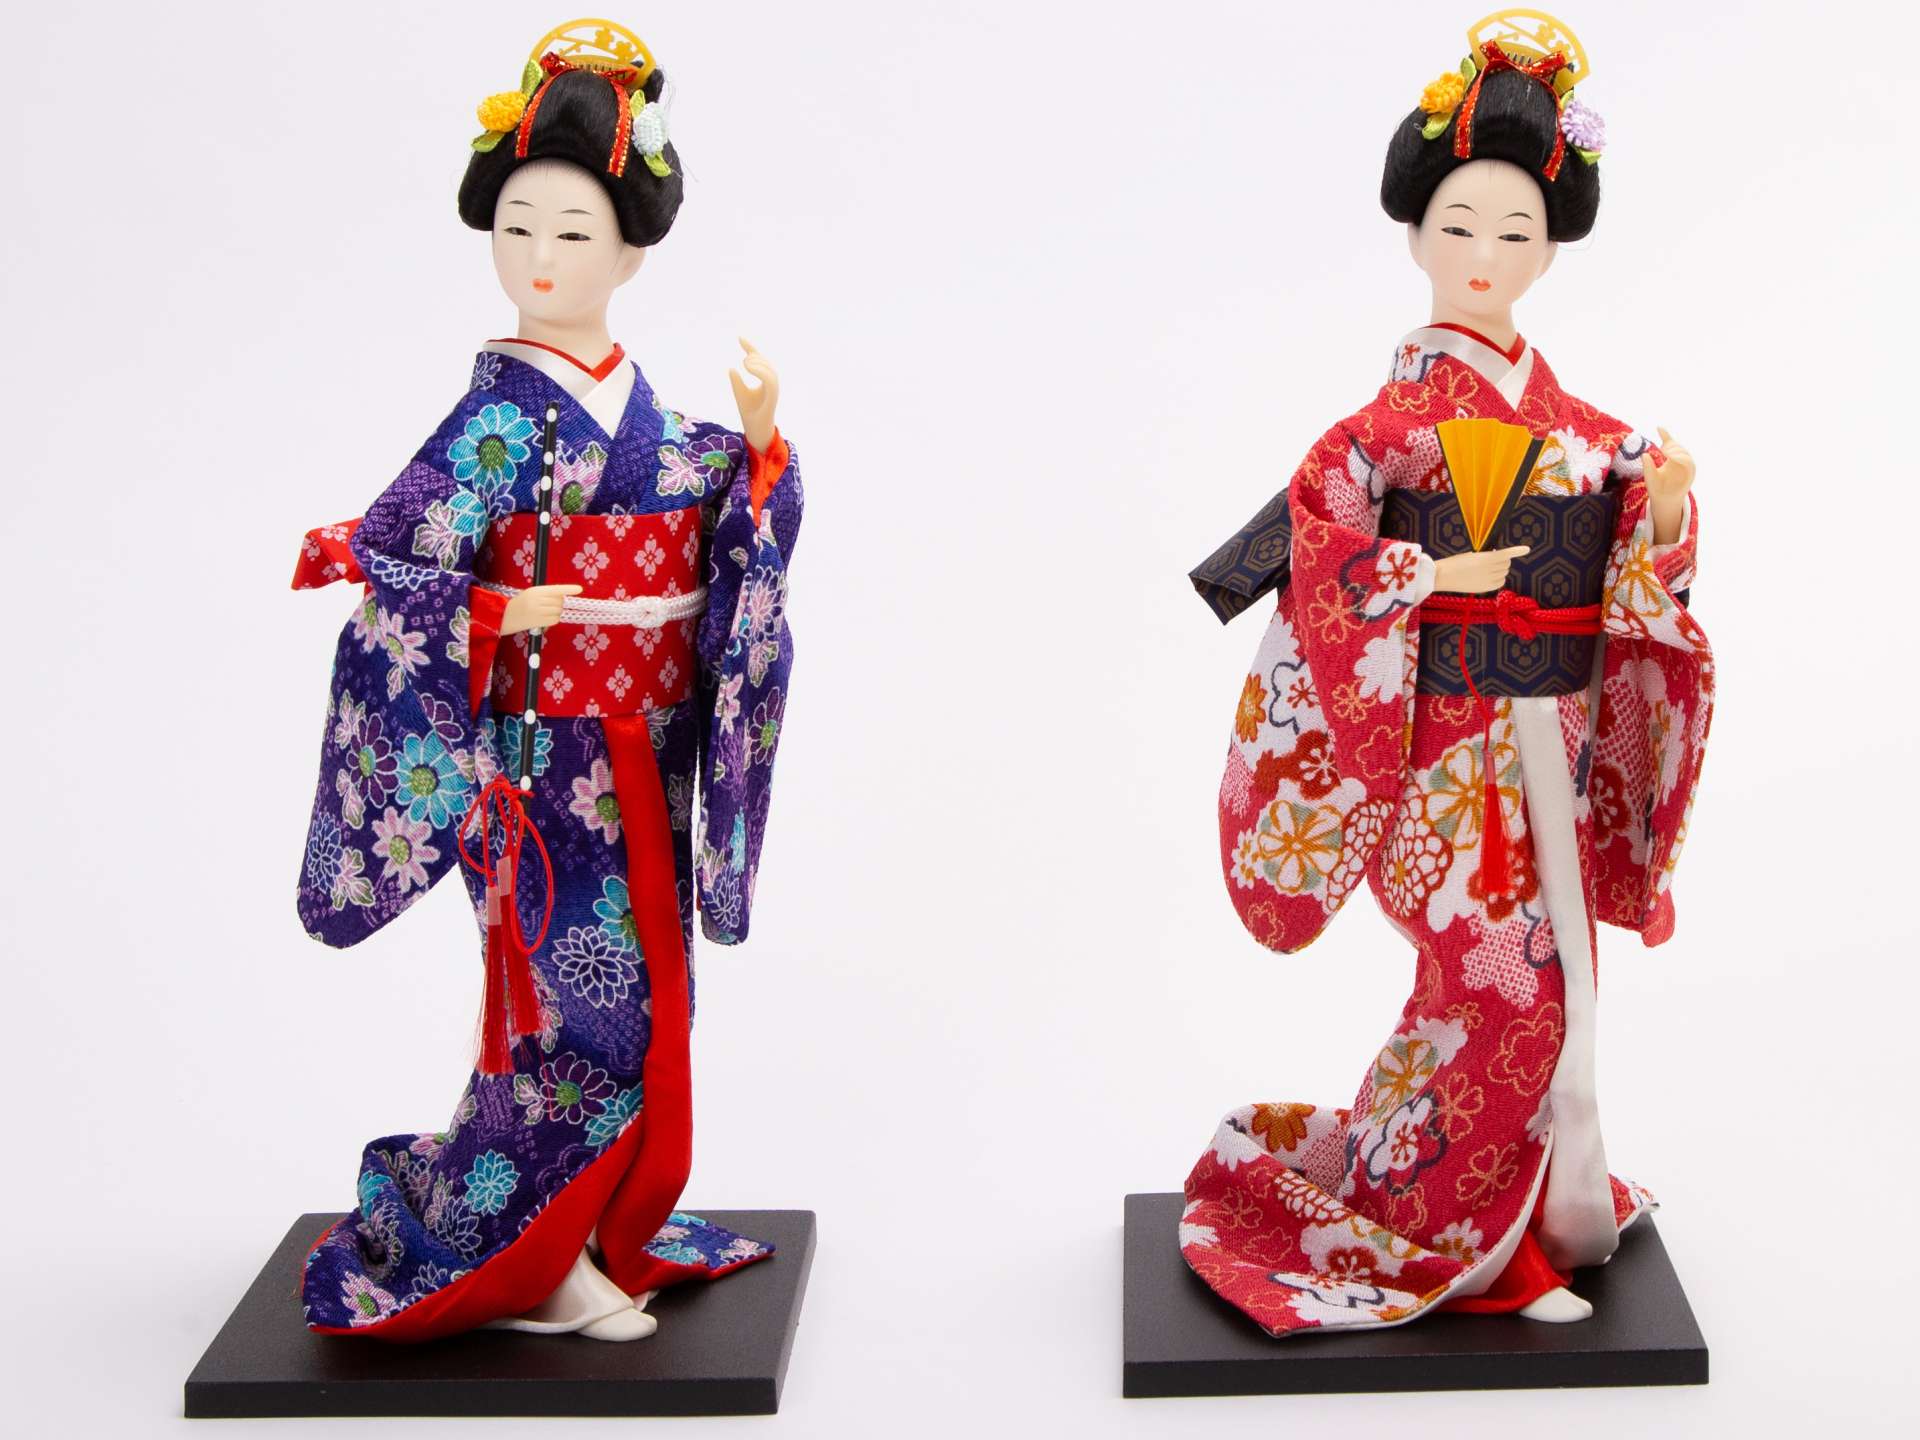
The kimono is known for its flowing silhouette, vibrant colors, and intricate patterns. It is traditionally made from silk or other high-quality fabrics, and its design often reflects the seasons, with cherry blossoms for spring, fireworks for summer, and autumn foliage for fall. It is essential to approach the process of wearing a kimono with respect and appreciation for its cultural significance.
Not only is the kimono a symbol of Japanese tradition, but it also represents elegance and grace. Putting on a kimono is like stepping into a piece of living art. With its meticulous folding and twisting techniques, it is a true reflection of the Japanese attention to detail and craftsmanship.
In this guide, we will break down the steps to help you put on a kimono correctly, ensuring a comfortable fit and an authentic look. From preparing the kimono and wearing the undergarments to tying the obi and adding the final accessories, we will cover everything you need to know. So, let’s embark on this fascinating journey into the world of kimono dressing!
Step 1: Preparing the Kimono
Before putting on a kimono, it is essential to ensure that it is properly prepared. This involves several steps to ensure that the garment is in the best condition for wearing.
Start by laying out the kimono on a flat surface, such as a clean floor or table. Smooth out any wrinkles or folds gently to maintain the fabric’s integrity and appearance. Take a moment to appreciate the intricate design and craftsmanship of the kimono.
Next, locate the collar of the kimono. It should be at the top of the garment when it is worn. Take the time to inspect the collar for any dirt or stains, gently removing them with a soft cloth or brush if necessary.
Once the collar is cleaned, fold it back over the kimono, exposing the inner lining. This lining is called the “juban,” and it serves as a protective layer between the kimono and your body. Ensure that the juban is neatly folded and in good condition before proceeding.
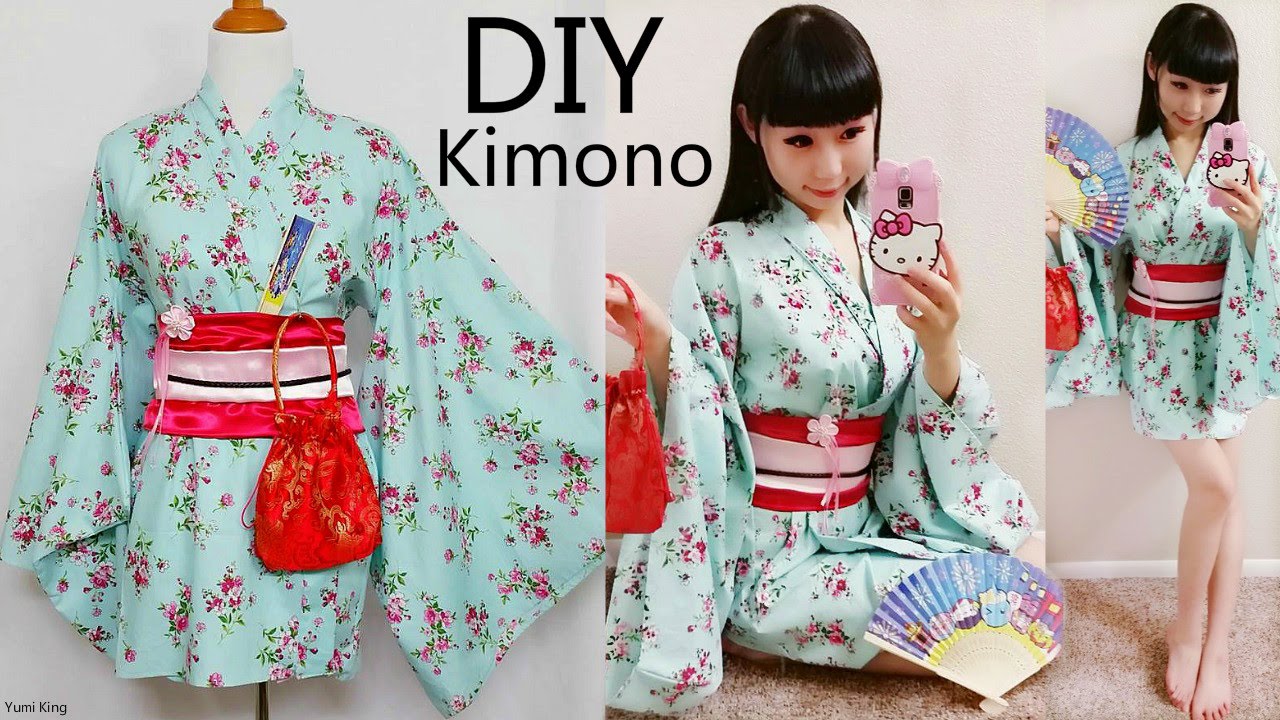
Now, it’s time to check the accessories that accompany the kimono. These typically include a wide belt called an “obi,” a pair of tabi socks, a decorative belt called a “koshihimo,” and any additional ornaments or accessories. Make sure that all these items are clean and ready for use.
Lastly, take a moment to mentally prepare yourself. Wearing a kimono is not just putting on a piece of clothing; it is a reflection of tradition and culture. Embrace the experience and be open to the beauty and elegance it holds.
With the kimono prepared and your mindset in the right place, you are now ready to move on to the next step: putting on the undergarments.
Step 2: Putting on the Undergarments
Before wearing the kimono, it’s important to put on the proper undergarments. These undergarments not only provide comfort but also help maintain the shape and structure of the kimono when worn.
Start with the “hadajuban,” a thin, white, full-length garment that resembles a slip. This undergarment is worn directly against the skin and serves as a base layer for the kimono. Ensure that the hadajuban is free of wrinkles and properly adjusted before continuing.
Next, put on a pair of “tabi” socks. Tabi socks are unique because they have a separation between the big toe and the rest of the toes, allowing for the proper wearing of traditional Japanese footwear. Make sure the tabi socks are pulled up snugly and that the separation lines up correctly with your toes.
Once you have the tabi socks on, it’s time to secure them with “tabi straps.” These straps are wrapped around the ankle and fastened with a hook. Adjust the tension of the straps so that they are secure but not too tight, ensuring comfortable movement.
After the tabi socks are secured, put on a “nagajuban” or kimono undergarment. This is a more substantial garment that also serves as a layer between your body and the kimono. The nagajuban is usually made of silk or other soft fabrics and has a collar that should be visible above the kimono’s collar.
Remember to adjust the length of the nagajuban so that it does not peek out from under the kimono when it is worn. Ideally, the hem of the nagajuban should be about two inches shorter than the kimono for a clean and polished look.
With the undergarments properly in place, you are now ready to move on to the next step: tying the obi.
Step 3: Tying the Obi
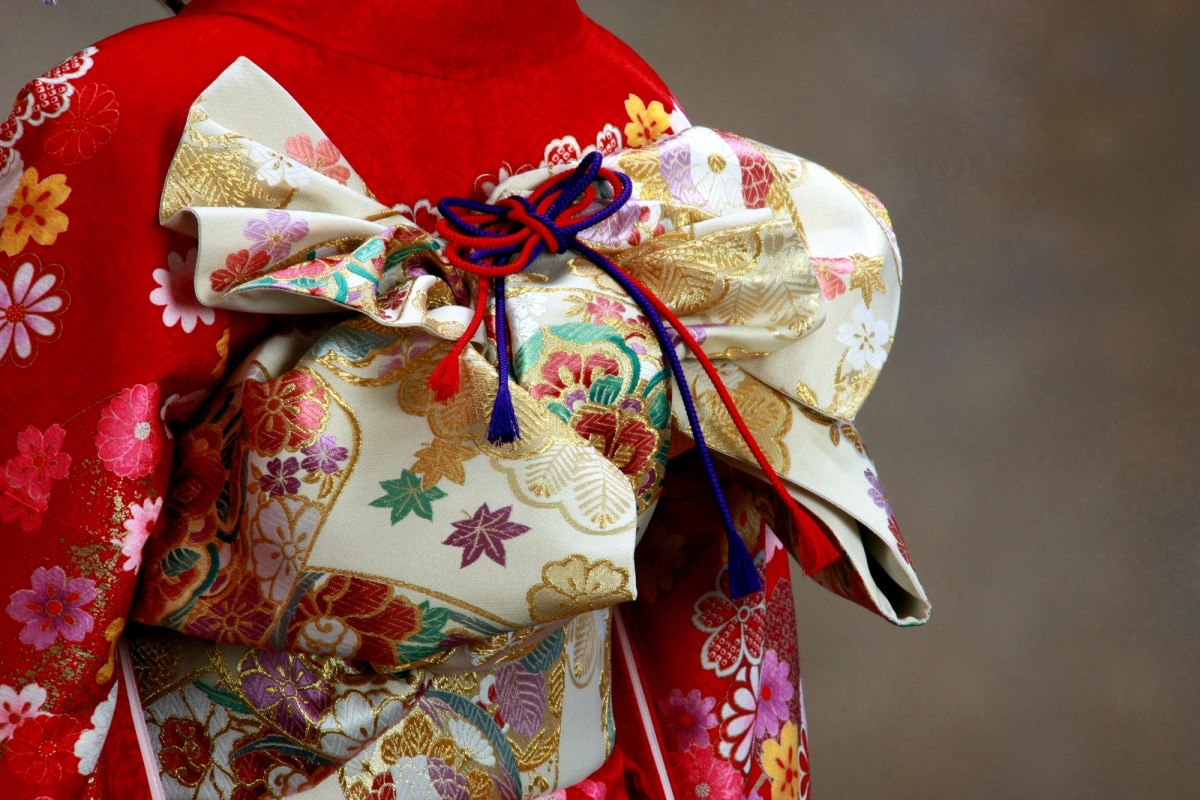
The obi is a wide belt that wraps around the waist and holds the kimono in place. Tying the obi is a crucial step in achieving a secure and well-fitted kimono look. There are different styles of obi, and the tying method may vary depending on the occasion and personal preference. Here, we will cover the basic steps for tying a typical obi.
Start by wrapping the obi around your waist, ensuring that the right side is longer than the left. The length of the obi will vary based on your body size and the desired style. Make sure the obi sits comfortably on your waist, not too tight or too loose.
Take the longer end of the obi and bring it across the front of your body, wrapping it around to the back. Hold onto the end and bring it back to the front, crossing it over the shorter end of the obi.
Continue wrapping the longer end around your waist, bringing it back to the front and crossing it over the other end at an angle. Create a neat X-shaped pattern with the two ends of the obi.
Once you have a secure X shape, bring the longer end of the obi underneath the shorter end and thread it through the space between the obi and your waist. Pull it tightly but be cautious not to make it too tight, as you still need to be able to breathe comfortably.
With the longer end threaded through, create a knot in the front center of your body, ensuring that it is firm and symmetrical. Adjust the obi to make it even and smooth, tucking any excess fabric neatly behind the knot.
Now, take the shorter end of the obi and fold it in half diagonally to create a triangular shape. Place the folded end towards the left side of your waist and tuck it under the obi belt, securing it in place.
Finally, adjust the obi to ensure that it is centered, even, and lies flat against your body. Smooth out any wrinkles or unevenness, creating a polished and stylish look.
Tying the obi may require practice and patience, but with time, you will become more proficient and confident in achieving the desired style and fit. Once the obi is securely tied, you are ready to move on to the next step: wrapping the kimono.
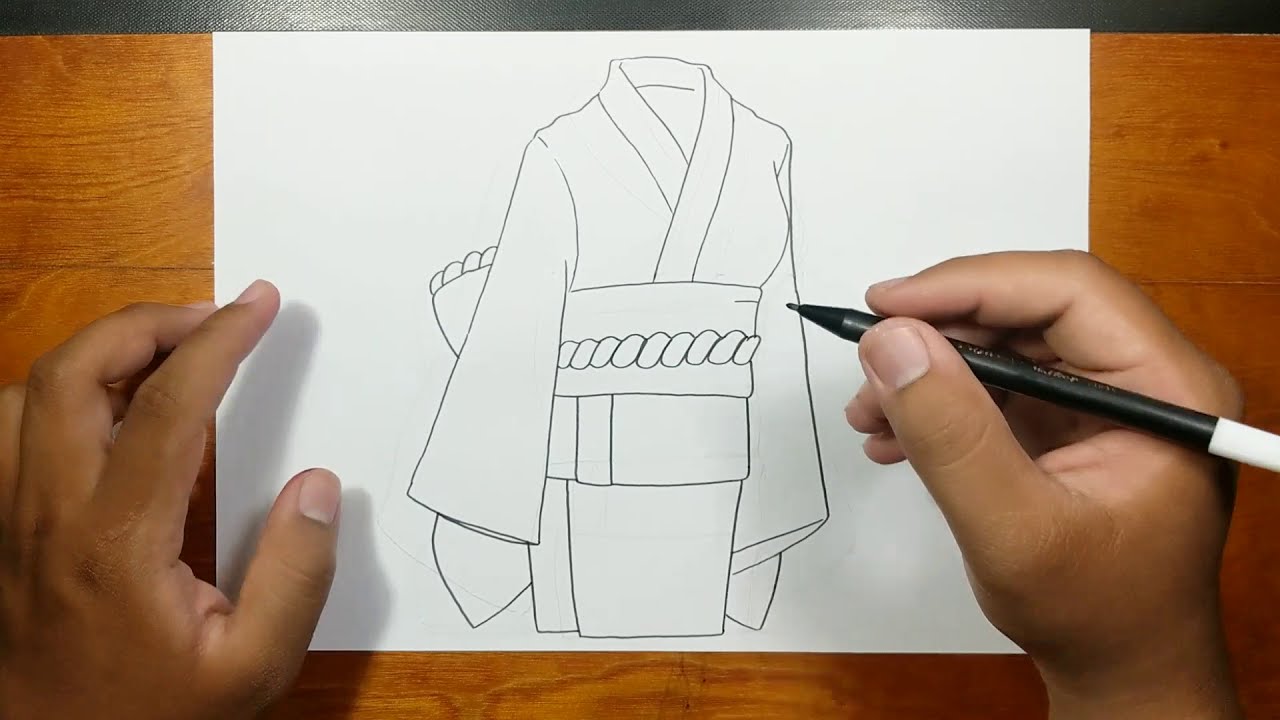
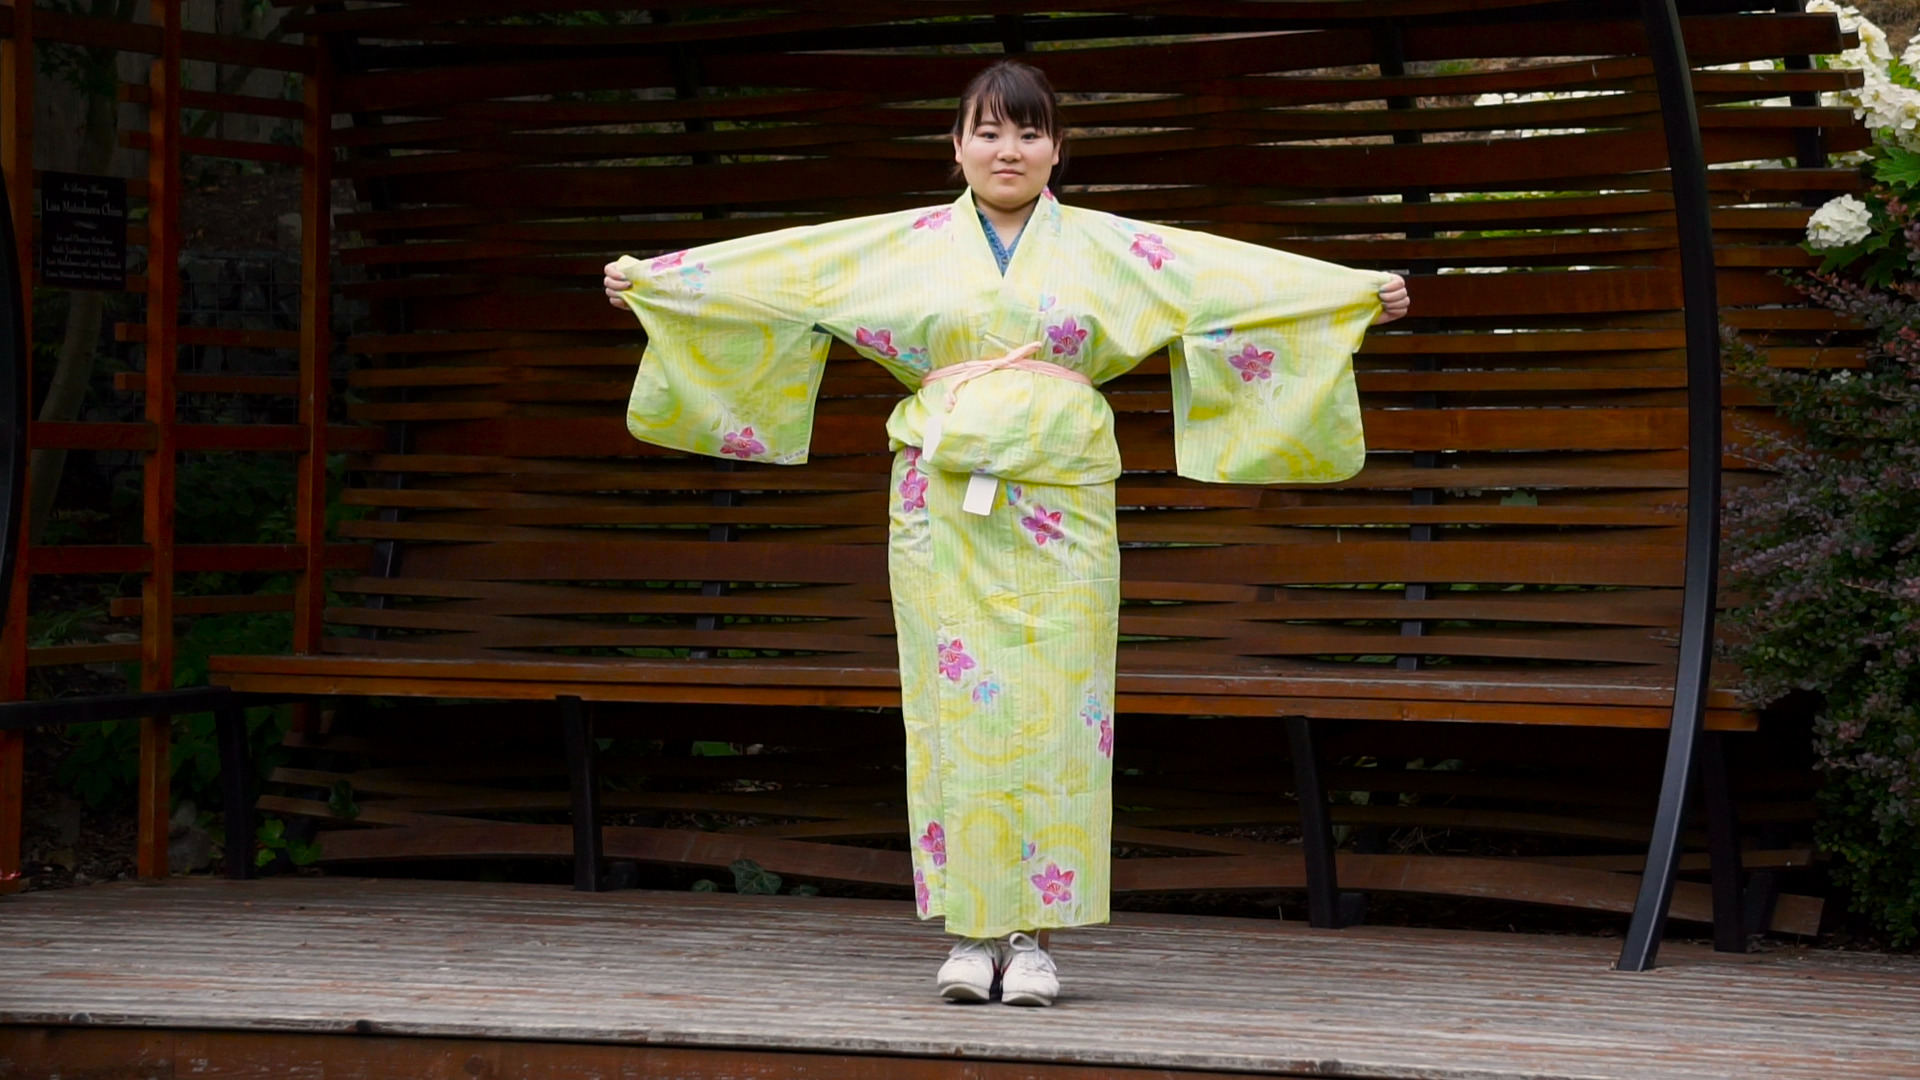
Step 4: Wrapping the Kimono
Once the obi is securely tied, it’s time to wrap the kimono itself. This step involves carefully folding and draping the kimono around your body to create a well-fitted and elegant look.
Start by holding the kimono with the left side longer than the right. Align the edge of the kimono with the left side of your body and fold the right side, overlapping it just enough to create a straight line.
Secure the folded part of the kimono with your left hand and bring the right side over your body, tucking it underneath the left side. Adjust the kimono so that it falls evenly and covers your body from the shoulders to just above the ankles.
Next, fold the excess length of the right side of the kimono up and over the left side. This creates a layer of fabric that adds depth and dimension to the kimono’s appearance.
Hold the folded part of the kimono in place with your right hand and wrap the left side tightly around your body. Be mindful to create a smooth and even wrap without any wrinkles or bunches of fabric.
Once the left side is wrapped, bring the right side around your body again, overlapping it with the left side. The fabric should meet at the center, creating a seamless and polished look.
Take a moment to adjust the kimono’s collar, ensuring that it sits straight and matches the collar of the undergarments. Smooth out any wrinkles or creases, paying attention to the fabric’s overall appearance.
To secure the kimono, use a koshihimo, a decorative belt that is tied around the waist on top of the obi. Wrap the koshihimo tightly around the waist, crossing it at the back, and bringing it back to the front, tying it into a knot or a bow.
Once the kimono is securely wrapped and the koshihimo is tied, adjust the kimono’s length by gently lifting the back part and allowing the excess fabric to fall naturally. The hem should hover just above the ground.
With the kimono wrapped beautifully around your body, you are now ready to move on to the next step: adjusting and securing.
Step 5: Adjusting and Securing
Once the kimono is wrapped around your body, it is important to ensure that it is adjusted properly and securely fastened. This step involves making small adjustments to the fabric and securing it in place.
Start by checking the overall appearance of the kimono. Smooth out any wrinkles or folds, ensuring that the fabric is evenly distributed and falls correctly over your body.
Next, adjust the collar of the kimono, ensuring that it is straight and aligned with the collar of the undergarments. Use your fingers to gently shape and adjust the collar, creating a clean and polished look.
To prevent the kimono from shifting or slipping, secure it in place by tucking the front panel into the obi belt. This helps maintain the shape and structure of the kimono, keeping it in place while you move.
Take a moment to ensure that the obi is securely fastened. Double-check that the knot or bow is tight and firm, preventing the obi from unraveling or becoming loose during wear.
With the kimono and obi securely adjusted and fastened, take a few steps and perform some natural movements to ensure that the garment stays in place and feels comfortable. Make any necessary adjustments if you notice any areas that feel too tight, loose, or uneven.
Lastly, appreciate the beauty and elegance of the kimono. Take a moment to admire the patterns, colors, and craftsmanship. Allow yourself to fully embrace the experience and feel the sense of tradition and culture that the kimono represents.
With the kimono adjusted and secured, you are now ready to move on to the final step: adding the finishing touches with accessories.
Step 6: Adding the Final Accessories
The final step in completing your kimono ensemble is adding the finishing touches with accessories. These accessories not only enhance the overall look but also provide additional cultural and aesthetic significance.
Start by putting on a pair of “geta” or traditional wooden sandals. Geta elevate your height slightly and add a sense of authenticity to your kimono outfit. Slide your feet into the geta straps and adjust them for a comfortable fit.
Next, take a moment to carefully style your hair. Traditional Japanese hairstyles often involve intricate updos or the use of accessories such as decorative hairpins or combs. Choose a hairstyle that complements your kimono and use the appropriate accessories to complete the look.
Now, it’s time to adorn yourself with a few accessories. Consider adding a “kanzashi,” which is a decorative hairpin made of silk and adorned with intricate designs. Kanzashi helps enhance the overall elegance and sophistication of your kimono ensemble.
Another accessory to consider is a “kinchaku” or a small drawstring bag. Kinchaku can be used to carry personal items such as a wallet or a handkerchief. Choose a kinchaku that complements the color or pattern of your kimono for a coordinated look.
Finally, consider adding a touch of jewelry to your ensemble. A simple necklace, earrings, or a bracelet can help add a subtle sparkle and enhance the overall elegance of your kimono. Choose jewelry that complements the colors and style of your kimono without overpowering the outfit.
Remember, accessories should be chosen thoughtfully and should not distract from the main focus, which is the kimono itself. They should enhance the overall look while staying true to the traditional and cultural aspects of kimono dressing.
Once you have added the final accessories, take a moment to admire yourself in the mirror. Appreciate the beauty and artistry that comes with wearing a kimono. Embrace the sense of tradition and culture that is embodied in every aspect of your kimono ensemble.
Congratulations! You have successfully completed the process of putting on a kimono from start to finish. You can now confidently showcase the elegance and grace of this traditional Japanese garment for any special occasion or cultural event.
Conclusion
Putting on a kimono is more than just getting dressed; it is an art form that embodies tradition, elegance, and cultural significance. By following the step-by-step guide outlined in this article, you have learned how to put on a kimono with precision, attention to detail, and respect for its heritage.
From preparing the kimono and wearing the appropriate undergarments to tying the obi, wrapping the kimono, and adding the final accessories, each step contributes to the overall beauty and authenticity of the ensemble.
Remember, wearing a kimono is about embracing the grace and elegance it represents. It is a celebration of Japanese culture and craftsmanship. Take the time to appreciate the intricate design, quality materials, and the artistry that goes into creating each kimono.
Whether you’re wearing a kimono for a special occasion, cultural event, or simply to experience the tradition firsthand, putting on a kimono is a transformative experience. It allows you to step into a piece of history and immerse yourself in the beauty of Japanese culture.
Now that you have mastered the art of putting on a kimono, continue to explore, learn, and appreciate the rich heritage and beauty that the kimono represents. Share your knowledge with others and spread the love for this remarkable traditional garment.
Remember, putting on a kimono is an experience to be cherished. Enjoy the feeling of elegance and grace that it brings and wear it with confidence and pride. May your kimono journeys be filled with joy, cultural appreciation, and unforgettable memories.