Home>How-to Guides>For All>How To Make A Robe
For All
How To Make A Robe
Modified: July 30, 2023
Learn how to make a robe for all occasions with our step-by-step guide. Create the perfect garment for ultimate comfort and style.
(Many of the links in this article redirect to a specific reviewed product. Your purchase of these products through affiliate links helps to generate commission for Under-tec.com, at no extra cost. Learn more)
Table of Contents
Introduction
Welcome to the world of robes! Whether you’re looking to create a cozy bathrobe, a luxurious dressing gown, or a comfortable loungewear piece, making your own robe can be a rewarding and fun project. Not only do you have the opportunity to choose your preferred fabric, color, and design, but you also get to customize the fit according to your measurements.
In this article, we will guide you through the step-by-step process of making a robe from scratch. From gathering the necessary materials to adding the finishing touches, we’ll cover everything you need to know to create your very own robe masterpiece.
So, roll up your sleeves and get ready to unleash your creativity! Making a robe has never been easier, and by following our instructions, you’ll be able to create a garment that perfectly suits your style and comfort.
Before we jump into the details, it’s important to note that this tutorial assumes you have basic sewing skills. If you’re a beginner, we recommend starting with a simpler sewing project to familiarize yourself with the techniques before attempting to make a robe.
Now, let’s get started on this exciting journey to creating your handmade robe!
Step 1: Gather Materials
Before you begin making your robe, it’s important to gather all the necessary materials. Here’s a list of what you’ll need:
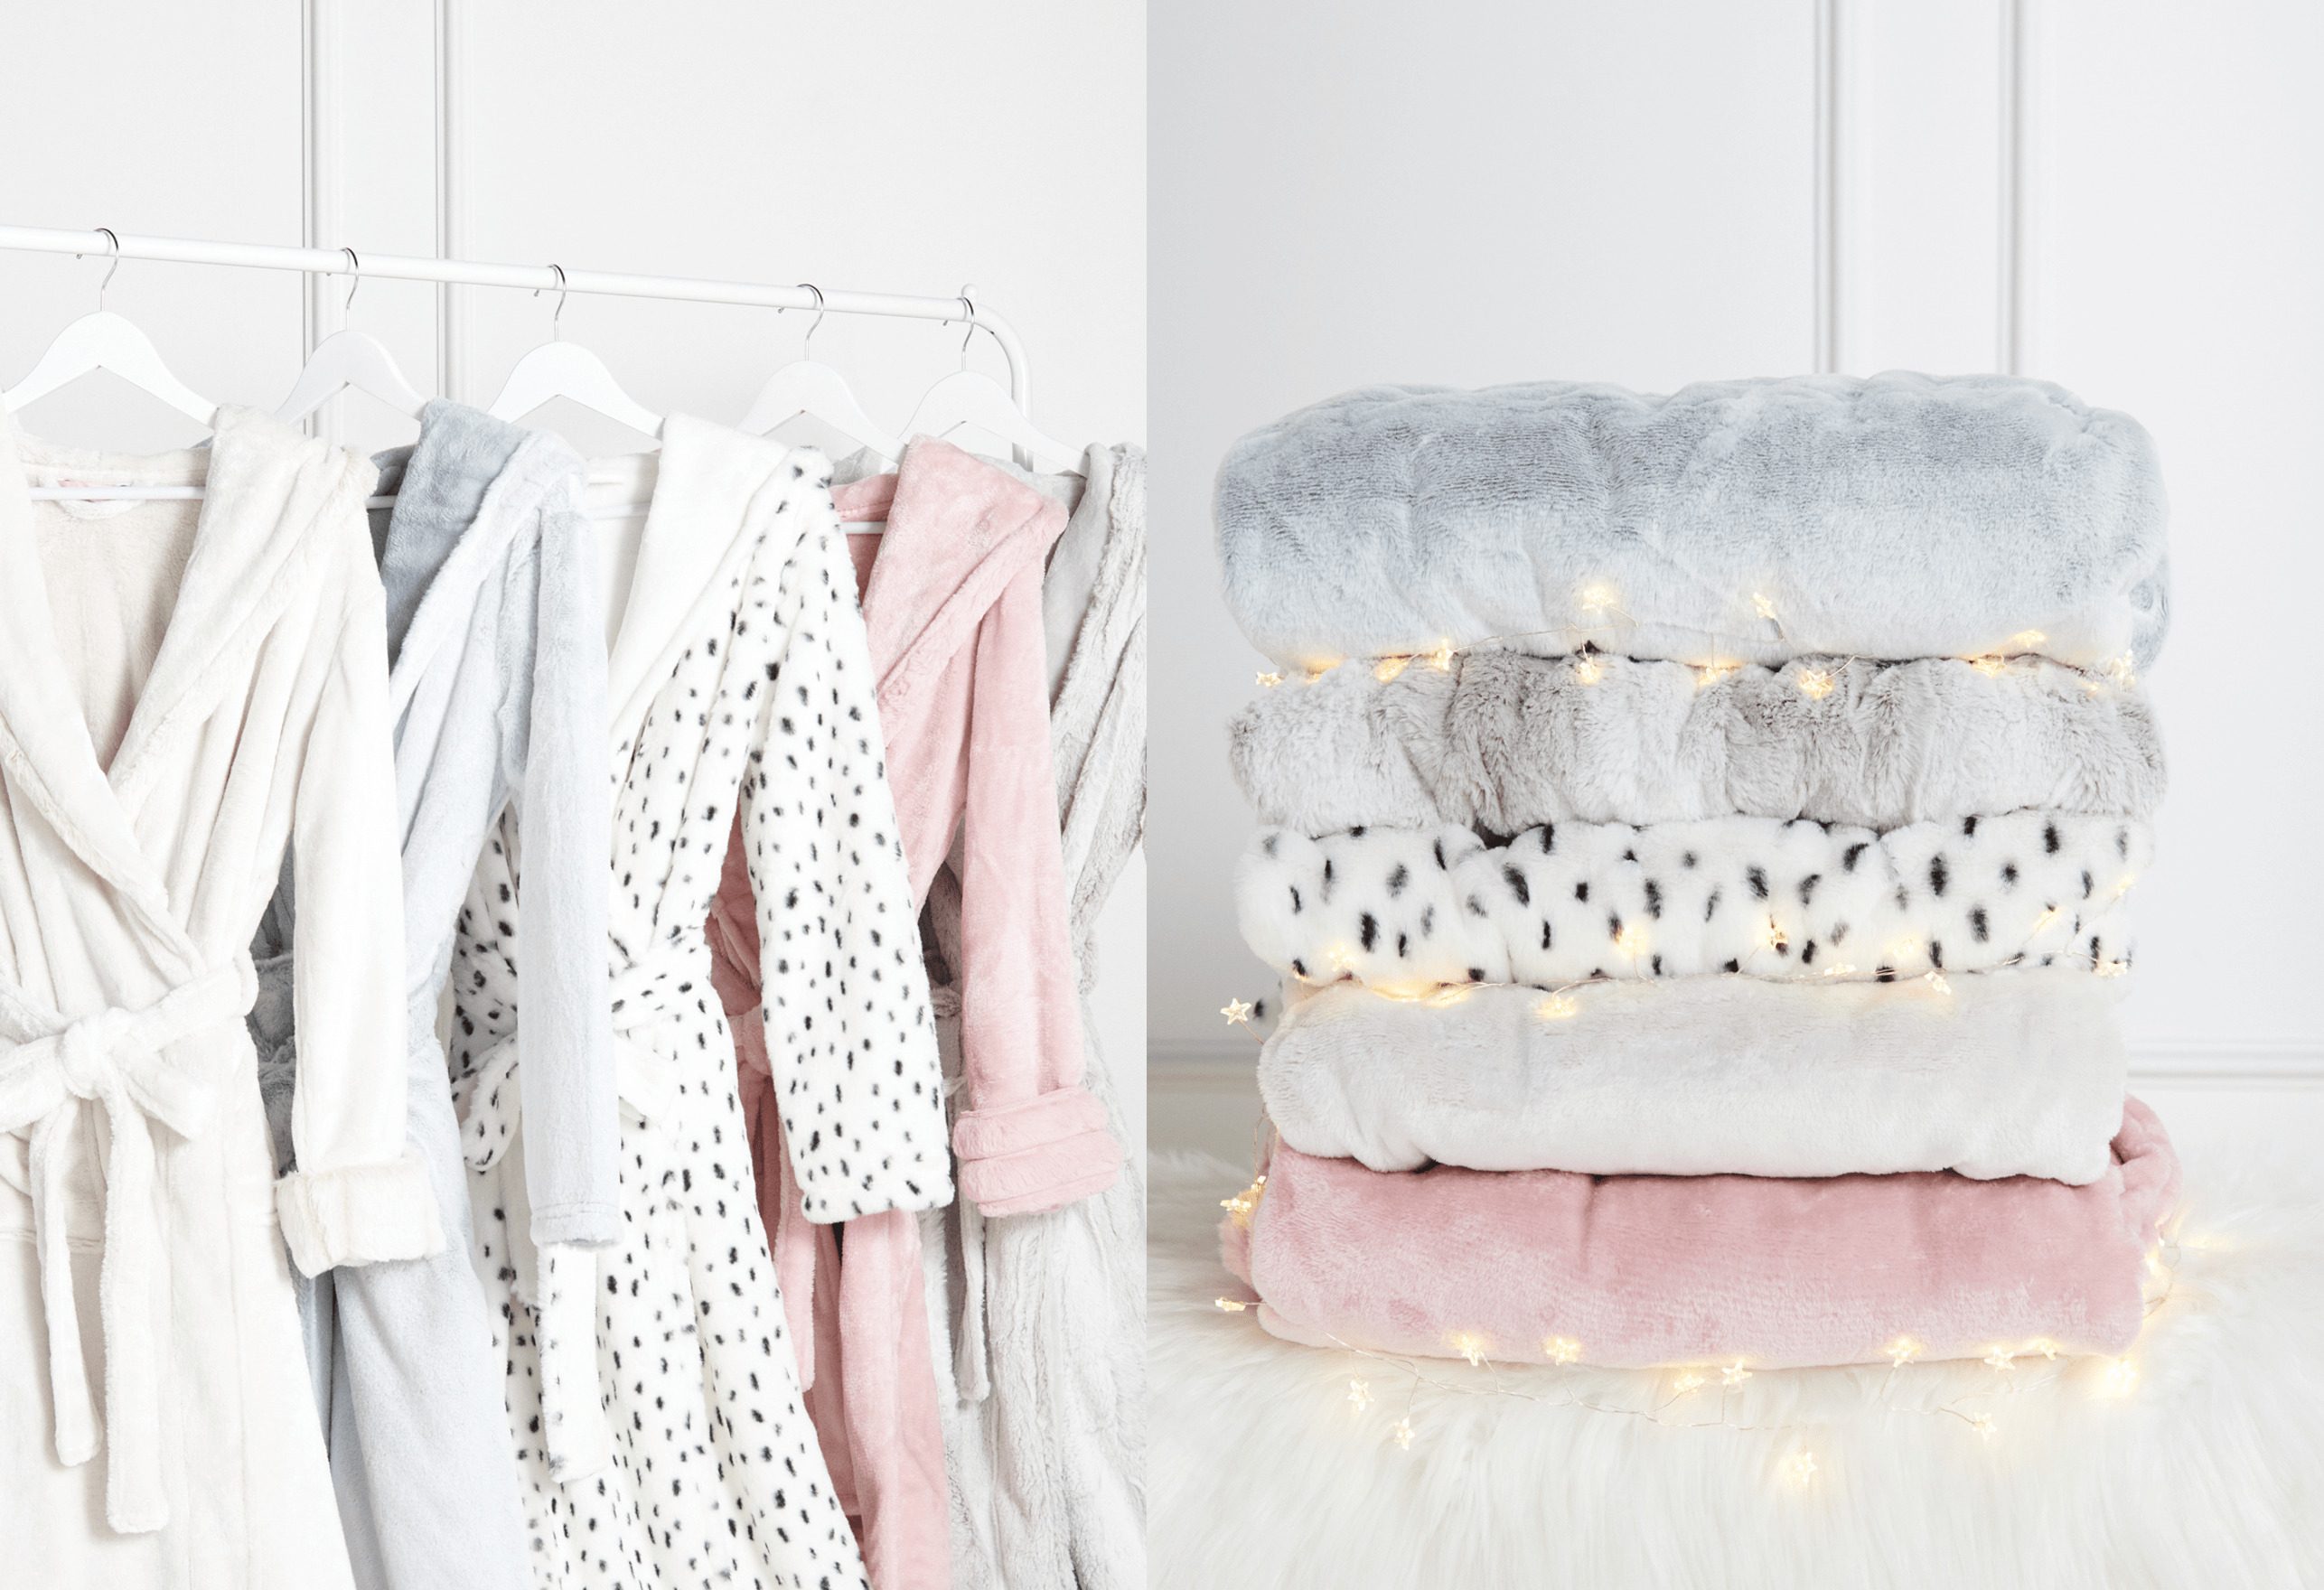
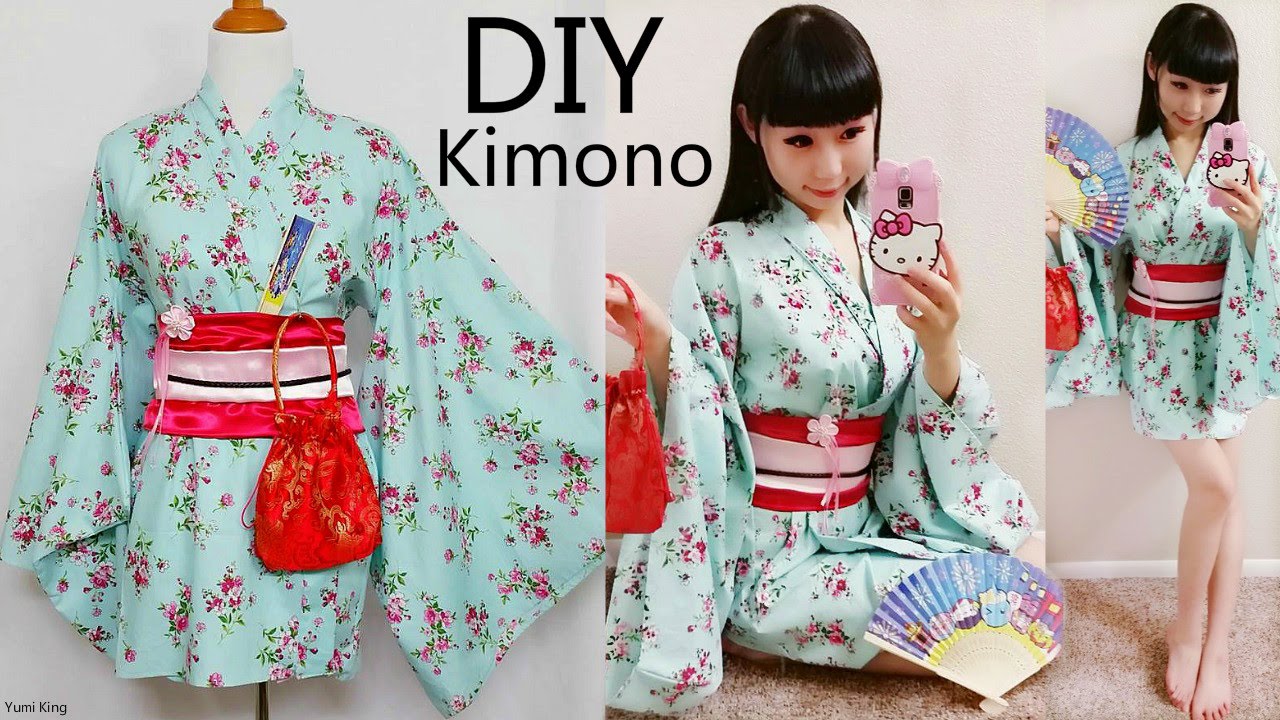
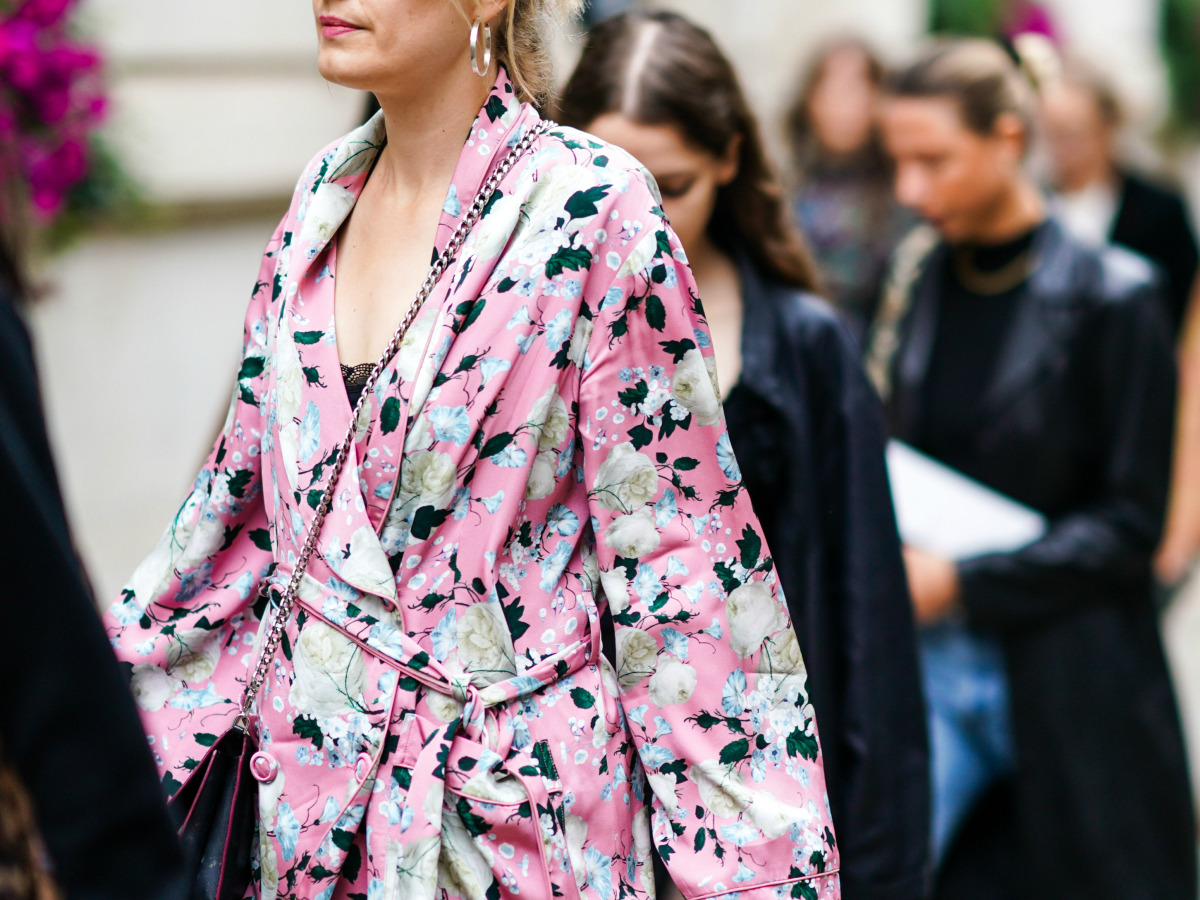
- Fabric: Choose a fabric that is suitable for your desired style and level of comfort. Common choices include cotton, silk, flannel, or terry cloth. Make sure to purchase enough fabric based on your measurements.
- Thread: Select a thread color that matches or complements your fabric.
- Scissors or Rotary Cutter: You’ll need sharp scissors or a rotary cutter to cut the fabric accurately.
- Pins: These will help you secure the fabric in place during the sewing process.
- Measuring Tape: Precise measurements are crucial for a well-fitting robe, so ensure you have a measuring tape on hand.
- Pattern Paper: If you’re using a pattern, you’ll need pattern paper to trace and cut out the pieces.
- Sewing Machine: While you can sew by hand, using a sewing machine will save you time and provide more even stitches.
- Iron and Ironing Board: These will be necessary for pressing the fabric and creating crisp seams.
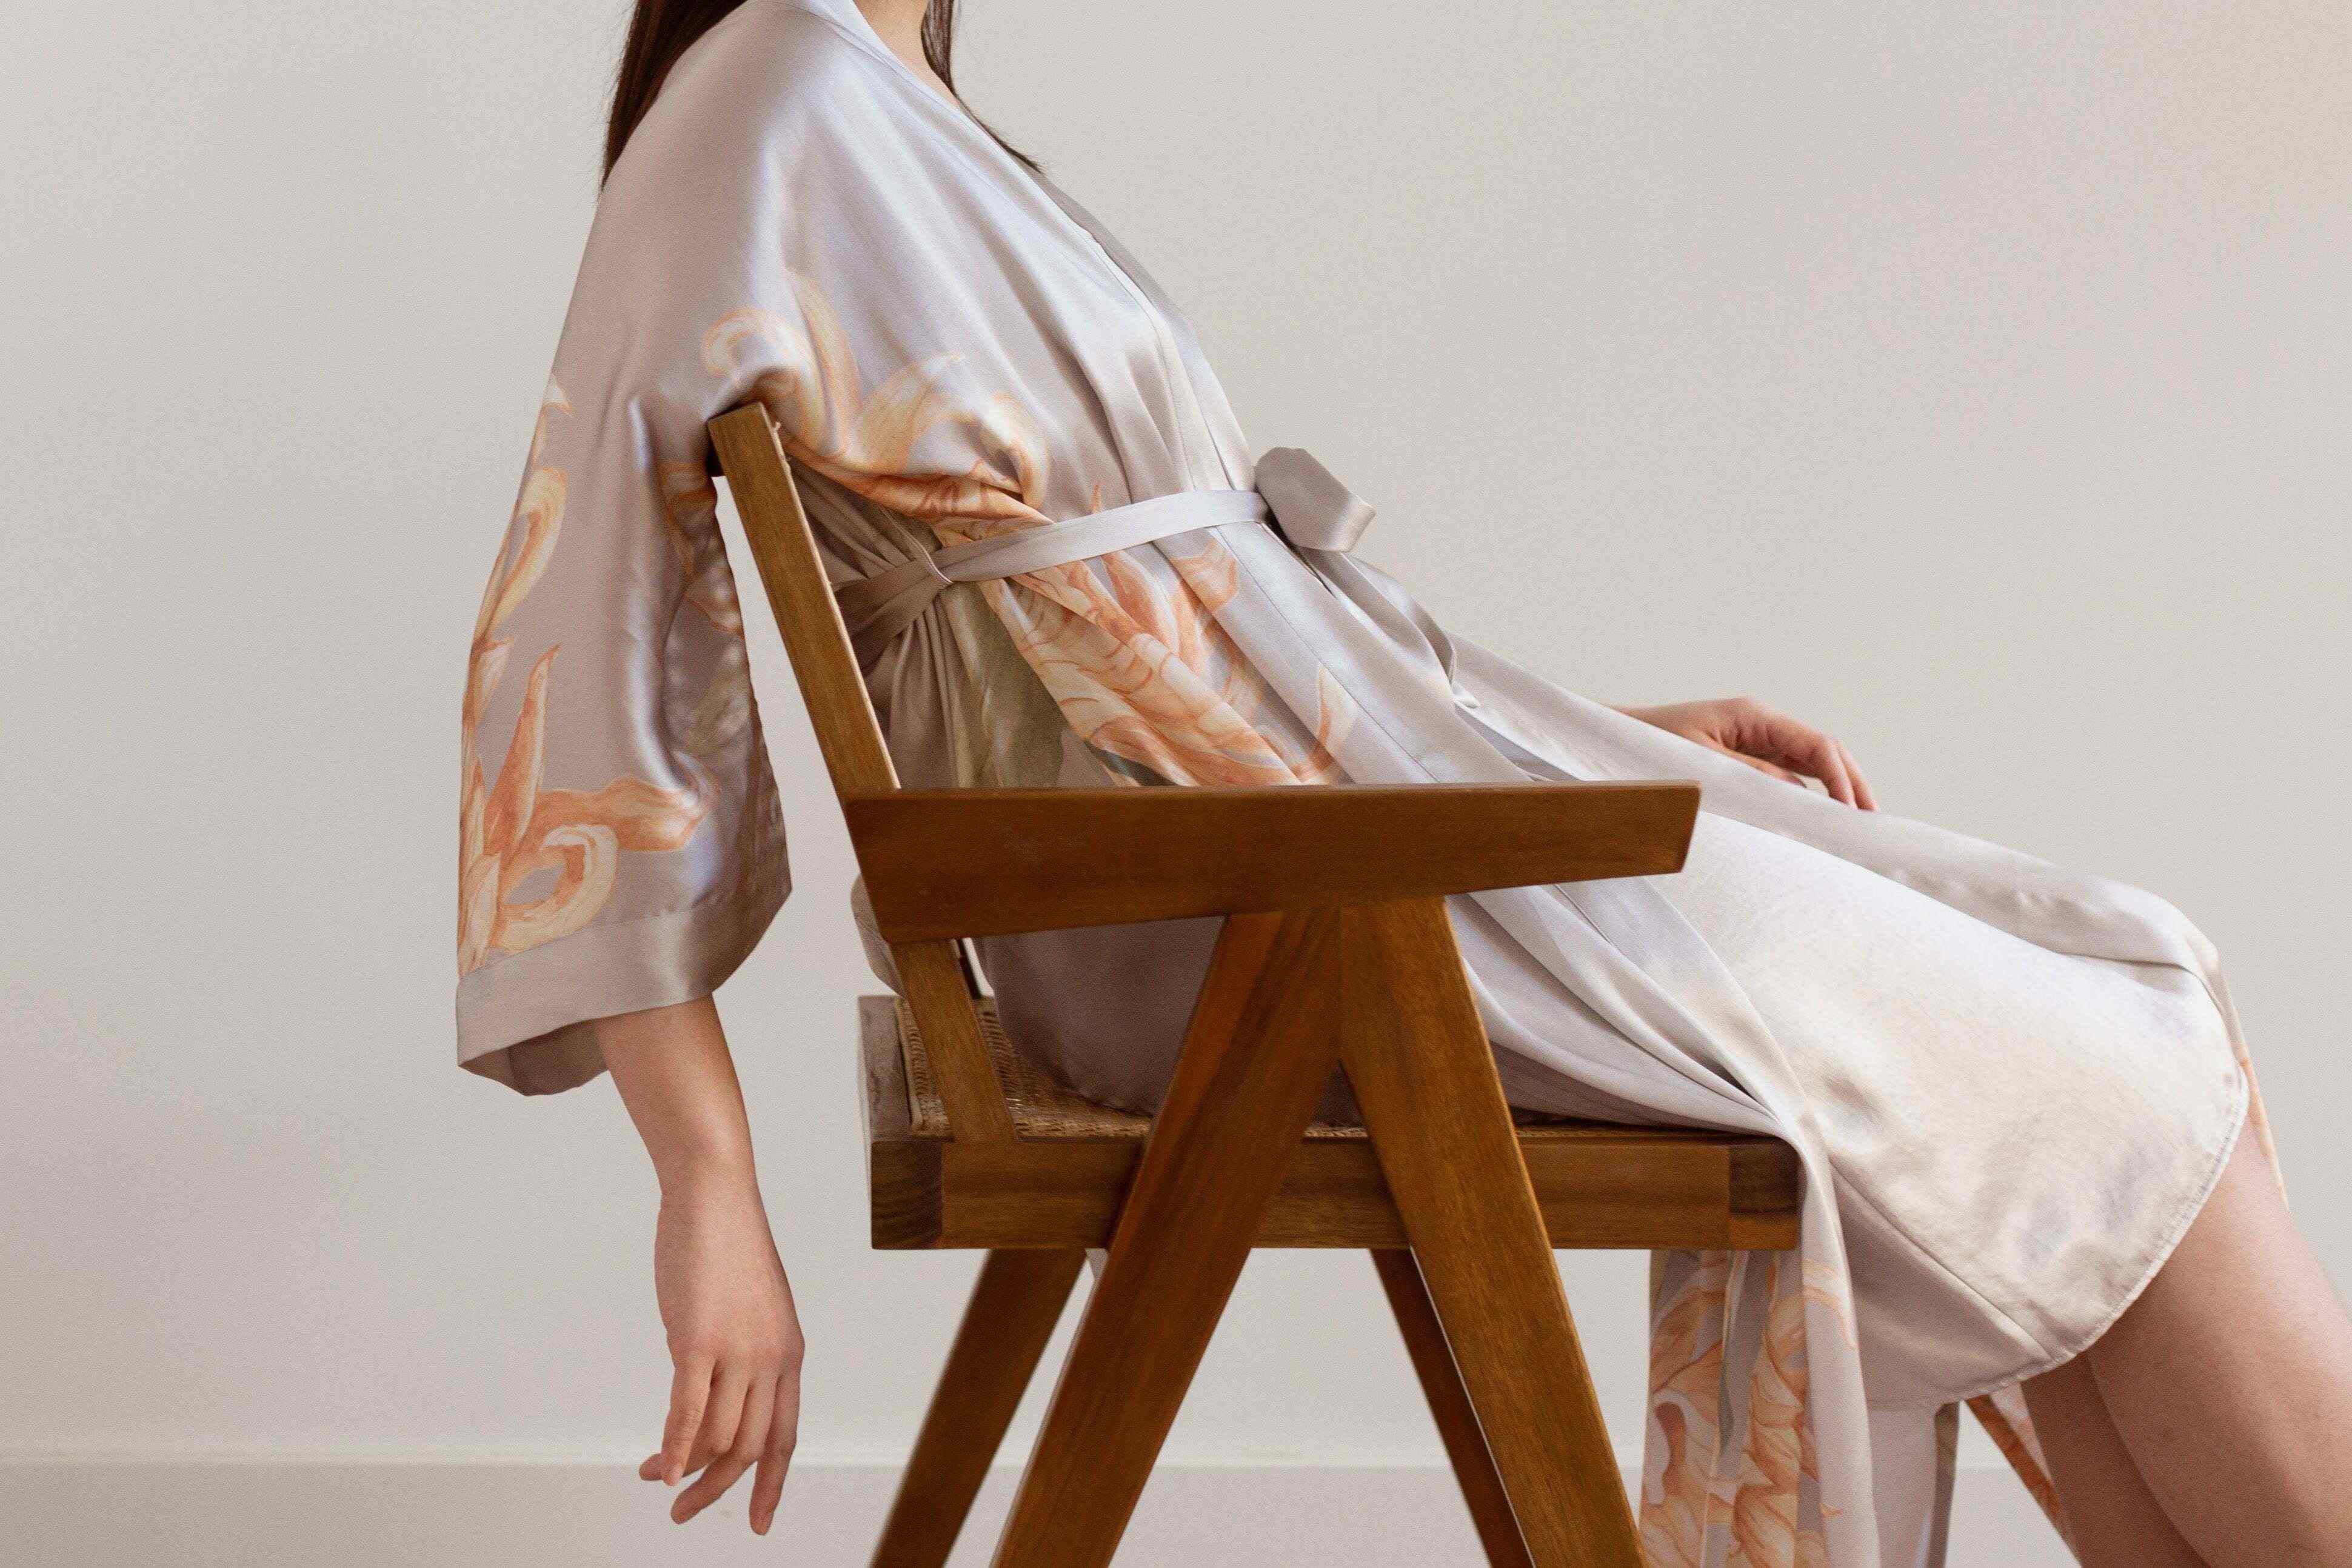
- Buttons, Snaps, or a Waist Tie: Depending on the style of robe you want, you’ll need closures like buttons, snaps, or a waist tie.
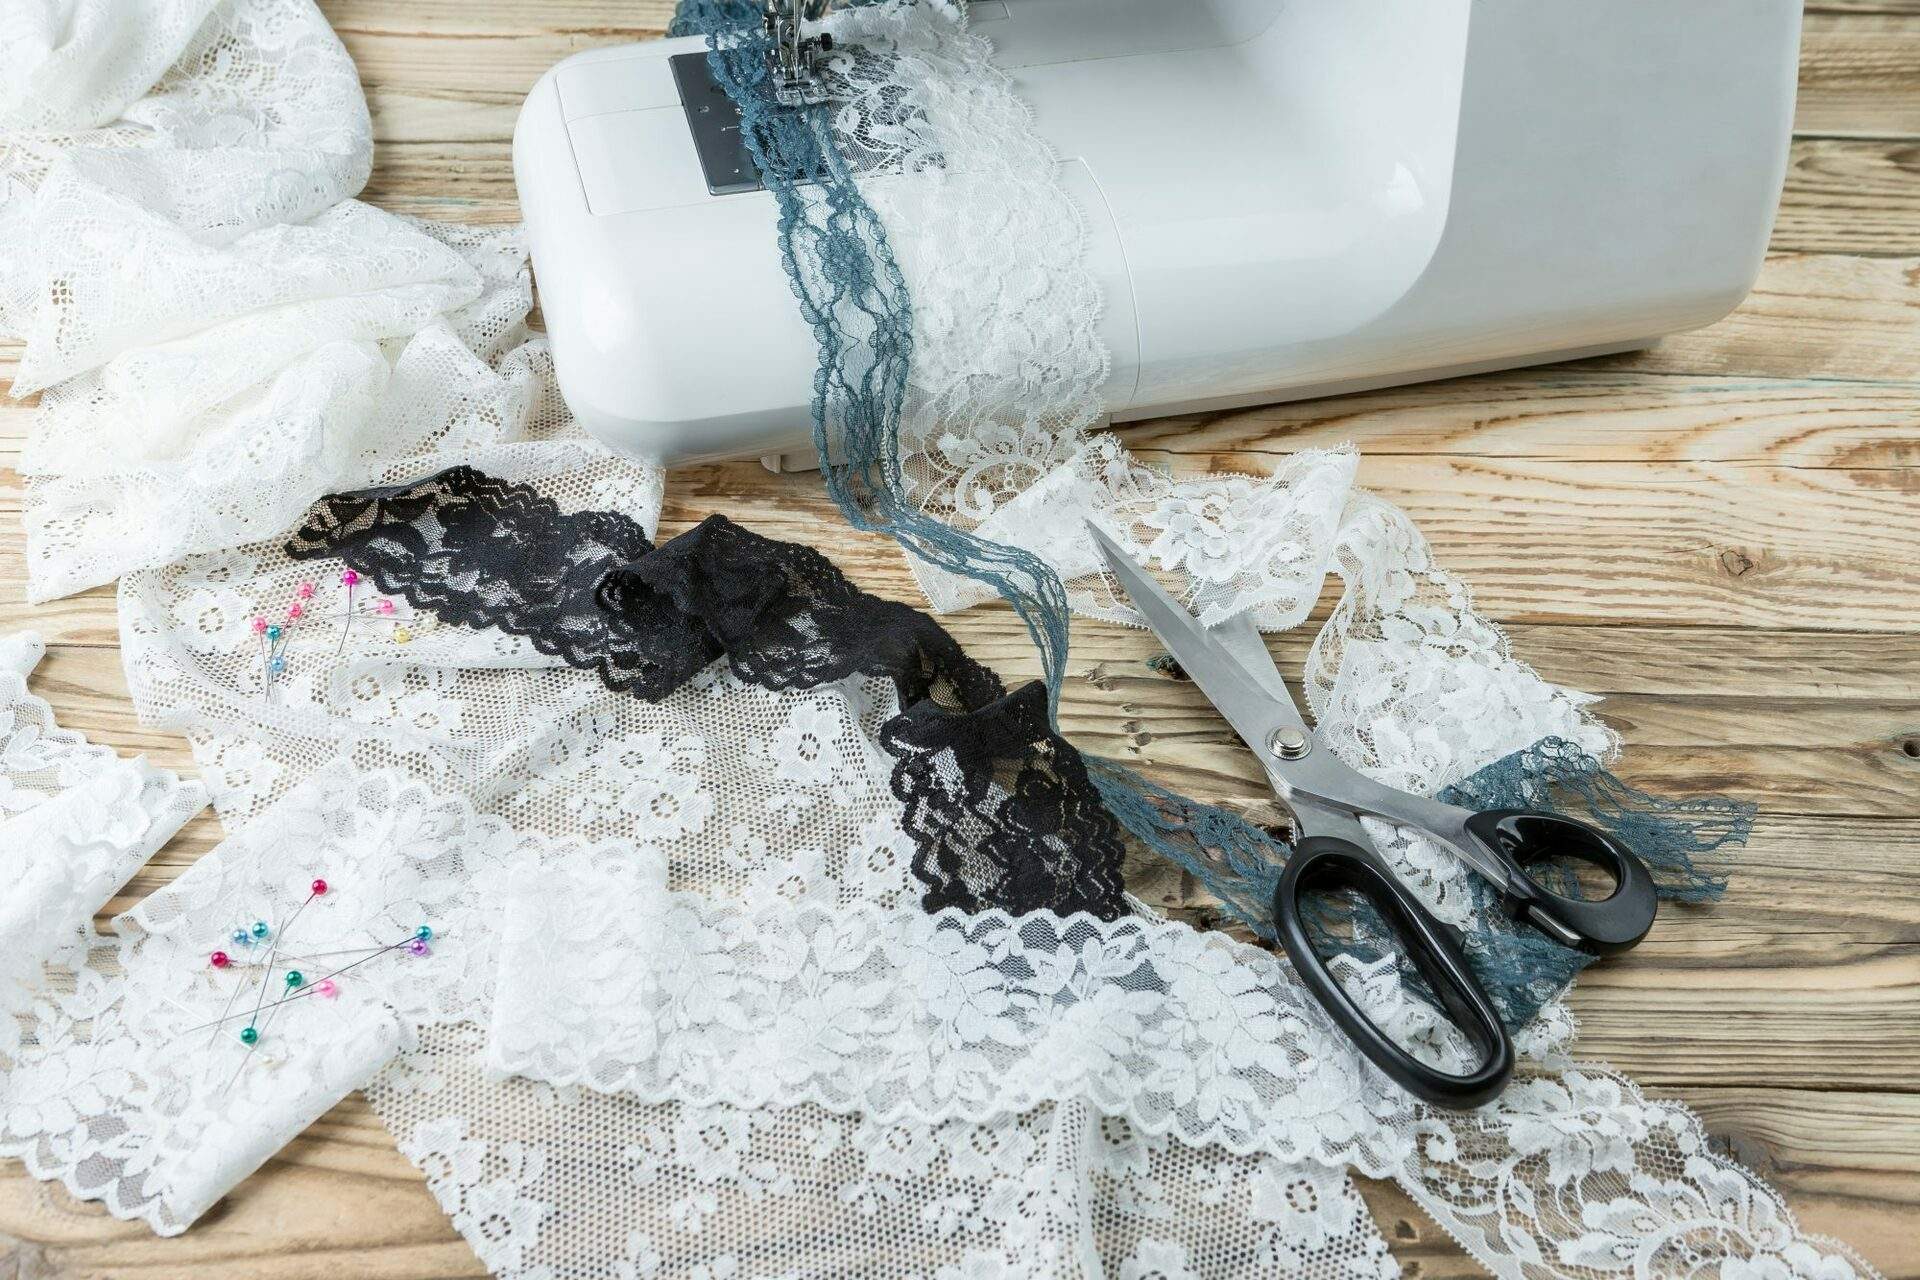
- Optional Embellishments: If you want to add a personal touch to your robe, consider adding embellishments such as lace trim, embroidery, or decorative buttons.
By gathering all the materials you need in advance, you’ll be able to work seamlessly through each step of the robe-making process. Additionally, having everything prepared ensures that you won’t need to interrupt your project to search for missing items.
Step 2: Take Measurements
Accurate measurements are crucial to ensure your robe fits you perfectly. Here’s a step-by-step guide on how to take the necessary measurements:
- Chest/Bust: Place the measuring tape under your arms and wrap it around the fullest part of your chest/bust. Make sure the tape is parallel to the ground, and be sure not to pull too tightly.
- Waist: Measure the narrowest part of your waist, usually located just above the belly button.
- Hip: Measure the fullest part of your hips, usually around your hip bones.
- Length: Decide how long you want your robe to be and measure from your shoulder down to that desired length. If you’re unsure, a standard length for a robe is typically a few inches below the knee.
- Arm Length: Extend one arm out and measure from the top of your shoulder down to your wrist. Repeat for the other arm.
- Shoulder Width: Measure the distance between the outer edges of your shoulders.
It’s essential to measure yourself accurately and avoid pulling the tape too tightly or leaving it too loose. Having precise measurements will help ensure the robe fits comfortably and flatters your figure.
Remember to write down your measurements, as you’ll need them for the next steps of the robe-making process.
Once you have your measurements, you can determine the appropriate size for your pattern or adjust the dimensions if you’re not using a pattern. Taking the time to get accurate measurements will result in a robe that fits you perfectly and requires minimal adjustment during the sewing process.
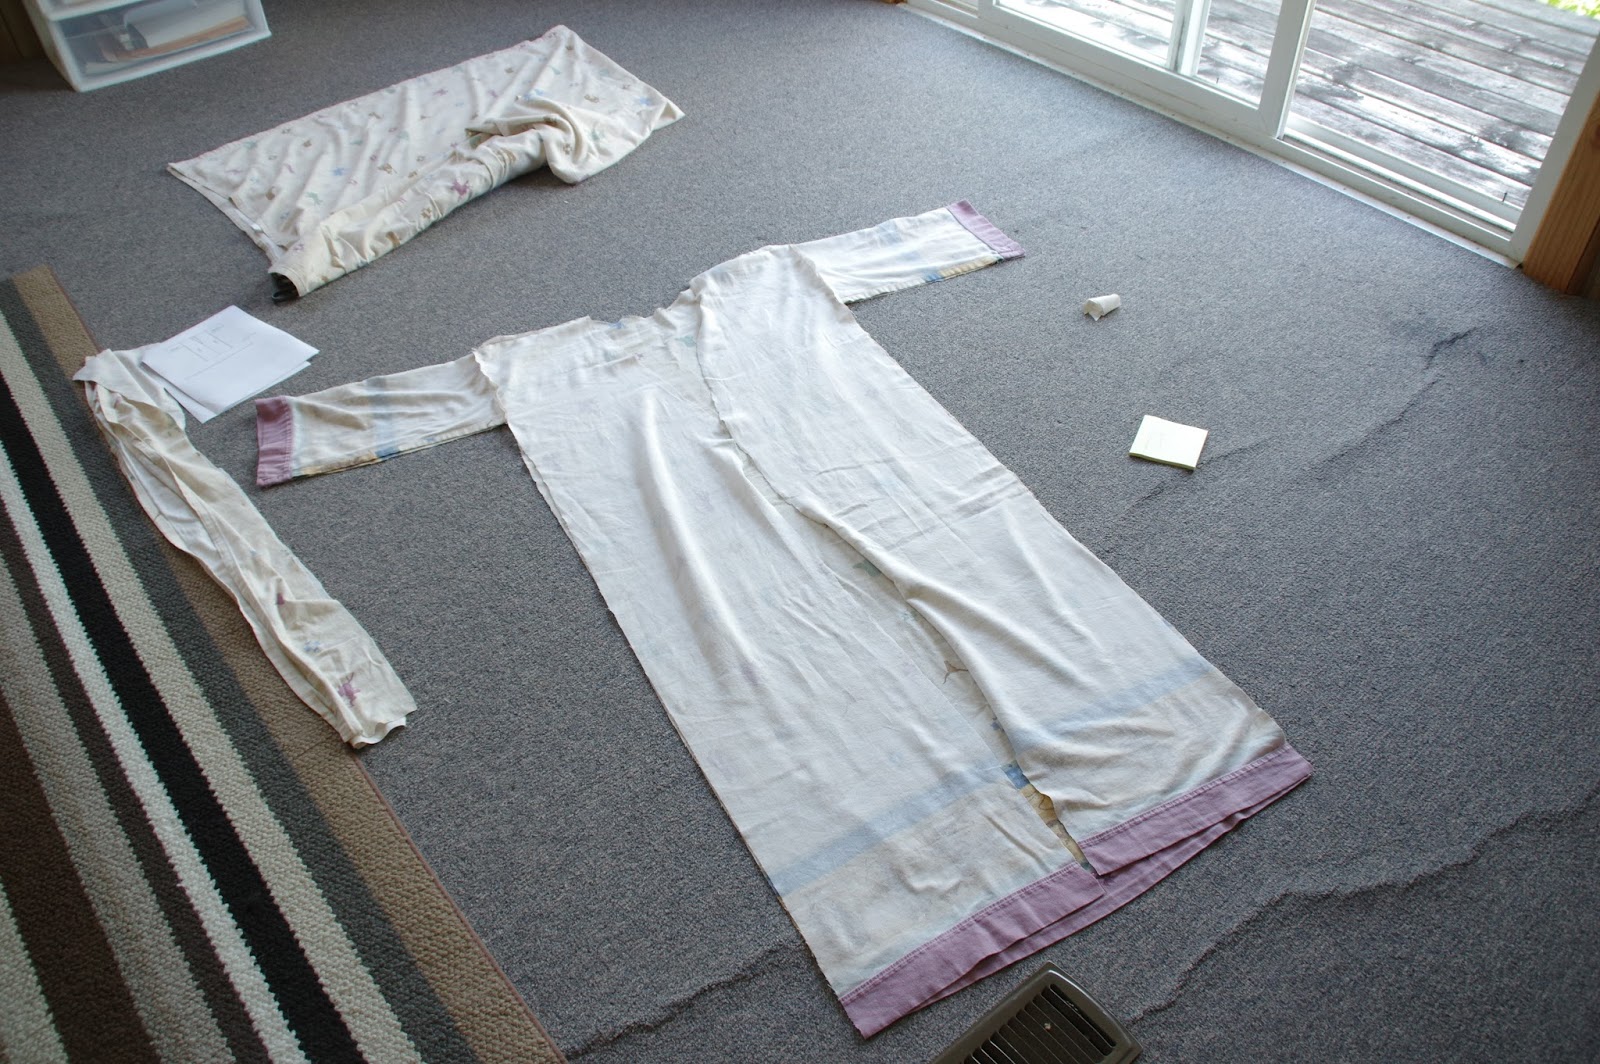
Step 3: Cut the Fabric
Now that you have your measurements, it’s time to cut the fabric for your robe. Follow these steps to ensure precise cutting:
- Prepare the fabric: Lay your fabric on a clean, flat surface. If it’s wrinkled, iron it beforehand to ensure accurate cutting.
- Pattern or Measurements: If you’re using a pattern, place the pattern pieces on top of the fabric according to the instructions. Pin the pattern pieces to the fabric to keep them in place. If you’re not using a pattern, use your measurements to mark and cut the fabric directly.
- Cut with precision: Use sharp scissors or a rotary cutter to cut along the edges of the pattern pieces or measured dimensions. Take your time and cut smoothly to achieve clean and even edges.
- Mark key points: Depending on your chosen design, you may need to mark important points on the fabric, such as the shoulder line, waistline, or pocket placement. Use fabric markers or pins to clearly indicate these points.
It’s important to take your time during the cutting process to ensure accuracy. Double-check your measurements and pattern placement, and be mindful of any specific design features or directional prints on your fabric.
Once you have cut all the necessary pieces, separate them and organize them for assembly. Labeling each piece can help you keep track of the different parts of your robe.
Remember to keep any leftover fabric pieces for potential future repairs or smaller sewing projects. It’s always a good idea to have extra fabric on hand.
Now that you’ve successfully cut the fabric, you’re ready to move on to the next step: sewing the main body of your robe!
Step 4: Sew the Main Body
With your fabric pieces ready, it’s time to start sewing the main body of your robe. Follow these steps to assemble the main body:
- Prepare your sewing machine: Thread your sewing machine with a matching thread color and ensure you have the appropriate stitch settings for your fabric.
- Pin the fabric pieces: Match the front and back robe pieces together, right sides facing each other. Pin them at the shoulders and side seams to secure them in place.
- Start sewing: Begin sewing at one shoulder seam, using a ½ inch seam allowance. Sew straight along the pinned edge, backstitching at the beginning and end for added strength. Repeat for the other shoulder seam.
- Attach the side seams: Sew along the pinned side seams, starting from the bottom hem and working your way up to the armholes. Again, use a ½ inch seam allowance and backstitch at the beginning and end. Repeat for both sides.
- Try it on: Before proceeding further, it’s a good idea to try on the partially sewn robe and check the fit. Make any necessary adjustments, such as taking in the side seams or adjusting the length, according to your preferences.
- Finish the edges: To prevent fraying, finish the raw edges of the seams with a zigzag stitch or by serging. This will ensure the durability of your robe and give it a clean, professional look.
When sewing the main body, pay close attention to aligning the fabric pieces, especially at the shoulder and side seams. Take your time to ensure straight and even stitching for a high-quality finish.
Remember to press the seams open or to one side with an iron after sewing to give your robe a polished appearance.
By completing this step, you’ll have the main body of your robe assembled. It’s starting to take shape, and you’re making great progress! Next up, we’ll learn how to attach the sleeves.
Step 5: Attach Sleeves
Now that the main body of your robe is taking shape, it’s time to attach the sleeves. Follow these steps to seamlessly incorporate the sleeves into your garment:
- Prepare the sleeves: Match the sleeve pieces to the armholes of the robe, right sides facing each other. Align the notches or markings on the sleeve and the corresponding points on the robe to ensure proper placement.
- Pin the sleeves: Starting from the underarm point, pin the sleeve to the armhole. Align the raw edges, easing any excess fabric if needed. Distribute the fullness evenly around the circumference of the sleeve as you pin.
- Sew the sleeves: Using a ½ inch seam allowance, sew along the pinned edge, attaching the sleeve to the main body of the robe. Sew around the entire armhole, removing the pins as you go. Repeat the process for the other sleeve.
- Finish the sleeve seams: Once the sleeves are attached, finish the raw edges of the seams with a zigzag stitch or by serging to prevent fraying.
When attaching the sleeves, it’s important to take your time and ensure that the fabric is smooth and free from any puckering or tucks. Adjust the tension or ease in the sleeve if needed to achieve a nice, smooth fit.
After sewing, press the sleeve seams to one side or open using an iron to give them a neat and professional finish.
With the sleeves attached, your robe is taking shape and starting to resemble a wearable garment. Next, we’ll move on to sewing the neckline of your robe.
Step 6: Sew Neckline
The neckline is a crucial detail that can greatly enhance the overall look of your robe. Follow these steps to sew the neckline and give your robe a polished finish:
- Prepare the neckline: Fold the raw edges of the neckline towards the wrong side of the fabric, about ½ inch to 1 inch depending on your preference. Use an iron to press the fold in place.
- Pin the folded neckline: Secure the folded neckline with pins, making sure the fabric lays flat and evenly all around the neckline.
- Sew the neckline: Starting at the back of the robe, sew along the folded edge, about ¼ inch from the edge. Continue sewing all the way around the neckline, removing the pins as you go.
- Optional: If you prefer a more finished look, you can topstitch along the edge of the neckline, about ⅛ inch from the fold, for added reinforcement and a decorative touch.
When sewing the neckline, it’s important to sew slowly and carefully, maintaining an even distance from the folded edge for consistent stitching. Take your time to ensure a clean and professional finish.
Once the neckline is sewn, press it with an iron to give it a crisp and well-defined shape.
With the neckline complete, your robe is nearly finished! All that’s left now is to add the finishing touches.
Step 7: Add Finishing Touches
Adding the finishing touches to your robe will elevate its appearance and make it uniquely yours. Follow these steps to complete your robe:
- Closures: Depending on your desired style, you can add closures such as buttons, snaps, or a waist tie. Attach them according to the pattern instructions or your own design preferences.
- Optional Embellishments: If you want to add a personal touch, consider embellishing your robe. This could include adding lace trim, embroidery, decorative buttons, or pockets. Sew them on carefully, ensuring they are securely attached.
- Final Pressing: Once all the finishing touches are complete, give your robe a final press with an iron, making sure to smooth out any wrinkles and create a polished appearance.
When adding closures, ensure they are well-placed and functional. Test the robe closure to ensure it stays securely fastened during wear.
If you’re adding embellishments, allow your creativity to shine. Be mindful of the overall balance and placement of the embellishments to create a visually pleasing robe.
Once you’ve completed these final steps, give your robe a try-on to admire your handiwork and make any necessary adjustments. Your handmade robe is now ready to be enjoyed!
Congratulations on completing your robe-making journey! By following the steps outlined in this article, you’ve created a unique and personalized garment that perfectly fits your style and comfort.
Conclusion
Creating your own robe from start to finish is a rewarding and fulfilling endeavor. By following the steps outlined in this article, you have learned how to gather the necessary materials, take accurate measurements, cut the fabric, sew the main body, attach sleeves, sew the neckline, and add finishing touches.
Throughout the process, attention to detail and precision are key to ensuring a well-fitting and beautifully finished robe. Remember to take your time, double-check your measurements, and maintain an organized and clean workspace.
Not only does making your own robe allow you to express your creativity and personal style, but it also gives you the opportunity to craft a garment that perfectly suits your comfort needs. Choose fabrics that are soft and cozy or luxurious and elegant, select embellishments that reflect your personality, and customize the fit to flatter your unique body shape.
Now that you have completed your handmade robe, enjoy the satisfaction of wearing something that you have created with your own hands. Whether you slip it on after a relaxing bath, use it as a stylish cover-up, or simply lounge around in comfort, your robe will add a touch of luxury and self-expression to your daily routine.
Remember, this robe-making tutorial is just the beginning. As you gain more confidence and skill, feel free to experiment with different robe styles, fabric choices, and design elements. The possibilities are endless, and each robe you create will be a true reflection of your creativity and craftsmanship.
So, embrace your inner fashion designer, put your sewing skills to use, and create a beautiful robe that brings joy and comfort to your life. Happy sewing!