Home>How-to Guides>For All>How To Make A Robe From A Sheet
For All
How To Make A Robe From A Sheet
Modified: July 30, 2023
Learn how to make a robe from a sheet. Perfect for all occasions! Follow our step-by-step guide and create a versatile garment.
(Many of the links in this article redirect to a specific reviewed product. Your purchase of these products through affiliate links helps to generate commission for Under-tec.com, at no extra cost. Learn more)
Table of Contents
Introduction
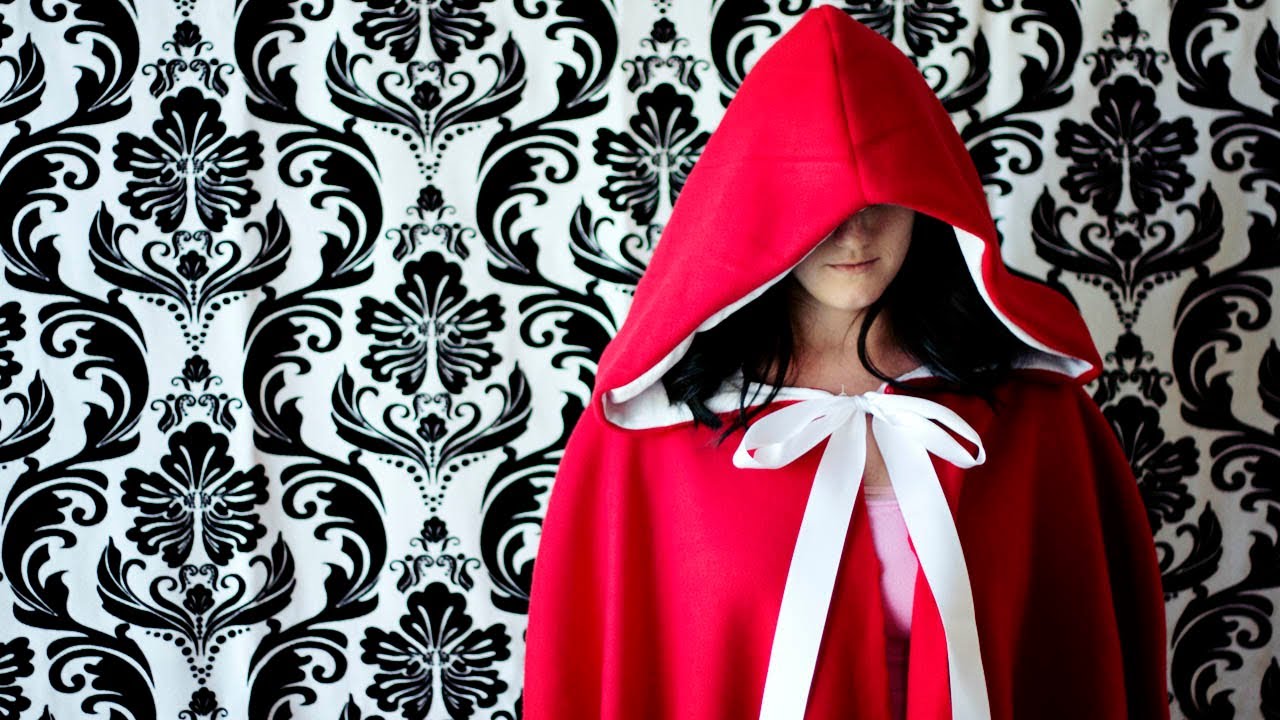
Welcome to the world of DIY fashion! Have you ever wanted to create your own unique fashion piece without breaking the bank? Well, look no further because in this article, we will show you how to make a stylish robe from a simple sheet. That’s right – with just a few materials and some basic sewing skills, you can transform a mundane household item into a fashionable garment that will make you feel like royalty.
Why invest in expensive robes when you can repurpose something you already have? Making a robe from a sheet not only allows you to exercise your creativity, but it also promotes sustainability by reducing textile waste. Plus, it’s a fun and rewarding project that you can tackle in the comfort of your own home.
Whether you’re a seasoned seamstress or a beginner with limited sewing experience, this step-by-step guide will walk you through the process of creating a robe that fits your unique style. So grab your scissors, thread, and sewing machine (or needle and thread if you prefer), and let’s get started on this exciting DIY project!
Step 1: Gather Materials
Before you begin making your robe, you’ll need to gather a few essential materials. The good news is that most of them can be found right in your own home or easily purchased at a local craft store. Here’s what you’ll need:
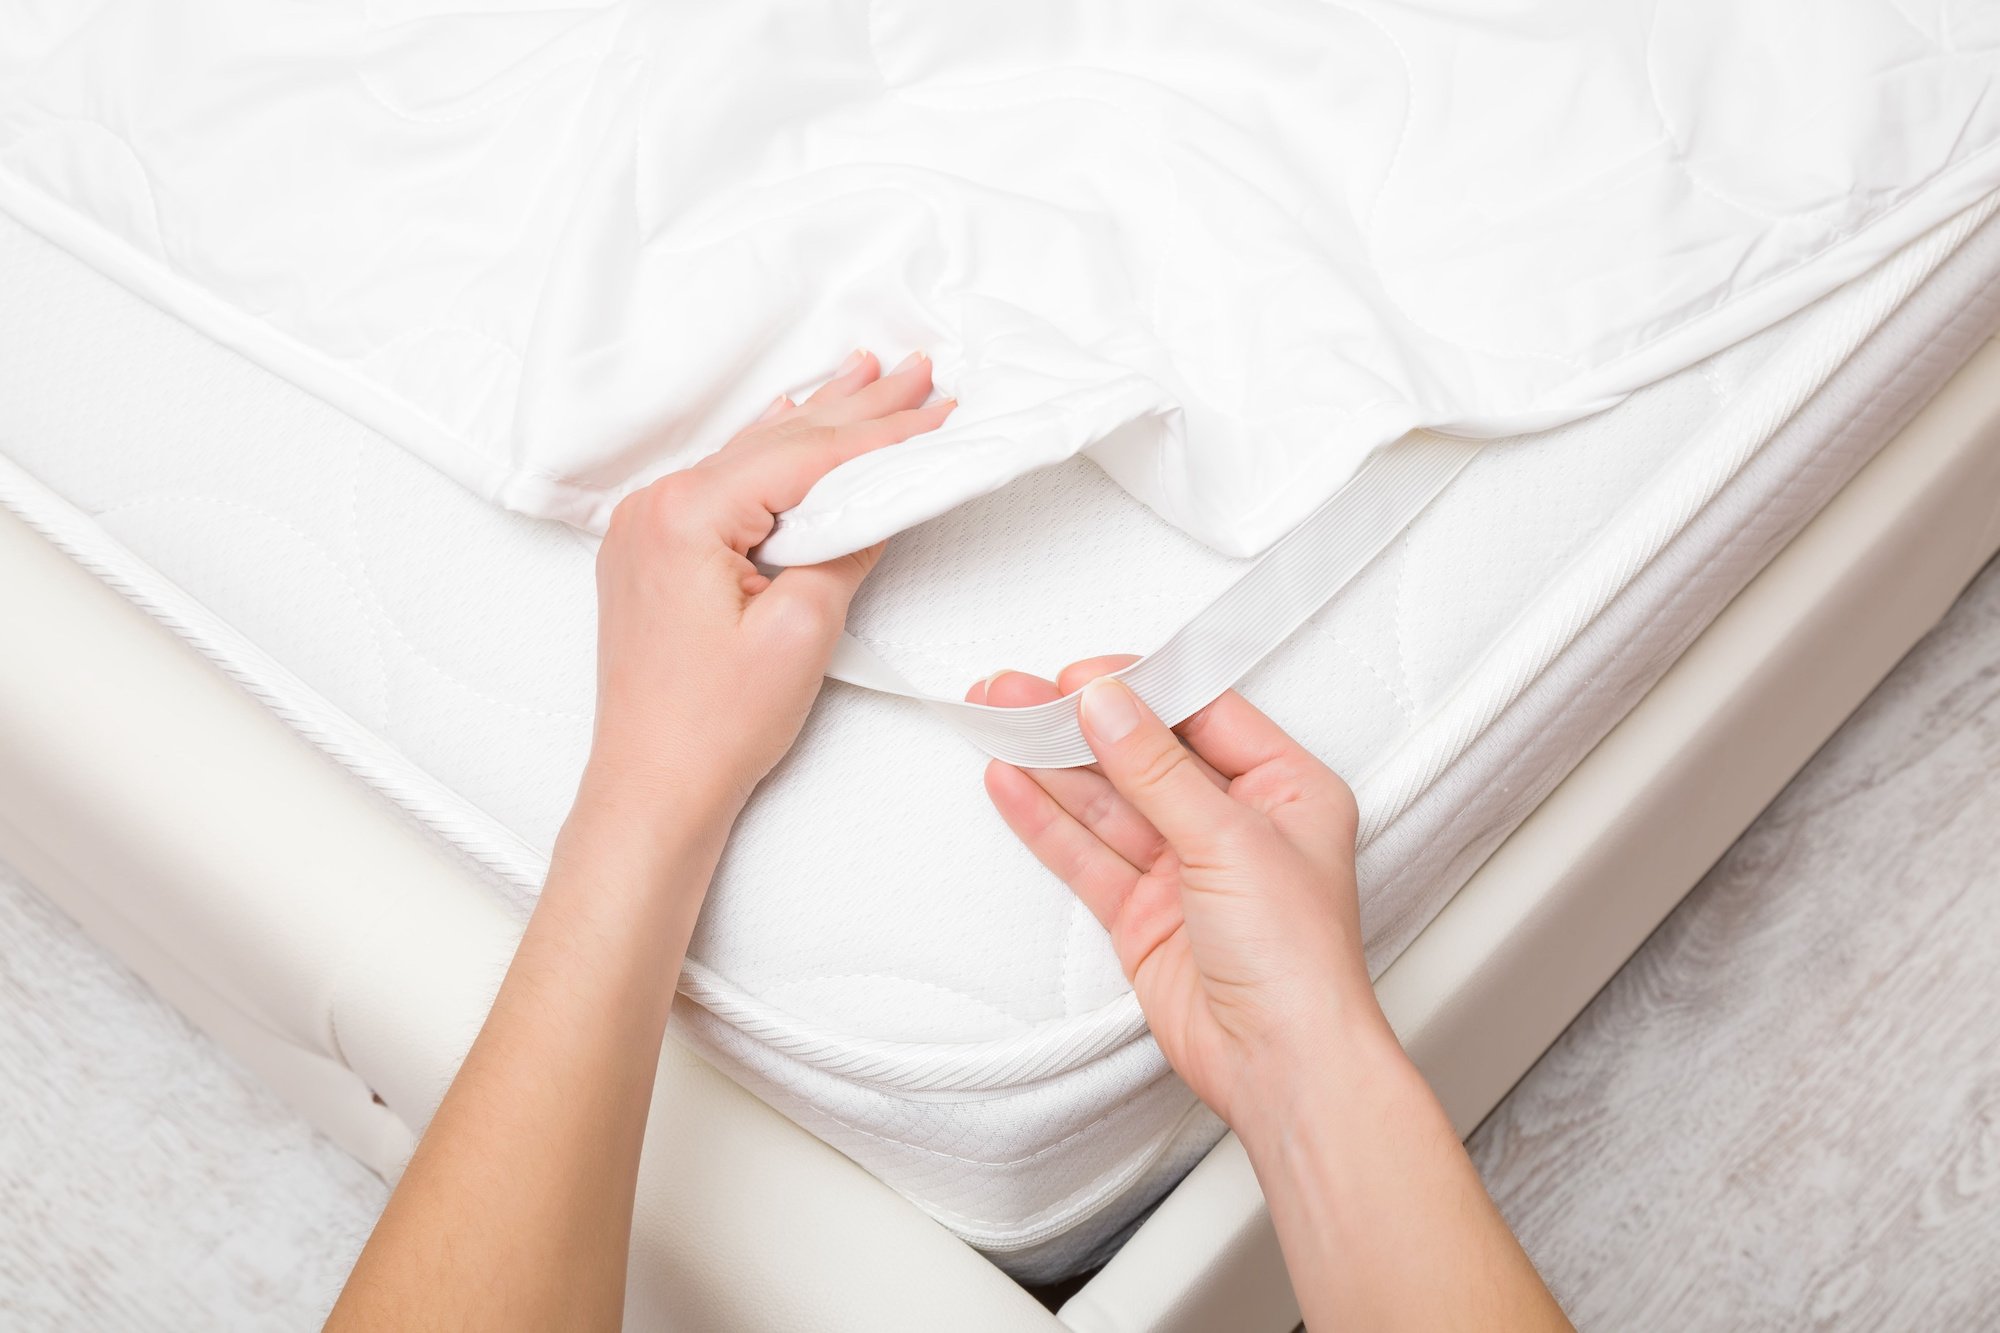
- A flat sheet: Choose a sheet that matches your desired robe length and width. Depending on your preferences, you can opt for a plain white sheet for a classic look or pick a colorful pattern for a more vibrant style.
- Measuring tape: This will come in handy when you’re taking measurements and ensuring that your robe fits perfectly.
- Scissors: A sharp pair of fabric scissors is essential for cutting your sheet into the desired shape and size.
- Pins: Using pins will help you secure the fabric in place while you’re cutting and sewing.
- Sewing machine or needle and thread: If you have access to a sewing machine, it will make the sewing process faster and more efficient. However, if you prefer to hand-sew, a needle and thread will work just fine.
- Elastic: This will be used to create a waistband for your robe, providing a comfortable and adjustable fit.
- Optional: Trimmings and embellishments: If you want to add a personal touch to your robe, you can gather trims, lace, buttons, or any other embellishments you’d like to incorporate into the design.
Once you have gathered all these materials, you’re ready to move on to the next step: cutting the sheet and creating the body of the robe.
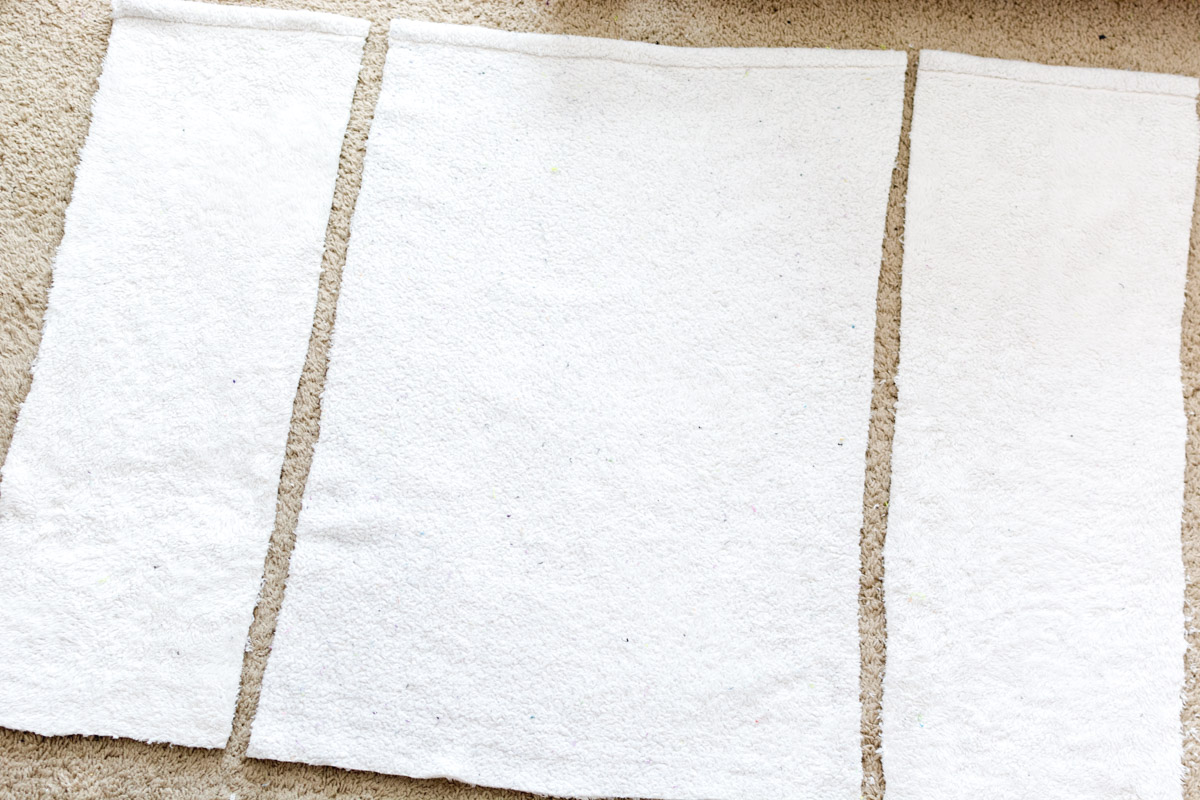
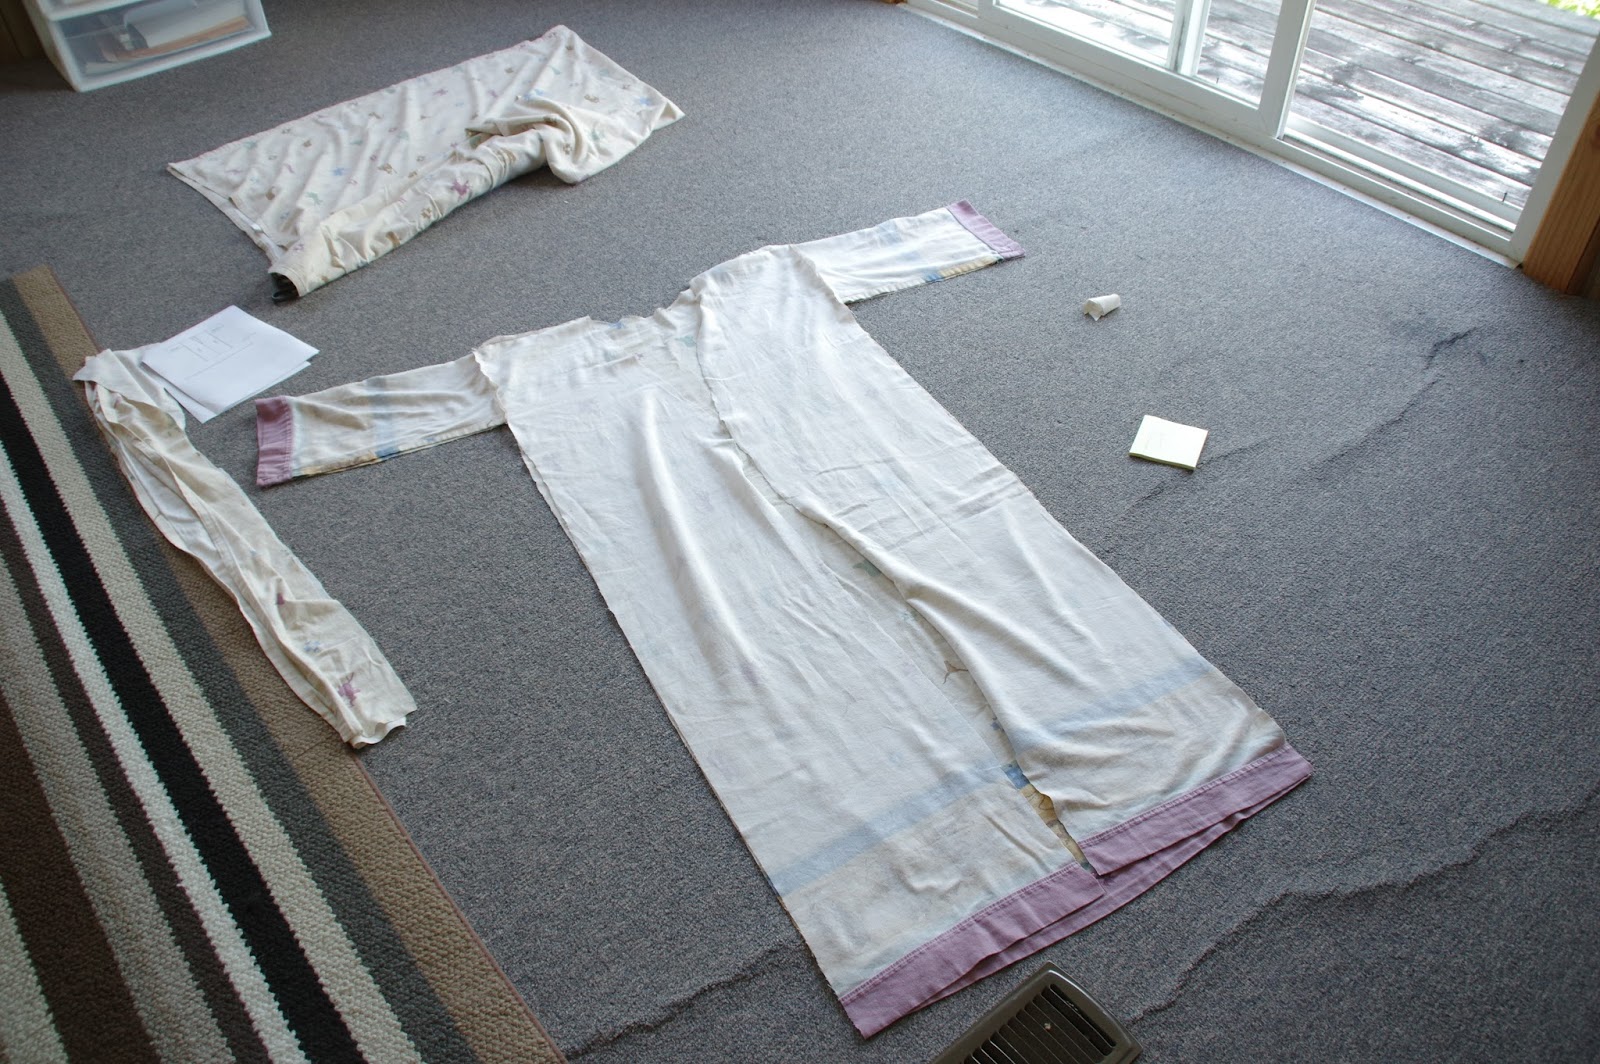
Step 2: Cutting the Sheet
Now that you have all the necessary materials, it’s time to transform your sheet into the basic shape of a robe. Follow these steps to cut the sheet:
- Measure and mark: Lay the sheet out on a flat surface, ensuring that there are no wrinkles or folds. Measure and mark the desired length of your robe using a measuring tape. Keep in mind that the length should be based on your personal preference and comfort.
- Cut the sheet: Using fabric scissors, carefully cut along the marked line. Remember to leave extra fabric at the top for the shoulders and neckline.
- Mark the armholes: To create armholes, put the robe on a flat surface and fold it in half lengthwise. Measure and mark the desired size of the armholes, keeping in mind that they should be large enough for comfortable movement.
- Cut the armholes: With the robe still folded, carefully cut along the marked lines to create the armholes. Be sure to cut through both layers of fabric.
Once you have finished cutting the sheet, unfold the fabric, and you should have the basic shape of your robe. At this point, you can try it on to see how it fits and make any adjustments if necessary. Now, let’s move on to the next step: creating the body of the robe.
Step 3: Creating the Body of the Robe
With the sheet cut into the basic shape of a robe, it’s time to give it structure and form by creating the body of the garment. Follow these steps to complete this stage of the process:
- Fold and pin the edges: Fold and pin the raw edges of the robe, including the neckline, armholes, and front opening. This will ensure a clean and finished look.
- Sew the edges: Using a sewing machine or needle and thread, sew along the pinned edges to secure them in place. Be sure to remove the pins as you go to avoid any accidents.
- Try it on and make adjustments: Once you have sewn the edges, try the robe on to see how it fits. If needed, make any adjustments to ensure a comfortable and flattering fit.
- Optional: Add pockets: If you wish to have pockets on your robe, now is the time to add them. Cut fabric pieces for the pockets and sew them onto the robe, making sure they are evenly placed on both sides.
Creating the body of the robe is a crucial step as it establishes the shape and structure of the garment. Once you have completed this step, you are ready to move on to the next stage: sewing the robe together.
Step 4: Sewing the Robe
Now that you have the basic body of the robe, it’s time to bring all the pieces together by sewing them. Follow these steps to sew your robe:
- Attach the sleeves: Measure and cut two sleeve pieces from the leftover fabric. Pin and sew the sleeves onto the armholes of the robe. Make sure to align the edges and sew them securely.
- Seam the sides: Fold the robe in half, with the right sides facing each other. Pin and sew the side seams starting from the bottom of the robe to the end of the sleeve. This will create the body and shape of the robe.
- Create the waistband: Measure and cut a piece of elastic that fits comfortably around your waist. Fold over the top edge of the robe to create a casing for the elastic. Sew around the casing, leaving a small opening to insert the elastic. Thread the elastic through the casing, sew the ends together, and close the opening.
- Finish the edges: If desired, you can finish the raw edges of the robe by hemming them. Fold the edge over, pin it in place, and sew along the fold to secure it. This will give your robe a polished and professional finish.
As you sew the robe together, take your time to ensure neat and secure stitches. Once you have completed sewing the robe, it’s time to add the finishing touches.
Step 5: Adding Finishing Touches
Now that your robe is taking shape, it’s time to add those final touches to make it truly unique and personalized. Here are some ideas to consider:
- Embellishments: Add trims, lace, or decorative elements to enhance the aesthetic appeal of your robe. You can sew them onto the neckline, sleeves, or hemline to create a stylish and eye-catching look.
- Monogram or embroidery: Consider adding a monogram or embroidery to your robe for a personalized touch. This can be your initials, a meaningful symbol, or even a small design that holds significance to you.
- Additional pockets or belt loops: If you would like more functionality, you can sew on additional pockets or belt loops to hold small items or secure a belt around your waist.
- Hemming: To give your robe a finished appearance, consider hemming the sleeves and bottom edge. Fold over the fabric and sew along the edge to create a clean and polished finish.
- Experiment with patterns and colors: Get creative with your fabric choices and consider incorporating patterns or different colors into your robe. This allows you to showcase your personal style and create a one-of-a-kind garment.
Remember, adding finishing touches is a chance to express your creativity and make the robe truly yours. Take your time, experiment with different ideas, and have fun with it!
Once you are satisfied with the finishing touches, give your robe a final check to ensure all the stitching is secure. Now, it’s time to put on your creation and enjoy the comfort and style of your homemade robe!
Conclusion
Congratulations on successfully creating your very own robe from a simple sheet! By following these steps and putting your sewing skills to use, you’ve transformed an everyday household item into a stylish and personalized garment. Not only did you save money by repurposing a sheet, but you also contributed to reducing textile waste and promoting sustainability.
Throughout this DIY journey, you utilized basic materials like a sheet, scissors, and a sewing machine or needle and thread to bring your vision to life. From cutting the sheet into the desired shape, creating the body of the robe, and sewing it together, to adding the finishing touches, you’ve demonstrated your creativity and sewing prowess.
By adding embellishments, pockets, or even a monogram, you’ve made the robe uniquely yours. You now have a cozy and fashionable garment that reflects your personal style and fits you perfectly.
Remember, this tutorial serves as a basic guide, and you can always experiment with different techniques, fabrics, and designs to create even more elaborate and personalized robes. The possibilities are endless!
Now that you have your DIY robe, enjoy the comfort and luxury it brings. Whether you’re lounging at home, getting ready for bed, or simply treating yourself to a spa day, your handmade robe will make you feel special and stylish.
So the next time you’re looking to refresh your wardrobe or want to embark on a fun and rewarding sewing project, don’t hesitate to give making a robe from a sheet a try. With a little creativity and a few simple steps, you can fashion a garment that is truly unique and shows off your sewing skills.
So go ahead, grab your materials and get started on creating your fabulous robe!