Home>How-to Guides>For All>How To Make A Changing Robe

For All
How To Make A Changing Robe
Modified: July 30, 2023
Learn how to make a versatile changing robe for all occasions. Step-by-step guide and easy-to-follow instructions. Perfect for beach trips or poolside adventures.
(Many of the links in this article redirect to a specific reviewed product. Your purchase of these products through affiliate links helps to generate commission for Under-tec.com, at no extra cost. Learn more)
Table of Contents
Introduction
Welcome to our comprehensive guide on how to make a changing robe. If you’re an avid beach-goer, surfer, or swimmer, you know that a changing robe is an essential item to have. It provides privacy while changing out of wet swimwear, keeps you warm and cozy, and acts as a versatile cover-up on the beach. Making your own changing robe allows you to customize the fabric, design, and fit to suit your personal style and needs.
In this article, we will walk you through the step-by-step process of creating your own changing robe. Whether you’re an experienced seamstress or a beginner looking for a fun and practical project, this guide is for you. We will cover everything from choosing the right fabric to adding finishing touches that will make your robe unique and functional.
By making your own changing robe, you can save money compared to buying a pre-made one and have the satisfaction of creating something with your own hands. Plus, you can make adjustments to the design to suit your preferences, such as adding pockets or a zippered closure.
So, let’s dive in and get started on this exciting DIY project. Get ready to enjoy the beach or poolside in style and comfort with your very own handmade changing robe!
Materials Needed
Before you begin making your changing robe, it’s important to gather all the necessary materials. Here’s a list of what you’ll need:
- Fabric: Choose a fabric that is absorbent, quick-drying, and comfortable on the skin. Terry cloth, microfiber, or cotton blends are popular choices.
- Measuring tape: This will be handy for taking accurate measurements of your body.
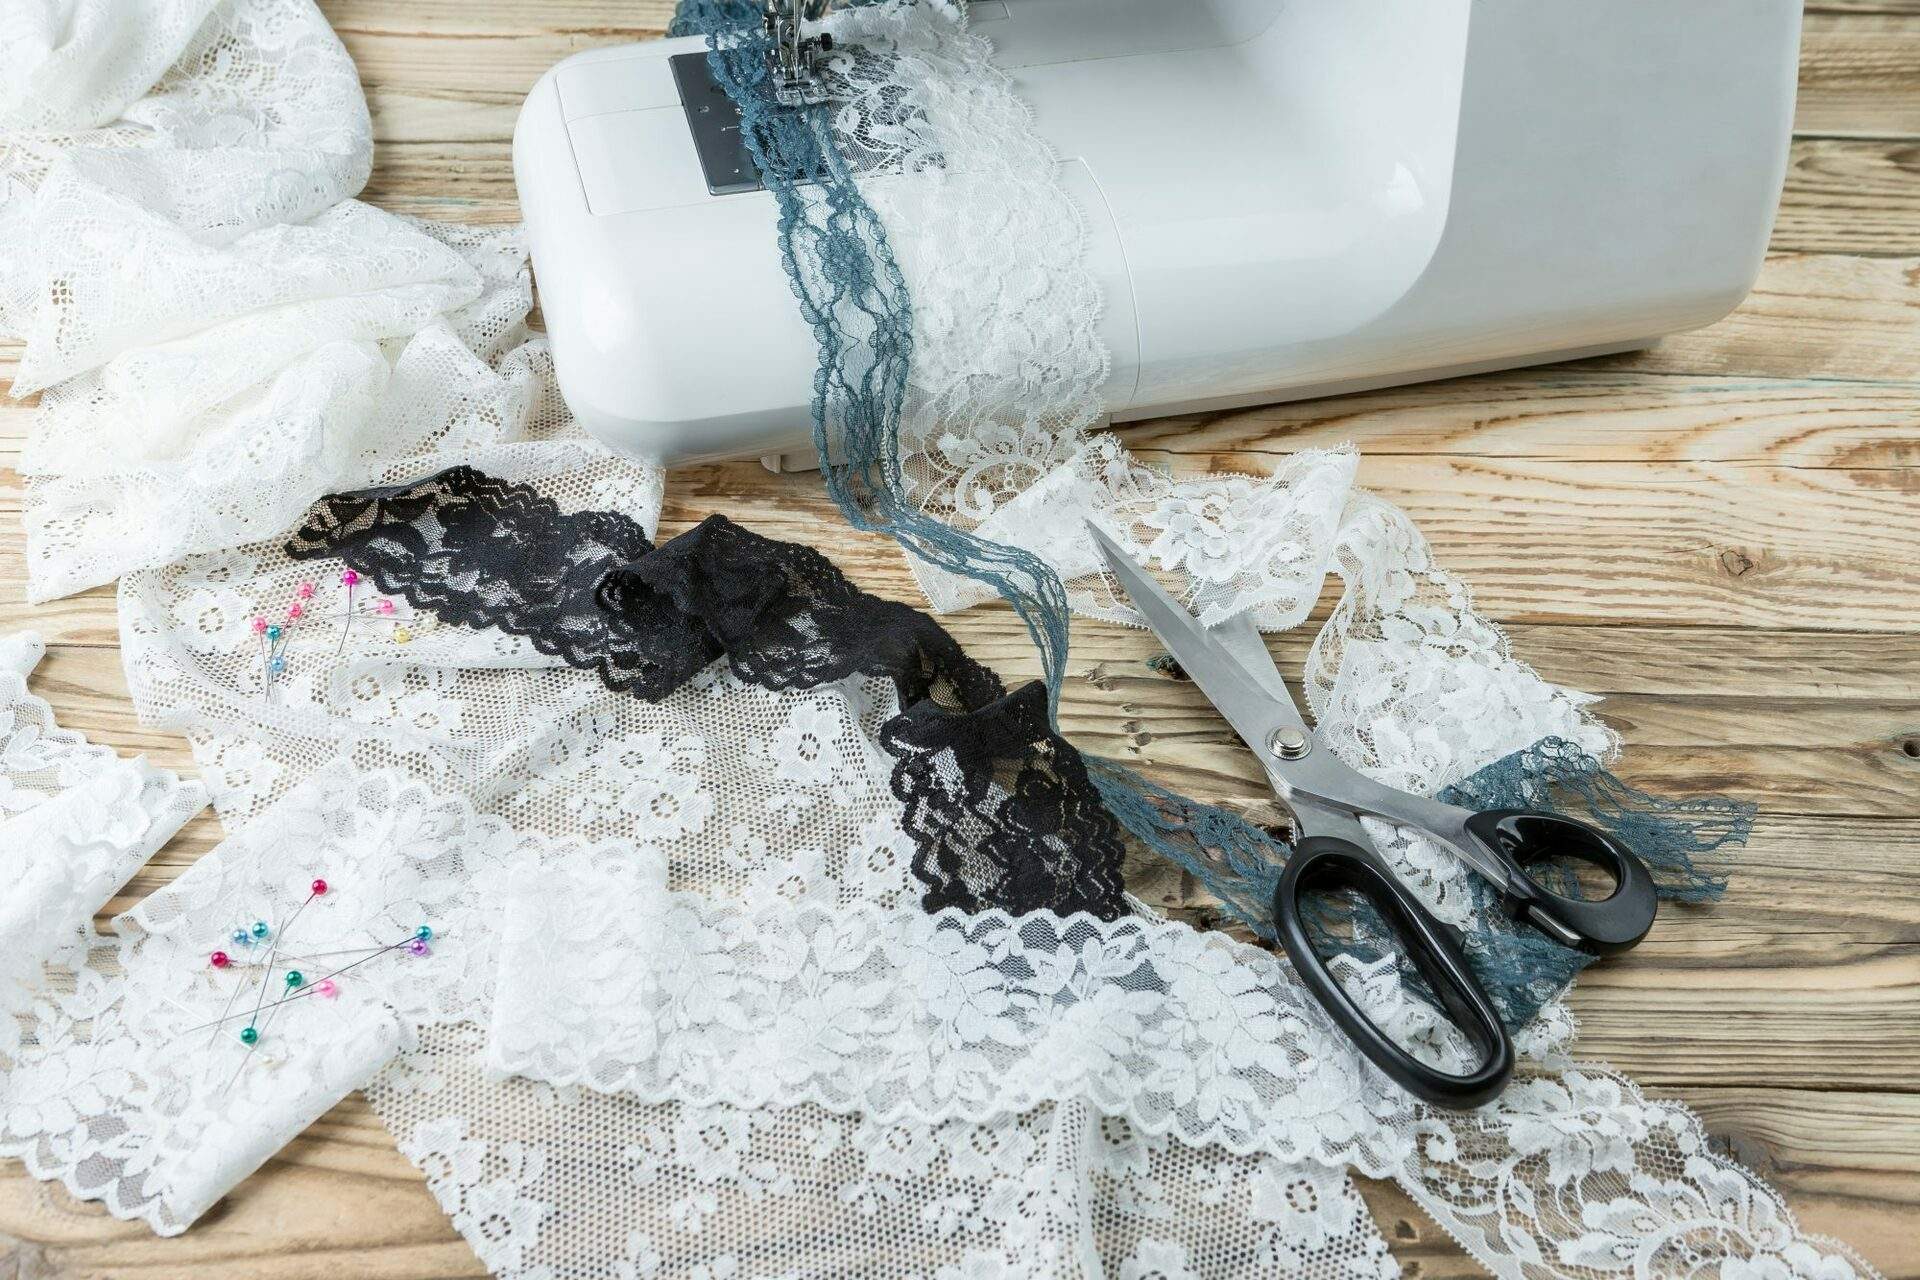
- Scissors: Sharp fabric scissors will ensure clean and precise cuts.
- Pins: These will be used to hold the fabric together before sewing.
- Sewing machine: While it is possible to sew the robe by hand, a sewing machine will save you time and create stronger, more durable seams.
- Thread: Choose a thread color that matches or complements your fabric.
- Iron: An iron will be used to press and flatten seams for a professional finish.
- Buttons, snaps, or a zipper: Depending on your design, you may need closures for the robe, such as buttons, snaps, or a zipper.
- Hood pattern (optional): If you want to add a hood to your changing robe, you can find free patterns online or create your own.
- Sleeve pattern (optional): Similarly, if you want to include sleeves in your robe, you’ll need a sleeve pattern.
Having all these materials ready before you start will help to streamline the sewing process and ensure that you have everything you need at hand. Now that you know what materials are required, let’s move on to the next step: choosing the fabric for your changing robe.
Step 1: Choosing the Fabric
The fabric you choose for your changing robe will determine its comfort, absorbency, and durability. When selecting a fabric, consider the following factors:
- Absorbency: Look for fabrics that are known for their ability to absorb moisture, such as terry cloth or microfiber. These fabrics will help to dry you off quickly after swimming or surfing.
- Quick-drying: Opt for fabrics that dry relatively fast to prevent the robe from becoming heavy and staying wet for too long. Microfiber is a great choice for this reason.
- Comfort: Consider how the fabric feels against your skin. Look for soft, lightweight materials that won’t irritate or chafe your body.
- Durability: Choose a fabric that can withstand frequent washing and regular use without losing its shape or color. Cotton blends or synthetic fabrics like polyester are often more durable than pure cotton.
- Design: Think about the look you want to achieve with your changing robe. Consider the colors and patterns that will suit your style and preferences.
Depending on your budget, you may also want to consider the cost of the fabric. High-quality fabrics may be pricier, but they often offer better absorbency, comfort, and durability.
It’s a good idea to visit a fabric store in person to feel the fabrics and see the colors in person. If that’s not possible, many online retailers provide detailed information about the fabric’s characteristics, such as absorbency and weight.
Once you’ve decided on the fabric, make sure to purchase enough yardage to accommodate the measurements you took earlier. It’s always better to have a little extra fabric than running out in the middle of the project.
Now that you have chosen the perfect fabric for your changing robe, it’s time to move on to the next step: taking measurements.
Step 2: Taking Measurements
Before you can start cutting and sewing the fabric for your changing robe, you’ll need to take accurate measurements of your body. This will ensure that the robe fits you perfectly and provides maximum comfort. Here’s how to take the necessary measurements:
- Chest: Measure around the fullest part of your chest, ensuring that the measuring tape is snug but not too tight.
- Waist: Measure the circumference of your natural waistline, which is typically the narrowest part of your torso.
- Hip: Measure around the widest part of your hips, usually around the hip bones.
- Arm Length: Extend one arm outward and measure from the shoulder down to your wrist. This will determine the length of the sleeves if you choose to include them in your robe.
- Robe Length: Decide how long you want your changing robe to be. Measure from the base of your neck or collarbone down to your desired length.
It’s important to take these measurements while wearing minimal clothing or underwear that you would typically wear under the robe. This will ensure that your measurements are accurate and allow for ease of movement.
Write down your measurements, along with any additional adjustments you may want to make to the standard pattern. These adjustments could include adding extra width or length for a looser fit or adjusting the sleeve length to your preference.
With your measurements in hand, you’re now ready to move on to the next step: cutting the fabric for your changing robe.
Step 3: Cutting the Fabric
With your measurements and desired adjustments in mind, it’s time to cut the fabric for your changing robe. Follow these steps to ensure accurate and clean cuts:
- Prepare your work area: Clear a large, flat surface where you can lay out the fabric. Make sure it’s clean and free of any debris that could hinder your cutting.
- Wash and iron the fabric: If necessary, pre-wash and iron the fabric to remove any wrinkles or sizing. This will ensure that the fabric doesn’t shrink or distort after you’ve completed the robe.
- Use the measurements: Refer to the measurements you took in the previous step and transfer them onto the fabric. Use a pencil or fabric marker to mark the necessary lengths and widths, ensuring precision.
- Add seam allowance: Keep in mind that you’ll need to add seam allowance to your measurements. This will allow for sewing the pieces together and create a comfortable fit. Generally, a 1/2-inch to 1-inch seam allowance is sufficient.
- Cut the fabric: Using sharp fabric scissors, carefully cut along the marked lines to create the main body pieces of your changing robe. If you’re including sleeves, use the sleeve pattern to cut the desired length and shape.
- Double-check the pieces: Once all the pieces are cut, double-check their sizes and shapes to ensure they match properly. Make any necessary adjustments or corrections before proceeding to the next step.
Take your time during the cutting process to ensure accuracy. It’s better to be precise at this stage to avoid any fitting or alignment issues later on.
Once you’ve cut all the necessary fabric pieces, you’re ready to move on to the next step: sewing the body of the robe.
Step 4: Sewing the Body of the Robe
Now that you have cut the fabric pieces for your changing robe, it’s time to start sewing the body of the robe. Follow these steps to assemble the main body:
- Lay out the fabric pieces: Lay the main body pieces of the robe on a flat surface with the right sides facing each other.
- Pin the pieces together: Use sewing pins to secure the fabric pieces together along the sides. Make sure the edges align properly.
- Start sewing: Using a sewing machine or hand sewing, sew along the pinned edges with a straight stitch. Remember to backstitch at the beginning and end of each seam for added strength.
- Press the seams open: After sewing, press the seams open with an iron. This will give the robe a professional and neat finish.
- Finish the raw edges: To prevent fraying, finish the raw edges of the fabric by either using a zigzag stitch on your sewing machine or by serging the edges with a serger if you have access to one.
- Tackle the hem: Decide on the desired length of your robe and mark it with pins. Fold the fabric up to create the hem and press it with an iron. Sew along the folded edge of the hem to secure it.
Keep in mind that if your fabric has a pattern or print, you’ll want to make sure it matches up at the seams. Take extra care during pinning and sewing to maintain a consistent pattern alignment.
Once you have sewn the main body of the robe, you’re ready to move on to the next step: adding the hood.
Step 5: Adding the Hood
Adding a hood to your changing robe can provide extra warmth and comfort, especially during cooler beach or pool days. Follow these steps to attach the hood to your robe:
- Prepare the hood pattern: If you’re using a hood pattern, make sure it’s properly cut and ready for use. If you don’t have a pattern, you can create one by using a hoodie or a hooded garment as a reference.
- Pin the hood to the robe: Lay the hood piece on the neckline of the robe with the right sides facing each other. Line up the edges and pin them together, ensuring that the center back of the hood aligns with the center back of the robe.
- Sew the hood to the robe: Using a sewing machine or hand sewing, sew along the pinned edges of the hood and the neckline of the robe. Make sure to securely attach the hood to the robe with strong stitches.
- Press the seam: After sewing, press the seam towards the hood using an iron. This will create a clean and professional finish.
- Finish the raw edges: To prevent fraying, finish the raw edges of the hood by using a zigzag stitch or a serger.
Make sure to try on the robe with the hood attached to ensure that it fits comfortably around your head and neck. If necessary, make any adjustments to the hood size or placement before moving on to the next step.
Now that you have successfully added the hood to your changing robe, it’s time to move on to the next step: attaching the sleeves.
Step 6: Attaching the Sleeves
If you’ve chosen to include sleeves in your changing robe, follow these steps to attach them:
- Prepare the sleeve pattern: If you’re using a pre-made sleeve pattern, ensure that it’s properly cut and ready for use. Alternatively, you can create your own sleeve pattern by tracing the shape of a well-fitting long-sleeved garment.
- Pin the sleeves to the robe: Lay the robe flat with the right side facing up. Take one sleeve piece and align the curved edge with the armhole of the robe, right sides together. Pin the sleeve to the robe, making sure to align the center of the sleeve with the shoulder seam of the robe.
- Sew the sleeves to the robe: Using a sewing machine or hand sewing, sew along the pinned edges of the sleeves and the armholes of the robe. Take care to sew with precision, ensuring that the sleeve is securely attached to the robe without any puckering or uneven stitching.
- Press the seam: After sewing, press the seams toward the body of the robe using an iron. This will give the sleeves a clean and professional finish.
- Finish the raw edges: To prevent fraying, finish the raw edges of the sleeves by either using a zigzag stitch or a serger.
Repeat these steps for the second sleeve, making sure to align it with the remaining armhole of the robe.
Once you have attached the sleeves to your changing robe, try it on to ensure that the sleeves fit comfortably and allow for ease of movement. Make any necessary adjustments before moving on to the next step.
With the sleeves securely attached, you’re now ready to add the finishing touches to your changing robe.
Step 7: Adding Finishing Touches
Now that the main components of your changing robe are complete, it’s time to add some finishing touches to enhance its functionality and style. Here are a few options you can consider:
- Add pockets: Pockets can be a useful addition to your robe for storing small essentials like keys, sunscreen, or a phone. Choose a pocket style and size that suits your needs and sew them onto the robe at desired locations.
- Attach a belt: If you prefer a more fitted look or want the option to cinch the robe at the waist, you can sew belt loops onto the side seams and include a coordinating belt made from the same fabric.
- Embellish with trims or appliques: Add a touch of personalization and style to your robe by incorporating decorative trims, such as lace or ribbon, along the edges or hood. You can also consider appliques or embroidered designs to make your robe truly unique.
- Add a closure: Depending on your preference, you can include a closure mechanism like buttons, snaps, or a zipper to secure the robe. Ensure that the chosen closure is functional and complements the overall design of your robe.
Remember to sew any additional components securely, taking care to reinforce stress points with extra stitching. Press and iron the finished robe to give it a polished look.
Be creative and feel free to experiment with different finishing touches that reflect your style and preferences. Personalizing your changing robe will make it truly one-of-a-kind.
Now that you’ve added the finishing touches to your changing robe, you’re almost ready to try it on and make any necessary adjustments. Let’s move on to the final step: trying on and adjusting the robe.
Step 8: Trying on and Adjusting the Robe
With your changing robe completed, it’s time to try it on and make any necessary adjustments for the perfect fit. Here’s what you should do:
- Put on the robe: Slip into your newly made changing robe and take note of any areas that feel too loose or too tight.
- Check the length: Stand in front of a mirror and assess the length of the robe. Ensure that it falls at your desired length, whether it’s above the knees or ankle-length.
- Assess the fit: Move around and stretch your arms to test the comfort and flexibility of the sleeves. Check that the body of the robe isn’t too tight or restrictive.
- Make adjustments: If you notice any areas that need adjustments, such as taking in the sides, shortening the sleeves, or adding additional width, mark them with pins while wearing the robe.
- Take off the robe: Carefully remove the robe, keeping the pins in place to reference the necessary alterations.
- Make the alterations: Using a sewing machine or hand sewing, make the required adjustments based on the pinned markings. Seam rip any necessary seams and sew them according to the desired fit.
- Press and finish: After making the adjustments, press the seams and any new stitches with an iron. Make sure the finished areas match the overall appearance of the robe.
Repeat the trying on and adjusting process as many times as necessary until the robe fits comfortably and suits your preferences. Remember to take your time during this step as proper fitting will greatly enhance your comfort while using the changing robe.
Once you’re satisfied with the fit and any alterations have been made, your changing robe is officially ready for use!
Congratulations on successfully completing the steps to create your very own changing robe. Enjoy the convenience, comfort, and style it provides as you head to the beach or poolside.
Now it’s time to pack your newly made changing robe and get ready for your next adventure!
Conclusion
Congratulations on completing your journey to create your very own changing robe! By following the step-by-step instructions in this guide, you have gained the skills and knowledge to design and sew a robe that perfectly fits your style, comfort, and functionality needs.
From choosing the right fabric and taking accurate measurements to cutting, sewing, and adding finishing touches, you have embarked on an exciting DIY project that allows you to personalize your changing robe to suit your unique preferences.
Your handmade changing robe not only offers convenience and privacy during beach or poolside activities but also showcases your creativity and craftsmanship. You can proudly enjoy the beach or pool in style, knowing that you have a one-of-a-kind robe that was made with love.
Remember, don’t hesitate to add your personal touch to the design and make adjustments along the way to ensure the perfect fit. Whether you added pockets, embellishments, or a closure, these details contribute to making your changing robe truly your own.
We hope that this comprehensive guide has inspired and empowered you to create your changing robe. Keep exploring and experimenting with different fabrics, patterns, and styles to expand your sewing skills and make even more fantastic creations.
Now, pack your newly made changing robe, head to the beach, and enjoy the sun, sand, and sea with confidence and comfort!