Home>How-to Guides>For All>How To Make A Spa Robe
For All
How To Make A Spa Robe
Modified: July 30, 2023
Learn how to make a luxurious spa robe for all occasions with our step-by-step guide. Perfect for relaxation and self-care.
(Many of the links in this article redirect to a specific reviewed product. Your purchase of these products through affiliate links helps to generate commission for Under-tec.com, at no extra cost. Learn more)
Table of Contents
Introduction
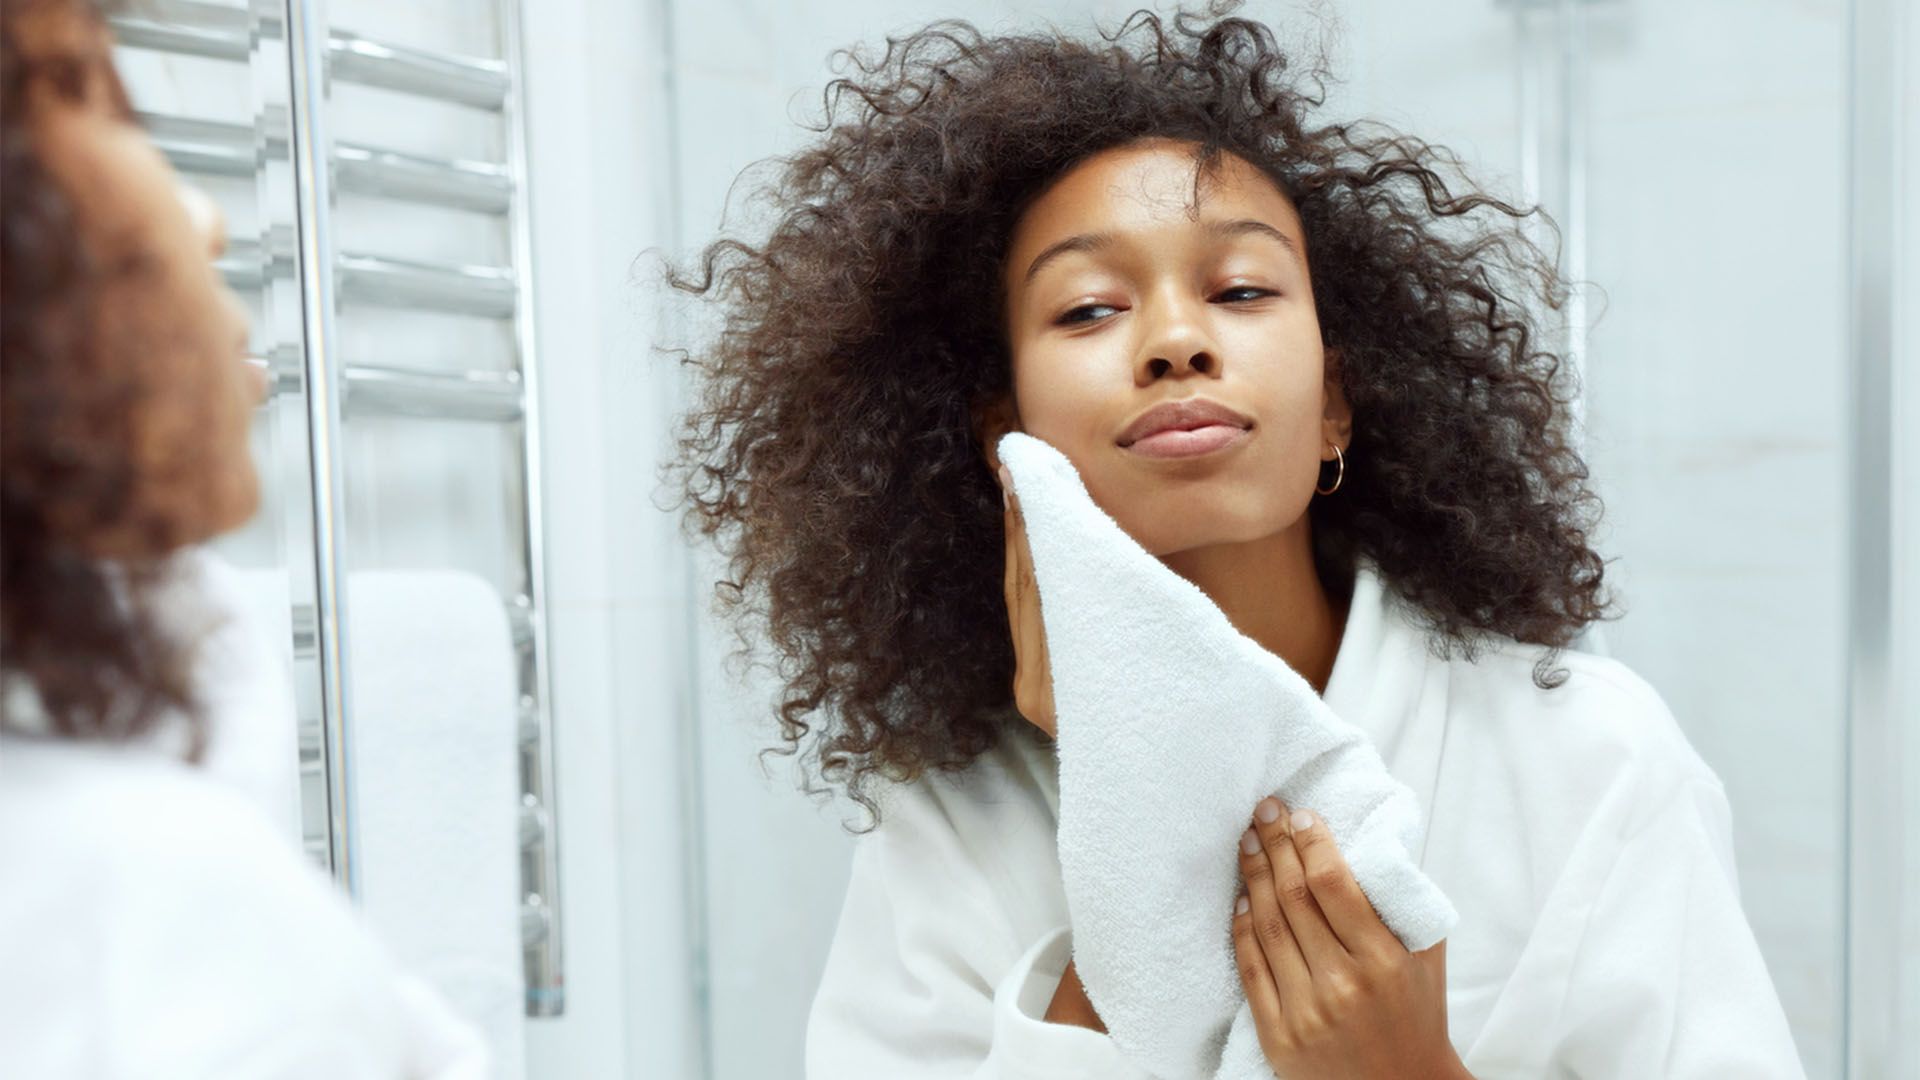
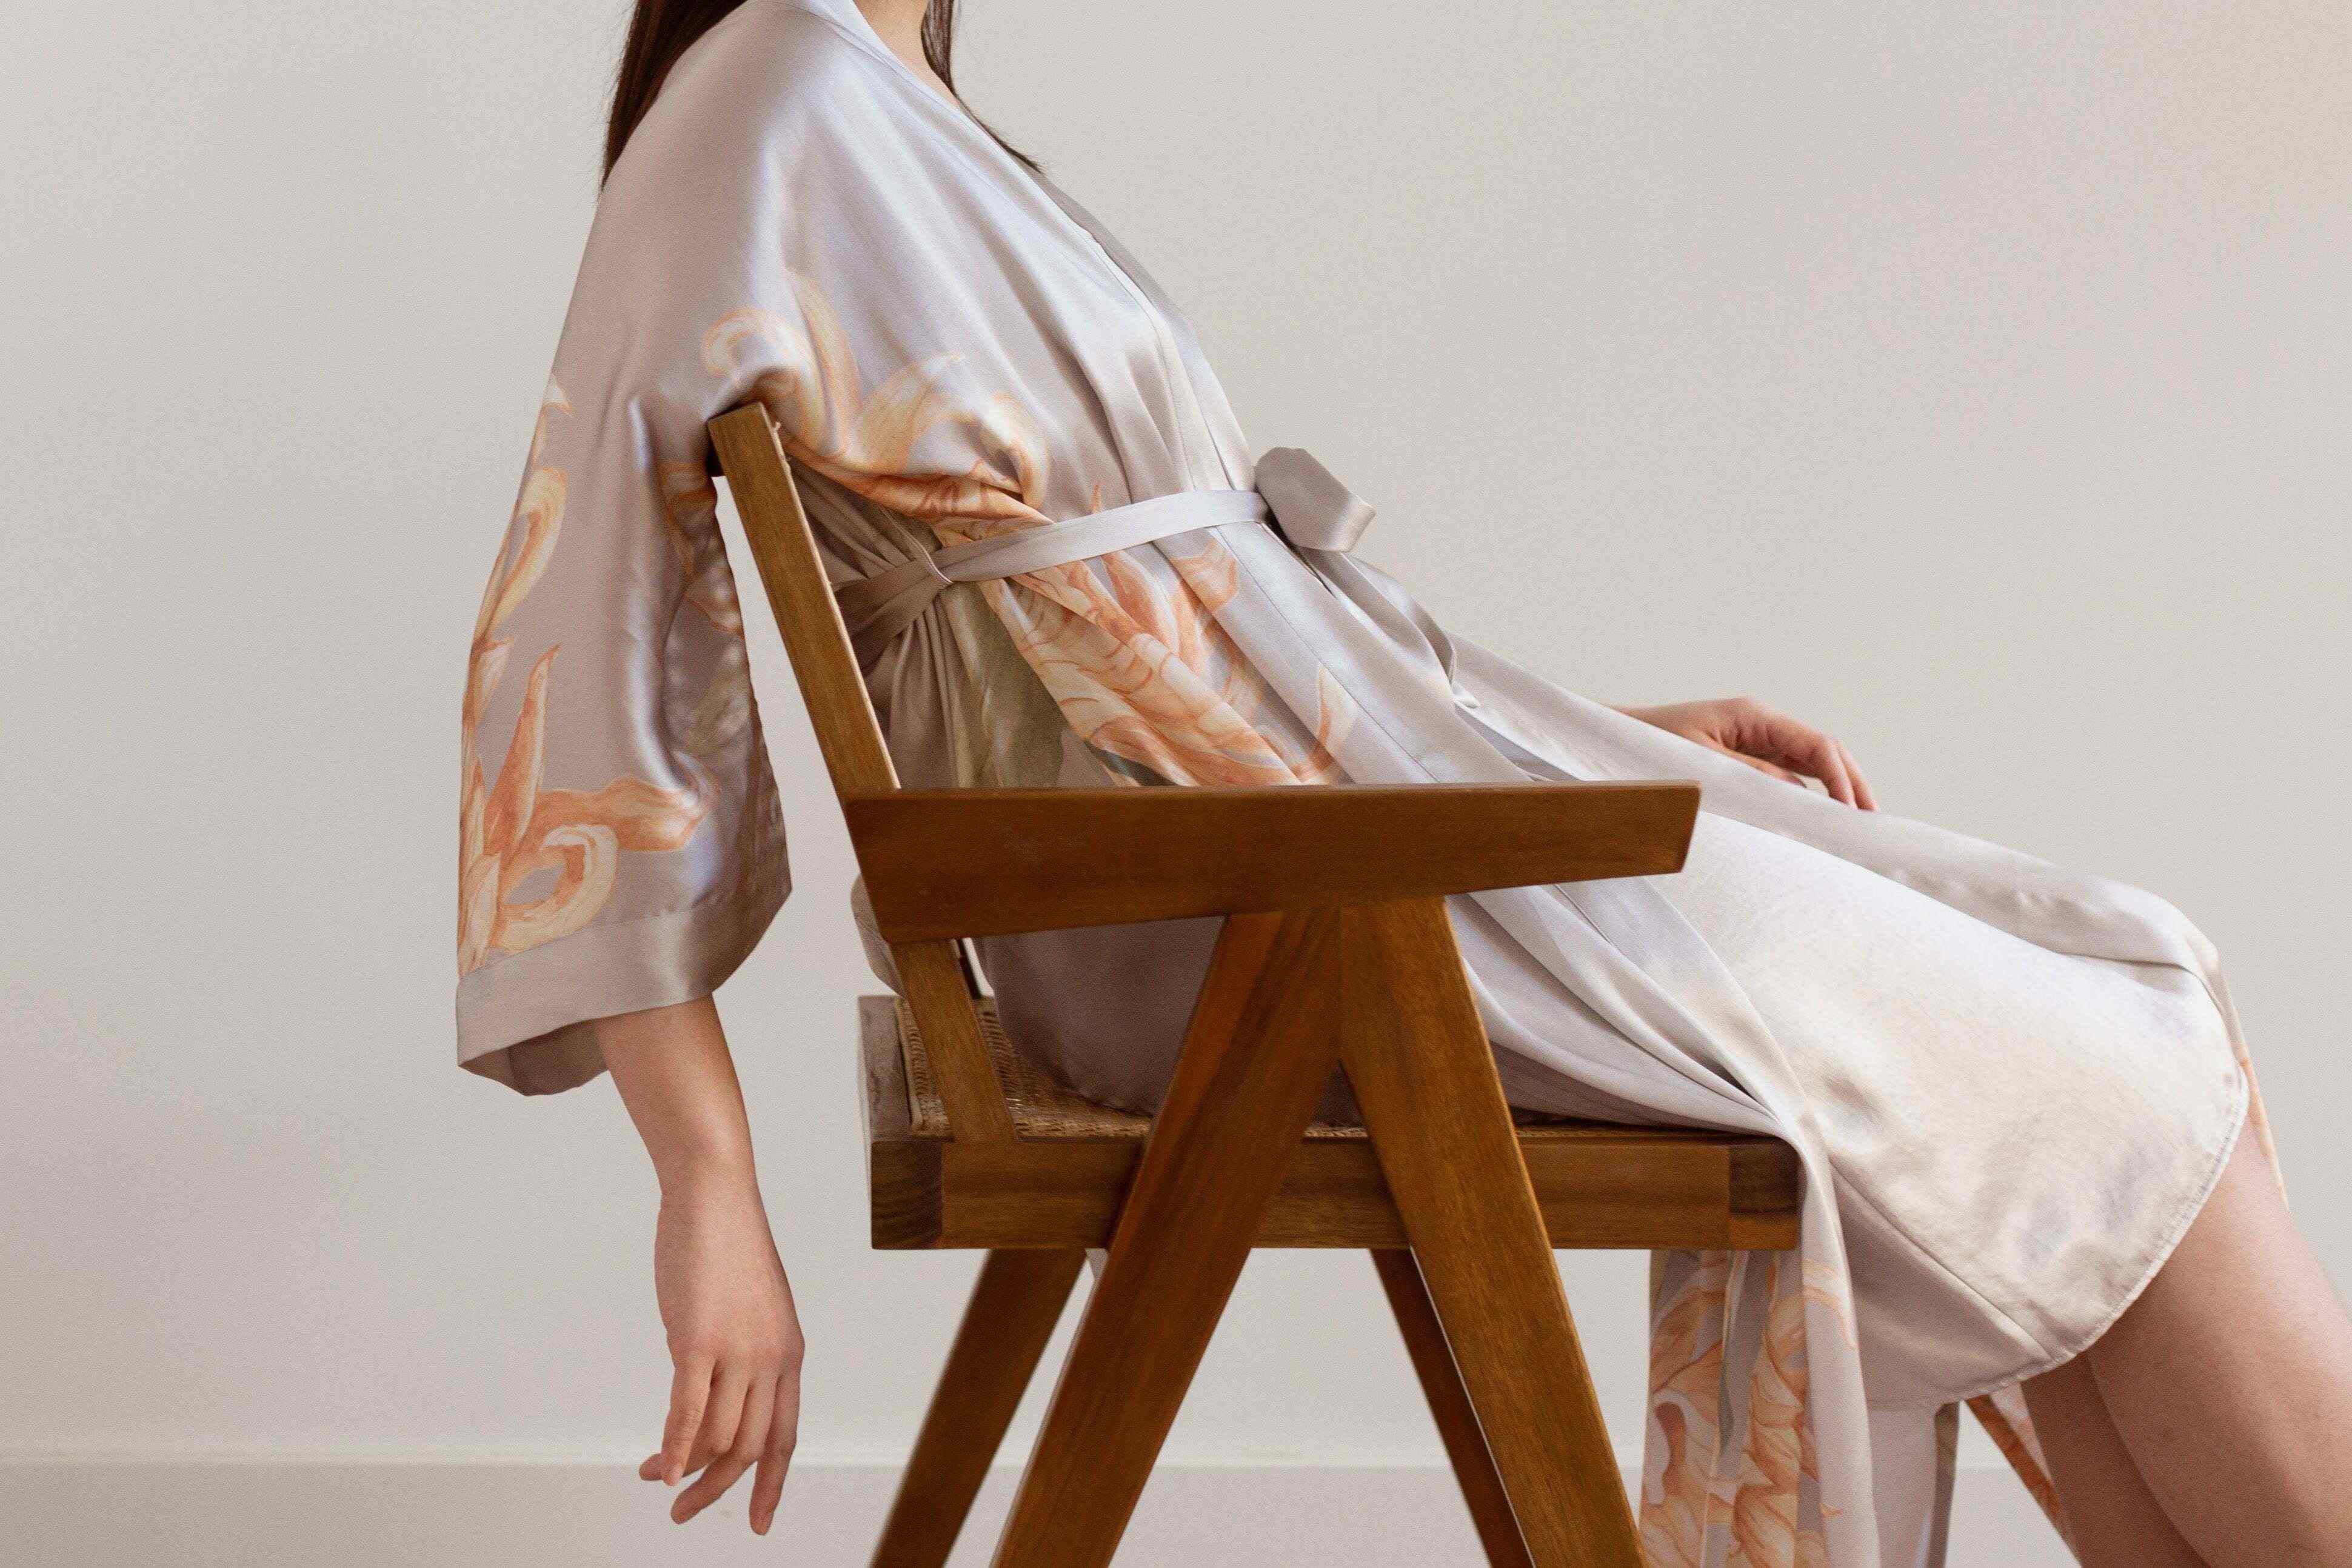
A spa robe is a luxurious and comfortable garment that is perfect for relaxing at home or pampering yourself after a long day. Whether you want to create a spa-like experience in your own bathroom or gift a personalized robe to someone special, making your own spa robe can be a rewarding and enjoyable project.
Creating a spa robe from scratch allows you to choose the fabric, customize the fit, and add unique touches that reflect your personal style. Plus, it’s a great way to explore your creativity and sewing skills!
In this guide, we will walk you through the step-by-step process of making a spa robe. From choosing the fabric to adding the finishing touches, you will learn everything you need to know to create a beautiful and comfortable robe.
Whether you’re a seasoned seamstress or just starting out, this project is suitable for all skill levels. So grab your sewing machine and let’s get started on creating your very own spa robe!
Materials Needed
Before you begin making your spa robe, gather the following materials:
- Fabric: Choose a soft and absorbent fabric such as terry cloth, cotton, or flannel. The amount of fabric you will need depends on your measurements, but approximately 3 to 4 yards should be sufficient.
- Matching Thread: Select a thread color that coordinates with your fabric.
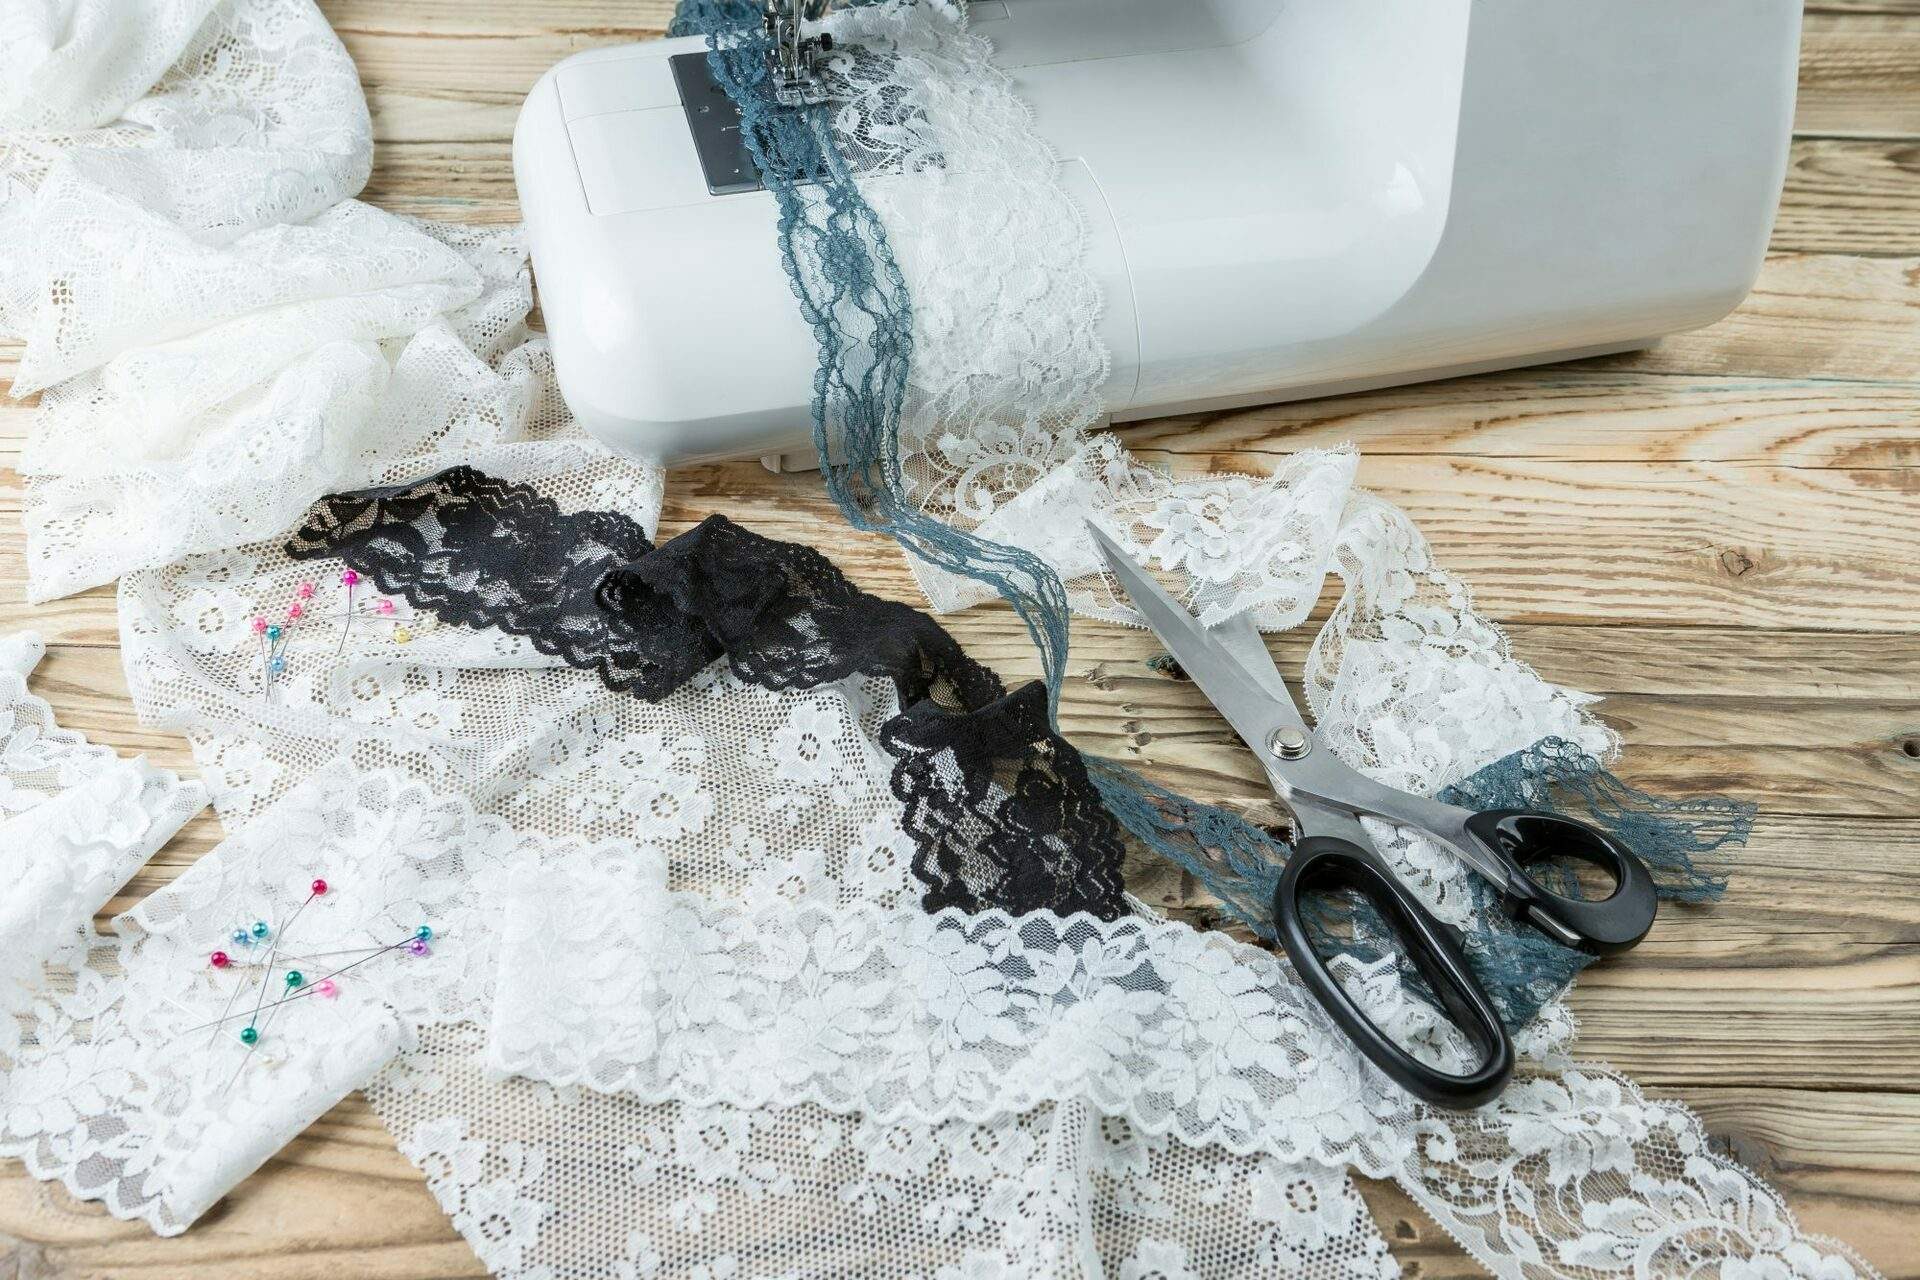
- Scissors: A sharp pair of fabric scissors will make cutting the fabric easier.
- Pins: These will be used to hold the fabric together while sewing.
- Sewing Machine: A sewing machine will make the construction process faster and more efficient.
- Iron: An iron will be used to press the fabric and create crisp seams.
- Measuring Tape: Use a measuring tape to accurately take your body measurements.
- Pattern Paper: If you prefer, you can use pattern paper to create a template for your robe.
- Buttons, Snaps, or Ties: Depending on your design preference, you may need buttons, snaps, or ties to secure the robe.
These are the essential materials you will need to get started. As you progress through the process, you may discover additional materials or embellishments that you would like to incorporate into your robe.
Remember, creativity is key when it comes to making your spa robe, so feel free to experiment with different fabrics, trims, and closures to make it uniquely yours.
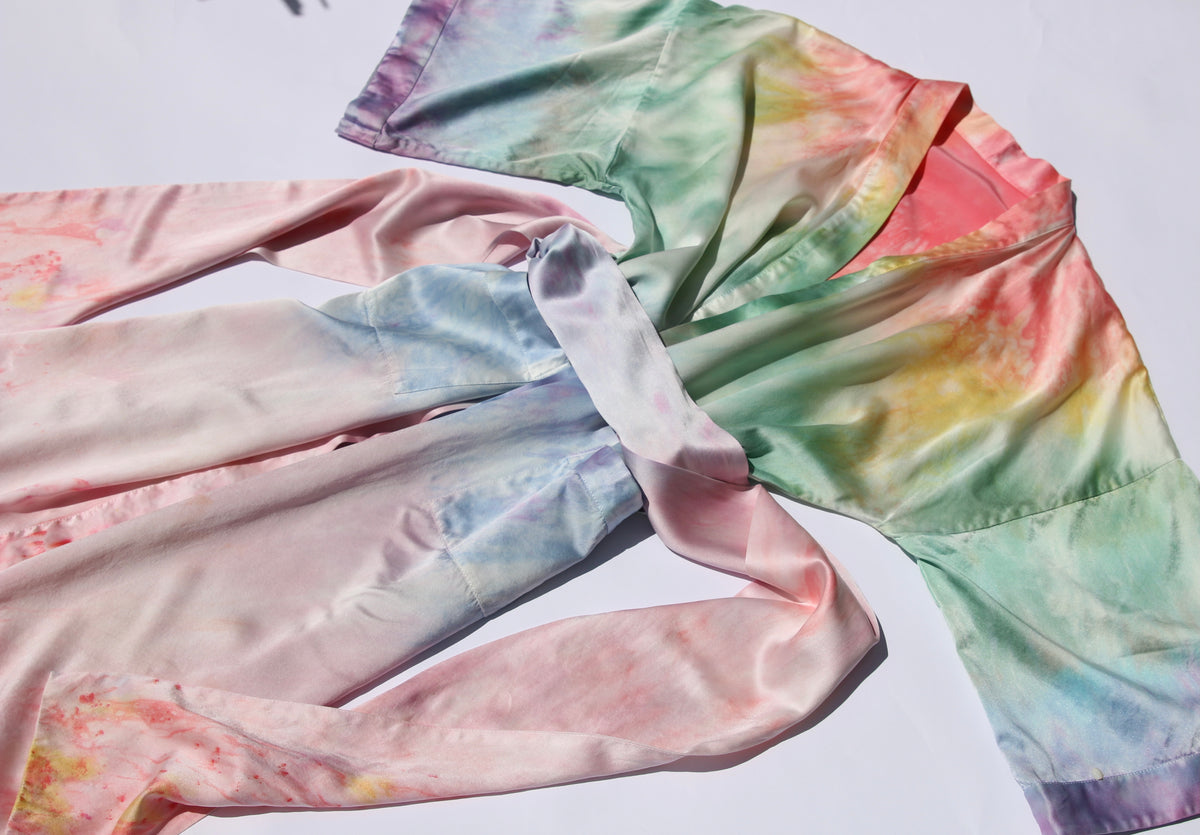
Step 1: Choosing the Fabric
The fabric you choose for your spa robe will greatly impact its overall comfort and durability. When selecting the fabric, consider the following factors:
- Softness: Look for a fabric that feels soft against the skin, as this will enhance the luxurious feel of your robe.
- Absorbency: If you plan on wearing your spa robe after a bath or shower, opt for a fabric that has good absorption properties, such as terry cloth or cotton.
- Breathability: Choose a fabric that allows air to circulate to prevent excessive heat and moisture buildup.
- Durability: Select a fabric that can withstand regular use and repeated washing without losing its shape or color.
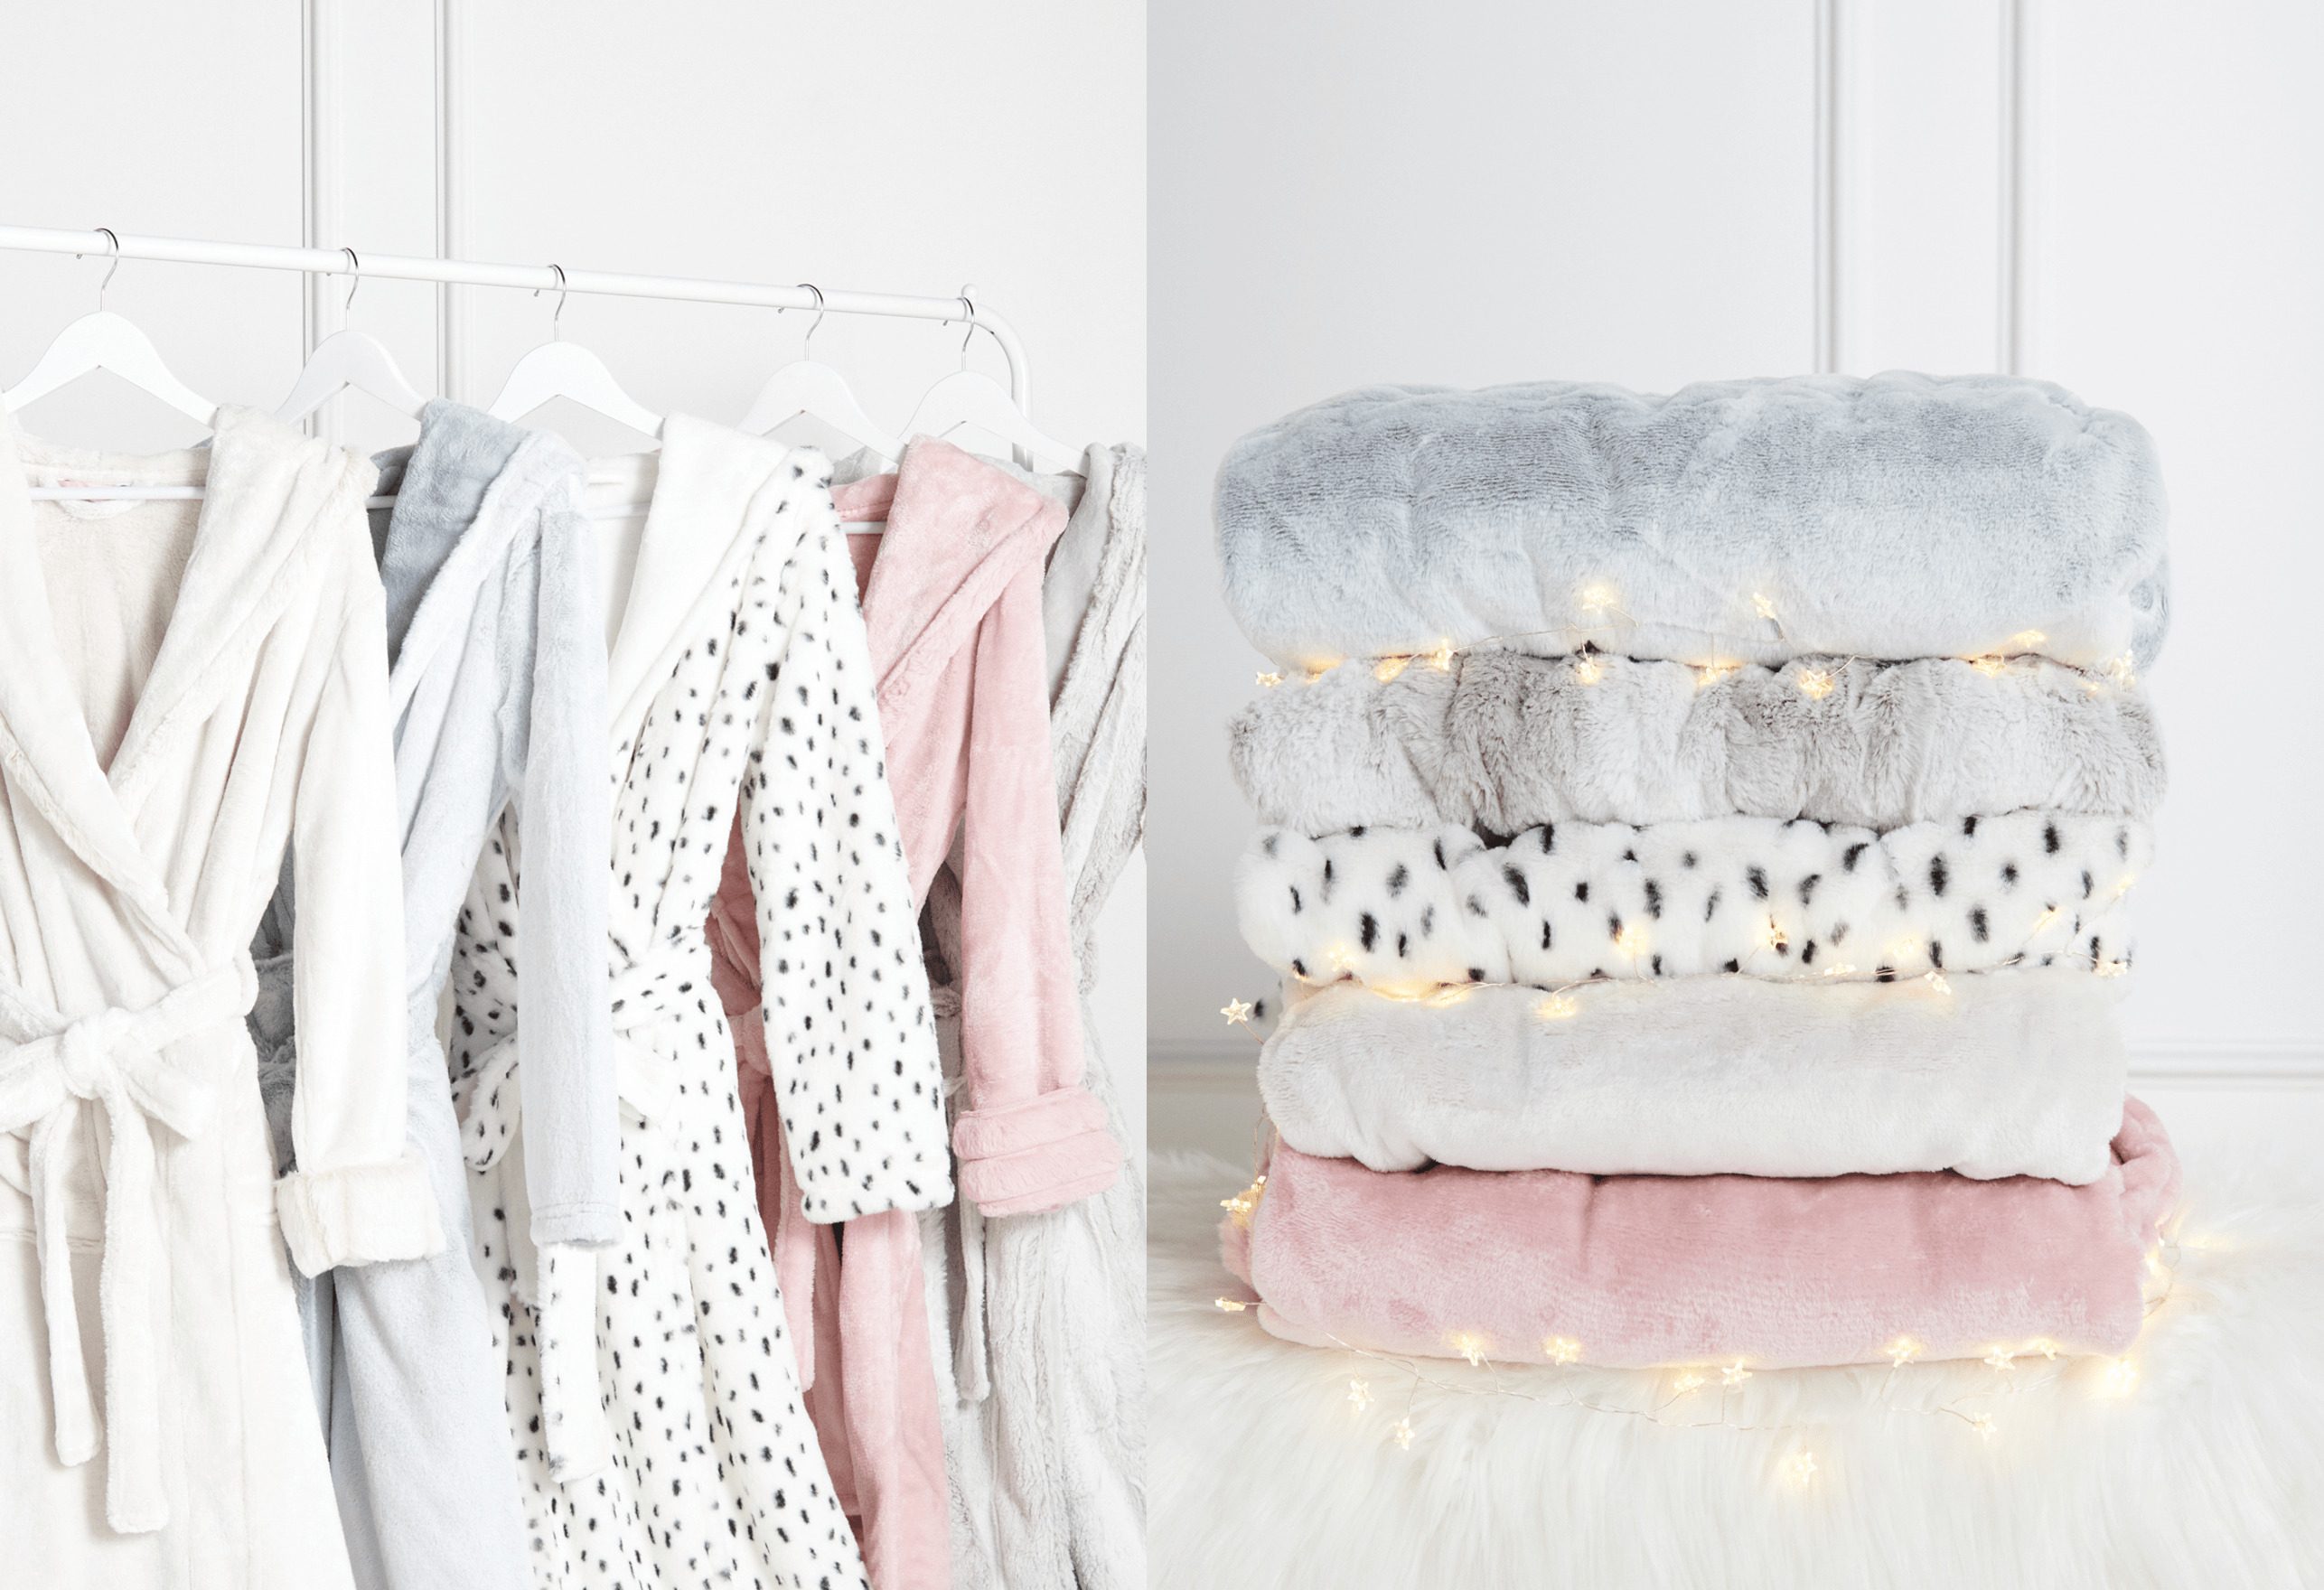
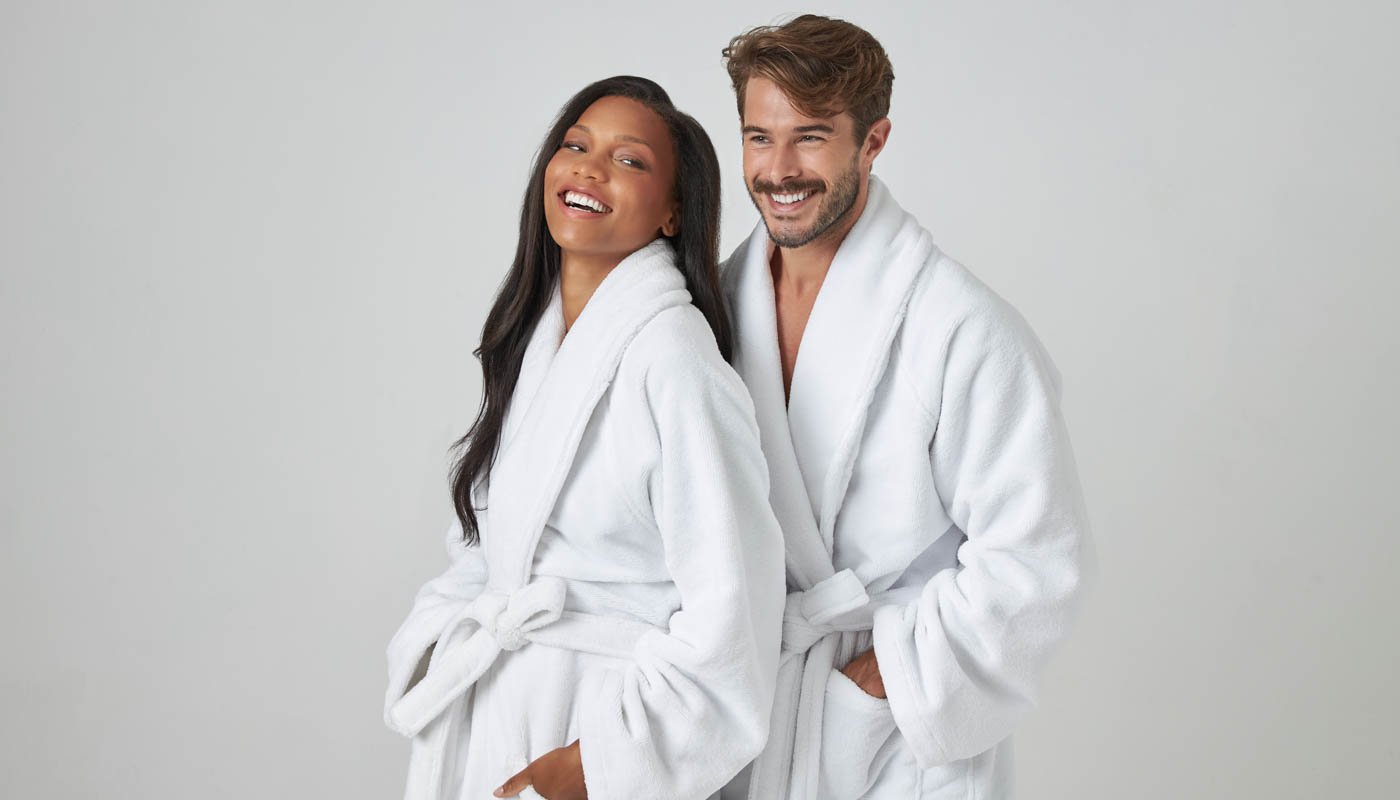
Terry cloth, with its looped texture, is a popular choice for spa robes due to its absorbency and plush feel. Cotton is another excellent option, offering softness and breathability. Flannel can provide warmth and coziness, making it ideal for colder seasons.
Once you have determined the type of fabric you want, consider the color and pattern. Solid colors are versatile and timeless, while patterns can add a touch of personality and style.
Remember to wash and pre-shrink your fabric before starting the sewing process to avoid any unexpected shrinking or color bleeding. This will ensure that your spa robe maintains its shape and appearance even after laundering.
The fabric you choose will ultimately dictate the comfort and overall aesthetic of your spa robe, so take your time in making the decision. Consider your personal preferences, the purpose of the robe, and any additional features you would like to incorporate.
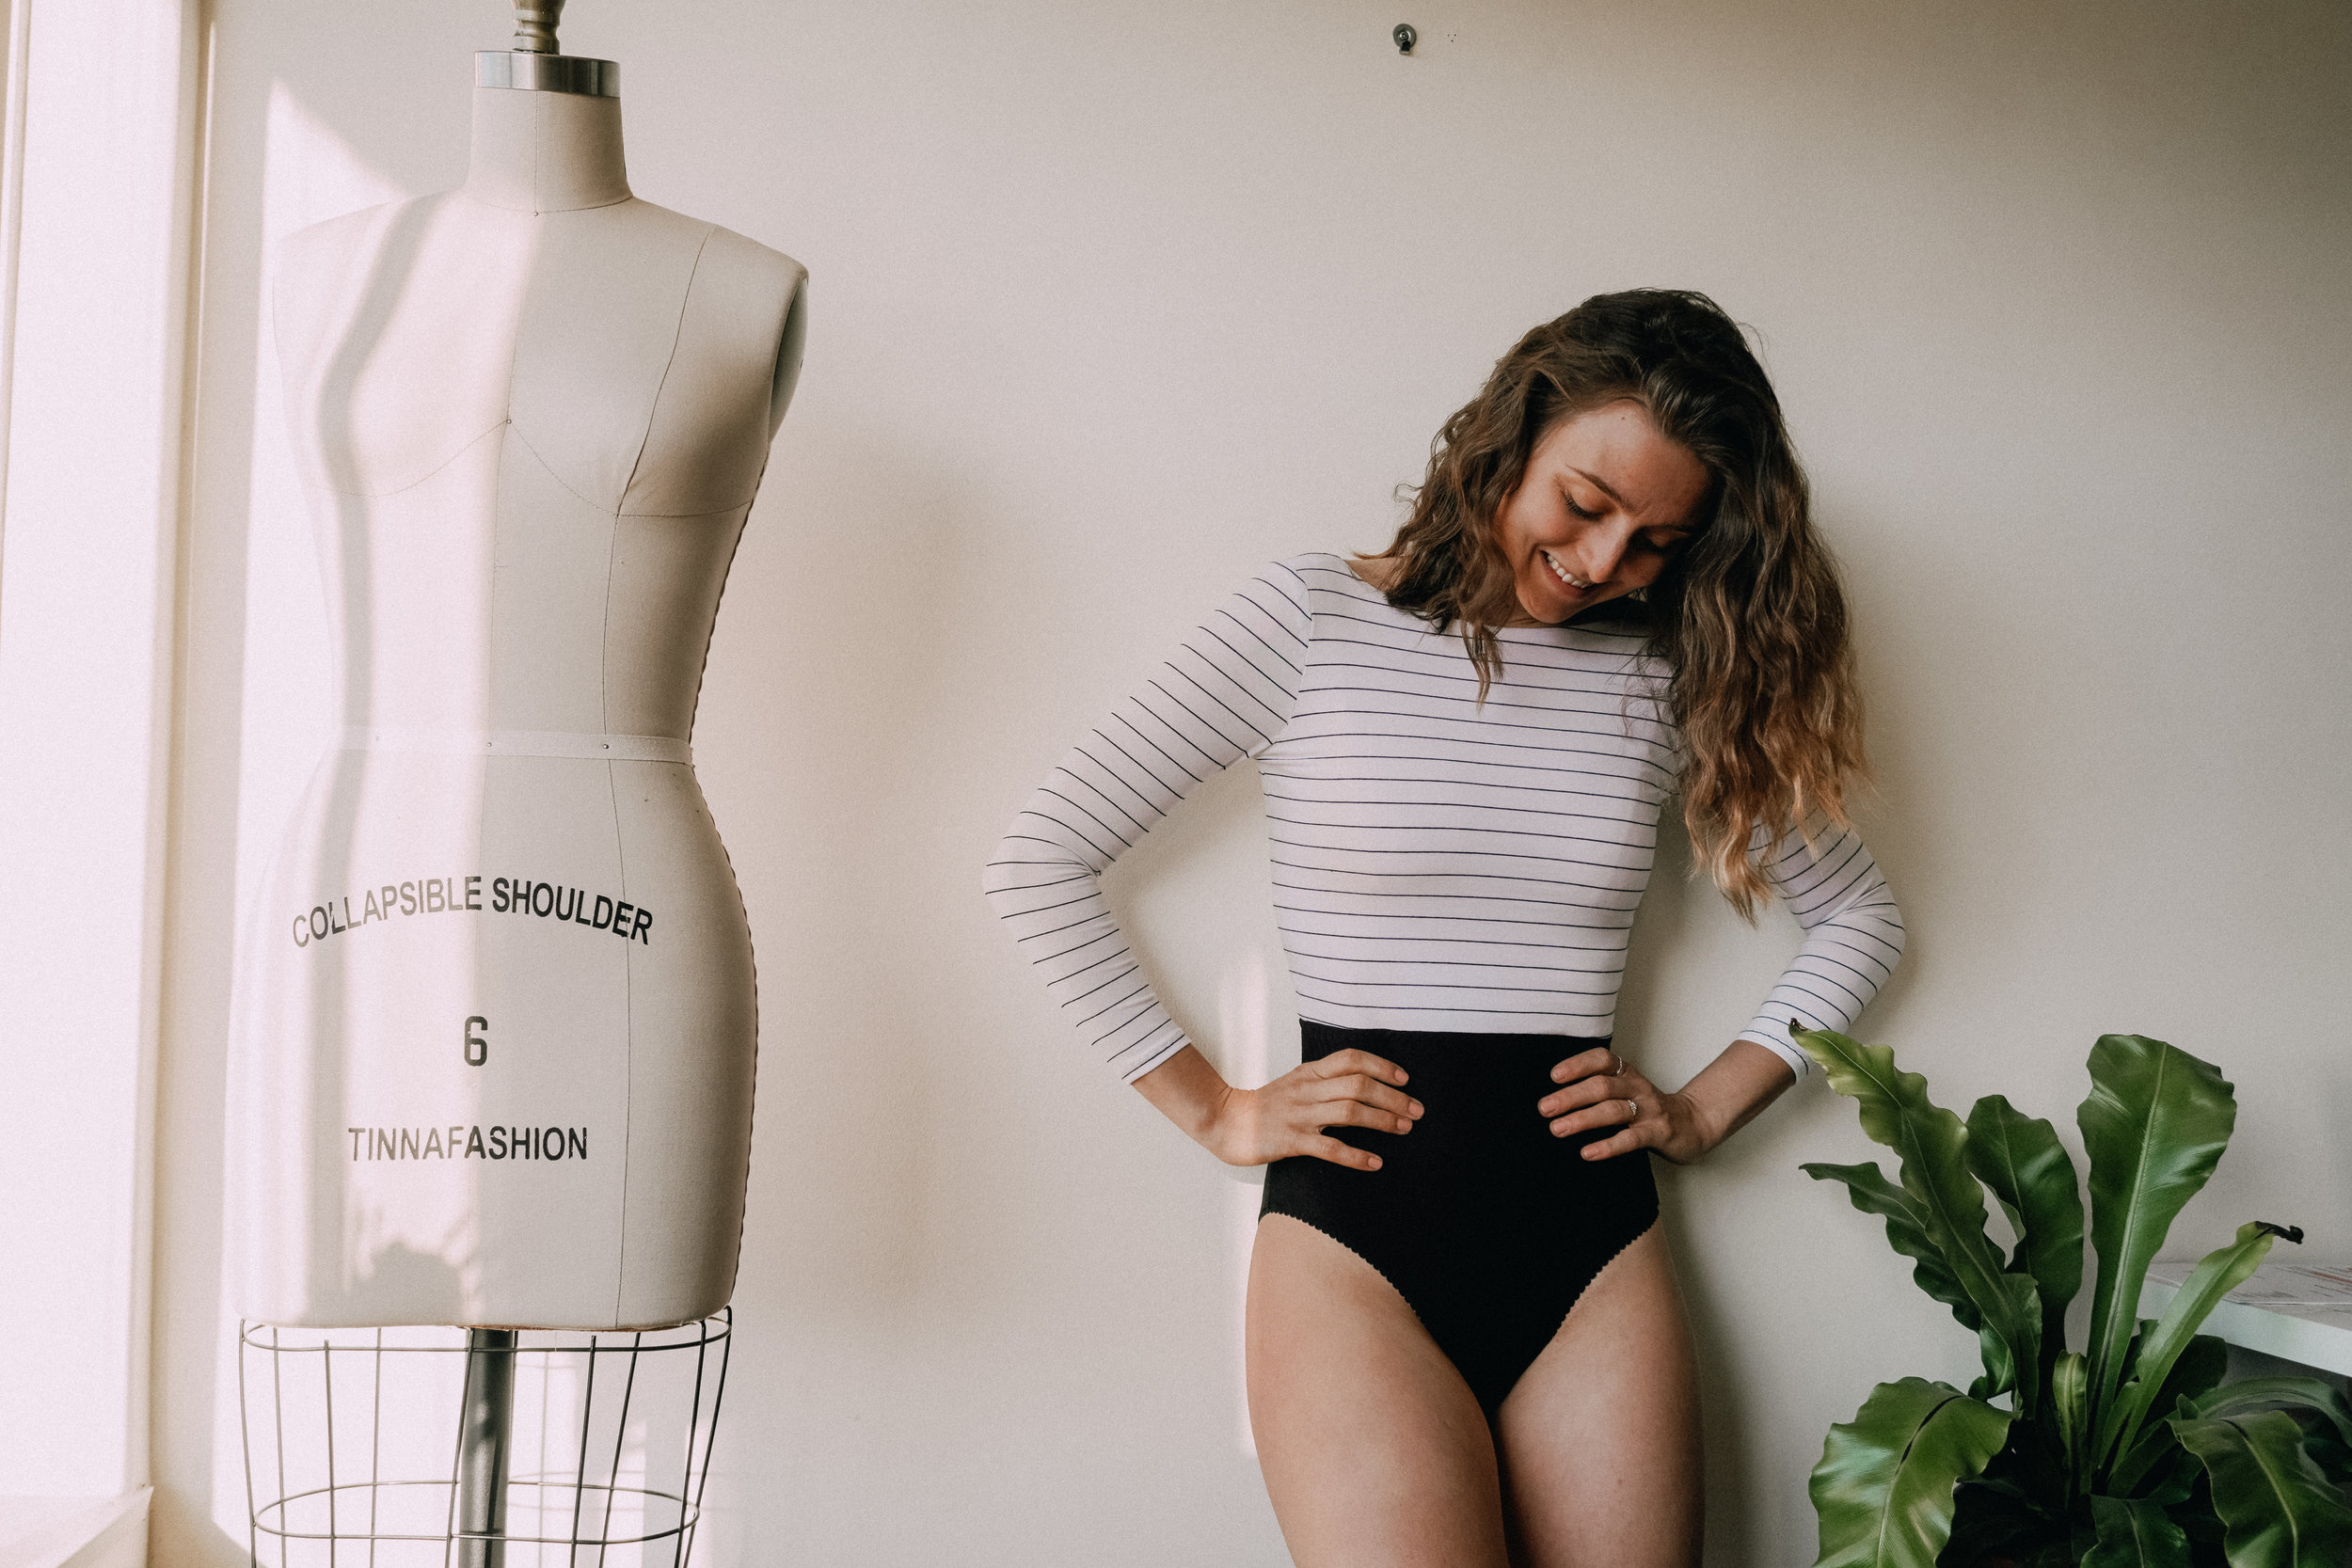
Step 2: Taking Measurements
Accurate measurements are essential for creating a spa robe that fits comfortably and flatters your body shape. Before you begin cutting your fabric, follow these steps to take precise measurements:
- Chest/Bust: Wrap the measuring tape around the fullest part of your chest or bust, ensuring that it is parallel to the ground.
- Waist: Measure around your natural waistline, which is typically the narrowest part of your torso.
- Hip: Measure around the fullest part of your hips, usually 7-9 inches below your waist.
- Shoulder to Shoulder: Measure the distance between the outer edges of your shoulders.
- Arm Length: Measure from the shoulder joint to the desired length of the sleeve, typically around the wrist or mid-forearm for a spa robe.
- Robe Length: Decide how long you want your robe to be and measure from the shoulder to that desired length, typically mid-thigh or knee-length.
It’s important to measure yourself accurately and avoid pulling the tape too tight or leaving it too loose. Remember to keep the tape parallel to the ground and take multiple measurements to ensure consistency.
If you are making the robe for someone else, such as a gift, have the person stand up straight with their arms relaxed by their sides for the most accurate measurements. This will ensure a better fit and a more comfortable wearing experience.
Once you have recorded all the necessary measurements, you can use them as a guide when cutting and sewing your fabric. It’s always better to have slightly larger measurements and then make adjustments during the fitting process rather than making a robe that is too small.
Now that you have your measurements ready, you’re well-prepared to move on to the next step of creating your spa robe.
Step 3: Cutting the Fabric
Now that you have your measurements, it’s time to cut the fabric for your spa robe. Follow these steps to ensure precise and accurate cutting:
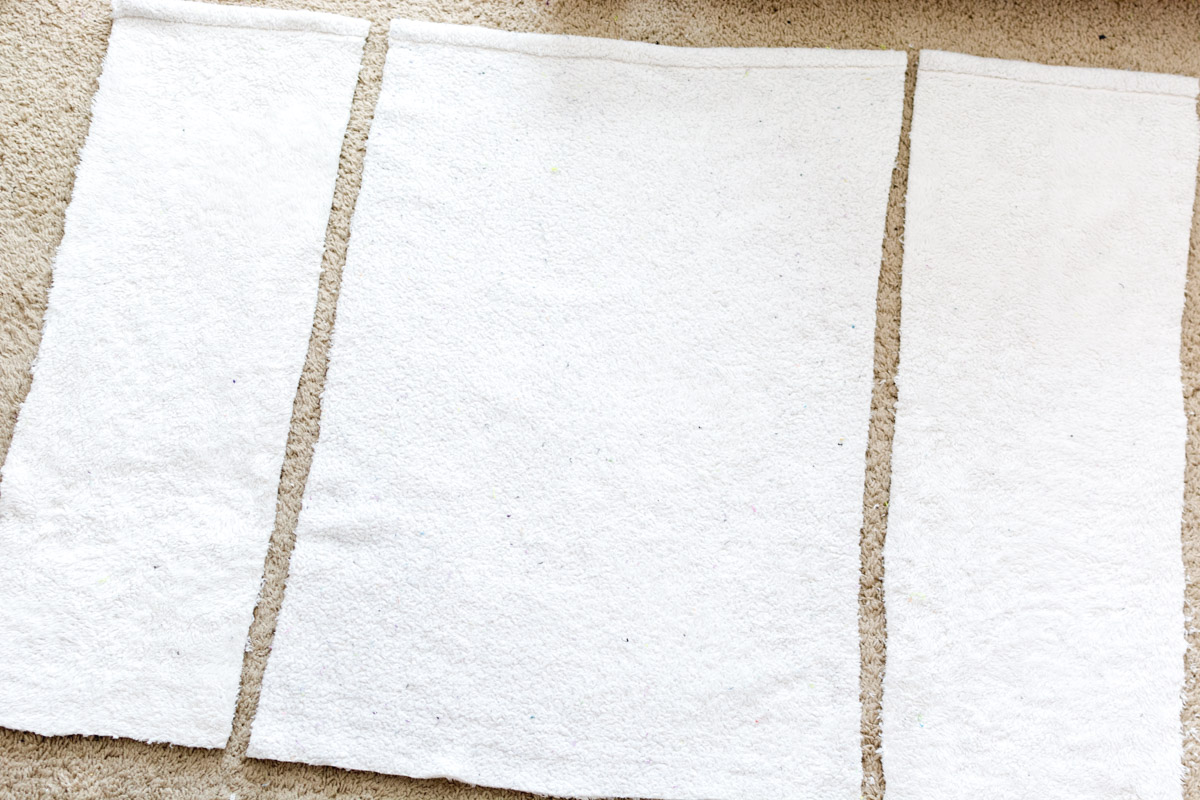
- Prepare the Fabric: Lay the fabric flat on a large, clean surface. Smooth out any wrinkles or folds, and ensure that the fabric is aligned properly.
- Place the Pattern or Measurements: If you are using a pattern, lay it on top of the fabric and secure it with pins, making sure to align the pattern pieces with the grain of the fabric. If you are not using a pattern, use your measurements to mark the fabric directly.
- Mark and Cut: Use fabric chalk or a washable fabric pen to transfer the markings from the pattern or measurements onto the fabric. Carefully cut along the marked lines, ensuring that your cuts are straight and even.
- Robe Panels: For the main body of the robe, you will typically need to cut two identical panels, one for the front and one for the back. Use your chest/bust, waist, hip, and robe length measurements to determine the width and length of each panel.
- Robe Sleeves: To cut the sleeves, use your arm length measurement and the desired sleeve length. You can choose to make the sleeves loose and flowing or more fitted, depending on your preference.
- Additional Pieces: If you want to add a collar or pockets to your spa robe, cut the necessary pieces according to your preferred design.
Double-check everything before making any cuts to avoid mistakes or the need for additional fabric. It’s always a good idea to keep a scrap piece of fabric nearby to test your machine settings or practice any stitching techniques before working on the actual robe pieces.
Remember to cut with precision and accuracy to ensure that your spa robe fits well and looks professional. Taking your time during this step will pay off in the final outcome of your beautifully crafted robe.
Step 4: Sewing the Main Body of the Robe
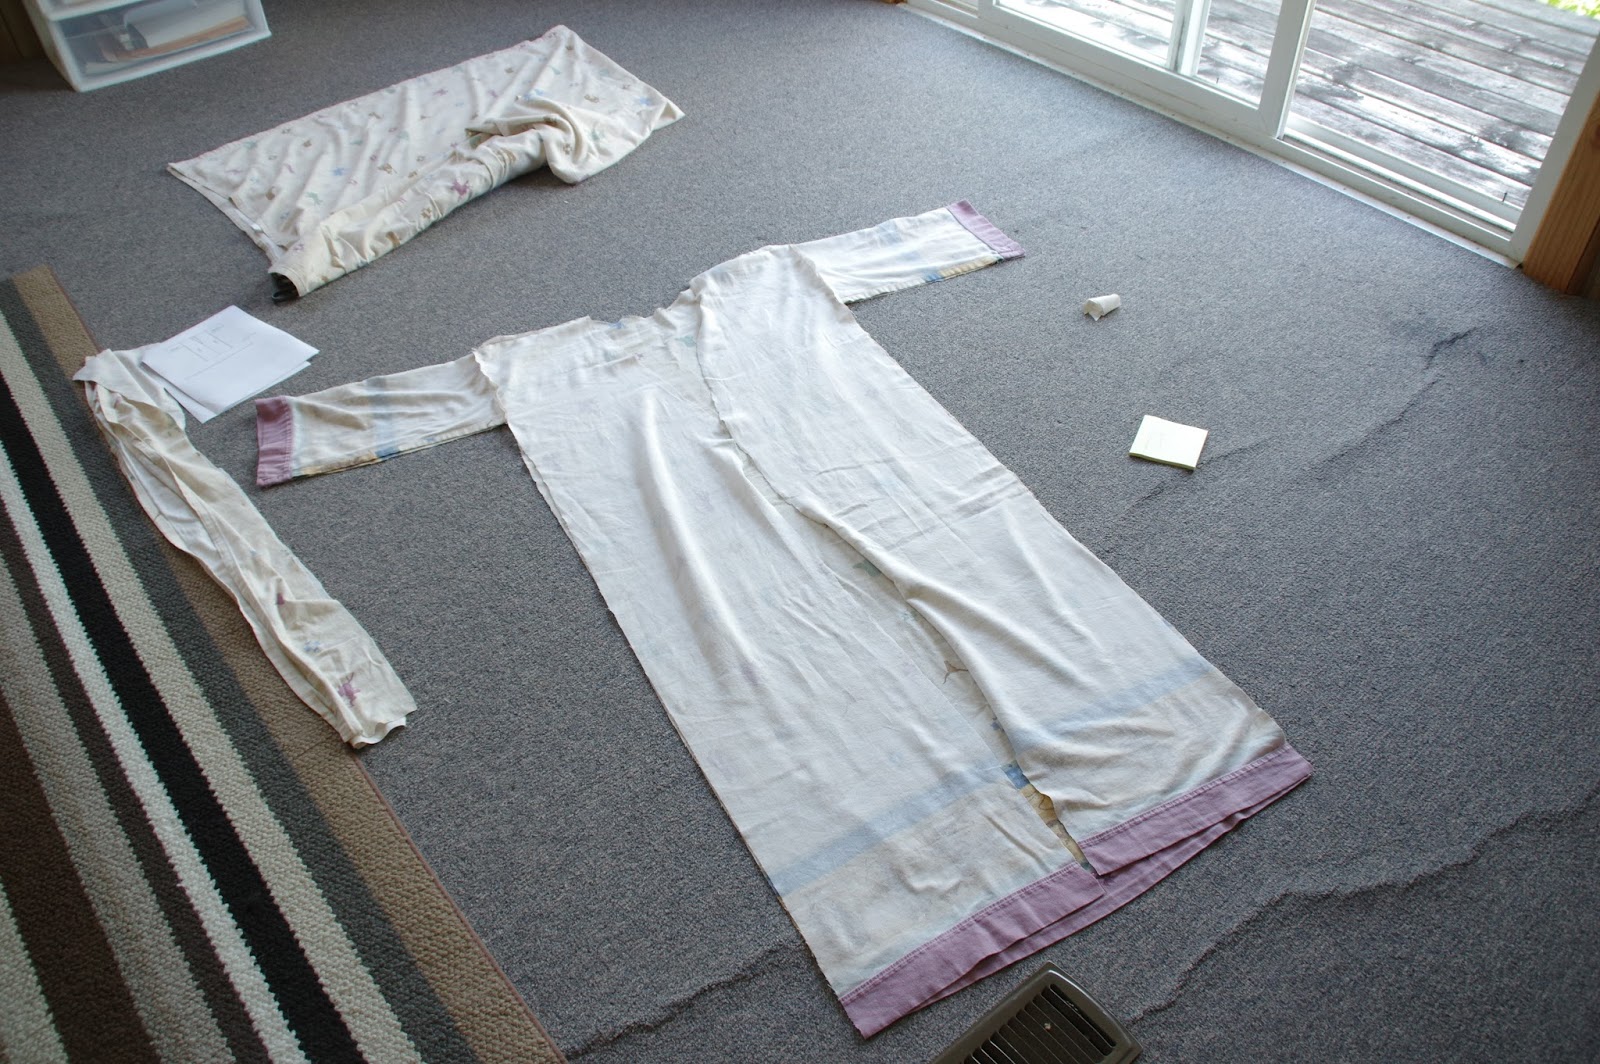
With your fabric panels cut, you’re ready to start sewing the main body of your spa robe. Follow these steps to assemble the front and back panels:
- Place the Panels: Lay the front and back panels of the robe on top of each other, with the right sides facing each other. Align the edges and pin them together to secure.
- Sew the Side Seams: Starting from the bottom hem, sew along the side seams of the robe, using a straight stitch. Use a seam allowance of ½ inch or as specified in your pattern.
- Finish the Seams: Trim the seam allowance down to ¼ inch, and neaten the edges using a serger or a zigzag stitch to prevent fraying. Press the seams open or to one side for a neat finish.
- Try on and Adjust: Put on the partially sewn robe and check for fit. If any adjustments are needed, mark or pin the areas that require attention. Make alterations by taking in or letting out seams, if necessary.
- Sew the Shoulders: Sew the shoulder seams, ensuring that you align the front and back necklines properly. Finish the seams as you did for the side seams.
The main body of your spa robe is now taking shape! Press the seams with an iron to give them a crisp look, and try on the robe again to ensure that it fits comfortably and drapes well. If further adjustments are needed, make them before moving on to the next steps.
Take your time during this step to ensure that the seams are straight and secure. Doing so will contribute to the overall durability and quality of your spa robe.
Step 5: Adding the Sleeves
Now that the main body of your spa robe is complete, it’s time to add the sleeves. Follow these steps to attach the sleeves:
- Prepare the Sleeves: Fold each sleeve in half lengthwise with the right sides facing each other. Pin the raw edges together, aligning the center fold of the sleeve with the shoulder seam of the robe.
- Sew the Sleeve Seams: Starting from the armpit area, sew along the raw edges of the sleeves using a straight stitch. Use a seam allowance of ½ inch or as specified in your pattern.
- Finish the Seams: Trim the seam allowance down to ¼ inch and neaten the edges using a serger or a zigzag stitch. Press the seams open or to one side.
- Try on and Adjust: Try on the robe again to check the fit and placement of the sleeves. If any adjustments are needed, mark or pin the areas that require attention. Make alterations by taking in or letting out seams, if necessary.
- Secure the Sleeves: After making any necessary adjustments, sew a line of stitches along the sleeve seam from the end of the sleeve to the end of the robe armhole. This will secure the sleeve in place and prevent it from shifting during wear.
Ensure that the sleeves are placed symmetrically and align properly with the armholes of the robe. Take your time to sew straight and even stitches to create a professional-looking finish.
Again, try on the robe to check the fit and freedom of movement with the sleeves attached. Make any adjustments needed before moving on to the next steps.
Adding the sleeves not only completes the construction of the spa robe but also enhances its functionality and comfort. Once the sleeves are securely attached, you’re one step closer to enjoying your finished creation!
Step 6: Sewing the Collar
Adding a collar to your spa robe can elevate its style and provide an extra touch of comfort. Follow these steps to sew the collar:
- Prepare the Collar: Cut out the collar pattern pieces from your fabric, following the dimensions and shape specified in your pattern. If you don’t have a pattern, you can create a basic rectangular collar by measuring the neckline of your robe.
- Attach the Collar: Place the collar pieces right sides together, aligning the raw edges. Pin or clip them in place along the neckline of the robe.
- Sew the Collar Seam: Starting from one end of the collar, sew along the raw edges using a straight stitch. Use a ½ inch seam allowance or as specified in your pattern.
- Finish the Seams: Trim the seam allowance down to ¼ inch and neaten the edges with a serger or a zigzag stitch. Press the seam open or toward the collar.
- Turn and Press: Carefully turn the collar right side out, using a turning tool or your fingers to push out the corners. Press the collar flat with an iron to create crisp edges.
- Attach the Collar to the Robe: Align the collar with the neckline of the robe, matching the center back of the collar with the center back of the robe. Pin or clip the collar in place, ensuring that it is evenly distributed around the neckline.
- Stitch the Collar: Starting at the center back, sew along the neckline, attaching the collar to the robe. Use a ¼ inch seam allowance and sew close to the edge of the collar.
- Finish the Seam: Trim any excess fabric from the collar seam and neaten the edges with a serger or a zigzag stitch. Press the seam towards the robe.
The collar adds a polished and professional touch to your spa robe. Take your time to sew the collar neatly and precisely, as it is a prominent feature of the garment.
Once the collar is securely attached, give it a final press with an iron to ensure that it lays flat and enhances the overall appearance of your spa robe.
Step 7: Adding Pockets
Adding pockets to your spa robe can provide a convenient and stylish feature for holding small items or simply resting your hands. Follow these steps to add pockets to your robe:
- Prepare the Pockets: Cut out two rectangular pieces of fabric for each pocket, ensuring they are of equal size. The dimensions will depend on your personal preference, but a common size is around 6-8 inches wide and 7-9 inches deep.
- Fold and Press: Take one pocket piece and fold the top edge down by ¼ inch and press with an iron. Repeat this step for the other pocket piece.
- Attach the Pockets: Position the pockets on the front panels of the robe where you want them to be placed. Ensure they are symmetrically aligned and at the desired height. Pin or clip the folded edges of the pockets onto the robe.
- Sew the Pockets: Starting from one side, sew along the folded edge of each pocket using a straight stitch. Sew across the bottom edge, making sure to reinforce the stitching at the beginning and end of each pocket.
- Finish the Seams: Trim the excess fabric from the bottom and sides of each pocket, leaving a ¼ inch seam allowance. Use a serger or a zigzag stitch to neaten the edges and prevent fraying.
- Press the Pockets: Press the pockets with an iron to ensure they lie flat and blend seamlessly with the robe. This will give them a polished and professional appearance.
Adding pockets to your spa robe not only adds practical functionality but also enhances its overall design. Make sure to position the pockets where they are easily accessible and comfortable to use.
Remember to take your time while sewing the pockets to ensure that they are securely attached and neatly finished. The pockets will serve as a functional and stylish element of your finished spa robe.
Step 8: Hemming the Robe
The final step in creating your spa robe is hemming the edges to give it a polished and finished look. Follow these steps to hem your robe:
- Prepare the Hem: Fold the raw edge of the robe’s hem up by ½ inch towards the wrong side of the fabric. Press the fold with an iron to create a crisp edge.
- Fold Again: Fold the pressed edge up by another ½ inch to enclose the raw edge completely. Press the fold with an iron to ensure it stays in place.
- Pin or Clip: To secure the hem in place, use pins or clips to hold the folded edge along the entire length of the hemline.
- Sew the Hem: Starting at one end of the hemline, stitch close to the inner folded edge using a straight stitch. Continue sewing all the way around the hem, removing pins or clips as you go.
- Finish the Seams: Once the hem is sewn, trim any excess fabric from the seam allowance and neaten the edges with a serger or a zigzag stitch.
- Press the Hem: To give your hem a professional finish, press it with an iron. This will ensure that it lies flat and looks clean.
Hemming the robe provides a clean and refined look, while also securing the fabric edges and preventing fraying. Taking the time to carefully hem your robe will contribute to its overall quality and longevity.
Once the hem is complete, give your spa robe one final press with an iron to remove any creases or wrinkles, and admire the finished product!
Step 9: Adding Finishing Touches
Now that your spa robe is nearly complete, it’s time to add the finishing touches that will make it truly unique and personalized to your taste. Consider the following additional elements to enhance your robe:
- Trim or Embellishments: Add decorative trims, such as lace, ribbon, or piping, along the collar, sleeves, or pocket edges. This can provide an extra touch of elegance and style to your robe.
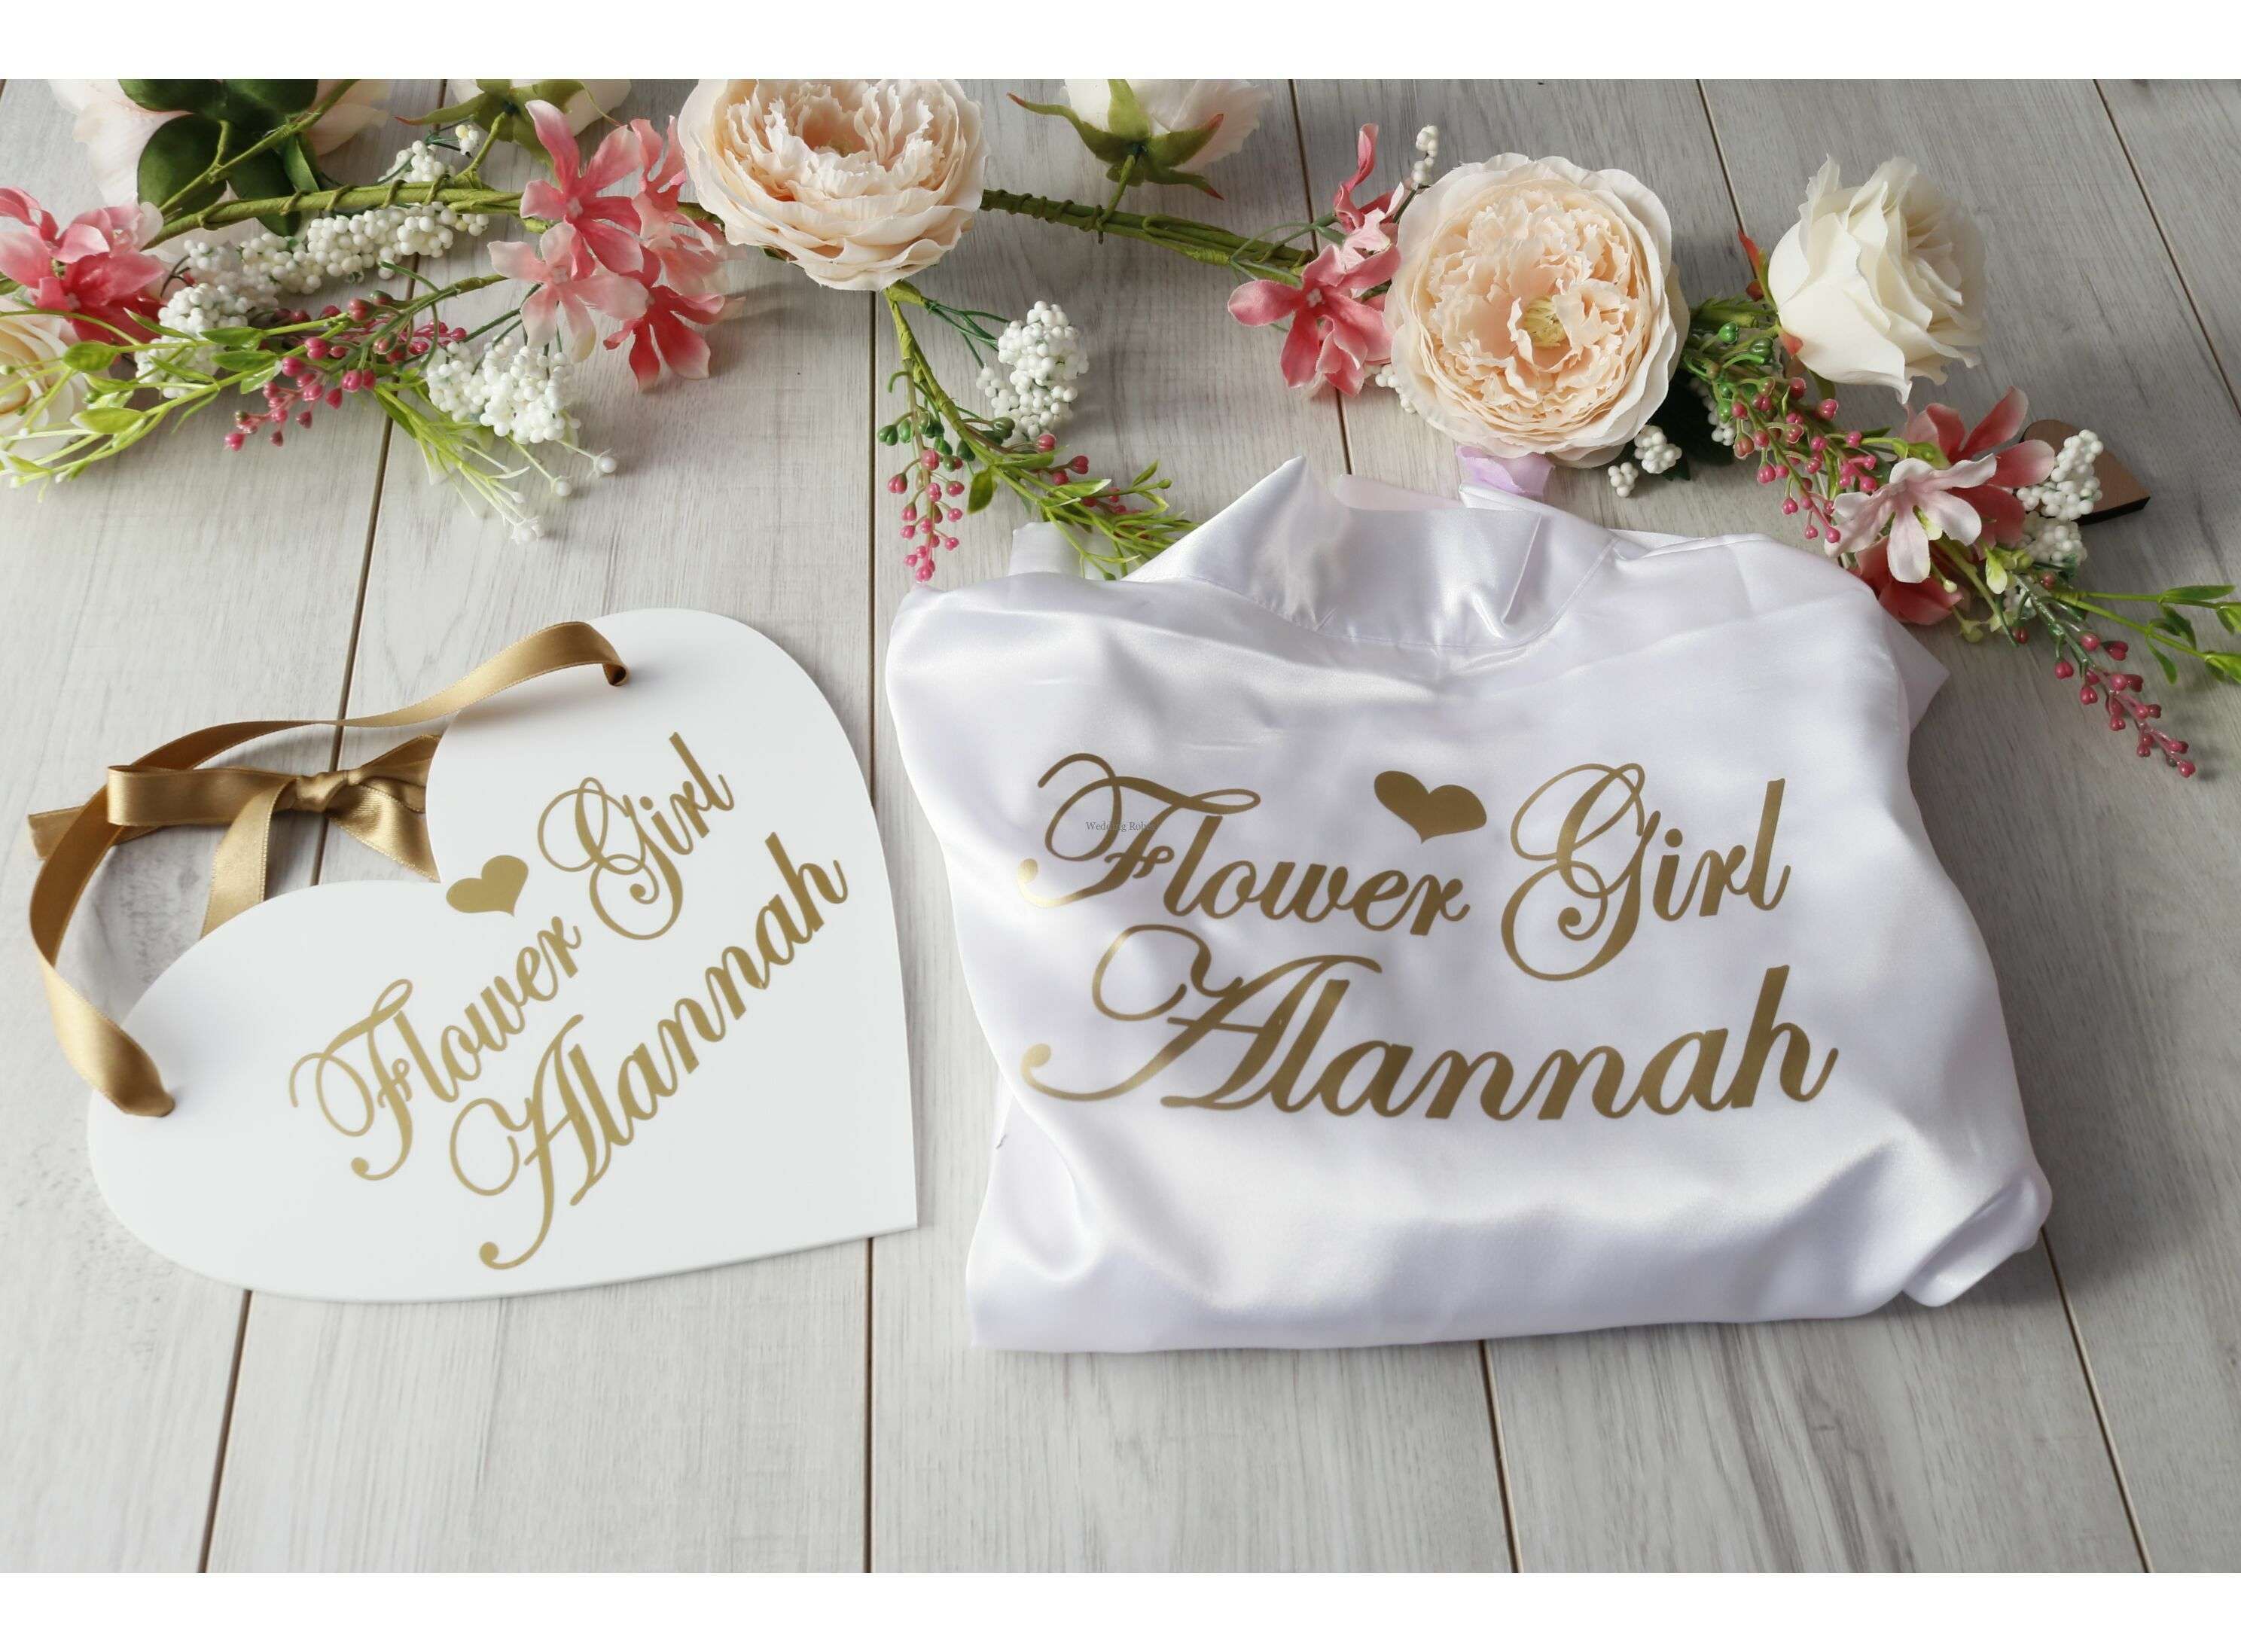
- Monogram or Embroidery: Personalize your spa robe by adding a monogram or embroidery of your initials or a design that holds special meaning to you. This adds a personalized and thoughtful detail.
- Buttons, Snaps, or Ties: Depending on your design preference, you can add buttons, snaps, or ties as closures for your robe. Choose options that complement the fabric and overall aesthetic.
- Contrasting Fabrics: If you want to add an extra pop of color or visual interest, consider incorporating contrasting fabrics for details like the collar, pocket lining, or belt.
- Custom Labels: For a professional touch, create or purchase custom labels to sew onto the inside of your robe. This adds a polished finish and can also serve as a reminder of your handmade creation.
These finishing touches are an opportunity to showcase your creativity and personal style. Choose elements that resonate with you and that will elevate the overall look and feel of your spa robe.
Take your time during this step to ensure that the additional details are securely attached and aligned properly. The finishing touches will make your spa robe truly one-of-a-kind and a reflection of your craftsmanship and personal touch.
Conclusion
Congratulations! You have successfully completed the steps to create your very own spa robe. By choosing the right fabric, taking accurate measurements, and following each stage of the sewing process, you have crafted a luxurious and personalized garment that is perfect for relaxing and unwinding.
Making a spa robe not only allows you to customize the design and fit to your preferences, but it also provides a creative outlet and a sense of accomplishment. Creating something with your own hands is a rewarding experience that can boost your confidence and spark your creativity.
Remember, this is just a guideline. Feel free to add your own personal touches and modifications to truly make the spa robe your own. Add embellishments, experiment with different fabrics or trimmings, and explore various closure options to create a robe that reflects your unique style.
Whether you’re making the spa robe for yourself or as a thoughtful gift for someone special, this project showcases the artistry of sewing and allows you to enjoy the comfort and relaxation that comes with owning a handmade garment.
So go ahead, slip into your newly created spa robe, and embrace the feeling of luxury and tranquility it brings. And don’t forget to share your creation with others, inspiring them to embark on their own creative journey.
Enjoy your new spa robe and happy sewing!