Home>How-to Guides>For All>How To Make A Hooded Robe
For All
How To Make A Hooded Robe
Modified: July 30, 2023
Discover how to make a versatile and stylish hooded robe for all occasions. Step-by-step instructions and expert tips included!
(Many of the links in this article redirect to a specific reviewed product. Your purchase of these products through affiliate links helps to generate commission for Under-tec.com, at no extra cost. Learn more)
Table of Contents
Introduction
Have you ever wanted to feel like a mysterious wizard or a powerful sorcerer? A hooded robe can instantly transform your appearance and transport you into a world of fantasy and magic. Whether you want to create a costume for a themed party or simply enjoy the cozy and comfortable feeling of wearing a hooded robe at home, making one yourself is a rewarding and fulfilling project.
In this article, we will guide you through the step-by-step process of making a hooded robe. We will provide you with the necessary materials, measurements, and sewing techniques to help you bring your vision to life. Whether you are an experienced seamstress or a beginner, this DIY project is well within your grasp.
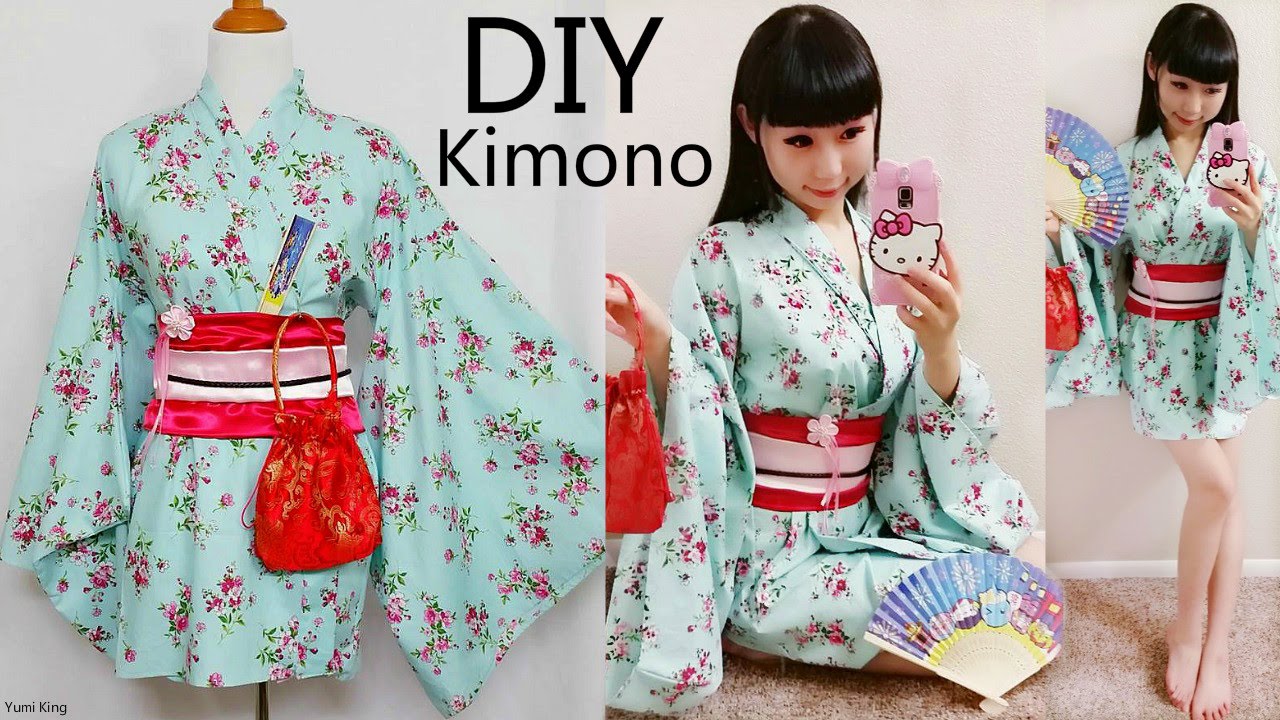
Not only will making your own hooded robe save you money, but it also allows you to customize the design and fit to suit your preferences. You can choose from a variety of fabrics, colors, and patterns to create a truly unique and personal garment. So, let’s dive in and learn how to create the perfect hooded robe that will make you feel like a mystical being.
Materials Needed
Before embarking on the journey to create your own hooded robe, let’s gather the necessary materials. Here’s a list of items you’ll need:
- Fabric: Choose a fabric that suits your desired style and purpose for the robe. A medium-weight fabric such as cotton or linen works well for a comfortable and versatile robe.
- Thread: Select a thread color that complements the fabric and blends well with the overall look of the robe.
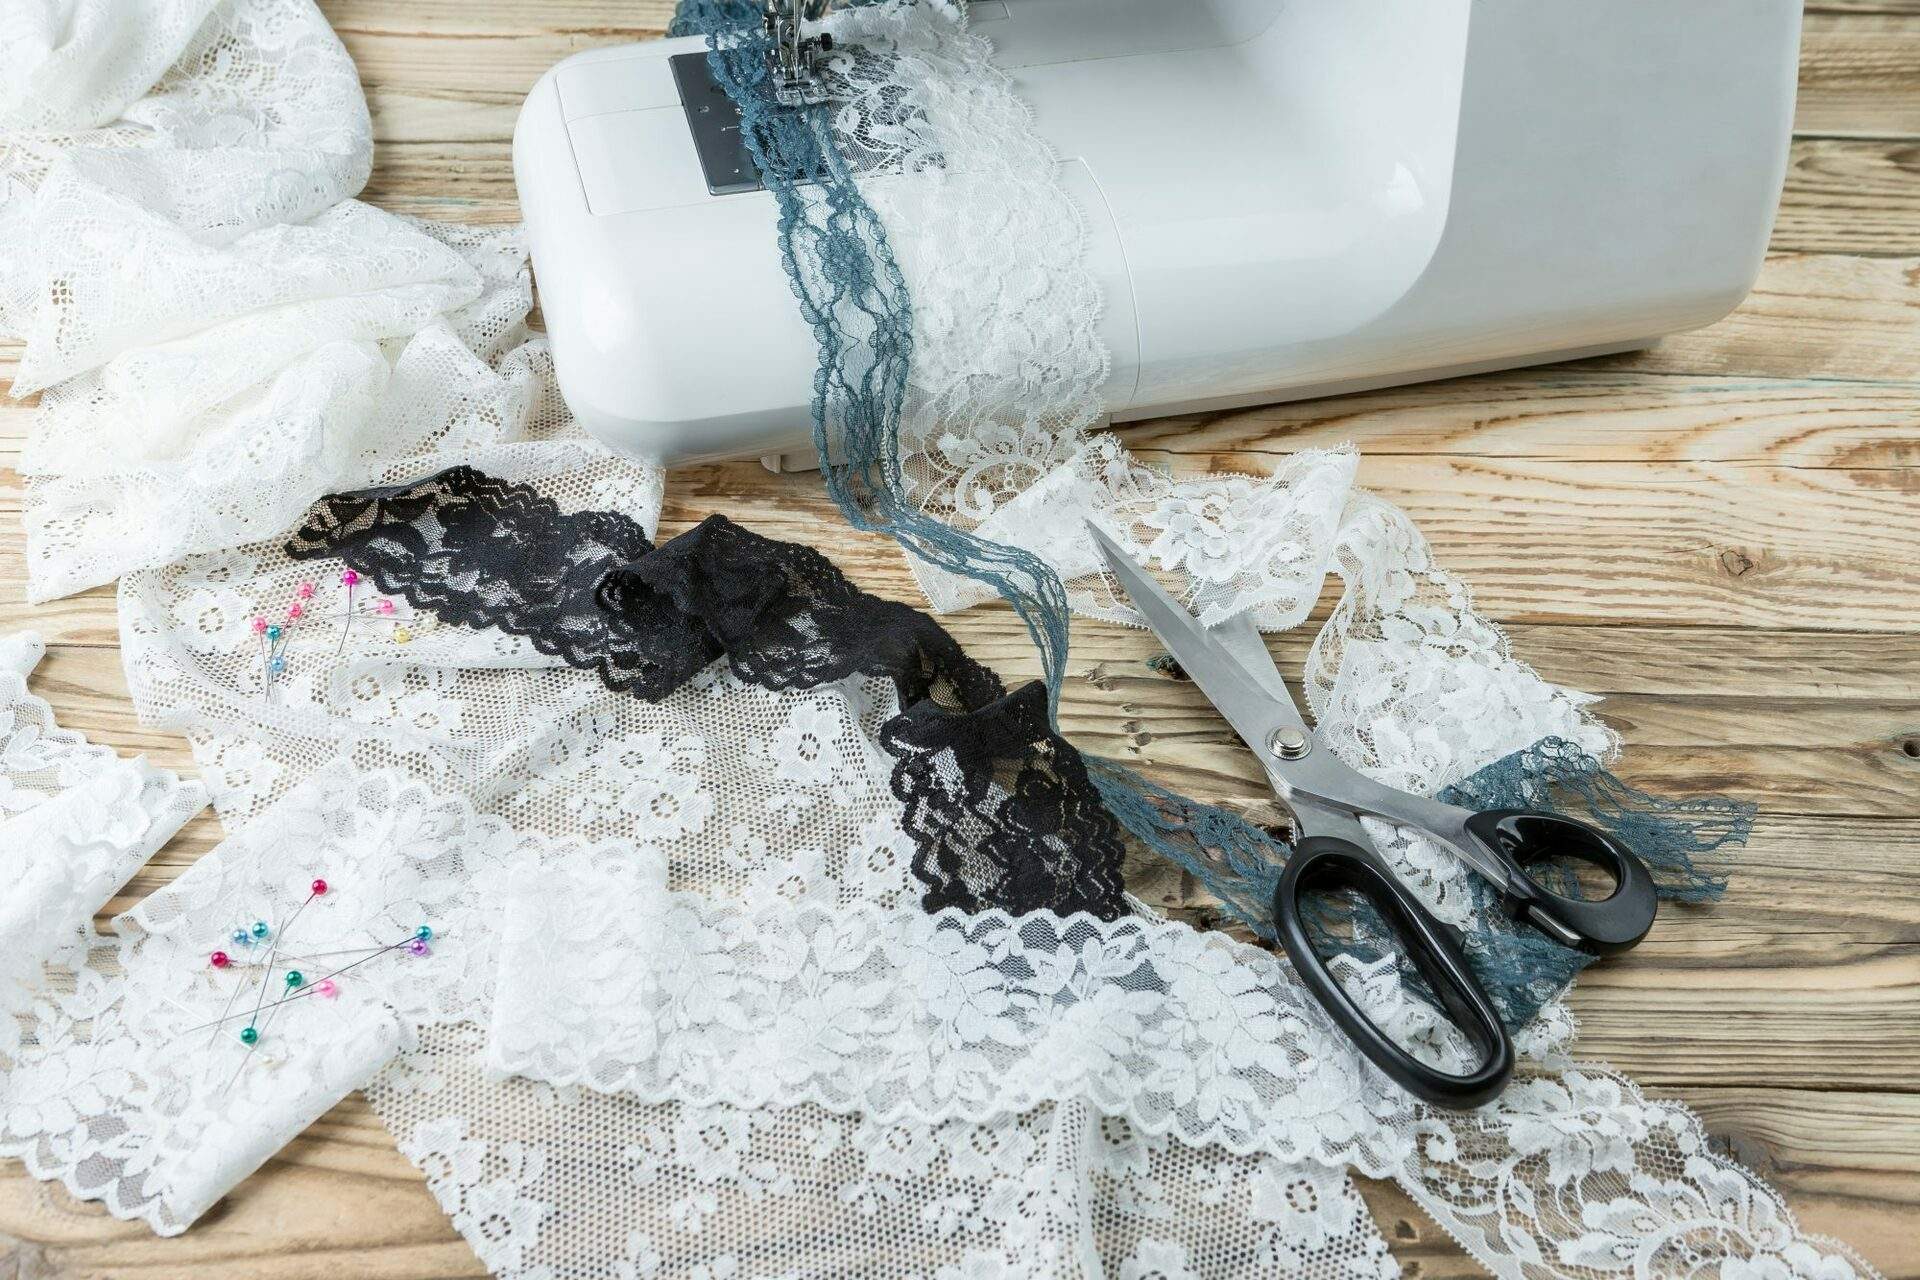
- Scissors: Make sure you have a sharp pair of fabric scissors for cutting the fabric smoothly and accurately.
- Pins: Pins are essential for holding the fabric pieces together during the sewing process.
- Sewing Machine: If you have access to a sewing machine, it will greatly speed up the process and ensure sturdy and professional-looking seams. However, hand-sewing is also a viable option if you don’t have a sewing machine.
- Measuring Tape: A measuring tape will help you take accurate measurements for a well-fitting robe.
- Iron: An iron is crucial for pressing and ironing the fabric, ensuring crisp and polished seams.
- Pattern or Template: If you prefer to use a pattern or template, make sure you have it ready before starting the project. You can either purchase a pattern online or create your own based on your desired style.
- Optional Embellishments: If you wish to add decorative elements to your hooded robe, you can gather additional materials like trims, buttons, or appliques.
Now that you have all the necessary materials, you’re ready to move on to the next step: choosing the fabric for your hooded robe.
Step 1: Choosing the Fabric
Choosing the right fabric is a crucial step in creating your perfect hooded robe. Consider the following factors when selecting your fabric:
- Weight: Opt for a fabric that has a medium weight and drapes nicely. This will ensure that the robe hangs well and feels comfortable when worn.
- Comfort: Since a hooded robe is typically worn for extended periods, prioritize comfort. Look for fabrics that are soft to the touch and breathable, such as cotton or linen.
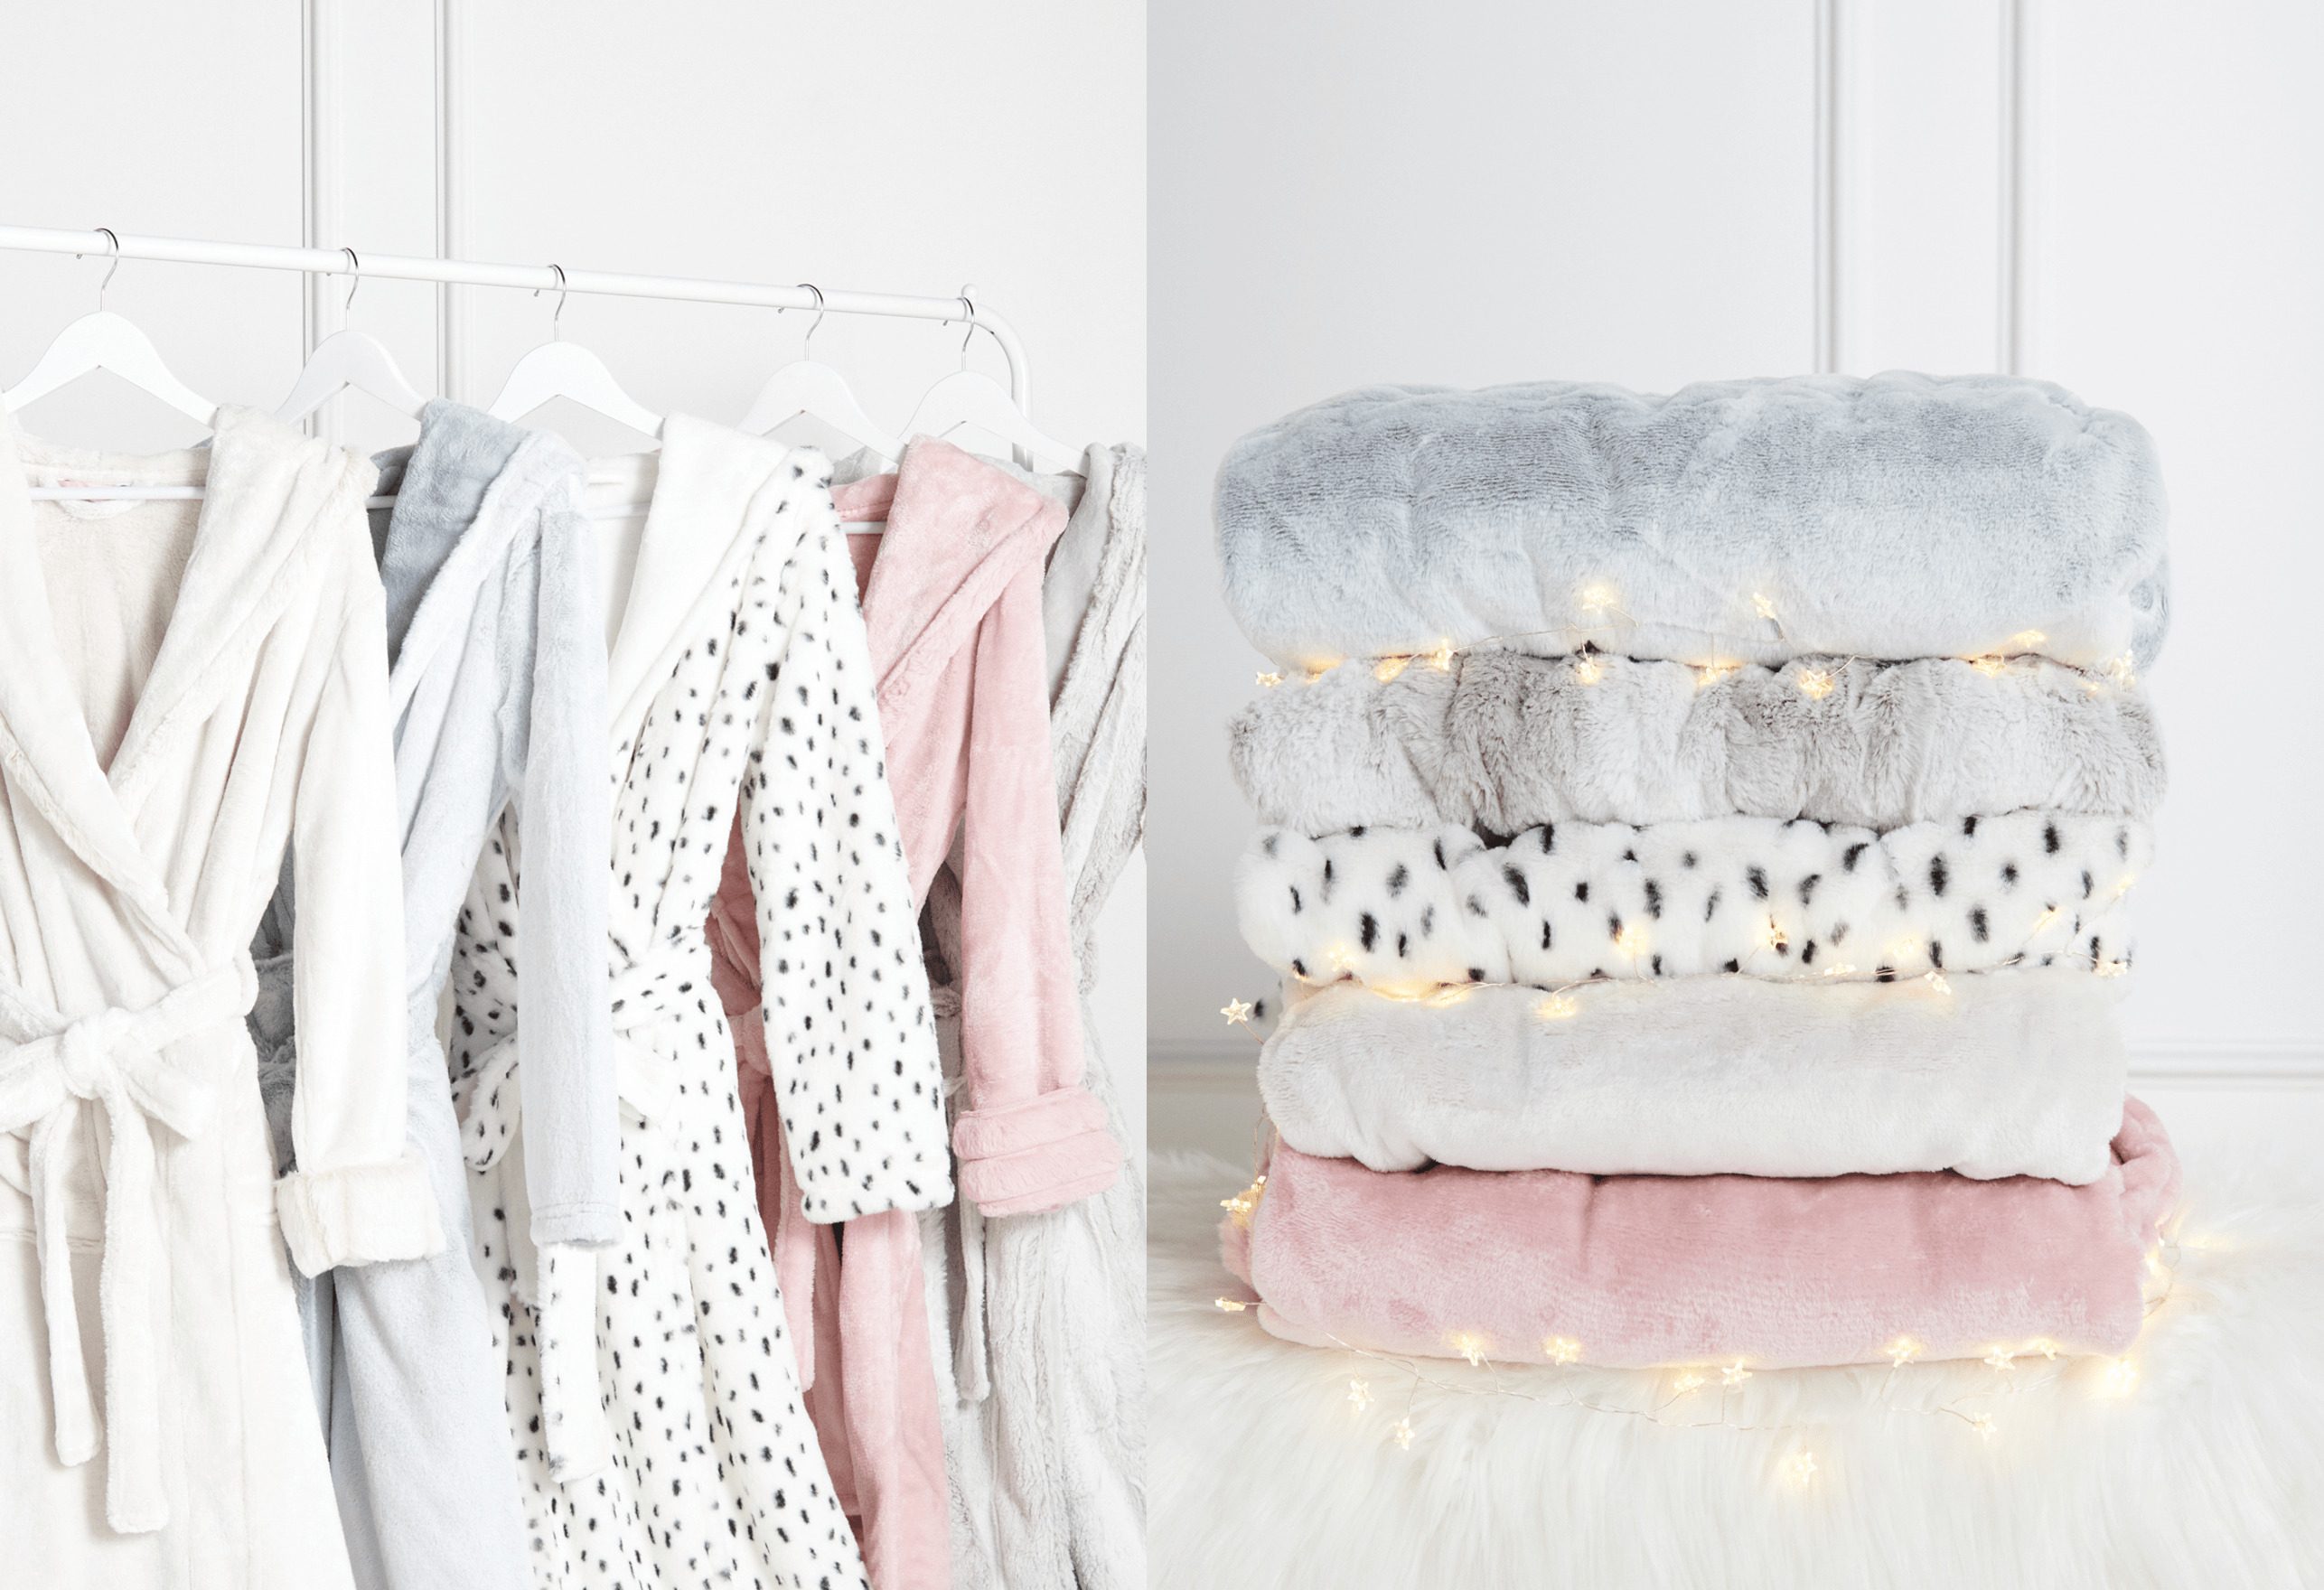
- Style: Consider the overall style and look you want to achieve. Solid colors provide a classic and versatile option, while patterns or prints can add a touch of personality. Choose a fabric that aligns with your desired aesthetic.
- Seasonality: Think about the climate and season when you’ll be wearing the robe. If it’s for cooler weather, consider fabrics like flannel or fleece for added warmth. For warmer seasons, lightweight and breathable fabrics, like cotton voile or rayon, are excellent choices.
- Maintenance: Consider the care instructions for the fabric you choose. Will it require special care, such as dry cleaning, or can it be easily machine washed and dried?
When purchasing the fabric, measure the required yardage based on your measurements and desired length for the robe. It’s always a good idea to buy a little extra fabric to account for any mistakes or adjustments you may need to make during the sewing process.
Remember, the fabric you choose will greatly impact the final look and feel of your hooded robe. Take your time exploring different options to find the perfect fabric that matches your vision.
Step 2: Taking Measurements
Accurate measurements are essential to ensure a well-fitting hooded robe. Follow these steps to take your measurements:
- Shoulder Width: Measure the distance between the outer edges of your shoulders. Place the measuring tape across the back, following the natural curve of your shoulders.
- Bust/Chest: Measure across the fullest part of your bust or chest, making sure the tape is parallel to the floor.
- Waist: Measure around the narrowest part of your waistline, typically located above your belly button and below your ribcage.
- Hip: Measure around the fullest part of your hips, ensuring the tape is parallel to the floor.
- Length: Determine the desired length of your robe. Measure from the base of your neck down to where you want the robe to end. Consider whether you want a shorter or longer robe, keeping in mind your personal preferences and comfort.
- Sleeve Length: Measure from the edge of your shoulder down to your desired sleeve length. Decide whether you want full-length sleeves or a shorter length.
- Hood Width: Measure the circumference of your head where the hood will sit comfortably. Ensure that the measurement is not too tight or too loose.
When taking measurements, it’s best to wear light clothing or undergarments that won’t significantly affect your measurements. It’s also helpful to have a friend or family member assist you to ensure accurate and consistent measurements.
Write down your measurements and refer to them when cutting the fabric and sewing the hooded robe. Keep in mind that you may need to make adjustments during the sewing process to achieve the perfect fit.
Now that you have your measurements ready, let’s move on to the next step: cutting the fabric for your hooded robe.
Step 3: Cutting the Fabric
Now that you have your measurements, it’s time to cut the fabric for your hooded robe. Follow these steps to ensure accurate cutting:
- Prepare the Fabric: Make sure your fabric is clean and free of any wrinkles. Iron it if necessary to create a smooth surface for cutting.
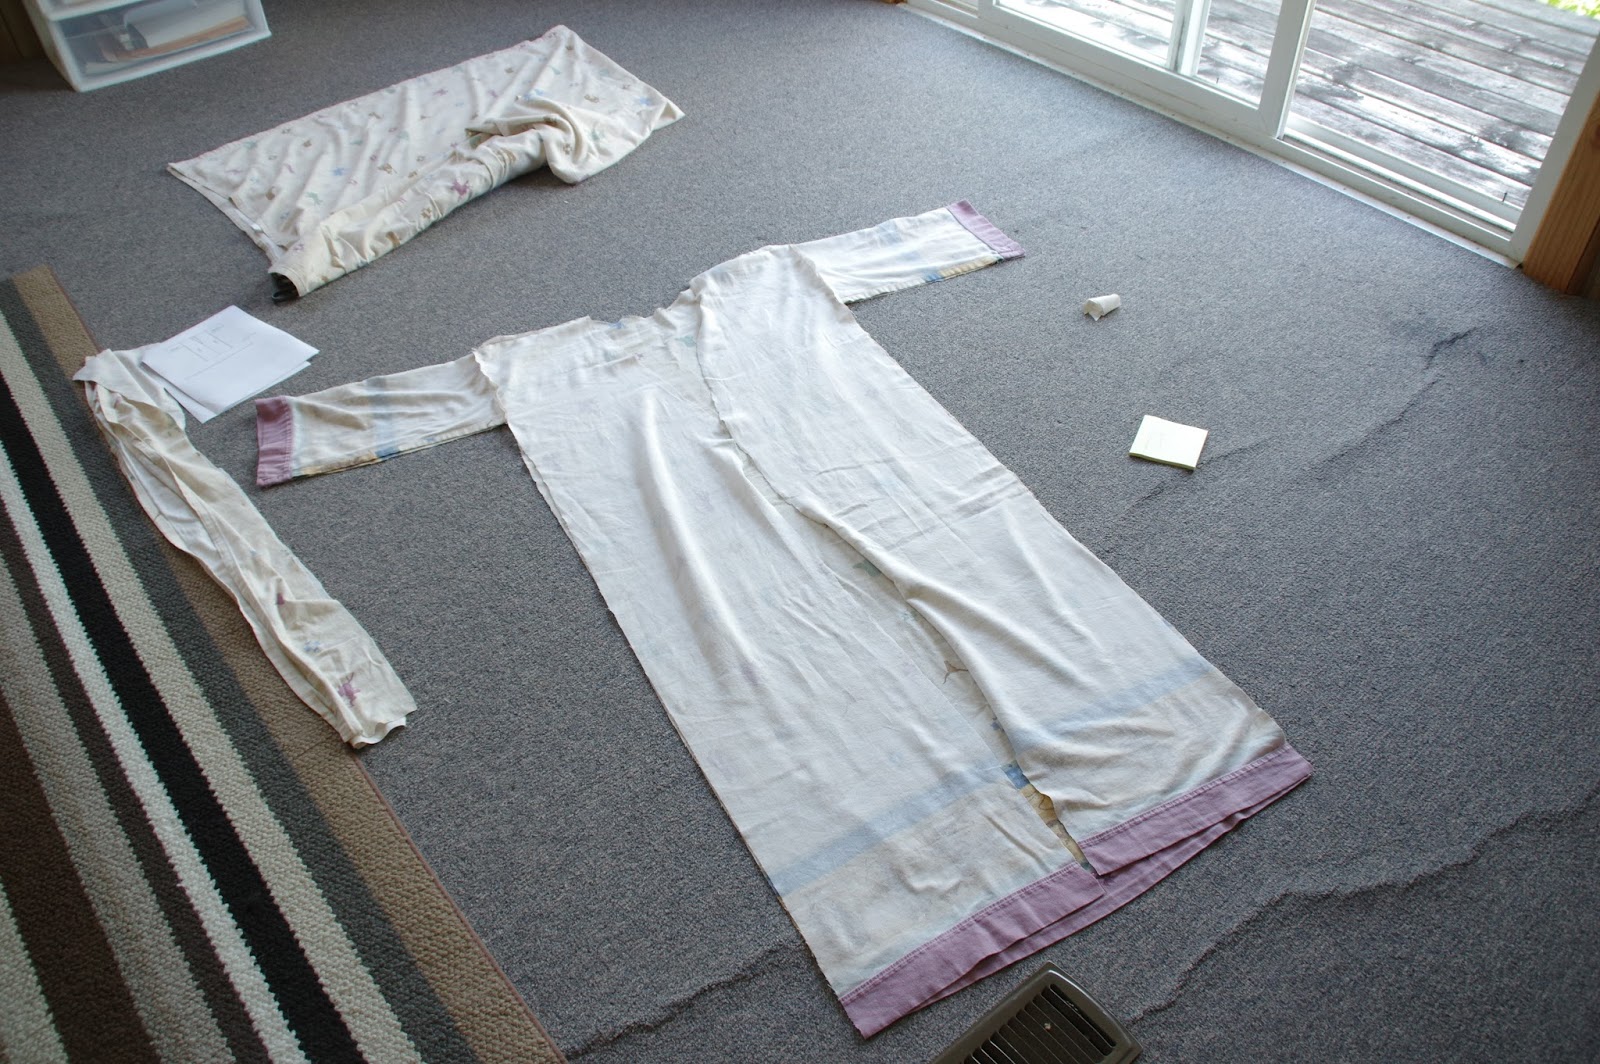
- Layout: Lay the fabric out flat on a large, clean workspace. If your fabric has a directional print or pattern, make sure it is facing the correct way.
- Pattern or Template: If you are using a pattern or template, pin it onto the fabric according to the instructions provided. Ensure that the pattern aligns with your desired measurements and style.
- Measurements: Using your measurements as a guide, mark the fabric with chalk or fabric marker to indicate the cutting lines. Use a ruler or measuring tape to ensure straight and accurate lines.
- Robe Body: Cut two identical pieces for the body of the robe, based on the length and width measurements you have determined. If desired, you can also cut a piece for the robe’s lining for added comfort and a clean finish on the inside.
- Hood: Cut one piece for the hood, using the measurements for the hood width and desired length. Remember to account for seam allowances.
- Sleeves: Cut two pieces for the sleeves, using your sleeve length measurement and the desired width for a comfortable fit.
- Optional Pockets or Trims: If you plan to add pockets or trims to your robe, cut the fabric pieces accordingly and mark the placement on the body of the robe.
During the cutting process, double-check your measurements and take your time to ensure clean and precise cuts. It’s always better to cut slightly bigger pieces as you can make adjustments during the sewing process if needed.
Once you have cut all the necessary pieces, you’re ready to move on to the next step: sewing the hood for your robe.
Step 4: Sewing the Hood
Now that you have cut the fabric for your hooded robe, it’s time to sew the hood. Follow these steps to create a cozy and functional hood:
- Prepare the Hood Pieces: Take the fabric piece you cut for the hood and fold it in half lengthwise, right sides together. Pin the edges together to secure them.
- Stitch the Side Seam: Using a straight stitch on your sewing machine or hand-sewing with a needle and thread, sew along the pinned side seam, leaving the folded edge open. This will create a long tube-like shape.
- Finish the Raw Edge: Using a serger or a zigzag stitch on your sewing machine, finish the raw edge of the hood to prevent fraying. If you don’t have a serger, you can also use pinking shears to trim the edge.
- Turn the Hood Right Side Out: Carefully pull the fabric through the open folded edge to turn the hood right side out. Use a chopstick or pencil to gently push out the corners and create a clean shape.
- Press the Hood: Use an iron to press the hood, removing any wrinkles and ensuring the seam is flat and well-defined.
- Attach the Hood to the Robe: With the hood right side out, place it on the neckline of one of the body fabric pieces, aligning the raw edges. Pin the hood in place, starting from the center back and working your way towards the front.
- Stitch the Hood to the Robe: Sew the hood to the body fabric using a straight stitch, securing the raw edges. Make sure to backstitch at the beginning and end of the seam for added durability.
Once you have completed sewing the hood, you can proceed to the next step: sewing the body of the robe.
Step 5: Sewing the Body of the Robe
With the hood securely attached, it’s time to sew the body of the robe. Follow these steps to create the main part of your hooded robe:
- Prepare the Robe Body Pieces: Take the two fabric pieces you cut for the body of the robe and place them right sides together. Pin the sides and the shoulder seams together.
- Stitch the Side Seams: Using a straight stitch on your sewing machine or hand-sewing with a needle and thread, sew the side seams together. Start from the bottom hem and stitch up to the underarm, ensuring the raw edges are aligned. Repeat this for both sides.
- Stitch the Shoulder Seams: Sew the shoulder seams together by aligning the raw edges and stitching from the neck down to the underarm. Remember to backstitch at the beginning and end of each seam for extra strength.
- Press the Seams: Use an iron to press open the side and shoulder seams, creating a clean and professional finish. This will also help the robe to lay flat when worn.
- Finish the Raw Edges: Use a serger or a zigzag stitch on your sewing machine to finish the raw edges of the side and shoulder seams. This will prevent fraying and ensure the durability of your robe.
- Create the Bottom Hem: Fold the bottom raw edge of the robe up by ½ inch (1.27 cm) and press. Then fold it up by another 1 inch (2.54 cm) and press again. Pin the hem in place and sew it using a straight stitch or a blind hem stitch, leaving a clean and neat finish.
- Optional: Add Pockets or Trims: If you want to add pockets or decorative trims to your robe, now is the time to do it. Cut out the fabric for the pockets or attach the trims following your desired design. Pin them in place and sew them securely onto the robe body.
- Try on the Robe: Once you have completed sewing the body of the robe, try it on to ensure the fit is satisfactory. Make any necessary adjustments to the length or overall fit before proceeding to the next step.
With the body of the robe complete, you’re almost done! The next step is to attach the hood to the robe, bringing your hooded robe project to life.
Step 6: Attaching the Hood to the Robe
Now that you have finished sewing the body of the robe, it’s time to attach the hood. This step will bring your hooded robe to its final form. Follow these steps to attach the hood to the robe:
- Prepare the Robe and Hood: Lay the robe flat with the right side facing up. Take the hood and ensure it is right side out as well.
- Align the Hood: Align the hood with the neckline of the robe, making sure that the center back seam of the hood matches the center back of the robe. Pin the raw edges together, distributing the fabric evenly for a smooth attachment.
- Pin the Sides: Starting from the center back, continue pinning the hood to the robe along the sides, towards the front. Make sure the fabric is flat and the raw edges are aligned throughout.
- Sew the Hood: Sew the hood to the robe using a straight stitch or a narrow zigzag stitch, depending on your preference. Begin stitching at the center back, backstitching to secure the seam, and continue towards the front. Take your time to sew it carefully, removing the pins as you go along.
- Finish the Raw Edges: Use a serger or a zigzag stitch on your sewing machine to finish the raw edges where the hood is attached to the robe. This will prevent fraying and provide a clean finish.
- Press the Seam: Press the seam where the hood is attached to the robe, using an iron on a low heat setting. This will flatten the seam and enhance the overall appearance of your hooded robe.
- Try On the Robe: Once the hood is attached, try on the robe to ensure that the fit is comfortable and the hood sits properly. Make any necessary adjustments, such as tightening or loosening the attachment, to achieve the desired fit and look.
Congratulations! You have successfully attached the hood to your robe. With the hood secured, it’s time to add the finishing touches to make your hooded robe uniquely yours.
Step 7: Adding Finishing Touches
Now that your hooded robe is almost complete, it’s time to add the final touches that will make it uniquely yours. Consider these optional steps to enhance the appearance and functionality of your robe:
- Add a Belt: If you prefer a more fitted look or want to cinch the waist, you can add a belt to your robe. Create a fabric belt using the leftover fabric or use a complementary ribbon or sash.
- Embellish with Trims: Add decorative trims to your robe for a touch of personal style. Consider lace trims, decorative ribbons, or contrasting fabric strips. Attach the trims to the robe’s sleeves, hood, or hemline to create visual interest.
- Create Pockets: Pockets can be both practical and stylish. Add patch pockets or in-seam pockets to your robe, based on your preference and sewing skills. They are perfect for keeping small items, such as a phone or remote, close at hand.
- Embroidery or Appliques: If you enjoy embroidery or applique work, you can use this opportunity to embellish your robe with personalized designs or patterns. It’s a creative way to make your hooded robe truly one-of-a-kind.
- Finish Internal Seams: To give your robe a professional finish, consider finishing the internal seams. You can use a serger, pinking shears, or bias tape to prevent fraying and create a clean and durable seam.
- Personalize with Monograms: Adding a monogram or initials to your robe can make it even more special. You can use embroidery techniques or applique to personalize your robe with your own unique mark.
- Final Pressing: Once you have added all the finishing touches, give your robe a final press. Use an iron on a low heat setting to eliminate any wrinkles and ensure your robe looks its best.
Remember, these finishing touches are optional, and you can tailor them to suit your personal style and preferences. The goal is to add those final details that make your hooded robe truly special and reflective of your own personality.
Now that you have completed the finishing touches, your hooded robe is ready to be worn and enjoyed. Put it on, embrace your inner wizard or sorcerer, and revel in the comfort and style of your self-made creation!
Conclusion
Congratulations on successfully creating your very own hooded robe! Through the step-by-step process outlined in this article, you have learned how to choose the perfect fabric, take accurate measurements, cut and sew the fabric pieces, attach the hood to the robe, and add the finishing touches to make your robe uniquely yours.
By making your own hooded robe, you have not only saved money but also unlocked the opportunity for customization and self-expression. The fabric choice, fit, and additional details such as trims, pockets, and monograms allow your robe to showcase your personal style and creativity.
Remember, sewing a hooded robe is a versatile project that can be enjoyed by both experienced seamstresses and beginners. With practice, you’ll continue to refine your skills and create even more intricate and remarkable garments.
A hooded robe offers endless possibilities. Whether you want to channel the mystique of a wizard, the allure of a sorceress, or simply embrace the cozy comfort of a hooded garment, your robe will transport you to a world of enchantment and imagination.
Now, go ahead and unleash your creativity as you embark on your next sewing project. Don’t be afraid to explore different fabrics, experiment with new designs, and let your imagination run wild. With each creation, you’ll gain confidence and satisfaction in the art of garment making.
So, put on your hooded robe, embrace the magic within you, and enjoy the warmth and comfort that comes with donning a garment made with your own hands. Happy sewing!