Home>How-to Guides>For Women>How To Make Your Own One Piece Swimsuit
For Women
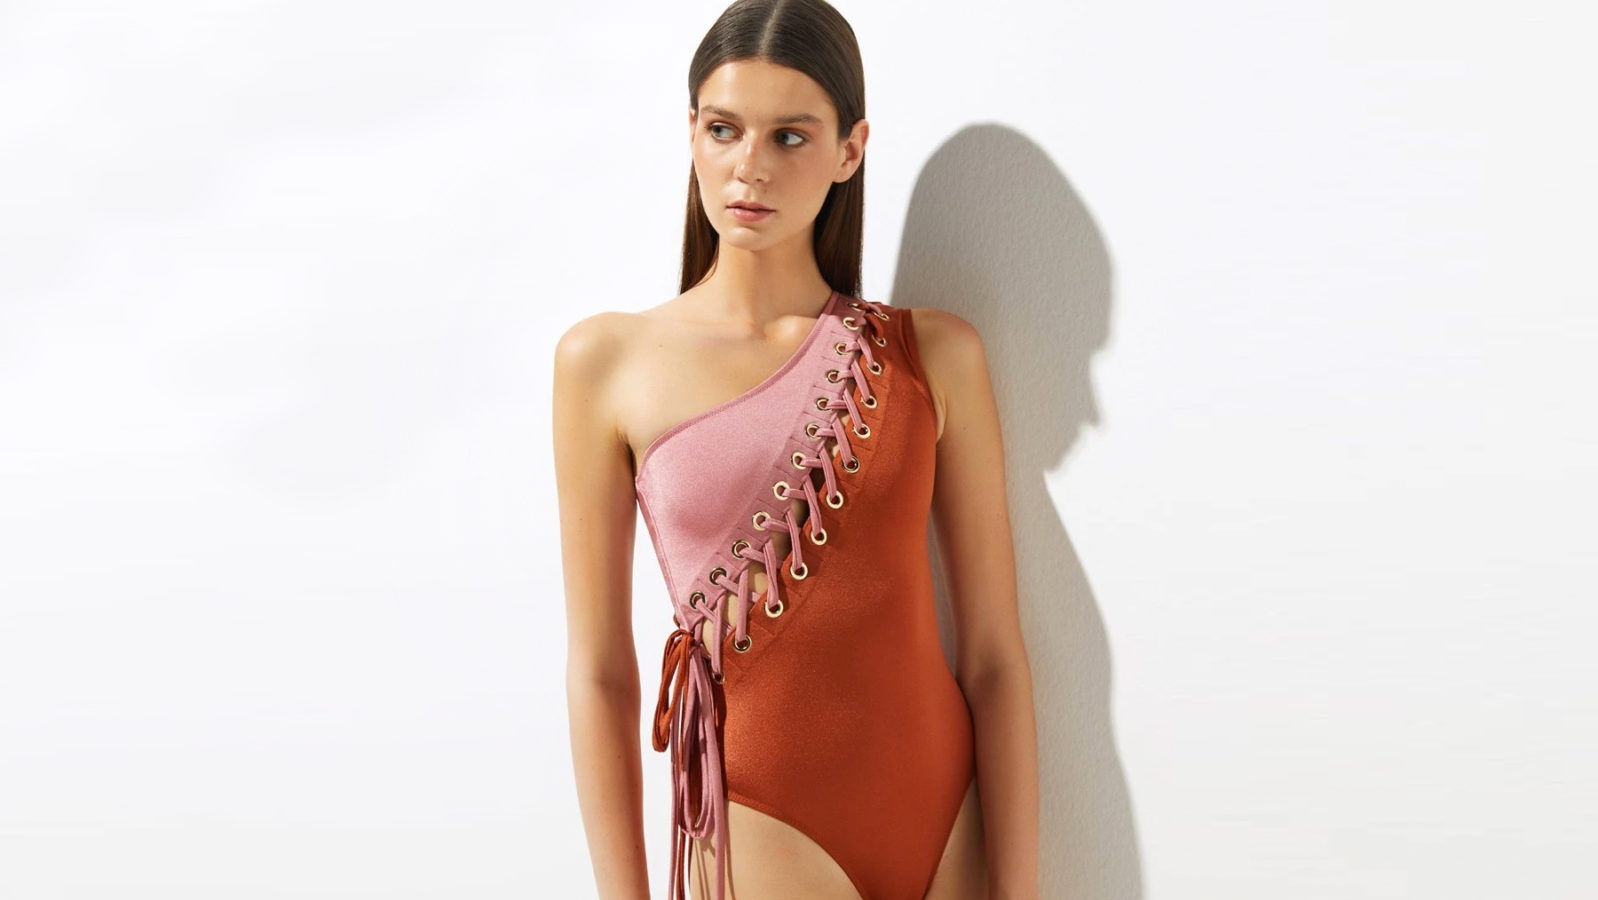
How To Make Your Own One Piece Swimsuit
Published: July 31, 2023
Discover the perfect one piece swimsuit for women and learn how to make your own. From design to stitching, find everything you need to create a stylish swimsuit that fits you perfectly.
(Many of the links in this article redirect to a specific reviewed product. Your purchase of these products through affiliate links helps to generate commission for Under-tec.com, at no extra cost. Learn more)
Table of Contents
Introduction
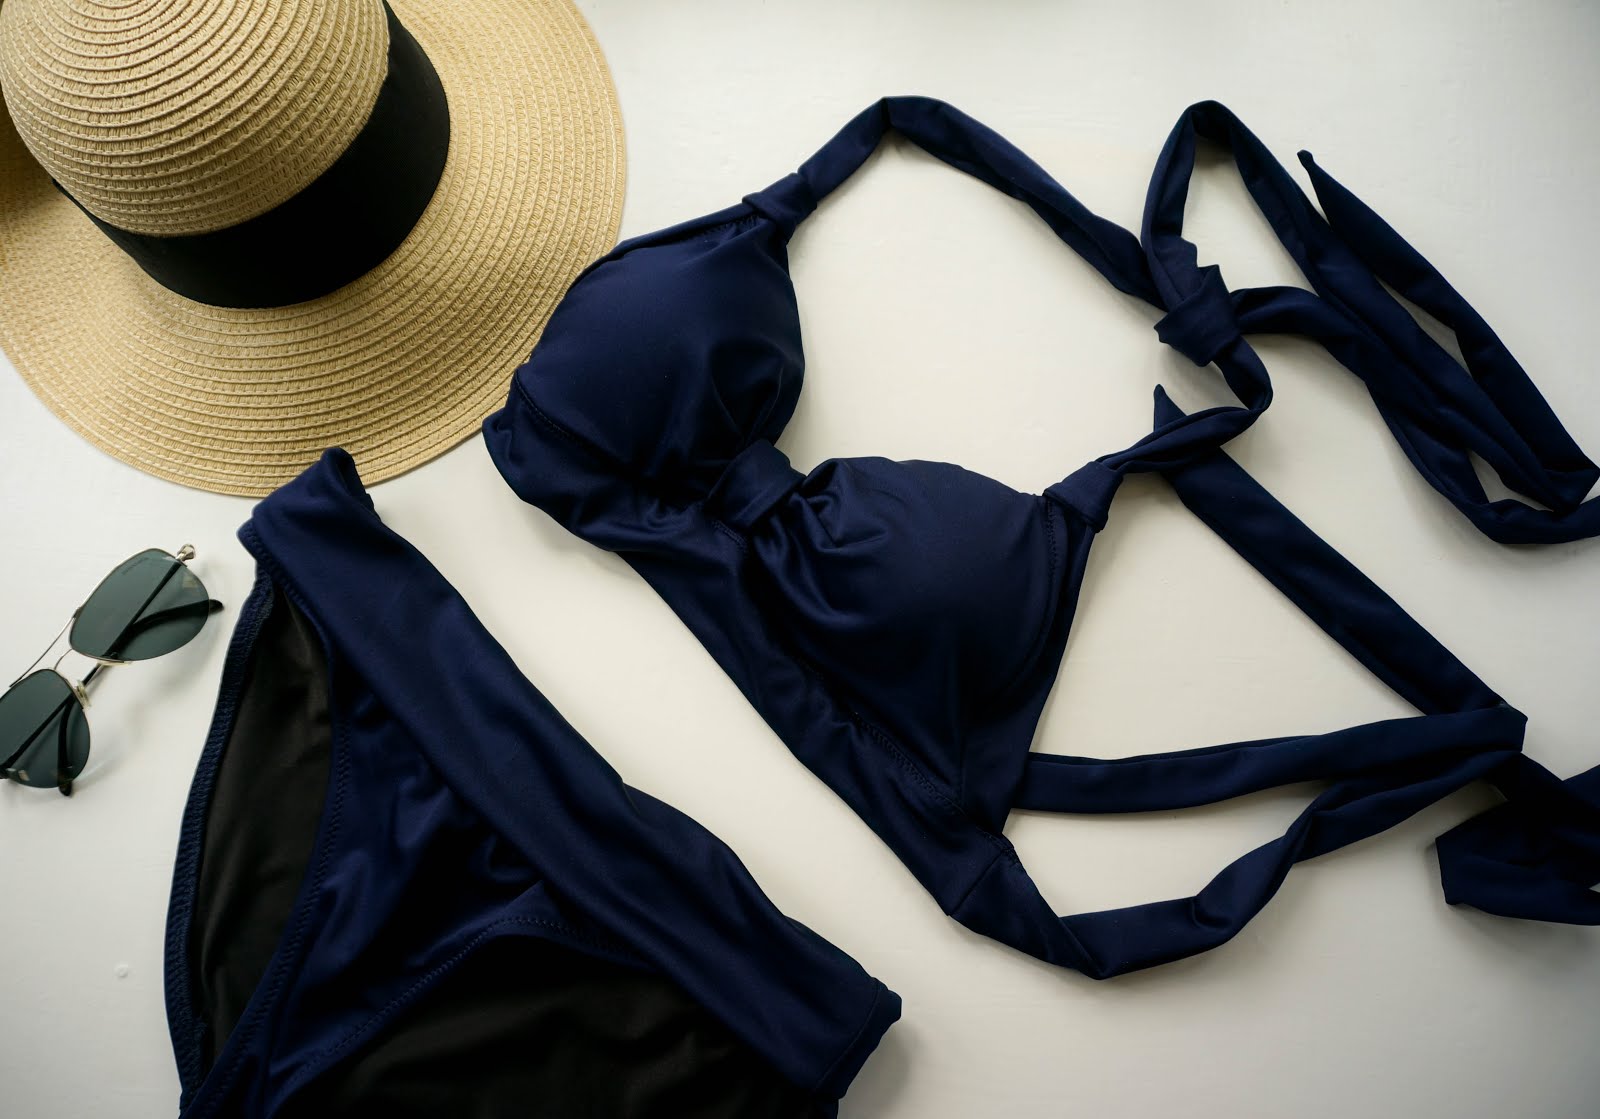
When it comes to beach fashion, a one-piece swimsuit is a timeless and sophisticated choice for women. Not only does it provide comfort and coverage, but it also exudes confidence and style. If you have a creative streak and love crafting your own wardrobe, why not try making your own one-piece swimsuit? Not only will this allow you to personalize the design to suit your taste, but it can also be a fun and rewarding project.
In this article, we will guide you through the steps to create your own one-piece swimsuit. Whether you’re a seasoned seamstress or a beginner, this DIY project can be accomplished with basic sewing skills and some patience. We’ll cover everything from selecting the right fabric and taking accurate measurements to sewing the main body, adding straps or a halter neckline, attaching elastic bands, and putting the final touches.
By making your own swimsuit, you have the freedom to choose the color, pattern, and style that perfectly reflects your personality. Not to mention, it can also be a cost-effective alternative to buying designer swimsuits. So, grab your sewing kit and let’s dive into the world of DIY swimwear!
Materials Needed
Before you embark on your DIY one-piece swimsuit project, gather the following materials:
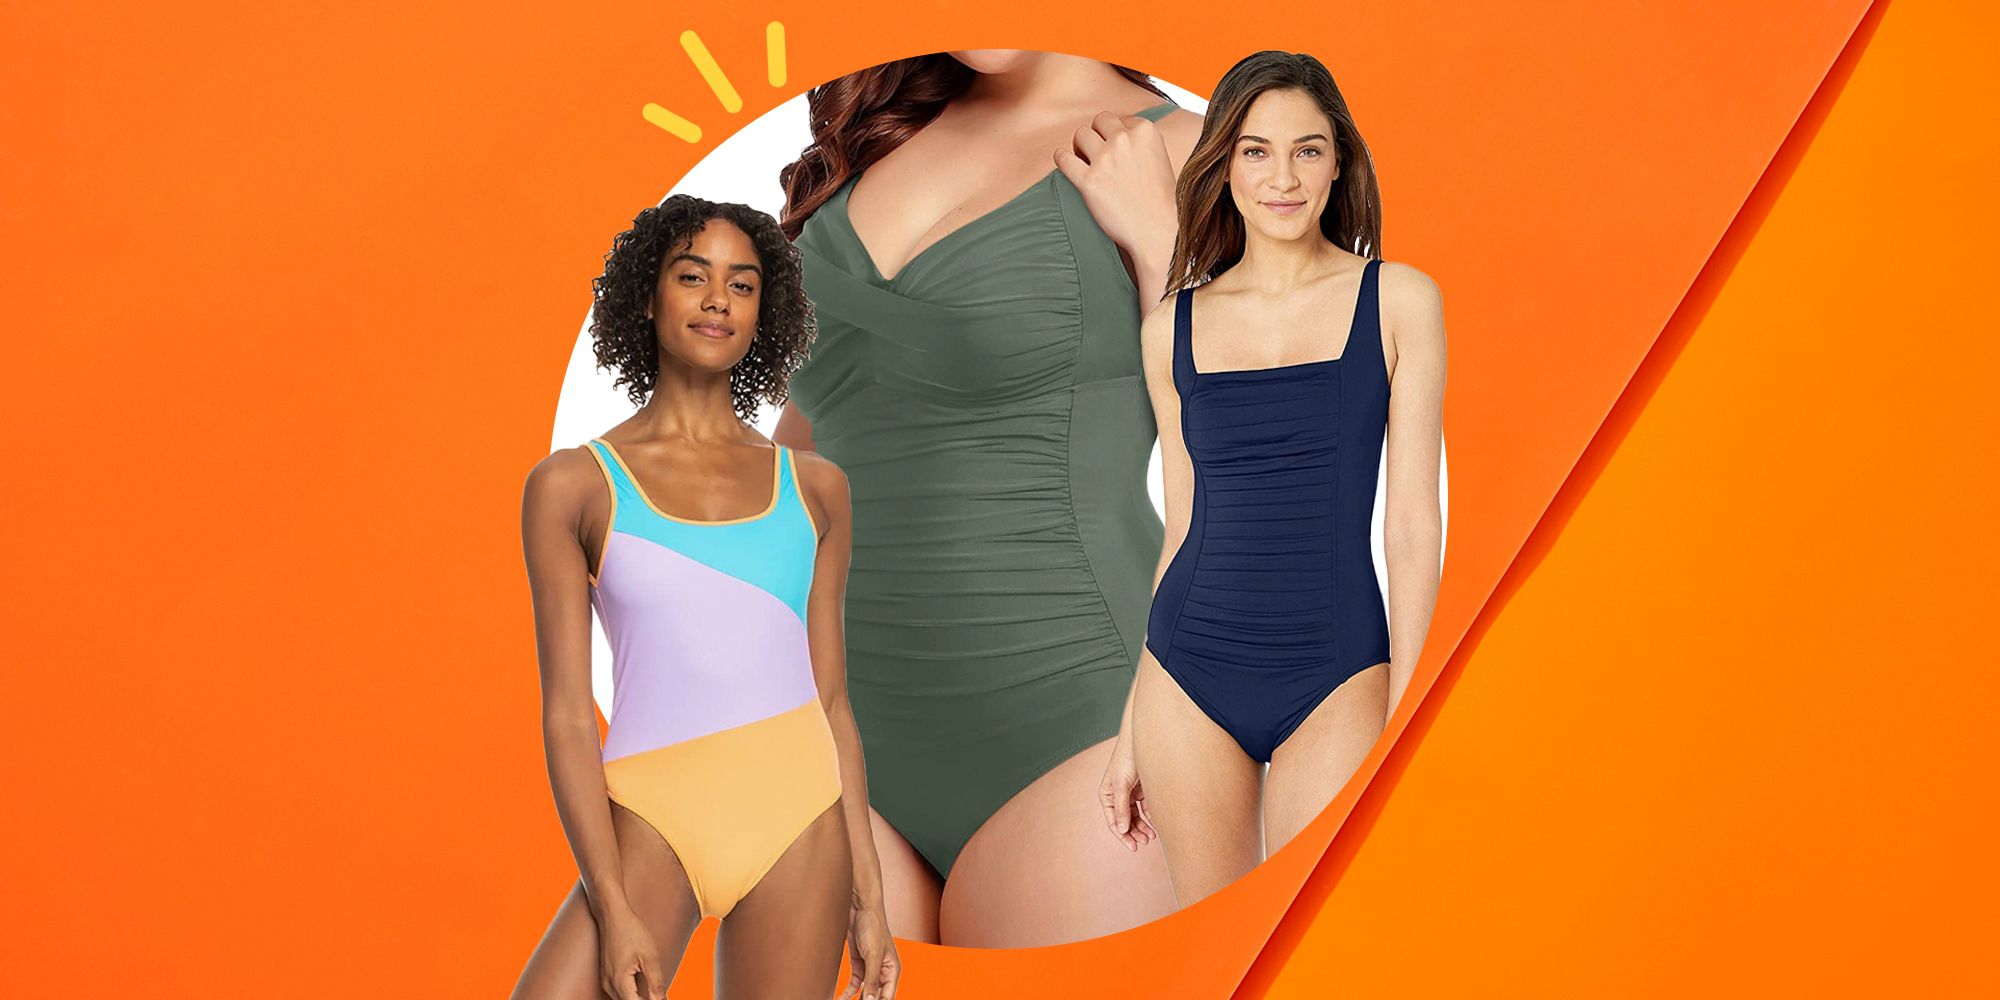
- Fabric: Choose a high-quality fabric that is suitable for swimwear. Look for fabrics with a good amount of stretch and recovery, such as nylon spandex or polyester spandex blends. Select a color or pattern that matches your style and preference.
- Pattern: You can either purchase a swimsuit pattern from a sewing store or find a free pattern online. Make sure the pattern includes the style you desire, such as a classic one-piece or a more modern cut. Ensure that it is in your size and comes with clear instructions.
- Lining Fabric: To ensure opacity and durability, use lining fabric specifically designed for swimwear. This will provide a comfortable and supportive layer against your skin.
- Elastic: Choose swimwear elastic that is designed to withstand exposure to water and chlorine. Opt for a width that matches the pattern’s requirements and provides a secure fit.
- Thread: Select high-quality thread that matches the color of your fabric. Polyester thread is a suitable choice, as it is durable and resistant to chlorine and UV rays.
- Swimsuit Hooks or Clasps: If your pattern calls for them, purchase swimsuit hooks or clasps for the back closure. These are typically made of plastic or metal and come in various sizes and styles.
- Swimsuit Cups or Padding: Depending on your preference, you may want to add swimsuit cups or padding to provide extra support and shaping. These can be purchased separately or salvaged from old swimsuits.
- Sewing Machine: Use a sewing machine that is equipped with a zigzag stitch and a ballpoint or stretch needle suitable for sewing knit fabrics.
- Fabric Scissors: Invest in a sharp pair of fabric scissors for precise cutting.
- Pins or Clips: Use pins or clips to hold the fabric layers together while sewing.
- Measuring Tape: A flexible measuring tape will help you accurately measure your body and the pattern pieces.
- Iron and Ironing Board: Pressing your fabric and seams is crucial for a polished finish.
With these materials at hand, you’re ready to embark on your DIY swimsuit journey! Remember to follow the pattern instructions and take your time to ensure a well-fitted and beautiful swimsuit.
Step 1: Choosing the Fabric
The fabric you choose for your one-piece swimsuit can greatly impact the overall look and feel of the finished garment. It is important to select a high-quality fabric that is specifically designed for swimwear, as swimwear fabrics offer the necessary stretch and recovery, as well as resistance to chlorine and UV rays. Here are a few factors to consider when choosing your fabric:
- Stretch and Recovery: Look for fabrics that have a good amount of stretch in both directions. This will ensure a comfortable and form-fitting swimsuit that moves with you. Additionally, the fabric should have good recovery, meaning it should bounce back to its original shape after being stretched.
- Opacity: To avoid any transparency issues when your swimsuit gets wet, choose a fabric that offers sufficient opacity. Double-check by holding the fabric up to the light or stretching it to see if it becomes sheer.
- Comfort: Consider the texture and feel of the fabric against your skin. You’ll want a fabric that is soft, smooth, and comfortable to wear for long periods of time.
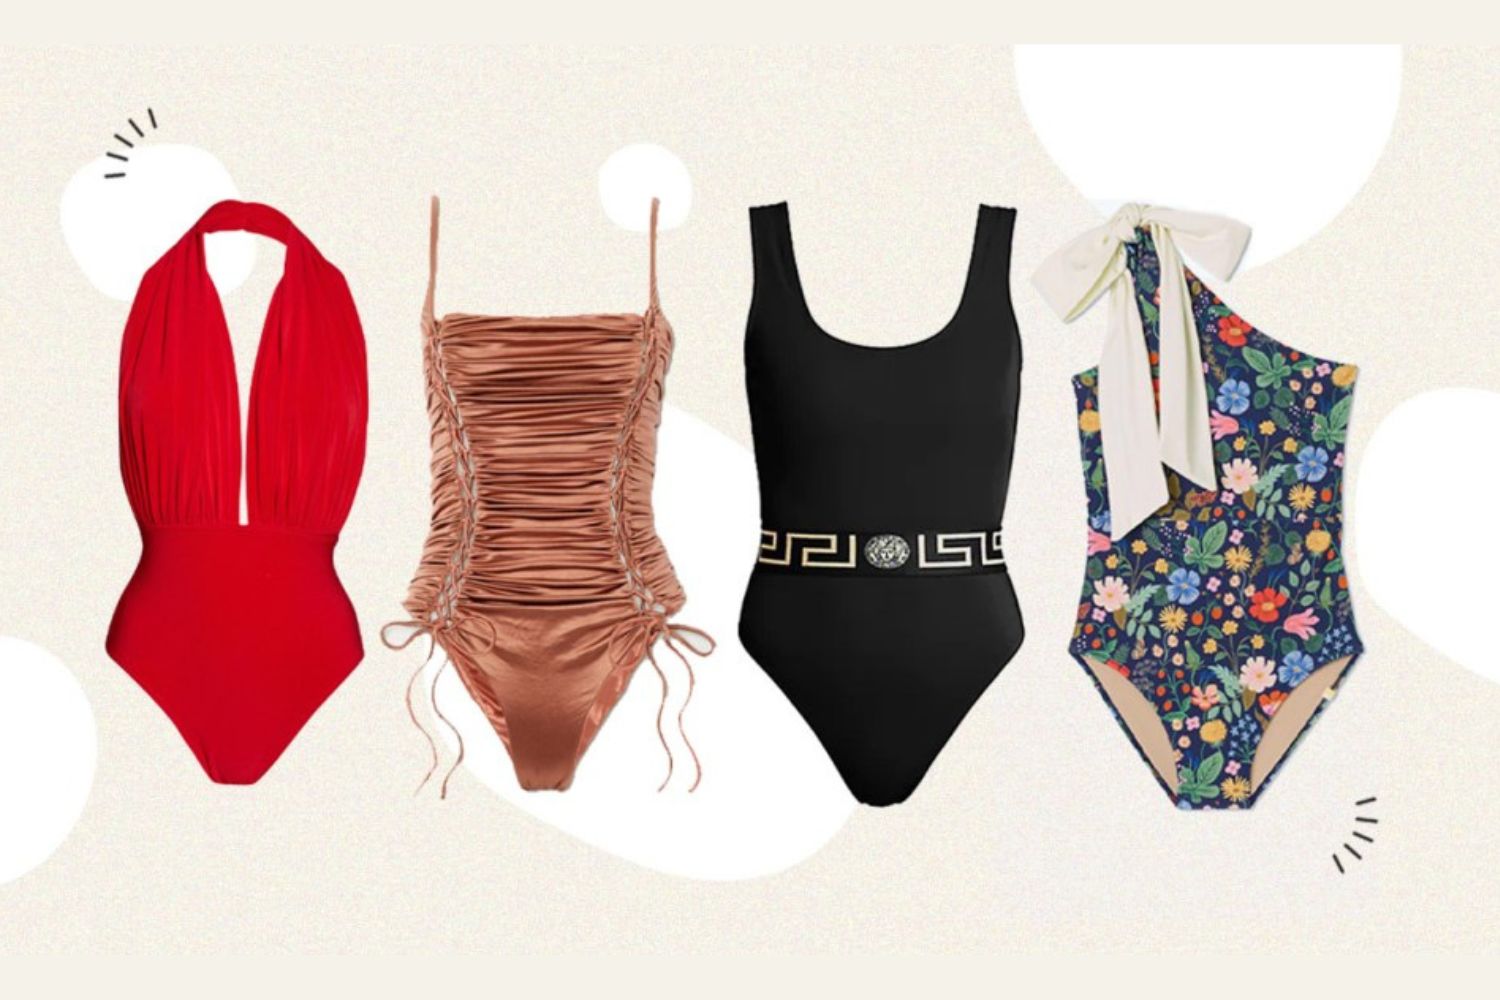
- Design and Print: The fabric you select can add a personal touch to your swimsuit. Choose a color or pattern that suits your style and makes you feel confident. Remember to consider how the design will look when stretched across your body.
- Durability: Since swimwear is exposed to harsh chemicals and UV rays, it is important to choose a fabric that is both durable and fade-resistant. Read the label or consult with a fabric specialist to ensure your fabric can withstand regular use in water.
When purchasing your fabric, it is recommended to buy a bit extra to allow for any mistakes or alterations during the sewing process. Having extra fabric on hand will also enable you to create matching accessories, such as a beach cover-up or swim bag.
Once you have chosen the perfect fabric for your one-piece swimsuit, you are ready to move on to the next step: taking accurate measurements!
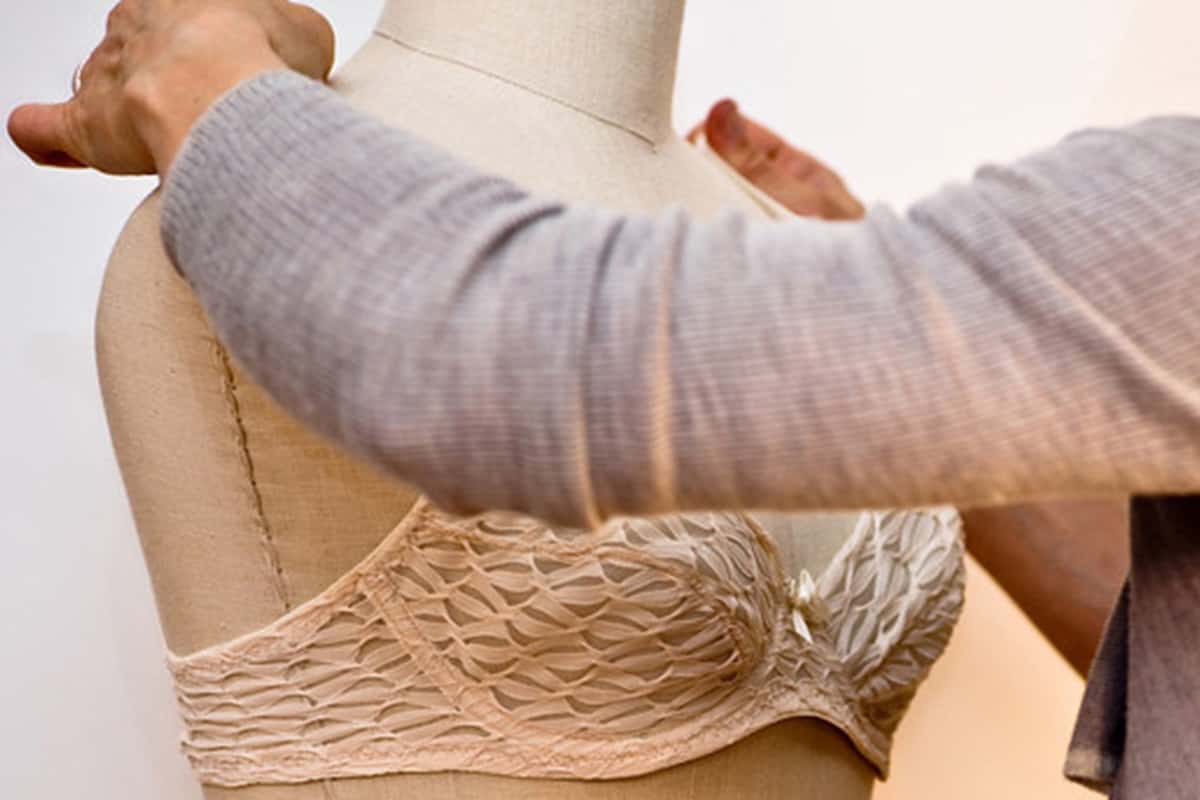
Step 2: Taking Measurements
Accurate measurements are crucial for creating a well-fitted one-piece swimsuit. By taking precise measurements of your body, you can ensure that the finished garment will fit you perfectly and provide the desired level of comfort and support. Here’s how you can take the necessary measurements:
- Bust: Measure around the fullest part of your bust, ensuring that the measuring tape is straight and not too tight or too loose.
- Waist: Measure around the smallest part of your waist, typically above your belly button and below your rib cage.
- Hip: Measure around the fullest part of your hips, taking care to keep the tape parallel to the ground.
- Torso Length: Measure from the high point of your shoulder, down the front of your body, and between your legs, ending at the top edge of the back waistline.
- Front and Back Torso: Measure from the high point of your shoulder, over the fullest part of your bust, down to the top edge of the back waistline. Repeat for both the front and back of your body.
- Crotch Length: Measure from the front waistline, between your legs, and up to the back waistline.
- Leg Opening: Measure around one of your thighs, just below your buttocks, to determine the desired size of the leg opening. This measurement will ensure a comfortable fit without being too tight.
When measuring, it’s important to keep the tape snug but not too tight. Avoid pulling it too loose as well, as this can result in an ill-fitting swimsuit. Take multiple measurements to ensure accuracy, and record your measurements on paper or in a digital format for easy reference.
It’s worth noting that different pattern brands may use different sizing systems, so always consult the specific pattern instructions for their recommended sizing and measurement charts to select the best size for your swimsuit.
Now that you have taken your accurate measurements, you are ready to move on to the next step: cutting the pattern pieces.
Step 3: Cutting the Pattern Pieces
Once you have chosen your fabric and taken accurate measurements, it’s time to cut out the pattern pieces for your one-piece swimsuit. Cutting the fabric accurately is crucial to ensure that all the pieces fit together smoothly and result in a well-fitting swimsuit. Here’s how you can cut the pattern pieces:
- Prepare Your Work Area: Set up a clean and spacious work area, preferably with a large cutting mat or a smooth surface that won’t snag the fabric. Clear away any obstacles to ensure accurate cutting.
- Read the Instructions: Carefully read through the pattern instructions to understand how the pattern pieces should be positioned on your fabric. Pay attention to any grainline markings, directional prints, or other design details.
- Prepare Your Fabric: Lay your fabric out flat on the cutting surface, ensuring that it’s free from wrinkles or folds. If necessary, iron the fabric on a low heat setting to remove any creases and create a smooth surface to work with.
- Pin or Weight the Pattern: Place the pattern pieces on top of your fabric, aligning them with the grainline or any other markings as indicated in the instructions. Secure the pattern pieces to the fabric either by pinning them in place or using pattern weights.
- Trace or Cut: Depending on the pattern and your preference, you can either trace around the pattern pieces onto the fabric using a fabric marker or tailors’ chalk, or you can cut directly along the pattern’s edges. Ensure smooth and precise cuts, following the lines accurately.
- Double Check: After cutting each piece, double-check that you have all the necessary pattern pieces and that they have been cut from the correct fabric. Organize the cut pieces in a way that makes sense to you, such as grouping them by body section.
Take your time when cutting the pattern pieces to ensure accuracy. It’s better to be cautious and slow down rather than rushing through this step and potentially making mistakes that can affect the final fit of your swimsuit.
With the pattern pieces cut, you’re now ready to move on to the next step: sewing the main body of your one-piece swimsuit.
Step 4: Sewing the Main Body
With your pattern pieces cut and ready, it’s time to sew the main body of your one-piece swimsuit. This step will bring your garment to life and shape the overall structure of the swimsuit. Follow these steps to sew the main body:
- Prepare Your Sewing Machine: Set up your sewing machine with a stretch or ballpoint needle and thread that matches the color of your fabric. Set the machine to a medium zigzag stitch, which will allow the seams to stretch without breaking.
- Pin or Clip the Pieces Together: Begin by pinning or clipping the back pieces of the swimsuit together, right sides facing each other. Use clips if you’re working with slippery or delicate fabric to avoid causing any damage.
- Sew the Back Seam: Starting at the top edge, sew along the back seam using a ⅜-inch (1 cm) seam allowance. Backstitch at the beginning and end of the seam to secure it. Press open the seam using an iron for a neat finish.
- Attach the Front Pieces: Pin or clip the front pieces to the back piece, right sides facing each other. Match the notches or markings to ensure proper alignment.
- Sew the Side Seams: Sew along the side seams of the swimsuit using the same seam allowance as before. Remember to backstitch at the beginning and end of each seam. Press open the side seams.
- Test the Fit: Try on the swimsuit at this stage to check the fit. If any adjustments need to be made, such as taking in the sides or adjusting the straps, now is the time to do so.
- Finishing the Neckline and Armholes: Depending on the design of your swimsuit, you may need to finish the neckline and armholes. This can be done by folding over the fabric along the edges and sewing a narrow hem or using a technique like binding or elastic casing.
Throughout the sewing process, it’s important to sew slowly and carefully, especially when working with stretchy fabrics. Take the time to match the seams and corners accurately to achieve a professional-looking finish.
Once you have completed sewing the main body of the swimsuit, you’re ready to move on to the next step: adding straps or a halter neckline to your creation.
Step 5: Adding Straps or Halter Neckline
Adding straps or a halter neckline to your one-piece swimsuit can enhance the style and provide additional support. Depending on your design preference, you can choose to add adjustable or fixed straps, or opt for a halter neckline for a classic and elegant look. Follow these steps to add straps or a halter neckline:
- Measure and Cut the Straps: If you are adding straps, measure and cut two strips of fabric according to the desired length and width. The width should be wide enough to provide support but narrow enough to be comfortable.
- Attach Adjustable Straps (Optional): If you prefer adjustable straps, sew plastic or metal strap sliders and rings to the ends of the fabric straps. This will allow you to easily adjust the length of the straps for a custom fit.
- Position the Straps or Halter Ties: Determine the placement of the straps or halter ties on the front and back of the swimsuit. Pin or clip the straps in place, ensuring they are evenly balanced and properly aligned with the neckline and back seams.
- Sew the Straps or Halter Ties: Sew the straps or halter ties securely to the swimsuit. Use a straight stitch or a sturdy zigzag stitch, depending on your fabric and desired style. Reinforce the attachment points by sewing back and forth a few times.
- Test the Fit and Adjustable Straps (if applicable): Try on the swimsuit to check the fit and adjust the straps or halter ties as needed. Make sure they are snug enough to provide support without causing discomfort.
When adding straps or a halter neckline, it’s important to ensure that they are securely attached to the swimsuit. Test their strength by gently pulling on them before wearing the swimsuit in the water to avoid any unexpected mishaps.
With the straps or halter neckline added, you’re one step closer to completing your one-piece swimsuit. The next step is to attach elastic bands for a secure and comfortable fit.
Step 6: Attaching Elastic Bands
To ensure a secure and comfortable fit, attaching elastic bands to your one-piece swimsuit is essential. Elastic bands help the swimsuit maintain its shape and provide support where needed. Follow these steps to attach the elastic bands:
- Measure and Cut the Elastic: Measure the areas of your swimsuit where you want to add elastic, such as the leg openings and the underbust area. Cut the elastic bands according to these measurements, making sure to leave a bit of extra length for overlapping.
- Prepare the Elastic: To prevent the elastic from stretching out while sewing, it is recommended to pre-tension it. This can be done by stretching the elastic gently and steaming it with an iron on a low heat setting.
- Mark the Placement: Use pins or fabric markers to mark the placement of the elastic bands on the wrong side of the swimsuit fabric. Make sure the marks are evenly spaced and aligned with the edges of the openings.
- Attach the Elastic: Starting at one end of the opening, align the edge of the elastic with the marked line on the fabric. Use a zigzag stitch to sew over the elastic while gently stretching it to match the length of the fabric. Stitch about ¼ inch (0.6 cm) away from the edge of the fabric.
- Overlap and Secure the Ends: When you reach the starting point, overlap the elastic by about ¼ inch (0.6 cm) and stitch over the overlapped area several times to secure it. Trim off any excess elastic.
- Repeat for Other Openings: Follow the same process to attach elastic to the remaining openings, such as the other leg opening or underbust area. Remember to stretch the elastic as you sew to prevent any puckering or waviness.
When attaching the elastic, make sure not to stretch it too much, as this can cause the fabric to gather or distort. It’s important to find a balance between a comfortable fit and providing enough tension to keep the swimsuit in place.
With the elastic bands attached, your one-piece swimsuit is almost complete. The next step is to hem the edges for a clean and polished finish.
Step 7: Hemming the Edges
Hemming the edges of your one-piece swimsuit will give it a finished and professional look. Hemming involves folding over the raw edges of the fabric and securing them in place. Follow these steps to hem the edges of your swimsuit:
- Prepare Your Sewing Machine: Set up your sewing machine with a narrow zigzag stitch or a stretch stitch. Ensure that the thread color matches your fabric.
- Fold Over the Fabric: Fold the raw edge of the fabric over to the inside by about ¼ inch (0.6 cm), and then fold it over again by the same amount. This will enclose the raw edge and create a clean finish.
- Pin or Clip the Folded Edge: Pin or clip the folded edge in place to hold it while you sew. Use clips for delicate or slippery fabric to avoid causing any damage.
- Sew the Hem: Starting at one end of the hem, sew close to the folded edge using a zigzag or stretch stitch. Continue sewing along the entire length, removing the pins or clips as you go.
- Backstitch and Trim: When you reach the end of the hem, backstitch a few stitches to secure the seam. Trim any excess thread or fabric.
- Repeat for Other Edges: Repeat the process for all the edges that require hemming, such as the leg openings and the neckline. Take your time and ensure that the hems are even and consistent.
When hemming stretchy fabrics, it’s important to use a stitch that allows the fabric to stretch without breaking the thread. Test your stitch on a scrap piece of fabric before starting to ensure that it provides the necessary stretch and durability.
Hemming the edges of your one-piece swimsuit adds a professional touch and helps prevent fraying. With the edges hemmed, your swimsuit is almost complete. The final step is to add any additional touches and make any necessary adjustments.
Step 8: Final Touches and Adjustments
With your one-piece swimsuit nearly complete, it’s time for the final touches and adjustments to ensure a perfect fit and polished appearance. Follow these steps to add the finishing touches to your handmade swimsuit:
- Try On the Swimsuit: Before making any final adjustments, try on the swimsuit to gauge the overall fit and comfort. Take note of any areas that feel too tight or loose and any design details that may require tweaking.
- Adjust Fit if Needed: If you find that the swimsuit needs any modifications for a better fit, make the necessary alterations. This could involve taking in or letting out certain seams, adjusting the strap length, or making minor changes to the neckline or leg openings.
- Check for Any Loose Threads: Examine the swimsuit for any loose threads or stray fabric that may have been missed during the sewing process. Use scissors to carefully trim any excess threads or fabric.
- Press the Swimsuit: Give your swimsuit a final press with an iron on a low heat setting. This will help smooth out any wrinkles and give the fabric a polished finish. Take care not to iron over any elastic areas.
- Try On Again and Assess the Look: Put on the swimsuit once more and assess how it looks and feels. Pay attention to the overall fit, the placement of straps or neckline details, and the appearance of the fabric. Make any final adjustments if necessary.
- Embellish (Optional): If desired, you can add embellishments to your swimsuit to personalize it further. This could include adding decorative trims, embroidery, or appliques. Ensure that any embellishments are securely attached and won’t cause discomfort during wear.
Take your time with the final touches and adjustments to ensure that your one-piece swimsuit meets your expectations. Making any necessary alterations and attending to minor details will ensure that you have a well-fitting and stylish garment that you can proudly wear to the beach or pool.
Once you are satisfied with the final result, your DIY one-piece swimsuit is ready to make a splash! Enjoy wearing your unique creation and feel confident in your handmade swimwear.
Conclusion
Congratulations on completing your journey to create a one-piece swimsuit from scratch! By following the steps outlined in this guide, you’ve learned how to choose the right fabric, take accurate measurements, cut the pattern pieces, sew the main body, add straps or a halter neckline, attach elastic bands, hem the edges, and make final adjustments. The result is a customized swimsuit that perfectly fits your style and body.
Creating your own swimsuit not only allows you to express your creativity and individuality, but it also gives you the satisfaction of wearing a handmade garment that is unique to you. Plus, making your swimsuit can be a cost-effective alternative to purchasing one from a store or designer.
Remember to take your time throughout the process, paying attention to details and ensuring that each step is executed with care. Sewing swimwear may seem daunting at first, but with practice and patience, you’ll become more confident and skilled.
Now that you’ve completed your one-piece swimsuit, why not consider making more swimwear pieces for yourself or even for friends and family? You can experiment with different patterns, fabrics, colors, and styles to expand your swimwear collection and have fun in the process.
So, head to the beach or pool with your handmade swimsuit and enjoy the sun, sand, and water while looking fabulous and feeling confident. Embrace the joy of DIY fashion and continue exploring your sewing skills in your quest for unique and stylish garments.