Home>How-to Guides>For Women>How To Fix Saggy One-Piece Swimsuit Bottoms

For Women
How To Fix Saggy One-Piece Swimsuit Bottoms
Modified: August 5, 2023
Discover simple tips and tricks for women on how to fix saggy one-piece swimsuit bottoms. Restore confidence and flatter your figure with easy adjustments.
(Many of the links in this article redirect to a specific reviewed product. Your purchase of these products through affiliate links helps to generate commission for Under-tec.com, at no extra cost. Learn more)
Table of Contents
Introduction
Are you frustrated with saggy one-piece swimsuit bottoms? Don’t worry, you’re not alone. It’s a common problem that many women face when their once-perfect swimsuit starts losing its shape and support. But fear not, as there are several solutions to fix this issue and restore your swimsuit’s shape and functionality.
A saggy swimsuit bottom not only affects your confidence but can also impact your comfort while enjoying a day at the beach or pool. Whether it’s due to repetitive use, poor quality elastic, or improper care, sagging can occur over time. However, with a little bit of effort and some simple techniques, you can revitalize your one-piece swimsuit bottoms and get them back to their original form.
In this article, we will discuss various methods to fix saggy one-piece swimsuit bottoms. From understanding the causes of sagging to exploring washing and drying techniques, reinforcing the elastic, adding a drawstring or tie, altering the swimsuit bottom, and even buying a new one, we will cover all the options available to you. By following these tips and tricks, you can regain the confidence and comfort you deserve in your swimwear.
So, if you’re ready to say goodbye to saggy swimsuit bottoms and hello to a perfectly fitting one-piece, let’s dive into the steps you can take to revive your favorite swimwear. Don’t let saggy bottoms hold you back from enjoying your time in the sun. With these solutions, you’ll be rocking your swimsuit with confidence in no time.
Understanding the Causes of Saggy One-Piece Swimsuit Bottoms
Before we jump into fixing the problem, it’s essential to understand the reasons behind saggy one-piece swimsuit bottoms. By identifying the causes, you can take preventive measures to avoid future sagging and choose the right approach to restore your swimwear’s shape and support.
One common cause of saggy swimsuit bottoms is repetitive use and wear. Over time, the elastic in the swimsuit can lose its elasticity and stretch out, resulting in a less secure fit. Additionally, the fabric itself may start to wear out, further exacerbating the sagging issue.
Another cause is poor quality elastic. Not all swimsuits are made equal, and some may have lower quality elastic that degrades faster or isn’t as effective at providing the necessary support. When purchasing a one-piece swimsuit, it’s crucial to choose a brand or style known for its durability and use of high-quality materials.
Improper care can also contribute to saggy swimwear bottoms. Harsh detergents, excessive heat, and improper drying techniques can damage the fabric and elastic, leading to a loss of shape. It’s important to follow the manufacturer’s care instructions to maintain the integrity of your swimsuit.
Body shape and fit can also play a role in the sagging of one-piece swimsuit bottoms. Different body types and sizes may put more strain on the elastic, causing it to stretch out faster. Additionally, if the swimsuit doesn’t have a snug fit or lacks adjustable features, it may be more prone to sagging.
Now that we have a better understanding of the causes of saggy one-piece swimsuit bottoms, we can move on to the next steps of assessing the damage and finding the most suitable solutions. Remember, taking preventive measures and choosing the right swimsuit can go a long way in avoiding future sagging issues.
Assessing the Damage
Once you’ve recognized that your one-piece swimsuit bottoms are sagging, the next step is to assess the extent of the damage. This will help you determine the most appropriate course of action to fix the problem.
Start by examining the elastic of the swimsuit. Is it visibly stretched out or loose? Is the fabric around the elastic showing signs of wear or thinning? Take note of any specific areas where the sagging is more pronounced, as this will guide your repairs or alterations.
Next, try on the swimsuit and pay attention to how it fits. Does it feel loose or baggy around the bottom? Are there any areas where the elastic is not providing enough support? Take note of these observations to address them later.
It’s also essential to consider how much you value the swimsuit. If it’s an inexpensive one-off purchase, you may be more inclined to replace it with a new one. However, if it’s a high-quality or sentimental piece, you might be more motivated to invest time and effort into repairs.
By assessing the damage, you’ll have a better understanding of the specific issues you need to address and can make an informed decision about the best approach to take. Whether it’s simple fixes like reinforcing the elastic or more involved alterations, knowing the extent of the damage will guide you in restoring your one-piece swimsuit bottoms to their former glory.
Washing and Drying Techniques
Proper washing and drying techniques play a crucial role in maintaining the elasticity and shape of your one-piece swimsuit bottoms. By following these steps, you can help prevent sagging and keep your swimwear looking its best.
Firstly, always wash your swimsuit by hand. Avoid tossing it into the washing machine, as the agitation can stretch out the elastic and damage the fabric. Fill a basin or sink with lukewarm water and add a mild detergent specifically designed for delicate fabrics. Gently swish the swimsuit around in the water for a few minutes, making sure to clean both the inside and outside of the garment.
After rinsing the swimsuit, carefully squeeze out excess water. Avoid wringing or twisting the fabric, as this can stress the elastic. Lay a clean towel flat on a surface and place the swimsuit on top. Roll up the towel, pressing down gently to absorb more moisture. This step helps speed up the drying process and prevents the swimsuit from becoming too heavy, which can lead to sagging.
Once you’ve removed as much moisture as possible, hang the swimsuit to dry. Find a well-ventilated area away from direct sunlight or heat sources. Avoid using a clothesline, as it can cause the weight of the wet swimsuit to stretch out the elastic. Instead, use a sturdy plastic or wooden hanger with clips to hang the swimsuit by the straps or waistband. This allows for even air circulation and helps the swimsuit retain its shape.
It’s important to note that using a dryer is not recommended for swimsuits. The high heat can damage the elastic and cause the fabric to shrink or become misshapen. Additionally, avoid leaving your swimsuit to dry for an extended period, as this can weaken the elastic over time.
By following these washing and drying techniques, you can extend the lifespan of your one-piece swimsuit bottoms and minimize the risk of sagging. Proper care and attention will keep your swimwear looking great, so you can confidently enjoy your time in the water without worrying about a droopy bottom.
Reinforcing the Elastic
If your one-piece swimsuit bottoms have saggy elastic, one effective way to fix the problem is by reinforcing it. Strengthening the elastic will provide better support and help restore the shape of your swimwear. Here are a few methods you can try:
1. Replace the elastic: If the elastic is severely stretched out or damaged, consider replacing it. Look for elastic specifically designed for swimwear and cut a length that matches the original elastic. Carefully remove the old elastic and sew the new one in its place, making sure to securely attach it to the swimsuit. This method may require some sewing skills but can result in a significant improvement.
2. Sew through the existing elastic: If the elastic is still in good condition but needs extra support, you can sew through it to reinforce its strength. Using a needle and thread, make small stitches through the elastic, creating additional lines of stitching perpendicular to the original elastic. This will help distribute the tension more evenly and prevent further sagging.
3. Add an elastic band: Another option is to add a separate elastic band to the inside of the swimsuit. Cut a strip of elastic, slightly shorter than the waist circumference, and sew it onto the inside of the waistband, ensuring it is evenly stretched. This added layer of elastic will provide extra support and help prevent future sagging.
Before reinforcing the elastic, it’s essential to try on the swimsuit and make any necessary adjustments to achieve the desired fit. This may involve taking in the sides or tapering the waistband to ensure a snug and comfortable fit after the reinforcement.
Remember to use nylon or polyester thread when sewing swimwear, as these materials are more resistant to chlorine and saltwater. Additionally, use a stretch or zigzag stitch to allow for flexibility in the fabric.
By reinforcing the elastic, you can give your one-piece swimsuit bottoms a new lease on life. These methods provide added support and help restore the shape, so you can confidently strut your stuff by the pool or at the beach.
Adding a Drawstring or Tie
If you find that your one-piece swimsuit bottoms are consistently sagging despite other attempts to fix the issue, adding a drawstring or tie can provide an extra level of support and customization. The drawstring or tie helps secure the swimsuit to your body, preventing it from slipping or sagging. Here’s how you can add this adjustable feature:
1. Determine placement: Decide where you’d like to add the drawstring or tie. The most common areas are the waistband or the sides of the swimsuit. Consider your comfort and style preferences when choosing the placement.
2. Create openings: Using a seam ripper or small sharp scissors, carefully create small openings in the desired locations for the drawstring or tie. Make sure the openings are just wide enough for the drawstring or tie to pass through comfortably without causing any damage to the fabric.
3. Insert drawstring or tie: Select a sturdy and durable material for the drawstring or tie, such as nylon cord or a similar non-stretch string. Attach a safety pin to one end of the string and thread it through the openings, making sure it travels through the entire waistband or desired area. Once you’ve threaded it through, tie a knot or secure the ends together to prevent it from slipping back out.
4. Adjust and tie: Put on the swimsuit and adjust the drawstring or tie to your desired level of tightness. Tie a knot or bow to secure it in place. The drawstring or tie can be tightened or loosened as needed to achieve the perfect fit, allowing you to customize the level of support and prevent sagging.
Remember to consider the material and color of the drawstring or tie to ensure it complements your swimsuit’s design and style. Additionally, make sure the drawstring or tie is securely fastened and does not pose any discomfort or irritation while wearing the swimsuit.
By adding a drawstring or tie, you can take control of the fit and support of your one-piece swimsuit bottoms. This adjustable feature allows for a personalized fit and helps prevent sagging, so you can confidently enjoy your time by the water without any worries.
Altering the Swimsuit Bottom
If your one-piece swimsuit bottoms are saggy and previous methods haven’t provided the desired results, you might consider altering the swimsuit itself. Alterations give you the opportunity to customize the fit and shape to your liking. Here are a few alterations you can try:
1. Taking in the sides: If the entire bottom is sagging, you can stitch along the side seams to take in the excess fabric. Try the swimsuit on, identify the areas that need to be taken in, and pin them to determine the new seam line. Use a sewing machine or hand stitch along the marked line, trimming away any excess fabric. This alteration will create a more snug fit and help prevent sagging.
2. Tapering the waistband: If the saggy area is mainly around the waistband, tapering it can provide a more secure fit. Start by trying on the swimsuit and determining how much fabric needs to be removed from the waistband. Mark the new seam line and stitch along the marked line, gradually tapering the waistband towards the hips. This alteration will help the swimsuit sit securely on your body without slipping or sagging.
3. Shortening the crotch area: If you find that the swimsuit hangs too low in the crotch area, shortening it can help improve the fit. Try on the swimsuit and determine how much fabric needs to be removed. Mark the new desired crotch line and stitch along the marked line, trimming away the excess fabric. This alteration will create a better-fitting bottom and prevent sagging in the crotch area.
It’s important to note that altering a swimsuit may require some sewing skills or the assistance of a professional tailor. Additionally, always try on the swimsuit after making alterations to ensure the fit is comfortable and accurate. Remember to use proper swimwear thread and a stretch or zigzag stitch to maintain the integrity of the fabric.
Alterations allow you to customize your one-piece swimsuit bottoms to fit your unique body shape and preferences. By making strategic changes to the swimsuit, you can eliminate sagging, enhance comfort, and feel confident in your swimwear.
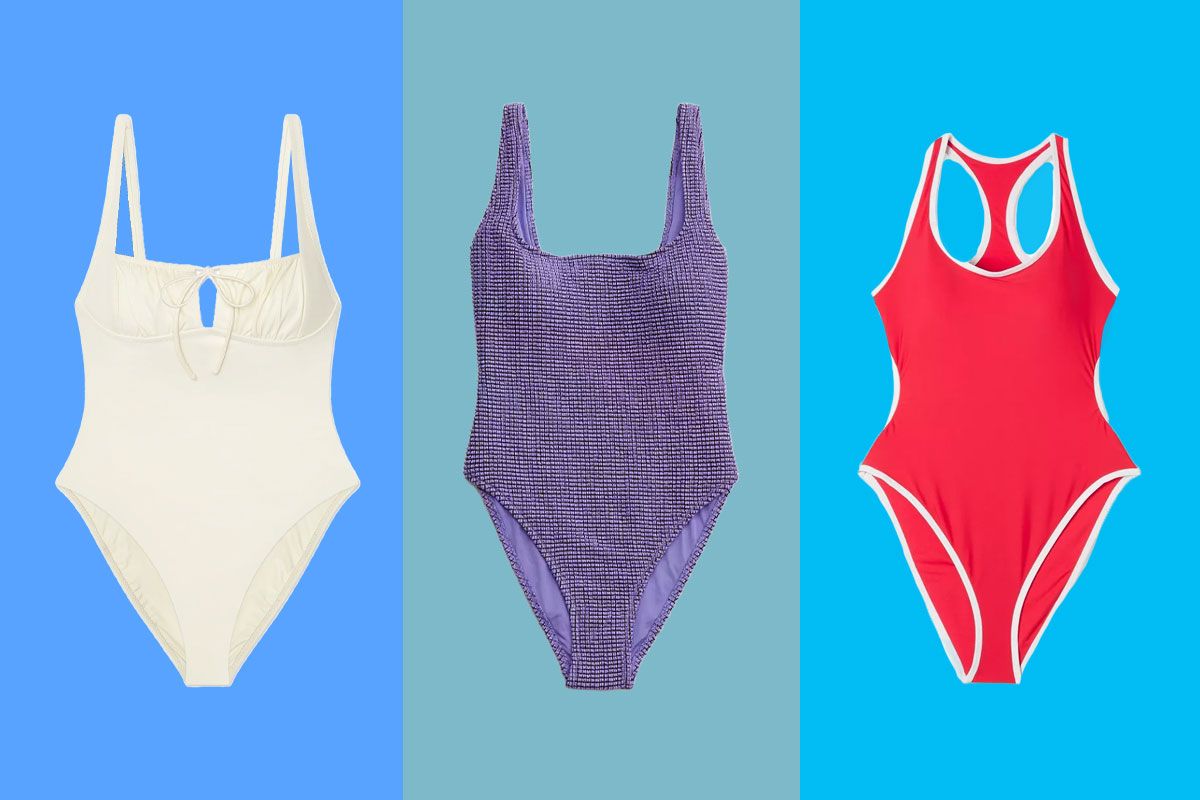
Buying a New Swimsuit Bottom
If your one-piece swimsuit bottoms are beyond repair or altering, it may be time to consider buying a new pair. While it can be disappointing to say goodbye to a beloved swimsuit, sometimes investing in a fresh and well-fitting bottom is the best solution. Here are some things to consider when purchasing a new swimsuit bottom:
1. Size and Fit: Ensure that you select the correct size for the best fit and support. Swimsuit sizing can vary between brands, so refer to the brand’s size chart and take your measurements before making a purchase. Pay attention to your waist and hip measurements to ensure a comfortable and flattering fit.
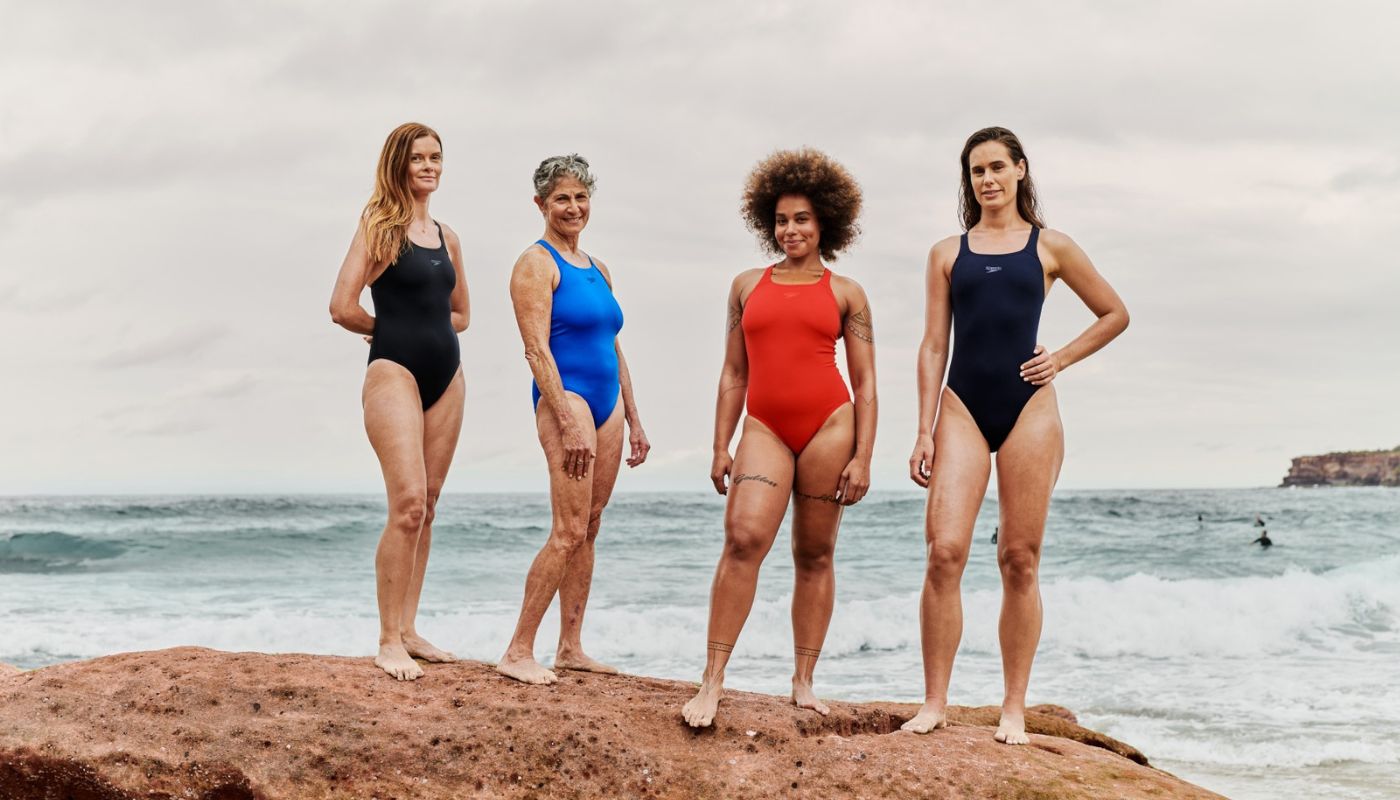
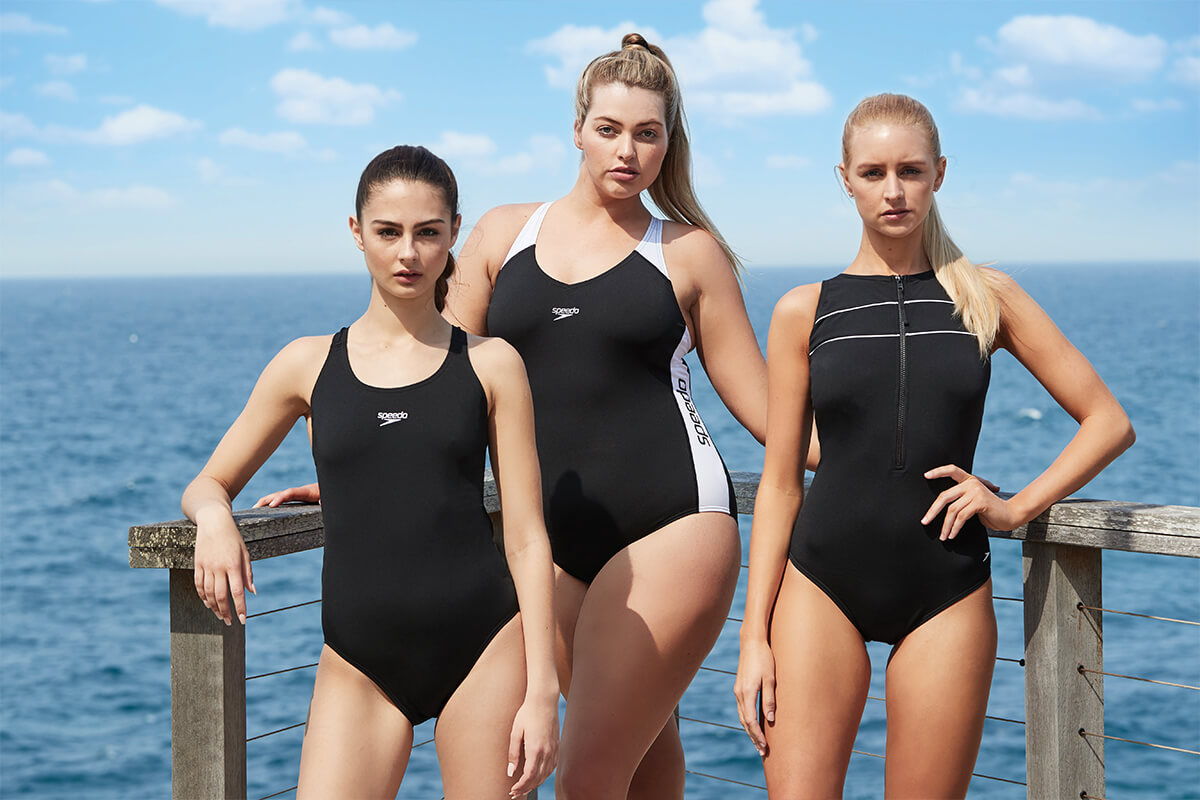
2. Quality and Fabric: Choose a swimsuit made from high-quality materials that can withstand the elements, including chlorine, saltwater, and sun exposure. Look for fabrics with a blend of nylon and spandex, as they offer durability, flexibility, and excellent shape retention.
3. Support and Design: Consider the design elements that can provide extra support and prevent sagging. Look for swimsuit bottoms with adjustable features like drawstrings, ties, or elastic bands, as they allow you to customize the fit and secure the bottom in place.
4. Style and Comfort: Take into account your personal style and comfort preferences. Choose a swimsuit bottom that aligns with your aesthetic and makes you feel confident. Consider factors like high-waisted bottoms for more coverage or cheeky bottoms for a bolder look. Prioritize comfort, as a well-fitting and comfortable swimsuit bottom allows for unrestricted movement and a more enjoyable experience.
5. Mix and Match: If you want to get the most out of your new swimsuit bottom, consider opting for mix-and-match options. Many brands offer separate tops and bottoms, allowing you to choose different sizes, colors, and styles that suit your preferences. This allows for a more customized and versatile swimwear collection.
When purchasing a new swimsuit bottom, don’t forget to properly care for and maintain it. Follow the manufacturer’s instructions regarding washing, drying, and storage to ensure its longevity and prevent premature sagging or damage.
Remember, buying a new swimsuit bottom can be an exciting opportunity to refresh your swimwear collection and find a piece that fits and flatters your body. Embrace the process and choose a swimsuit that makes you feel confident and comfortable during your time in the water.
Conclusion
Saggy one-piece swimsuit bottoms can be a frustrating issue for many women, but there are several solutions to help revive and restore your swimwear to its former glory. By understanding the causes of sagging and assessing the damage, you can choose the best course of action to fix the problem.
Proper washing and drying techniques, such as hand-washing and air-drying, can help maintain the elasticity and shape of your swimsuit bottoms. Reinforcing the elastic through techniques like replacing the elastic or sewing through it can provide additional support and prevent sagging. Adding a drawstring or tie can offer adjustable support, while altering the swimsuit bottom allows for a customized fit.
In some cases, buying a new swimsuit bottom may be the most practical option, especially if the current one is beyond repair or altering. Consider factors such as size, fit, fabric quality, support features, and personal style when choosing a new swimsuit bottom. Mix-and-match options can provide versatility and allow for more tailored swimwear combinations.
Remember that taking care of your swimsuit bottoms is essential to prolong their lifespan and prevent sagging. Follow proper care instructions to maintain the integrity of the fabric and elastic, ensuring that your swimwear stays in excellent condition for seasons to come.
Now that you have a toolkit of tips and techniques to fix saggy one-piece swimsuit bottoms, you can confidently hit the beach or pool with swimwear that fits and flatters. Embrace your newfound knowledge and get ready to enjoy your time in the water, knowing that your swimsuit bottoms will stay in place and provide the support you need.