Home>How-to Guides>For Women>How To Make A Thong Out Of Regular Underwear
For Women
How To Make A Thong Out Of Regular Underwear
Modified: July 30, 2023
Learn how to turn regular underwear into a comfortable and trendy thong for women. Step-by-step guide to create your own unique style.
(Many of the links in this article redirect to a specific reviewed product. Your purchase of these products through affiliate links helps to generate commission for Under-tec.com, at no extra cost. Learn more)
Table of Contents
Introduction
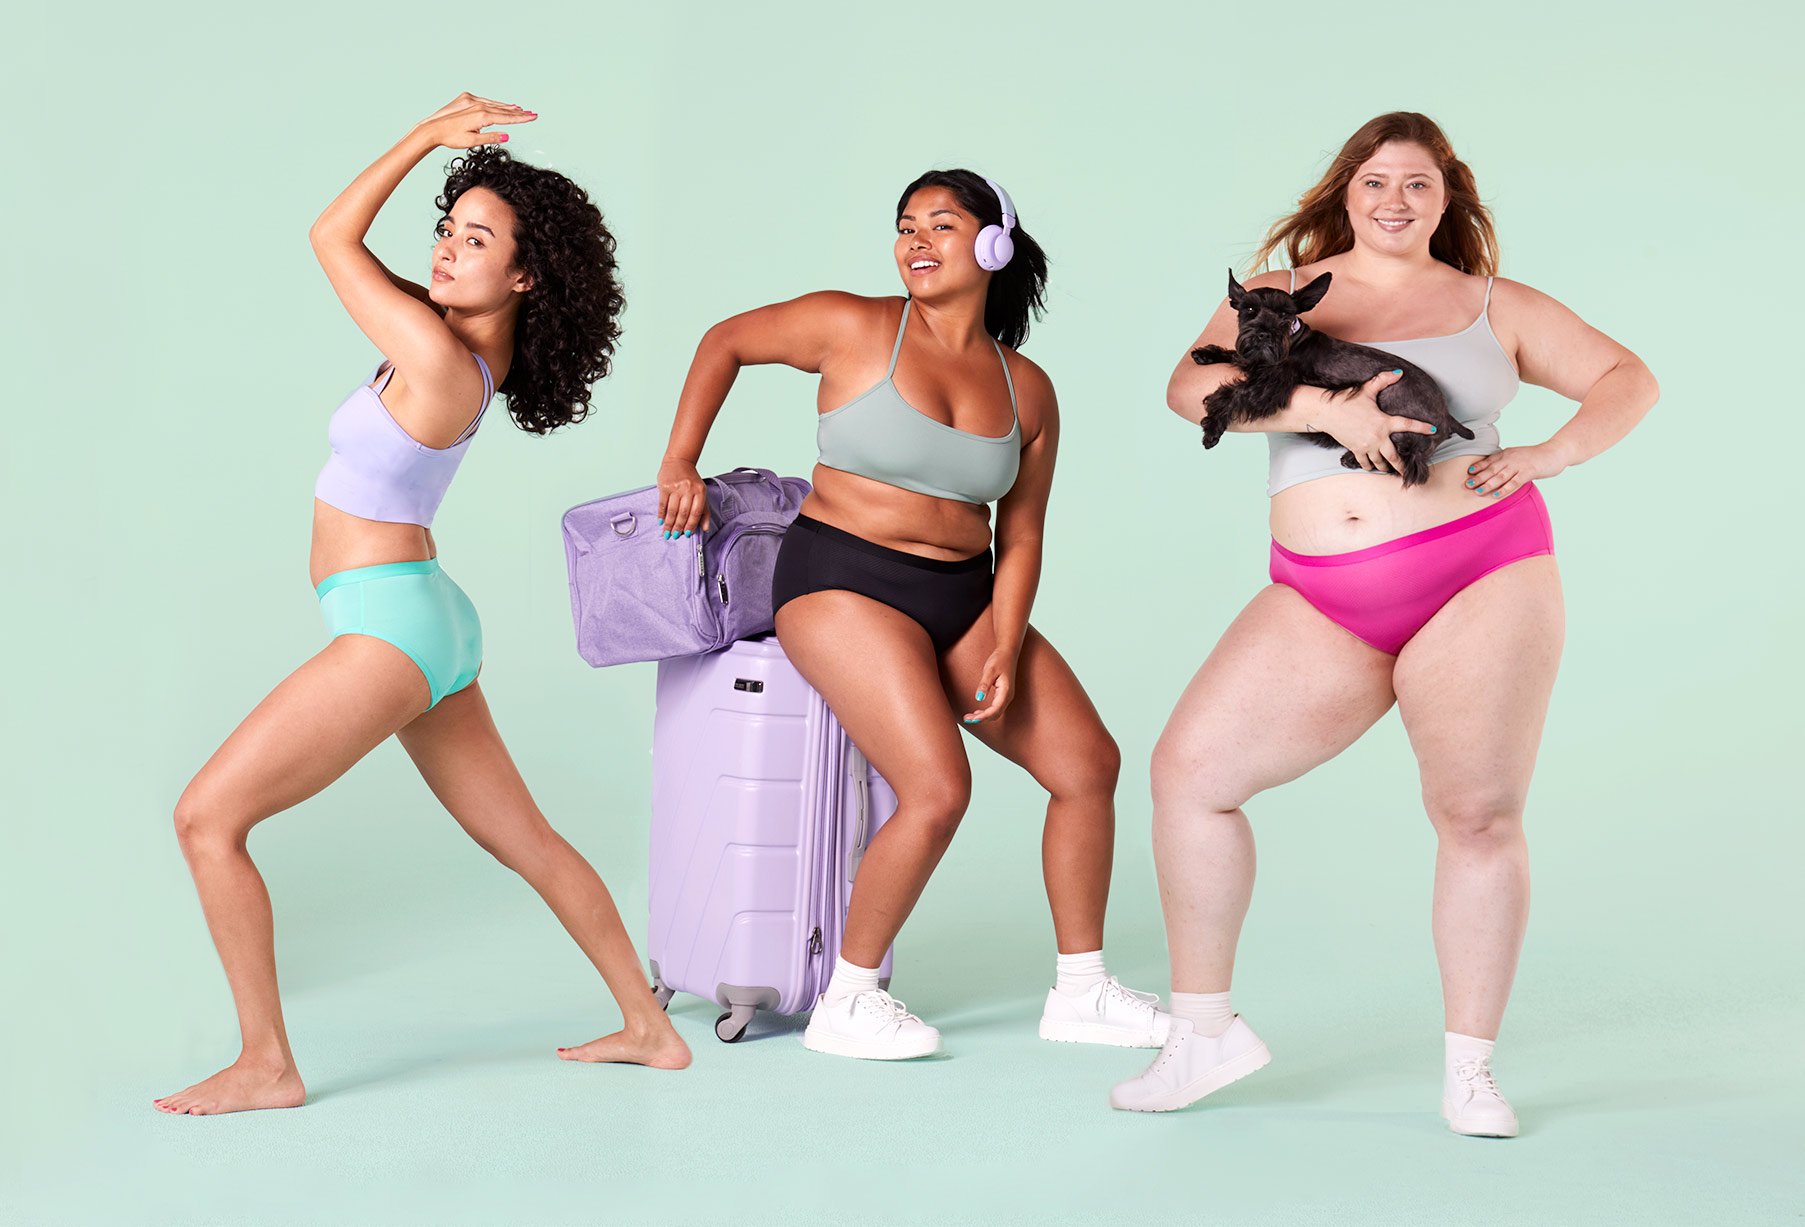
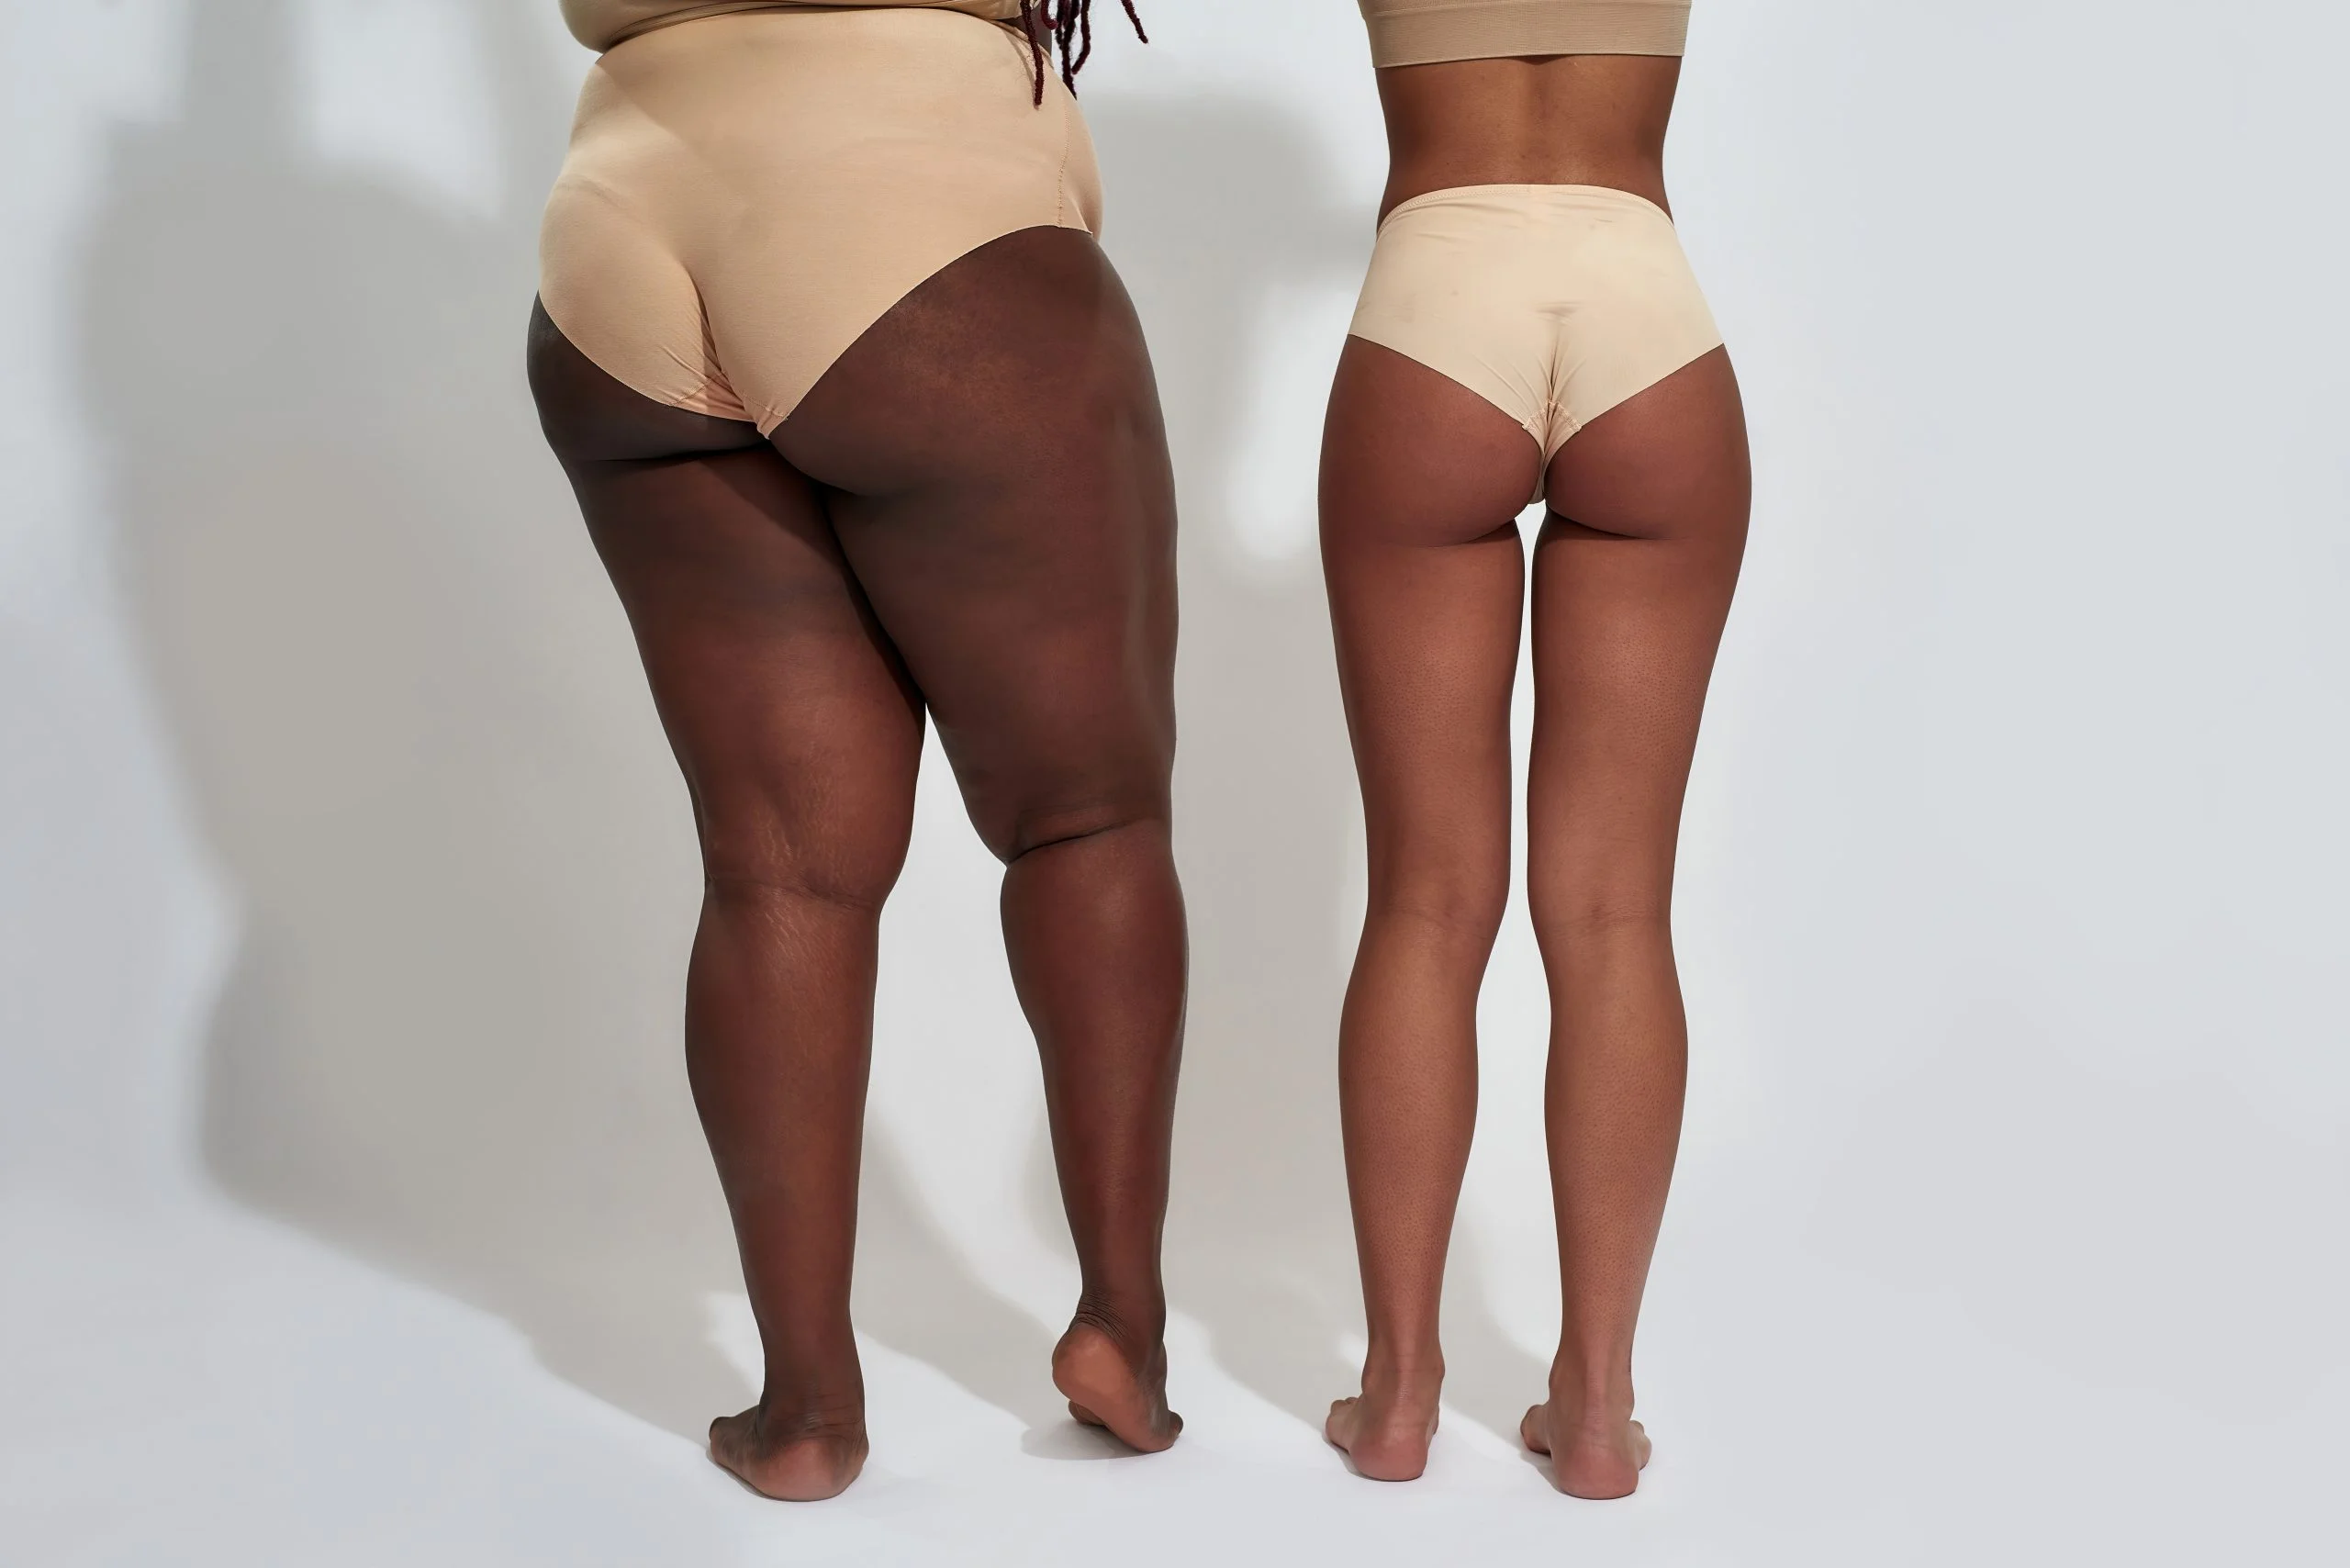
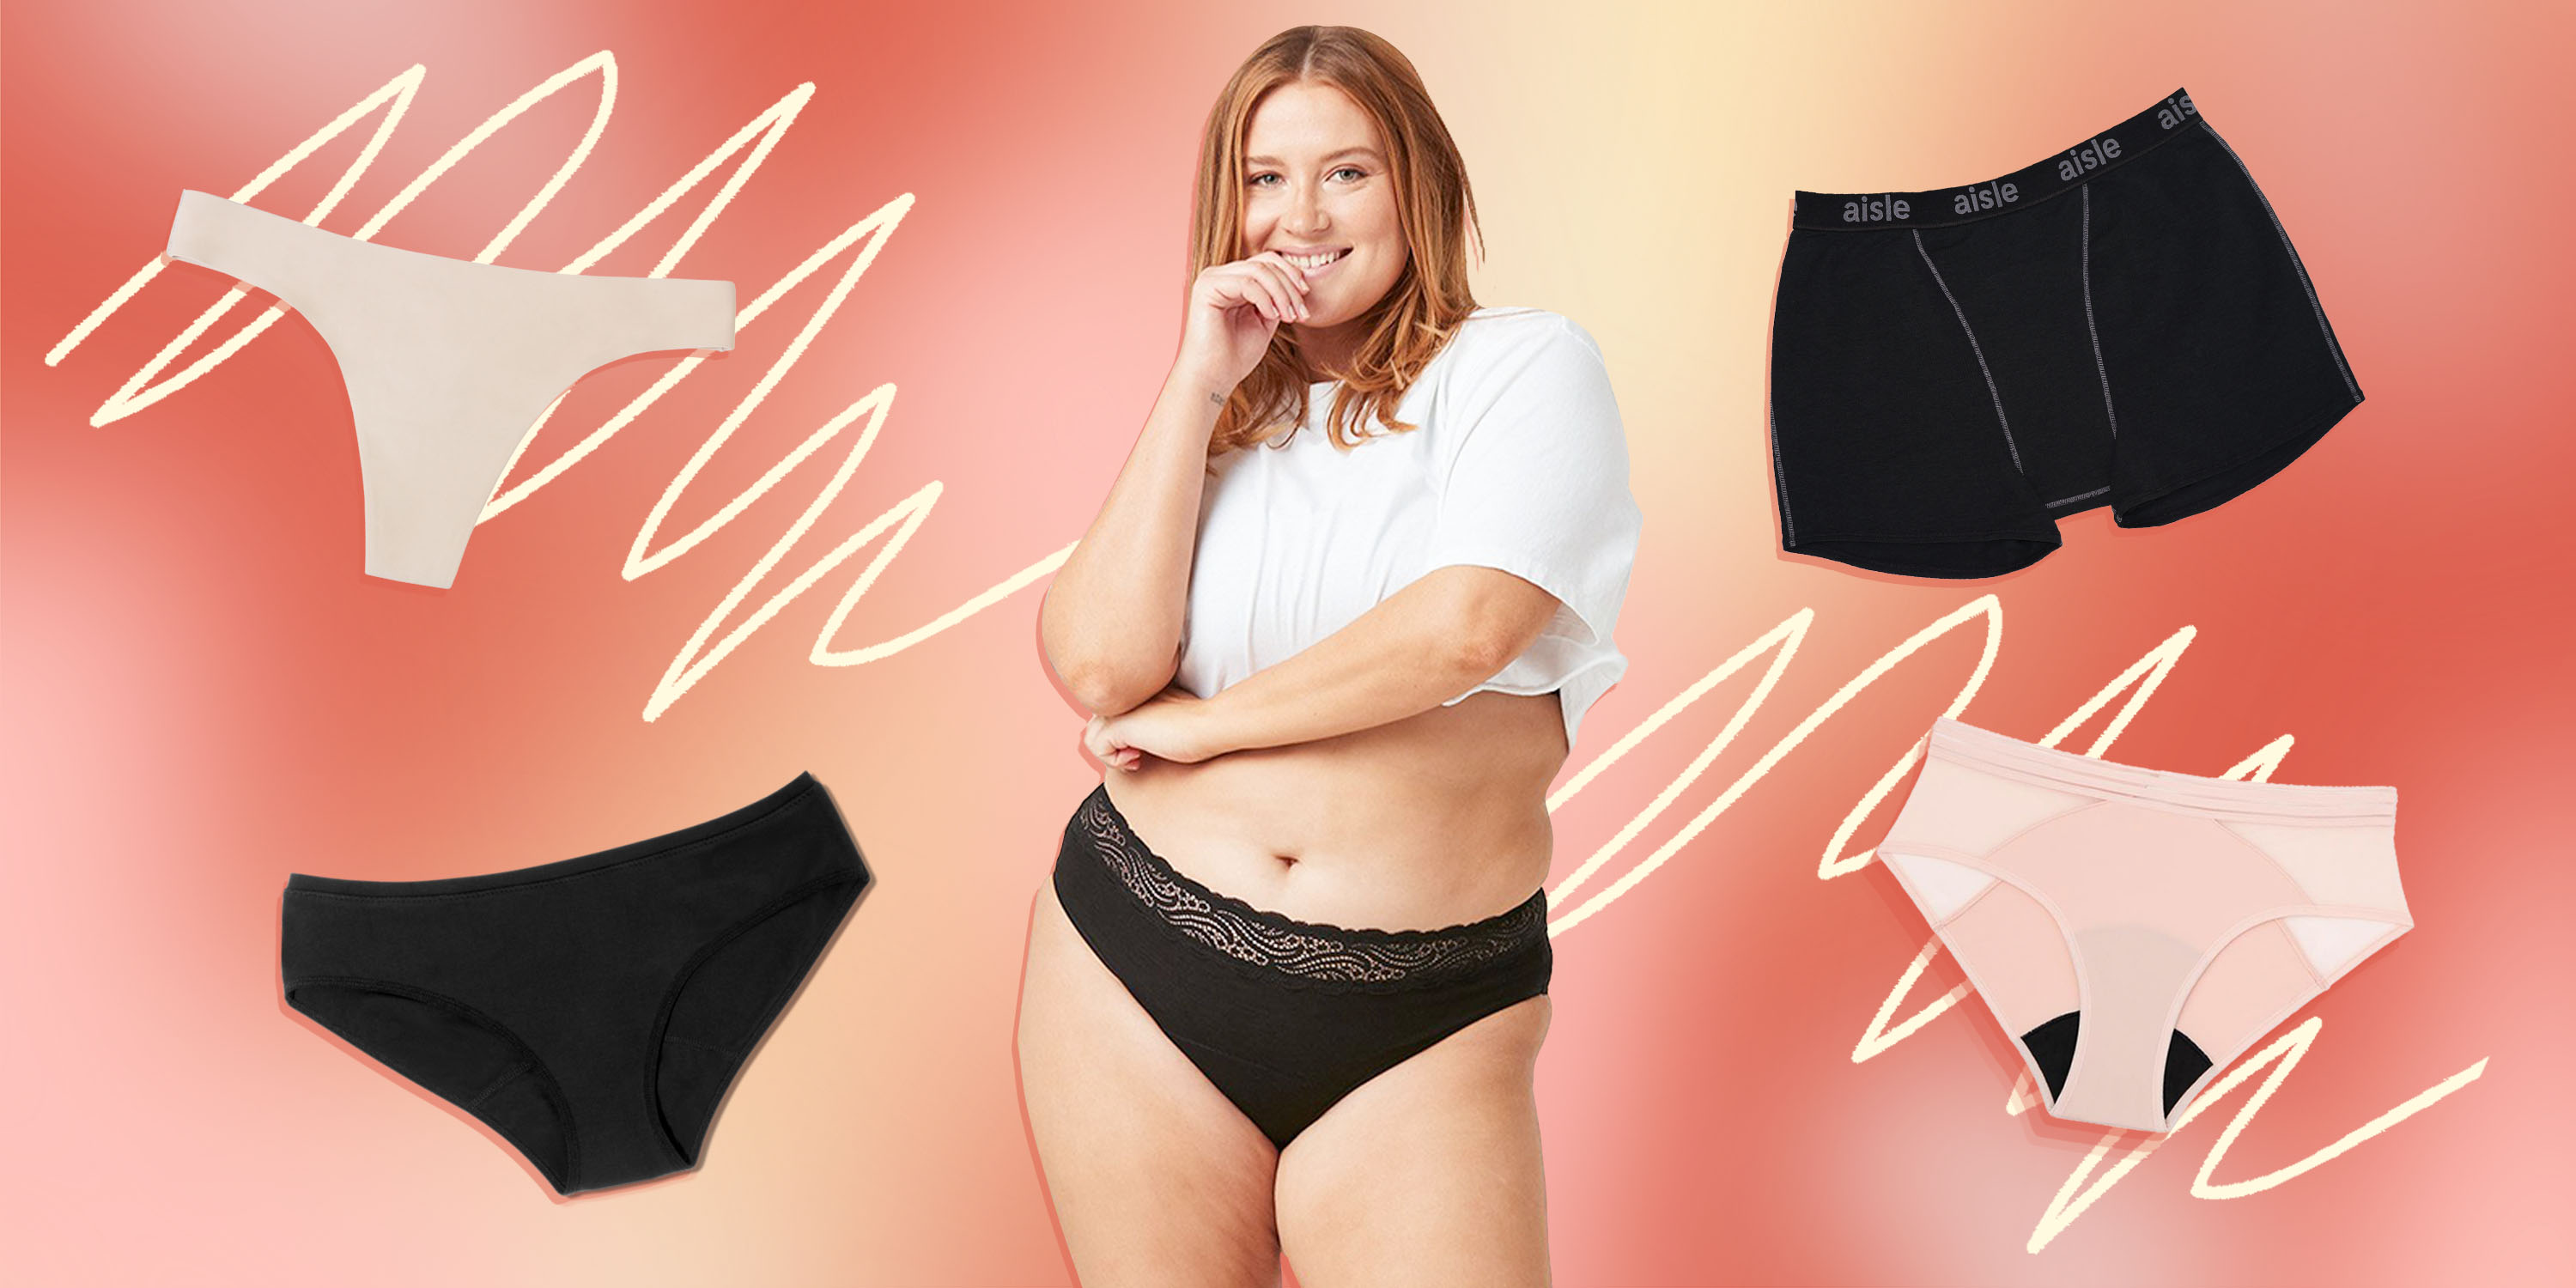
Thongs are popular underwear choices for many women. They offer minimal coverage while still providing comfort and a seamless look under clothing. But what if you don’t have a thong on hand? Fear not! With a little creativity and some basic sewing skills, you can easily transform a regular pair of underwear into a thong.
In this article, we will guide you through the process of making a thong out of regular underwear. We will provide step-by-step instructions, along with the materials needed, to help you create your own custom thong that fits perfectly and meets your style preferences.
The best part? You don’t need to be an expert seamstress to accomplish this. With some patience and attention to detail, you can create a functional and comfortable thong that will make you feel confident and sexy.
So, if you’re ready to dive into the world of DIY thongs, gather your supplies and let’s get started!
Materials Needed
Before you begin making a thong out of regular underwear, it’s important to gather all the necessary materials. Here’s what you’ll need:
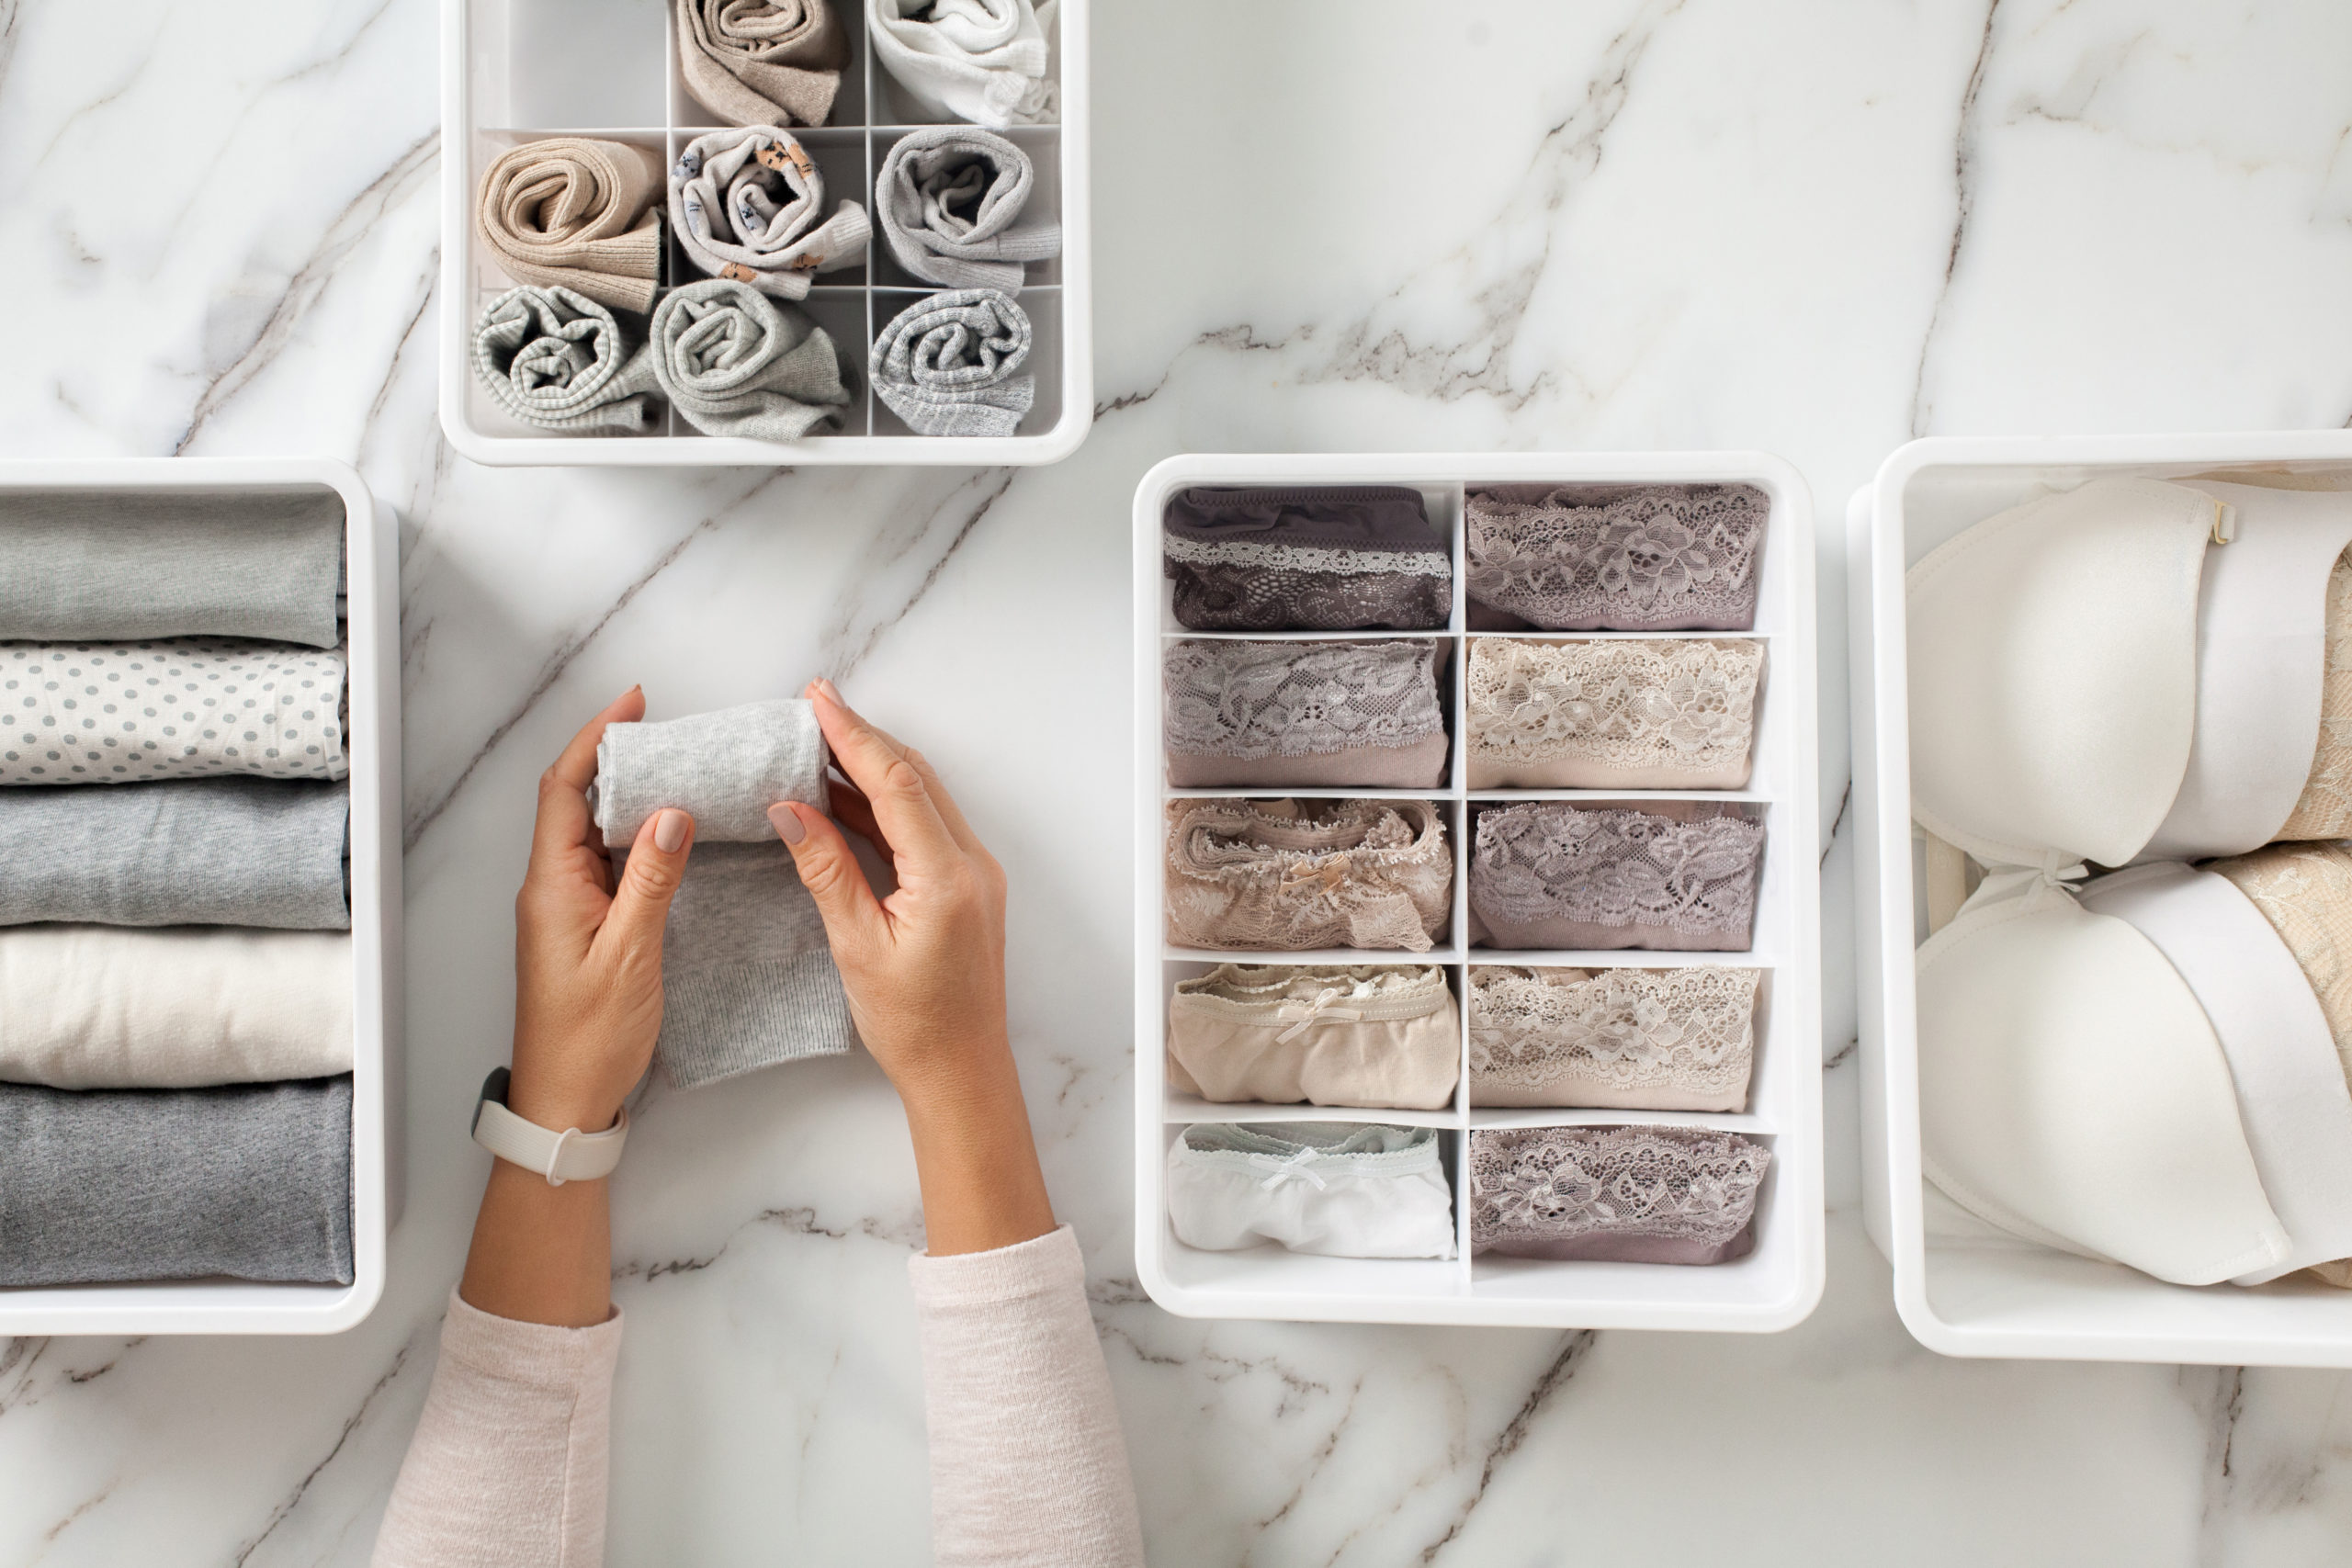
- A pair of regular underwear: Choose a pair that fits you well and is made of a comfortable fabric.
- Scissors: A sharp pair of scissors will be used to cut and shape the underwear.
- Elastic band: Look for a thin, stretchy elastic band that is approximately 1/4 inch wide.
- Sewing needle and thread: Opt for a needle with a small eye and thread that matches the color of your underwear.
- Straight pins: These will come in handy for holding fabric together while sewing.
- Measuring tape: Use a flexible measuring tape to ensure accurate sizing and placement of the elastic.
Having these materials on hand will make the process of creating your own thong much smoother and easier. Make sure to gather everything before you begin to avoid any interruptions during the process.
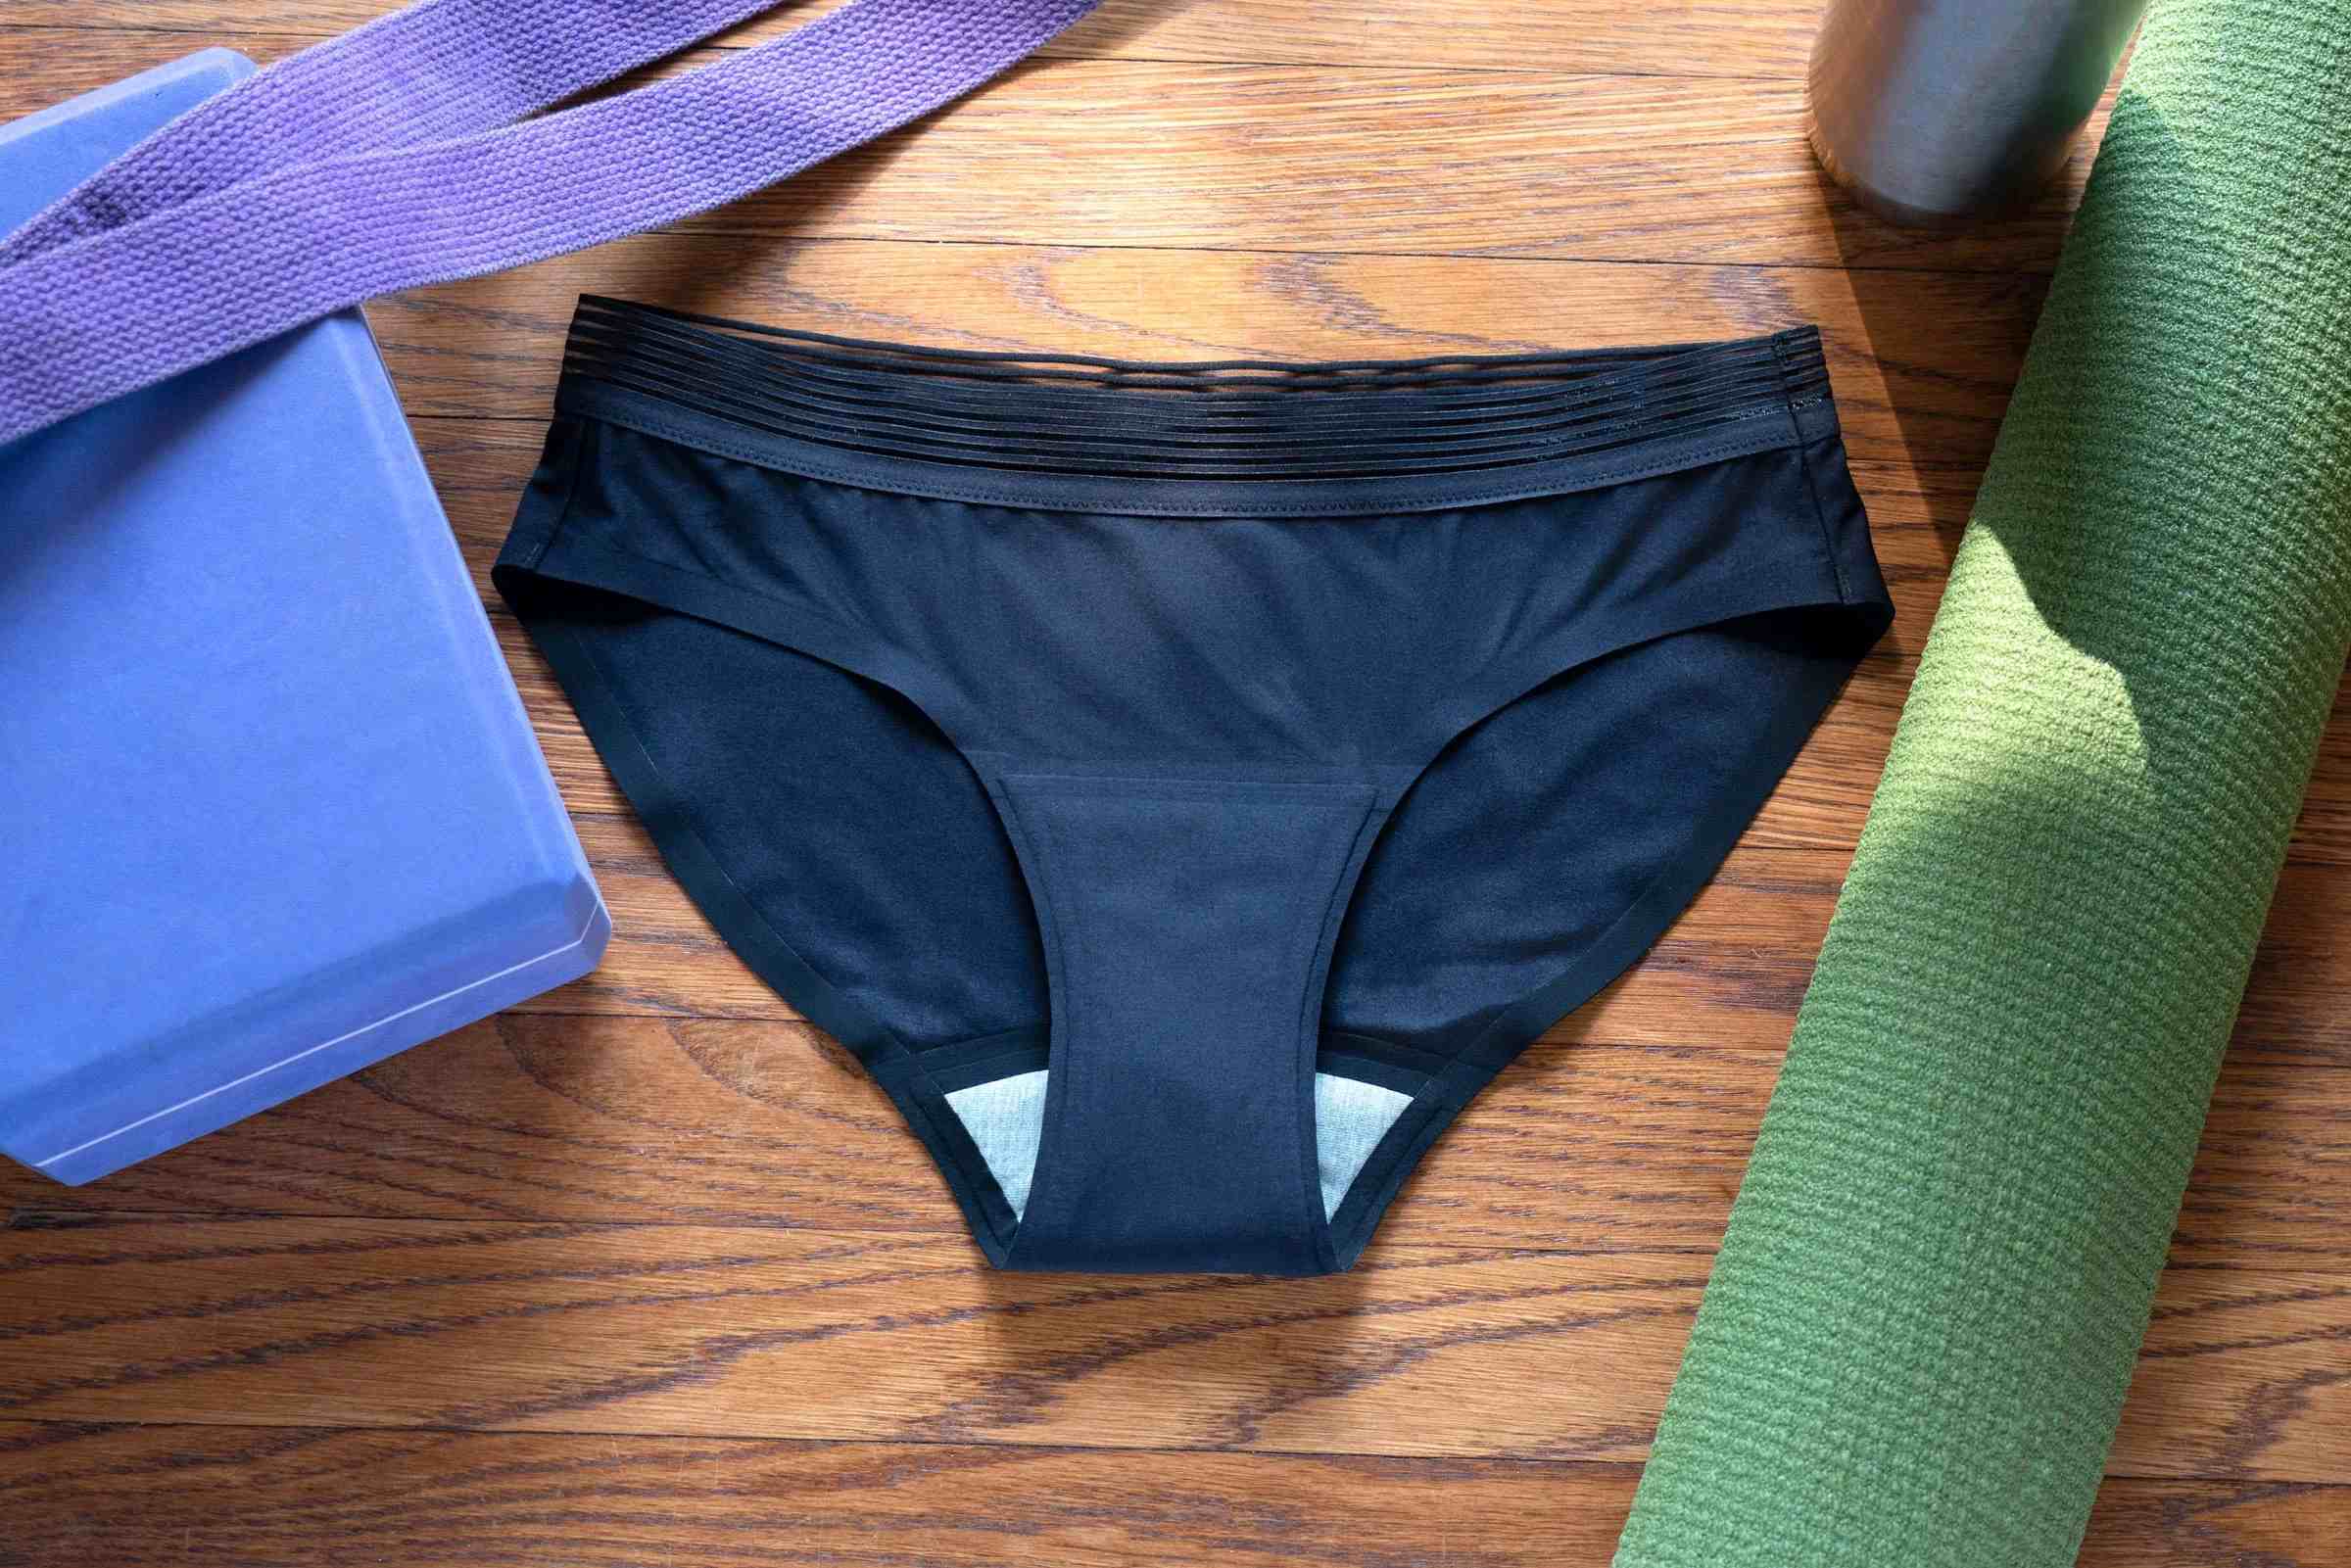
Step 1: Choosing the Right Underwear
The first step in making a thong out of regular underwear is selecting the right pair to work with. Here are some key points to consider when choosing the underwear:
- Comfort and fit: Pick a pair of underwear that fits you well and feels comfortable against your skin. Thongs are already designed to have minimal coverage, so starting with a comfortable base is crucial.
- Fabric: Opt for underwear made of a stretchy fabric, such as cotton or spandex. These fabrics will provide the flexibility needed for a thong-style underwear.
- Style preference: Consider the style and design of the underwear. Do you prefer a low-rise thong or a higher waistband? Choose a pair that aligns with your style preferences.
- Color and pattern: This is your chance to get creative! Choose a color or pattern that you love and that matches your personal taste.
Remember, the key is to start with a pair of underwear that is comfortable and fits well. This will ensure that your transformation to a thong is successful and that you feel confident wearing your new creation.
Once you have chosen the right pair of underwear, you are ready to move on to the next step of cutting and shaping the underwear to create the thong shape.
Step 2: Cutting and Shaping the Underwear
Now that you have selected the perfect pair of underwear, it’s time to transform it into a thong shape. Follow these steps to cut and shape the underwear:
- Lay the underwear flat: Place the underwear on a flat surface, ensuring that it is smooth and free from wrinkles.
- Mark the cut line: Use a fabric marker or chalk to mark a straight line from the top center of the backside of the underwear down to the crotch area. This will determine the width of the thong strip.
- Draw the thong shape: From the bottom of the straight line, draw a diagonal line on each side, creating a V-shape that narrows towards the crotch. This shape will be the back part of the thong.
- Optional: If you prefer a low-rise thong, you can cut off some of the fabric from the waistband area to reduce the coverage. Use your preferences as a guide.
- Cut along the marked lines: Carefully cut along the marked lines, following the shape you have drawn. Take your time to ensure clean and straight cuts.
- Try on and adjust: Once the cutting is complete, try on the newly shaped underwear to check the fit. Make any necessary adjustments by trimming off excess fabric or reshaping the thong area.
By following these steps, you will transform your regular underwear into a thong shape, ready for the next step of sewing the sides. Take your time and be cautious when cutting to achieve the desired result.
Now that you have your thong shape ready, let’s move on to the next step of sewing the sides!
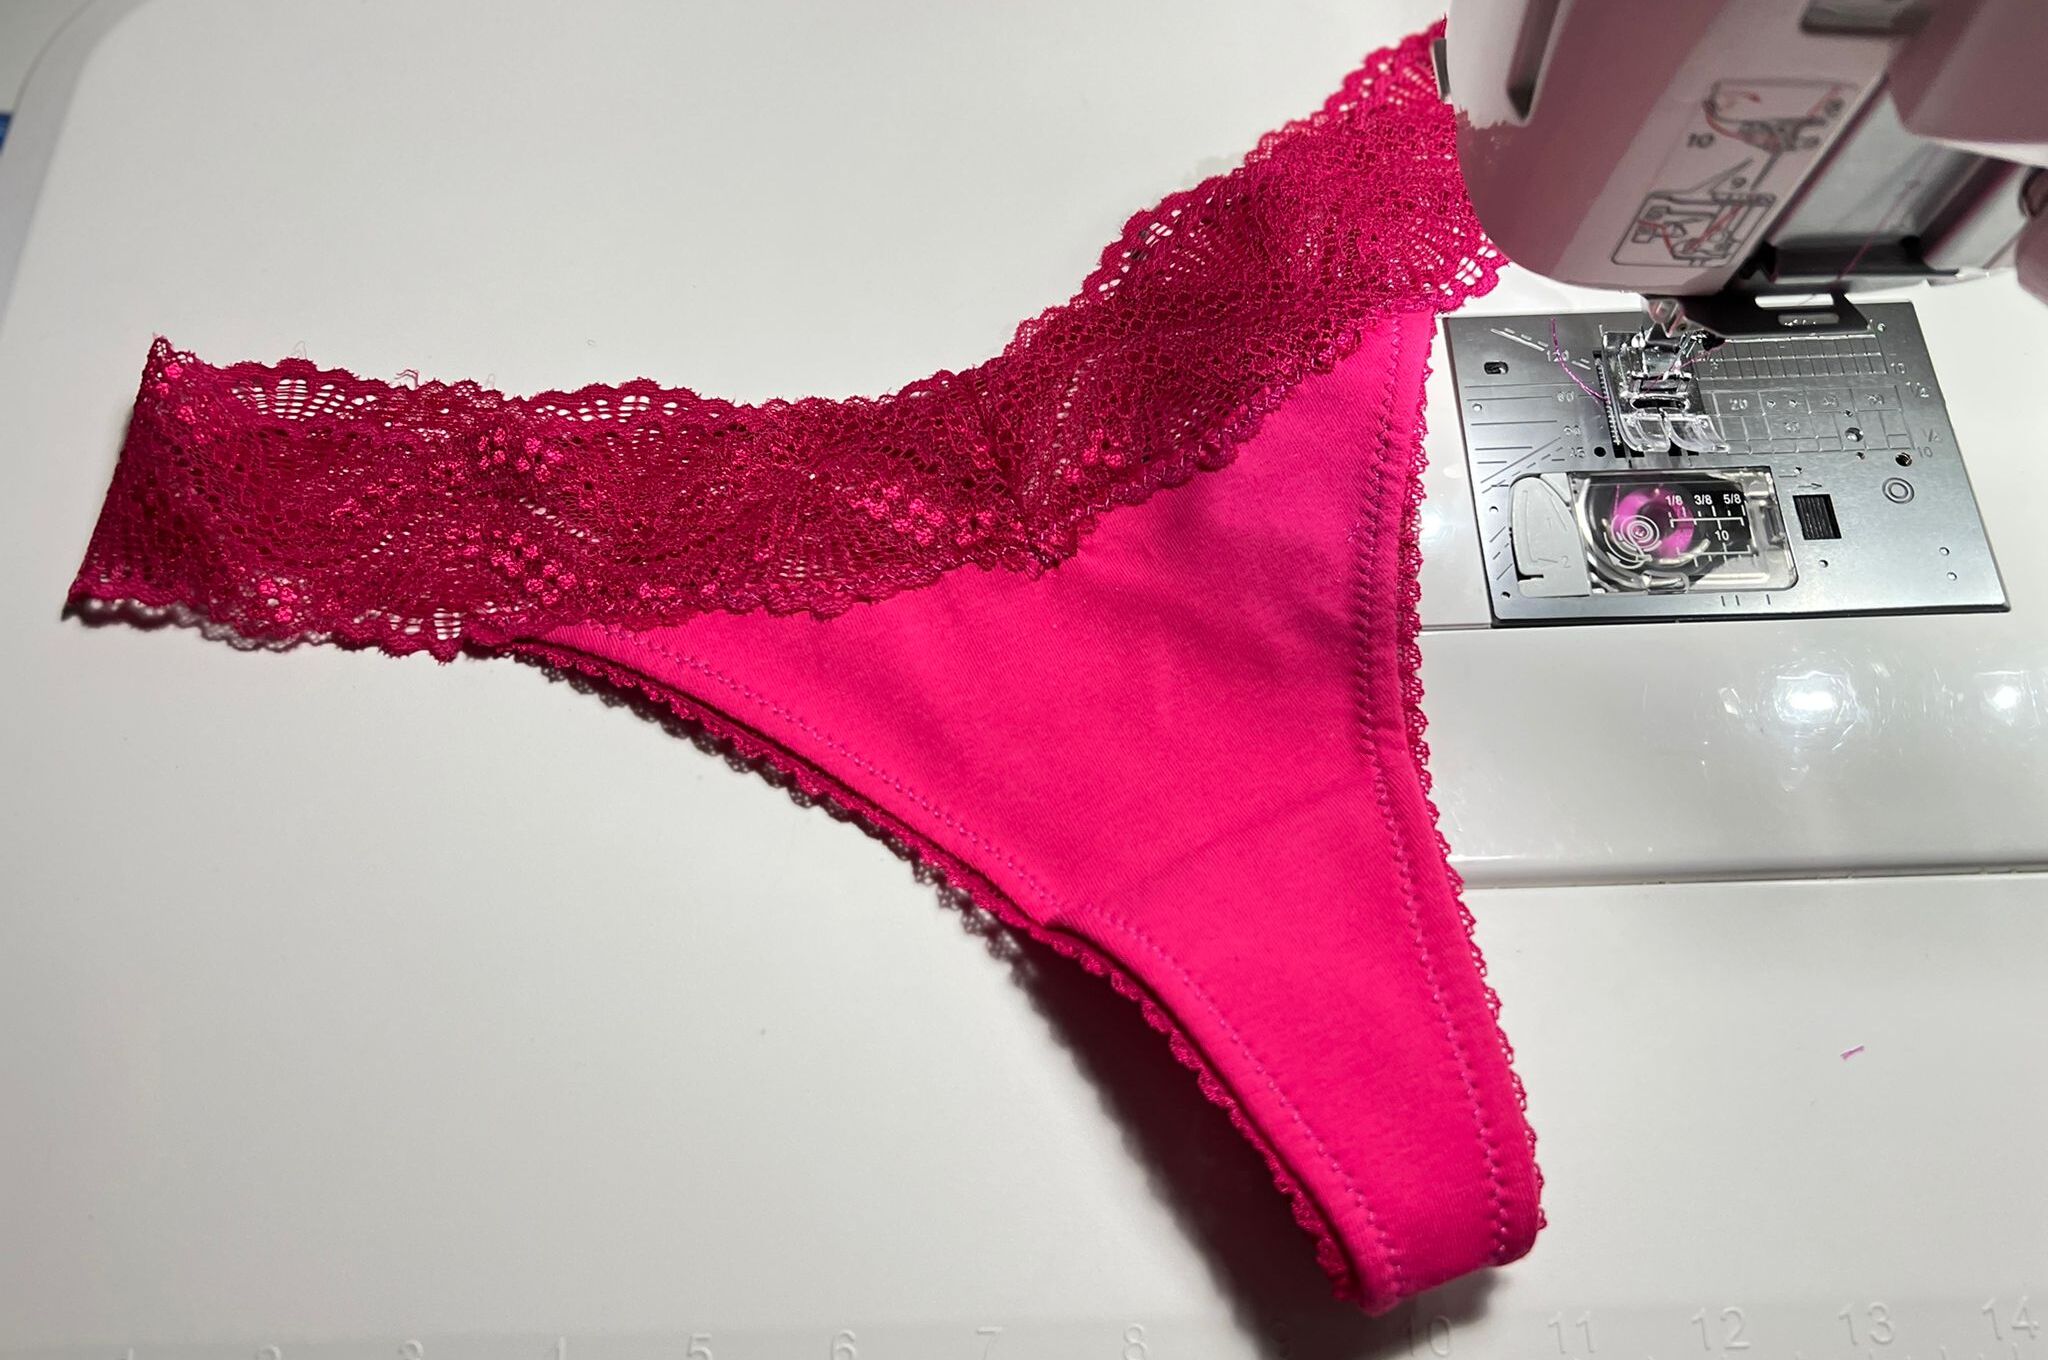
Step 3: Sewing the Sides
With the thong shape cut and ready, it’s time to sew the sides to secure the new shape and make it functional. Follow these steps to sew the sides of your thong:
- Thread the needle: Choose a thread that matches the color of your underwear and thread it through the eye of the needle. Tie a knot at the end of the thread to secure it.
- Pinning the fabric together: Carefully fold the fabric of the thong shape along the cut edges so that the wrong sides are facing each other. Use straight pins to hold the fabric in place along the sides, ensuring that the cut edges align and the fabric lays flat.
- Begin sewing: Starting from the top of one side, just below the waistband, begin sewing the fabric together using a small running stitch. A running stitch is created by passing the needle in and out of the fabric at regular intervals. Continue sewing along the side until you reach the bottom, securing the edges together.
- Tie off the thread: Once you reach the end of the side, tie off the thread by sewing a knot close to the fabric. Trim any excess thread.
- Repeat on the other side: Repeat the same sewing process on the other side of the thong, ensuring that the fabric is lined up and the edges are secure.
When sewing the sides, be careful to maintain an even stitch length and keep the fabric flat. Take your time and sew at a comfortable pace to ensure the best result.
After sewing the sides, your thong will start to take shape and become more secure. Now let’s move on to the next step of attaching the elastic.
Step 4: Attaching the Elastic
Attaching the elastic is a crucial step in making a functional and comfortable thong. The elastic helps to ensure a snug fit and prevents the underwear from shifting. Follow these steps to attach the elastic to your newly transformed thong:
- Measure the elastic: Use a flexible measuring tape to measure the circumference of your waist where the thong will sit. Add approximately 1 inch to this measurement for a comfortable fit.
- Cut the elastic: Using your measurement from the previous step, cut a piece of elastic to match the desired length.
- Pin the elastic: Starting from the center back of the thong, align one end of the elastic with the waistband edge, keeping the elastic on the inside of the thong. Secure the elastic in place with straight pins.
- Stretch and sew: With the elastic pinned, gently stretch it along the waistband, pulling it slightly as you go. Use a zigzag stitch on your sewing machine or a small and stretchy stitch by hand to sew the elastic onto the fabric. Make sure to catch both the elastic and the fabric with each stitch.
- Continue sewing: Sew all the way around the waistband, stretching the elastic as you go to ensure a snug fit. When you reach the starting point, overlap the elastic and sew it securely to the fabric, making sure it is securely attached and won’t come undone.
- Trim excess elastic: Once the elastic is sewn in place, trim any excess elastic, making sure to leave a small amount for comfort and flexibility.
Attaching the elastic may require some practice and patience, as working with stretchy materials can be a bit tricky. Take your time and ensure that the elastic is evenly sewn and securely attached throughout the waistband.
After attaching the elastic, your DIY thong is almost complete. All that’s left is to try it on, make any necessary adjustments, and enjoy your customized creation!
Step 5: Trying on and Adjusting
The final step in making a thong out of regular underwear is trying it on and making any necessary adjustments for the perfect fit. Here’s what you need to do:
- Put on the thong: Carefully slip on your newly created thong and adjust it to sit comfortably on your body.
- Check the fit: Take a moment to assess how the thong feels and fits. Pay attention to the waistband, leg openings, and the overall comfort of the thong.
- Make adjustments as needed: If you find that the thong is too tight or too loose in certain areas, you can make a few adjustments. For a tighter fit, trim off a small portion of the fabric and sew the sides again. If you need more room, you can add a small extension piece of fabric or an extra elastic insert.
- Try it on again: After making adjustments, put the thong back on and assess the fit again. Repeat the adjustment process if necessary until you achieve the desired fit and comfort.
Remember, everyone’s body is unique, so it may take a bit of trial and error to get the perfect fit. Don’t be discouraged if you need to make a few modifications along the way. The goal is to create a thong that makes you feel confident and comfortable.
Once you are satisfied with the fit and comfort of your DIY thong, it’s time to proudly wear it and show off your creative skills!
Congratulations! You have successfully transformed a regular pair of underwear into a stylish and comfortable thong. Enjoy wearing your custom creation and don’t be afraid to experiment with different fabrics, colors, and designs to make more unique thongs in the future.
Conclusion
Congratulations on creating your very own thong out of regular underwear! With just a few simple steps, you have turned a basic undergarment into a stylish and comfortable piece of lingerie. By choosing the right underwear, cutting and shaping it to create the thong shape, sewing the sides, attaching the elastic, and making necessary adjustments, you have achieved a customized fit that suits your preferences.
Not only is making a thong out of regular underwear a great way to save money, but it also allows you to unleash your creativity and personalize your underwear collection. You can now experiment with different fabrics, colors, and designs to create unique thongs that reflect your style.
Remember to take your time, be patient, and pay attention to the details. Sewing can be a fun and rewarding hobby, and making your own thong is a great way to explore your creative side while also ensuring a perfect fit.
Now that you have mastered the art of making a thong out of regular underwear, why not share your knowledge and skills with others? You can encourage your friends to embark on their own DIY lingerie projects, or even offer to create custom thongs for them.
So go ahead, rock your new DIY thongs with confidence and pride. Embrace your creativity, and enjoy the comfort and style of your own handmade lingerie. Happy sewing!