Home>How-to Guides>For Women>How To Make A Bikini Top Out Of A Bra
For Women
How To Make A Bikini Top Out Of A Bra
Modified: August 2, 2023
Learn how to transform a bra into a stylish bikini top for women, and enjoy your beach days with confidence and creativity.
(Many of the links in this article redirect to a specific reviewed product. Your purchase of these products through affiliate links helps to generate commission for Under-tec.com, at no extra cost. Learn more)
Table of Contents
Introduction
Welcome to the ultimate guide on how to make a bikini top out of a bra! If you’ve ever found yourself with a drawer full of bras that you no longer use, this DIY project is the perfect solution to give them a new lease on life. Not only will you be able to create a unique bikini top that suits your style, but you’ll also save money by repurposing an item you already have.
By creating your own bikini top, you have complete control over the design, fit, and overall look. Whether you prefer a sporty, classic, or trendy style, this guide will walk you through the steps to transform a regular bra into a chic and fashionable swimwear piece. Plus, you’ll have the satisfaction of knowing that your creation is truly one-of-a-kind.
The process of making a bikini top out of a bra is relatively simple, even for those with limited sewing skills. All you need is a bra that you don’t mind turning into a swimwear piece, some basic sewing tools, and a little creativity. So, let’s dive in and get started on this exciting DIY project!
Note: Before we begin, it’s important to mention that you should only use bras made from swim-friendly materials, such as nylon or polyester. Using bras made from cotton or other non-swimwear fabrics can result in damage and discomfort when worn in the water.
Step 1: Selecting the Right Bra
The first step in making a bikini top out of a bra is selecting the right bra to work with. While you can technically use any bra you have, there are a few key considerations to keep in mind to ensure the best results.
First and foremost, choose a bra that fits you well. The fit of the bra will directly impact the fit of the bikini top, so it’s crucial to start with a bra that provides the desired level of support and coverage. Avoid using a bra that is too loose or too tight, as this will affect the overall fit and comfort of the bikini top.
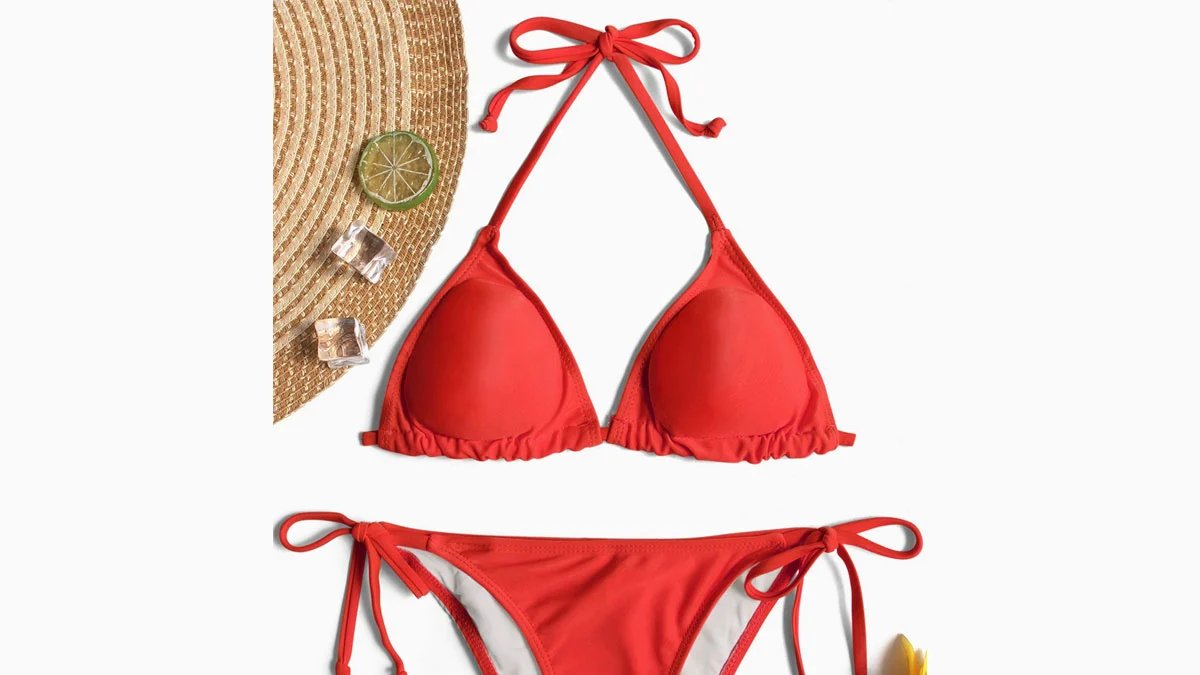
Additionally, consider the style and design of the bra. Look for a bra with cups that have a similar shape to the style of bikini top you want to create. For example, if you prefer a more traditional triangle-shaped bikini top, opt for a bra with triangular cups. If you’re going for a bandeau style, choose a bra with a straight across or slightly curved neckline.
When it comes to material, opt for a bra made from swim-friendly fabrics such as nylon or polyester. These materials are designed to withstand exposure to water and will hold up much better when worn as a bikini top. Avoid using bras made from cotton or other non-swimwear fabrics, as they may become damaged or uncomfortable when wet.
Lastly, think about the color and pattern of the bra. Do you want your bikini top to match your bottoms or make a bold statement on its own? Consider the overall look you want to achieve and select a bra that aligns with that vision. Remember, this is your chance to get creative and have fun!
Once you’ve chosen the perfect bra, you’re ready to move on to the next step: measuring and marking. So let’s grab our measuring tape and get started on creating your dream bikini top!
Step 2: Measuring and Marking
Now that you have selected the right bra, it’s time to move on to the next step: measuring and marking. This crucial step will ensure that your bikini top fits perfectly and is tailored to your body.
First, put on the bra and adjust the straps to your desired tightness. Take note of the strap length so that you can replicate it when attaching the straps later on. This will help you maintain the same level of support and comfort.
Next, grab a measuring tape and measure the underbust area. Start at the center of your chest, just below your breasts, and wrap the tape measure around your body, ensuring it is parallel to the ground. Take note of this underbust measurement, as it will help determine the size of the bikini top.
Using a fabric marker or safety pins, mark the center point of the bra cups. This can be done by aligning the cups with your breasts and making a small mark where they meet. This is important as it will serve as a reference point when cutting the cups later on.
Once the center point is marked, measure and mark the desired width of the bikini top. This will depend on your personal preference and the style you want to achieve. For a more conservative look, you may want to have a wider bikini top. If you prefer a more revealing style, you can opt for a narrower width.
Similarly, measure and mark the desired height of the bikini top cups. Consider your comfort level and the level of coverage you want. Some may prefer a higher cup for more support and coverage, while others may opt for a lower cup for a more daring look.
During this step, it’s important to take your time and ensure that the measurements and markings are accurate. Double-check your measurements and make any adjustments as needed. Once you’re satisfied with the measurements and markings, you’re ready to move on to the next step: cutting the bra cups.
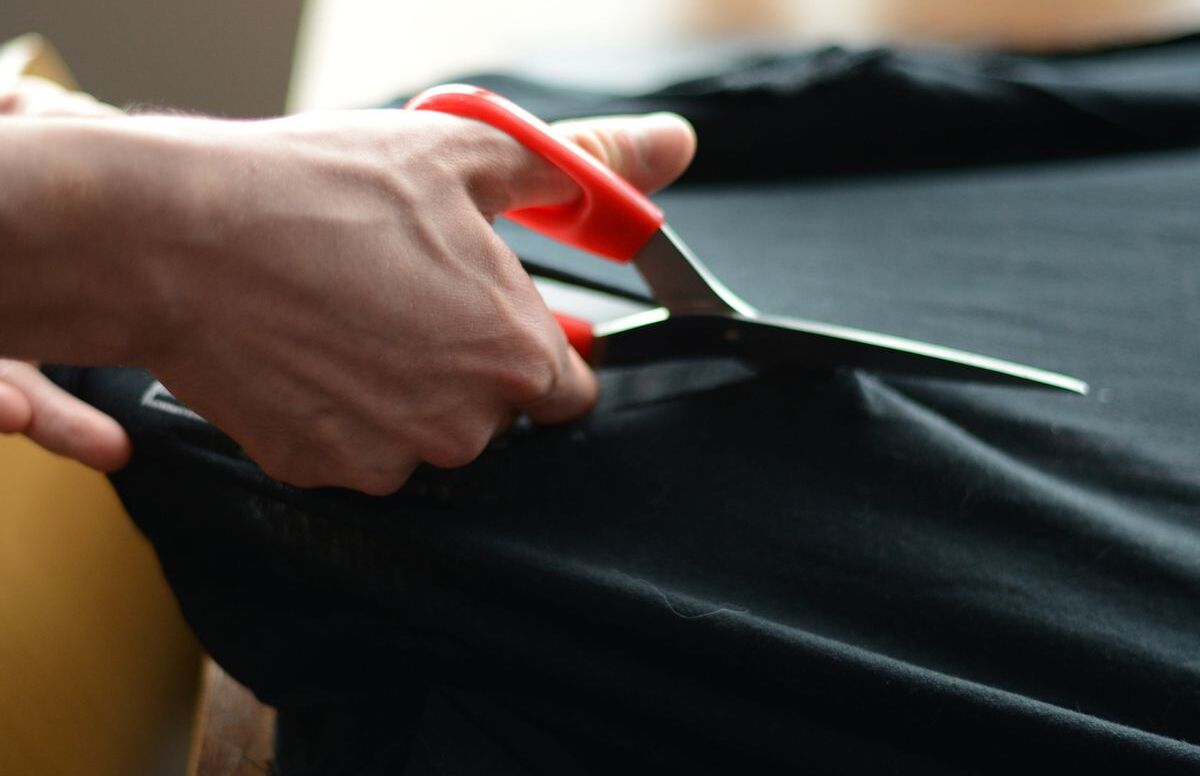
Step 3: Cutting the Bra Cups
With the measurements and markings in place, it’s time to move on to the next exciting step: cutting the bra cups. This step will transform your bra into a bikini top by shaping the cups to your desired size and style.
Start by removing the bra from your body and placing it on a flat surface. Make sure the bra is smooth and free from any wrinkles or folds. This will ensure clean and precise cuts.
Using a pair of sharp fabric scissors, carefully cut along the marked lines to remove excess fabric and shape the cups. Take your time with this step to ensure clean and even cuts. If the bra has padding, you may need to remove it before cutting or cut around it, depending on the style you want to achieve.
Pay attention to the angles and shape of the cups as you’re cutting. For a classic triangle-shaped bikini top, cut the cups straight across from the center point to the outer edges. If you prefer a more rounded cup shape, you can gently curve the edges as you cut.
After cutting the cups, try them on to check the fit and make any necessary adjustments. Ensure that the cups sit comfortably against your bust and provide the desired level of coverage and support. If needed, trim any excess fabric or make additional cuts to achieve your desired shape and fit.
Remember, you can get creative with the design of your bikini top by experimenting with different shapes and cutting techniques. Don’t be afraid to think outside the box and make bold choices to create a unique and customized look.
Once you’re satisfied with the shape and fit of the bra cups, set them aside for the next step: attaching the straps. This is where your bikini top starts to take shape! So let’s move on to the next step and bring your creation one step closer to completion.
Step 4: Attaching the Straps
Now that you have the bikini top cups cut to your desired shape, it’s time to move on to the next step: attaching the straps. The straps are essential for providing support and ensuring a secure fit for your bikini top.
Begin by determining the desired length of the straps. You can use the original bra straps as a guideline or adjust them according to your preference. Measure and mark the length on each strap, ensuring that they are consistent.
If you want adjustable straps, attach adjustable bra strap sliders to the ends of the straps. These sliders will allow you to lengthen or shorten the straps as needed. Simply thread the straps through the sliders and securely stitch them in place.
Next, position the straps on the inside of the bra cups. Align them with the outer edges of the cups and secure them in place using pins. Be sure to position the straps symmetrically to achieve a balanced look.
Take the bra cups with the attached straps and try them on to check the fit and adjust if necessary. Make any adjustments to the strap placement to ensure a comfortable and supportive fit. Once you’re satisfied with the positioning, it’s time to sew the straps onto the bra cups.
Using a needle and thread in a color that matches the bra, carefully stitch the straps onto the cups. Start by making small stitches at the top of the cup and work your way down, securing the straps at regular intervals. Make sure the stitches are tight and secure for added durability.
Once the straps are securely attached, try on the bikini top again to ensure that the straps provide the desired level of support and adjustability. If needed, make any final tweaks to the strap placement or length before moving on to the next step.
Congratulations! You’ve successfully attached the straps to your bikini top, turning your bra into a fully functional swimwear piece. Now, it’s time to add some personal touches and style to your creation in the next step: customizing and decorating.
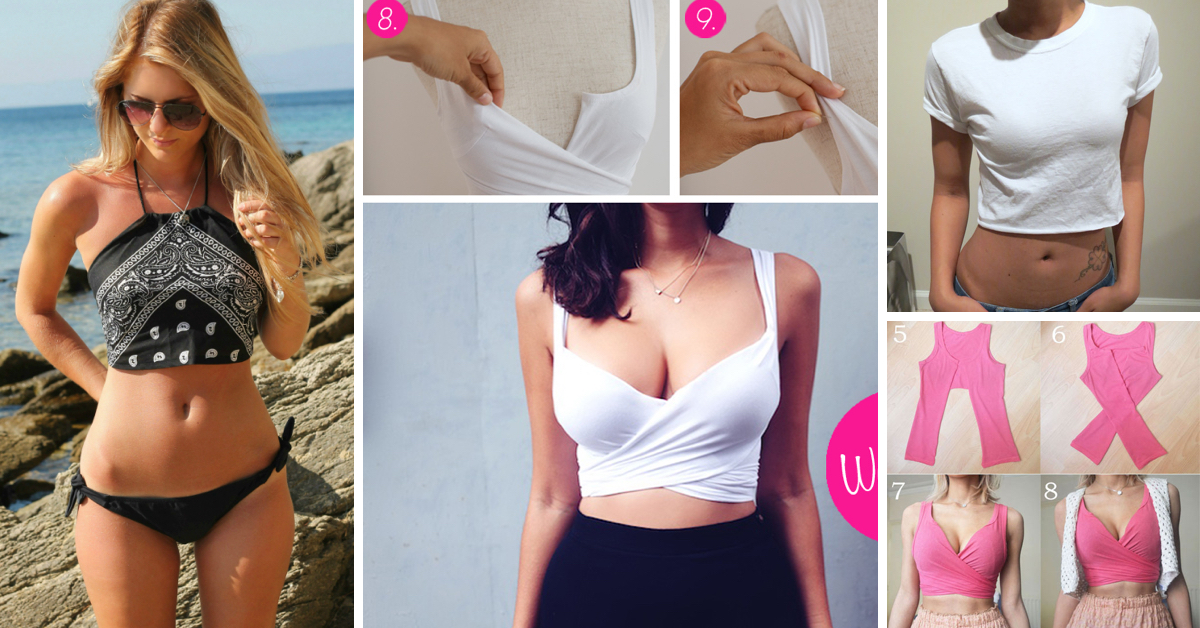
Step 5: Customizing and Decorating
Now that you have transformed your bra into a bikini top and attached the straps, it’s time to add your personal touches and style to make it uniquely yours. Customizing and decorating your bikini top allows you to express your creativity and create a design that reflects your individuality.
There are numerous ways to customize and decorate your bikini top. Here are a few ideas to get you started:
- Adding embellishments: Sew on decorative elements like sequins, beads, or rhinestones to give your bikini top a glamorous touch. You can create patterns or designs, or scatter them randomly for a playful look.
- Experimenting with fabric: Add fabric overlays or appliques to cover the bra cups or create unique patterns. Choose fabrics that complement the color and style of your bikini top.
- Using fabric paint or markers: Use fabric-friendly paints or markers to draw or paint designs directly onto the bra cups. You can create intricate patterns, write inspiring quotes, or even create your own artwork.
- Adding straps or ties: Enhance the design by attaching additional straps or ties to the sides, back, or front of the bikini top. This can give your creation a unique and stylish twist.
- Playing with patterns or prints: If you have fabric scraps or old bikinis, you can cut out shapes and glue or sew them onto the bra cups to create interesting patterns or prints.
These are just a few suggestions to inspire your creativity. Feel free to explore different techniques, materials, and ideas that resonate with your personal style. Remember, this is your opportunity to make your bikini top truly unique and reflect your personality.
Take your time with this step and enjoy the process of customizing and decorating your bikini top. Experiment, play around with different ideas, and let your creativity flow. The possibilities are endless!
Once you are satisfied with the customizing and decorating process, it’s time to move on to the exciting part: trying on your newly created bikini top!
Step 6: Trying on the Bikini Top
After all the hard work and creativity put into transforming your bra into a bikini top, it’s finally time to try it on! Trying on your bikini top is an important step to ensure that it fits well and is comfortable to wear.
Start by putting on the bikini top and adjusting the straps to your desired tightness. The straps should provide enough support without digging into your shoulders or feeling too loose. Make any necessary adjustments to the strap length or positioning to achieve the perfect fit.
Take a moment to admire your creation in the mirror and evaluate how the bikini top looks and feels on your body. Check that the cups provide the desired coverage and shape your bust nicely. Pay attention to any areas that may need further adjustments or enhancement.
Move around and perform a few basic movements to test the stability and comfort of the bikini top. Bend over, stretch your arms, and even simulate swimming motions to see how the top holds up. Ensure that it stays in place and provides the necessary support during movement.
If you notice any areas that need adjustments, such as loose straps or loose-fitting cups, take note of them and make the necessary modifications. It’s better to take the time to make small tweaks now than to be uncomfortable or worried about your bikini top’s fit later.
During this step, it is also important to consider your personal style and preferences. If you want to further customize or accessorize the bikini top, take note of the areas where you can add embellishments, fabric overlays, or additional decorative elements.
Remember, the most important aspect of trying on your bikini top is to assess its fit, comfort, and stability. The more comfortable and confident you feel in your creation, the more enjoyable your beach or pool days will be.
Once you are satisfied with the fit and appearance of your bikini top, it’s time for some final touches and tips to ensure it lasts for many swim seasons to come. Let’s move on to the next and final step: final touches and tips!
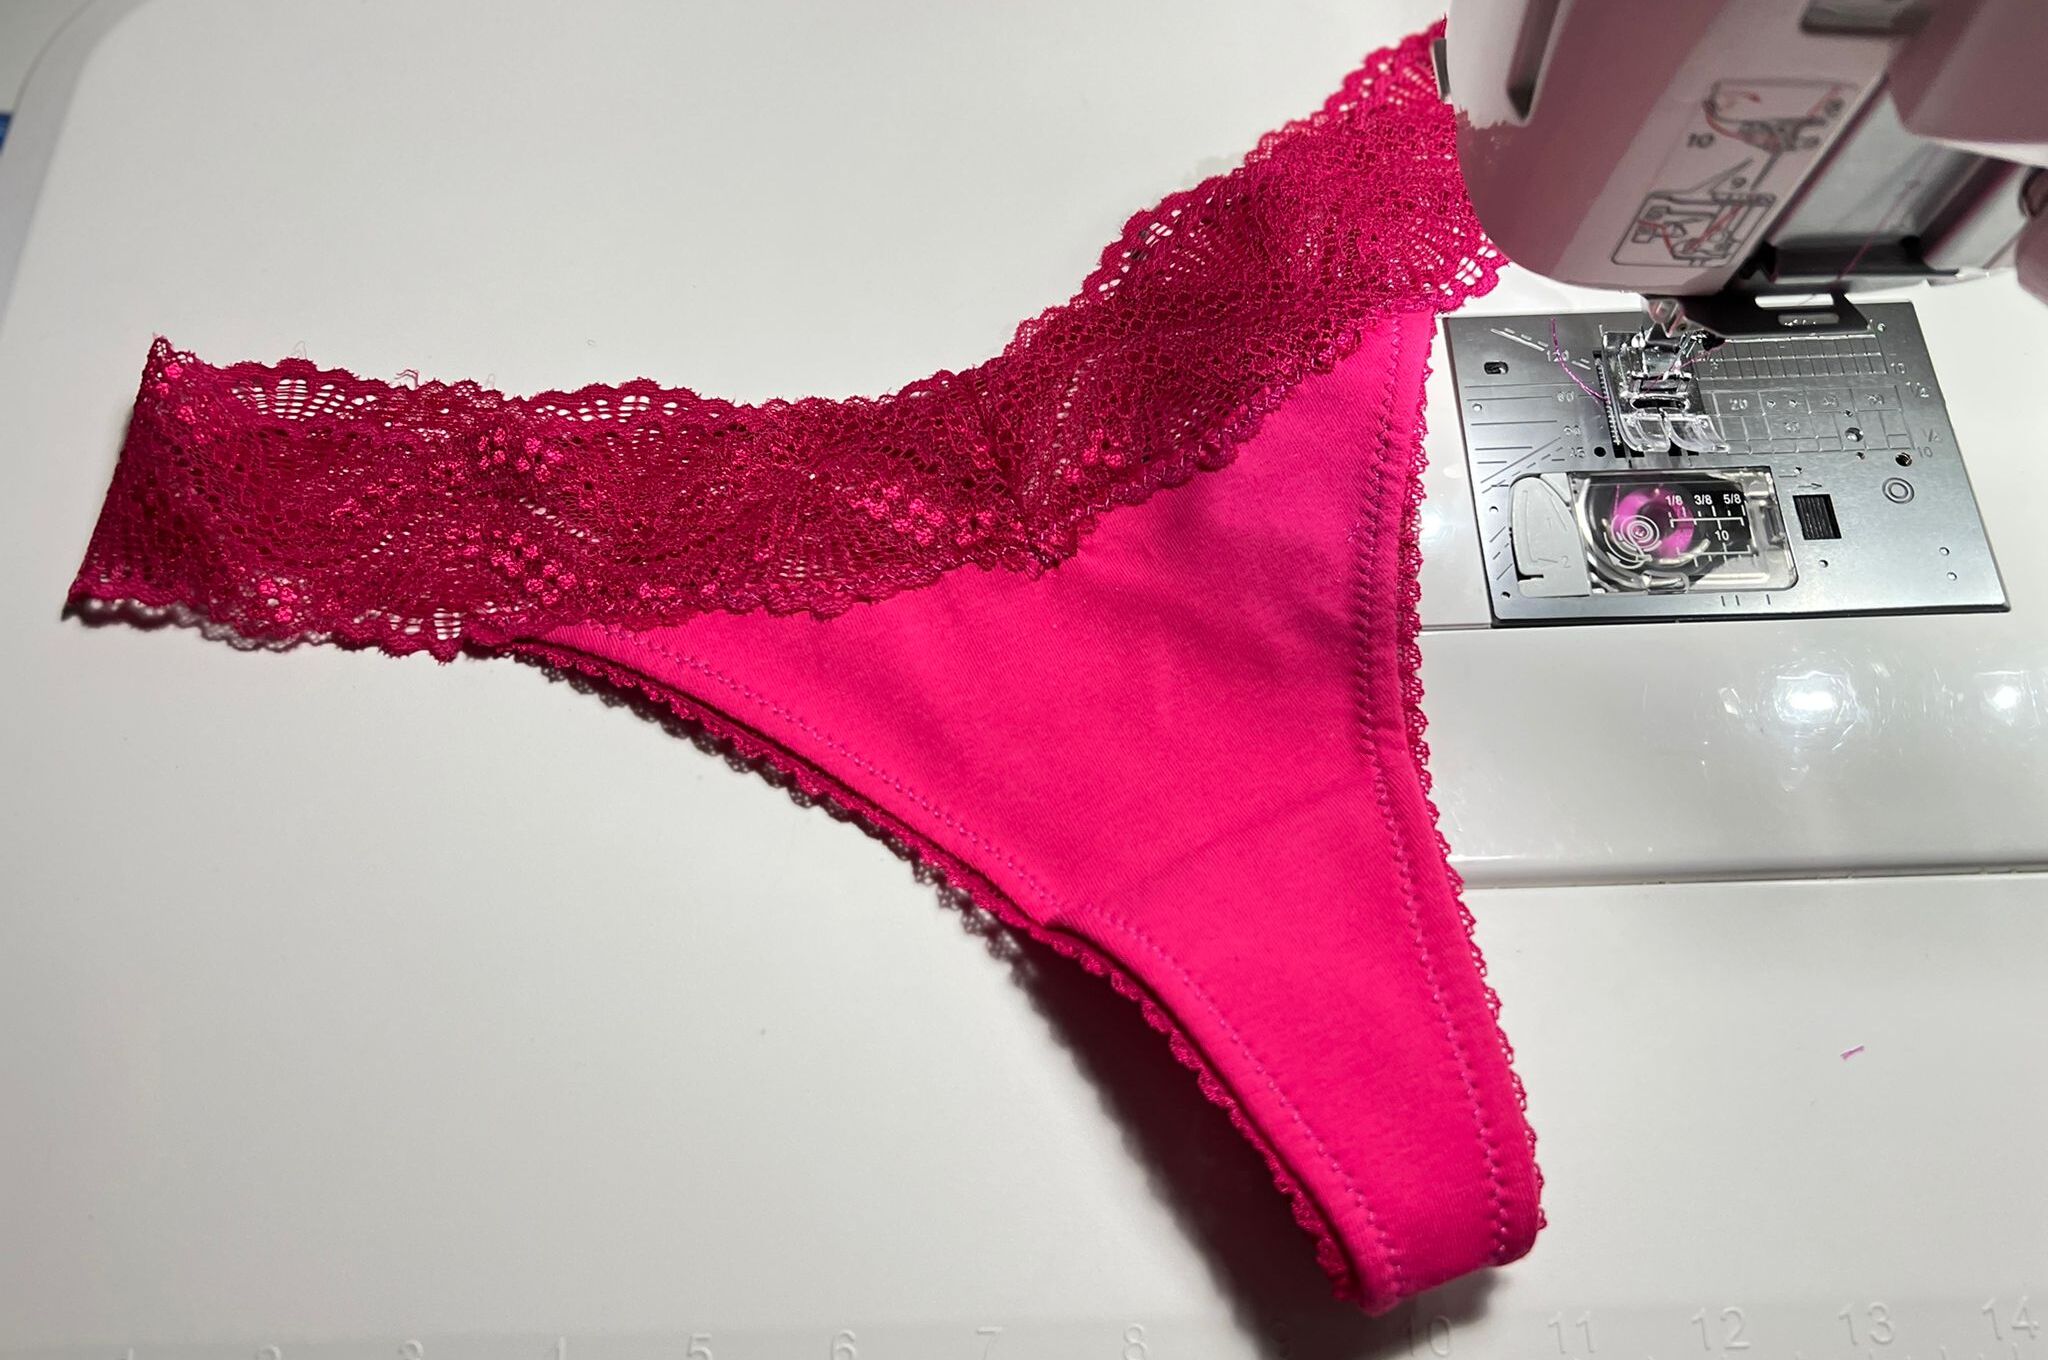
Step 7: Final Touches and Tips
Congratulations on creating your very own bikini top! As you reach the final step of this DIY project, there are a few final touches and tips to ensure that your bikini top is perfect and ready to be worn with confidence.
Firstly, double-check all the stitching and attachments to ensure they are secure. Go over the seams, straps, and any added embellishments to make sure everything is in place. Reinforce any loose stitches or reattach any loose elements to prevent them from coming undone while you’re wearing the bikini top.
Next, give your bikini top a gentle hand wash to remove any dirt or debris that may have accumulated during the crafting process. Use a mild soap or lingerie detergent and carefully wash the bikini top by hand. Rinse thoroughly and let it air dry. Avoid wringing or hanging the top as this can stretch or damage the fabric or straps.
When storing your bikini top, lay it flat or fold it gently to avoid creases or misshaping. If possible, keep it in a soft bag or pouch to protect it from snagging or damage. Store it in a cool, dry place away from direct sunlight to preserve the colors and fabric.
As with any swimwear, proper care and maintenance are key to extending its lifespan. Avoid wearing your bikini top in hot tubs or chlorinated pools for prolonged periods, as these conditions can accelerate wear and fading. Rinse the top thoroughly after each use to remove any salt, chlorine, or sand, which can cause damage or discoloration over time.
Lastly, don’t forget to rock your newly created bikini top with confidence! It’s a unique piece that showcases your creativity and personal style. Wear it proudly, and enjoy the compliments you receive on your one-of-a-kind swimwear!
Remember, this guide has provided you with the basics of making a bikini top out of a bra, but feel free to deviate from the instructions and get creative. Don’t be afraid to add your personal flair, experiment with different designs, and make it truly your own.
Now, go out and enjoy your summer adventures in your fantastic handmade bikini top. Whether you’re lounging by the pool or frolicking on the beach, you’ll stand out in your unique and stylish creation. Have a fantastic time, and happy swimming!
Conclusion
Congratulations on successfully creating your own bikini top out of a bra! This DIY project not only allows you to repurpose an underutilized bra but also gives you the opportunity to showcase your creativity and personal style. By following the steps outlined in this guide, you have transformed a simple bra into a unique swimwear piece that fits your body perfectly.
From selecting the right bra to measuring, cutting, and attaching the straps, each step was crucial in creating a bikini top that provides support, comfort, and style. Additionally, the customization and decorating steps allowed you to add your personal touches and make the bikini top truly one-of-a-kind.
As you try on the bikini top and evaluate its fit and appearance, don’t hesitate to make any necessary adjustments or modifications. Your comfort and confidence in wearing the bikini top are essential for a pleasurable swimming experience.
With proper care and storage, your handmade bikini top will provide you with many memorable beach or pool days. Remember to rinse it thoroughly after each use and store it in a cool, dry place away from sunlight to maintain its vibrant colors and quality.
Now that you have the skills and knowledge to create your own bikini top, feel free to experiment with different styles, fabrics, and embellishments. Let your imagination run wild, and create more unique swimwear pieces that reflect your personality and fashion preferences.
Thank you for joining us on this DIY journey. We hope you had as much fun creating your bikini top as we did guiding you through the process. Now, go ahead and show off your incredible creation with confidence and enjoy the summer in style!