Home>How-to Guides>For Women>How To Fix Bra Strap
For Women
How To Fix Bra Strap
Modified: August 5, 2023
Learn how to fix bra strap issues with these helpful tips and tricks specifically designed for women. Say goodbye to uncomfortable or slipping straps for good!
(Many of the links in this article redirect to a specific reviewed product. Your purchase of these products through affiliate links helps to generate commission for Under-tec.com, at no extra cost. Learn more)
Table of Contents
Introduction
Having a well-fitting and comfortable bra is essential for every woman. However, one common challenge many women face is dealing with bra straps that are either too loose, too tight, or continually slipping off their shoulders. Not only can this be frustrating, but it can also impact the overall support and fit of the bra.
But fear not! In this article, we will guide you through the process of fixing bra straps, whether you need to adjust the strap length, reattach a broken strap, replace a worn-out strap, or prevent straps from slipping. By following our step-by-step instructions and tips, you’ll be able to solve these common bra strap issues and ensure a comfortable and secure fit.
Before diving into the specific techniques, it’s important to understand that bra straps are a vital component of a well-designed bra. They provide support, distribute weight, and help lift the breasts. Therefore, maintaining the integrity and functionality of bra straps is crucial for overall bra performance.
Whether you’re dealing with bra straps that dig into your skin, fall off your shoulders, or simply need some adjustments, we’ve got you covered. Let’s get started on fixing those bra straps and making your daily wear more comfortable!
Step 1: Adjusting the Strap Length
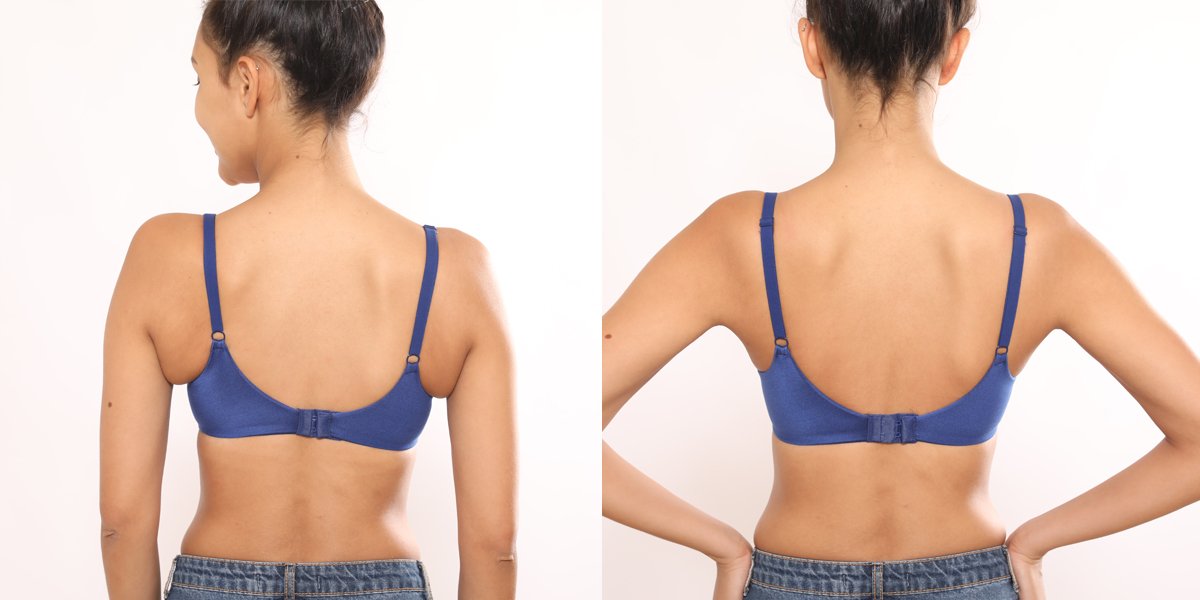
One of the most common bra strap issues is straps that are either too loose or too tight. Luckily, adjusting the strap length is a relatively simple fix that can improve the overall fit and comfort of your bra.
Here’s how you can adjust the strap length:
- Start by putting on the bra and standing in front of a mirror. Take note of how the straps are sitting on your shoulders.
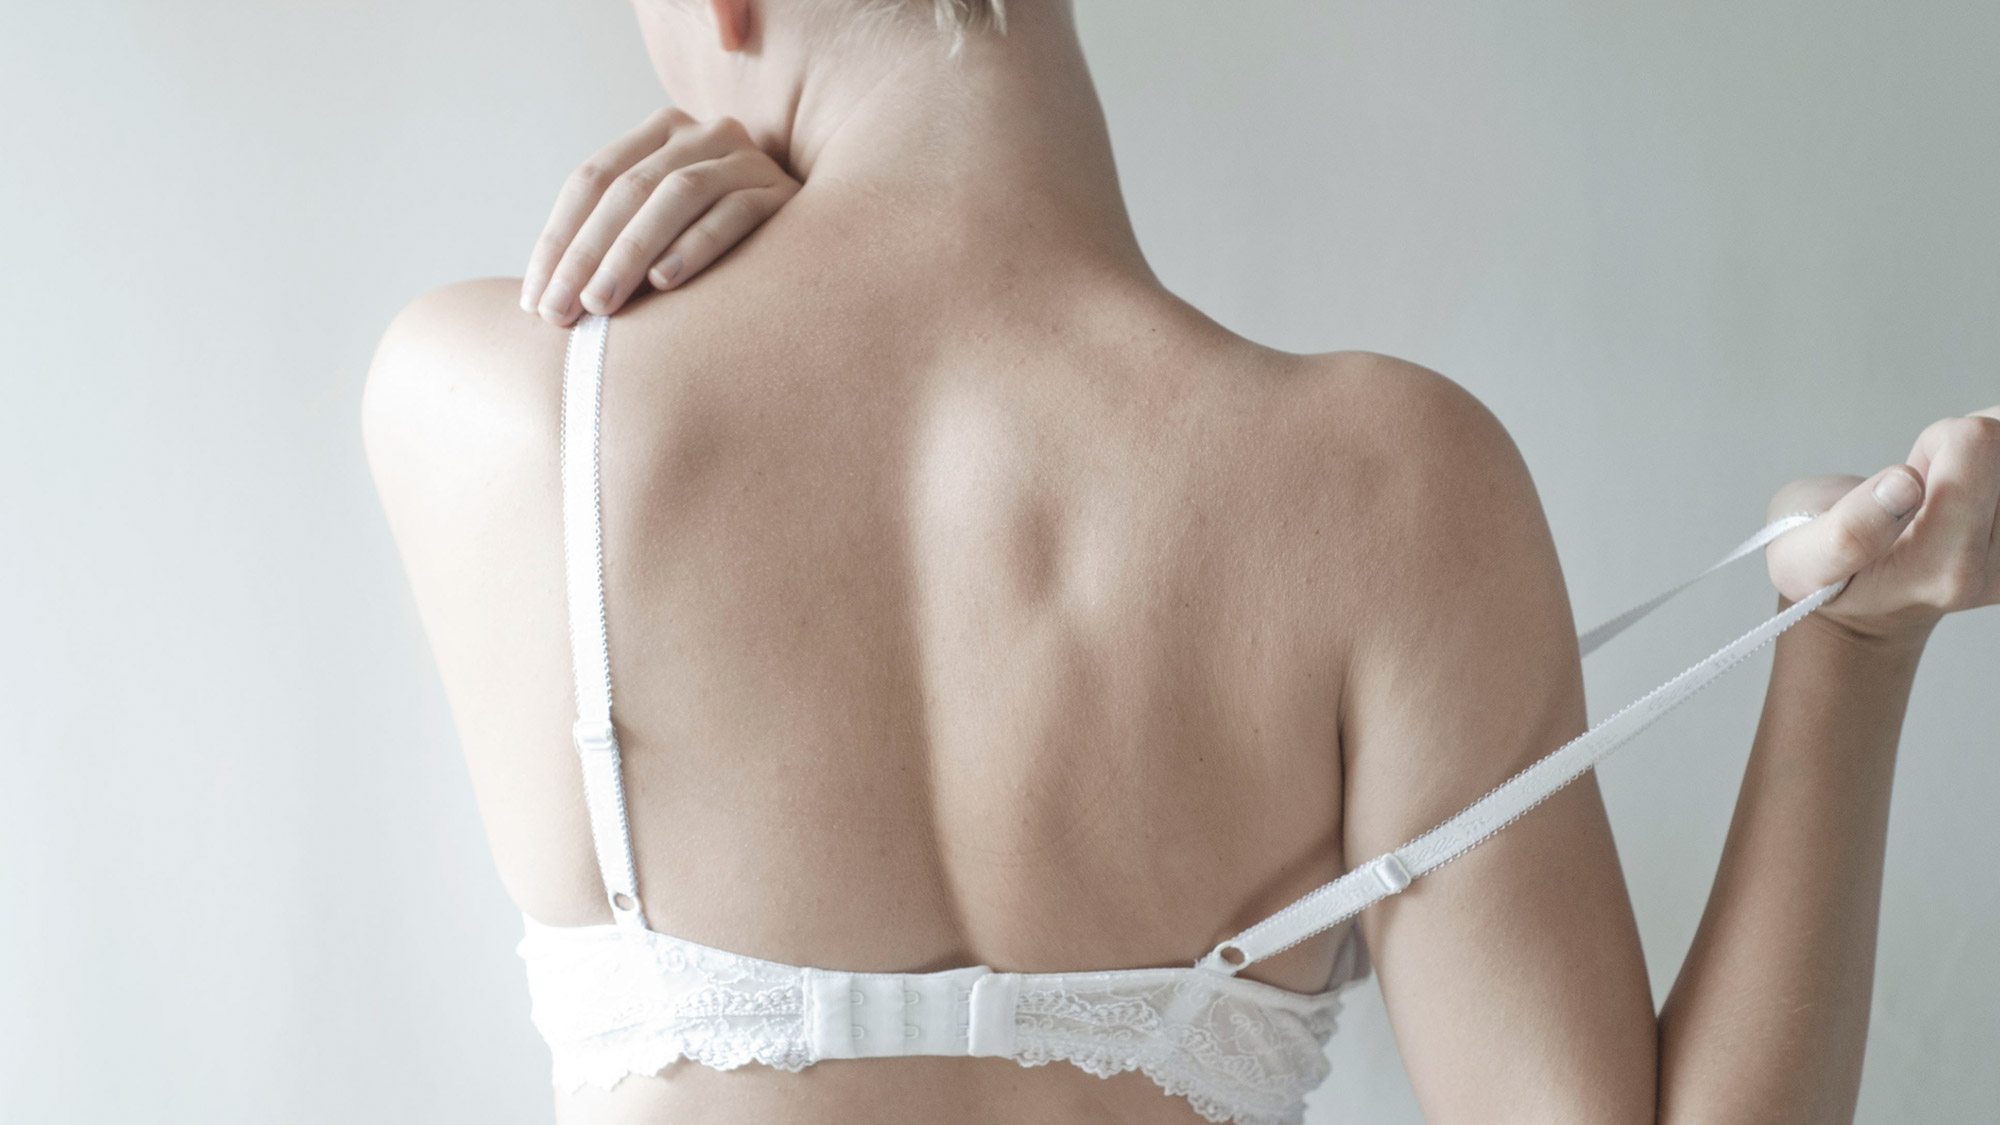
- If the straps are digging into your shoulders and leaving marks, they are likely too tight. Loosen them by sliding the adjusters downwards. Make sure to do this evenly on both sides to maintain balance.
- If the straps are sliding off your shoulders or feel too loose, tighten them by sliding the adjusters upwards. Again, ensure that you adjust both sides evenly.
- After making the adjustments, put your bra back on and check in the mirror to see if the strap length feels comfortable and secure.
- If necessary, fine-tune the strap length by repeating steps 2 and 3 until you achieve the desired fit.
It’s important to remember that everyone’s body is different, so what works for one person may not work for another. Take the time to experiment with different strap lengths and find the one that feels most comfortable and supportive for you.
Additionally, keep in mind that the elasticity of bra straps diminishes over time and usage. If you find that your straps constantly need adjustment or keep slipping, it may be a sign that it’s time to replace them.
By adjusting the strap length to suit your body’s needs, you can ensure a more comfortable and customized fit for your bra. Now that we’ve covered step one let’s move on to step two: reattaching a broken bra strap.
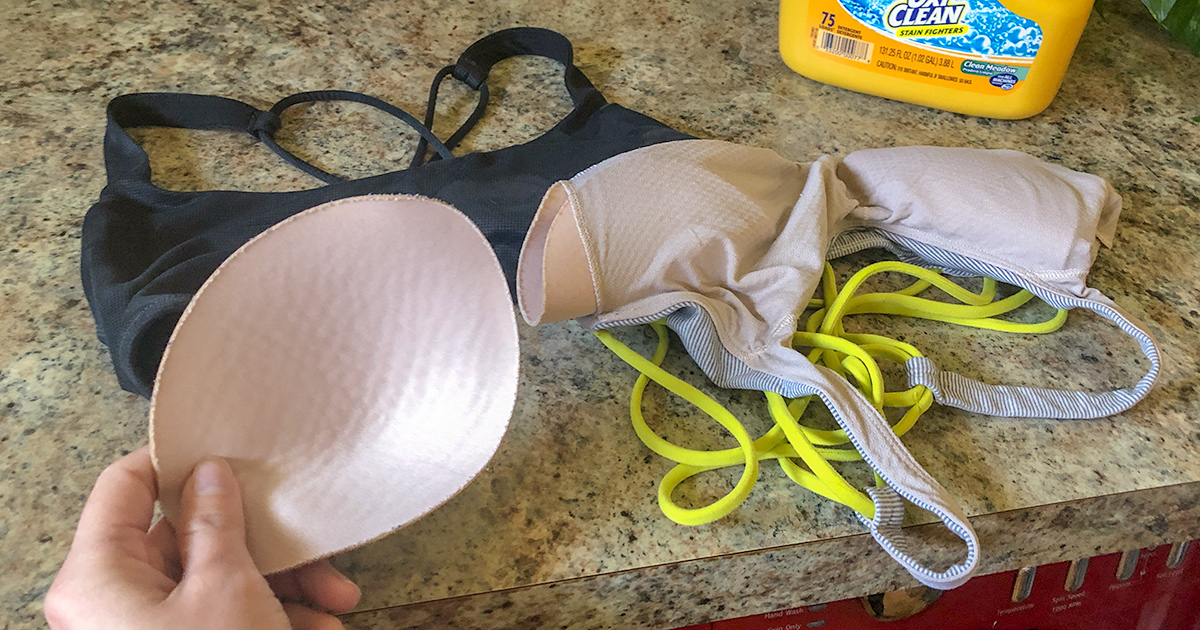
Step 2: Reattaching a Broken Bra Strap
If you’ve found yourself with a broken bra strap, don’t worry! With a few simple steps, you can quickly reattach the strap and restore your bra’s functionality.
Here’s what you need to do:
- Start by assessing the damage to your bra strap. Look for any loose threads or detached parts.
- Using a needle and thread that matches the color of your bra strap, begin the repair process. If the strap has come completely off, you may need to sew it back onto the bra. Start by threading the needle and tying a small knot at the end of the thread.
- If the strap is merely frayed or has a small tear, you can simply sew the damaged area to secure it. Make sure to reinforce the stitching to prevent further damage.
- If the strap has broken completely, position it in the desired location on the bra and use small, even stitches to attach it securely. Make sure to stitch through the strap and the bra fabric to create a strong bond. Continue sewing until the strap is fully reattached.
- Once the strap is back in place, give it a gentle tug to ensure it’s securely attached. If it feels stable, trim any excess thread and test the repaired strap by putting on the bra and moving around to check for comfort and support.
If you’re not confident in your sewing skills or don’t have the necessary supplies, you can also consider taking your bra to a professional tailor or seamstress for reattachment. They will have the expertise and tools to fix the strap effectively.
Remember, it’s essential to address broken bra straps promptly to prevent further damage and ensure a comfortable wearing experience. Now that we’ve covered step two, let’s move on to step three: replacing a worn-out bra strap.
Step 3: Replacing a Worn-out Bra Strap
If your bra strap is showing signs of wear and tear, such as fraying, stretching, or losing elasticity, it may be time to replace it. Replacing a worn-out bra strap is a simple and cost-effective solution to ensure the longevity and functionality of your favorite bra.
Here’s what you need to do:
- Start by assessing the condition of your bra strap. Look for signs of fraying, stretching, or any other damage that affects its performance.
- If the strap is removable, carefully detach it from the bra. This can usually be done by sliding it out of the loop or unhooking it from the back of the bra.
- Take note of the width, length, and configuration of the worn-out strap. This will help you find a suitable replacement that matches your bra.
- Visit a lingerie store or search online for replacement bra straps. Make sure to choose a strap that matches the width, length, and design of your old strap.
- Once you have the replacement strap, slide it into the loop or hook it onto the back of the bra, following the same configuration as the old strap.
- Ensure that the replacement strap is securely in place and adjust the length if needed using the strap adjusters.
- Put on the bra and make any necessary adjustments to achieve a comfortable fit.
If you’re unsure about finding the right replacement strap or need help with the process, don’t hesitate to consult a lingerie specialist. They can provide guidance and recommend suitable options for your specific bra.
By replacing worn-out bra straps, you can restore the support, comfort, and functionality of your bra. Now that we’ve covered step three, let’s move on to step four: fixing slipping bra straps.
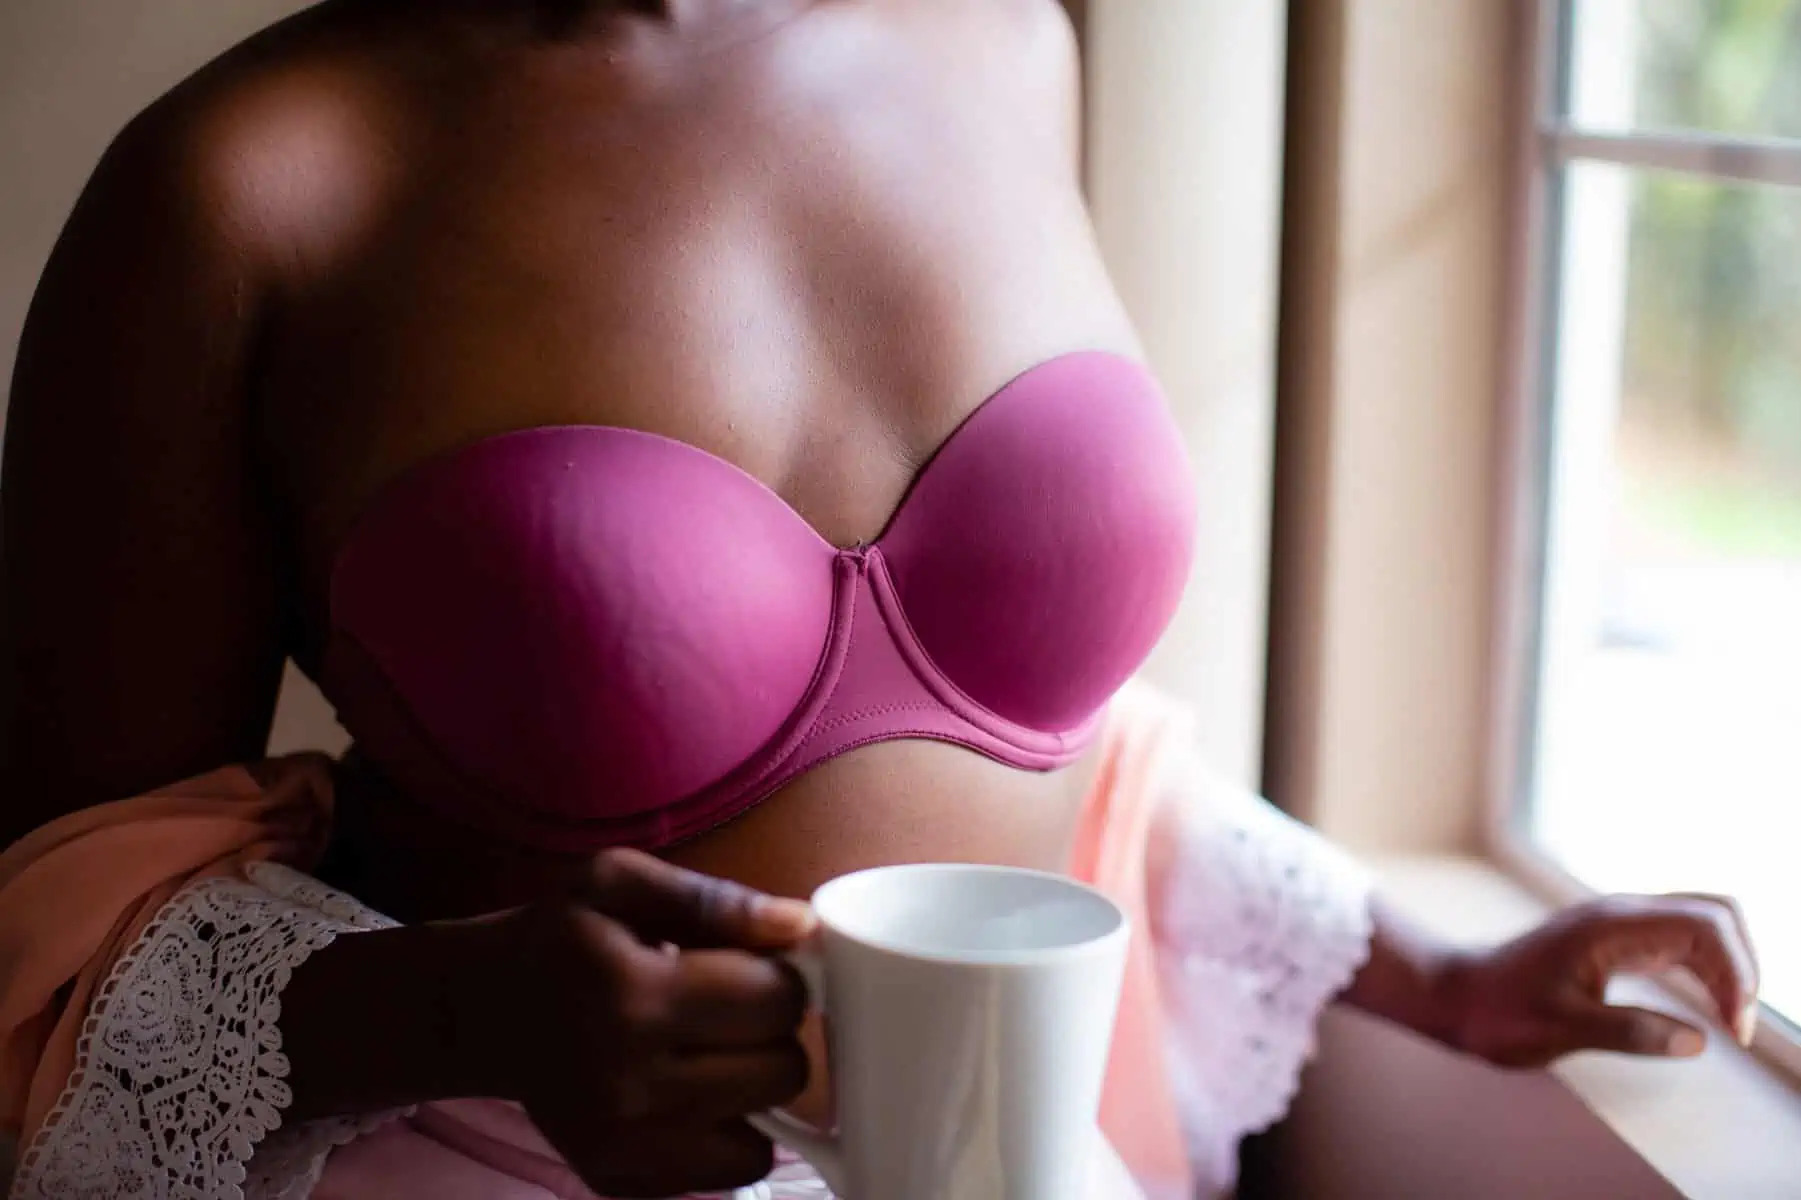
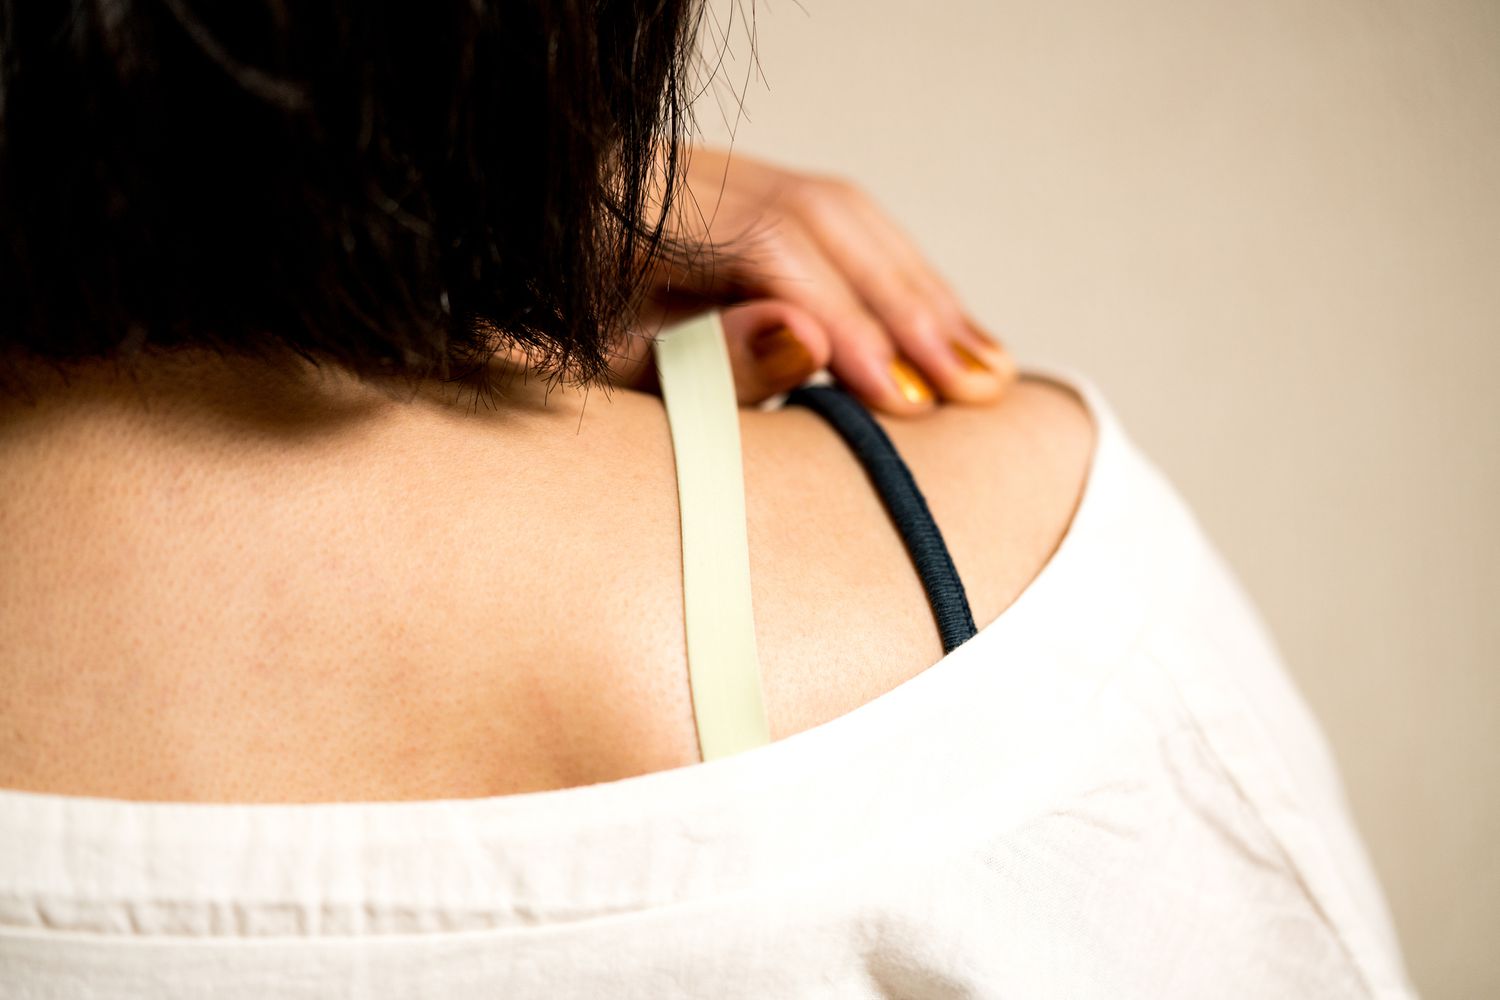
Step 4: Fixing Slipping Bra Straps
Slipping bra straps can be a common and frustrating issue that many women face. Not only can this be uncomfortable, but it can also affect the overall support and fit of your bra. Luckily, there are several solutions to help keep those straps in place.
Here’s what you can do to fix slipping bra straps:
- Start by assessing the fit of your bra. Make sure that the band is snug and supportive around your torso. A loose band can contribute to strap slippage.
- Make sure you’re wearing the correct bra size. Ill-fitting bras can often lead to strap issues.
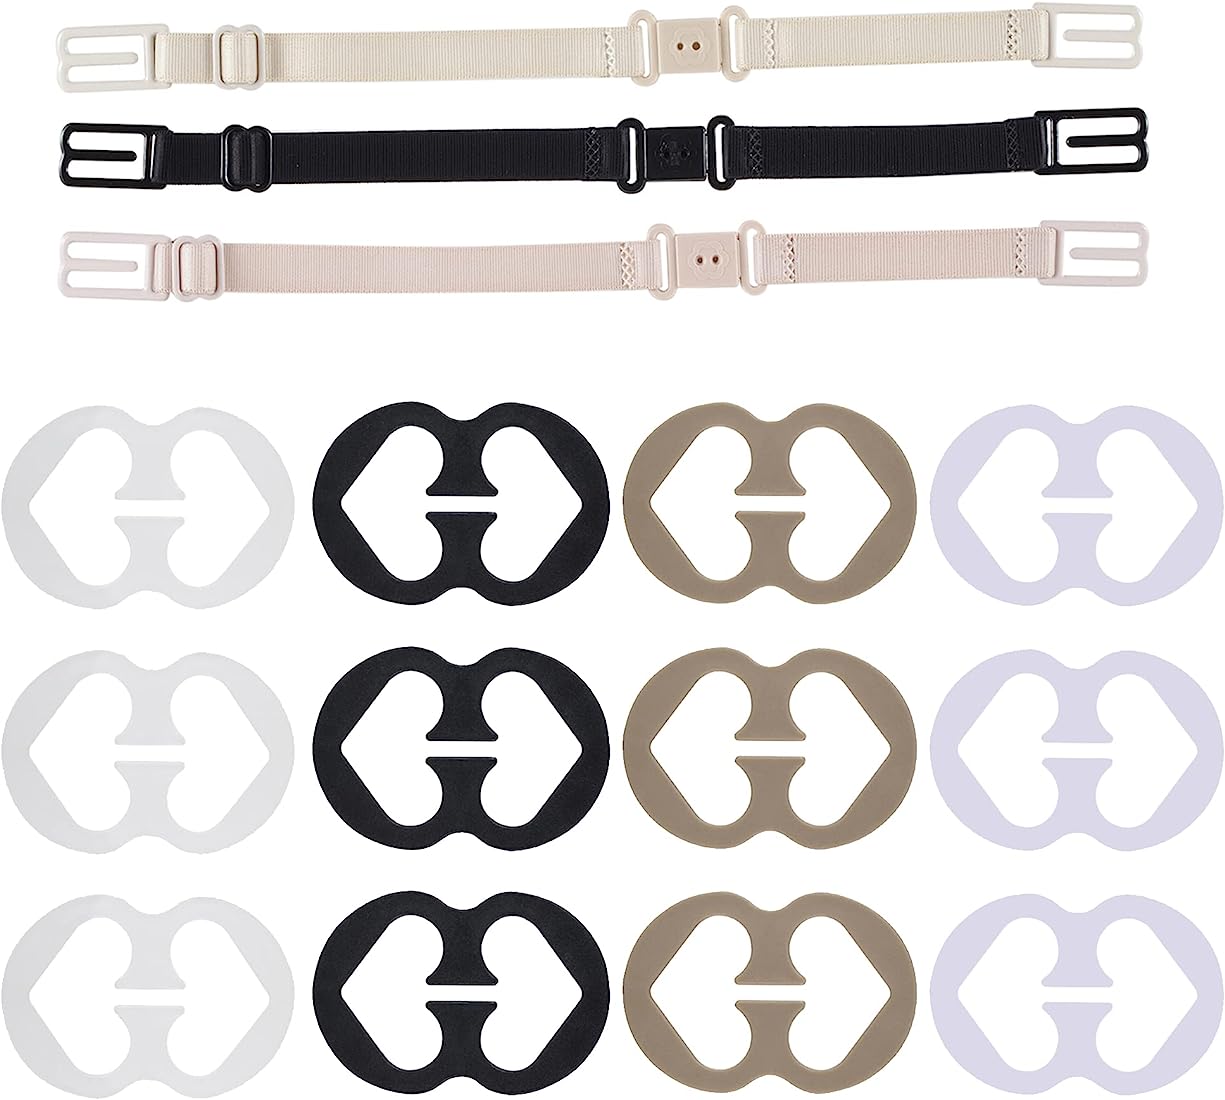
- Consider using bra strap holders or clips. These accessories can help gather and secure the straps in the center of your back, preventing them from slipping off your shoulders.
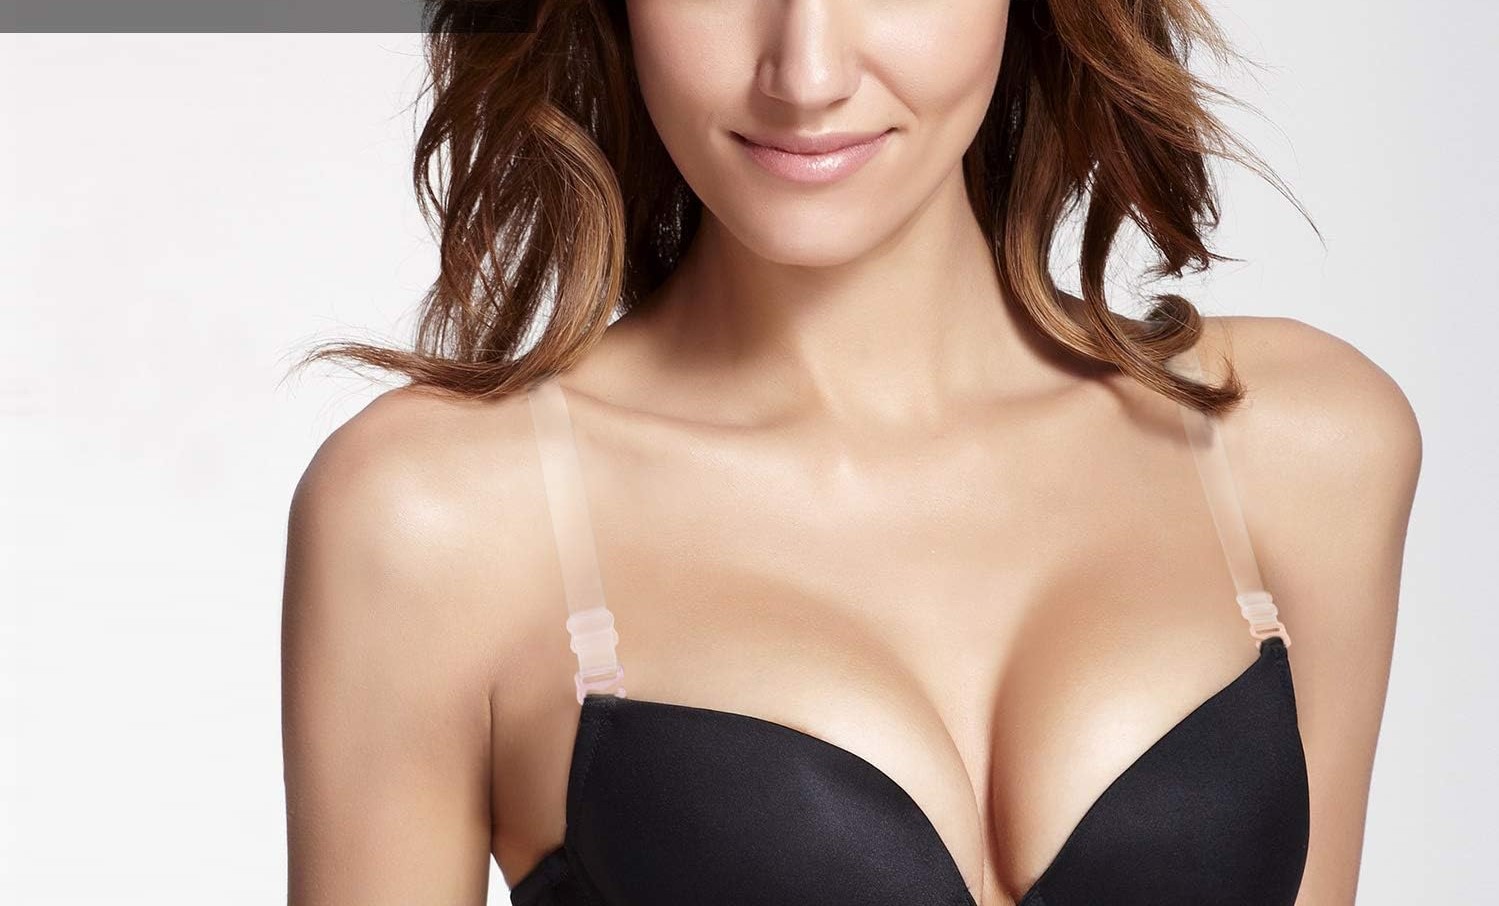
- Try using silicone bra strap cushions. These cushions adhere to your shoulders and provide extra grip, preventing the straps from sliding off.
- Opt for bras with wide and adjustable straps. Wide straps distribute the weight more evenly and are less likely to slip off your shoulders. Adjustable straps allow you to customize the fit and make necessary adjustments throughout the day.
- Consider using bralettes or sports bras with criss-cross or racerback designs. These styles distribute the weight of the breasts differently and can help prevent strap slippage.
- If the slipping persists, it may be time to invest in a new bra. Over time, bras lose their elasticity and may not provide the necessary support to keep the straps in place.
Experiment with different solutions to find what works best for you and your specific bra. Every woman’s body and bra needs are unique, so it may take some trial and error to find the perfect fix for your slipping bra straps.
Now that we’ve covered step four, let’s move on to step five: preventing bra strap irritation.
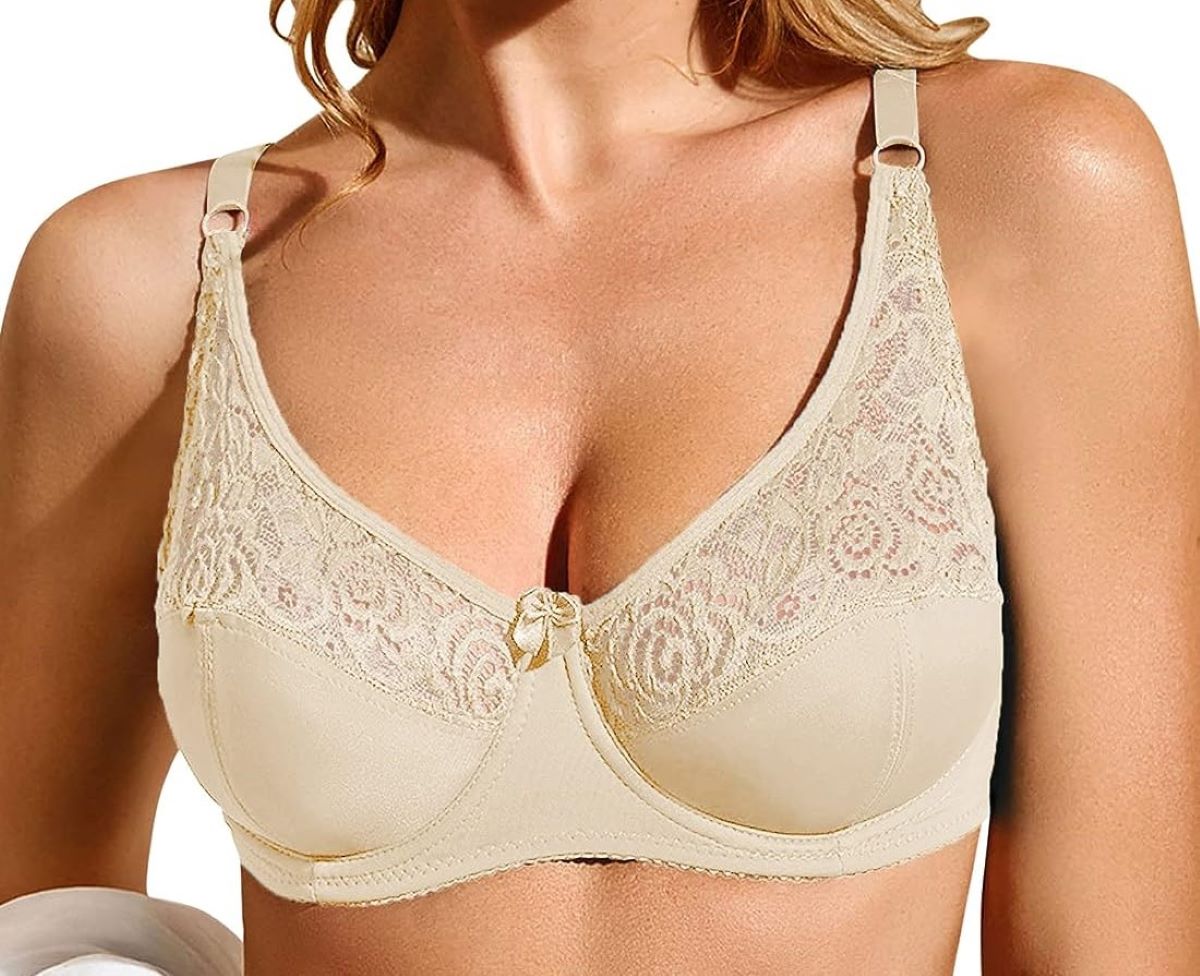
Step 5: Preventing Bra Strap Irritation
Bra strap irritation can be a common problem, causing discomfort, redness, and even skin chafing. Fortunately, there are measures you can take to prevent or minimize this irritation and ensure a more comfortable wearing experience.
Here’s how you can prevent bra strap irritation:
- Choose bras with soft and smooth fabric for the straps. Avoid bras with rough or textured straps that can rub against your skin.
- Consider wearing bras with padded or cushioned straps. These provide an extra layer of comfort and help alleviate pressure on your shoulders.
- Apply a thin layer of a non-greasy moisturizer or body lotion to your shoulders before putting on your bra. This can help reduce friction and irritation caused by the straps.
- Ensure that your bra straps are adjusted correctly. Straps that are too tight can dig into your skin, while straps that are too loose can slide and cause irritation.
- Avoid wearing bras with narrow straps for extended periods. The weight of your breasts can put pressure on the straps, leading to discomfort and irritation.
- Take breaks from wearing tight or restrictive bras. Give your skin a chance to breathe and recover from any potential irritation.
If you find that you consistently experience bra strap irritation despite trying these preventive measures, it may be worth considering different bra styles or consulting with a professional fitter to ensure you’re wearing the correct bra size.
Remember, your comfort and well-being are essential, and addressing bra strap irritation can greatly enhance your overall wearing experience.
Now that we’ve covered step five, we’ve outlined the necessary steps for fixing various bra strap issues. By following these steps and implementing the suggested solutions, you can ensure a more comfortable and supportive fit for your bras.
Conclusion
Having well-fitting and comfortable bra straps is crucial for every woman. Whether your bra straps are too loose, too tight, slipping off your shoulders, broken, or causing irritation, there are solutions to address these common issues. By following the steps outlined in this article, you can fix, replace, and prevent bra strap problems, ensuring a comfortable and supportive fit for your bras.
Remember to adjust the strap length to find the perfect fit for your body. If you have a broken bra strap, you can reattach it using simple sewing techniques or seek professional help. When your bra strap is worn-out, replace it with a suitable replacement strap to maintain the functionality of your bra. To prevent straps from slipping, consider using accessories, opting for specific bra styles, and ensuring the correct fit.
Additionally, take steps to prevent bra strap irritation by choosing soft and smooth fabric, using moisturizer, and wearing properly adjusted straps. If the irritation persists, explore different bra options or consult with a professional fitter to find the best solution for you. Your comfort and well-being are paramount when it comes to your bras, and addressing any uncomfortable or ill-fitting bra strap issues can significantly enhance your overall experience.
By utilizing these tips and techniques, you’ll be able to fix, replace, and prevent bra strap issues, ensuring a comfortable and supportive fit for your bras. Don’t let bra strap problems hold you back from feeling confident and comfortable in your daily wear. Take the time to assess and address any issues, and you’ll be well on your way to a more enjoyable bra-wearing experience.