Home>How-to Guides>For Women>How To Fix Bra Cup Curling Out
For Women
How To Fix Bra Cup Curling Out
Modified: August 26, 2023
Learn how to fix bra cup curling out in just a few simple steps. Our easy-to-follow guide is designed especially for women, helping you achieve a comfortable and flattering fit every time.
(Many of the links in this article redirect to a specific reviewed product. Your purchase of these products through affiliate links helps to generate commission for Under-tec.com, at no extra cost. Learn more)
Table of Contents
Introduction
Welcome to our comprehensive guide on how to fix the common problem of bra cup curling out. If you’ve ever experienced the frustration of your bra cups rolling or curving away from your body, you’re not alone. This issue can not only compromise the fit and support of your bra, but it can also affect your confidence and comfort throughout the day.
Understanding the causes of bra cup curling out is crucial in finding the right solutions to fix this problem. In this article, we will explore the various factors that can contribute to bra cup curling and provide step-by-step instructions on how you can address it.
Whether you’re wearing a traditional bra, a sports bra, or a bralette, the cup curling out can happen to anyone. It can occur on one side or both sides and can be caused by factors such as improper fit, wear and tear, or lack of support. By identifying the root cause, you’ll be able to take the necessary steps to ensure your bra cups stay in place and provide the support and comfort you need.
Join us as we delve into the world of bra cup curling and share effective techniques to solve this issue. From adjusting bra straps to using bra inserts, we have all the information you need to fix bra cup curling out and achieve a better fit and look.
Understanding the Bra Cup Curling Out Problem
Before we dive into the solutions, let’s take a closer look at why bra cup curling out occurs in the first place. When the cups of your bra start to roll or curve away from your body, it not only affects the aesthetic appearance but also compromises the overall support and fit.
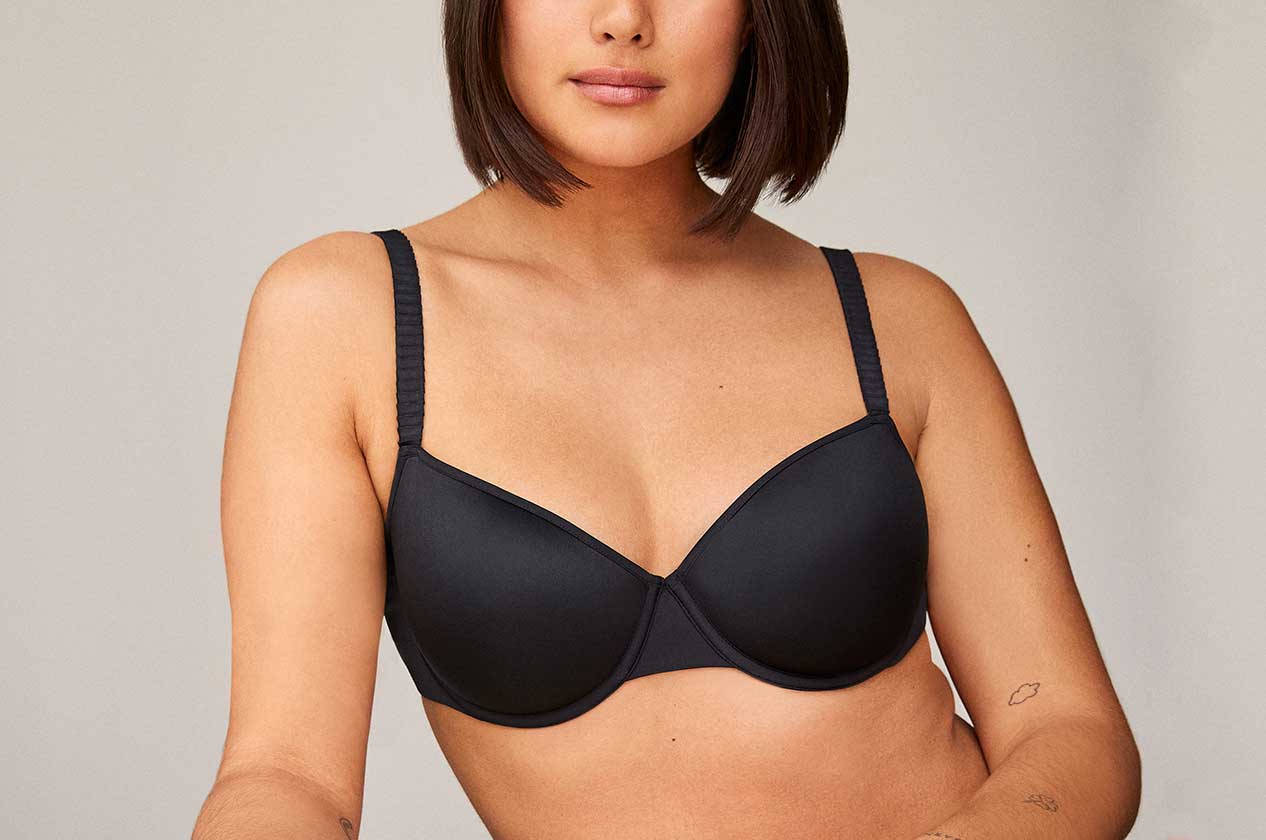
One of the main factors that contribute to bra cup curling out is an improper fit. If your bra is too small or too large, the cups may not be able to encapsulate your breasts properly, causing them to shift and push against the fabric. This constant pressure can lead to the cups curling out over time.
Another cause of bra cup curling out is wear and tear. Bras undergo a lot of strain, especially through regular use and multiple washings. Over time, the elastic and support structures of the bra can become stretched out and lose their shape, causing the cups to lose their natural form and start curling away from the body.
Furthermore, lack of support can also contribute to bra cup curling out. If the bra you’re wearing doesn’t provide adequate support, the weight and movement of your breasts can cause the cups to shift, resulting in curling. This lack of support can be due to improperly adjusted bra straps or worn-out elastic that no longer provides the necessary lift and hold.
Understanding the reasons behind bra cup curling out is essential in finding the right solutions. By addressing the underlying causes, you can not only fix the problem but also ensure a more comfortable and supportive bra-wearing experience.
Causes of Bra Cup Curling Out
There are several factors that can contribute to the problem of bra cup curling out. By understanding these causes, you can effectively address the issue and restore the proper fit and support of your bra.
- Improper Fit: One of the most common causes of bra cup curling out is an improper fit. If your bra is too small or too large, the cups may not be able to fully encase your breasts, resulting in the cups rolling or curving away from your body.
- Wear and Tear: Over time, bras can experience wear and tear from regular use and washing. The elastic in the bra may become stretched out or lose its elasticity, causing the cups to lose their shape and curl outwards.
- Lack of Support: If your bra lacks proper support, the weight and movement of your breasts can cause the cups to shift and curl out. This can occur if the bra straps are not adjusted correctly or if the elastic in the bra is worn out and no longer provides sufficient lift.
- Wrong Bra Style: Choosing the wrong bra style for your breast shape can also contribute to cup curling. Different bra styles are designed to provide support and shaping for specific breast shapes. If you are wearing a bra that is not suited to your breast shape, the cups may not fit properly and curl outwards.
- Incorrect Care: Improper care of your bras can impact their shape and contribute to cup curling. Washing them in hot water, using harsh detergents, or machine drying them can weaken the fabric and elastic, leading to the cups losing their shape and curling outwards.
By identifying the specific cause of your bra cup curling out, you can take the appropriate steps to address the issue and ensure a better fit and support. In the following section, we will provide you with effective methods to fix this problem and restore your bra’s functionality.
Steps to Fix Bra Cup Curling Out
If you’re experiencing the frustrating issue of bra cup curling out, don’t worry – there are several steps you can take to fix the problem. By addressing the underlying causes and making a few adjustments, you can restore the proper fit and support of your bra. Here are some effective methods to fix bra cup curling out:
- Adjusting Bra Straps: Start by adjusting your bra straps to ensure they are providing the right amount of lift and support. If your bra straps are too loose, your breasts may not be properly held in place, leading to cup curling. Tighten the straps evenly until you feel a comfortable level of support.
- Replacing Worn Bra Elastic: If the elastic in your bra has become worn out or stretched, it’s time to replace it. You can find replacement elastic at sewing or craft stores. Carefully remove the old elastic and sew in the new one, making sure to match the original tension. This will help restore the shape and support of your bra cups.
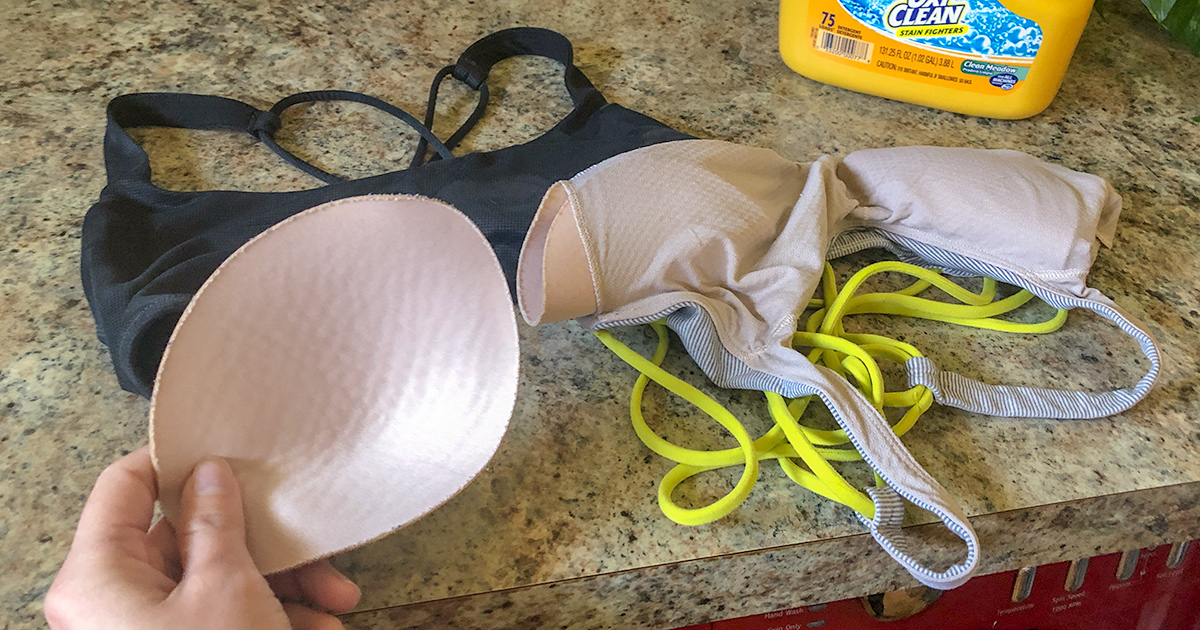
- Using Bra Inserts or Push-up Pads: Bra inserts or push-up pads can be a great solution for fixing cup curling. These removable inserts can provide additional shape and support to the cups, helping to keep them in the correct position. Place the inserts inside the cups of your bra for extra lift and to prevent them from curling outwards.
- Sewing Bra Cup for Added Support: If you’re handy with a needle and thread, you can reinforce the bra cup to prevent curling. Carefully sew along the edges of the cup using a strong thread to create additional support. This will help maintain the shape of the cup and prevent it from rolling or curving outward.
Remember, different methods may work better for different individuals, depending on their specific bra and body shape. It’s important to experiment with these methods and find the one that works best for you. By following these steps, you can say goodbye to the frustrating problem of bra cup curling out and enjoy a comfortable and well-fitting bra once again.
Method 1: Adjusting Bra Straps
One of the simplest and most effective ways to fix bra cup curling out is by adjusting your bra straps. When your bra straps are improperly adjusted, they can lead to a lack of support and cause the cups to shift and curl away from your body. Follow these steps to adjust your bra straps correctly:
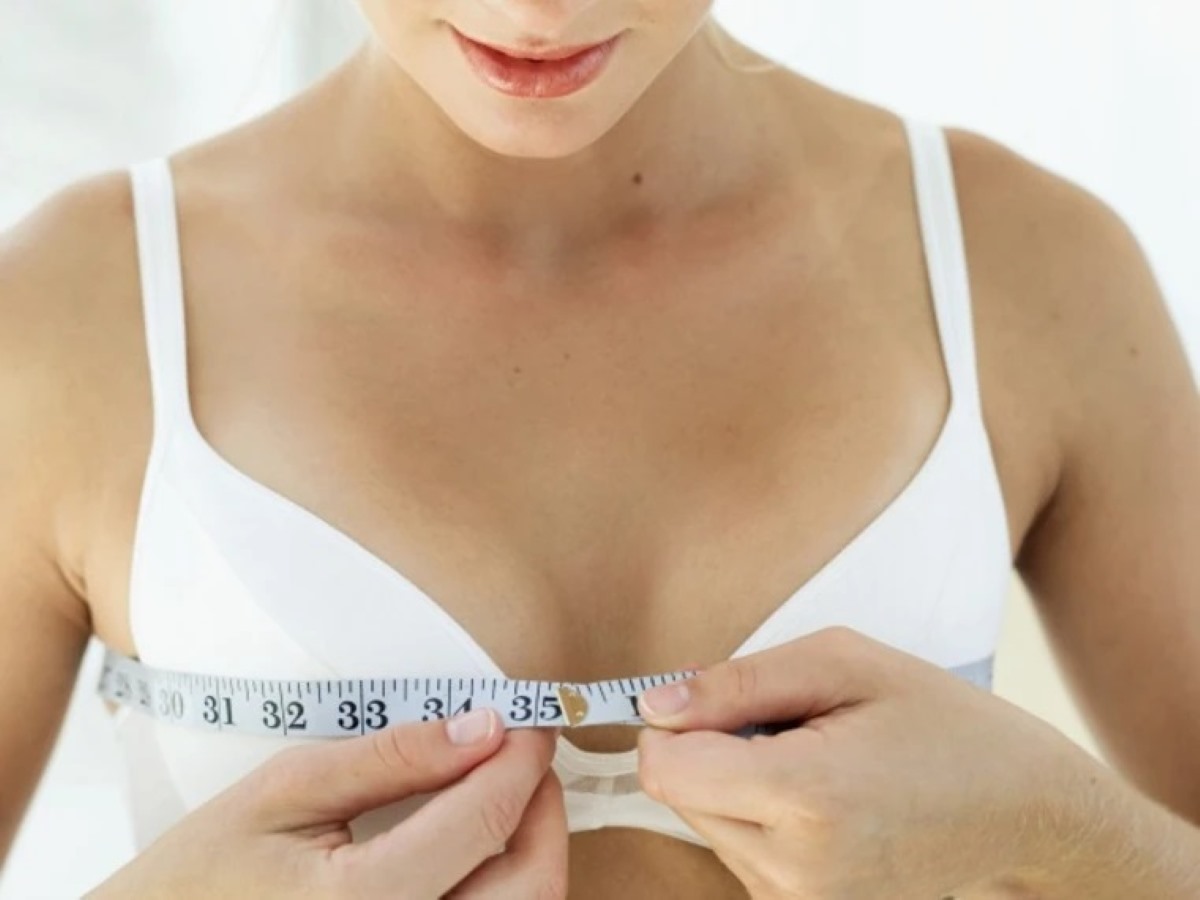
- Take a Proper Measurement: Before making any adjustments, ensure that you are wearing the correct bra size. If your bra is too small or too large, adjusting the straps may not solve the cup curling problem.
- Stand in Front of a Mirror: Stand in front of a mirror with your bra on and assess the fit. Look for signs of cup curling and note where the straps are positioned on your shoulders.
- Loosen Both Straps: Start by loosening both straps so that they are at their maximum length. This allows you to make adjustments more easily.
- Put Your Bra on Correctly: Put on your bra and position the cups so they fully encase your breasts. Adjust the band around your torso for a snug fit.
- Tighten the Straps: Gradually tighten the straps, making sure to do so evenly on both sides. Adjust them until you feel a comfortable level of support without any excess pressure on your shoulders. The straps should lift your breasts without digging into your skin or slipping off your shoulders.
- Check the Fit: Look in the mirror to ensure that the cups are centered on your breasts and there is no noticeable cup curling. Move around and perform some light activities to test the support and stability of your bra.
By adjusting your bra straps correctly, you can achieve the right level of lift, support, and comfort, which in turn helps prevent cup curling. Remember to check the fit of your bra periodically and readjust the straps as needed to maintain a proper fit.
Method 2: Replacing Worn Bra Elastic
If you notice that the elastic in your bra has become worn out or stretched, replacing it can be an effective way to fix cup curling. The elastic plays a crucial role in providing support and maintaining the shape of the cups. Follow these steps to replace worn bra elastic:
- Identify the Worn Elastic: Examine your bra and identify the areas where the elastic has become stretched or worn out. This is usually around the band and along the edges of the cups.
- Remove the Old Elastic: Carefully remove the old elastic using scissors or a seam ripper. Be cautious not to damage the fabric of the bra during this process.
- Choose the Right Replacement Elastic: Visit a sewing or craft store and select a replacement elastic that matches the original width and stretchiness of the bra’s elastic. It’s essential to choose an elastic that is suitable for lingerie and offers a good balance of support and comfort.
- Measure and Cut the Elastic: Measure the length of the area where you removed the old elastic. Cut the replacement elastic to the same length but leave a little bit of extra length on each end for sewing.
- Sew the Replacement Elastic: Use a needle and thread or a sewing machine with a zigzag stitch to sew the replacement elastic onto the bra. Sew along the edges of the cups and the band, ensuring that the elastic is securely attached but not overly stretched.
- Double Check the Fit: Once you’ve replaced the worn elastic, put on the bra and check the fit. Make sure the cups are centered on your breasts, and there is no noticeable curling. Adjust the straps if necessary to achieve the desired level of support.
Replacing worn bra elastic can rejuvenate your bra and restore its functionality. By ensuring that the elastic is in good condition, you can prevent cup curling and maintain the proper fit and support for a longer period of time.
Method 3: Using Bra Inserts or Push-up Pads
If you’re looking for a quick and easy solution to fix cup curling in your bra, using bra inserts or push-up pads can be highly effective. These inserts provide extra shape, lift, and support to the cups, helping to prevent them from curling outwards. Follow these steps to use bra inserts or push-up pads:
- Select the Right Inserts: Choose bra inserts or push-up pads that are suitable for your bra size and desired level of enhancement. These inserts come in various shapes, sizes, and materials, so select the ones that best fit your needs.
- Put on Your Bra: Put on your bra as you normally would, ensuring that the cups are centered on your breasts. Adjust the straps and band for a snug and comfortable fit.
- Insert the Pads: Depending on the style and design of the bra inserts or push-up pads, carefully place them inside the cups of your bra. Make sure they are positioned correctly and provide the desired shape and lift.
- Adjust for Symmetry: If you notice that one side of the bra has more curling than the other, you can use inserts of different thicknesses to achieve symmetry. This will help balance out the appearance and prevent further cup curling.
- Check the Fit: Look in the mirror to ensure that the cups are centered on your breasts with no noticeable curling. Move around and perform some light activities to test the support and stability of your bra with the inserts in place.
Bra inserts or push-up pads can be a simple yet effective solution for fixing cup curling. They offer an additional layer of support and shaping, helping to maintain the proper form and position of the cups. Experiment with different types of inserts to find the ones that work best for you and provide the desired level of comfort and fit.
Method 4: Sewing Bra Cup for Added Support
If you’re comfortable with sewing or willing to give it a try, sewing your bra cup can provide additional support and prevent cup curling. By reinforcing the cup structure, you can help maintain its shape and keep it from rolling or curving outwards. Follow these steps to sew your bra cup for added support:
- Gather Supplies: Gather the necessary supplies, including a needle, thread, and scissors. Choose a thread color that matches your bra for a seamless finish.
- Assess the Cup: Assess the cup that needs sewing. Look for areas where the fabric seems loose or where you notice the curling. These are the spots that need extra support.
- Pin the Fabric: Using straight pins, carefully pin the loose or curled areas of the cup to secure the fabric in place. Make sure to pin from the inside of the cup to avoid any discomfort or poking.
- Sew the Cup: Thread your needle and start sewing along the pinned areas. Use a small running stitch or a backstitch to provide strength and support. Sew close to the edge of the fabric to ensure a secure hold.
- Trim Excess Thread: Once you’ve finished sewing, carefully trim any excess thread. Make sure not to cut the fabric of the cup or any of the stitches you’ve made.
- Test the Fit: Put on the bra and check the fit. Look in the mirror to ensure that the cup stays in place without any noticeable curling. Move around and perform some light activities to test the support and stability of the bra cup.
By sewing your bra cup for added support, you can reinforce the structure and prevent cup curling. This method is especially useful for bras that have become stretched out or have loose fabric in the cups. It may require a bit of practice, but once mastered, it can significantly improve the fit and longevity of your bra.
Conclusion
The problem of bra cup curling out can be frustrating and affect the fit, comfort, and support of your bra. However, by understanding the causes and implementing the appropriate solutions, you can fix this issue and enjoy a well-fitting bra once again.
Throughout this article, we discussed various methods to address the problem of bra cup curling out. Adjusting the bra straps can provide better support and prevent the cups from shifting. Replacing worn bra elastic can restore the shape and functionality of the cups. Using bra inserts or push-up pads can offer additional lift and prevent cup curling. Sewing the bra cup can provide extra support and maintain its shape.
It’s important to remember that different methods may work better for different individuals, depending on their specific bra and body shape. It may require some trial and error to find the best solution for you. Pay attention to the fit and comfort of your bra as you apply these methods, and be willing to make adjustments as needed. Don’t be afraid to seek professional help or consult a bra fitting specialist if you’re unsure.
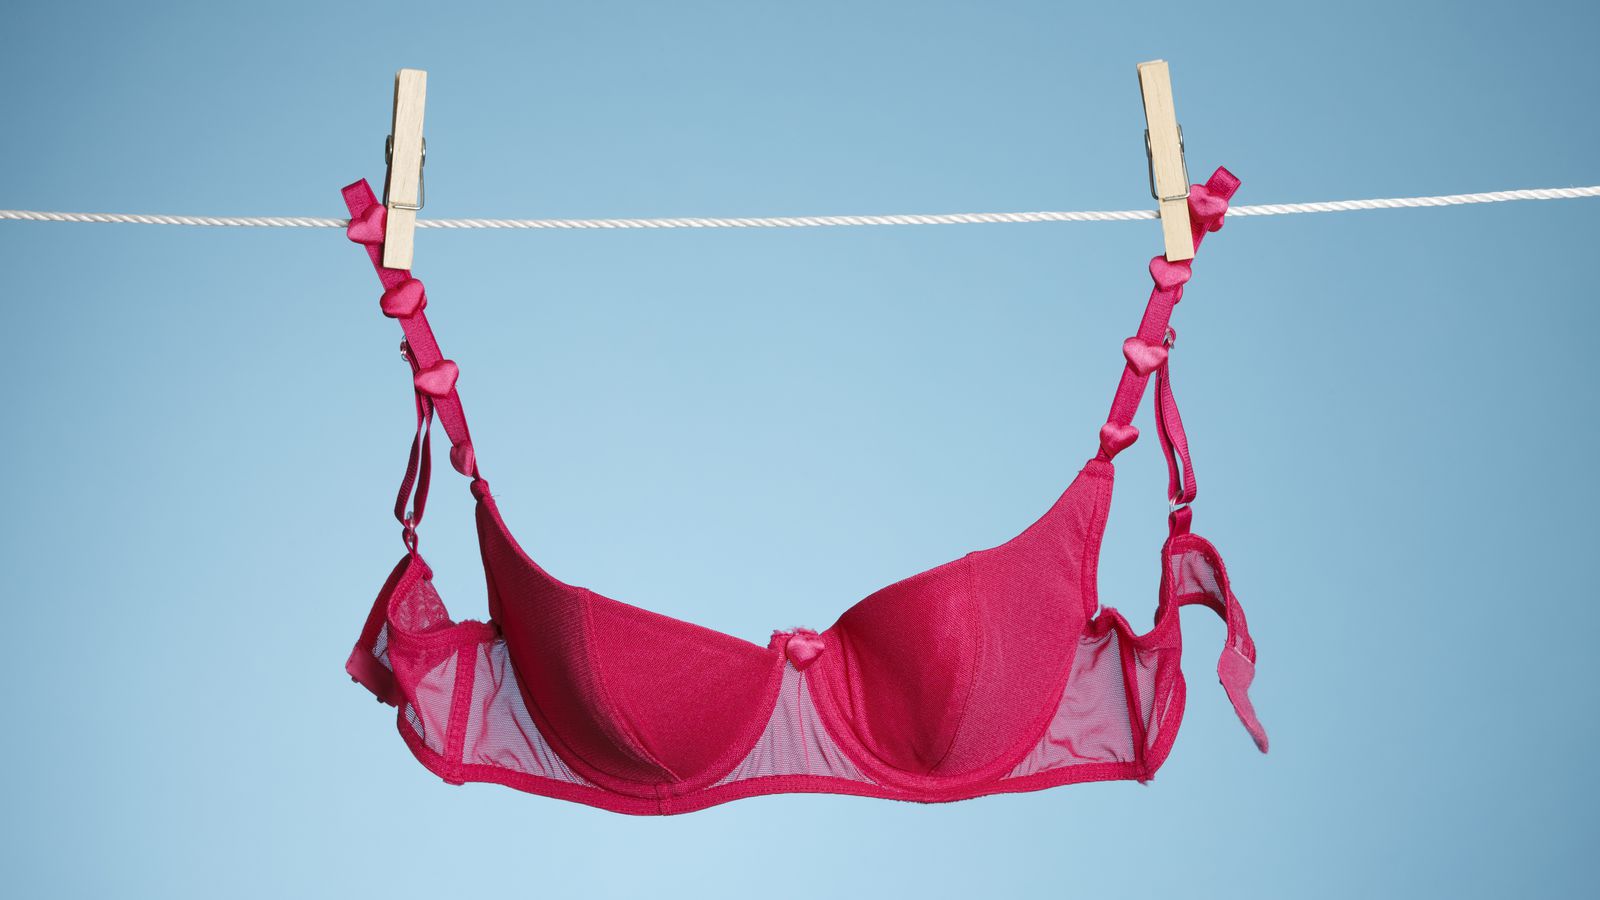
By taking the time to address the underlying causes and implementing the appropriate solutions, you can overcome the problem of bra cup curling out. Remember that regular maintenance and proper care of your bras, including hand-washing and air-drying, can also help prolong their lifespan and prevent cup curling.
Now armed with this knowledge, you can confidently tackle the issue of bra cup curling out and ensure a comfortable and supportive bra-wearing experience.