Home>How-to Guides>For Women>How To Fix Bra Underwire Poking Out
For Women
How To Fix Bra Underwire Poking Out
Modified: August 2, 2023
Discover how to fix bra underwire poking out with our helpful guide for women. Say goodbye to uncomfortable bras and enjoy maximum comfort.
(Many of the links in this article redirect to a specific reviewed product. Your purchase of these products through affiliate links helps to generate commission for Under-tec.com, at no extra cost. Learn more)
Table of Contents
Introduction
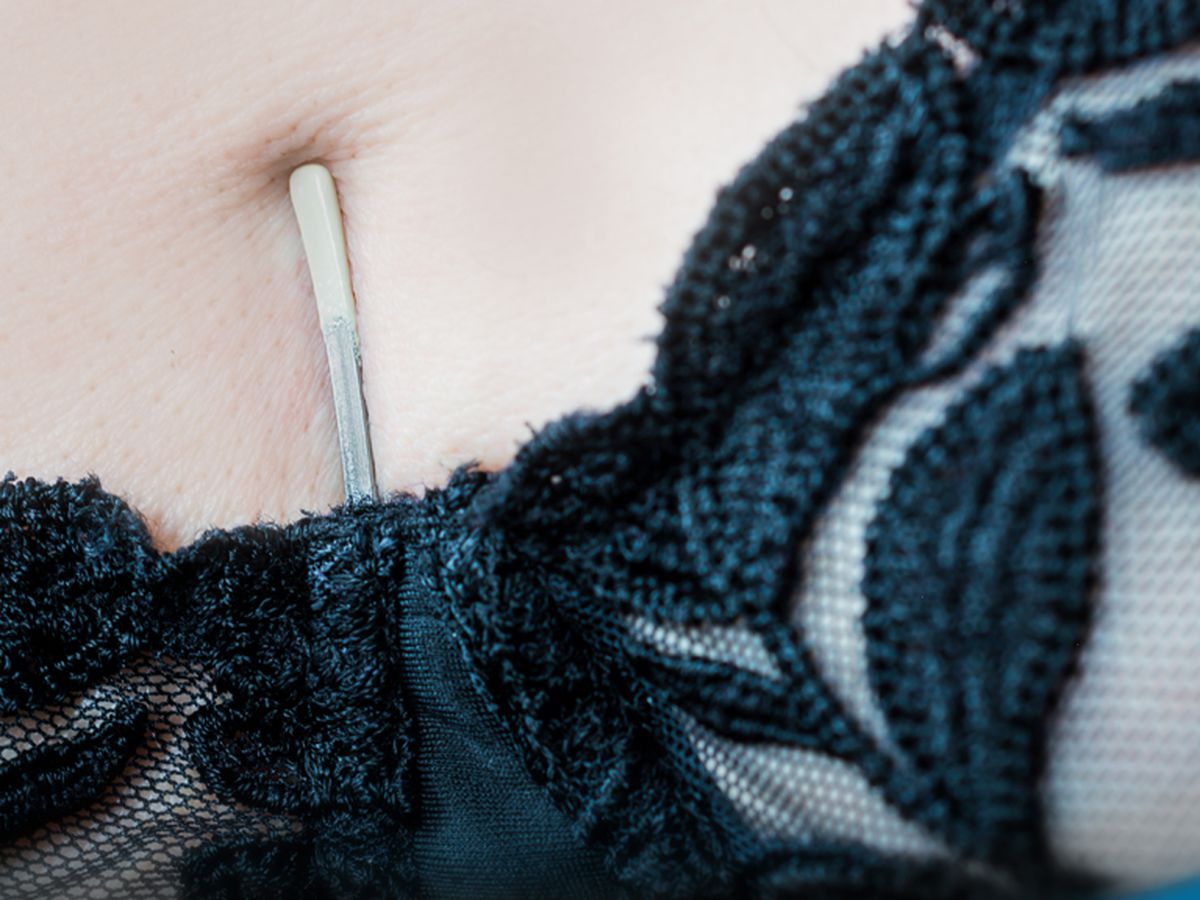
Are you tired of experiencing that annoying moment when the underwire in your bra starts poking out and causing discomfort? You’re not alone! It’s a common issue that many women face. But fear not, because in this article, we will guide you on how to fix a bra underwire poking out and save your favorite undergarment from ending up in the trash.
Underwire poking out is usually caused by wear and tear, incorrect washing techniques, or the wrong bra size. It can be incredibly frustrating, as a poking underwire can not only cause discomfort but also ruin the appearance and support of your bra. But before you throw it away or resign yourself to wearing ill-fitting or uncomfortable bras, we’ll walk you through some simple and effective steps to fix the problem and extend the life of your favorite bra.
By following our step-by-step instructions and using a few common tools and materials, you’ll be able to repair your bra underwire and restore it to its original comfortable and supportive state. We’ll cover everything from assessing the damage to reinserting the underwire and even preventive measures to avoid future issues.
So, grab your problem bras and let’s get started on fixing that pesky underwire poking out!
Common Causes of Underwire Poking Out
The unexpected appearance of an underwire poking out of your bra can be frustrating, but it’s important to understand the common causes behind this issue. By identifying the root cause, you can take preventive measures and prolong the lifespan of your favorite bras. Here are a few common reasons why your underwire may be poking out:
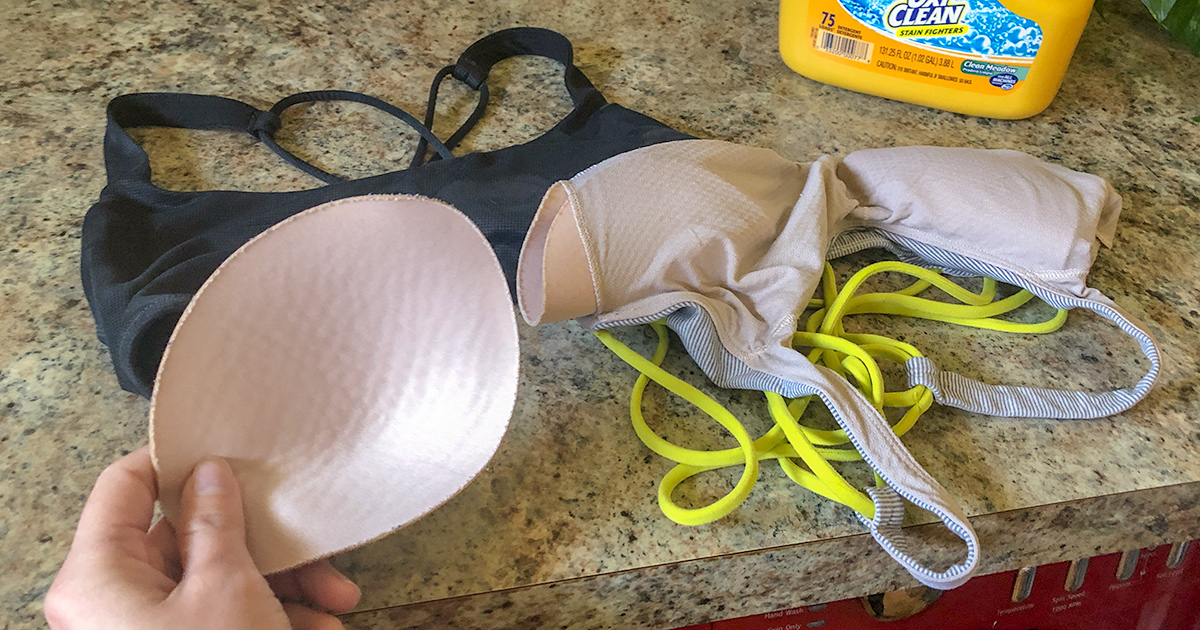
- Wear and Tear: Over time, the constant movement and pressure on the underwire can weaken the fabric surrounding it. This can result in small tears or holes, eventually causing the underwire to poke through.
- Incorrect Washing Techniques: Improper washing methods, such as using a washing machine on a high spin cycle or not using a lingerie bag, can cause excessive friction and damage to the bra’s delicate structure. This can lead to the underwire breaking free from its casing.
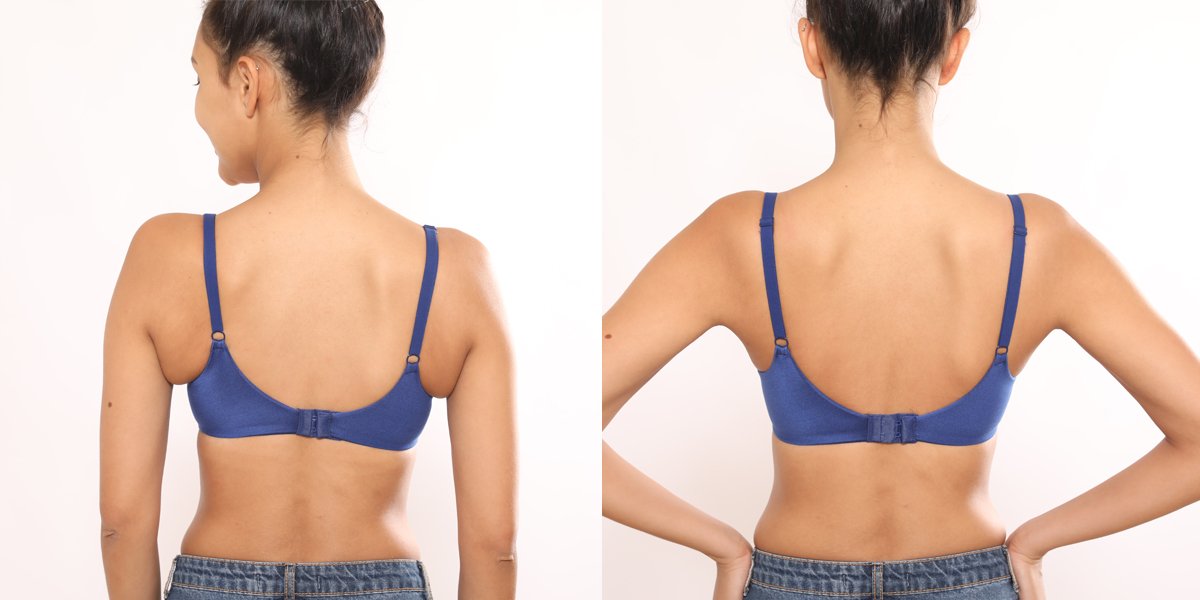
- Wrong Bra Size: Wearing an ill-fitting bra, whether it’s too tight or too loose, can put undue stress on the underwire. As a result, it may bend or distort, eventually poking through the fabric.
- Poor Quality Material: Bras made from low-quality materials may not have the necessary durability to withstand regular wear and tear. Underwires in these bras are more likely to come loose or break, leading to poking out.
Understanding these causes can help you address the issue at hand and prevent underwire poking out in the future. Whether you need to repair small holes or tears, reinforce weak points, or simply invest in better quality bras, we’ll walk you through the steps to fix the problem in the next sections. So, let’s get started on rejuvenating your bras and saying goodbye to those pesky underwire pokes!
Tools and Materials Needed
Before embarking on the journey of fixing your bra underwire, it’s important to gather the necessary tools and materials. Having these items at your disposal will make the repair process much smoother and more efficient. Here’s a list of what you’ll need:
- Needle and Thread: A sewing needle and thread are essential for repairing small holes, tears, or loose stitches in the bra fabric. Opt for a thread that matches the color of your bra to ensure a seamless repair.
- Scissors: Sharp scissors will come in handy for cutting thread, trimming fabric, or removing any loose threads. Make sure to use a pair of scissors designated for fabric to prevent damage.
- Safety Pins: Safety pins can be used to temporarily hold the underwire in place while you repair the bra. They are also useful for marking areas that need reinforcement or adjustment.
- Underwire Casing: If the original casing around the underwire is damaged or worn out, you may need to replace it. Underwire casing is available in fabric or plastic form and can be purchased at sewing supply stores or online.
- Pliers: Pliers can be handy for adjusting or reshaping the underwire. Use a pair with a comfortable grip to prevent any hand strain.
- Bra Extender (Optional): If your bra feels tight and contributes to underwire poking out, a bra extender can provide added comfort and support by adding extra inches to the band size.
- Bra Wash Bag: Using a bra wash bag protects your delicate bras from getting tangled or damaged during machine washing. It’s a worthwhile investment to keep your bras in good condition.
Having these tools and materials ready before you dive into the repair process will save you time and frustration. Once you have everything prepared, you’re ready to assess the damage and start fixing your bra underwire. So, let’s move on to the next step!
Step 1: Assessment and Inspection
Before you begin repairing your bra underwire, it’s essential to assess the damage and inspect the affected area. This step will help you understand the extent of the issue and determine the appropriate repair method. Follow these steps to assess and inspect your bra:
- Find a well-lit area: Choose a location with ample lighting to examine the bra and its underwire closely.
- Put on the bra: Wear the bra and adjust the underwire so that it sits in its normal position.
- Feel for the poking underwire: Gently press your fingers along the bra fabric, feeling for any sharp or protruding underwire.
- Inspect the fabric: Look for any holes, tears, or loose stitches in the area where the underwire is poking out. Examine the fabric lining and the underwire casing as well.
- Check the underwire: Examine the underwire itself for any signs of bending, distortion, or damage. It’s important to ensure that the underwire is still intact before proceeding with repairs.
- Take note of any weak areas: Look for any other weak points in the bra, such as areas with stretched fabric or loose stitching. These areas may require reinforcement to prevent future issues.
By thoroughly assessing and inspecting your bra, you’ll have a clear understanding of the damage and the necessary steps to repair it. Whether it’s a small hole, a loose underwire casing, or a bent underwire, this evaluation will guide you through the subsequent repair processes. So, let’s move on to the next step and repair those bra underwires!
Step 2: Repairing Small Holes or Tears
If you’ve identified small holes or tears in the fabric of your bra, don’t worry – they can be easily repaired. Follow these steps to fix small holes or tears and prevent the underwire from poking out:
- Clean and prepare the area: Ensure that the area around the hole or tear is clean and free from any loose threads. Trim any frayed edges with scissors.
- Thread the needle: Select a thread that matches the color of your bra and thread it through the needle. Double the thread to make it stronger and tie a knot at the end.
- Start stitching: Begin stitching from the inside of the bra, bringing the needle up through the fabric just above the hole or tear. Create small, even stitches as you go along, securing the edges together.
- Secure the end: Once you’ve stitched all the way around the hole or tear, secure the end of the thread by creating a knot with the last stitch.
- Trim excess thread: Carefully trim any excess thread, ensuring that you don’t cut the stitches you’ve just made.
- Optional: Reinforce with fabric patch: For added strength and durability, you can reinforce the repaired area with a small fabric patch. Cut a small piece of fabric and sew it over the repaired hole or tear, using a similar stitching method.
By following these steps, you’ll be able to mend small holes or tears in your bra, preventing the underwire from protruding. This repair method is a quick and effective way to extend the life of your bra and maintain its comfort and support. Now that you’ve repaired the small damages, let’s move on to reinforcing any weak points that could cause future underwire issues.
Step 3: Reinforcing Weak Points
As you continue with the repair process, it’s essential to reinforce any weak points in your bra to prevent future underwire poking out. These weak points can include areas with stretched fabric, loose stitches, or deteriorating underwire casing. Reinforcing these areas will help maintain the structural integrity of your bra. Follow these steps to reinforce weak points:
- Identify weak areas: Look for areas in your bra where the fabric is stretched, seams are coming undone, or the underwire casing is worn out. These are the weak points that need reinforcement.
- Thread the needle: Thread your needle with a strong thread that matches the color of your bra.
- Stitch across the stretched fabric: Starting from one side, gently gather the stretched fabric and stitch across it horizontally. This will help restore the shape and support of the bra.
- Secure loose stitches: If you notice any loose stitches, use your needle and thread to sew them back in place, ensuring they are secure.
- Replace worn-out underwire casing: If the underwire casing is damaged or worn out, carefully remove the old casing. Cut a piece of new underwire casing to the appropriate length and sew it securely onto the bra.
By reinforcing weak points, you’ll strengthen the overall structure of your bra and minimize the chances of underwire poking out. This step is crucial in extending the lifespan of your bra and ensuring its continued comfort and support. Now that you’ve reinforced any weak areas, it’s time to reinsert the underwire and complete the repair process.
Step 4: Reinserting the Underwire
After repairing any holes, tears, and reinforcing weak points in your bra, it’s time to reinsert the underwire. Follow these steps to ensure the underwire is properly placed and secured:
- Locate the underwire channel: Find the opening or channel specifically designed for the underwire along the bottom edge of the bra cup.
- Prepare the underwire: If the underwire has become misshapen or bent, use pliers to gently reshape it back to its original form. Ensure the ends are smooth and free from any sharp edges.
- Insert one end of the underwire: Starting at one end of the channel, carefully insert the underwire into the channel, pushing it towards the center of the bra cup.
- Slide the underwire to the other end: Gently slide the underwire through the channel, making sure it lies flat against the fabric and follows the natural curve of the bra cup.
- Check for proper placement: Once you’ve inserted the underwire, put the bra on and adjust the underwire so that it sits comfortably along your breast crease. Ensure that both underwires are placed correctly.
- Secure the underwire ends: To prevent the underwire from shifting or poking out, use a safety pin to secure the ends of the underwire to the fabric at the center of the bra cup. This will help keep it in place as you wear the bra.
By properly reinserting the underwire, you’ll restore the support and shape of your bra. Ensure that the underwire is comfortably aligned with your body, and secure the ends to prevent any movement or discomfort. With the underwire back in place, you’re almost done with the repair process. Let’s move on to the final step: implementing preventive measures to avoid underwire poking out in the future.
Step 5: Preventive Measures
Now that you have successfully repaired your bra underwire, it’s important to implement preventive measures to avoid future issues. By taking proactive steps, you can extend the lifespan of your bras and minimize the chances of underwire poking out. Here are some preventive measures to consider:
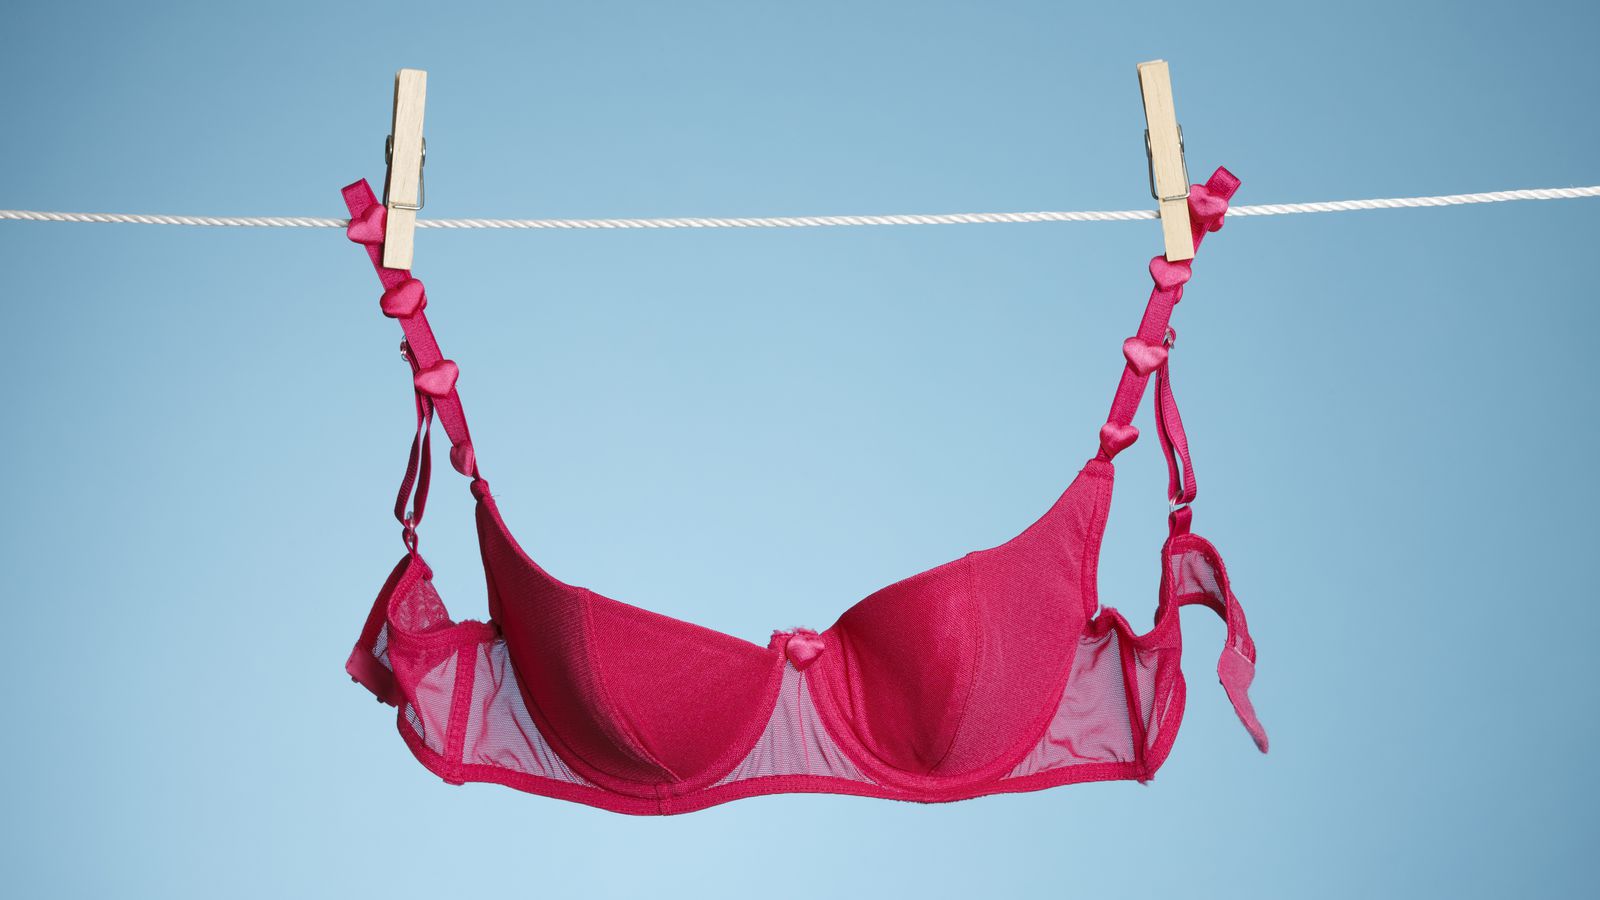
- Proper washing and care: Follow the care instructions provided by the manufacturer to ensure your bras are being washed and cared for correctly. Hand-washing or using a delicate cycle in a lingerie bag can minimize the stress on the underwire and fabric, reducing the risk of damage.
- Rotate your bras: Avoid wearing the same bra every day, as this can lead to accelerated wear and tear. By rotating your bras regularly, you distribute the stress more evenly, giving them time to recover their shape and elasticity.
- Find the right fit: Get professionally measured to determine your accurate bra size. Wearing the wrong size can cause unnecessary pressure on the underwire, leading to damage. Ensure that your bras provide proper support and comfort.
- Invest in high-quality bras: Consider investing in bras made from high-quality materials and construction. While they may be pricier, they tend to be more durable and have better support, reducing the likelihood of underwire poking out.
- Inspect and address issues promptly: Regularly inspect your bras for any signs of wear, stretching, or loose stitches. If you notice any issues, address them promptly to prevent further damage from occurring.
- Avoid excessive pulling or twisting: Be mindful of your movements when putting on or taking off your bra. Avoid pulling or twisting the fabric or underwire, as this can weaken the bra’s structure over time.
By following these preventive measures, you can maintain the integrity of your bras and prolong their lifespan. Remember to assess your bras periodically and address any issues promptly to avoid major repairs or replacements in the future. With your repaired bra underwire and these preventive measures in place, you’ll be able to enjoy comfortable and supportive bras for a long time to come.
Conclusion
Fixing a bra underwire poking out is a common challenge that many women face. The good news is that with the right tools, materials, and techniques, it’s possible to repair your bra and restore its comfort and support. By following the steps outlined in this article, you can successfully mend small holes, reinforce weak points, reinsert the underwire, and implement preventive measures to avoid future issues.
Remember to assess the damage, gather the necessary tools and materials, and take your time during the repair process. Carefully stitch and reinforce any weak areas, ensuring a seamless and secure repair. By reinserting the underwire properly and securing its ends, you can avoid any future poking or discomfort.
Implementing preventive measures, such as proper washing and care, finding the right fit, and investing in high-quality bras, will help maintain the integrity of your bras and minimize the risk of underwire poking out in the future. Regularly inspecting and addressing any issues promptly will also contribute to the longevity of your bras.
With these tips and techniques in mind, you can confidently repair your bras and extend their lifespan, saving money and reducing waste. Don’t let a poking underwire ruin your favorite bras – take matters into your own hands and fix them. Embrace comfort and support in your undergarments once again!