Home>How-to Guides>For Women>How To Fix Bra
For Women
How To Fix Bra
Modified: August 2, 2023
Learn how to fix your bra with these simple steps designed for women. Find easy solutions to common bra issues and ensure comfort and support.
(Many of the links in this article redirect to a specific reviewed product. Your purchase of these products through affiliate links helps to generate commission for Under-tec.com, at no extra cost. Learn more)
Table of Contents
Introduction
Every woman has experienced the frustration of a favorite bra becoming damaged or worn out. Whether it’s a broken strap, a missing hook, or a stretched band, these issues can leave you feeling unsupported and uncomfortable. But don’t worry, you don’t have to say goodbye to your beloved bra just yet!
Repairing your bra is a cost-effective and sustainable alternative to buying a new one. Not only will it save you money, but it will also help reduce waste and extend the lifespan of your undergarments. Plus, fixing your bra allows you to regain the comfort and confidence you once had.
In this article, we will walk you through the step-by-step process of fixing common bra issues. From repairing straps to adjusting the band size, we’ve got you covered. But before we dive into the nitty-gritty details, let’s take a quick look at the essential tools and materials you’ll need to get started.
Tools and Materials Needed
Before you begin repairing your bra, gather the following tools and materials:
- Needle and thread: Choose a thread color that matches your bra for a seamless repair.
- Scissors: A sharp pair of scissors will make it easier to trim excess threads and cut fabric if needed.
- Replacement hooks or fasteners: If your bra has a broken or missing hook, having replacements on hand will ensure a quick fix.
- Sewing kit: This includes items such as pins, a thimble, and a measuring tape for precise repairs.
- Underwire repair kit: If your underwire is poking out or broken, an underwire repair kit will come in handy. It typically includes caps and adhesive for a secure fix.
- Elastic: If your bra’s elastic is stretched out or worn, having extra elastic on hand will allow you to replace it and restore the bra’s fit.
- Bra extenders: If you need to adjust the band size of your bra, bra extenders will provide an easy solution.
- Fabric glue or fabric tape: For temporary fixes or securing small tears, fabric glue or fabric tape can be useful.
- Optional: Padded inserts or silicone enhancers: These can help provide extra support and shaping if needed.
Having these tools and materials readily available will make the bra repair process smoother and more efficient. Now that you’re fully equipped, let’s move on to the first step: assessing the damage.
Step 1: Assess the Damage
The first step in fixing your bra is to assess the extent of the damage. Examine your bra carefully and identify any issues that need to be addressed. Here are some common problems to look out for:
- Broken straps: Check if any of the straps are detached, torn, or frayed.
- Missing or broken hooks: Inspect the back of your bra for any missing or broken hooks that need to be replaced.
- Poking underwire: Feel around the cups to see if the underwire is poking through, broken, or misaligned.
- Stretched out elastic: Check if the elastic around the band or straps has lost its elasticity.
- Torn or worn fabric: Look for any tears or worn areas on the cups or band.
By carefully assessing the damage, you can prioritize which repairs need to be addressed first. Take note of the specific areas of concern and prepare yourself for the repair process.
Remember, not all repairs require the same level of skill or materials. Some minor issues can be easily fixed with just a needle and thread, while others may require a replacement part or additional tools. Assessing the damage allows you to determine the best approach for each specific problem.
Once you have a clear understanding of the repairs needed, you’ll be ready to move on to the next step: repairing straps or hooks.
Step 2: Repairing Straps or Hooks
Straps and hooks are two crucial components of a bra that can often become damaged or need repair. Depending on the issue, you may be able to fix them yourself with a few simple steps.
If you have a broken or detached strap, start by examining the area where it connects to the cup and the back of the bra. If the strap has simply come out of place, you can easily reattach it by using a needle and thread. Make sure to sew it securely, reinforcing the stitches for added durability.
If the strap is torn or frayed, you may need to replace it entirely. Measure the length of the original strap and cut a new piece to match. Sew the new strap in place, ensuring that it is securely attached to both the cup and the back of the bra.
When it comes to fixing hooks, the process will depend on whether the hook is missing or broken. If a hook is missing, you can easily replace it with a new one from your sewing kit or a spare hook you have on hand. Simply detach the remaining hooks from the bra and sew the replacement hook onto the fabric.
If the hook is broken, you may need to use a small piece of fabric or an alternative fastening method. Cut a narrow strip of fabric and sew it onto the area where the broken hook was located. This will serve as a makeshift fastener, allowing you to continue wearing the bra.
Whether you’re repairing straps or hooks, remember to sew any repairs securely and reinforce them if needed. This will ensure that your bra remains comfortable and supportive throughout the day. With the straps and hooks fixed, you can move on to the next step in the repair process.
Step 3: Fixing Underwire Issues
Underwire in a bra provides shape, support, and structure. However, sometimes the underwire may poke through the fabric or become misaligned, causing discomfort and potential damage to the bra. If you’re experiencing underwire issues, here’s how you can fix them:
If the underwire is poking through the fabric, you can use an underwire repair kit to solve the problem. Start by cleaning the area around the poke and applying an underwire cap to secure the wire in place. Use fabric glue or a needle and thread to reinforce the area and prevent further poking.
If the underwire is broken or misaligned, carefully remove it from the fabric. Measure and cut a new piece of underwire that matches the length of the original. Insert the new underwire through the designated channels or casing, ensuring it sits comfortably against your body. Sew the ends of the casing or use underwire caps to secure the wire in place.
If your bra doesn’t have underwire channels, you can create new ones using fabric or ribbon. Sew the fabric or ribbon onto the cups, ensuring that it is secure and provides adequate support.
Remember, it’s essential to use materials that are flexible and comfortable against your skin when fixing underwire issues. Additionally, take care not to sew the underwire too rigidly, as it should still provide some flexibility for natural movement.
With the underwire fixed, you can move on to the next step: replacing missing or broken fasteners.
Step 4: Replacing Missing or Broken Fasteners
If your bra has a missing or broken fastener, it can make wearing the bra a challenge. However, replacing these fasteners is a relatively straightforward process that can be done at home. Here’s how you can replace them:
Start by examining the back of your bra to identify the type of fastener that needs to be replaced. There are various types, including hooks, clips, or snaps.
If you have a missing hook, you can easily replace it with a new one. Remove any remaining hooks from the bra and sew the new hook in the same position. Make sure to secure it with tight and even stitches.
For broken hooks or snaps, carefully detach the damaged fastener from the bra. Depending on the type of fastener, you may be able to replace it with a new one from your sewing kit or a spare fastener you have on hand. Sew the replacement fastener in place, ensuring that it aligns properly with the corresponding loop or closure on the other side.
Make sure to test the new fastener by fastening and unfastening it a few times to ensure it is secure and functions properly. Adjust the positioning if necessary.
Remember, when replacing fasteners, it’s important to choose the appropriate size and type that matches the original fastener. This will ensure a proper fit and functionality.
With the fasteners replaced, you’re one step closer to revitalizing your bra. Now, let’s move on to the next step: adjusting the band size.
Step 5: Adjusting Band Size
As our bodies change over time, the band size of our bras may need to be adjusted to ensure a proper fit. Luckily, adjusting the band size is a relatively simple process that can be done at home. Here’s how you can do it:
If your bra has adjustable hooks, start by examining the back of the bra to see if there are additional hook positions available. If so, simply switch to a tighter or looser hook position to adjust the band size accordingly.
If you find that your bra’s band is still too loose even on the tightest hook, you may need to use a bra extender. Bra extenders are small panels with additional sets of hooks that attach to your bra’s existing closure. Simply attach the bra extender to the hooks and adjust the band size to your desired fit.
Alternatively, if your bra’s band is too tight, you can use a bra extender with additional sets of hooks that are further apart. This will provide a more comfortable fit by adding extra width to the band.
If you don’t have a bra extender on hand and need a quick fix, you can also sew a strip of elastic onto the band to extend its length. Make sure to sew it securely and evenly on both sides of the band.
Remember, when adjusting the band size, it’s important to achieve a balance between comfort and support. The band should be snug but not overly tight, ensuring that it stays in place throughout the day without digging into your skin.
With the band size successfully adjusted, you’re one step closer to reviving your bra’s perfect fit. Now, let’s move on to the next step: repairing elastic.
Step 6: Repairing Elastic
Elastic is a crucial component of a bra, providing support and ensuring a snug fit. Over time, the elastic may become stretched out or worn, compromising the bra’s comfort and effectiveness. If you’re experiencing issues with the elastic, here’s how you can repair it:
Start by examining the areas where the elastic is stretched out or worn. If there are small areas of damage, you can apply fabric glue or fabric tape to temporarily reinforce the elastic and prevent further stretching. This solution is ideal for minor issues or as a temporary fix until you can fully repair or replace the elastic.
If the elastic is significantly stretched out or worn, you may need to replace it. To do this, carefully remove the old elastic from the bra, making sure to note its length and width. Choose a replacement elastic that matches these measurements and sew it onto the bra. Be sure to sew it securely, reinforcing the stitches at the beginning and end of the elastic to ensure durability.
When sewing the new elastic, make sure to maintain an even tension and stretch it slightly to provide a snug fit without being too tight. Test the elasticity by gently stretching the band and straps to ensure they have the desired level of support.
If your bra has removable straps, you can also replace the elastic in the straps using a similar process. Simply measure and cut the appropriate length of elastic, and sew it onto the strap attachments. This will ensure that the straps provide the necessary support and stay in place throughout the day.
By repairing or replacing the elastic, you can restore the original fit and functionality of your bra. Now that you’ve addressed the elastic, let’s move on to the next step: adding support and lift.
Step 7: Adding Support and Lift
Support and lift are essential aspects of a well-fitting bra. Sometimes, you may find that your bra lacks the necessary support or lift to enhance your shape. Fortunately, there are a few methods you can try to add more support and lift to your bra:
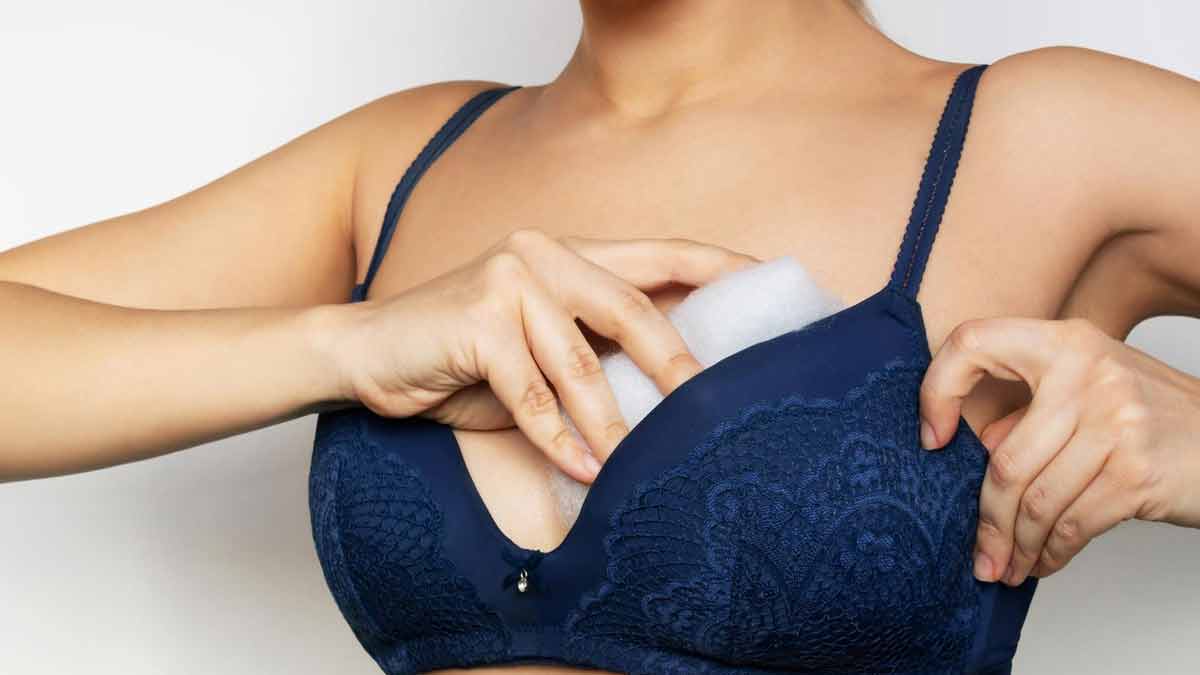
If you feel like your bra doesn’t provide enough lift, you can try using padded inserts or silicone enhancers. These inserts can be easily slipped into the cups of your bra to add volume and create a fuller, lifted look. Ensure that the inserts are positioned evenly and comfortably for a natural appearance.
If your bra has adjustable straps, tightening them can provide more lift. Adjust the straps evenly on both sides until you achieve the desired level of lift and support. Avoid over-tightening the straps, as it can lead to discomfort and strain on your shoulders.
Another option for added support is using a bra with an underwire. Underwires are designed to lift and shape the bust, providing enhanced support. However, ensure that the underwire is the correct size and properly positioned against your body to avoid discomfort.
Additionally, wearing a bra with a higher center gore (the piece of fabric that sits between the cups) can offer more support and lift. Look for bras with a higher gore that can help lift and separate your breasts for improved shape and support.
Remember, finding the right level of support and lift will depend on your personal preference and the specific needs of your breasts. Experiment with different methods and styles to find what works best for you.
With added support and lift, your bra will not only fit better but also enhance your overall silhouette. Now let’s move on to the final step: preventative care tips to prolong the life of your bra.
Step 8: Preventative Care Tips
Now that you’ve repaired and improved the fit of your bra, it’s important to ensure it stays in good condition for as long as possible. Here are some preventative care tips to help prolong the life of your bra:
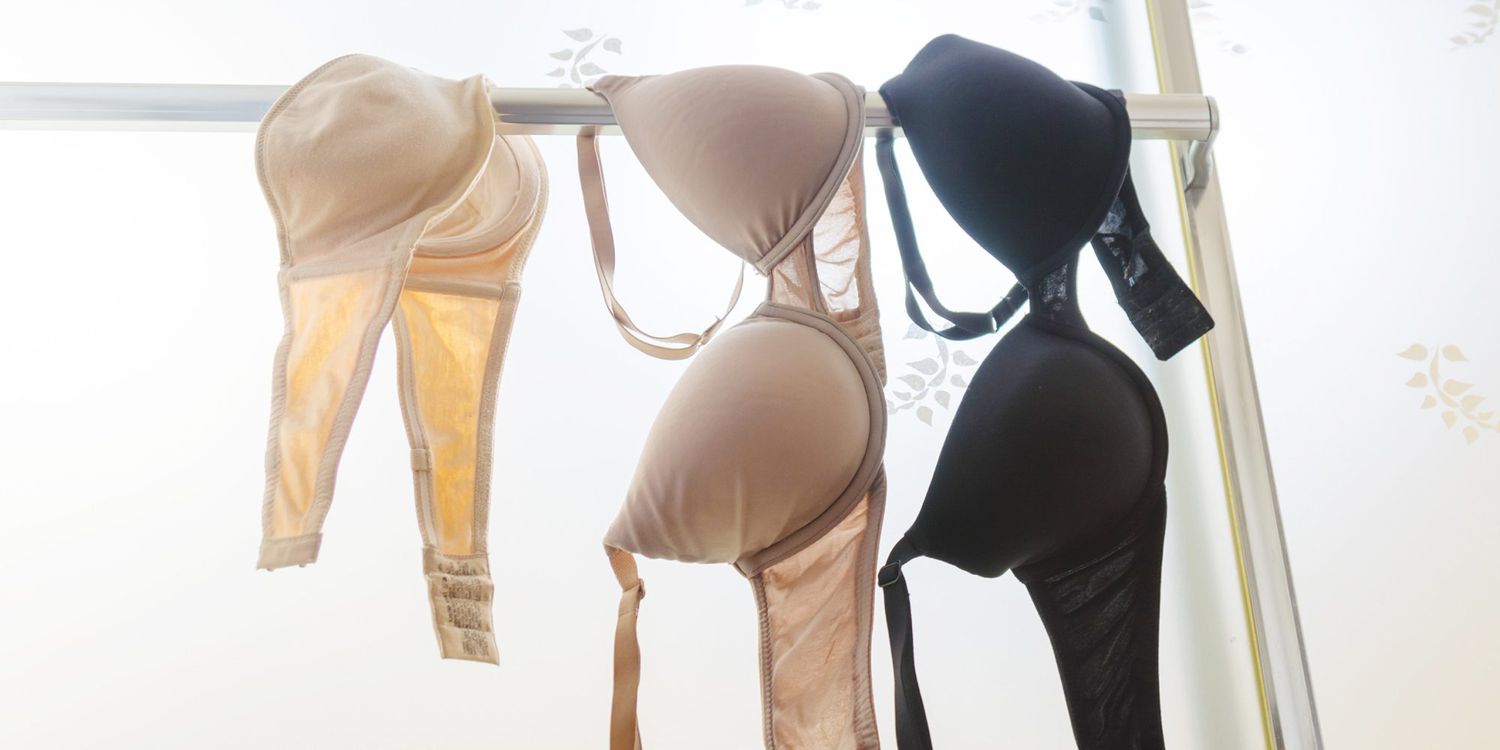
- Wash with care: Always follow the care instructions recommended by the manufacturer. Hand wash your bras using a gentle detergent or place them in a lingerie bag and wash on a delicate cycle in the washing machine. Avoid using harsh chemicals or bleach, as they can damage the fabric and elastic.
- Avoid excessive wear: Alternate between bras to give them a break and allow the elastic to regain its shape and elasticity. This will help prevent the bras from wearing out too quickly.
- Store properly: Avoid folding or stuffing your bras in a cramped drawer or suitcase, as this can deform the cups and distort the underwire. Instead, store them upright or flat, ensuring they are not subject to excessive pressure or tension.
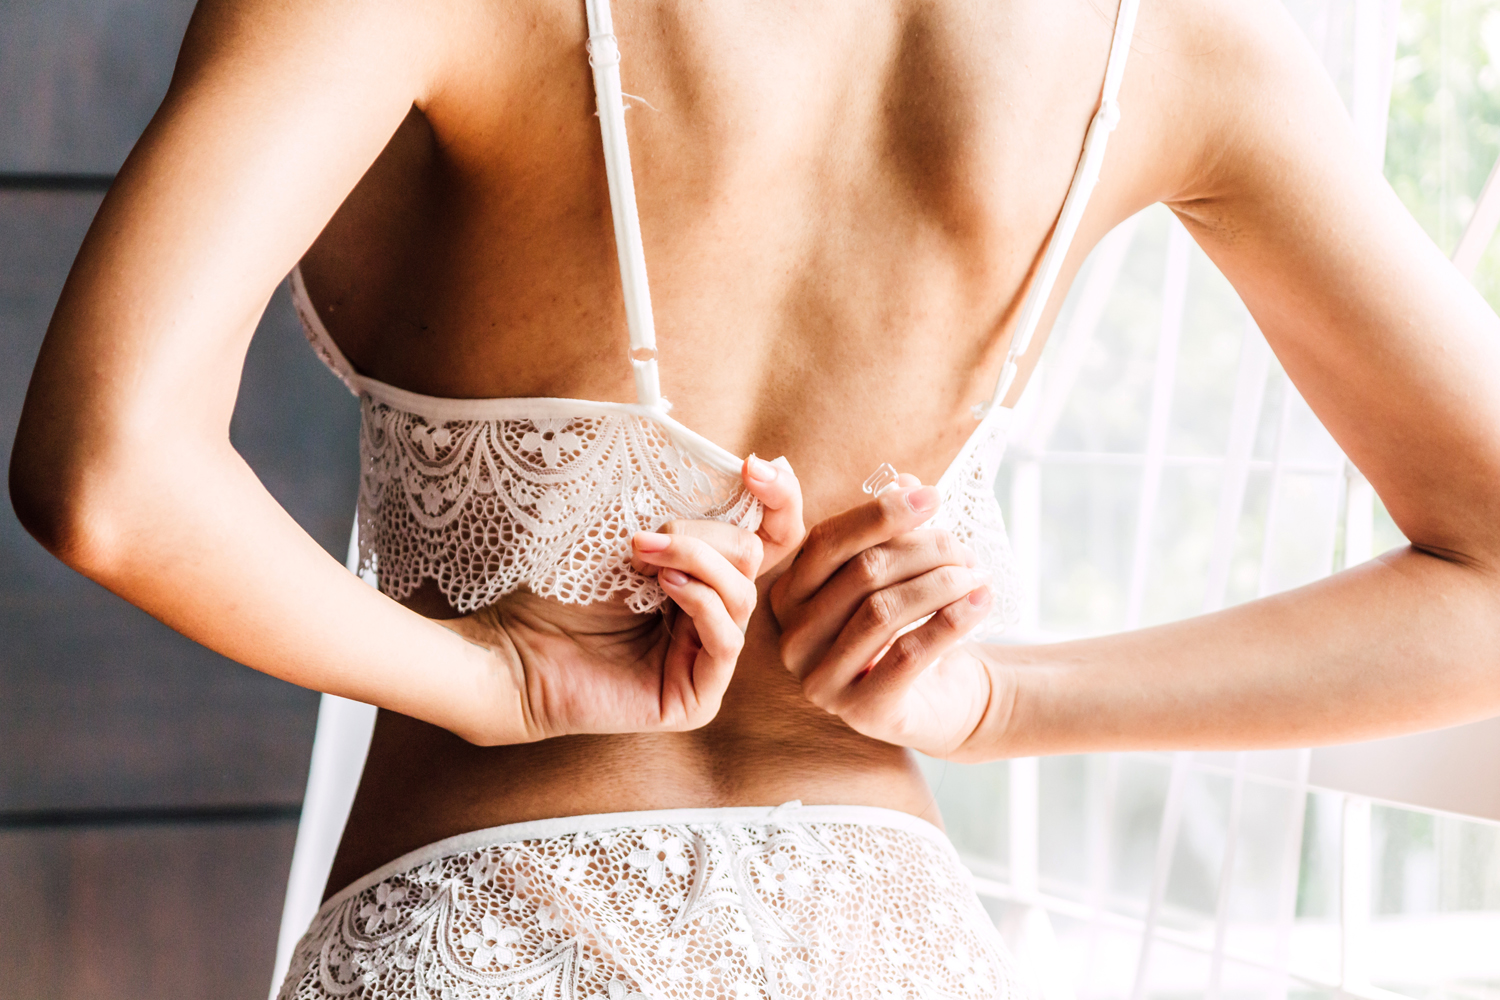
- Handle with care: Be mindful when putting on and taking off your bra to avoid stretching or pulling on the fabric, elastic, or straps. Fasten and unfasten the hooks carefully to prevent damage.
- Use a lingerie wash bag: When washing your bras in the machine, place them in a lingerie wash bag to protect them from becoming tangled or snagged on other garments.
- Avoid excessive heat: High temperatures, whether from the dryer or direct sunlight, can weaken the elastic and degrade the fabric. Air dry your bras or use the lowest heat setting on your dryer if necessary.
- Replace when necessary: Despite your best efforts, bras will eventually wear out over time. Keep an eye out for signs of irreparable damage, such as excessively stretched out elastic, frayed fabric, or broken underwires. Replace your bras as needed to maintain comfort and support.
By implementing these preventative care tips, you can extend the lifespan of your bras and ensure they remain comfortable and supportive for a longer period. Taking care of your bras not only saves you money in the long run but also helps reduce waste and promote sustainability.
Now that you have all the necessary tools, repair techniques, and preventative care tips, you’re well-equipped to fix and maintain your bras. Embrace the DIY approach and enjoy the comfort and confidence of your beloved undergarments for a longer time!
Conclusion
Repairing your favorite bras is a practical and sustainable solution that allows you to extend their lifespan and save money. By following the step-by-step process outlined in this article, you can address common bra issues such as broken straps, missing hooks, poking underwire, stretched elastic, and more.
With the right tools and materials, you can easily mend these problems yourself, making your bras comfortable and supportive once again. Whether it’s sewing, replacing fasteners, adjusting the band size, fixing underwire issues, or repairing elastic, each step plays a crucial role in revitalizing your bras.
Additionally, incorporating preventative care tips into your routine will help maintain the longevity of your bras. By washing them with care, storing them properly, and handling them gently, you can prevent premature wear and tear.
Remember, taking care of your bras not only saves you money but also promotes sustainability by reducing waste. With a little effort and creativity, you can enjoy the comfort and confidence of your favorite bras for an extended period.
So, don’t give up on your bras at the first sign of wear and tear. Take matters into your own hands, and become a DIY expert in bra repair. With the knowledge and skills gained from this article, you’re now ready to revive and maintain your bras, ensuring they continue to provide the support and comfort you deserve.