Home>How-to Guides>For Women>How To Tie String Bikini Top
For Women
How To Tie String Bikini Top
Modified: August 2, 2023
Learn how to tie a string bikini top for women effortlessly with our step-by-step guide. Achieve the perfect fit and style for your next beach day!
(Many of the links in this article redirect to a specific reviewed product. Your purchase of these products through affiliate links helps to generate commission for Under-tec.com, at no extra cost. Learn more)
Table of Contents
Introduction
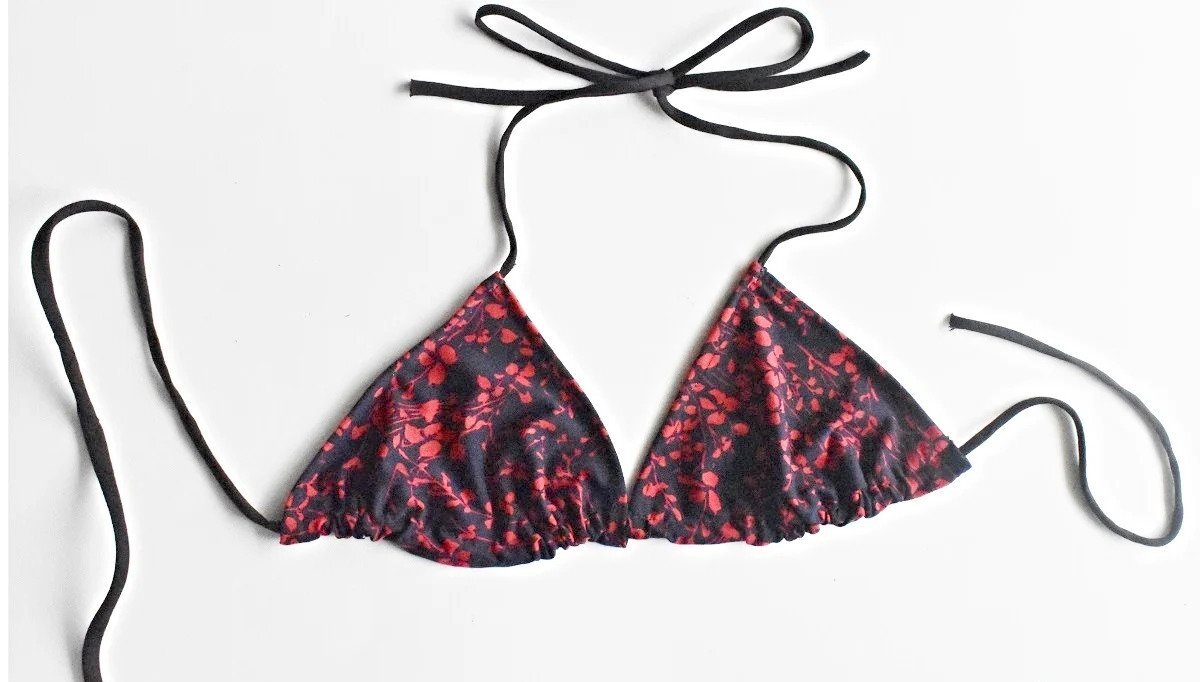
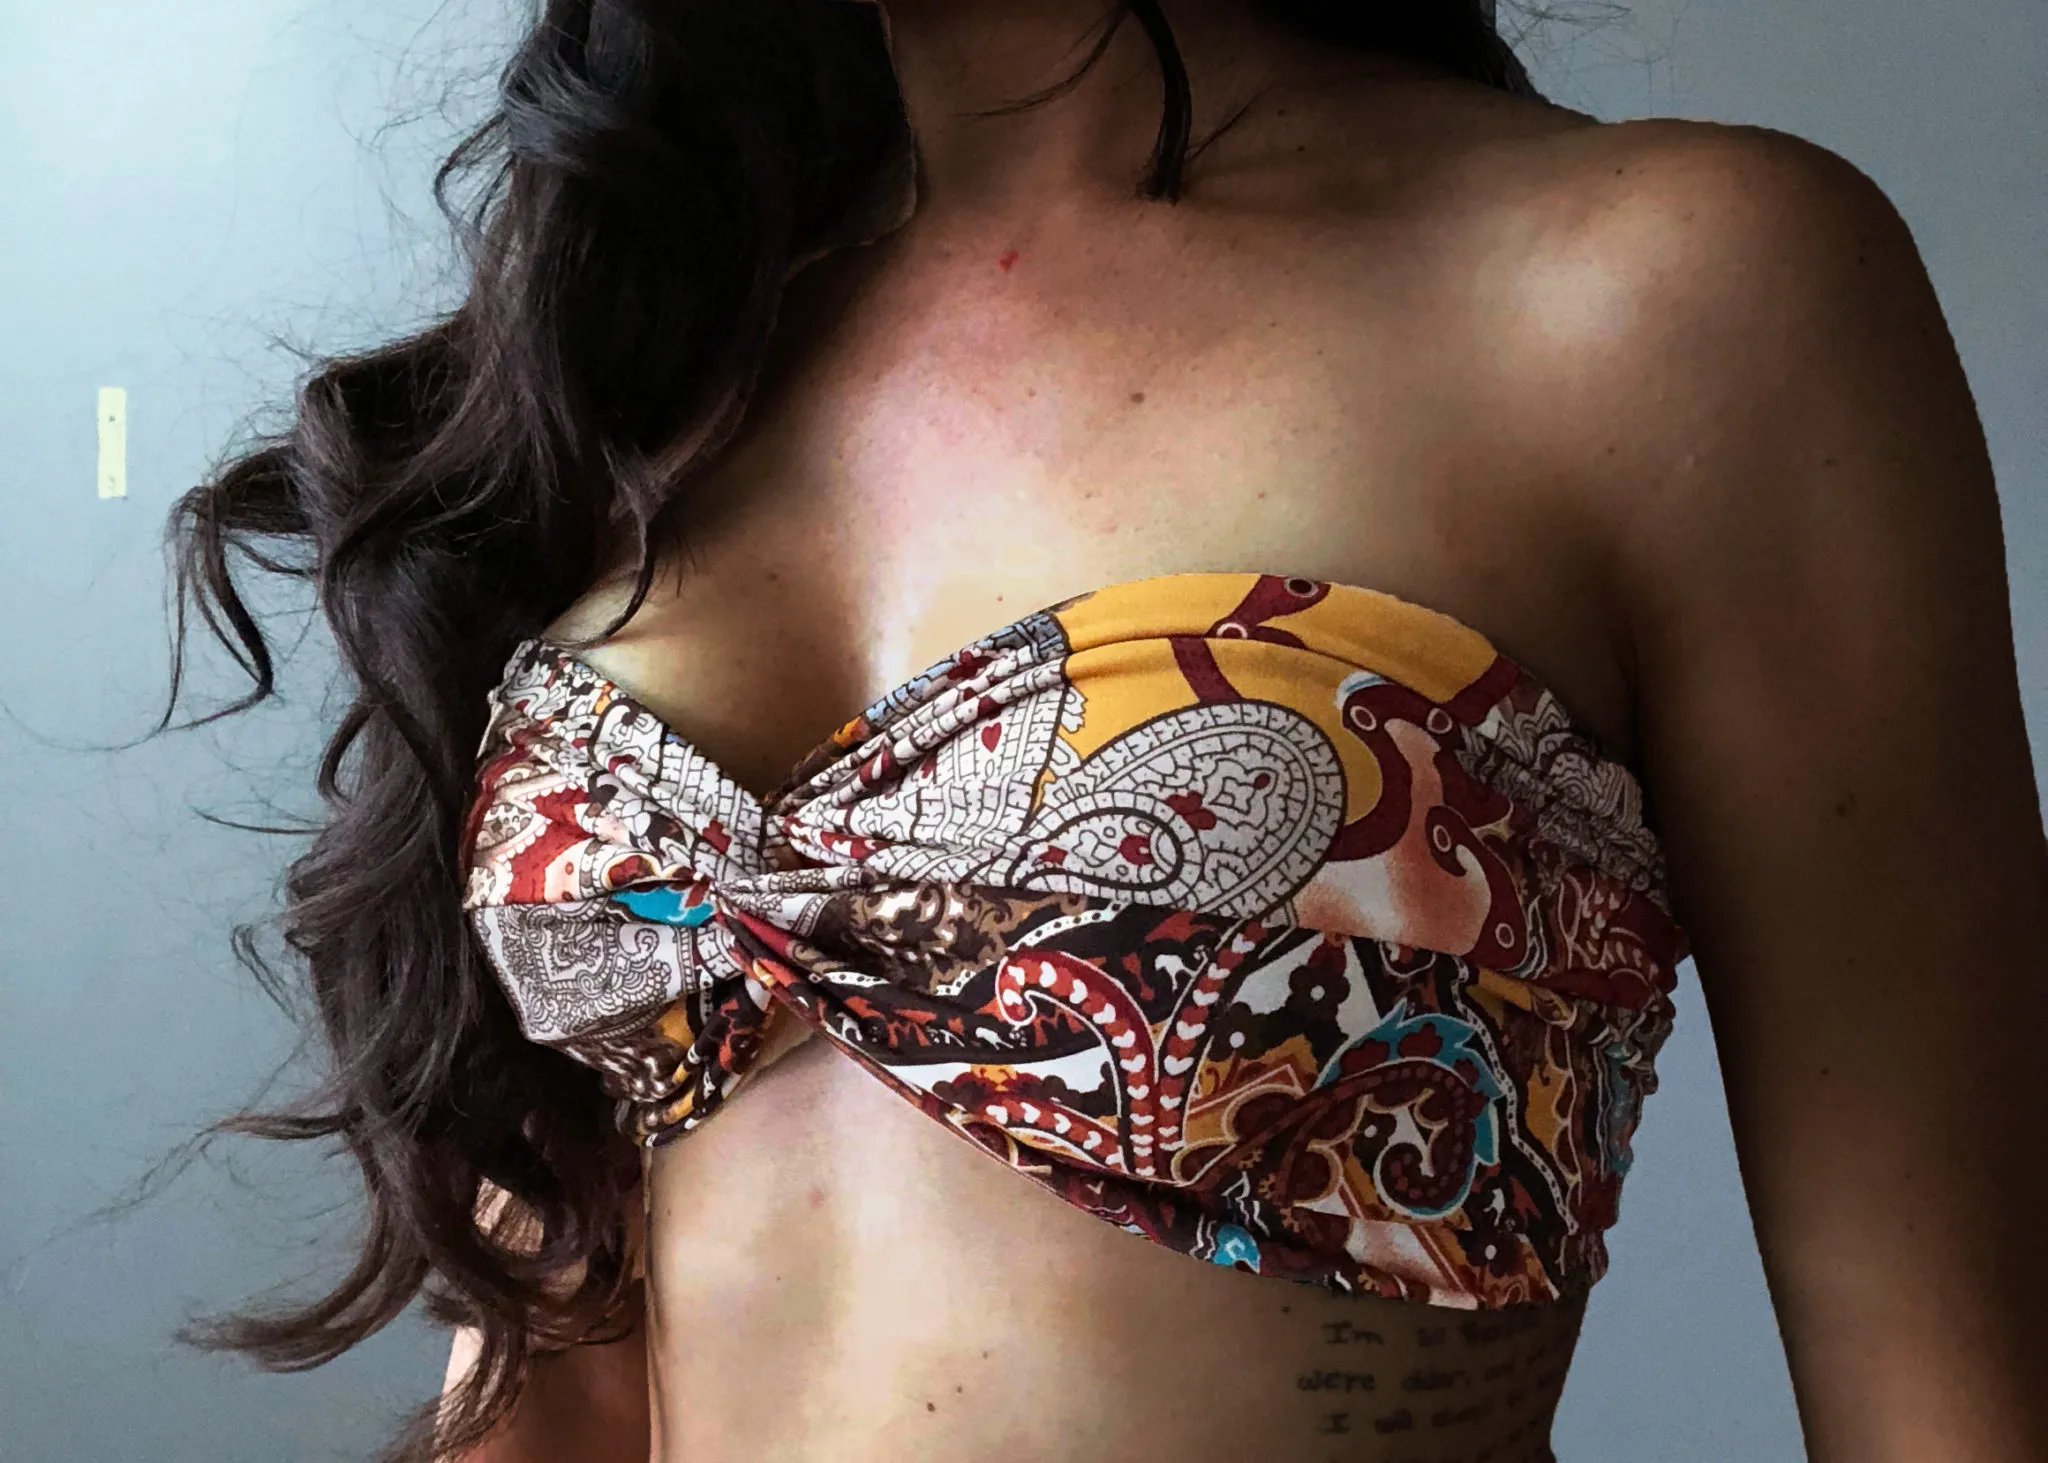
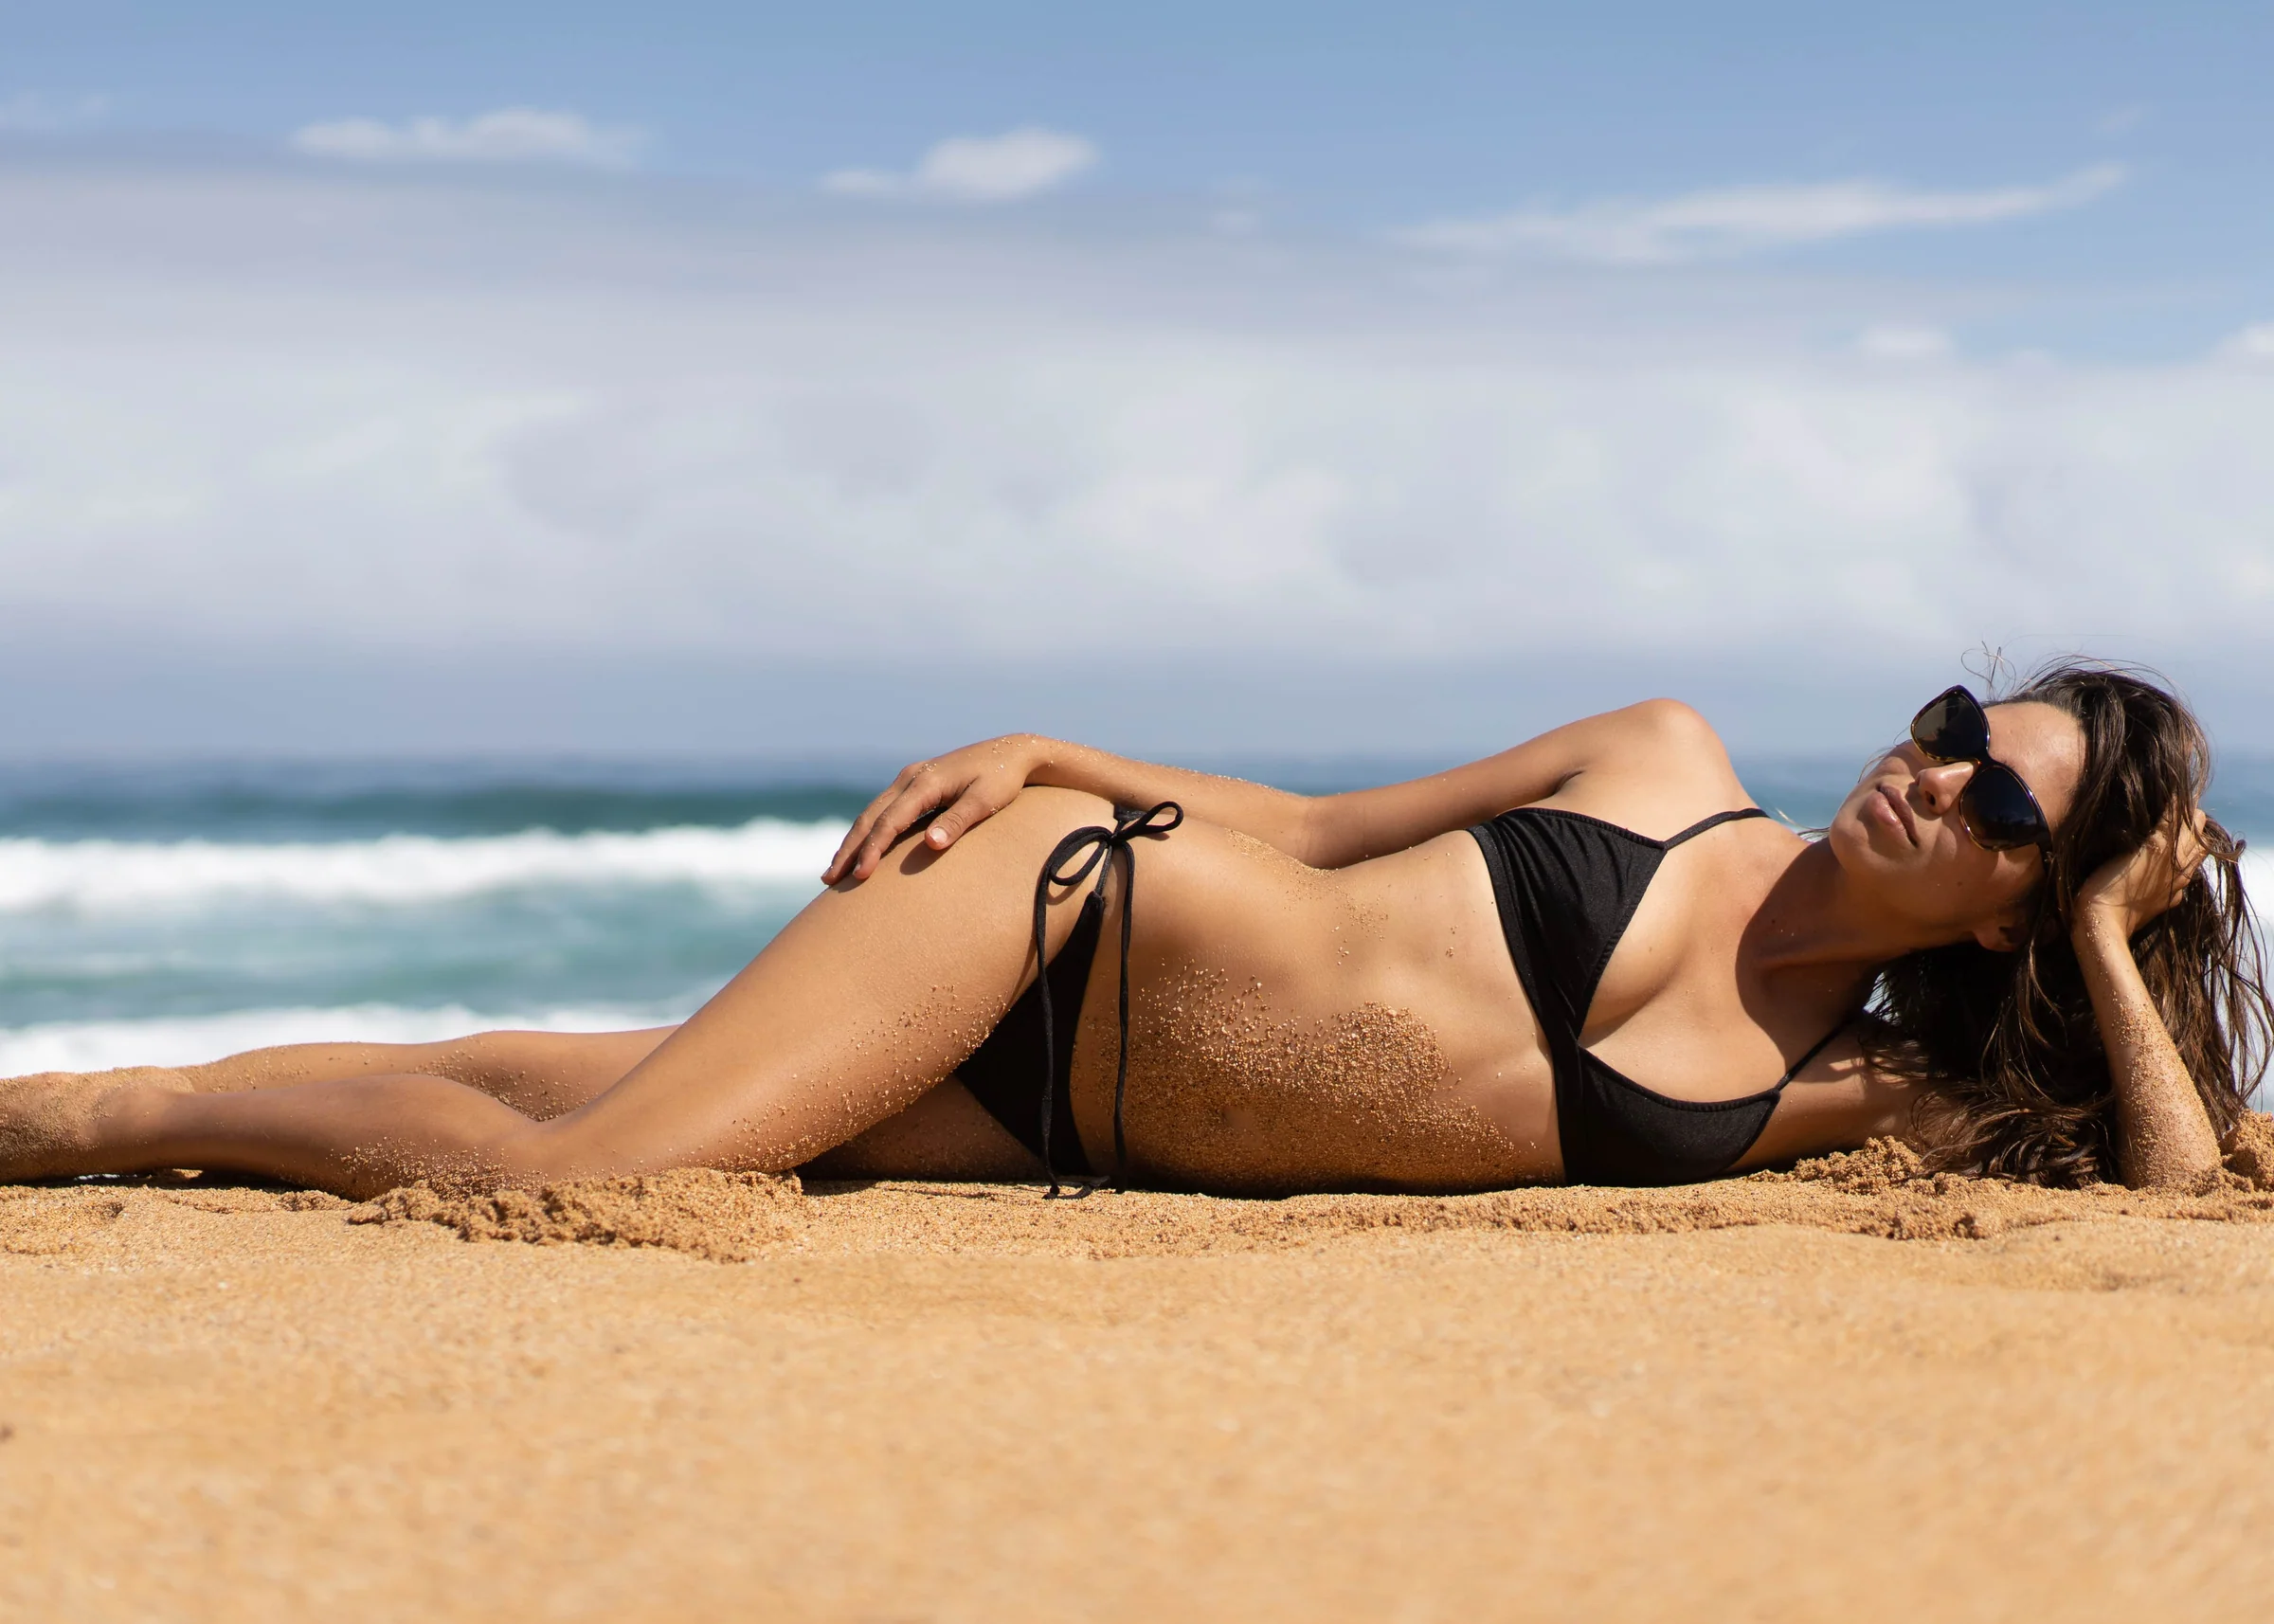
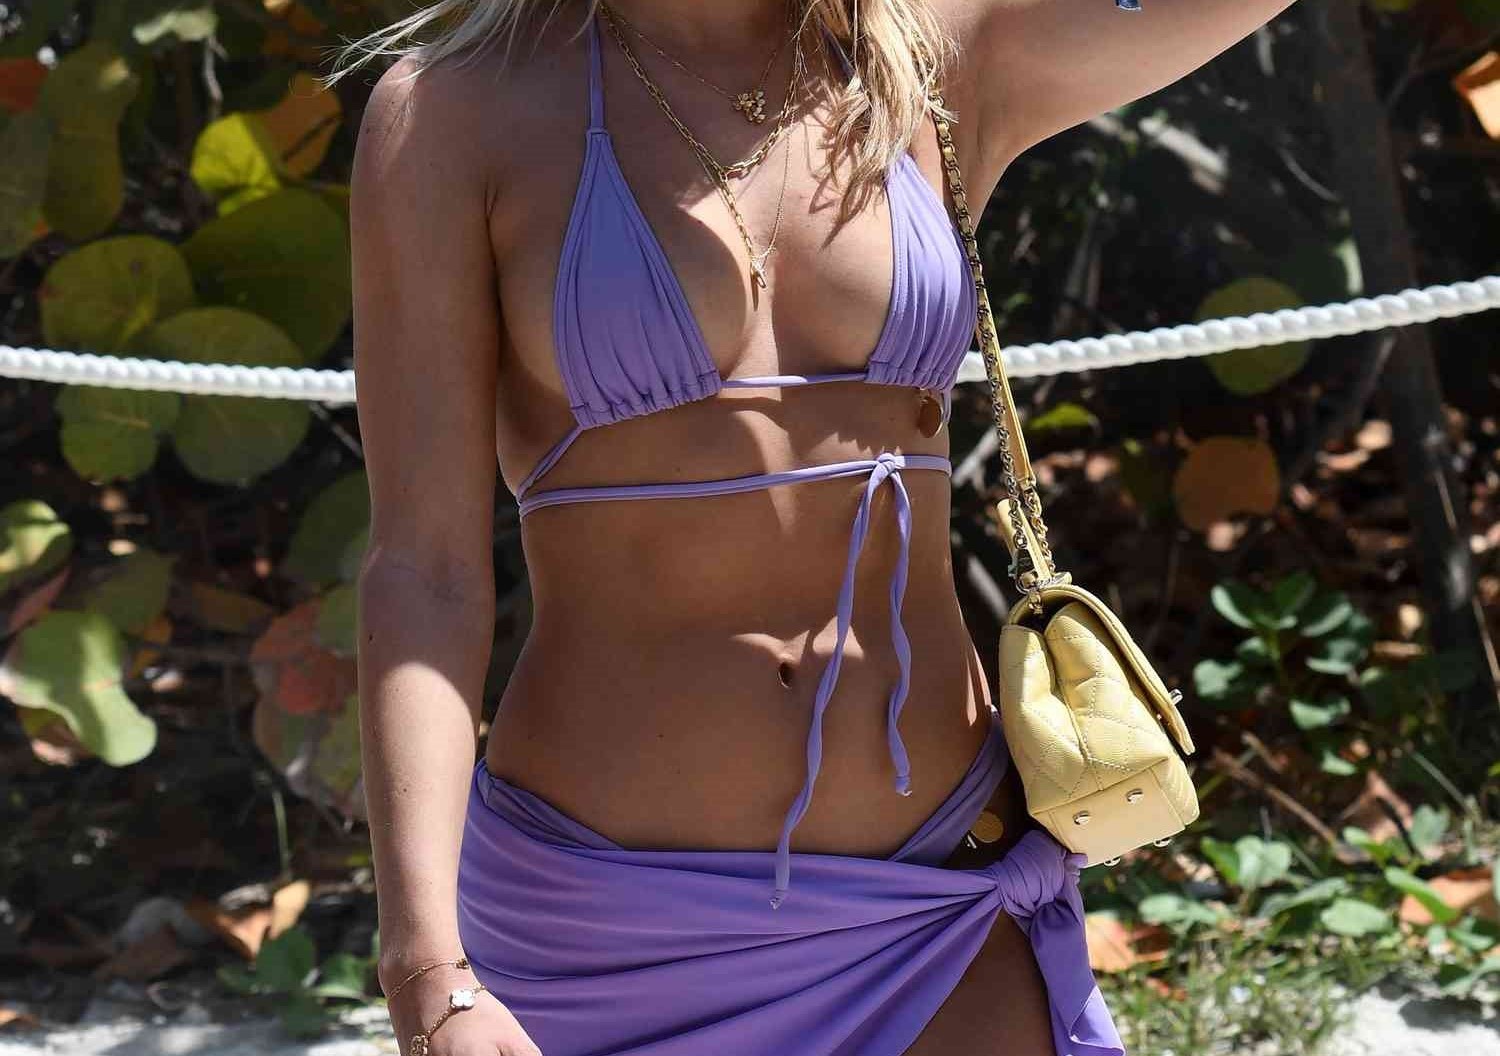
Welcome to the world of string bikinis! These tiny, yet stylish swimwear tops are a staple for women who want to flaunt their curves and feel confident and sexy at the beach or poolside. While string bikini tops come in various styles and designs, one thing remains consistent—they need to be tied properly for a comfortable and secure fit.
If you’re new to string bikinis or simply want to refresh your tying technique, you’ve come to the right place. In this article, we’ll guide you through the process of tying a string bikini top to ensure that it stays in place, supports your bust, and accentuates your figure.
Whether you’re getting ready for a tropical vacation, a weekend getaway, or just lounging in your backyard, knowing how to tie a string bikini top is essential. With a few simple steps, you’ll be able to customize the fit of the top and create a style that suits you.
Be prepared to unleash your inner fashionista as we take you through each step of the process. From preparing the bikini top to tying the final knot, we’ll provide you with all the necessary instructions, tips, and tricks to achieve the perfect string bikini look.
Are you ready to dive in and learn how to tie a string bikini top like a pro? Let’s get started!
Step 1: Preparing the bikini top
Before you begin tying your string bikini top, it’s important to ensure that it’s properly adjusted and positioned on your body. This step will help you achieve a comfortable fit and prevent any wardrobe malfunctions while you’re enjoying your time in the sun.
Here’s how you can prepare your bikini top:
- Put on the bikini top: Start by putting on the string bikini top and make sure the cups are properly aligned with your breasts. Adjust the strings around your neck and back to provide adequate support and avoid any unnecessary strain or discomfort.
- Check the tightness: Stand in front of a mirror and assess the tightness of the strings. They should be snug enough to hold the bikini top securely in place but not too tight that they dig into your skin or cause discomfort.
- Adjust the coverage: If you prefer more or less coverage, now is the time to make any necessary adjustments. You can slide the cups closer together or farther apart to achieve your desired level of coverage.
- Ensure symmetry: Take a moment to ensure that both sides of the bikini top are symmetrical, with the cups and strings positioned evenly on each breast. Adjust as needed to create a balanced look.
- Secure any extra strings: Some string bikini tops come with additional strings or ties that may need to be secured or tucked away. This will help prevent them from getting tangled or causing any distractions while you’re enjoying your time in the water.
By properly preparing your bikini top, you’ll lay the foundation for a comfortable, stylish, and worry-free experience. Take the time to ensure that everything is in place before moving on to the next step.
Step 2: Tying the first knot
Now that your string bikini top is properly prepared, it’s time to start tying the knots that will secure it in place. The first knot is crucial, as it sets the foundation for the rest of the tying process.
Follow these steps to tie the first knot of your string bikini top:
- Locate the ends of the strings: Identify the loose ends of the strings attached to your bikini top. These are the ends that you’ll be working with to tie the knot.
- Cross the strings over: Take the left string and cross it over the right string. The strings should now be in an “X” shape, with the left string on top.
- Loop the left string under: Take the left string and loop it under the right string, pulling it through the gap between the two strings.
- Pull the strings tight: Gently pull both strings to tighten the knot. Make sure it’s snug enough to provide support but not too tight that it feels uncomfortable.
The first knot should now be securely tied, holding the strings in place and creating the base for the rest of the tying process. This knot will serve as the foundation for ensuring a secure and well-fitted string bikini top.
Take a moment to adjust the position of the knots, if needed, to ensure they are centered and symmetrical. Remember, the first knot is all about creating a strong and secure foundation for the rest of the tying process. With this knot in place, you’re ready to move on to the next step.
Step 3: Creating loops
With the first knot securely tied, it’s time to create the loops that will add style and adjustability to your string bikini top. The loops give you the flexibility to customize the fit and can be tightened or loosened as desired.
Follow these steps to create the loops:
- Hold the left string: Take the left string, which is now on the right side of the knot, and hold it in your left hand.
- Hold the right string: Take the right string, which is now on the left side of the knot, and hold it in your right hand.
- Cross the strings: Cross the left string over the right string, creating an “X” shape once again.
- Create a loop on the left side: With the left string, create a loop by folding it over itself towards the center of the bikini top. This loop should rest on top of the bikini top, just above the knot.
- Create a loop on the right side: Repeat the same process with the right string, creating a loop that mirrors the one on the left side.
At this point, you should have two loops—one on the left side and one on the right side of the bikini top. The loops add a stylish touch to your string bikini and allow you to adjust the tightness to your preference.
Before proceeding to the next step, take a moment to ensure that the loops are symmetrical and positioned evenly on both sides of the bikini top. This will create a balanced and polished look once the tying process is complete.
Step 4: Crossing the loops
Now that you have created the loops on both sides of your string bikini top, it’s time to cross them over each other. This step adds extra security and ensures that the top stays in place during your beach adventures.
Follow these steps to cross the loops:
- Hold the left loop: With your left hand, hold onto the loop that you created on the left side of the bikini top.
- Hold the right loop: With your right hand, hold onto the loop on the right side of the bikini top.
- Cross the loops: Take the left loop and cross it over the right loop. The left loop should now rest on top of the right loop.
- Bring the left loop through: Take the end of the left loop and bring it through the opening between the two loops. This will create a knot-like structure that holds the loops securely together.
- Tighten the knot: Gently pull the ends of the loops to tighten the knot. Make sure it’s snug enough to provide a secure fit, but not too tight that it feels uncomfortable.
Once you’ve crossed the loops and tied the knot, take a moment to adjust the position of the loops, if needed, to ensure they are positioned symmetrically and comfortably on your bikini top.
With the loops crossed and securely tied, your string bikini top is taking shape and is almost ready to be worn. But first, let’s move on to the final step—tying the last knot.
Step 5: Tying the final knot
Now that you have crossed the loops and created a stylish knot, it’s time to tie the final knot to secure your string bikini top in place. This knot will provide the last bit of support and ensure that your bikini top stays in position while you’re enjoying the water.
Follow these steps to tie the final knot:
- Locate the loose ends of the strings: Identify the loose ends of the strings that are attached to the loops. These are the ends that you will be working with to tie the final knot.
- Cross the ends over each other: Take the left end and cross it over the right end, creating an “X” shape once again.
- Loop the left end under: Take the left end and loop it under the right end, pulling it through the gap between the two ends.
- Pull the ends tight: Gently pull both ends to tighten the knot. Ensure that it’s secure enough to hold the loops in place, but not too tight that it causes discomfort.
Once the final knot is tied, take a moment to adjust the position of the knot, if needed, to ensure it is centered and sits comfortably on your bikini top.
Congratulations! You have successfully tied your string bikini top. Take a moment to admire your work and make any final adjustments to ensure that it fits snugly and comfortably on your body.
Now that you’re equipped with this tying technique, you can experiment with different variations and styles, allowing you to create a unique look every time you wear your string bikini top.
Conclusion
Congratulations! You’ve learned how to tie a string bikini top like a pro. By following the step-by-step instructions outlined in this article, you can achieve a secure, comfortable, and stylish fit for your next beach day or poolside adventure.
Remember, preparing the bikini top and ensuring the right fit is the first crucial step. By adjusting the strings, checking the tightness, and securing any extra strings, you set the foundation for a successful tying process.
Tying the first knot creates a strong base, while creating loops adds style and adjustability to your string bikini top. Crossing the loops provides additional security, and tying the final knot ensures that your bikini top stays in place during your water activities.
Take the time to customize your string bikini top to your preferences. Adjust the tightness, position the loops symmetrically, and ensure that the knots are secure but not too tight. This way, you can feel confident, comfortable, and fabulous in your string bikini.
Now that you have mastered this tying technique, go ahead and unleash your creativity. Explore different knot variations, play with colors and patterns, and make your string bikini top a true reflection of your personal style.
So, whether you’re lounging by the pool, frolicking in the waves, or just soaking up the sun’s rays, you’ll have a string bikini top that fits perfectly and shows off your confidence and beauty.
Enjoy your time in the sun, and have a blast rocking your stylishly tied string bikini top!