Home>How-to Guides>For Women>How To Do A Bikini Wax At Home
For Women
How To Do A Bikini Wax At Home
Modified: August 2, 2023
Learn how to do a bikini wax at home with our step-by-step guide for women. Achieve a salon-like result in the comfort of your own bathroom.
(Many of the links in this article redirect to a specific reviewed product. Your purchase of these products through affiliate links helps to generate commission for Under-tec.com, at no extra cost. Learn more)
Table of Contents
How To Do A Bikini Wax At Home
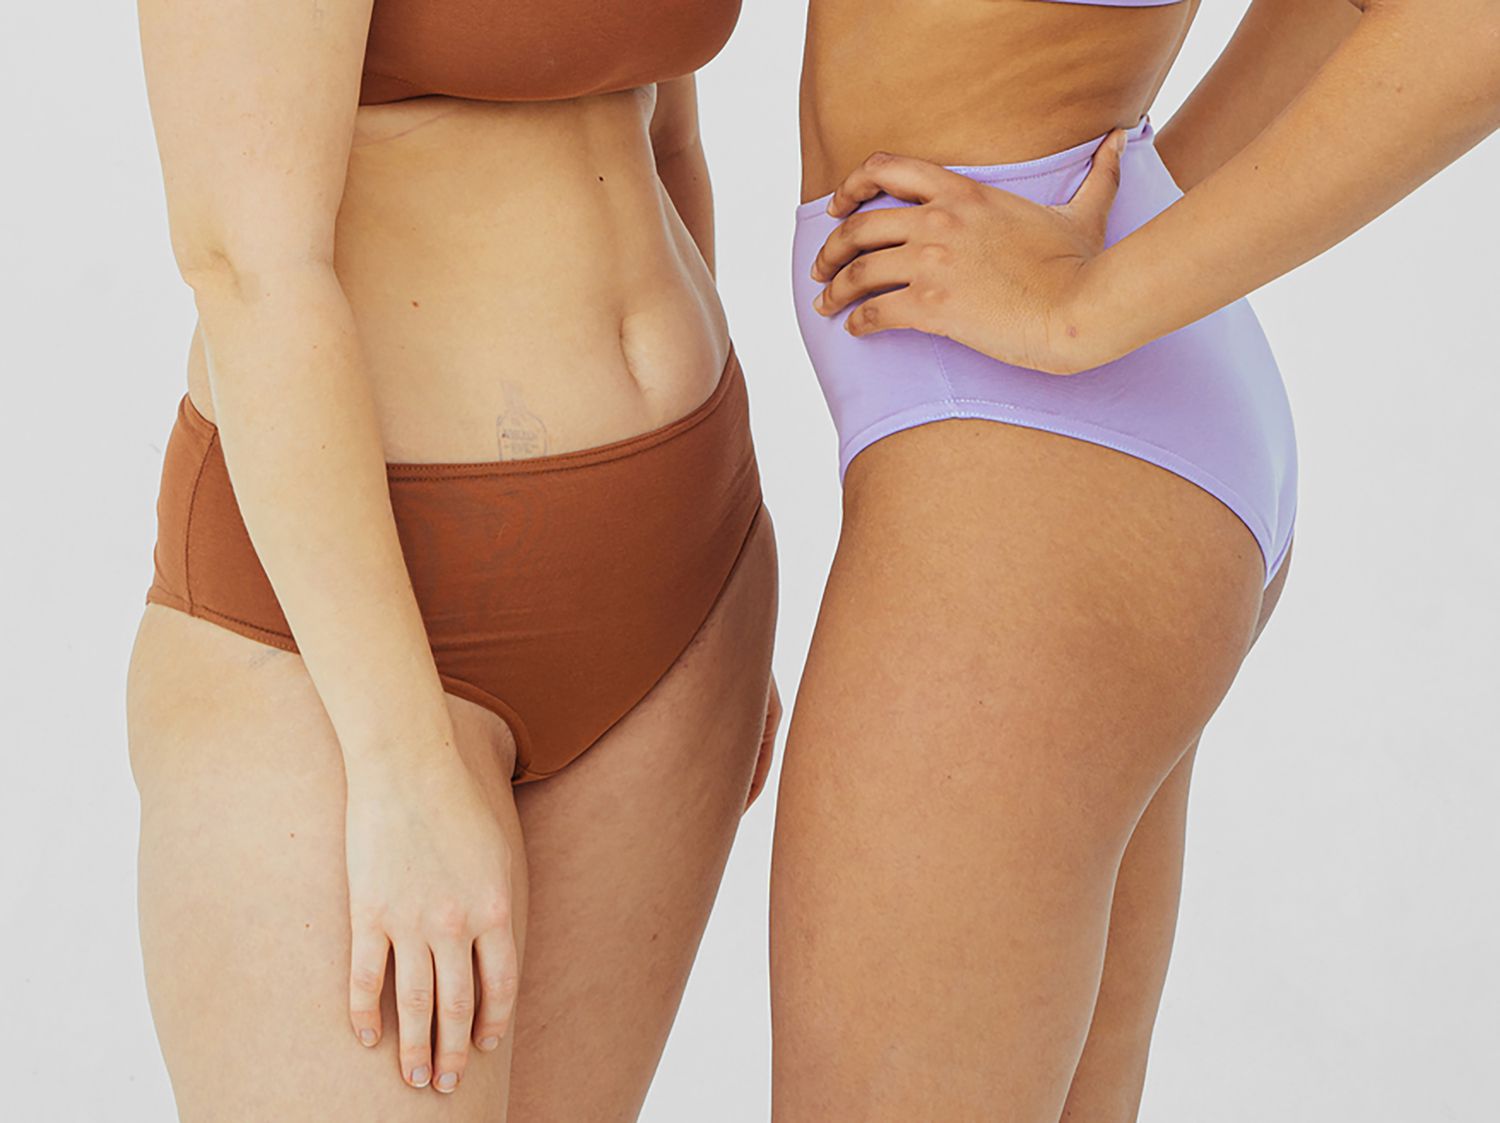
Getting a bikini wax at a salon can be expensive and time-consuming. However, with a little knowledge and the right tools, you can achieve salon-quality results in the comfort of your own home. If you’re ready to take the plunge and try a bikini wax at home, follow this step-by-step guide to ensure a successful and relatively painless experience.
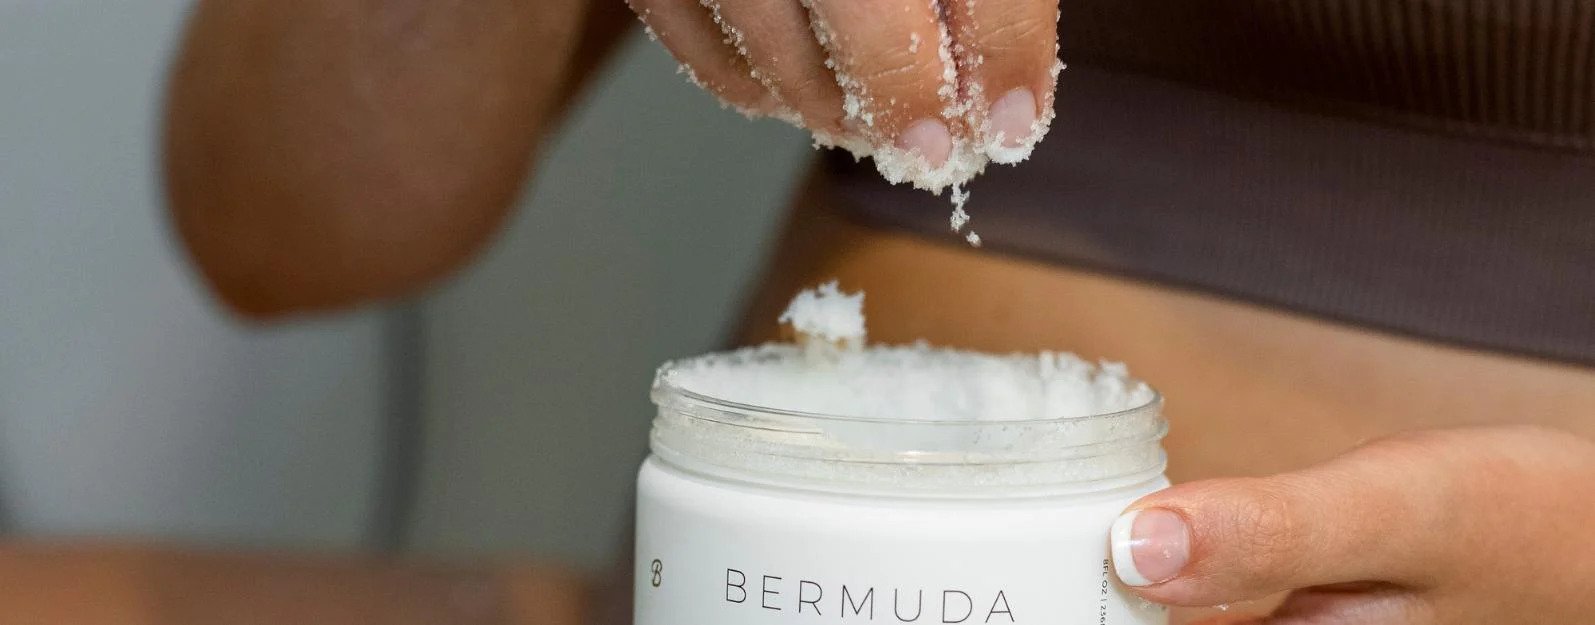
1. Gather your supplies: Start by assembling all the necessary supplies. You will need a waxing kit specifically designed for bikini waxing, which typically includes wax, waxing strips, and spatulas. Additionally, have a mirror, baby powder, scissors, and a soothing lotion or aloe gel on hand.
2. Prep your skin: It’s important to prepare your skin before waxing to minimize pain and reduce the risk of irritation. Start by exfoliating the area a day prior to waxing to remove dead skin cells. On the day of the wax, make sure your skin is clean, dry, and free of any lotions, oils, or sweat. Sprinkle some baby powder on the area to absorb any excess moisture.
3. Test the temperature: Before applying the wax, make sure it is at the right temperature. Follow the instructions on your waxing kit for heating the wax. You want it to be warm but not so hot that it burns your skin. Always perform a patch test on a small area to check the wax’s temperature and ensure you’re not allergic to any of the ingredients.
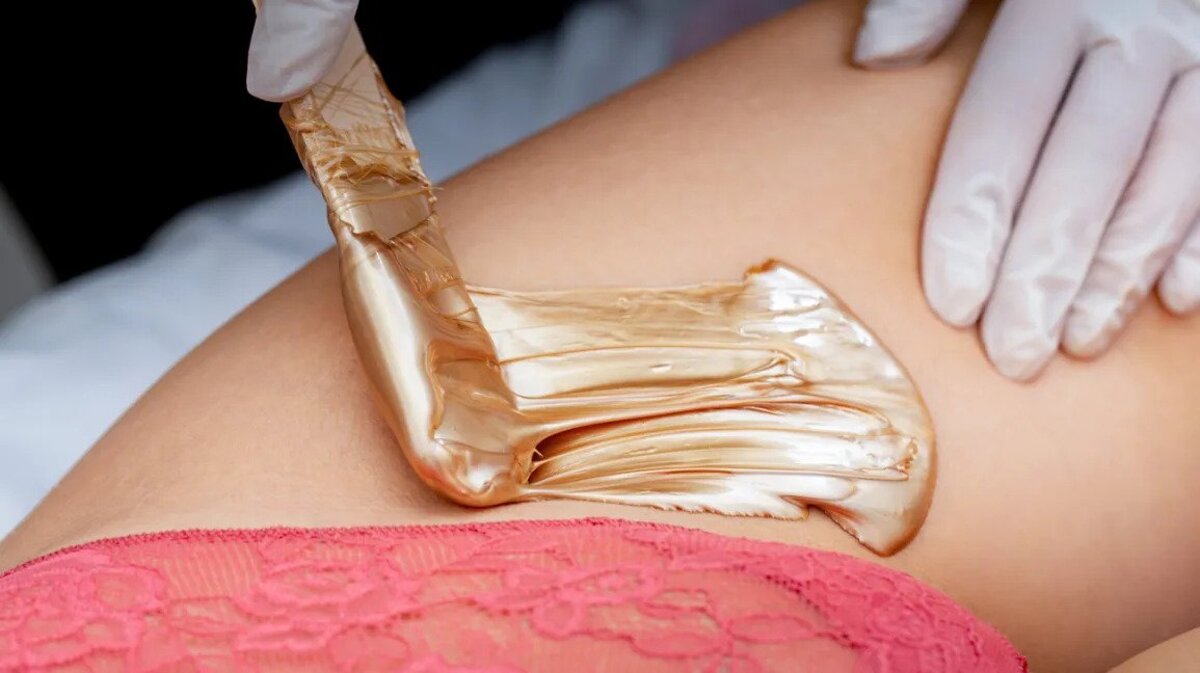
4. Apply the wax: Use a spatula to apply a thin layer of wax in the direction of hair growth. Then, place a waxing strip on top and firmly press it down. Leave a portion of the strip hanging for easy removal.
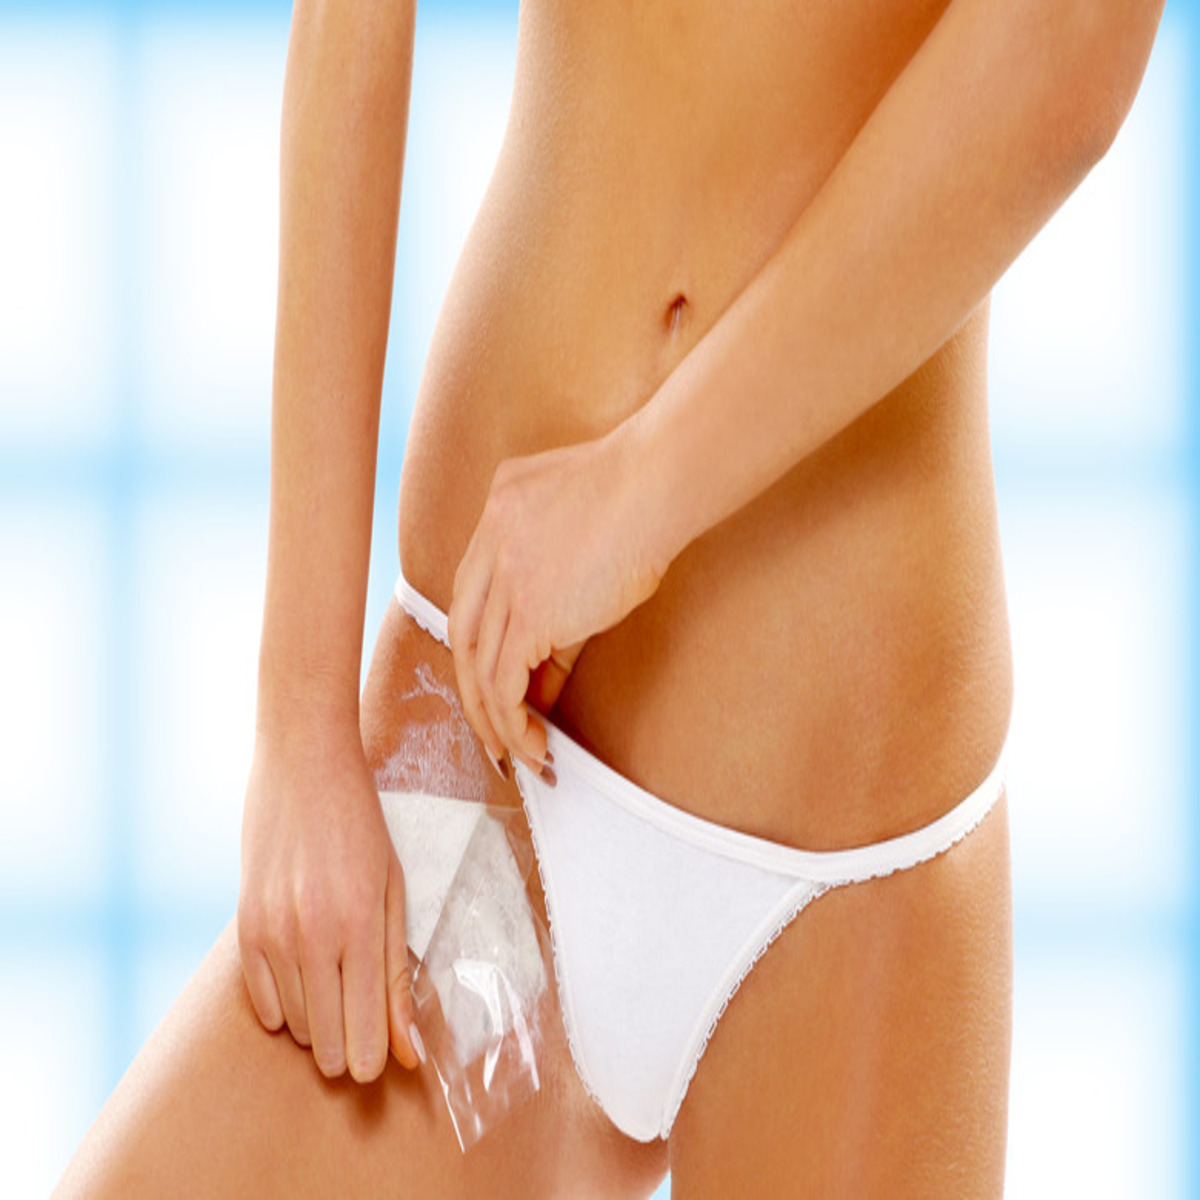
5. Remove the strip: Hold the skin taut with one hand and use the other hand to grip the exposed part of the waxing strip. In one quick motion, pull the strip off in the opposite direction of hair growth. Remember to breathe out and pull the strip parallel to the skin, not away from it, to minimize discomfort.
6. Repeat and trim: Continue applying wax and removing the strips in small sections until you have removed all unwanted hair. If the hair is too long, use scissors to trim it down to a manageable length before applying the wax.
7. Soothe and moisturize: Once you’ve finished waxing, gently clean the area with a soothing lotion or aloe gel to calm the skin and reduce redness. Avoid applying any harsh chemicals or scented products immediately after waxing, as they can cause irritation.
8. Maintain proper aftercare: To prolong the results of your bikini wax and prevent ingrown hairs, it’s important to maintain proper aftercare. Exfoliate the area regularly, starting a few days after waxing, to prevent dead skin cells from clogging hair follicles. Moisturize the skin daily to keep it hydrated and smooth.
Remember, the first few times you try a bikini wax at home, it may take some practice to perfect your technique. Be patient with yourself and take breaks if needed. With time, you’ll become more comfortable and confident in performing your own bikini waxes.
Introduction
When it comes to grooming, many women opt for a bikini wax to keep the bikini area smooth and hair-free. However, scheduling regular appointments at a salon for a professional bikini wax can be expensive and time-consuming. Fortunately, with the right knowledge and tools, you can achieve salon-quality results in the comfort of your own home. Learning how to do a bikini wax at home not only saves you money and time but also allows you to personalize the experience to suit your preferences.
While the idea of waxing at home may seem daunting, especially for beginners, it doesn’t have to be. With a little practice and preparation, you can master this technique and achieve a clean and smooth bikini area. This step-by-step guide will take you through the process, providing you with tips and tricks to minimize discomfort and ensure a successful DIY bikini wax.
Before diving into the process, it’s essential to gather all the necessary supplies. You’ll need a waxing kit specifically designed for bikini waxing, which typically includes wax, waxing strips, and spatulas. Additionally, having a mirror, baby powder, scissors, and a soothing lotion or aloe gel on hand will make the process easier and more comfortable.
Preparing your skin is crucial to minimizing pain and reducing the risk of irritation. Proper exfoliation the day before waxing helps remove dead skin cells, allowing for better wax adhesion. On the day of the wax, make sure your skin is clean, dry, and free of any lotions, oils, or sweat. Sprinkling some baby powder on the area helps absorb excess moisture and ensures better adherence of the wax.
Remember, the success of your at-home bikini wax lies in following the right technique, using the right products, and maintaining proper aftercare. This guide will take you through each step, from applying the wax to removing the hair, to providing tips for exfoliation and moisturizing after you’re done. With practice and patience, you’ll be able to achieve smooth and long-lasting results, without the need for salon appointments.
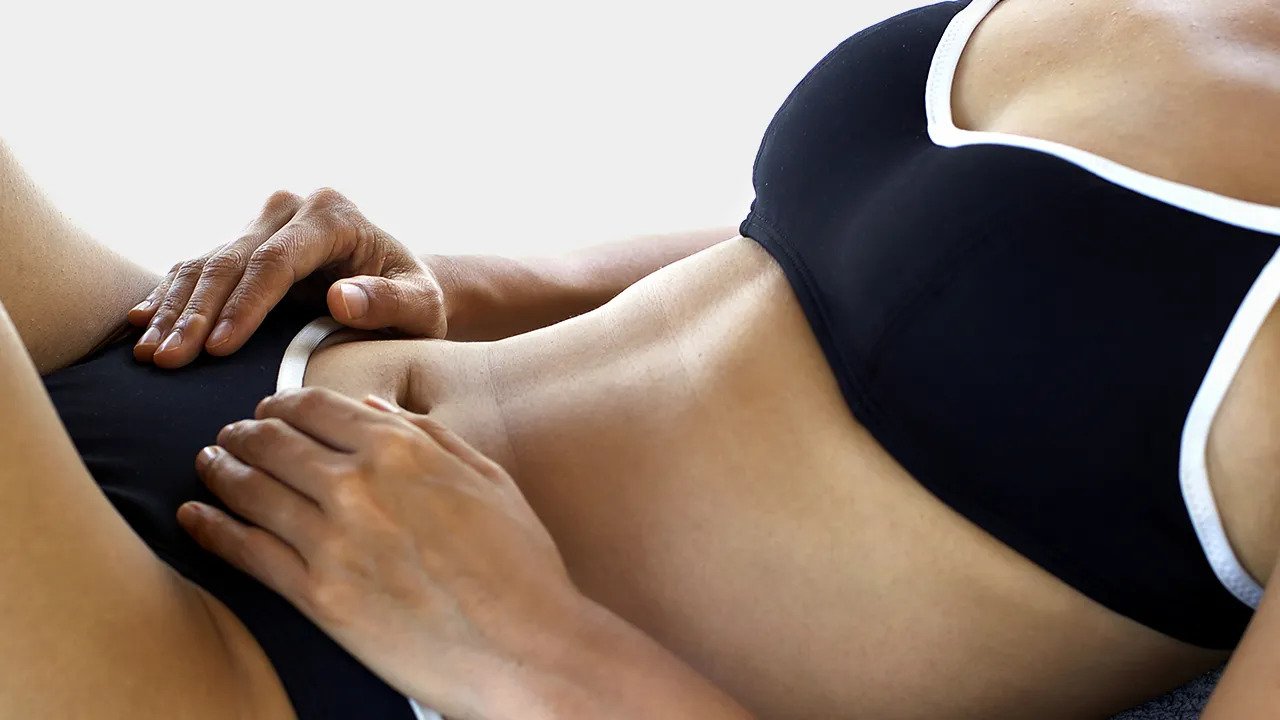
Preparing for the Wax
Before you begin your at-home bikini wax, it’s important to properly prepare yourself and the area you’ll be waxing. This will help ensure a more comfortable and effective waxing experience. Here are some essential steps to take when preparing for the wax:
1. Trim the hair: If your bikini hair is long, it’s a good idea to trim it down to a manageable length before waxing. Use scissors or a trimmer to carefully trim the hair to about a quarter-inch in length. This will prevent the hair from getting tangled in the wax and make the waxing process more efficient.
2. Cleanse the area: Thoroughly cleanse the bikini area with a gentle cleanser to remove any dirt, sweat, or oils. This will ensure that the wax adheres well to the hair and minimizes the risk of infection. Avoid using any harsh soaps or exfoliants, as they can irritate the skin and make it more sensitive during the waxing process.
3. Exfoliate the skin: Exfoliating the skin a day or two before your waxing session can help remove dead skin cells and prevent ingrown hairs. Use a gentle scrub or exfoliating mitt to gently buff the bikini area in circular motions. This will not only make the waxing process smoother but also help reduce the chances of ingrown hairs.
4. Check for allergies or skin sensitivities: Before applying any wax products to your bikini area, it’s important to perform a patch test. Apply a small amount of wax to a small area on your arm or leg, following the directions on the waxing kit. Leave it for the recommended time and then remove it. Wait for at least 24 hours to see if any adverse reactions occur, such as redness, itching, or irritation. If you experience any allergic reactions, it’s best to avoid using that particular wax product and look for an alternative.
5. Gather your supplies: Make sure you have all the necessary supplies before you begin. This includes a waxing kit specifically designed for the bikini area, waxing strips, spatulas, a mirror to help you see hard-to-reach areas, baby powder to absorb excess moisture, and a soothing lotion or aloe gel for post-waxing care.
By taking these preparatory steps, you’ll be setting yourself up for a smoother and more successful at-home bikini waxing experience. Preparing the area properly, trimming the hair, and ensuring that you’re not allergic to any of the wax products will help minimize discomfort and achieve better results.
Choosing the Right Waxing Kit
Choosing the right waxing kit is crucial for a successful at-home bikini wax. With a wide range of options available in the market, it’s important to select a kit that suits your needs and offers high-quality ingredients. Here are some factors to consider when choosing the right waxing kit:
1. Type of wax: There are typically two main types of wax used for bikini waxing: hard wax and soft wax. Hard wax is applied directly to the skin and hardens as it cools, allowing you to remove it without the need for waxing strips. Soft wax, on the other hand, is applied thinly on the skin and then removed using waxing strips. Consider your personal preference and experience level when choosing which type of wax you prefer to work with for your at-home bikini wax.
2. Ingredients: Pay attention to the ingredients used in the waxing kit. Look for kits that use high-quality, natural ingredients to minimize the risk of skin irritation and allergies. Avoid kits that contain harsh chemicals, artificial fragrances, or colorants. Opting for kits with hypoallergenic and nourishing ingredients, such as aloe vera or chamomile, can help soothe the skin during and after the waxing process.
3. Applicators and strips: Consider the quality and quantity of applicators and waxing strips included in the kit. Ensure that the applicators are of good quality and easy to use, providing you with enough control for precise application. The waxing strips should be sturdy and efficient in removing the wax and hair effectively. Consider kits that provide a sufficient number of applicators and strips to complete multiple waxing sessions, as this will save you money and ensure you can maintain your smooth bikini area over time.
4. Reviews and recommendations: Before purchasing a waxing kit, take the time to read reviews and seek recommendations from others who have used the product. Look for kits that have positive reviews and a good reputation for delivering effective and comfortable results. A waxing kit with a high satisfaction rate is more likely to provide you with a successful at-home bikini waxing experience.
5. Price: Consider your budget when choosing a waxing kit. While it’s important to invest in a quality kit, there are options available at various price points. Compare different brands and kits to find one that offers good value for money and fits within your budget.
By considering these factors, you’ll be able to choose the right waxing kit that suits your unique needs and preferences. Investing in a quality kit with suitable ingredients and reliable applicators will ensure a more comfortable and effective at-home bikini waxing experience.
Pre-Waxing Tips
Preparing properly before a bikini wax can make the process more comfortable and help you achieve better results. Here are some pre-waxing tips to keep in mind:
1. Let the hair grow: For successful waxing, it’s recommended to have at least a quarter-inch of hair growth. This allows the wax to adhere firmly to the hair and make the removal process more effective. Avoid shaving or trimming the hair too short before your waxing session.
2. Avoid excessive sun exposure: It’s best to avoid sun exposure or tanning beds for at least 48 hours prior to your waxing appointment. Sunburned or tanned skin is more sensitive and prone to irritation during the waxing process.
3. Take a warm shower: Before you wax, taking a warm shower can help soften the hair and open up the hair follicles. This makes the hair easier to remove and reduces the pain associated with waxing. Just make sure to thoroughly dry the bikini area before applying any wax.
4. Don’t moisturize: Avoid applying any lotions, oils, or creams to the bikini area on the day of your wax. Moisturizers can create a barrier between the wax and the hair, making it harder for the wax to adhere properly. Clean, dry skin is ideal for waxing.
5. Take a pain reliever if necessary: If you’re concerned about discomfort or have a low pain tolerance, you may consider taking an over-the-counter pain reliever like ibuprofen or acetaminophen about 30 minutes before your waxing session. This can help minimize any pain or discomfort during the process.
6. Avoid caffeine and alcohol: It’s best to avoid consuming caffeine or alcohol before your waxing appointment. These substances can stimulate the nerves and make the skin more sensitive, which may increase discomfort during the waxing process.
7. Communicate with your aesthetician: If you’re getting a professional bikini wax done, be sure to communicate with your aesthetician about any allergies, sensitivities, or medications you may be taking. They can provide you with specific guidance and ensure that they use the right products for your skin.
By following these pre-waxing tips, you’ll be setting yourself up for a more comfortable and effective waxing experience. It’s important to prepare your body and skin to ensure optimal results and minimize the risk of any adverse reactions.
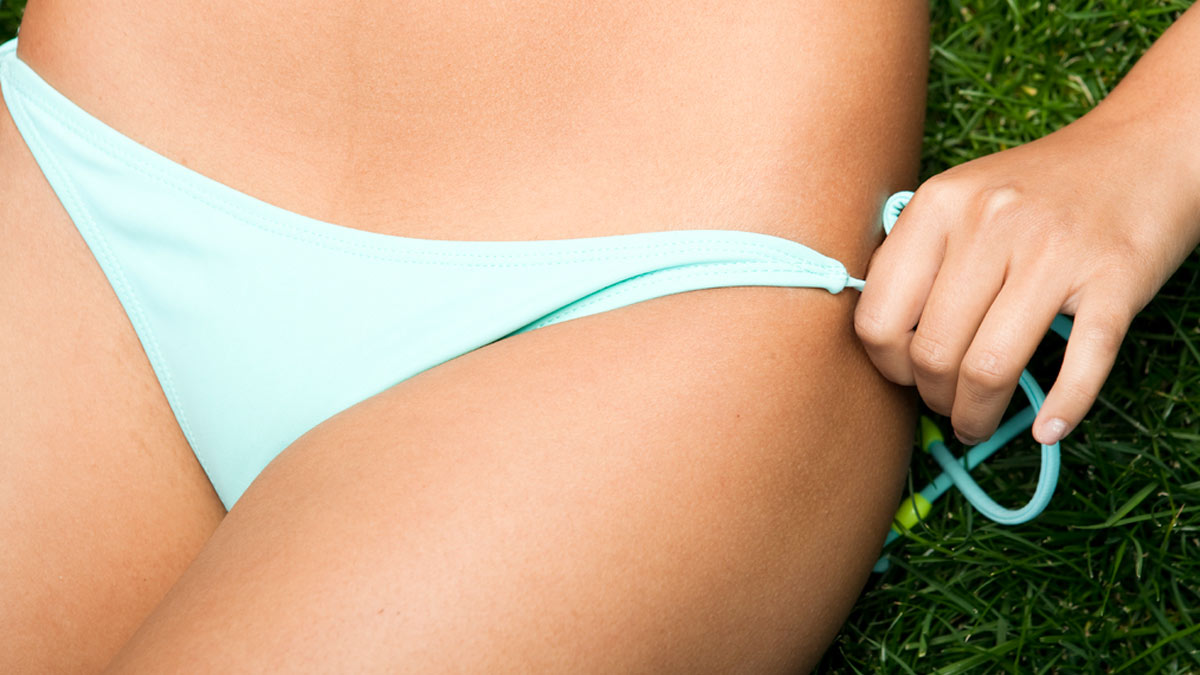
Step-by-Step Guide to Bikini Waxing
Now that you’ve prepared yourself and gathered your supplies, it’s time to dive into the step-by-step process of bikini waxing. Follow these instructions closely to achieve salon-quality results at home:
1. Heat the wax: Follow the instructions on your waxing kit for heating the wax. It should be warm but not uncomfortably hot. Test the temperature on a small area of your wrist to ensure it’s not too hot for your skin.
2. Cleanse and dry the area: Make sure the bikini area is clean and dry. Gently cleanse the area with a gentle cleanser and pat it dry. Avoid applying any lotions, oils, or powders at this stage.
3. Apply baby powder: Dust a thin layer of baby powder over the bikini area to absorb any excess moisture. This will help the wax adhere better to the hair and minimize discomfort.
4. Start with a small section: Begin by applying a thin layer of wax to a small section of the bikini area. Spread the wax in the direction of hair growth, using a spatula or the applicator provided in your kit.
5. Apply the waxing strip: Immediately place a waxing strip over the waxed area. Press it down firmly, ensuring that the strip sticks to the wax. Leave a small portion of the strip without wax, which will serve as a tab for easy removal.
6. Remove the strip: Hold the skin taut with one hand and, using the other hand, grip the exposed part of the strip. In one quick motion, pull the strip off in the opposite direction of hair growth. Make sure to pull parallel to the skin and not away from it, as this can cause more pain.
7. Repeat the process: Continue applying wax and removing the strips in small sections. Work your way around the bikini area, keeping the sections small for more control. If necessary, reapply wax to remove any stubborn hairs.
8. Take breaks if needed: If you experience any discomfort or pain during the process, don’t hesitate to take short breaks. This will allow you to regroup and continue with better ease.
9. Remove any leftover wax: After you’ve finished waxing, check for any leftover wax residue on the skin. Gently cleanse the area with a soothing cleanser or oil provided in your kit to remove any wax residue.
10. Apply a soothing lotion or aloe gel: To calm the skin and alleviate any redness or irritation, apply a soothing lotion or aloe gel to the waxed area. This will help hydrate and soothe the skin, leaving it feeling soft and smooth.
11. Clean your tools: Ensure you clean the spatulas, applicators, and any reusable tools thoroughly with warm water and soap. Properly drying them will maintain their hygiene and extend their lifespan.
By following this step-by-step guide, you can achieve a successful bikini wax at home. Take your time, be patient, and remember that practice makes perfect. With each waxing session, you’ll become more comfortable and confident in your DIY bikini waxing skills.
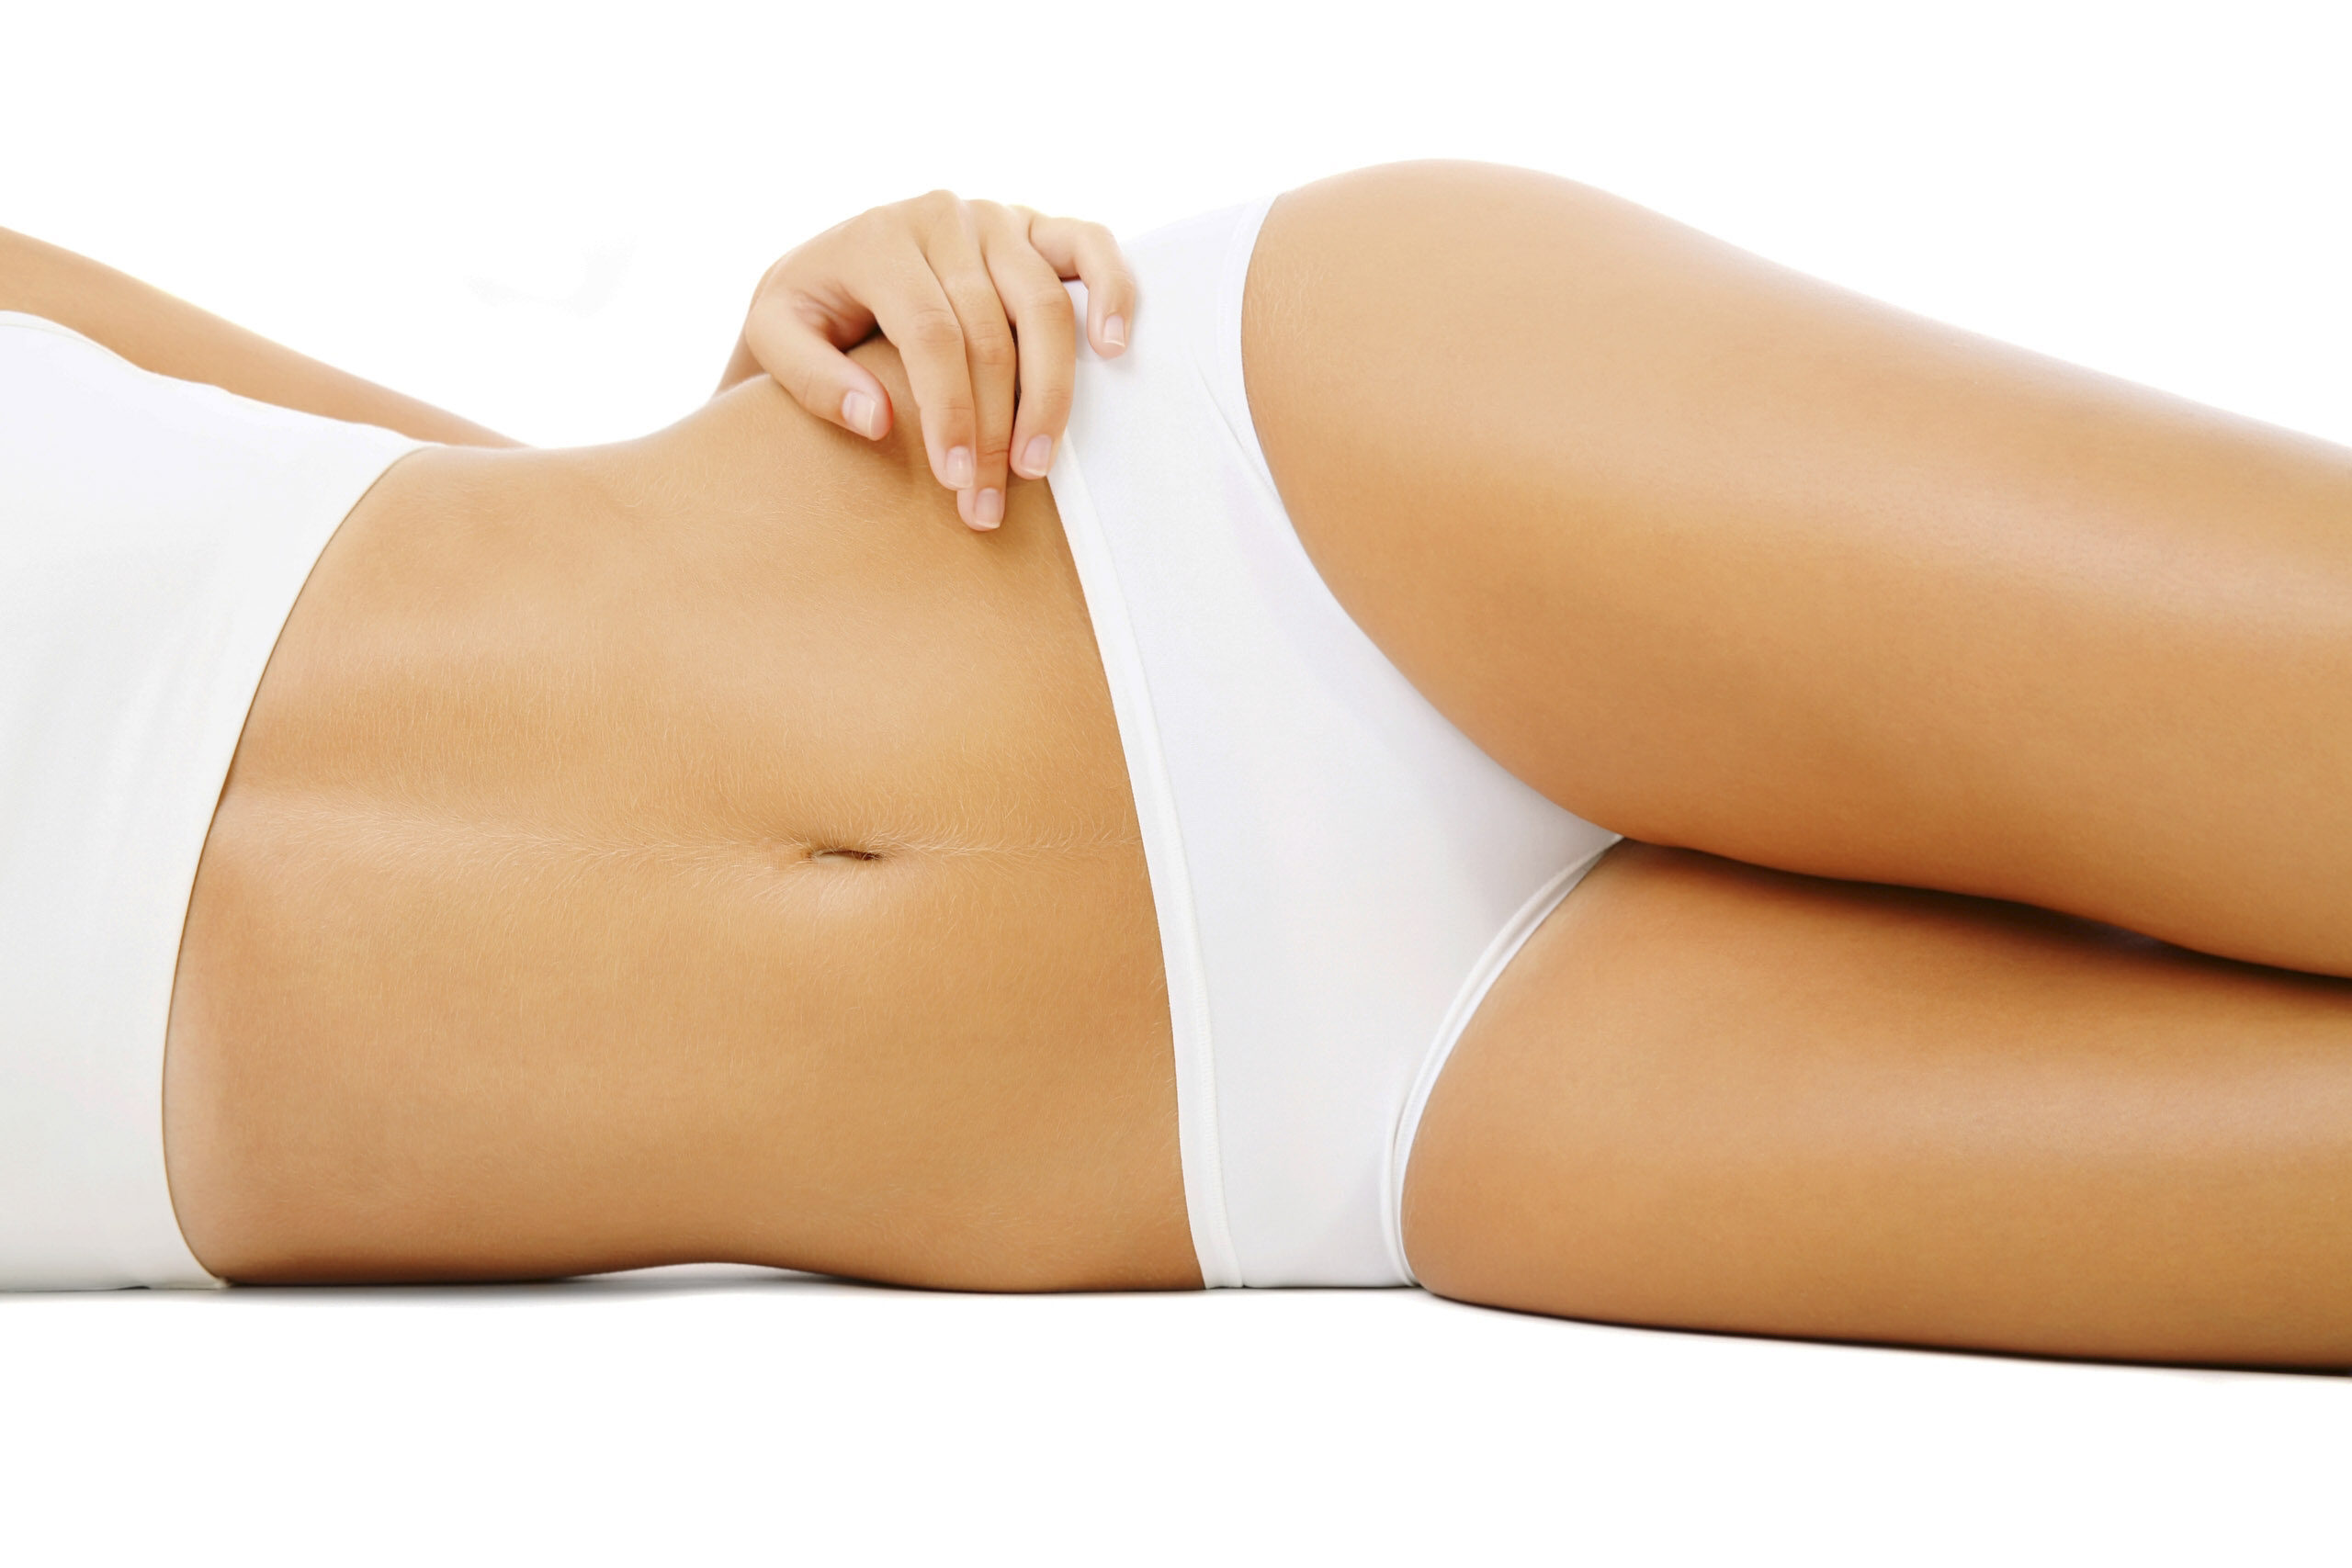
Aftercare and Post-Waxing Tips
Proper aftercare is essential to maintain the smoothness and health of your skin after a bikini wax. Follow these post-waxing tips to ensure optimal results and minimize any potential discomfort or irritation:
1. Avoid heat and friction: For the first 24 hours after waxing, it’s important to avoid activities that can increase heat or friction in the waxed area. This includes hot showers, saunas, steam rooms, and rigorous physical activities. Excessive heat or friction can irritate the skin and cause redness or ingrown hairs.
2. Wear loose and breathable clothing: Opt for loose-fitting and breathable clothing, especially underwear, to allow the skin to breathe and minimize irritation. Avoid tight clothing that can rub against the freshly waxed skin, causing discomfort or ingrown hairs.
3. Avoid sun exposure: Direct sun exposure can further sensitize the waxed area and may lead to sunburn or hyperpigmentation. If you need to spend time in the sun, make sure to apply a broad-spectrum sunscreen with an SPF of 30 or higher to protect the waxed area.
4. Exfoliate regularly: A few days after your waxing session, start gently exfoliating the bikini area to prevent ingrown hairs. Use a gentle scrub or exfoliating mitt to remove dead skin cells and unclog hair follicles. Exfoliating two to three times a week can help maintain smooth and hair-free skin.
5. Moisturize daily: Keep the skin hydrated and nourished by applying a gentle, fragrance-free moisturizer to the waxed area every day. Look for moisturizers that contain soothing ingredients like aloe vera or chamomile. Avoid using harsh or scented products immediately after waxing, as they can cause irritation.
6. Avoid touching or scratching: It’s tempting to touch or scratch the waxed area, especially if there is any discomfort or itchiness. However, this can introduce bacteria and increase the risk of infection. Be mindful of your hands and avoid excessive touching or scratching.
7. Schedule regular maintenance waxes: To keep the bikini area smooth and hair-free, it’s important to schedule regular maintenance waxes. Hair grows in cycles, and regular waxing helps to synchronize the growth and maintain longer-lasting results. Depending on your hair growth, aim to schedule your next waxing appointment within 4-6 weeks.
Remember that each person’s skin may react differently to waxing, so it’s important to tune in to your body and adjust your aftercare routine accordingly. If you experience any persistent redness, swelling, or irritation, it’s best to consult with a dermatologist or a professional waxing technician for further guidance.
By following these aftercare and post-waxing tips, you can maintain the smoothness and health of your skin after a bikini wax. Consistency in aftercare will help prolong the results and ensure a comfortable and enjoyable waxing experience.
Common Mistakes to Avoid
Performing a bikini wax at home can be a cost-effective and convenient way to maintain smooth skin. However, there are common mistakes that people make during the process that can lead to less than desirable results or unnecessary discomfort. Here are some common mistakes to avoid when doing a bikini wax at home:
1. Using the wrong waxing technique: One of the most common mistakes is not following the correct waxing technique. It’s important to apply the wax in the direction of hair growth and remove the strip in the opposite direction. Pulling the strip in the wrong direction can cause additional pain and ineffective hair removal.
2. Applying too much wax: Applying too much wax can result in messy and ineffective waxing. A thin layer of wax is sufficient to achieve optimal results. Applying too much can make it harder to remove the wax and increase the chances of skin irritation.
3. Waxing over the same area multiple times: Going over the same area repeatedly can cause unnecessary pain and skin irritation. It’s important to remove the wax strip in one quick motion and not reapply wax immediately to the same spot. If there are any stray hairs left, use tweezers to pluck them instead of applying more wax.
4. Not preparing the skin properly: Neglecting to properly cleanse and dry the skin before waxing can interfere with the adhesion of the wax. Make sure the skin is clean, dry, and free of lotions, oils, or powders before applying the wax to ensure optimal results.
5. Waxing too soon after shaving: It’s important to let the hair grow out to an appropriate length before waxing. If you wax too soon after shaving, the hair may not be long enough to adhere to the wax, resulting in ineffective hair removal. Aim for at least a quarter-inch of hair growth before waxing.
6. Not moisturizing after waxing: Aftercare is crucial to maintain the health of the skin post-waxing. Skipping moisturization can leave the skin dry and irritated. Apply a soothing and hydrating lotion or aloe gel after waxing to keep the skin nourished and calm.
7. Over-exfoliating the area: While regular exfoliation is important for preventing ingrown hairs, too much exfoliation immediately after waxing can cause further irritation. Wait for a couple of days before exfoliating the waxed area to allow the skin to heal.
8. Pulling the strip slowly: Pulling the wax strip slowly can not only cause unnecessary pain but can also result in inefficient hair removal. Always remember to pull the strip off in one swift motion to minimize discomfort.
By avoiding these common mistakes, you can ensure a more successful and comfortable bikini waxing experience at home. Take your time, follow the proper techniques, and prioritize skin preparation and aftercare for the best results.
Conclusion
Learning how to do a bikini wax at home can be a game-changer for your grooming routine. Not only does it save you time and money, but it also allows you to customize the experience to your own preferences. By following the step-by-step guide, preparing properly, and avoiding common mistakes, you can achieve salon-quality results in the comfort of your own home.
Remember, preparation is key. Take the time to gather the necessary supplies, prepare your skin, and choose the right waxing kit for your needs. Following the proper technique, applying the wax in the direction of hair growth, and removing the strip quickly will help minimize discomfort and maximize hair removal.
Aftercare is equally important to maintain the smoothness and health of your skin. Regular exfoliation and moisturization are essential for preventing ingrown hairs and keeping the skin hydrated. Avoiding excessive sun exposure and wearing loose clothing can also help protect and soothe the waxed area.
With each at-home bikini waxing session, you will gain more confidence and develop a routine that works best for you. It’s important to be patient with yourself and give yourself time to perfect your technique.
However, if you’re unsure or uncomfortable with performing a bikini wax at home, it’s always a good idea to seek professional help. Aesthetician in a salon or spa can provide expert guidance and ensure a safe and effective waxing experience.
So, embrace the convenience and cost-effectiveness of at-home bikini waxing. With the right knowledge, tools, and practice, you can achieve smooth and hair-free results that will make you feel confident and ready to rock your favorite bikini!