Home>How-to Guides>For Women>How To Tie Bikini Bottom

For Women
How To Tie Bikini Bottom
Modified: August 2, 2023
Discover the perfect technique to tie your bikini bottom for women. Step-by-step instructions and helpful tips ensure a secure and stylish fit.
(Many of the links in this article redirect to a specific reviewed product. Your purchase of these products through affiliate links helps to generate commission for Under-tec.com, at no extra cost. Learn more)
Table of Contents
Introduction
Welcome to the world of bikinis! Whether you’re lounging by the pool or hitting the beach, a well-fitting bikini can enhance your confidence and make you feel fabulous. But it’s not just about finding the perfect top – the bottom is just as important! In this article, we’ll guide you through the process of tying your bikini bottom to ensure a comfortable and secure fit that will withstand any wave or splash.
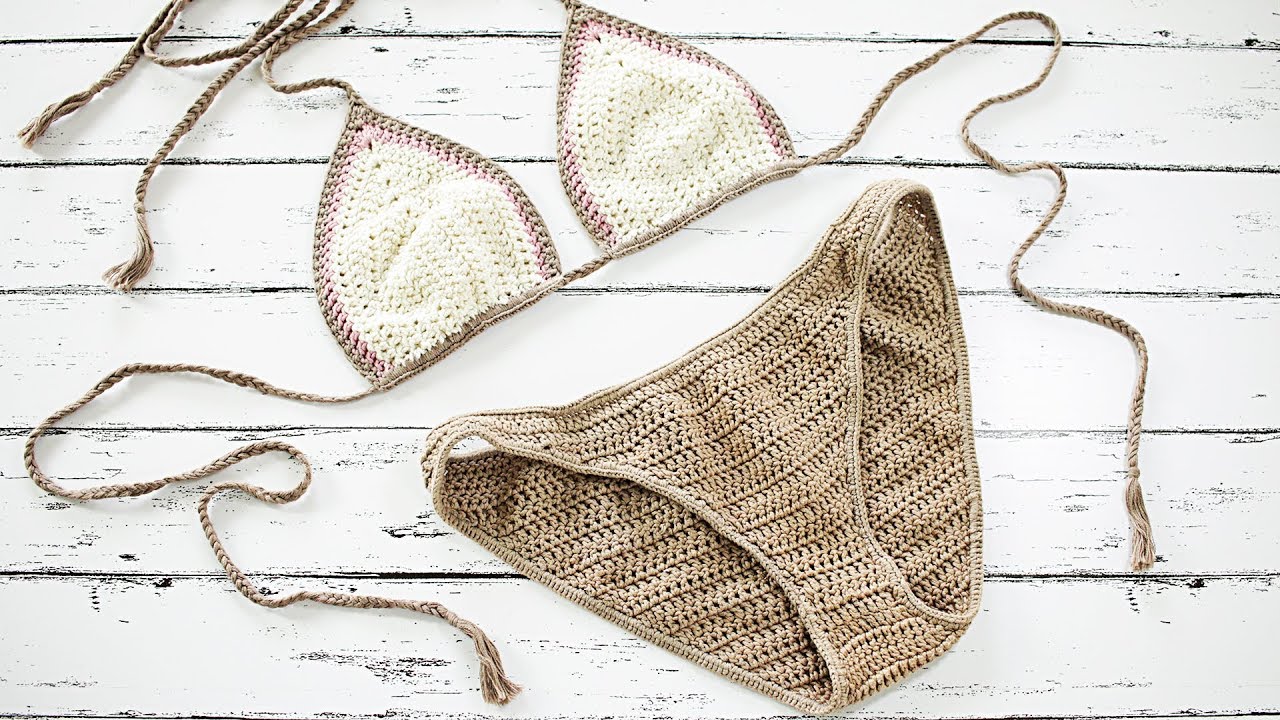
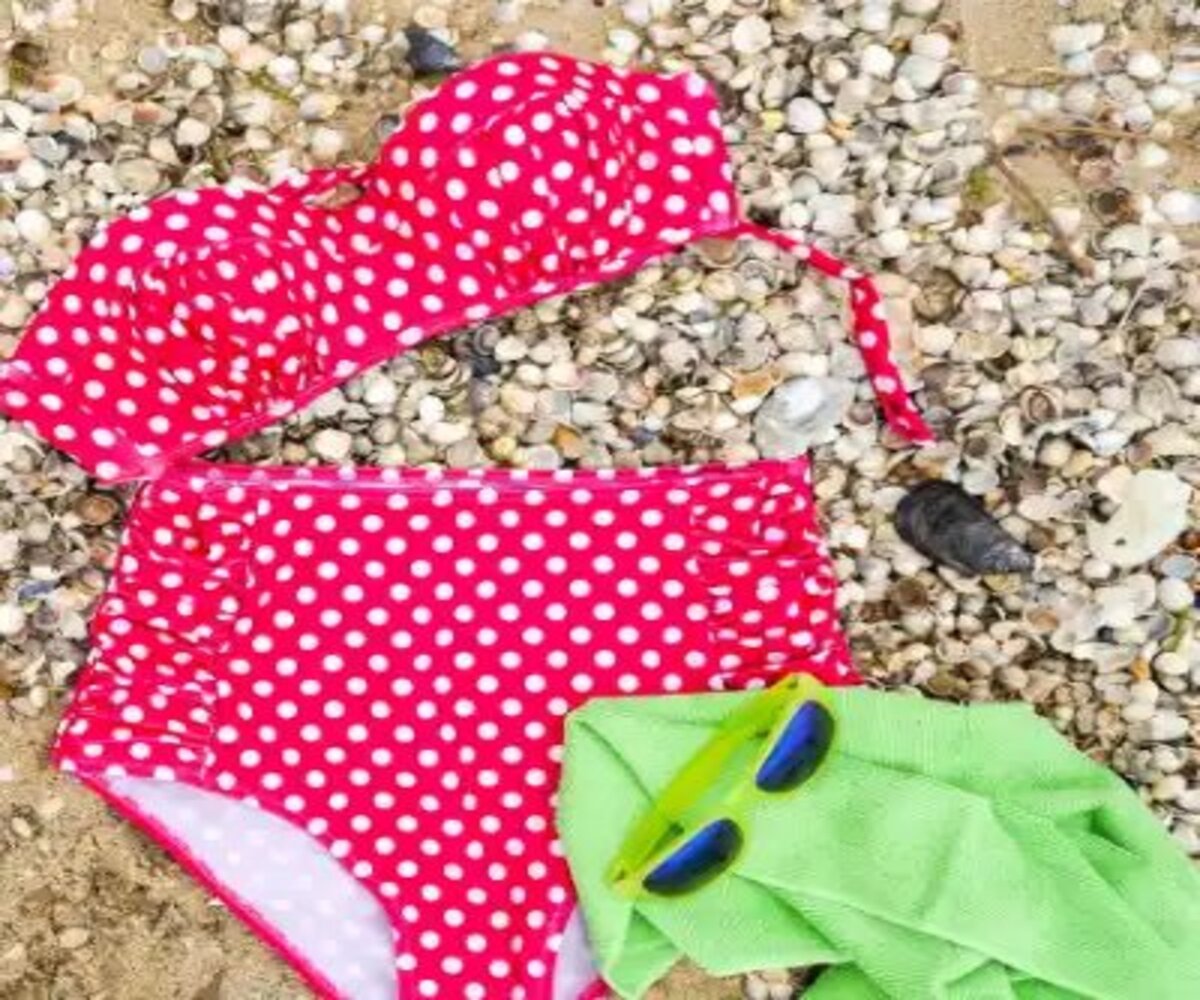
Getting the right fit starts with choosing the right bikini bottom. With so many styles and cuts available, it’s crucial to find one that flatters your body shape and accentuates your best features. Whether you prefer a classic hipster, a high-waisted style, or a cheeky Brazilian cut, select a bikini bottom that makes you feel comfortable and confident.
Once you’ve found the perfect bikini bottom, it’s important to prepare it properly before tying it. Make sure there are no loose threads or tags that could cause discomfort. Give it a quick rinse to ensure it’s clean and ready for use. It’s also a good idea to check the fabric for any imperfections or signs of wear and tear to prevent any unexpected mishaps during your beach adventure.
Now, let’s dive into the step-by-step process of tying your bikini bottom to achieve a secure fit. Whether you’re a beginner or a seasoned beach-goer, these techniques will ensure that your bikini bottom stays in place, so you can focus on enjoying the sun, sand, and surf.
Step 1: Choosing the Right Bikini Bottom
Choosing the right bikini bottom is the first and most crucial step in achieving a comfortable and stylish beach look. With so many options available, it’s important to consider your body shape, personal style, and the level of coverage you desire.
Firstly, consider your body shape. If you have an hourglass figure, high-waisted bikini bottoms can accentuate your waistline and create a flattering silhouette. For those with a pear-shaped body, bikini bottoms with ruffle details or side ties can add volume to the upper body and create a balanced look.
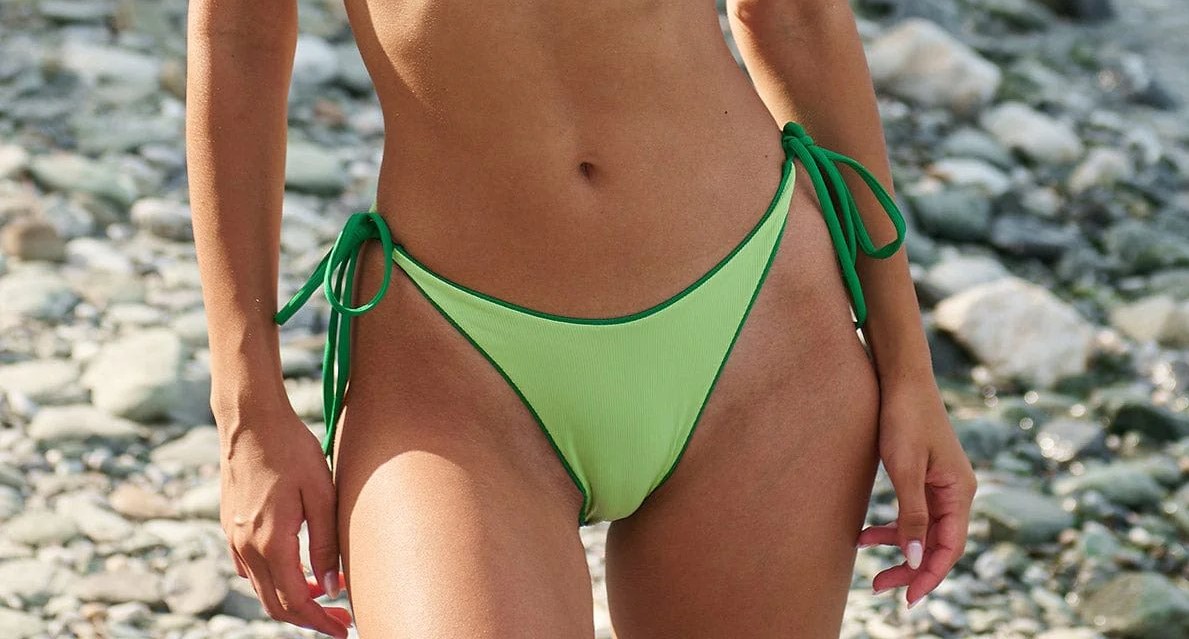
Next, think about your personal style. If you prefer a more modest look, opt for bikini bottoms with fuller coverage like boyshorts or high-waisted bottoms. On the other hand, if you’re comfortable showing some skin, bikini bottoms with skimpy or Brazilian cuts can create a sexy and daring look.
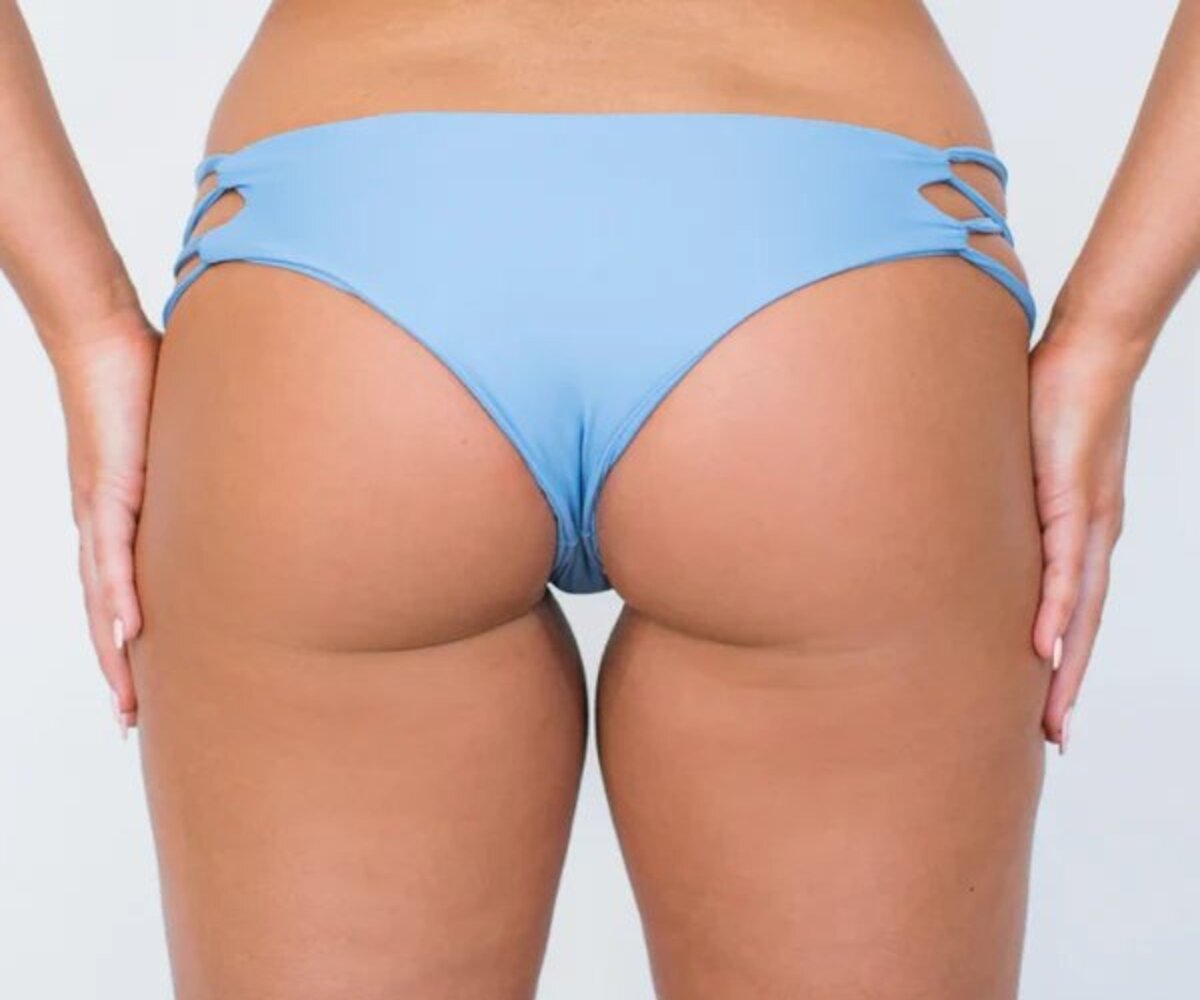
Consider the level of coverage you’re comfortable with. Classic hipster bikini bottoms provide moderate coverage for those who prefer a more modest look. Cheeky or Brazilian-cut bottoms offer less coverage and showcase more of your curves. Ultimately, choose a style that makes you feel confident and comfortable.
Additionally, don’t be afraid to experiment with patterns, colors, and embellishments. Bold prints or vibrant colors can make a statement and show off your personality. Ruffles, bows, and other decorative elements can add a playful touch to your bikini bottom.
Finally, try on different sizes and styles to ensure the best fit. Bikini bottoms should fit snugly but not be too tight or uncomfortable. Pay attention to the waistband and leg openings to ensure they don’t dig into the skin. Remember, comfort is key when choosing your bikini bottom.
By taking these factors into consideration, you’ll be able to find the perfect bikini bottom that suits your body type, personal style, and comfort level. Once you’ve selected the ideal bikini bottom, you’re ready to move on to the next step: preparing it for tying.
Step 2: Preparing the Bikini Bottom
Before you start tying your bikini bottom, it’s important to properly prepare it to ensure a comfortable and secure fit. Here are a few steps to follow:
Firstly, check your bikini bottom for any loose threads or tags. These can be irritating and uncomfortable when you’re wearing your bikini. Carefully cut off any loose threads or remove any tags that may be attached. This step will help prevent any distractions or discomfort while you’re enjoying your time at the beach or pool.
Next, give your bikini bottom a quick rinse. Even if it’s brand new, it’s always a good idea to rinse off any chemicals or residue that may be present. This will ensure that your bikini bottom is clean and ready for use. It’s especially important to rinse off any chlorine if you’ve been swimming in a pool to prevent any potential damage to the fabric.
Take a moment to inspect the fabric of your bikini bottom. Look for any signs of wear and tear, such as fraying or thinning material. If you notice any issues, consider repairing or replacing the bikini bottom to avoid any mishaps while you’re enjoying your time by the water. It’s better to be safe than sorry!
Lastly, ensure that the bikini bottom is dry before proceeding to tie it. Moisture can make the fabric slippery, making it difficult to secure the knots properly. Gently dab the bikini bottom with a towel or allow it to air dry for a few minutes to ensure that it’s completely dry.
By following these simple steps to prepare your bikini bottom, you’ll ensure a comfortable and hassle-free experience. Now, it’s time to move on to the next step: tying the bikini bottom!
Step 3: Tying the Bikini Bottom
Now that you’ve prepared your bikini bottom, it’s time to tie it to achieve a secure and comfortable fit. Follow these step-by-step instructions:
1. Start by stepping into the bikini bottom and pulling it up to your desired placement on your hips. Ensure that the fabric is evenly distributed around your waist and buttocks.
2. Take hold of the strings or ties on both sides of the bikini bottom. Cross them over each other at the front or back, depending on your preference. This will create an X shape with the straps.
3. Bring the tie from the left side and wrap it around your waist or hips, depending on the style of the bikini bottom. Take the end of the tie and bring it through the loop created by the X shape. Pull it tight to secure the knot.
4. Repeat this process with the tie on the right side, wrapping it around your waist or hips in the opposite direction and pulling it through the loop.
5. Adjust the tightness of the knot to your comfort level. Be careful not to tie it too loose, as it may become undone when you’re active in the water. Conversely, avoid tying it too tight, as it could cause discomfort or leave marks on your skin.
6. Once you’ve tied the knots, double-check that they are secure and won’t easily come undone during your beach adventures.
Remember, the tying technique may vary depending on the style of your bikini bottom. Some bottoms may have side ties that need to be tied in a bow, while others may have adjustable straps that you can tighten or loosen for a custom fit.
Experiment with different tying styles to find the one that works best for you and your bikini bottom. A securely tied bikini bottom will allow you to move freely and confidently without worrying about any wardrobe malfunctions.
Now that you’ve successfully tied your bikini bottom, it’s time to move on to the next step: adjusting and securing the fit.
Step 4: Adjusting and Securing the Fit
After tying your bikini bottom, it’s important to take a moment to adjust and secure the fit to ensure maximum comfort and confidence. Follow these steps:
1. Stand in front of a mirror and assess the fit of your bikini bottom. Ensure that it sits comfortably on your hips or waist and that the fabric covers what you want it to cover. Make any necessary adjustments to the positioning of the bikini bottom before moving on to the next step.
2. If your bikini bottom has side ties, you can adjust the tightness by pulling on the ties. This allows you to customize the fit to your liking. Be careful not to pull them too tightly, as it may cause discomfort or create unflattering bulges.
3. Check the leg openings to ensure they are positioned correctly. They should fit snugly against your skin without digging into it or leaving marks. If necessary, gently adjust the fabric around the leg openings to achieve the desired fit.
4. Take a few steps and move around to test the security of the bikini bottom. Pay attention to how it feels – it should stay in place without shifting or riding up excessively. If you experience any discomfort or slipping, make further adjustments to the ties or placement of the bikini bottom.
5. If your bikini bottom has any additional fasteners such as hooks or clasps, make sure they are securely fastened. These extra features provide added support and stability, ensuring a worry-free day at the beach or pool.
Remember, the goal is to find a fit that is comfortable for you. It should allow you to move freely and confidently without any distractions or concerns. Take the time to make the necessary adjustments before moving on to enjoying your time in the sun.
Now that you have adjusted and secured the fit of your bikini bottom, you’re all set to make a stylish splash! But before you head off to enjoy the water, let’s go over some final tips and considerations.
Step 5: Final Tips and Considerations
As you prepare to enjoy your time in the sun with your perfectly tied bikini bottom, here are some final tips and considerations to keep in mind:
1. Stay mindful of the fabric: Different fabrics require different care. Some fabrics, like spandex, may stretch when wet, so be cautious when tying your bikini bottom. Additionally, be aware of fabrics that may become see-through when wet. If you’re unsure, it’s always a good idea to do a quick test in the water before heading out.
2. Recheck for comfort: Throughout your day at the beach or pool, periodically check your bikini bottom for any signs of discomfort or shifting. Adjust as necessary to maintain a secure and comfortable fit.
3. Avoid rough activities: If you plan on participating in high-impact activities like beach volleyball or surfing, consider opting for a bikini bottom with more coverage or additional secure fasteners. This will ensure that everything stays in place no matter how active you get.
4. Rinse after use: After a fun day by the water, be sure to rinse your bikini bottom thoroughly to remove any salt, chlorine, or other substances that can damage the fabric. This will help prolong the life of your bikini and keep it looking its best.
5. Have a backup: It’s always a good idea to have a spare bikini bottom on hand, just in case of any unforeseen circumstances or accidents. This way, you can continue enjoying your day without worrying about your beach attire.
Remember, the most important thing is to feel confident and comfortable in your bikini bottom. The right fit will enhance your beach or pool experience, allowing you to fully enjoy your time in the sun.
Now that you have all the knowledge and steps to tie your bikini bottom like a pro, it’s time to head out and embrace the sunshine and waves. Enjoy your time at the beach or pool with the confidence of knowing that your bikini bottom is securely tied and ready for any adventure!
Conclusion
Choosing and tying the right bikini bottom is essential to achieving a comfortable and stylish beach look. By following the steps outlined in this guide, you can ensure a secure fit that allows you to confidently enjoy your time in the sun.
Remember to start by selecting a bikini bottom that flatters your body shape, suits your personal style, and provides the desired level of coverage. Preparing the bikini bottom by removing any tags, rinsing it, and checking for any imperfections ensures that it’s ready for use.
When it comes to tying the bikini bottom, follow the step-by-step instructions to create a secure and comfortable knot. Adjusting and securing the fit is crucial to avoid any discomfort or wardrobe malfunctions while you’re in the water.
Lastly, keep in mind some final tips: be mindful of the fabric, recheck the fit for comfort, consider the activities you’ll be participating in, and rinse your bikini bottom after use to maintain its quality.
With these guidelines in mind, you’re ready to rock your bikini bottom and enjoy a fantastic time at the beach or pool. Embrace the sunshine, sand, and surf with confidence, knowing that your bikini bottom is securely tied and perfectly suited to your style and comfort.
So go ahead, tie that bikini bottom like a pro and make a splash!