Home>How-to Guides>For All>How To Remove Bird Poop Stain On Leather Purse
For All
How To Remove Bird Poop Stain On Leather Purse
Modified: August 3, 2023
Discover the ultimate guide on how to remove bird poop stains from your leather purse. Find effective solutions for all types of leather, leaving your purse clean and stain-free.
(Many of the links in this article redirect to a specific reviewed product. Your purchase of these products through affiliate links helps to generate commission for Under-tec.com, at no extra cost. Learn more)
Table of Contents
Introduction
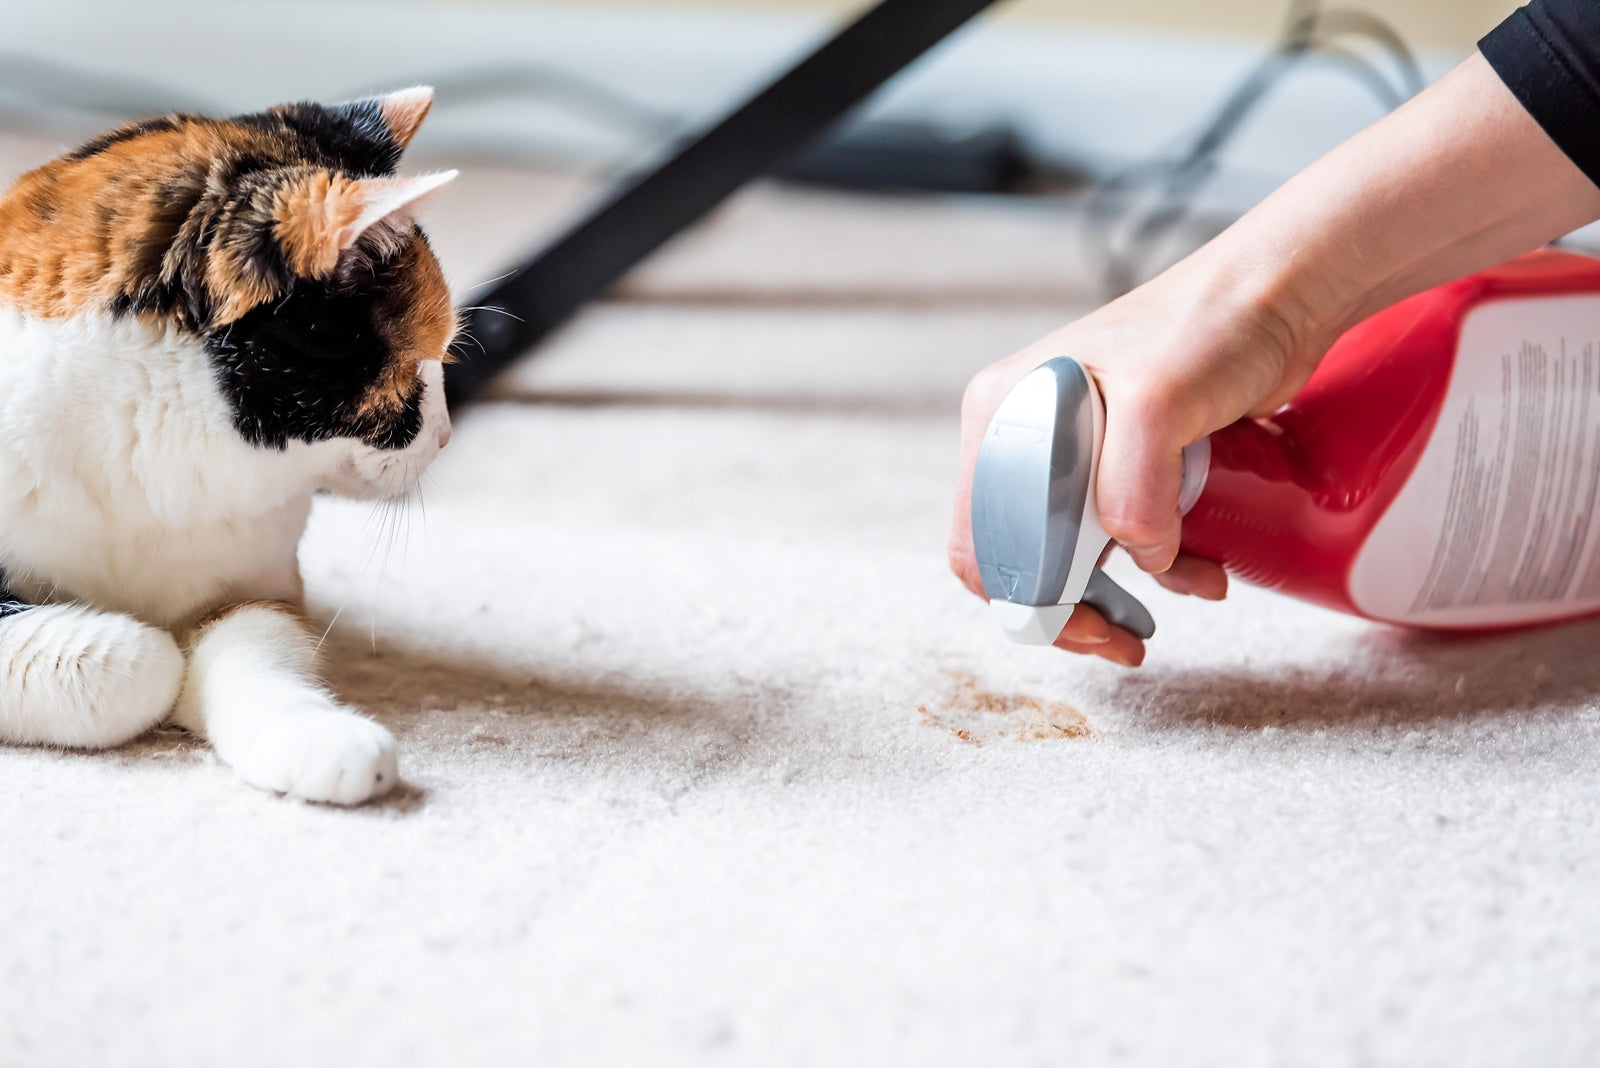
Bird poop stains can be an unpleasant sight, especially when they end up on your beautiful leather purse. Not only can it ruin the appearance of your purse, but if left untreated, it may even lead to permanent damage to the leather. Thankfully, removing bird poop stains from leather purses is not as difficult as it may seem. With the right materials and a gentle approach, you can effectively remove the stain and restore the pristine look of your purse.
It is important to note that bird droppings can vary in composition and acidity depending on the bird’s diet, which means some stains may be more stubborn than others. However, with the right techniques and a little patience, you can tackle even the toughest bird poop stains.
In this article, we will guide you through a step-by-step process to safely and effectively remove bird poop stains from your leather purse. We will also provide you with some tips and precautions to ensure that the cleaning process does not cause any additional damage to your purse. So, let’s get started and say goodbye to those pesky bird poop stains!
Materials Needed
Before diving into the stain removal process, gather the following materials:
- Clean, soft cloth: A soft cloth will be used for wiping off loose residue and applying the cleaner.
- Leather cleaner: Choose a leather-specific cleaner that is safe to use on your purse. Avoid using harsh chemicals or household cleaners that can damage the leather.
- Mild soap: You may need mild soap to remove any stubborn stains. Ensure that the soap is gentle and fragrance-free.
- Distilled water: Distilled water is preferred for cleaning leather to avoid leaving mineral deposits or impurities on the surface.
- Leather conditioner: After cleaning the stain, it’s crucial to replenish the moisture in the leather with a suitable leather conditioner.
- Soft-bristled brush: A soft-bristled brush or toothbrush will help in gently scrubbing the stain and removing any residue from the surface of the leather.
- Microfiber cloth: A microfiber cloth is excellent for buffing and drying the leather after cleaning.
It’s important to note that some leather purses may require specific types of cleaner or conditioner based on their finish. Be sure to check the manufacturer’s recommendations or consult a professional if you are unsure about the suitability of a particular product for your leather purse.
Having these materials on hand will ensure that you are well-equipped to tackle the bird poop stain effectively without causing any further damage to your leather purse.
Step 1: Assess the Stain
Before beginning the cleaning process, it’s crucial to assess the bird poop stain on your leather purse. Take a close look at the stain’s size, color, and how deeply it has penetrated the leather. This assessment will help you determine the appropriate cleaning technique and products to use.
Small, fresh stains are generally easier to remove, while older and larger stains may require more effort. Additionally, the color of the stain may be a clue to its composition and potential damage to the leather. Darker or more acidic stains may require extra caution during the cleaning process.
It’s also important to consider the type of leather your purse is made of. Different leathers may react differently to cleaning agents, so it’s essential to choose the right products that won’t cause further damage.
Once you have assessed the stain and understood its characteristics, you can proceed with confidence to the next steps of the cleaning process. Remember, a proper assessment will help you tailor your approach and ensure the best possible outcome.
Step 2: Remove Loose Residue
Before applying any cleaners or solutions to the bird poop stain, it’s important to remove any loose residue on the surface of your leather purse. This step will prevent the stain from spreading further and minimize the risk of scratching the leather during the cleaning process.
To remove loose residue:
- Start by gently brushing off any dry bird droppings using a soft-bristled brush or a toothbrush. Be careful not to press too hard to avoid pushing the stain deeper into the leather.
- Once you have removed as much dry residue as possible, dampen a clean, soft cloth with warm water or distilled water.
- Gently blot the stain, starting from the outer edges and working your way towards the center. Avoid rubbing vigorously, as this can cause the stain to spread or penetrate the leather.
Continue blotting until you have removed all visible loose residue from the surface of the leather purse. If the stain is still visible after this step, don’t worry – we will proceed with further cleaning techniques in the following steps.
Remember to handle the leather with care during this step, as excessive force or rough rubbing can damage the delicate surface of your purse. Patience and a gentle touch are key to successfully removing bird poop stains without causing any harm to your leather purse.
Step 3: Test a Small Area
Before using any cleaner or solution on the entire stained area, it’s important to test it on a small and inconspicuous area of your leather purse. This step will help you determine if the cleaner is suitable for your particular type of leather and if any adverse reactions or discoloration may occur.
To test a small area:
- Choose a hidden or less visible spot on your purse, such as the inside of a pocket or a bottom corner.
- Apply a small amount of the leather cleaner or solution to a soft cloth or cotton swab.
- Gently rub the solution onto the test area in a circular motion, ensuring that it covers a small portion of the leather.
- Observe the area for any adverse effects, such as color fading, discoloration, or changes in texture.
- If there are no negative reactions, such as color changes or damage to the leather, you can proceed with confidence to the next steps.
- If you notice any unwanted effects, immediately stop the testing and choose an alternative cleaner or seek professional advice.
Testing a small area is an essential step to minimize the risk of causing further damage to your leather purse. It allows you to gauge the suitability of the cleaner and ensure that it will not compromise the appearance or integrity of the leather.
Once you have successfully tested a small area and are satisfied with the results, you can move on to the next steps, confident that the cleaner is safe for use on your leather purse.
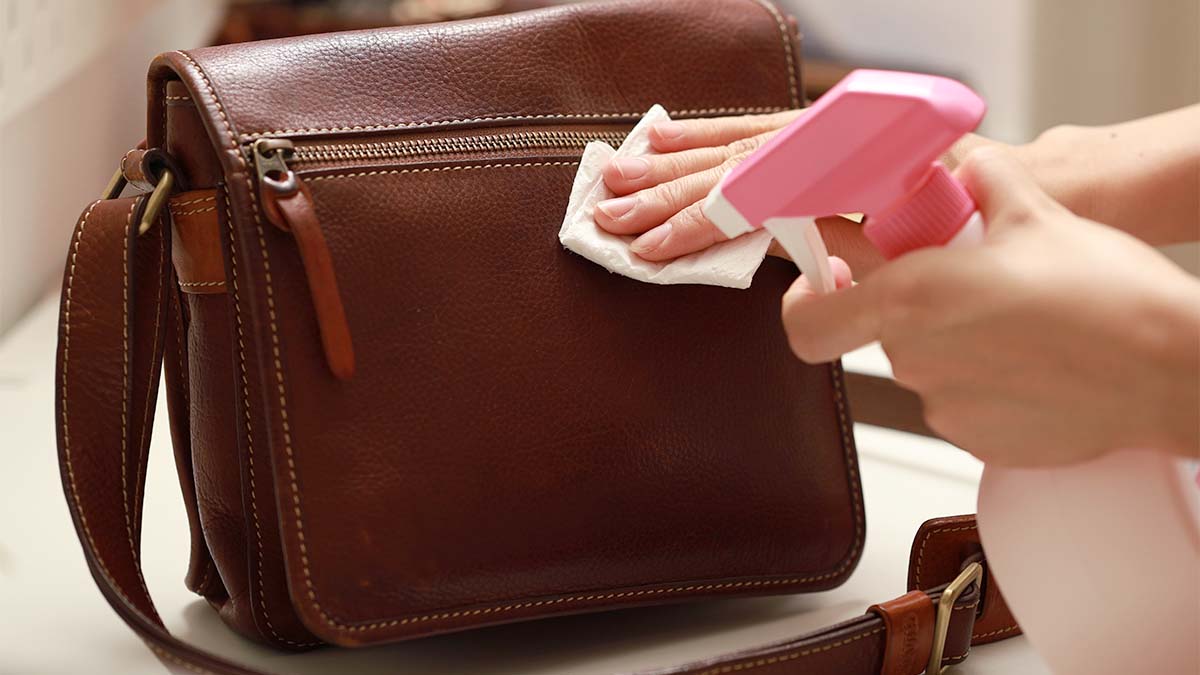
Step 4: Apply Leather Cleaner
With the test area yielding positive results, it’s time to move forward and apply the leather cleaner to the bird poop stain on your leather purse. The leather cleaner will help break down and remove the stain without harming the leather’s surface.
To apply the leather cleaner:
- Read the instructions on the leather cleaner bottle to ensure proper usage.
- Dampen a clean, soft cloth or sponge with the leather cleaner solution. It’s important not to oversaturate the cloth, as excessive moisture can damage the leather.
- Gently blot the stained area with the damp cloth, applying light pressure. Start from the outer edges of the stain and work your way towards the center. Avoid rubbing vigorously, as this can spread the stain or damage the leather.
- Continue blotting the stain, moving in a circular motion, until the cleaner has been evenly applied to the entire stain.
- Leave the leather cleaner on the stain for the recommended time stated on the cleaner’s instructions. This will allow the cleaner to penetrate the stain and loosen its grip on the leather.
During this step, it’s important to be patient and avoid rushing the process. Allowing the cleaner to work on the stain for the designated time will increase the effectiveness of stain removal.
Remember, different cleaners may have varying application methods, so be sure to follow the instructions provided by the manufacturer for best results.
Now that the leather cleaner has been applied, we can proceed to the next step to remove the stain and restore the beauty of your leather purse.
Step 5: Gently Scrub the Stain
After allowing the leather cleaner to sit on the bird poop stain for the recommended time, it’s time to gently scrub the stain to remove it from your leather purse. However, it’s crucial to approach this step with caution to prevent any damage to the leather surface.
To gently scrub the stain:
- Take a soft-bristled brush or toothbrush and gently scrub the stained area in a circular motion. Ensure that the bristles are soft to avoid scratching the leather.
- Continue scrubbing the stain, gradually increasing the pressure if necessary. Be mindful not to scrub too aggressively to prevent any potential damage to the leather.
- Frequently check the progress of the stain removal. If needed, apply more leather cleaner to the stain and continue scrubbing until the stain is completely lifted.
- If the stain persists or begins to spread, stop scrubbing immediately to avoid further damage. Consider seeking professional assistance or using alternative stain removal methods.
Remember to always be gentle and patient during this step. The goal is to gradually lift the stain without causing any harm to your leather purse.
If you notice any discoloration or changes in the leather’s texture during the scrubbing process, stop immediately and revisit the previous steps. It’s better to take it slow and be cautious to preserve the integrity and appearance of your leather purse.
Once you are satisfied with the stain removal, you can proceed to the next step and wipe off the cleaner from the leather surface.
Step 6: Wipe Off the Cleaner
With the bird poop stain successfully scrubbed, it’s time to wipe off the leather cleaner from the surface of your purse. This step is crucial for removing any residual cleaner and ensuring that your leather purse is clean and ready for the next stage of the cleaning process.
To wipe off the cleaner:
- Dampen a clean, soft cloth with distilled water or lukewarm water.
- Gently wipe the stained area with the damp cloth, starting from the outer edges and moving towards the center. This will help remove any remaining cleaner and residue.
- Continue wiping until you are confident that all traces of the cleaner have been removed from the leather surface.
- Inspect the stained area to ensure that it appears clean and free from any cleaner residue. If there are still visible traces, repeat the wiping process.
While wiping off the cleaner, it’s important to use a gentle touch and avoid excessive moisture. Too much water can saturate the leather, potentially causing damage or unwanted discoloration.
Once you have thoroughly wiped off the cleaner and ensured that the stained area is clean, you can proceed to the next step to restore and protect your leather purse.
Step 7: Apply Leather Conditioner
After removing the bird poop stain and wiping off the cleaner, it’s essential to replenish the moisture and protect the leather surface of your purse. Applying a leather conditioner will help restore the natural oils, prevent drying, and maintain the softness and suppleness of the leather.
To apply the leather conditioner:
- Choose a high-quality leather conditioner that is recommended for use on your specific type of leather.
- Apply a small amount of the leather conditioner onto a clean, soft cloth and gently rub it onto the surface of your purse.
- Work the conditioner into the leather using circular motions, focusing on the areas that were affected by the stain.
- Ensure that the conditioner is evenly spread across the surface of the leather, paying extra attention to any dry or discolored areas.
- Allow the leather conditioner to be absorbed into the leather for the recommended time stated on the conditioner’s instructions.
Applying a leather conditioner not only restores moisture to the leather but also helps to maintain its natural sheen and prevent cracking or peeling over time. It creates a protective barrier that shields the leather from future stains and damage.
Remember to follow the manufacturer’s instructions and guidelines for the leather conditioner, as different products may have varying application methods and durations. Proper conditioning will help keep your leather purse looking and feeling its best for years to come.
Once the leather conditioner has been applied and allowed to absorb into the leather, we can proceed to the final step: allowing the purse to dry.
Step 8: Let It Dry
After applying the leather conditioner to your purse, it’s crucial to allow it to dry completely. Allowing the leather to dry properly ensures that the conditioner is absorbed fully, and the leather surface is restored to its optimal condition.
To let your leather purse dry:
- Place the purse in a well-ventilated area away from direct sunlight or heat sources. Excessive heat can cause the leather to dry out or warp.
- Leave the purse to air dry naturally. Avoid using hairdryers or other artificial heat sources to speed up the drying process, as this can damage the leather.
- Periodically check the purse to ensure that it is drying evenly. If any excess moisture is present, gently blot it with a clean, dry cloth.
- Allow sufficient time for the leather to dry completely before returning your belongings to the purse or using it.
Drying times may vary depending on the leather type, the amount of conditioner applied, and the ambient conditions. It’s essential to exercise patience and not rush the drying process to ensure the best results.
During the drying period, it’s normal for the leather to feel slightly tacky or oily due to the presence of the conditioner. This will subside as the conditioner fully absorbs into the leather.
Once your leather purse is completely dry, it will be ready to use and showcase its renewed beauty. Remember to properly store and care for your purse to maintain its longevity and reduce the risk of future stains.
Now that you have successfully cleaned and conditioned your leather purse, it’s time to enjoy its refreshed appearance!
Conclusion
Removing bird poop stains from your leather purse may seem like a daunting task, but with the right approach and materials, it is entirely possible to restore your purse to its original beauty. By following the step-by-step instructions outlined in this article, you can effectively remove the stains and protect the integrity of your leather purse.
Remember to assess the stain, remove any loose residue, and test a small area before applying a leather cleaner. Gentle scrubbing and wiping off the cleaner will help eliminate the stain without damaging the leather surface. Applying a leather conditioner will restore moisture and protect the leather from future stains.
Throughout the cleaning process, it’s crucial to handle the leather with care, using soft tools and a gentle touch. Taking the time to properly clean and condition your leather purse will not only remove the immediate stain but also prolong its lifespan and maintain its luxurious appearance.
Always refer to the manufacturer’s instructions for your specific leather purse and consult a professional if you are unsure about any step of the cleaning process. Investing time and effort in the proper maintenance of your leather purse will ensure its longevity and keep it looking pristine for years to come.
With these tips and techniques, you can say goodbye to those unsightly bird poop stains and confidently carry your leather purse with pride!