Home>How-to Guides>For All>How To Make A Body Chain
For All
How To Make A Body Chain
Modified: September 23, 2023
Learn how to make a stunning body chain with our step-by-step guide. Perfect for all occasions, this accessory will elevate your style and make a statement.
(Many of the links in this article redirect to a specific reviewed product. Your purchase of these products through affiliate links helps to generate commission for Under-tec.com, at no extra cost. Learn more)
Table of Contents
Introduction
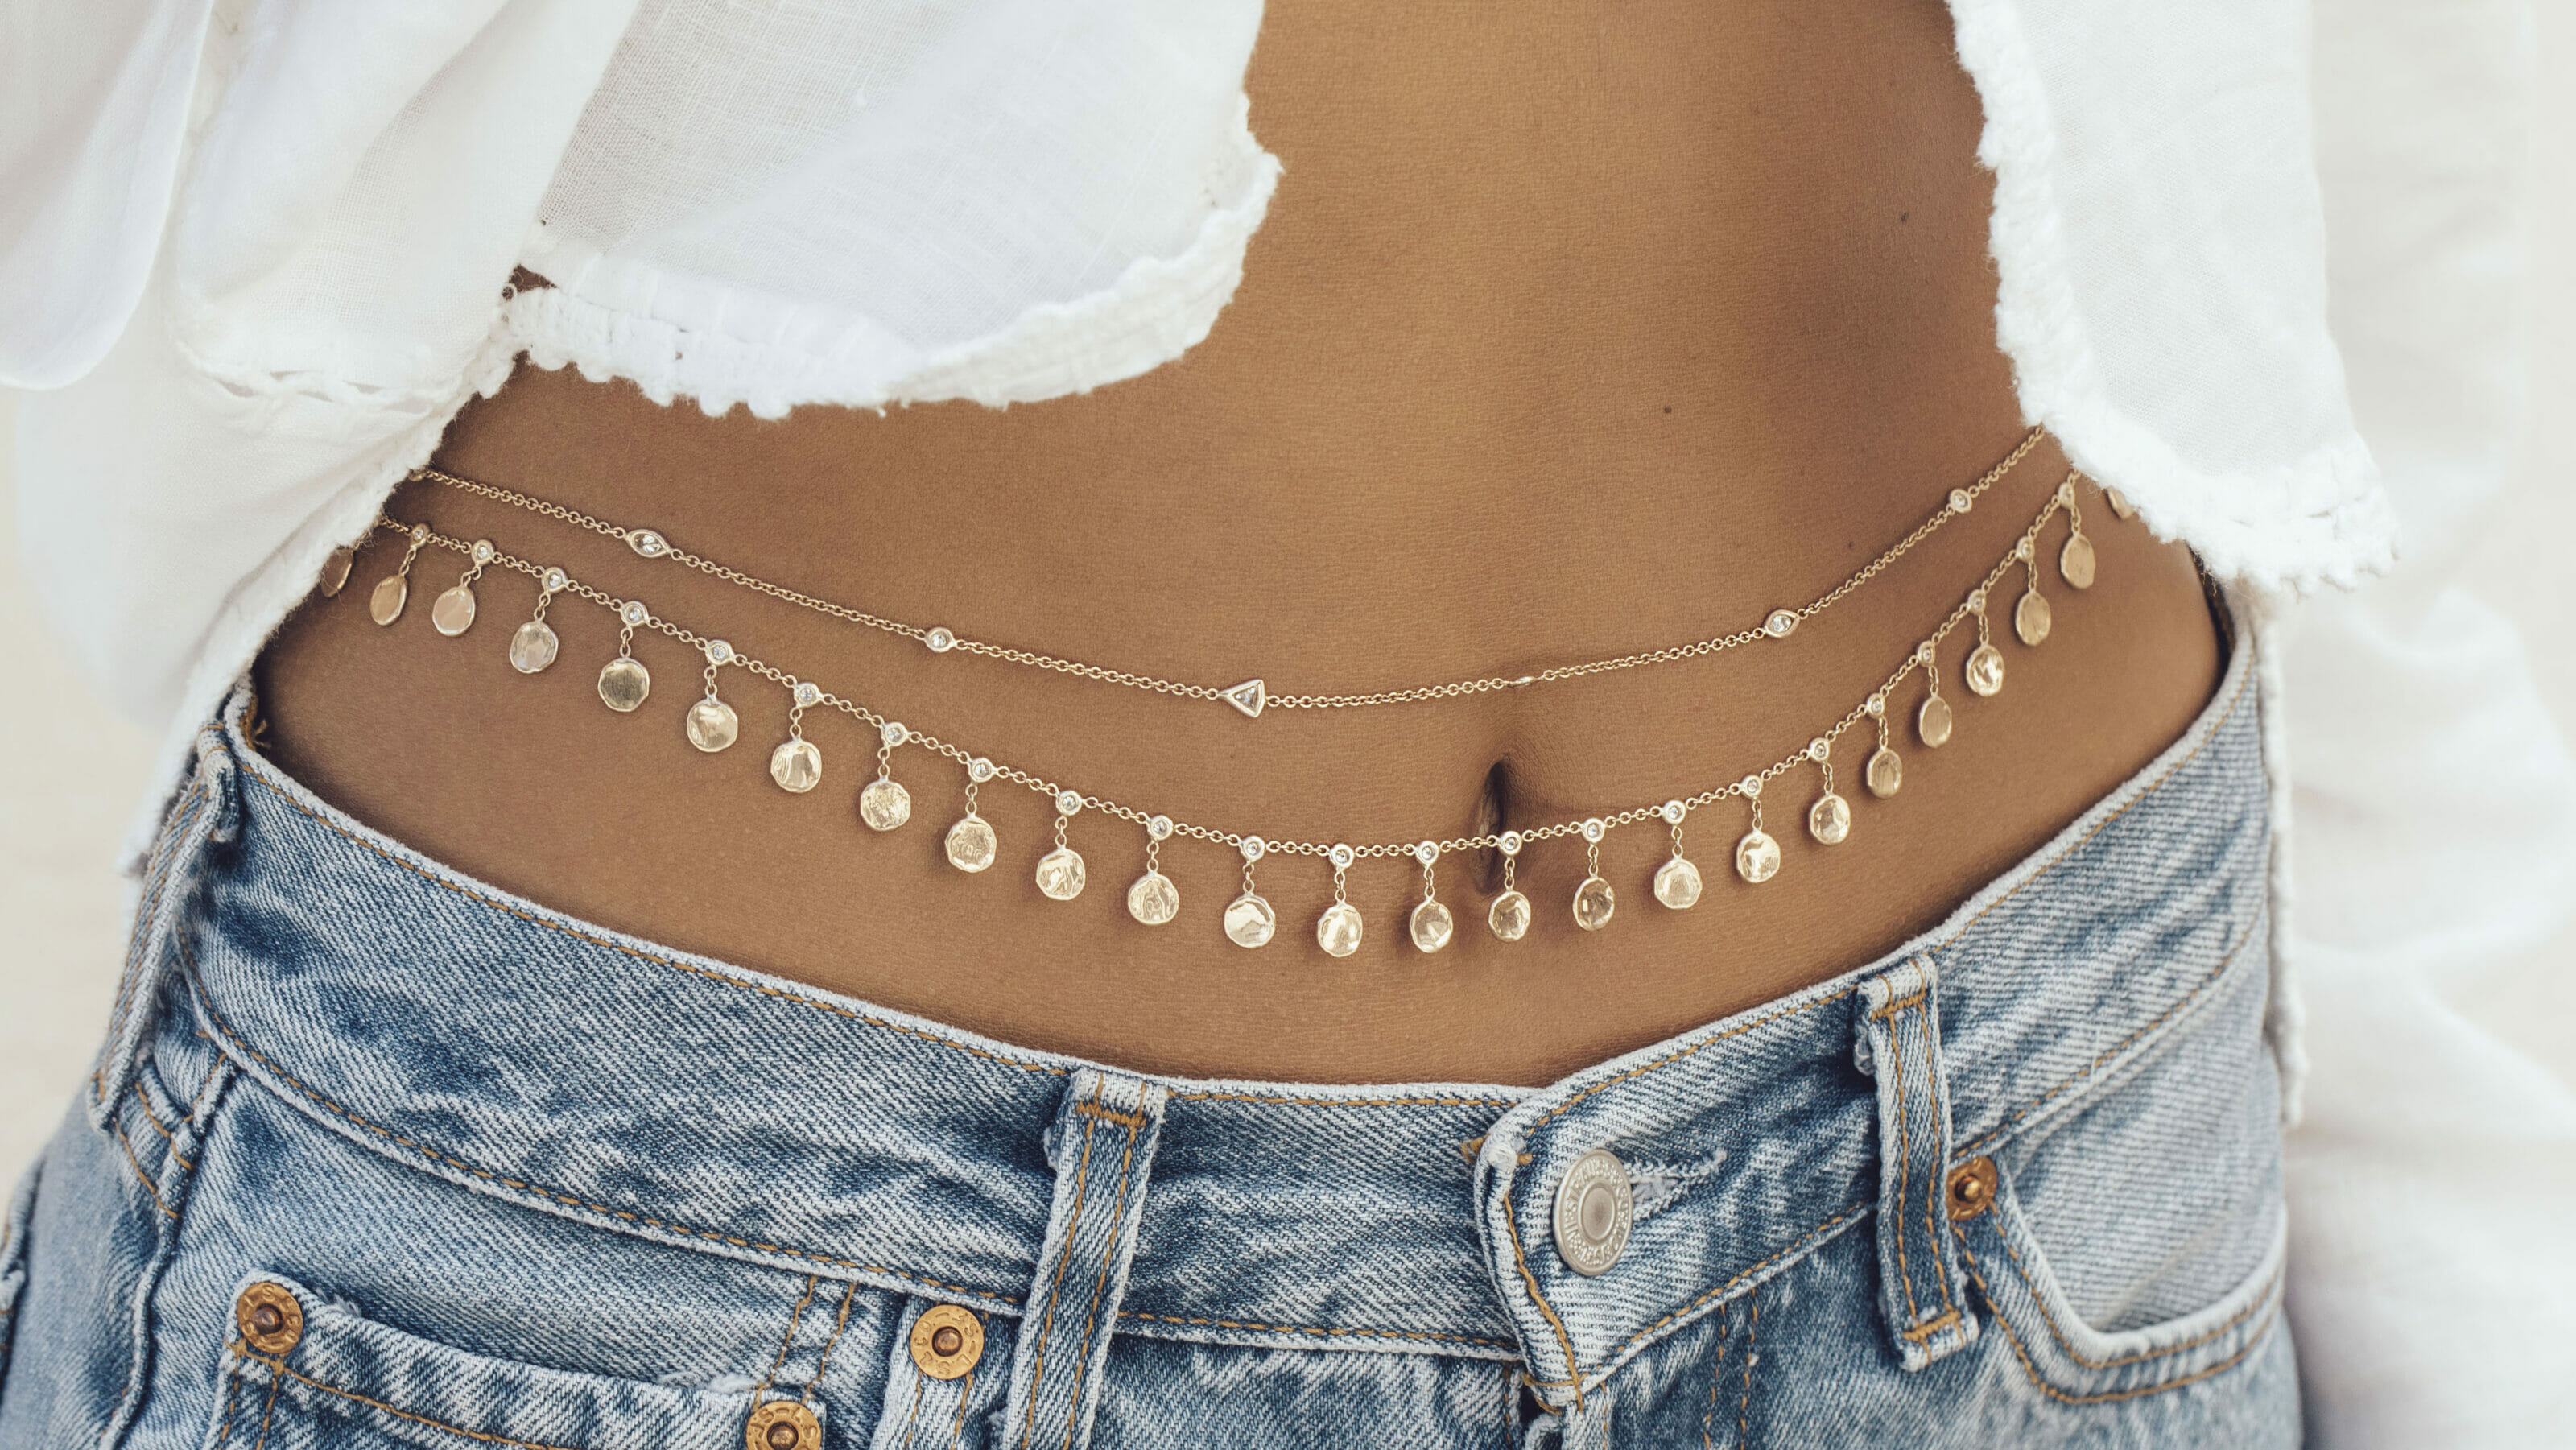
Body chains have become a popular fashion accessory, adding a touch of glamour and elegance to any outfit. Whether you’re attending a music festival, a beach party, or a night out on the town, a body chain can instantly elevate your style and make a statement. These stunning pieces of jewelry can be worn with swimsuits, crop tops, or even over a flowy dress to create a unique and eye-catching look.
In this article, we will guide you on how to make your own body chain. Crafting your own body chain allows you to customize it according to your style preferences and ensures that you have a unique piece that stands out from the crowd. Don’t worry if you’re new to jewelry making – this project is beginner-friendly and requires only a few basic materials.
With some creativity and a little bit of patience, you’ll be able to create a stunning body chain that reflects your personal style. So, gather your materials and let’s get started on this exciting DIY project!
Materials Needed
Before you begin making your own body chain, it’s important to gather all the necessary materials. Here’s a list of what you’ll need:
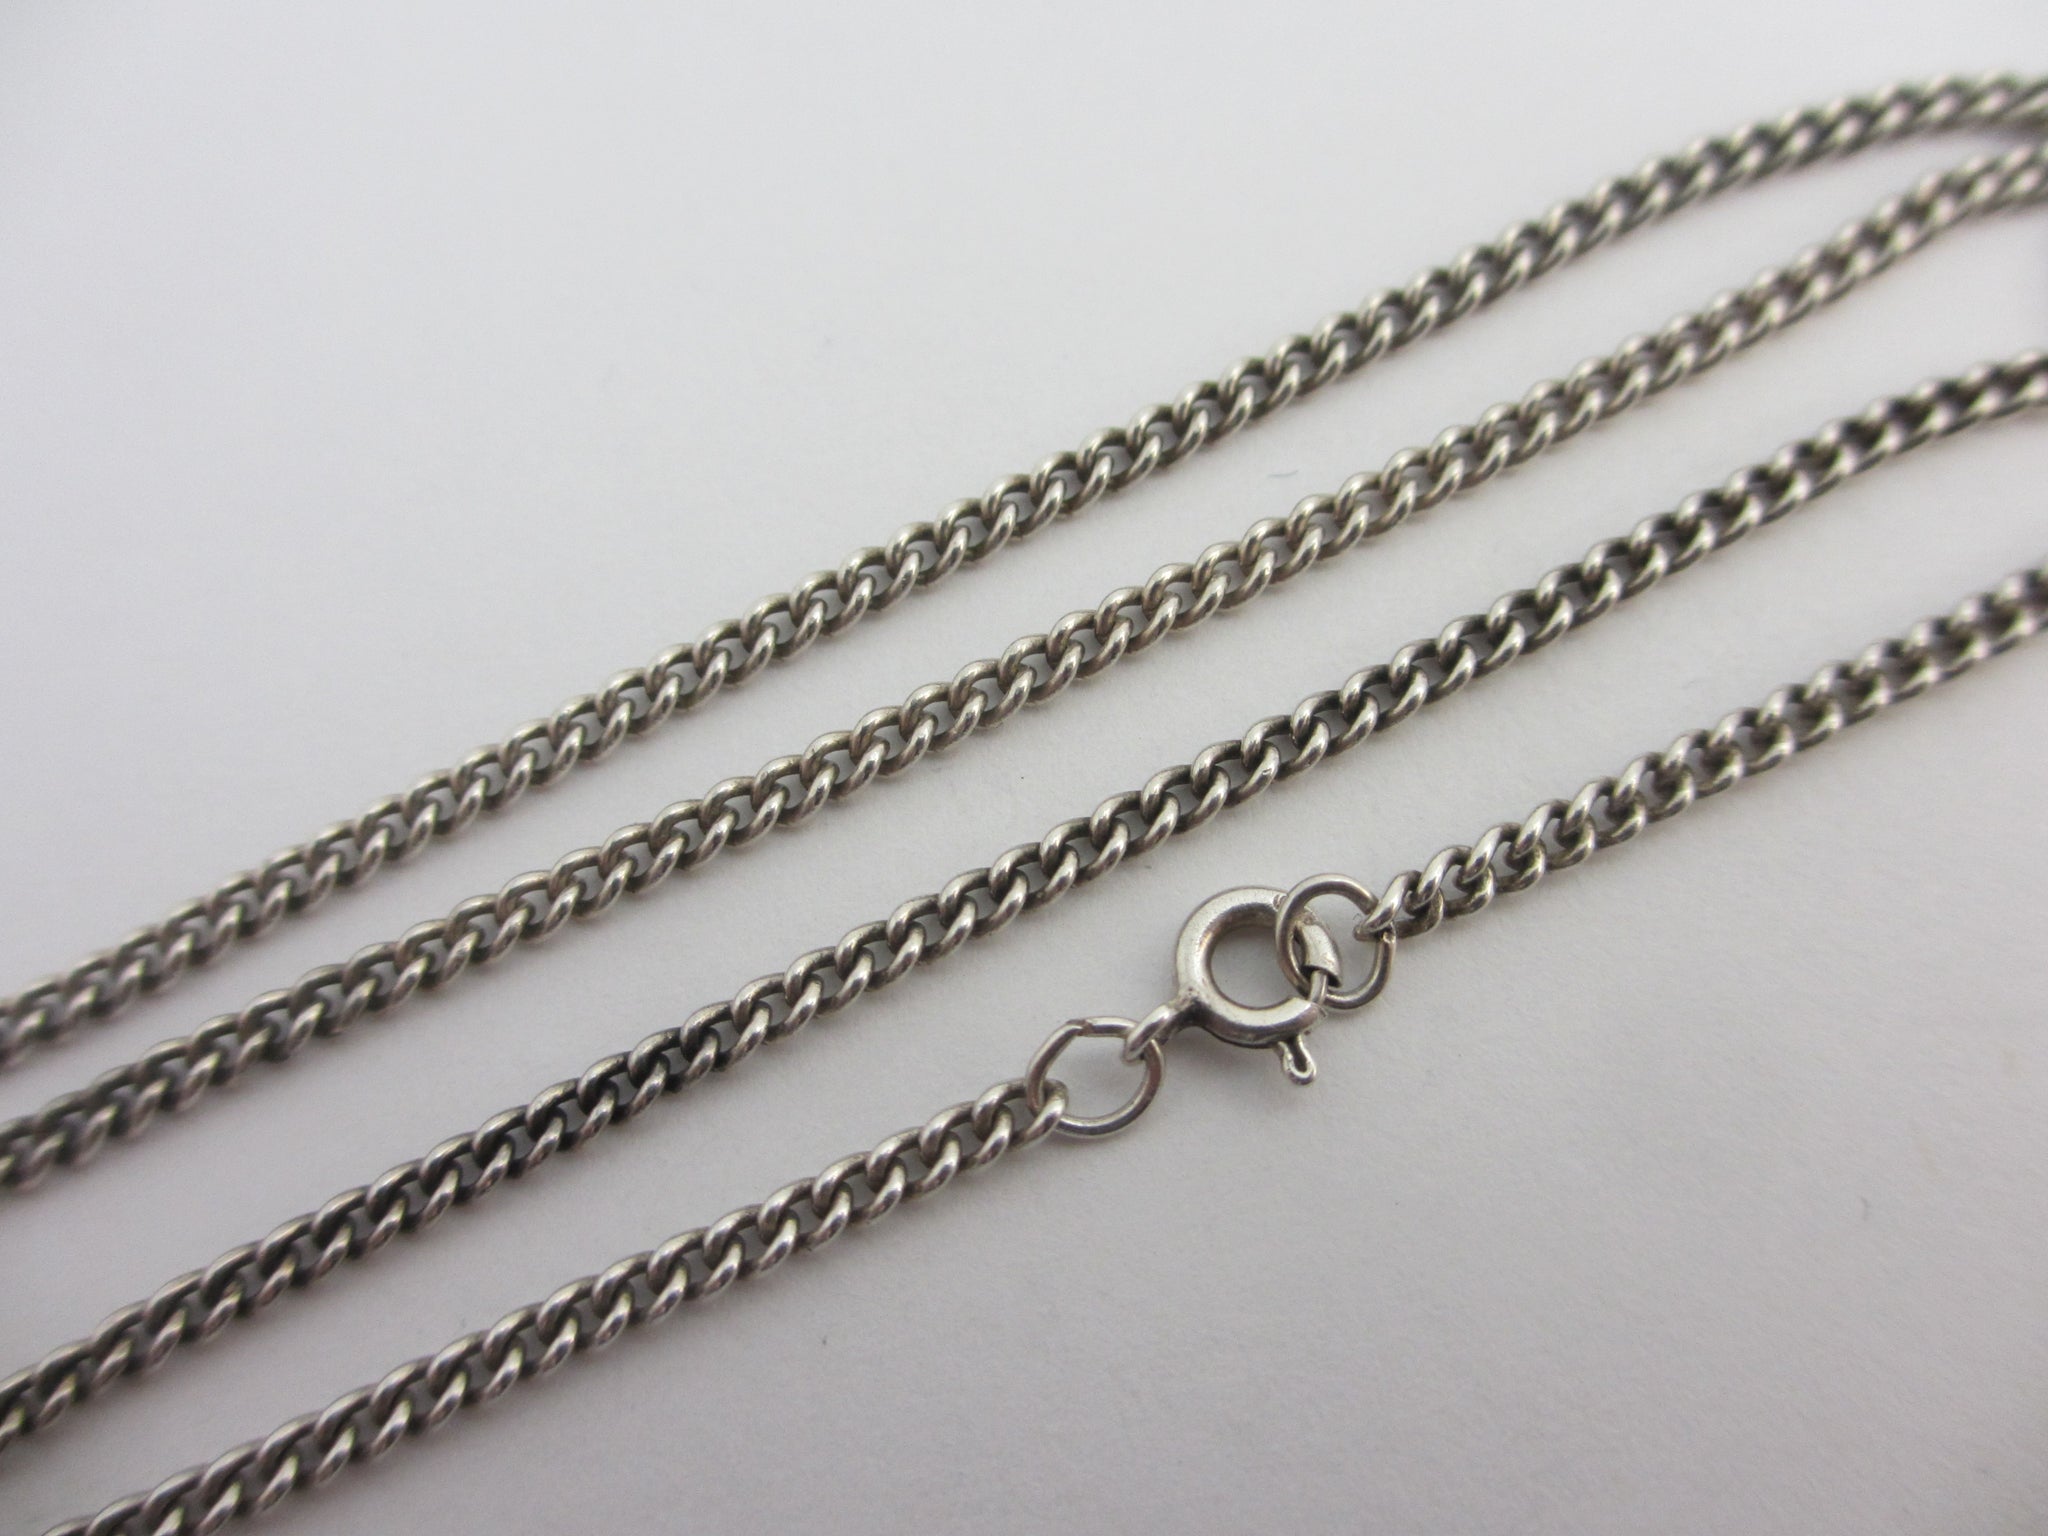
- Chain: Choose a chain that matches your preferred style and aesthetic. You can opt for a delicate, dainty chain or a chunkier, edgier one. Make sure the chain is long enough to reach around your body.
- Clasps: You’ll need a few clasps to secure the ends of the chain. Look for sturdy, high-quality clasps that can withstand the weight of the chain.
- Jump Rings: Jump rings are small metal rings that act as connectors for the different sections of the body chain. Make sure to choose jump rings that are compatible with the size of your chain.
- Pliers: Pliers are essential for opening and closing jump rings, attaching clasps, and making adjustments to the chain. You’ll need both round-nose pliers and chain-nose pliers for this project.
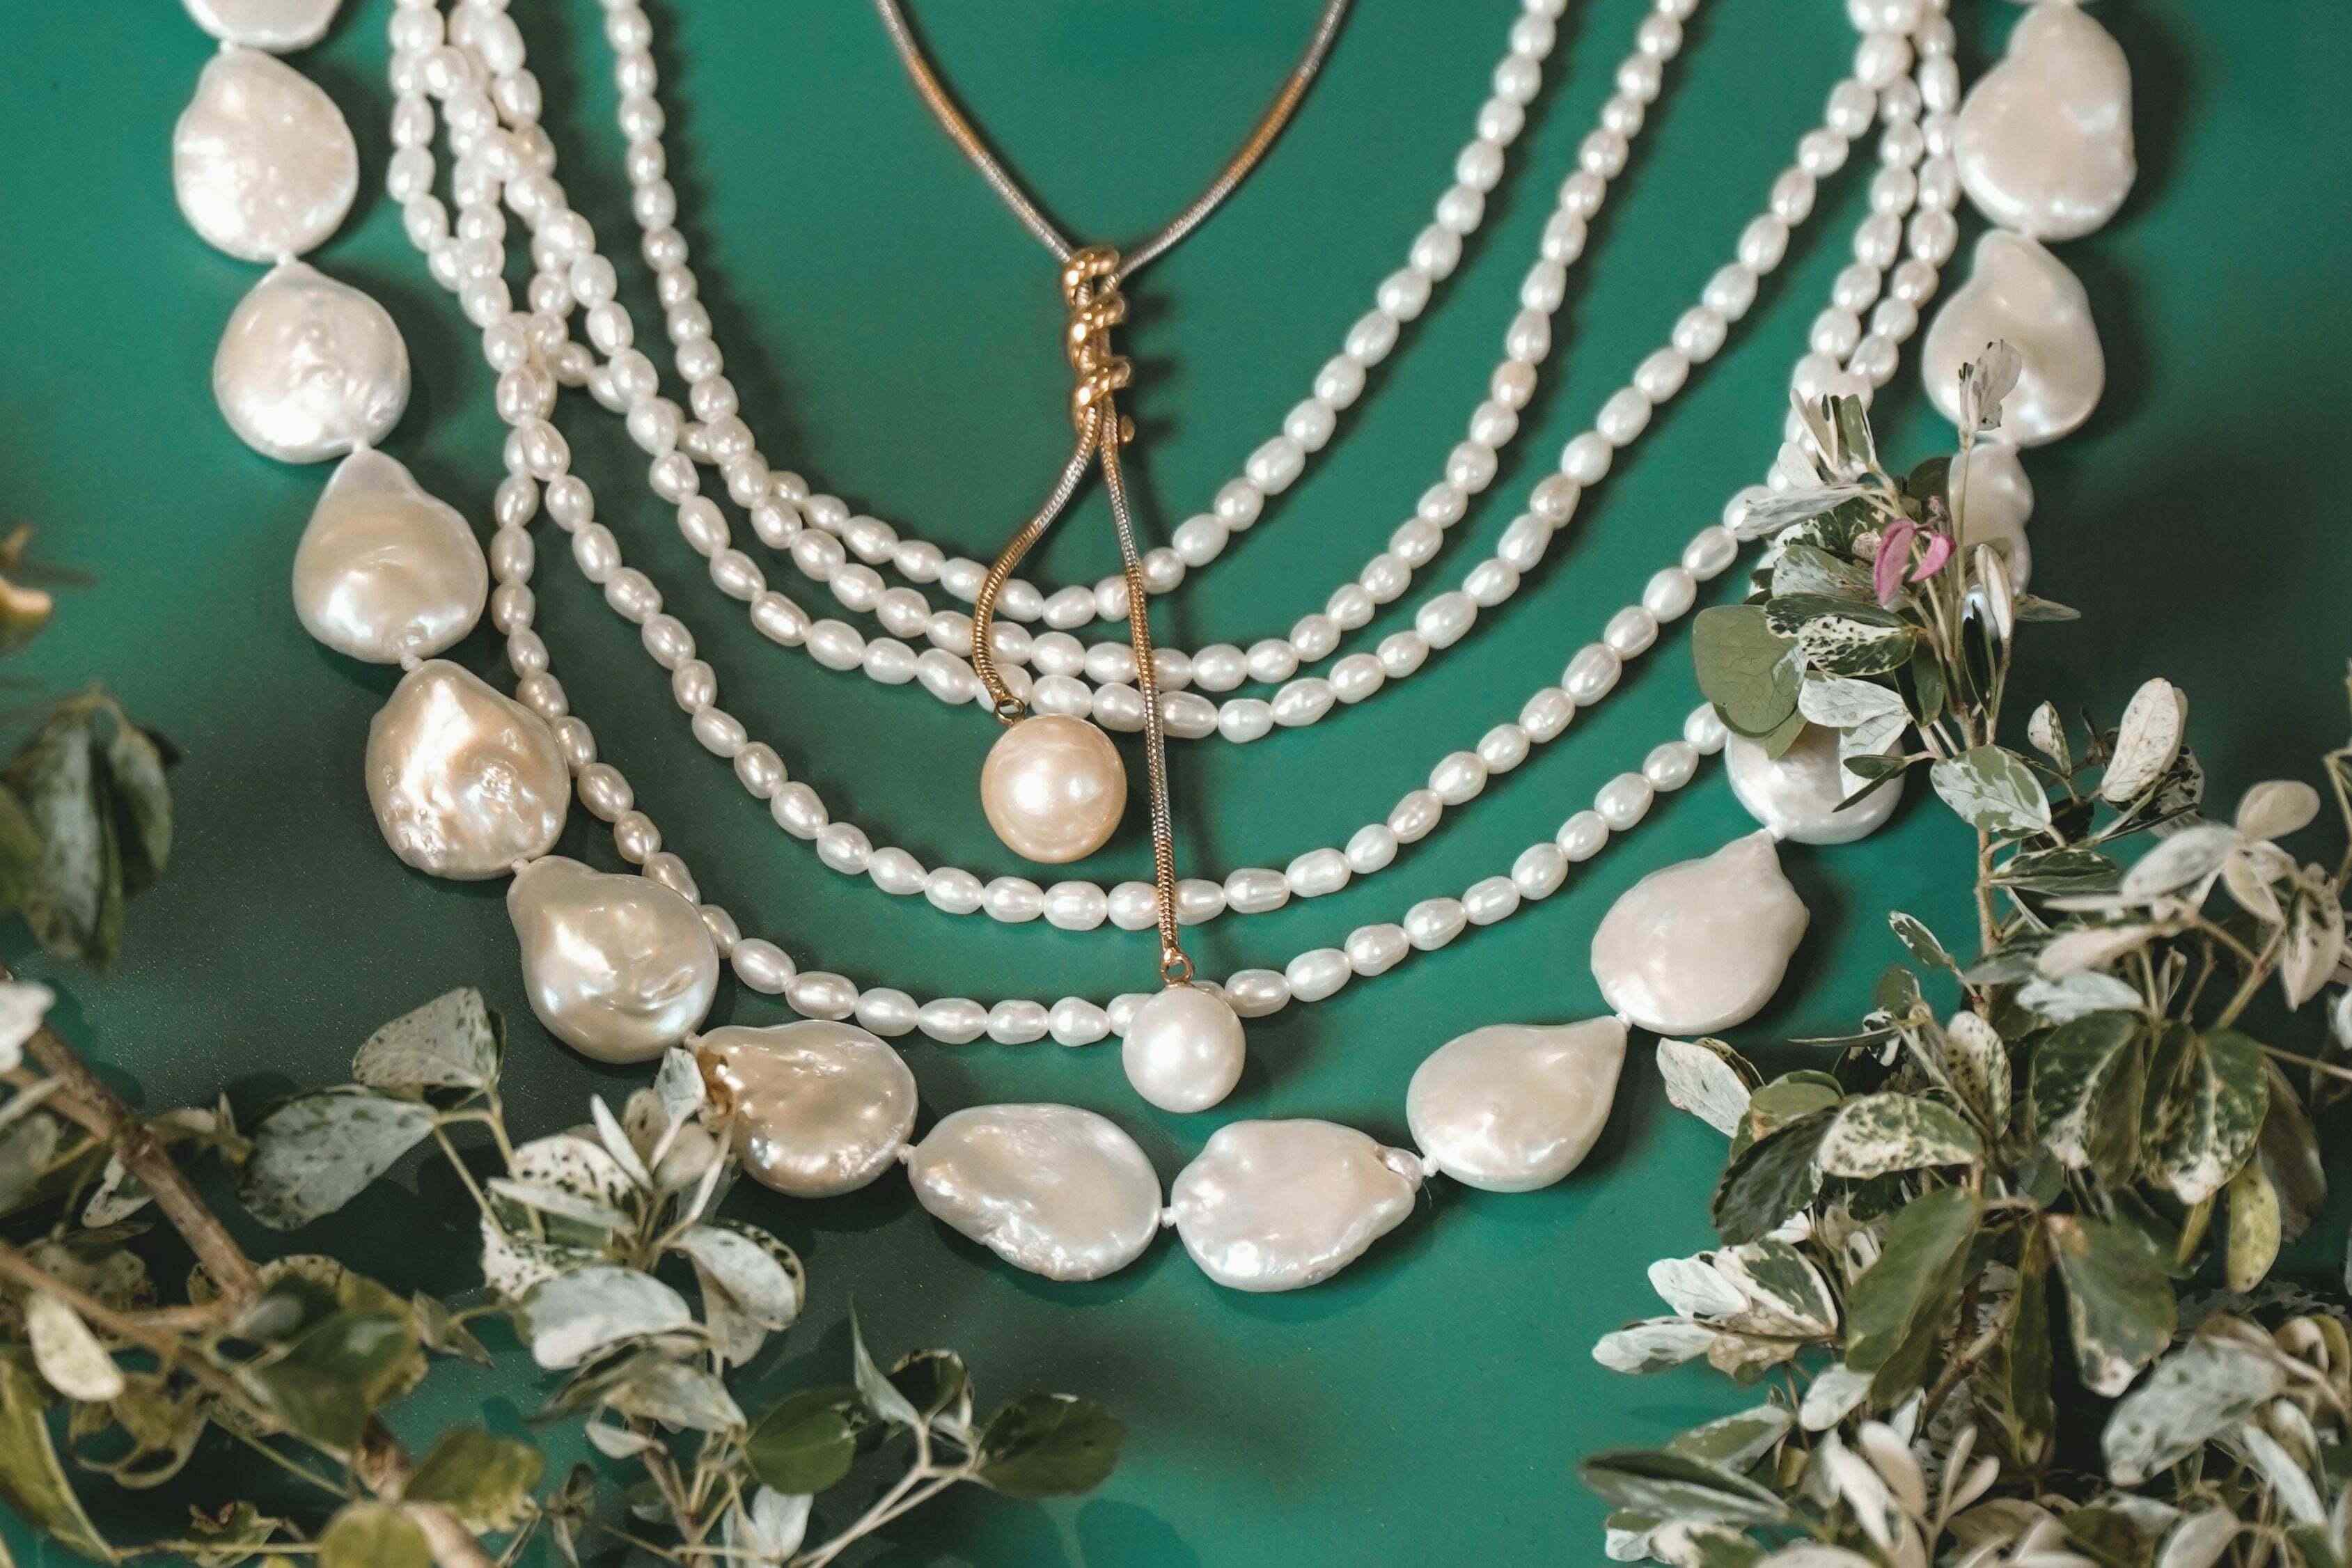
- Charms or Pendants (optional): If you want to add some extra flair to your body chain, you can include charms or pendants that reflect your personal style.
These are the basic materials you’ll need to make a simple body chain. However, feel free to get creative and add any additional embellishments or decorations that you desire.
Now that you have all the necessary materials, it’s time to move on to the next step: measuring and cutting the chain.
Step 1: Measuring and Cutting the Chain
The first step in creating your own body chain is to measure and cut the chain to the desired length. Here’s how to do it:
- Wrap the chain around your body: Take the chain and drape it around your shoulders, adjusting it to your desired length and fit. Keep in mind where you want the chain to sit on your body – whether it’s a higher chest chain or a waist chain.
- Mark the desired length: Once you’re happy with the placement, use a marker or a piece of tape to mark the spot where you want the chain to end.
- Cut the chain: Using a pair of wire cutters or sharp scissors, carefully cut the chain at the marked spot. Make sure to cut the chain at an angle to ensure a clean and secure end.
It’s always better to start with a longer chain and make small adjustments as needed. You can always trim excess chain later on if necessary, but it’s challenging to add extra length once it’s been cut.
Now that you’ve measured and cut the chain to the desired length, it’s time to move on to the next step: attaching the clasps.
Step 2: Attaching the Clasps
Now that you have your chain cut to the desired length, it’s time to attach the clasps. The clasps will secure the ends of the chain together, allowing you to easily put on and remove the body chain. Follow these steps to attach the clasps:
- Open a jump ring: Take one of the jump rings and use your round-nose pliers and chain-nose pliers to gently open it. To do this, hold the jump ring on either side with the pliers and twist the ring in opposite directions, creating a small opening.
- Attach the jump ring to one end of the chain: Slip the open jump ring onto one end of the chain and carefully close the ring using the pliers. Make sure the end of the chain is securely held by the jump ring.
- Repeat with another jump ring: Open another jump ring and attach it to the other end of the chain in the same way. This will be the other side of the clasp.
- Attach the lobster clasp: Open a new jump ring and slide it onto one of the jump rings already attached to the chain. Then, add the lobster clasp to the open jump ring, making sure it is facing the right way. Close the jump ring securely to complete the attachment.
- Attach the other half of the clasp: Repeat the previous step to attach the other half of the clasp, whether it’s another jump ring or a hook clasp. Ensure it is connected securely to the other jump ring.
Once both halves of the clasp are attached to the ends of the chain, you can now easily fasten and unfasten the body chain. This step is crucial to ensure that the body chain stays securely in place while you wear it.
Now that you’ve successfully attached the clasps, it’s time to move on to the next step: adding the chains.
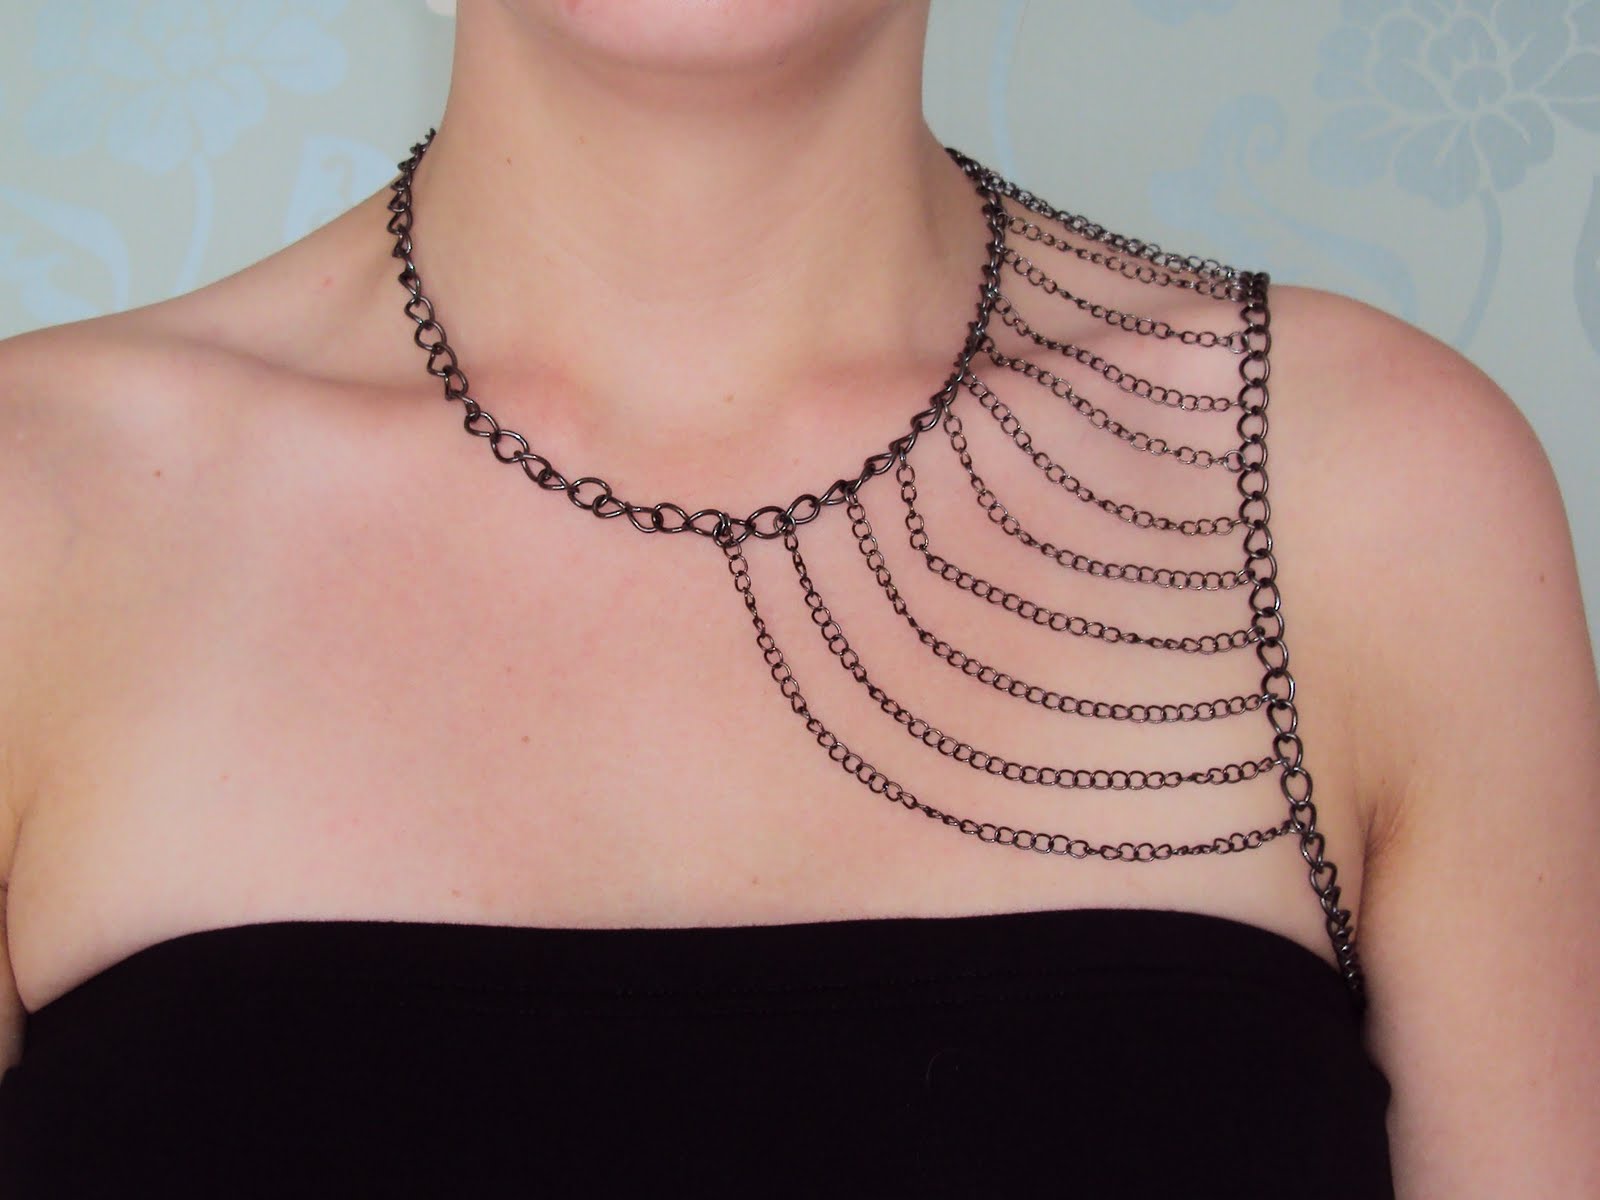
Step 3: Adding the Chains
Adding chains to your body chain not only adds visual interest but also helps to create a layered and dynamic look. Follow these steps to add the chains:
- Prepare the additional chains: Cut several shorter lengths of chain that you want to add to your body chain. The lengths can vary depending on your preferences and the overall design you want to achieve.
- Open a jump ring: Take a jump ring and use your pliers to open it, following the same method as in the previous step.
- Attach the jump ring to a point on the main chain: Choose a point on the main chain where you want to add the additional chain. Slip the open jump ring onto the main chain and close it securely.
- Add the chain: Slide one end of the additional chain onto the jump ring. If desired, you can add multiple chains to the same jump ring or attach different chains to different jump rings along the main chain.
- Repeat: Repeat the previous steps to add more chains at various points along the main chain. You can experiment with different lengths, styles, and even colors of chains to create your desired look.
As you add more chains, make sure to step back and assess the overall appearance of the body chain. Adjust the placement and distribution of the chains as needed to achieve a balanced and aesthetically pleasing design.
Adding the chains is a crucial step that gives your body chain a unique and personalized touch. Now that you’ve added the chains, it’s time to move on to the next step: creating the centerpiece.
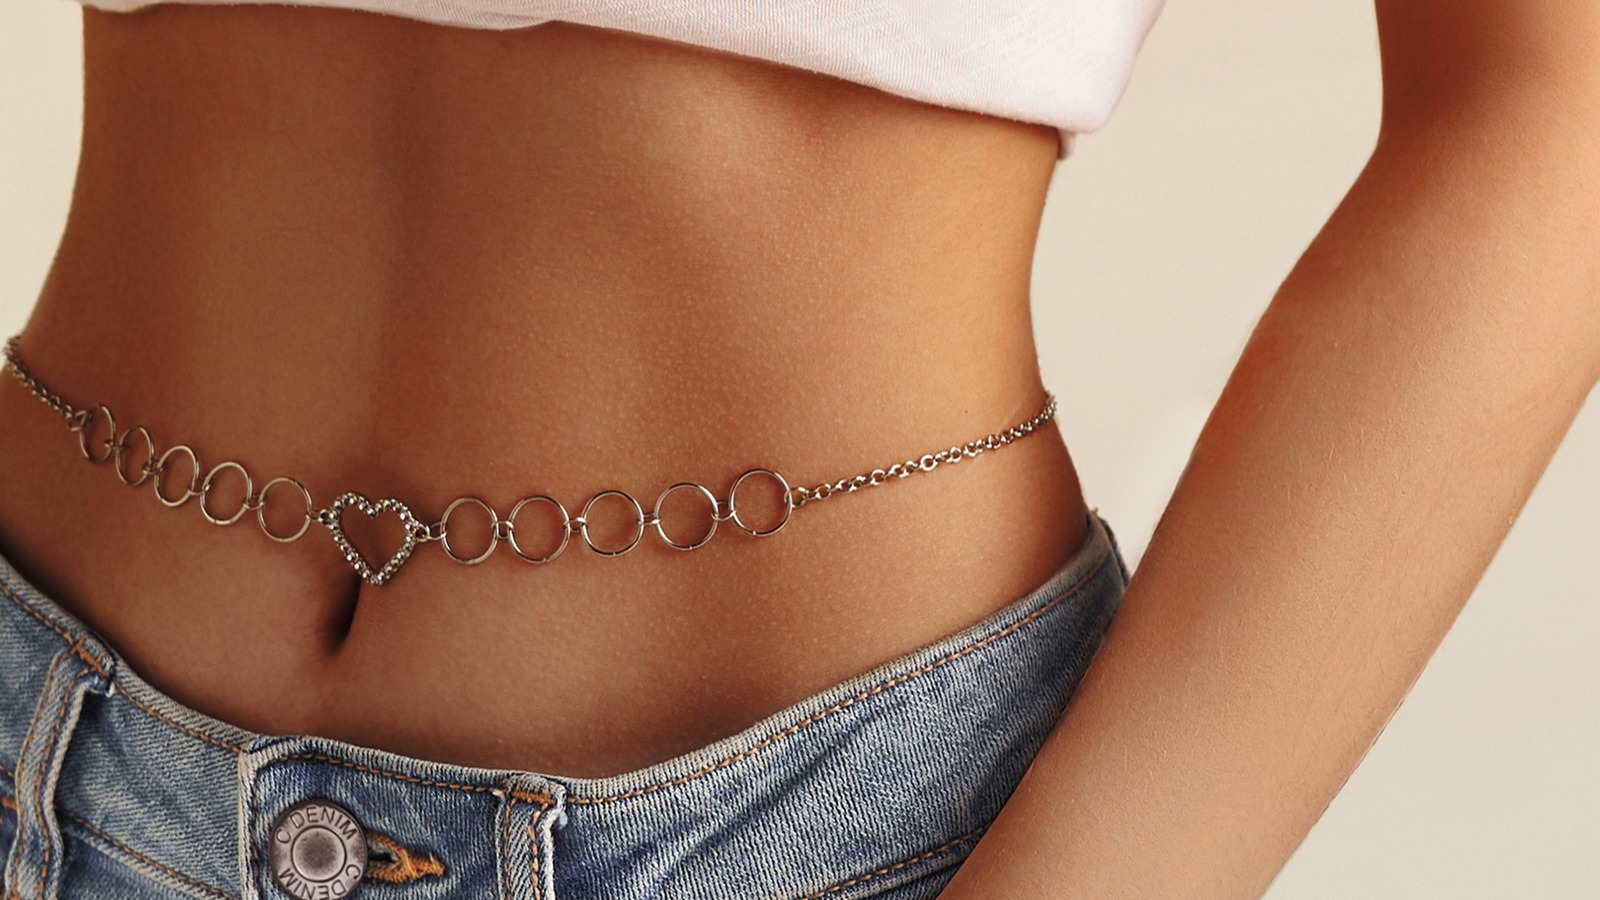
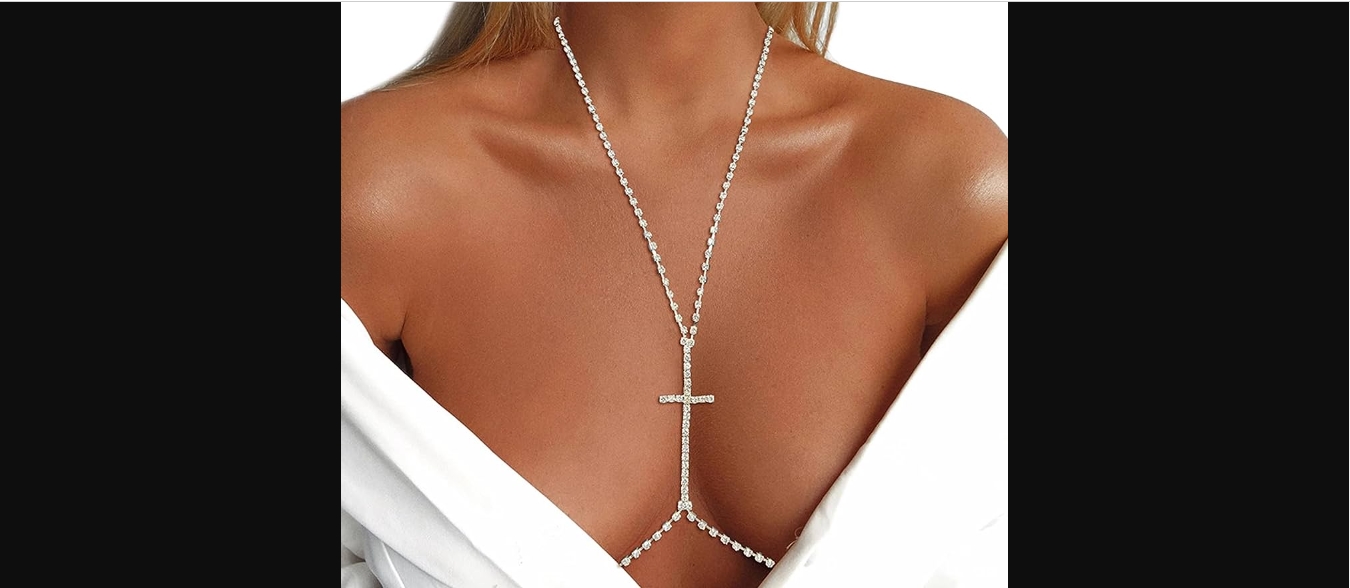
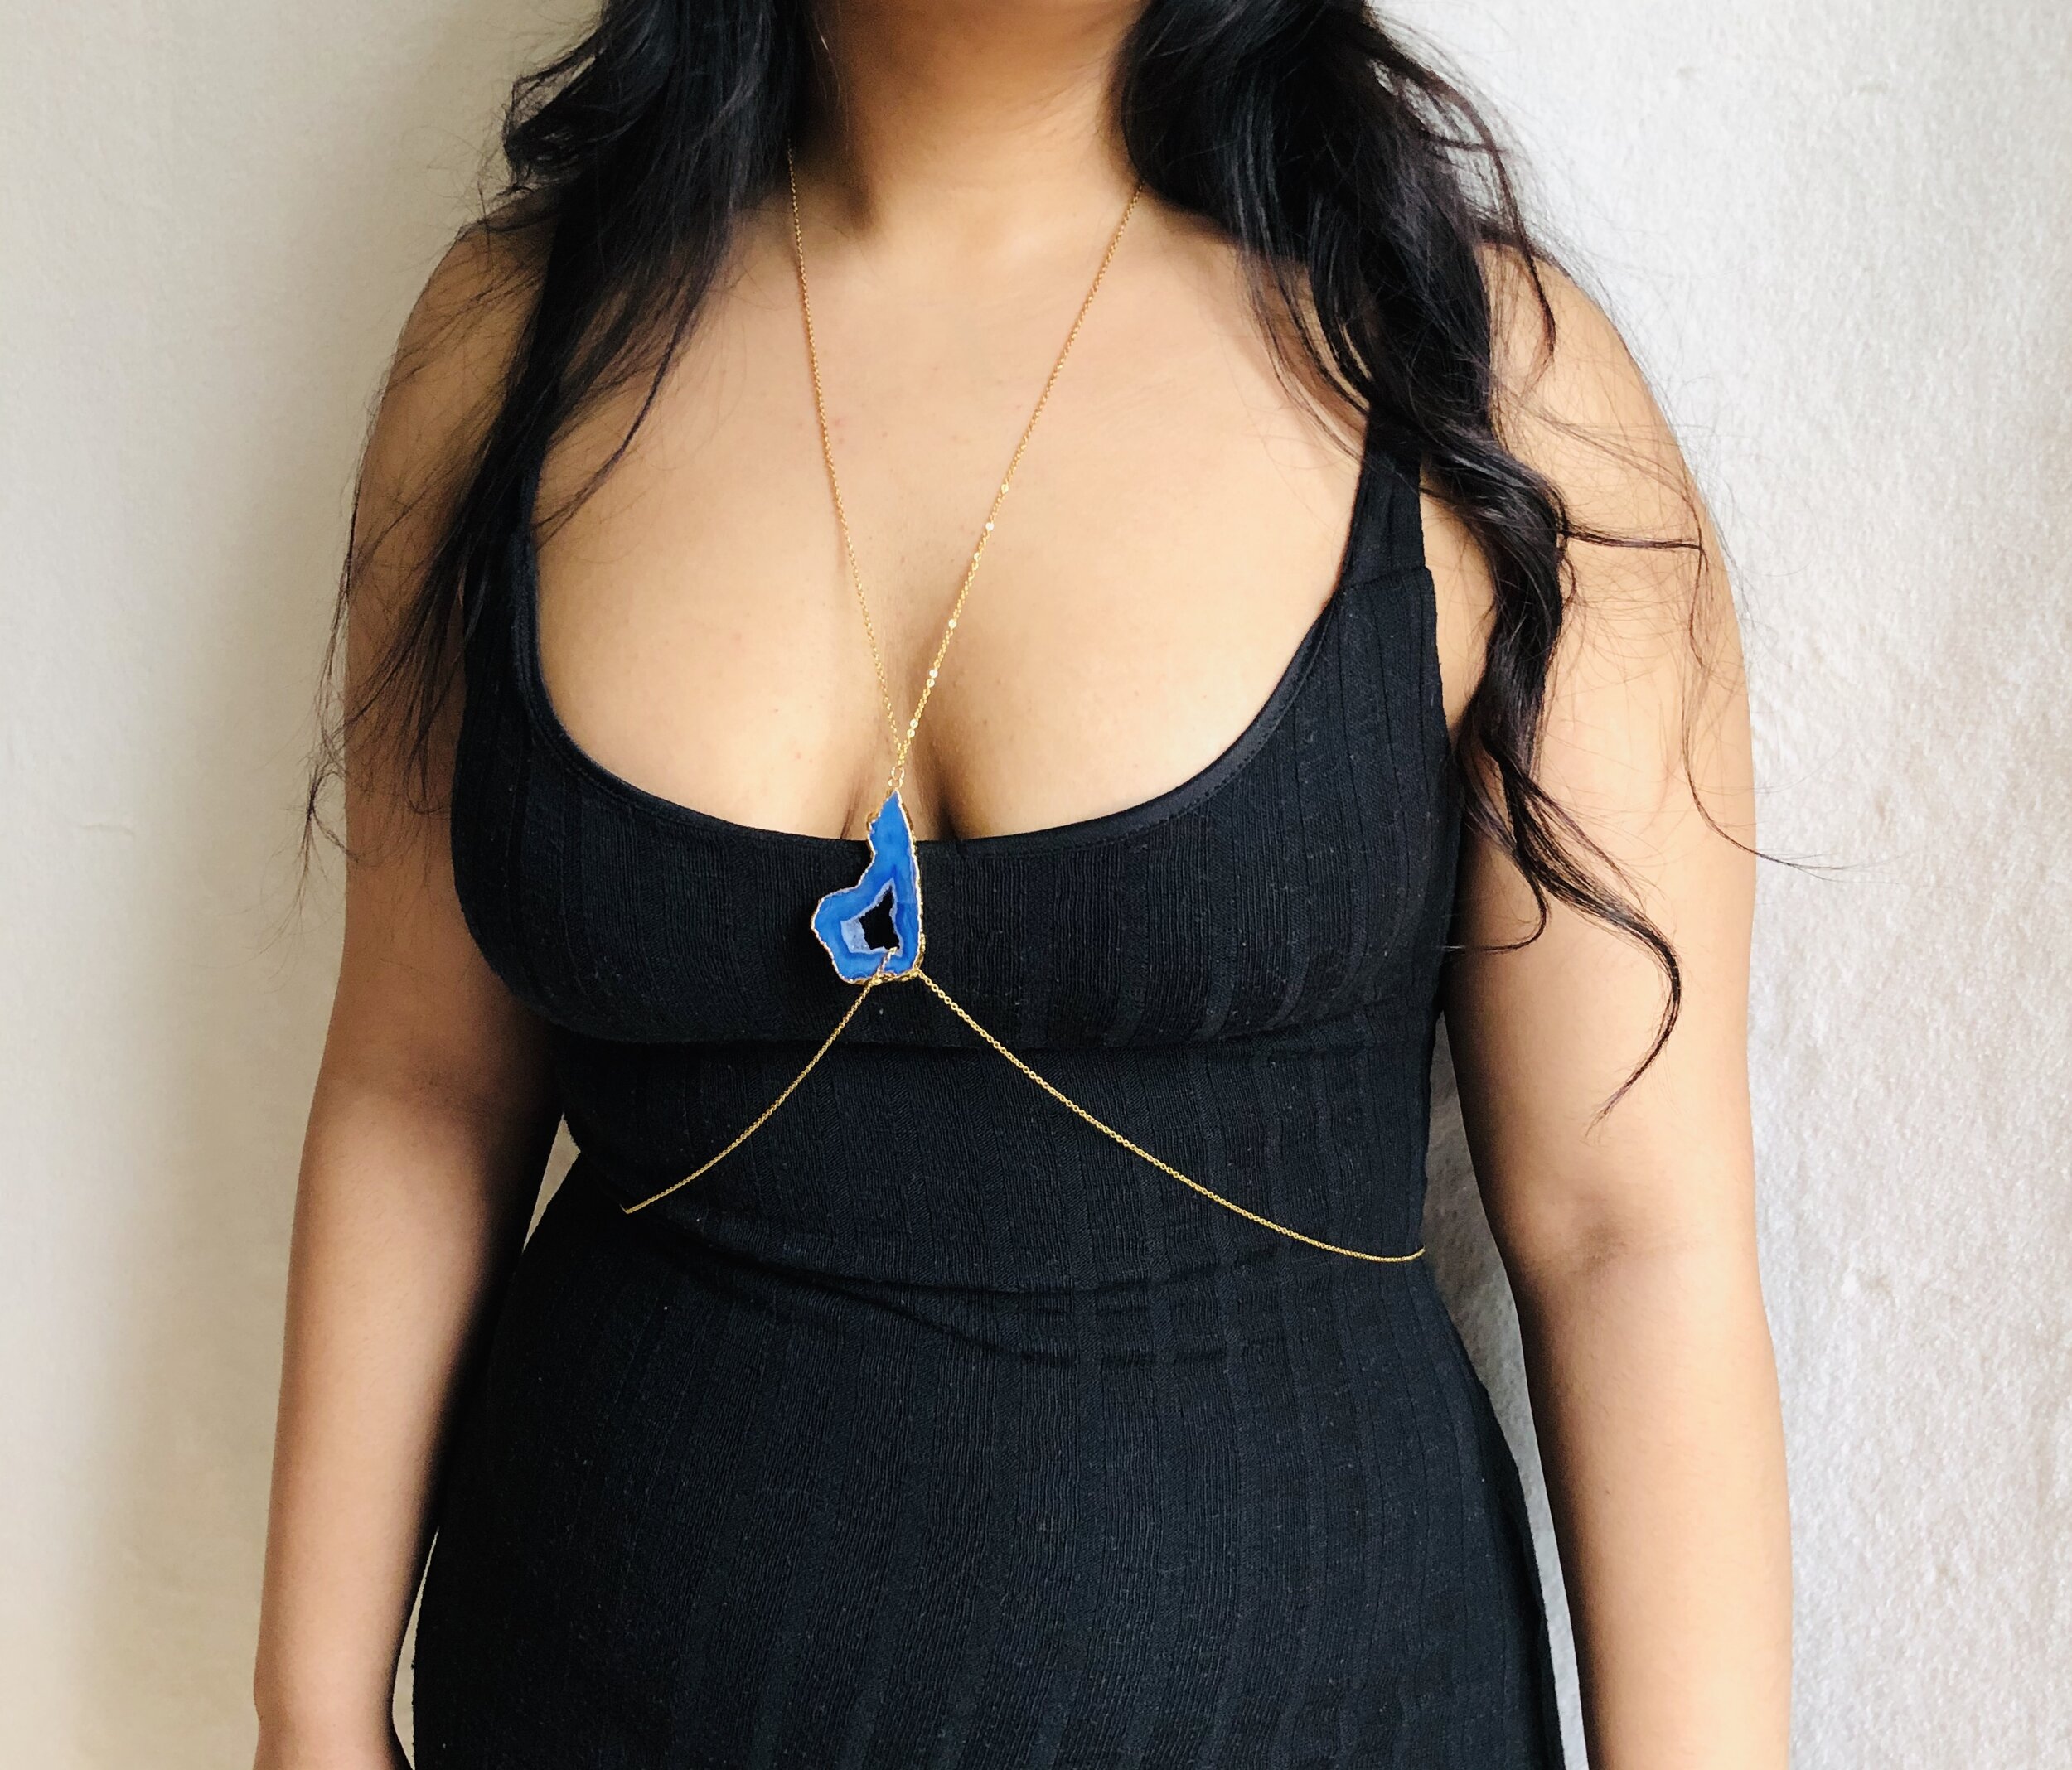
Step 4: Creating the Centerpiece
The centerpiece of your body chain is what makes it truly stand out and adds a focal point to the design. It can be a pendant, a charm, or a combination of various elements. Follow these steps to create the centerpiece:
- Select your centerpiece: Choose a pendant, charm, or any other decorative element that you want to use as the centerpiece of your body chain. Consider the size, shape, and overall aesthetic to ensure it complements your personal style.
- Prepare the jump ring: Open a jump ring using your pliers, just like in the previous steps.
- Attach the jump ring to the centerpiece: Slip the open jump ring through the loop or hole of the centerpiece and close it securely. Make sure the jump ring is tightly closed to prevent the centerpiece from coming loose.
- Find the desired placement: Before attaching the jump ring with the centerpiece to the body chain, hold it up against your body to determine where you want the centerpiece to sit. This will ensure that it hangs at the perfect spot on your body when the chain is worn.
- Attach the jump ring with the centerpiece: Open a new jump ring and attach it to the desired location on the body chain. Then, connect the jump ring with the centerpiece to this newly attached jump ring. Close the jump ring securely.
Creating the centerpiece allows you to personalize your body chain and make it truly unique. Be creative and choose a centerpiece that reflects your style and personality.
Now that you have successfully created the centerpiece, it’s time to move on to the next step: attaching the centerpiece to the body chain.
Step 5: Attaching the Centerpiece
Now that you have created the centerpiece for your body chain, it’s time to attach it to the main chain. Follow these steps to secure the centerpiece:
- Prepare the jump ring: Open a jump ring using your pliers, similar to the previous steps.
- Attach the jump ring to the centerpiece: Slip the open jump ring through the loop or hole of the centerpiece and close it securely. Ensure the jump ring is tightly closed to prevent the centerpiece from coming loose.
- Find the ideal placement on the main chain: Hold the centerpiece up against the main chain, and determine the most desirable location for it. Consider factors like balance, visual appeal, and how it hangs when the body chain is worn.
- Attach the centerpiece to the main chain: Open a new jump ring and connect it to the desired location on the main chain. Then, attach the jump ring from the centerpiece to this newly added jump ring. Close the jump ring securely.
When attaching the centerpiece, make sure it hangs evenly and doesn’t pull or weigh down one side of the body chain more than the other. Adjust the placement if needed to achieve the desired look.
Attaching the centerpiece completes the overall design of your body chain and adds a beautiful focal point. Now, let’s move on to the next step: adding adjustable chains.
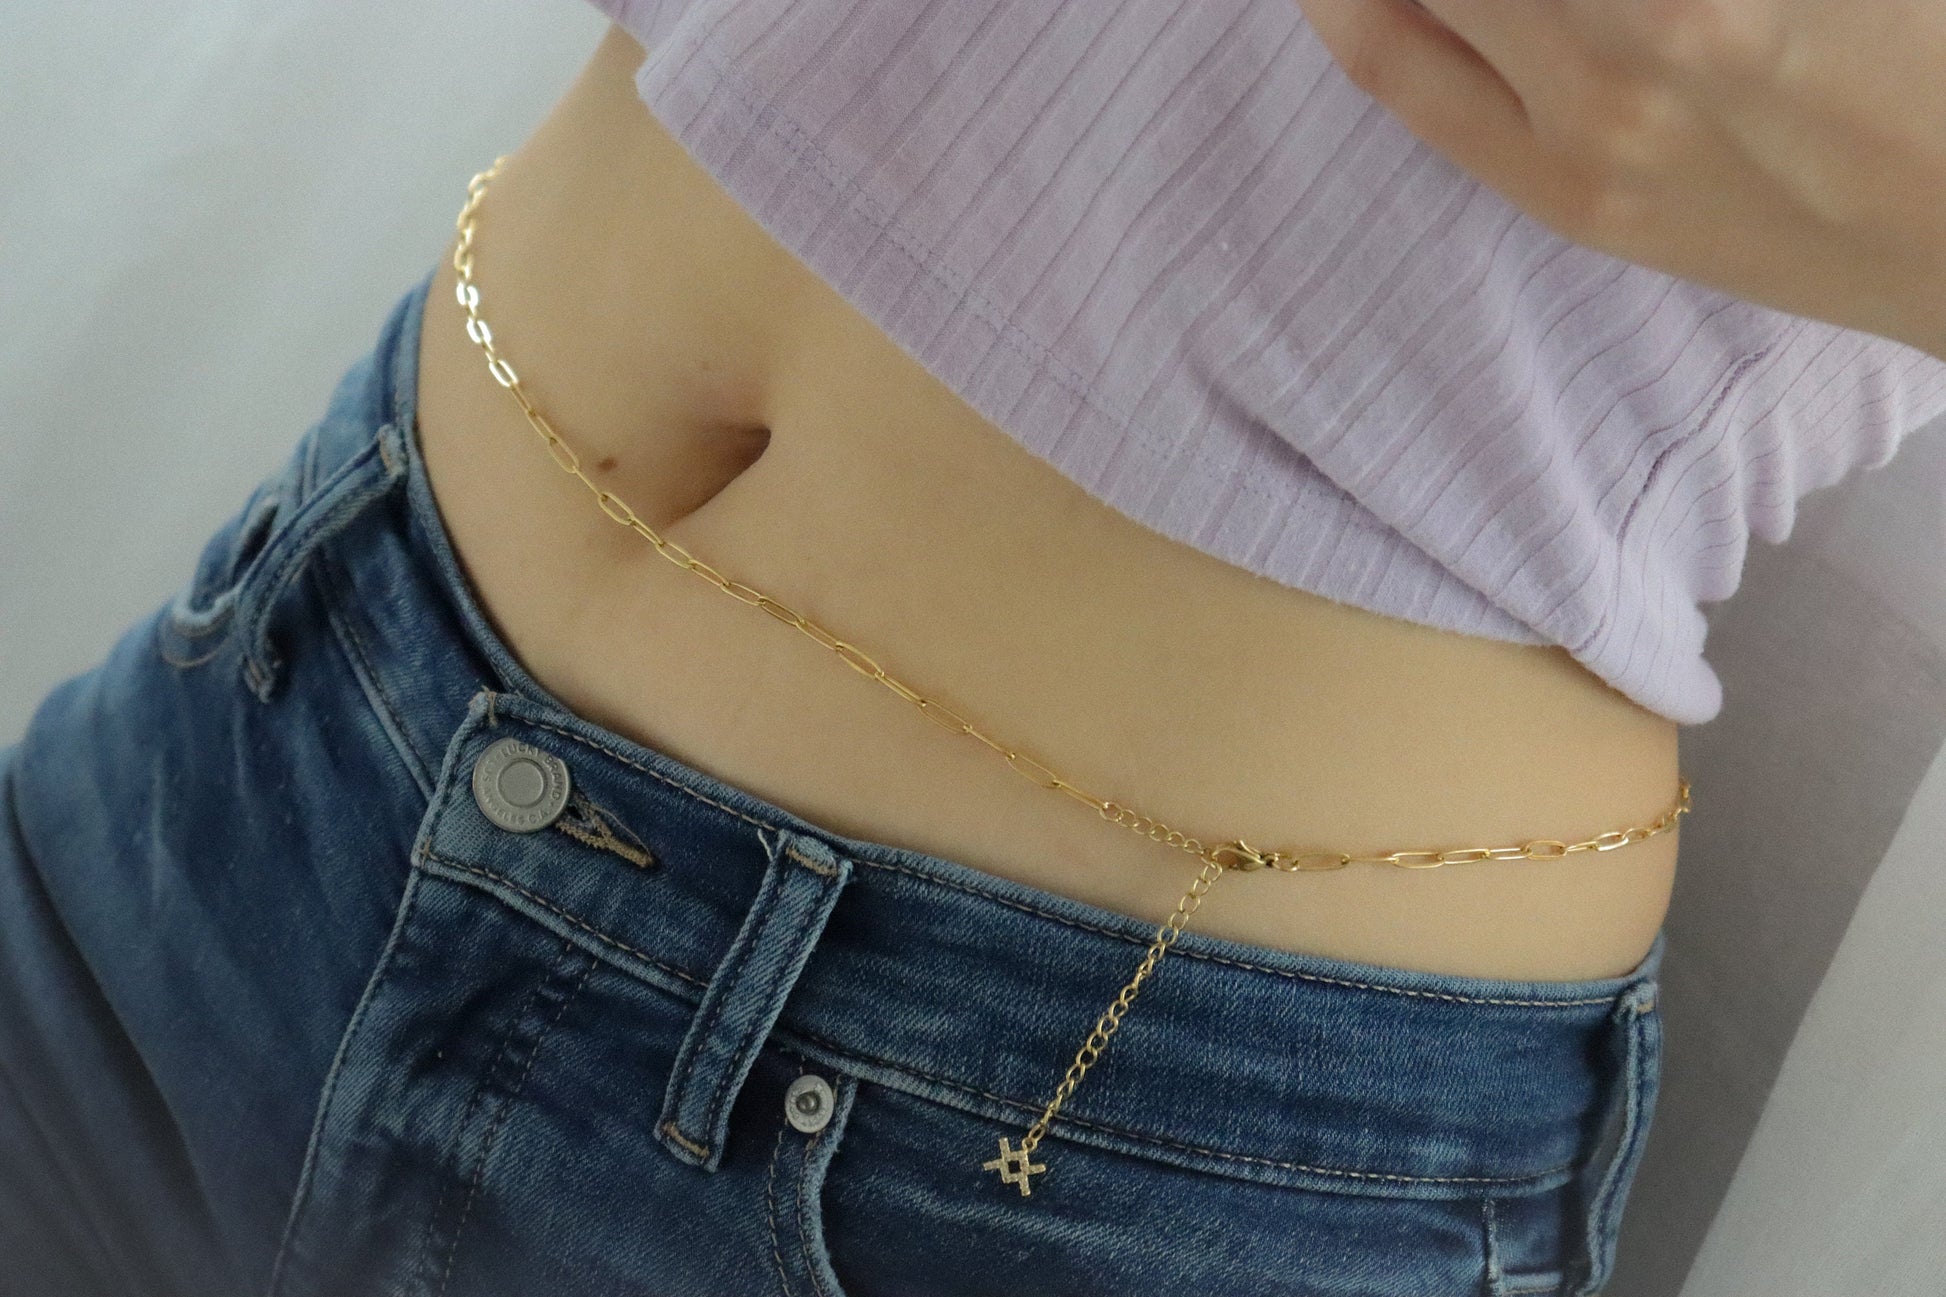
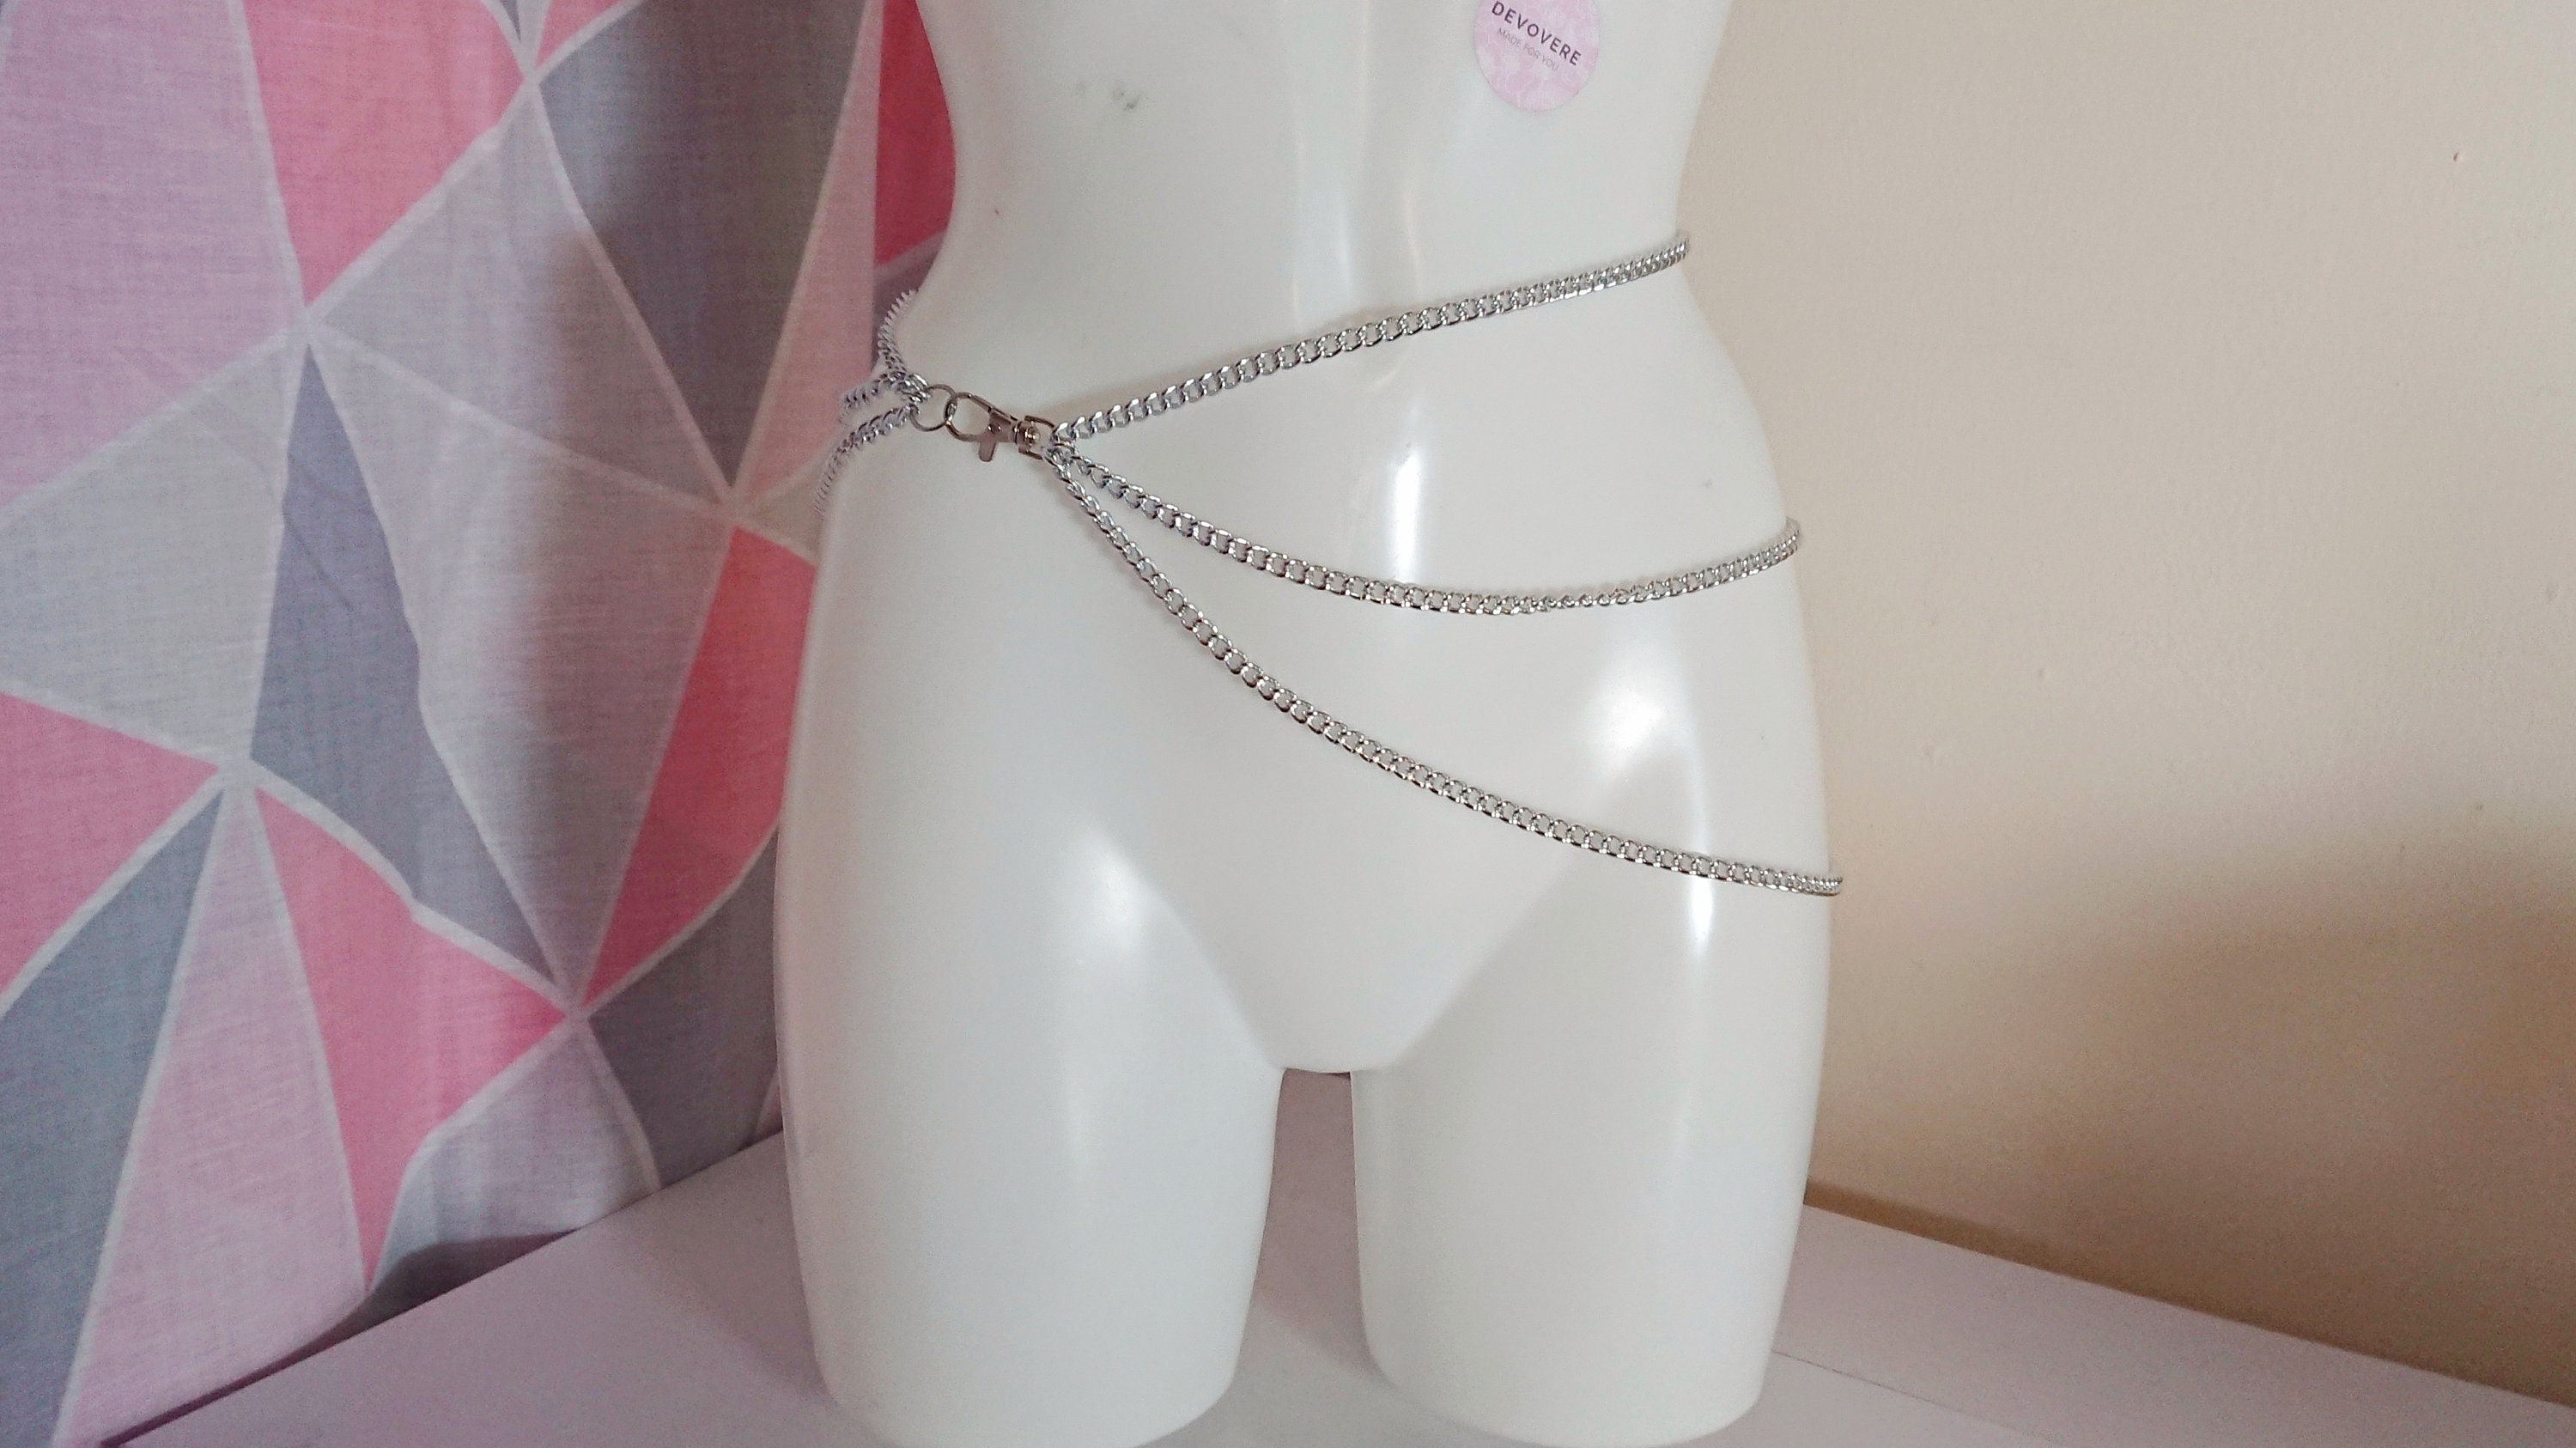
Step 6: Adding Adjustable Chains
Adding adjustable chains to your body chain allows you to customize the fit and ensures that the chain can accommodate different body sizes. Follow these steps to add adjustable chains:
- Measure the length of the adjustable chains: Determine how long you want the adjustable chains to be. These chains will be responsible for providing flexibility and allowing you to adjust the size of the body chain.
- Cut the chains: Using wire cutters or sharp scissors, cut two equal lengths of chain for the adjustable chains.
- Attach the jump rings: Open a jump ring using your pliers and slide one end of each adjustable chain onto the jump ring. Close the jump ring securely to hold the chains in place.
- Attach the jump rings to the main chain: Open another jump ring and attach it to the desired location on the main chain. Then, connect the jump ring holding the adjustable chains to this newly placed jump ring. Close the jump ring securely.
Now, when you wear the body chain, you can adjust the length by attaching the clasps to different points on the adjustable chains. This feature makes the body chain versatile and suitable for various body shapes and sizes.
Adding adjustable chains is an important step in ensuring a comfortable and customizable fit for your body chain. Now, let’s move on to the final step: making final adjustments and adding finishing touches.
Step 7: Final Adjustments and Finishing Touches
Now that you have completed the main steps of making your own body chain, it’s time to make final adjustments and add some finishing touches to ensure a polished and professional look. Follow these steps to complete your body chain:
- Check for symmetry and balance: Take a moment to assess the overall appearance of the body chain. Ensure that the chains are evenly distributed and that the centerpiece is centered and aligned properly.
- Make any necessary adjustments: If you notice any sections that need tweaking, such as chain lengths or the placement of the centerpiece, use your pliers to make the necessary adjustments. This will help achieve an aesthetically pleasing and cohesive design.
- Add additional embellishments (optional): If you want to add some extra flair to your body chain, consider adding more charms, pendants, or other decorative elements. You can attach them to the adjustable chains or at various points on the main chain to enhance the overall design.
- Ensure all components are securely fastened: Double-check that all jump rings, clasps, and connectors are closed tightly to prevent any accidental opening or detachment while wearing the body chain.
Once you have made any desired adjustments and added any final embellishments, your body chain is ready to be worn and showcased to the world!
Remember, making your own body chain allows you to express your unique style and creativity. Feel free to experiment with different chain styles, decorative elements, and placement to create a body chain that truly reflects your personality.
Now that you have completed all the steps and finishing touches, it’s time to flaunt your one-of-a-kind body chain with confidence!
Conclusion
Congratulations! You have successfully learned how to make your own body chain. By following these steps and unleashing your creativity, you have created a stunning piece of jewelry that is uniquely yours.
With just a few basic materials and some simple techniques, you were able to craft a body chain that adds elegance and glamour to any outfit. Now you can confidently wear your creation to music festivals, beach parties, or any special occasion, knowing that you have a personalized accessory that reflects your style.
Remember, don’t be afraid to experiment with different chain styles, decorative elements, and placements to make your body chain truly unique. You can customize it to your liking and add your personal touch by incorporating charms, pendants, or even colorful beads.
Creating your own body chain not only allows you to express your creativity but also gives you the satisfaction of wearing a handmade piece of jewelry. So, gather your materials, follow the steps outlined in this article, and let your imagination take flight as you embark on this exciting DIY project.
Now that you have the skills and knowledge to make a beautiful body chain, why not share your newfound expertise with others? You could even gift handmade body chains to your friends and loved ones, spreading the joy of DIY jewelry making.
Enjoy the process of designing and crafting your own body chain, and may it serve as a reminder of your creativity and individuality whenever you wear it. Happy crafting!