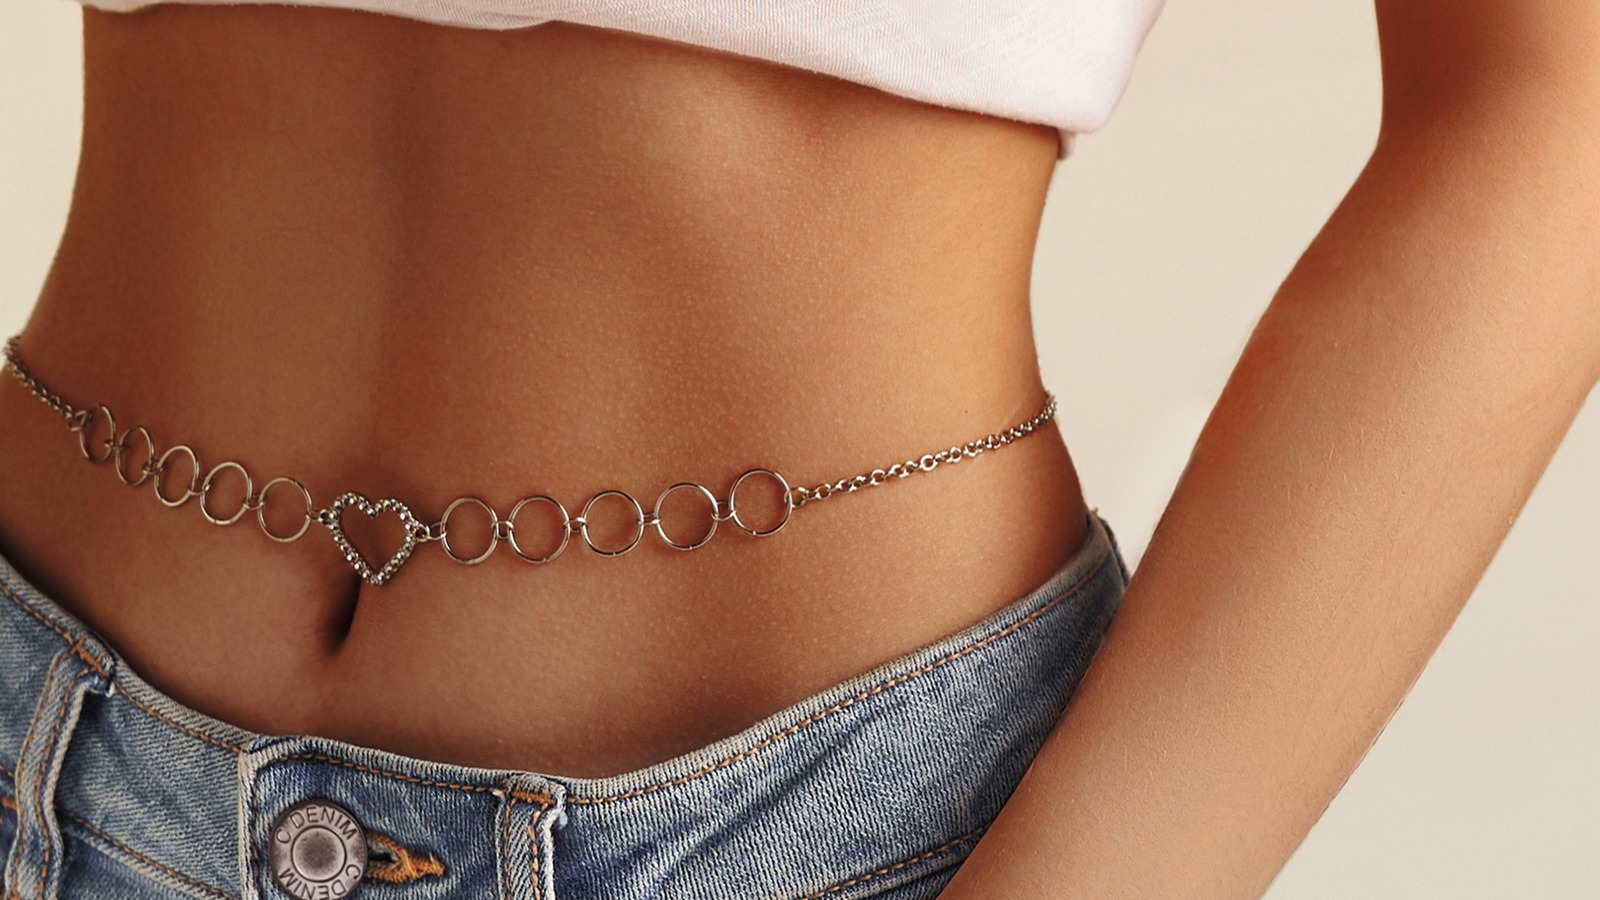
Home>How-to Guides>For All>How To Untangle A Body Chain
For All
How To Untangle A Body Chain
Modified: August 2, 2023
Learn how to easily untangle a body chain with this step-by-step guide. Perfect for all jewelry enthusiasts!
(Many of the links in this article redirect to a specific reviewed product. Your purchase of these products through affiliate links helps to generate commission for Under-tec.com, at no extra cost. Learn more)
Table of Contents
- Introduction
- Step 1: Prepare the necessary tools
- Step 2: Lay the body chain flat
- Step 3: Identify the knots or tangles
- Step 4: Use a straight pin or needle to loosen the knots
- Step 5: Gently pull the chains apart
- Step 6: Repeat the process for remaining tangles
- Step 7: Store the body chain properly to prevent future tangles
- Conclusion
Introduction
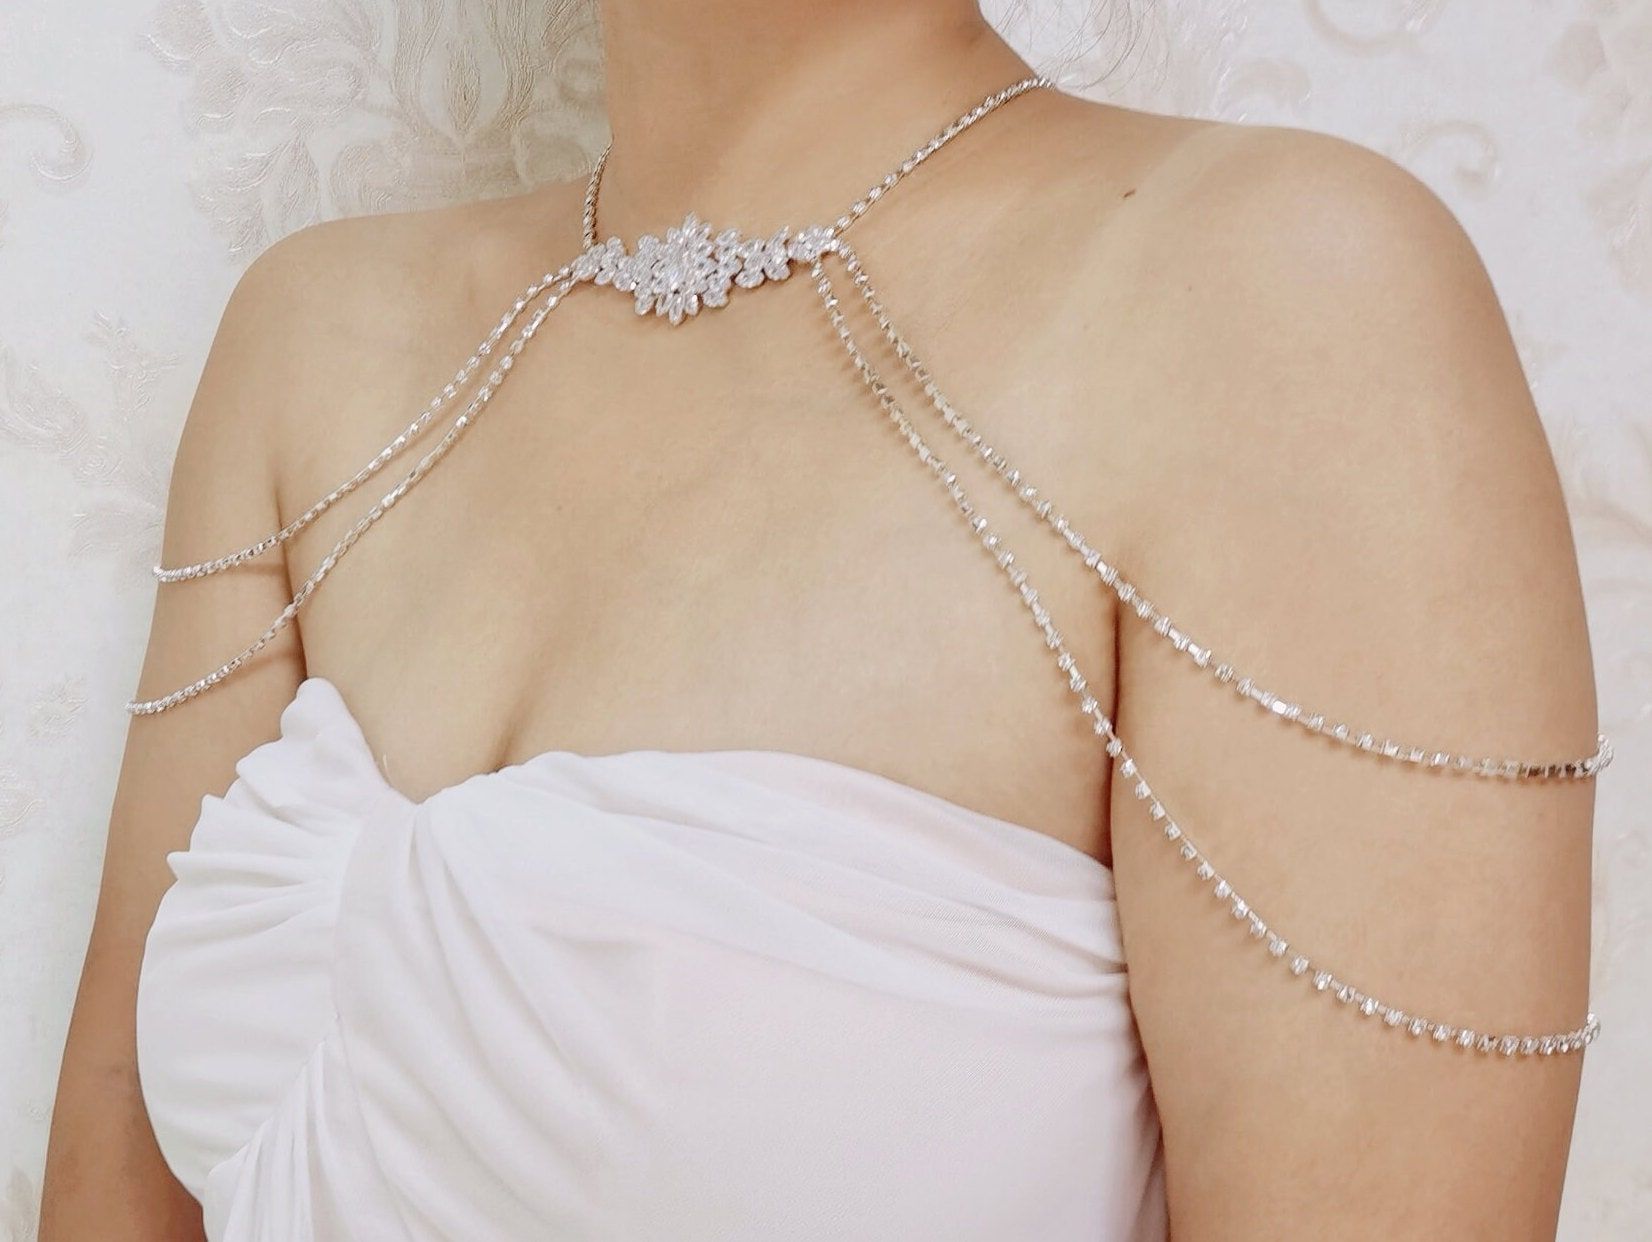
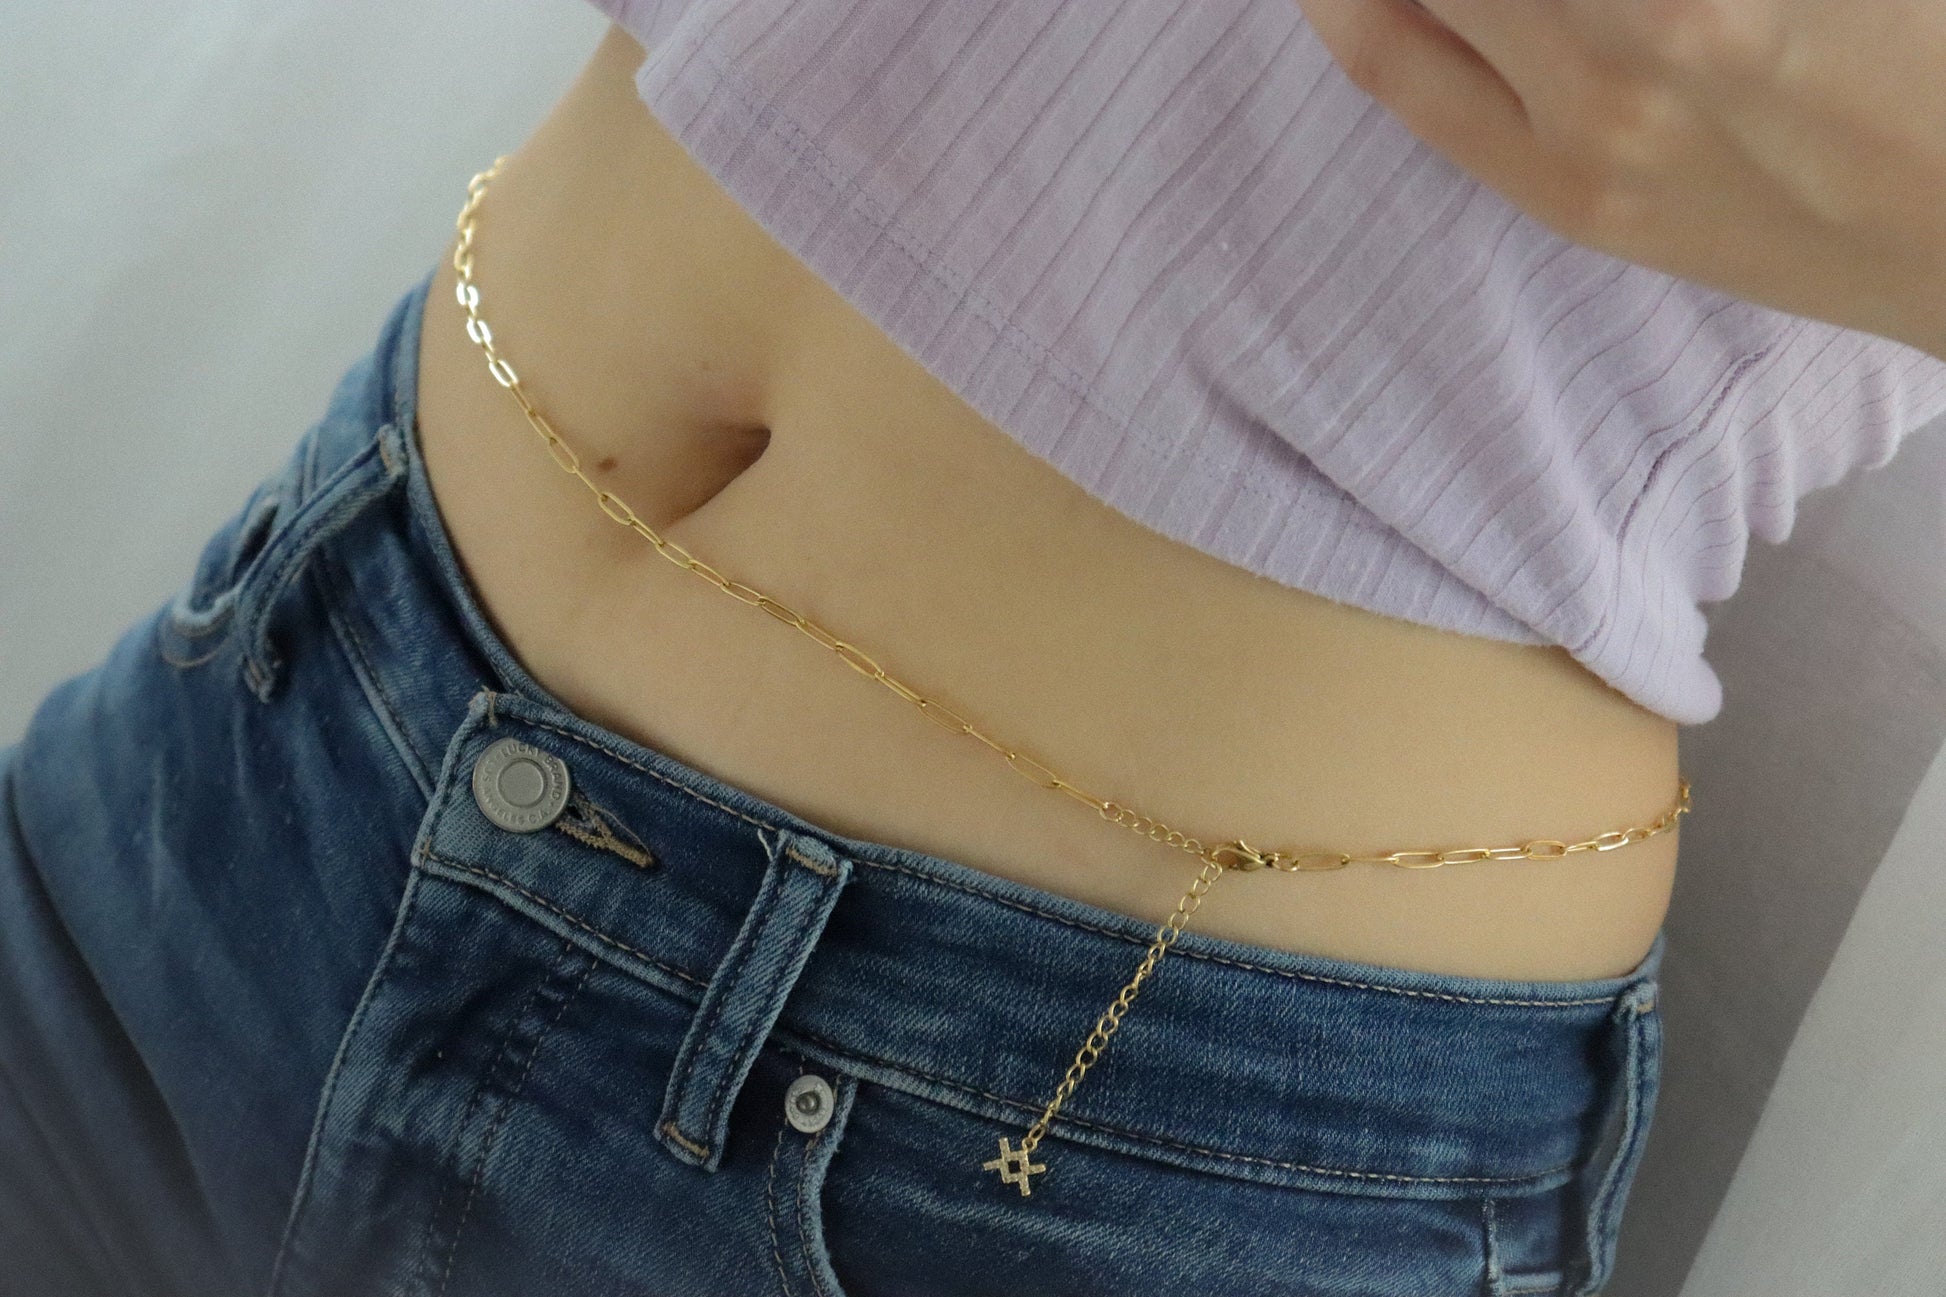
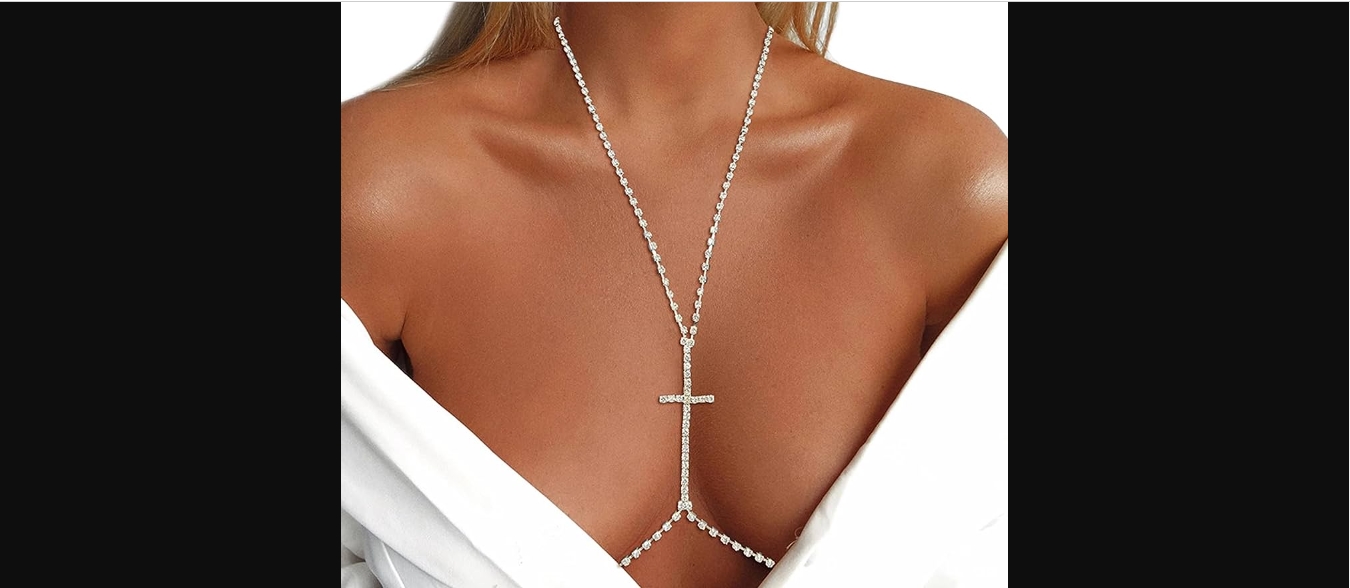
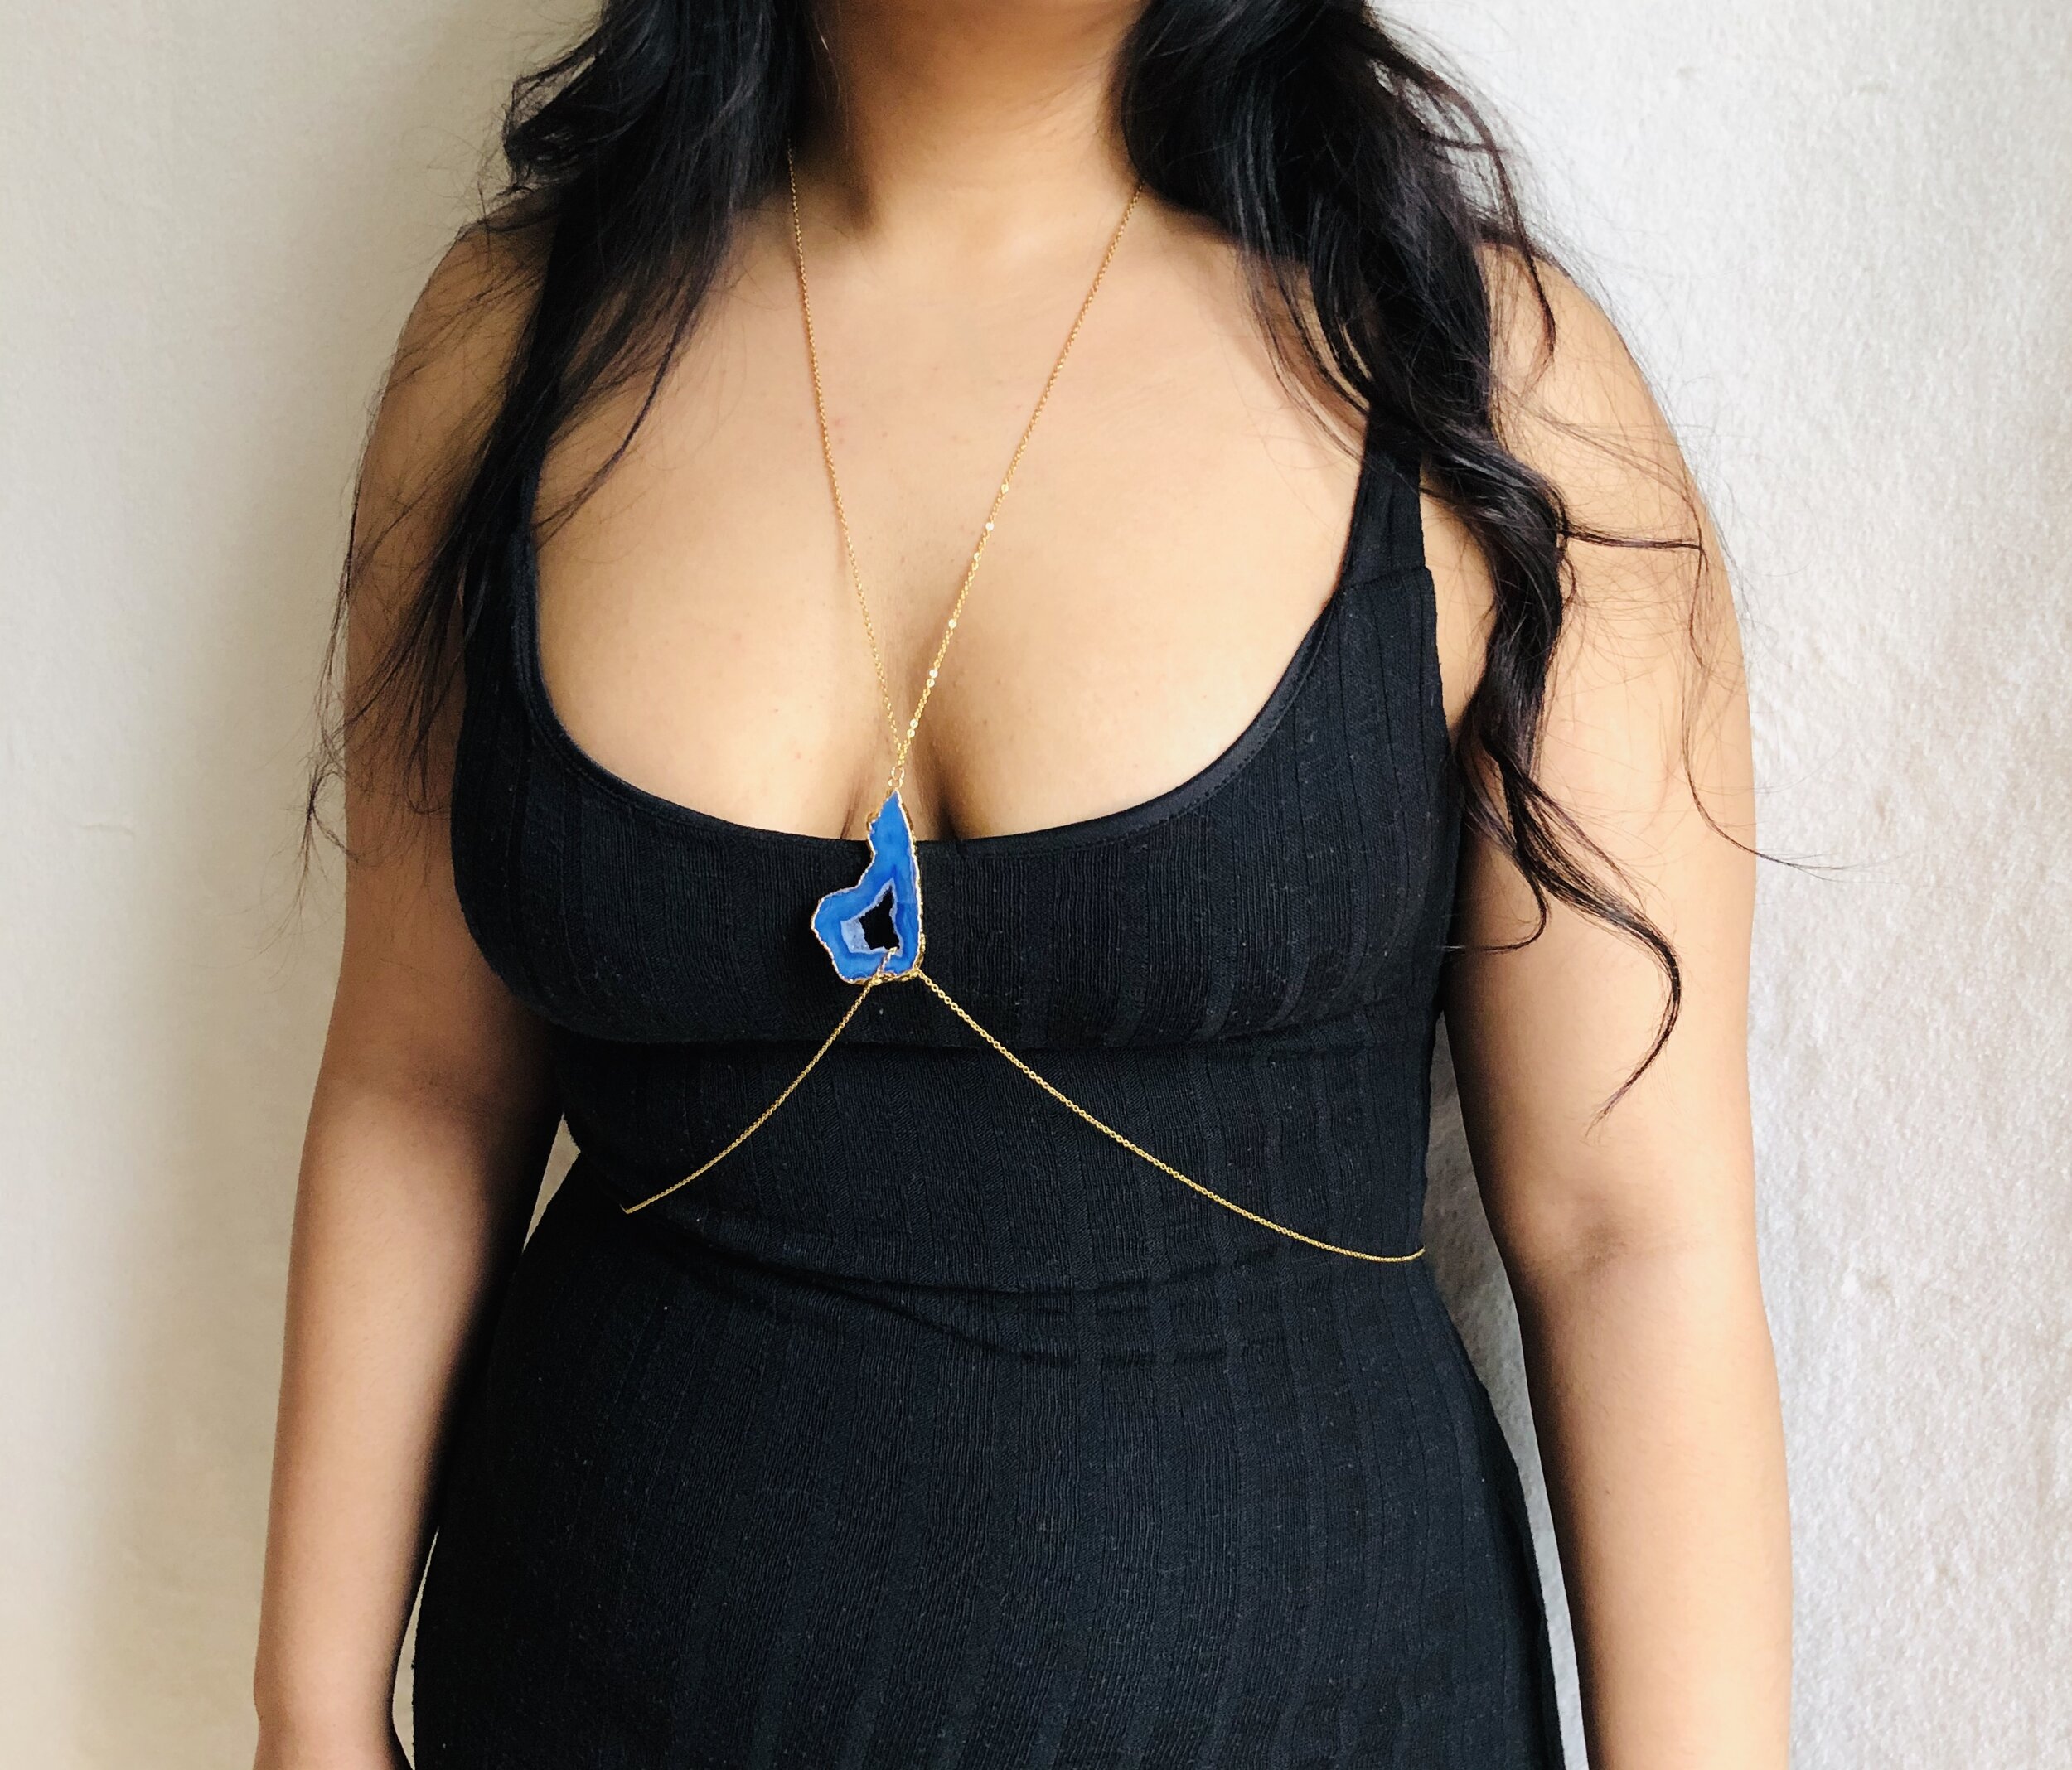
A body chain can be a beautiful and statement-making accessory, but there’s one thing that can quickly dampen the excitement of wearing one – tangled chains. It’s frustrating and time-consuming to deal with a jumbled mess of chains, but don’t worry, we’re here to help you untangle your body chain and get it back to its stunning glory.
Whether you’ve stored your body chain improperly or it got tangled while wearing it, the process of untangling can seem daunting at first, but with the right approach and a little patience, you’ll have your body chain looking as good as new in no time.
In this guide, we’ll take you through a step-by-step process on how to untangle a body chain. We’ll also provide tips on how to prevent future tangles and keep your body chain in top condition.
Now, let’s get started on unraveling those knots and enjoying your body chain’s beauty once again!
Step 1: Prepare the necessary tools
Before you begin the process of untangling your body chain, it’s important to gather the necessary tools to make the process easier and more efficient. Here are the tools you will need:
- Small straight pins or needles: These will be your lifesavers when it comes to loosening tight knots in the chain. Make sure to choose needles or pins that are small enough to fit through the links of your body chain.
- Flat surface: Find a clean, flat surface to work on, such as a table or countertop. This will provide a stable workspace for untangling your body chain.
- Good lighting: Having proper lighting is crucial for accurately identifying and loosening knots. Make sure you have enough light to see the details of your body chain.
- Patience: Untangling a body chain can be a time-consuming process, so it’s important to approach it with patience and a calm mindset. Remember, rushing through the process may result in more tangles.
By having these tools ready, you’ll be well-prepared to tackle the task of untangling your body chain and making the process smoother. Now that you have everything you need, let’s move on to the next step.
Step 2: Lay the body chain flat
Once you have gathered your tools, the next step in untangling a body chain is to lay it flat on a clean and flat surface. This allows you to have a clear view of the chains and makes it easier to work with.
Carefully remove the tangled body chain from its storage or from your neck if you were wearing it. Gently lay it down on the flat surface, ensuring that no part of the chain is overlapping or twisted.
By laying the body chain flat, you have better control over the individual chains and can more easily identify where the tangles are located. This will make the process of untangling much more manageable.
If the body chain is particularly long, you may need to adjust it to fit on the surface properly. For longer chains, you can fold it in a zigzag pattern to make it more compact and easier to work with.
Remember, the goal is to have a clear and tangle-free view of the chains, so take your time to arrange the body chain in a way that allows for easy access to the knots and tangles.
Now that you have laid the body chain flat, you’re ready to move on to the next step and start unraveling those knots!
Step 3: Identify the knots or tangles
With the body chain laid flat, it’s time to closely examine and identify the knots or tangles that need to be untangled. This step is essential to understand the complexity of the tangles and plan your approach accordingly.
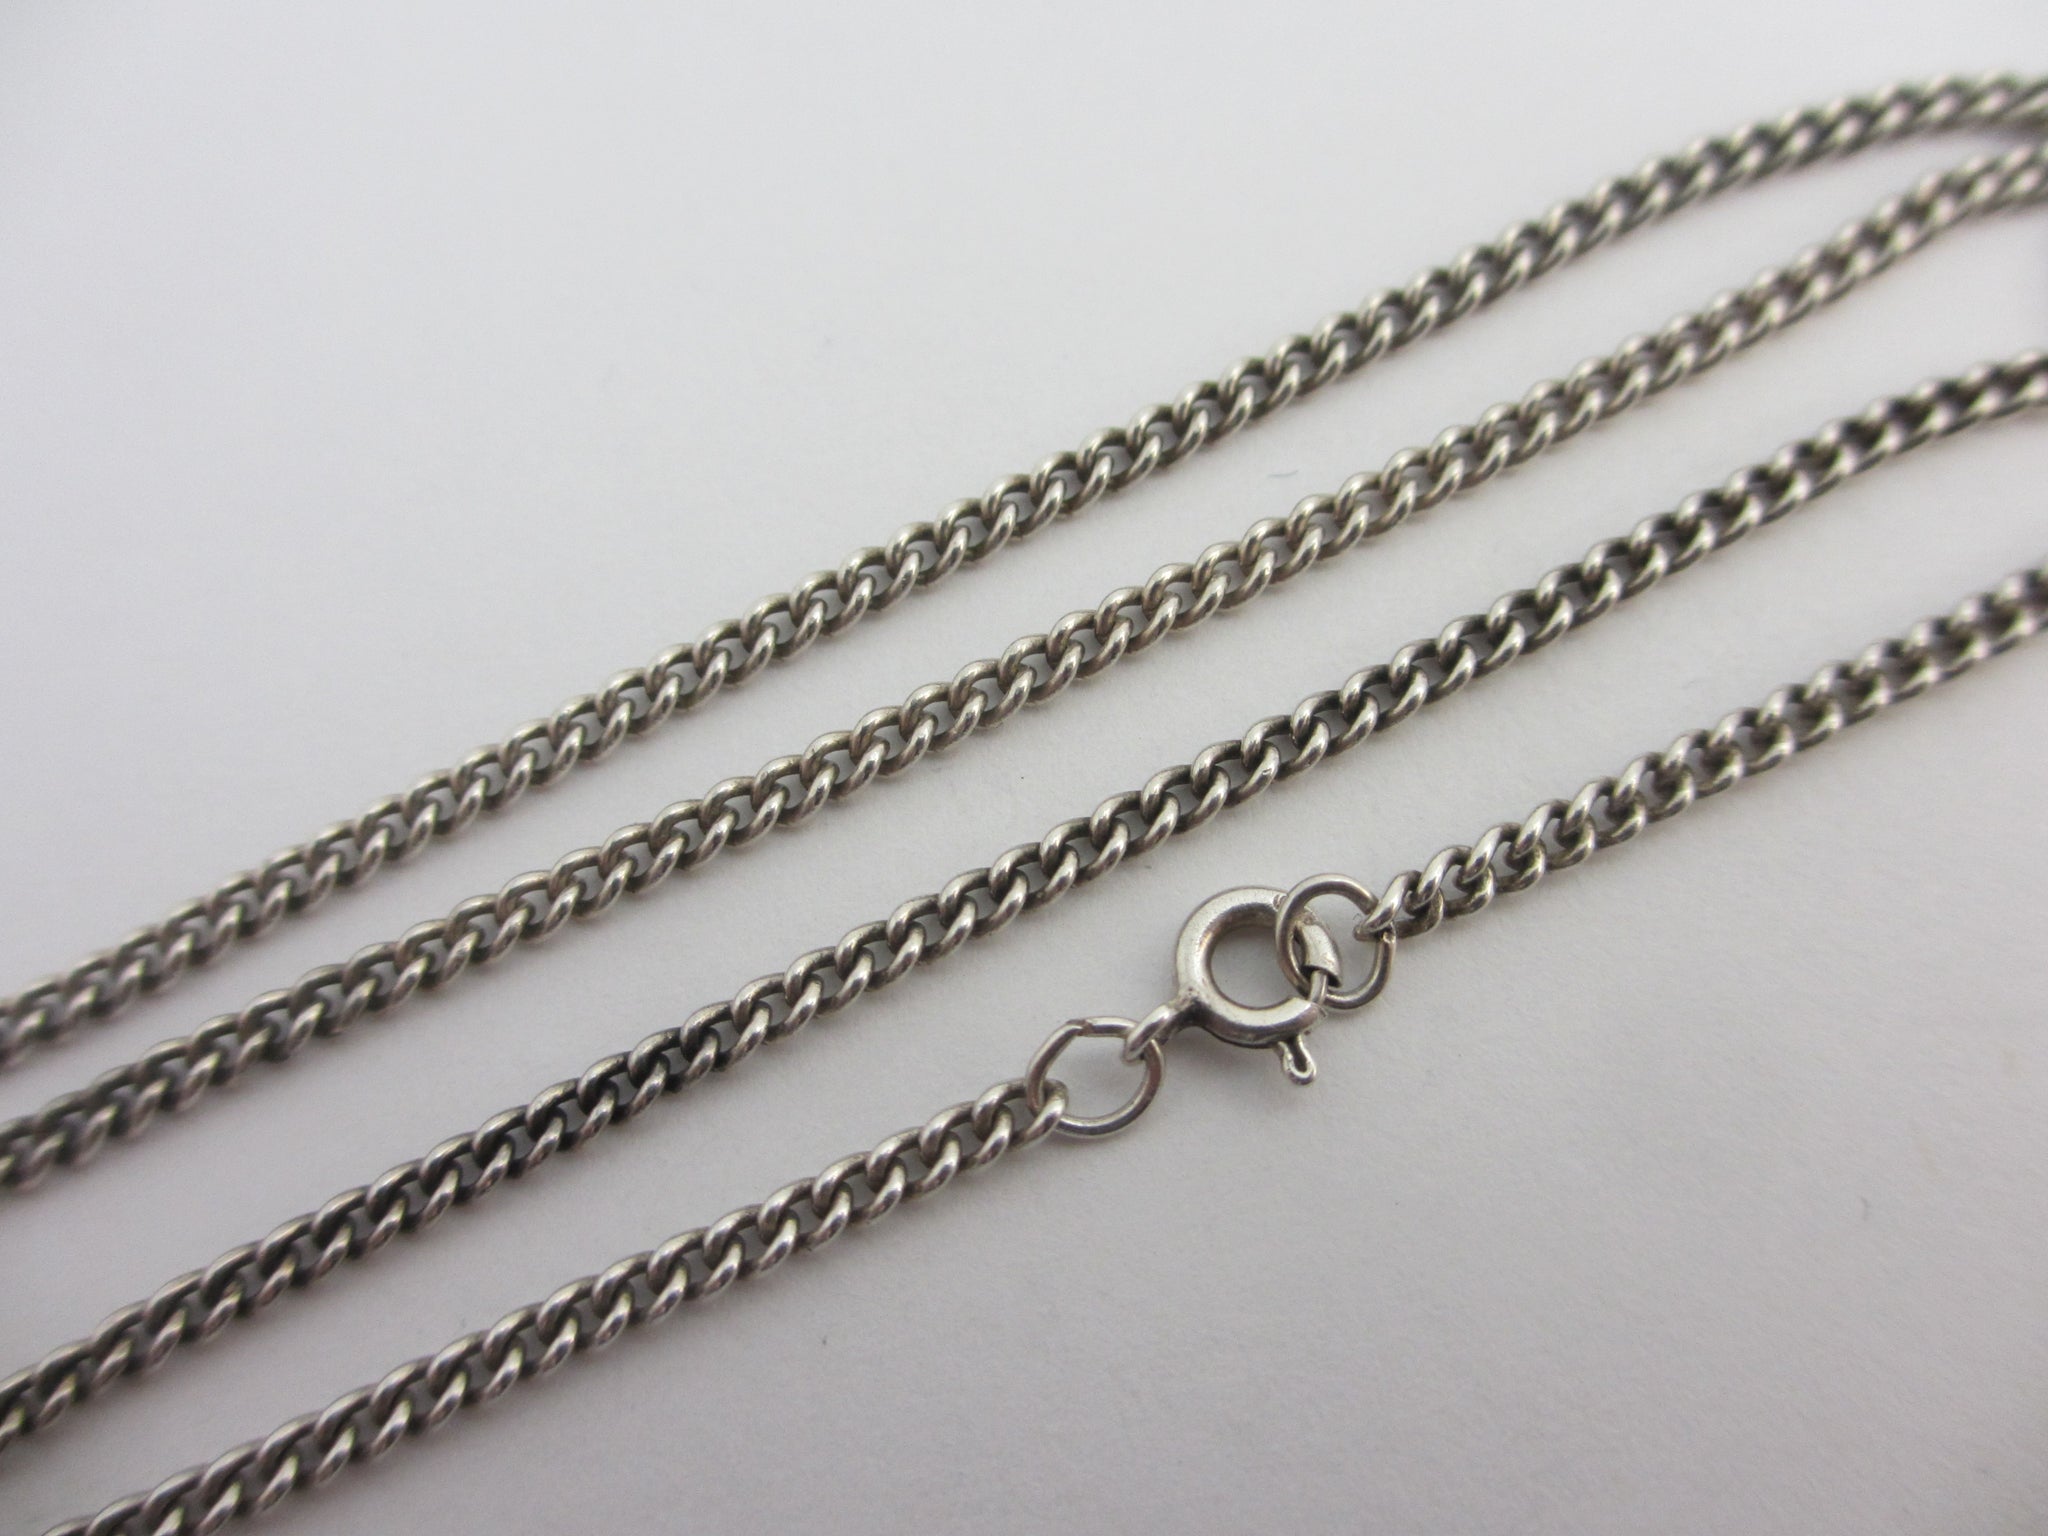
Take a careful look at the chain and locate any areas where it appears twisted, knotted, or tangled. Common areas for tangles include the clasp, links, and any charms or pendants that may be attached.
Once you’ve identified the tangles, it can be helpful to mentally note or mark them with a small piece of tape or a marker. This will help you keep track of the specific areas that require attention.
If the tangles are complex and interconnected, it may be helpful to take a quick photo with your phone or make a rough diagram. This visual reference can serve as a useful guide as you work through the untangling process.
Additionally, gently run your fingers along the chains to feel for any areas where the chains are tightly knotted or twisted. This tactile exploration can provide valuable information about the severity and location of the tangles.
Remember, every body chain is unique, so take your time to thoroughly assess the knots and tangles before proceeding to the next step. Understanding the extent of the tangles will help you determine the best course of action to successfully untangle your body chain.
Step 4: Use a straight pin or needle to loosen the knots
Now that you’ve identified the knots or tangles in your body chain, it’s time to start the untangling process. A useful tool for this step is a small straight pin or needle, which will help you loosen the knots and separate the chains.
Take the straight pin or needle and carefully insert it into the center of the knot or tangle. Gently wiggle the pin back and forth to create a bit of space within the knot. This will help loosen the chains and make it easier to untangle.
As you wiggle the pin, be mindful of not applying too much force, as you don’t want to damage the chain or break any links. Slow and gentle movements are key to loosening the tangle without causing any harm.
If the knot is particularly stubborn and resistant to loosening, you can try applying a small amount of baby oil or lubricant near the knot. This can help reduce friction and make it easier to manipulate the chains.
Continue using the pin or needle to slowly work your way through the knot, unraveling and separating the chains as you go. Be patient and precise, taking care with each movement to prevent the knot from getting tighter or causing more tangles.
Remember, the goal is to create enough space within the knot to allow the chains to move freely and untangle. Take your time and pay close attention to the progress you’re making.
Once you’ve successfully loosened the knot, you’re ready to move on to the next step and begin gently pulling the chains apart.
Step 5: Gently pull the chains apart
After using a straight pin or needle to loosen the knots in your body chain, it’s time to carefully separate the chains. This step requires patience and a gentle touch to avoid causing any additional tangles or damage to the chain.
Starting from the area where you loosened the knot, use your fingers to carefully pull the chains apart. Gradually and gently work your way through the tangles, taking care not to force the chains apart or pull too hard.
If you encounter resistance while pulling the chains, stop and reassess the situation. Try to identify any remaining knots or areas where the chains are still entangled. Use the straight pin or needle to further loosen any tight spots before attempting to pull the chains apart again.
It’s important to remember that untangling a body chain requires a delicate touch. Avoid yanking or tugging at the chains, as this can lead to more knots and potentially break the chain links.
If you find that the chains are still tightly intertwined and difficult to separate, you may need to repeat the previous step of using the straight pin or needle to further loosen the knots. Take your time and be patient throughout the process.
Continue gently pulling the chains apart, unraveling the tangles as you go. It may be helpful to hold onto the untangled section of the chain with one hand while working on the remaining tangles with the other hand. This will provide stability and prevent the chain from re-tangling as you progress.
As you successfully untangle each section, give yourself a moment to appreciate the progress you’ve made. Celebrate the small victories along the way as you bring your body chain back to its original beauty.
Once you have fully separated all the chains and resolved the tangles, it’s time to move on to the next steps and address any remaining areas that may need untangling.
Step 6: Repeat the process for remaining tangles
Even after successfully untangling some sections of your body chain, there may still be remaining tangles that need to be addressed. In this step, you will repeat the process of using a straight pin or needle to loosen knots and gently pulling the chains apart.
Start by identifying the next tangled area in your body chain. Use the same technique as before, inserting the straight pin or needle into the center of the knot and wiggling it gently to create space. Take your time and be patient as you work through each tangle.
If you come across particularly stubborn knots that are difficult to loosen, you can try applying more lubricant or baby oil to reduce friction and make the process smoother. This can help the chains glide more easily and make it easier to separate them.
As you unravel the remaining tangles, be mindful of any twists or kinks that may have developed in the chain. Use your fingers to gently straighten out these sections as you go along to restore the chain’s original shape and appearance.
Remember, untangling a body chain requires a delicate touch and careful manipulation. Avoid rushing through the process and take breaks as needed to prevent frustration or fatigue.
Continue repeating the process of loosening knots with the pin or needle and gently pulling the chains apart until you have resolved all the remaining tangles. Be sure to celebrate each untangled section as you progress, as it means you’re getting closer to fully restoring your body chain.
Once you have successfully untangled all the knots and tangles, take a moment to admire your beautifully restored body chain. You’ve tackled the challenge with patience and care, and the result is a dazzling piece of jewelry ready to be worn and enjoyed.
Now that your body chain is untangled, it’s important to store it properly to prevent future tangles. Let’s move on to the final step to ensure your body chain stays in pristine condition.
Step 7: Store the body chain properly to prevent future tangles
Now that you’ve successfully untangled your body chain, it’s crucial to store it properly to prevent future tangles. Here are some tips to keep your body chain in pristine condition:
- Use a jewelry box or organizer: Invest in a jewelry box or organizer with separate compartments to keep your body chain separated from other pieces of jewelry. This will prevent chains from tangling with each other or getting intertwined with other items.
- Wrap it carefully: If you don’t have a jewelry box or organizer, wrap your body chain in a soft cloth or tissue paper before storing it. This helps to protect the chain from becoming tangled or scratched.
- Fasten the clasp: Always make sure to fasten the clasp of your body chain when storing it. Fastening the clasp prevents the chains from tangling and helps maintain the shape of the chain.
- Hang it up: For longer body chains, consider hanging them on a jewelry stand or a hook to keep them tangle-free. This method is especially useful for preventing chains from knotting or twisting together.
- Avoid tossing in a drawer: Avoid throwing your body chain into a drawer with other jewelry or accessories. This is a recipe for tangles and can cause damage to the chain and other items.
By following these storage tips, you can significantly reduce the chances of your body chain getting tangled. Proper storage ensures that your body chain remains in excellent condition and saves you time and frustration in the future.
Remember to check your body chain periodically, especially if you haven’t worn it in a while. Checking for tangles and taking time to untangle them when they are minor can prevent the need for a more intensive untangling process later on.
By taking proactive steps to store your body chain properly, you can maintain its beauty and enjoy tangle-free wear every time.
Conclusion
Untangling a body chain can be a frustrating task, but with the right tools, techniques, and a little patience, you can restore your chain to its original beauty. By following the step-by-step process outlined in this guide, you’ll be able to tackle those knots and tangles with ease.
Remember to prepare the necessary tools, lay the body chain flat, identify the knots or tangles, use a straight pin or needle to loosen the knots, gently pull the chains apart, repeat the process for remaining tangles, and finally, store the body chain properly to prevent future tangles.
Take your time and remain patient throughout the process – rushing can lead to more knots and frustrations. Celebrate each small victory as you untangle your body chain, and appreciate the effort you’ve put into restoring its beauty.
Once your body chain is tangle-free, storing it properly will help keep it that way. Whether you use a jewelry box or organizer, wrap it carefully, hang it up, or take other preventive measures, proper storage ensures your body chain remains tangle-free and ready to wear at any time.
Now that you have the knowledge and techniques to untangle and properly store your body chain, you can enjoy wearing this stunning accessory without the annoyance of knots and tangles. Show off your style and let your body chain shine!