Home>How-to Guides>For Women>How To Make Hair Removal Cream At Home


For Women
How To Make Hair Removal Cream At Home
Modified: August 2, 2023
Learn how to make hair removal cream at home for women. Get rid of unwanted hair easily and naturally with this DIY hair removal cream recipe.
(Many of the links in this article redirect to a specific reviewed product. Your purchase of these products through affiliate links helps to generate commission for Under-tec.com, at no extra cost. Learn more)
Table of Contents
Introduction
Welcome to the world of DIY beauty! If you’re tired of the hassle and expense of professional hair removal treatments, you’ll be thrilled to know that you can make your own hair removal cream right at home. Not only is it easy to create, but it’s also a cost-effective solution that allows you to control the ingredients and customize the cream to suit your needs.
Whether you’re looking to remove hair from your legs, underarms, or bikini area, this homemade hair removal cream is a game-changer. With a few simple steps and some common household ingredients, you’ll have a smooth and hair-free skin without the need for expensive salon visits or harsh chemical-laden products.
Not only is making your own hair removal cream a practical and economical choice, but it also allows you to prioritize your health. Many store-bought hair removal creams contain harsh chemicals and artificial fragrances that can irritate the skin and cause allergic reactions. By making your own cream, you have complete control over the ingredients, ensuring that you are using natural and gentle components.
Are you ready to say goodbye to unwanted hair and hello to smooth, hair-free skin? Let’s dive into the world of DIY beauty and discover how to make your own hair removal cream at home. Get ready to embrace a more natural and budget-friendly approach to hair removal!
Ingredients
Before you start making your own hair removal cream, gather the following ingredients:
- 1 cup of sugar: Sugar is the key ingredient in this homemade hair removal cream. It helps to gently exfoliate the skin and remove unwanted hair.
- 1/4 cup of lemon juice: Lemon juice acts as a natural bleaching agent and helps to lighten the hair, making it less noticeable.
- 1/4 cup of water: Water is used to create the right consistency and ensure that the mixture spreads easily on the skin.
- 2 tablespoons of honey: Honey is known for its moisturizing and soothing properties. It helps to keep the skin hydrated and soft throughout the hair removal process.
- 1/4 teaspoon of cornstarch: Cornstarch acts as a thickening agent, giving the hair removal cream a smooth and creamy texture.
- Essential oils (optional): If you prefer a scented hair removal cream, you can add a few drops of your favorite essential oil. Lavender, rose, or chamomile essential oils are great options for their calming and soothing effects.
These ingredients are readily available at your local grocery store or online, making it convenient to gather everything you need for this DIY project. Once you have these ingredients, you’re ready to embark on the journey of making your own hair removal cream.
Step 1: Gather the ingredients
Before you dive into the process of making your hair removal cream, ensure that you have all the necessary ingredients ready. This will save you time and make the preparation process smoother.
Here’s a quick recap of the ingredients needed:
- 1 cup of sugar
- 1/4 cup of lemon juice
- 1/4 cup of water
- 2 tablespoons of honey
- 1/4 teaspoon of cornstarch
- Essential oils (optional)
Check your pantry or make a quick trip to the grocery store to ensure that you have everything on hand. It’s always a good idea to gather all the ingredients before starting the process to avoid any interruptions or delays.
Additionally, consider the quality of the ingredients you use. Opt for organic and natural products whenever possible to ensure that your hair removal cream is free from unnecessary chemicals and additives.
Once you have everything ready, you’re all set to move on to the exciting part of mixing and creating your own hair removal cream.
Step 2: Mix the ingredients
Now that you have gathered all the necessary ingredients, it’s time to blend them together to create your homemade hair removal cream. Follow these steps to mix the ingredients:
- In a medium-sized saucepan, combine the sugar, lemon juice, water, honey, and cornstarch.
- Place the saucepan over low heat and stir the mixture continuously until the sugar has completely dissolved.
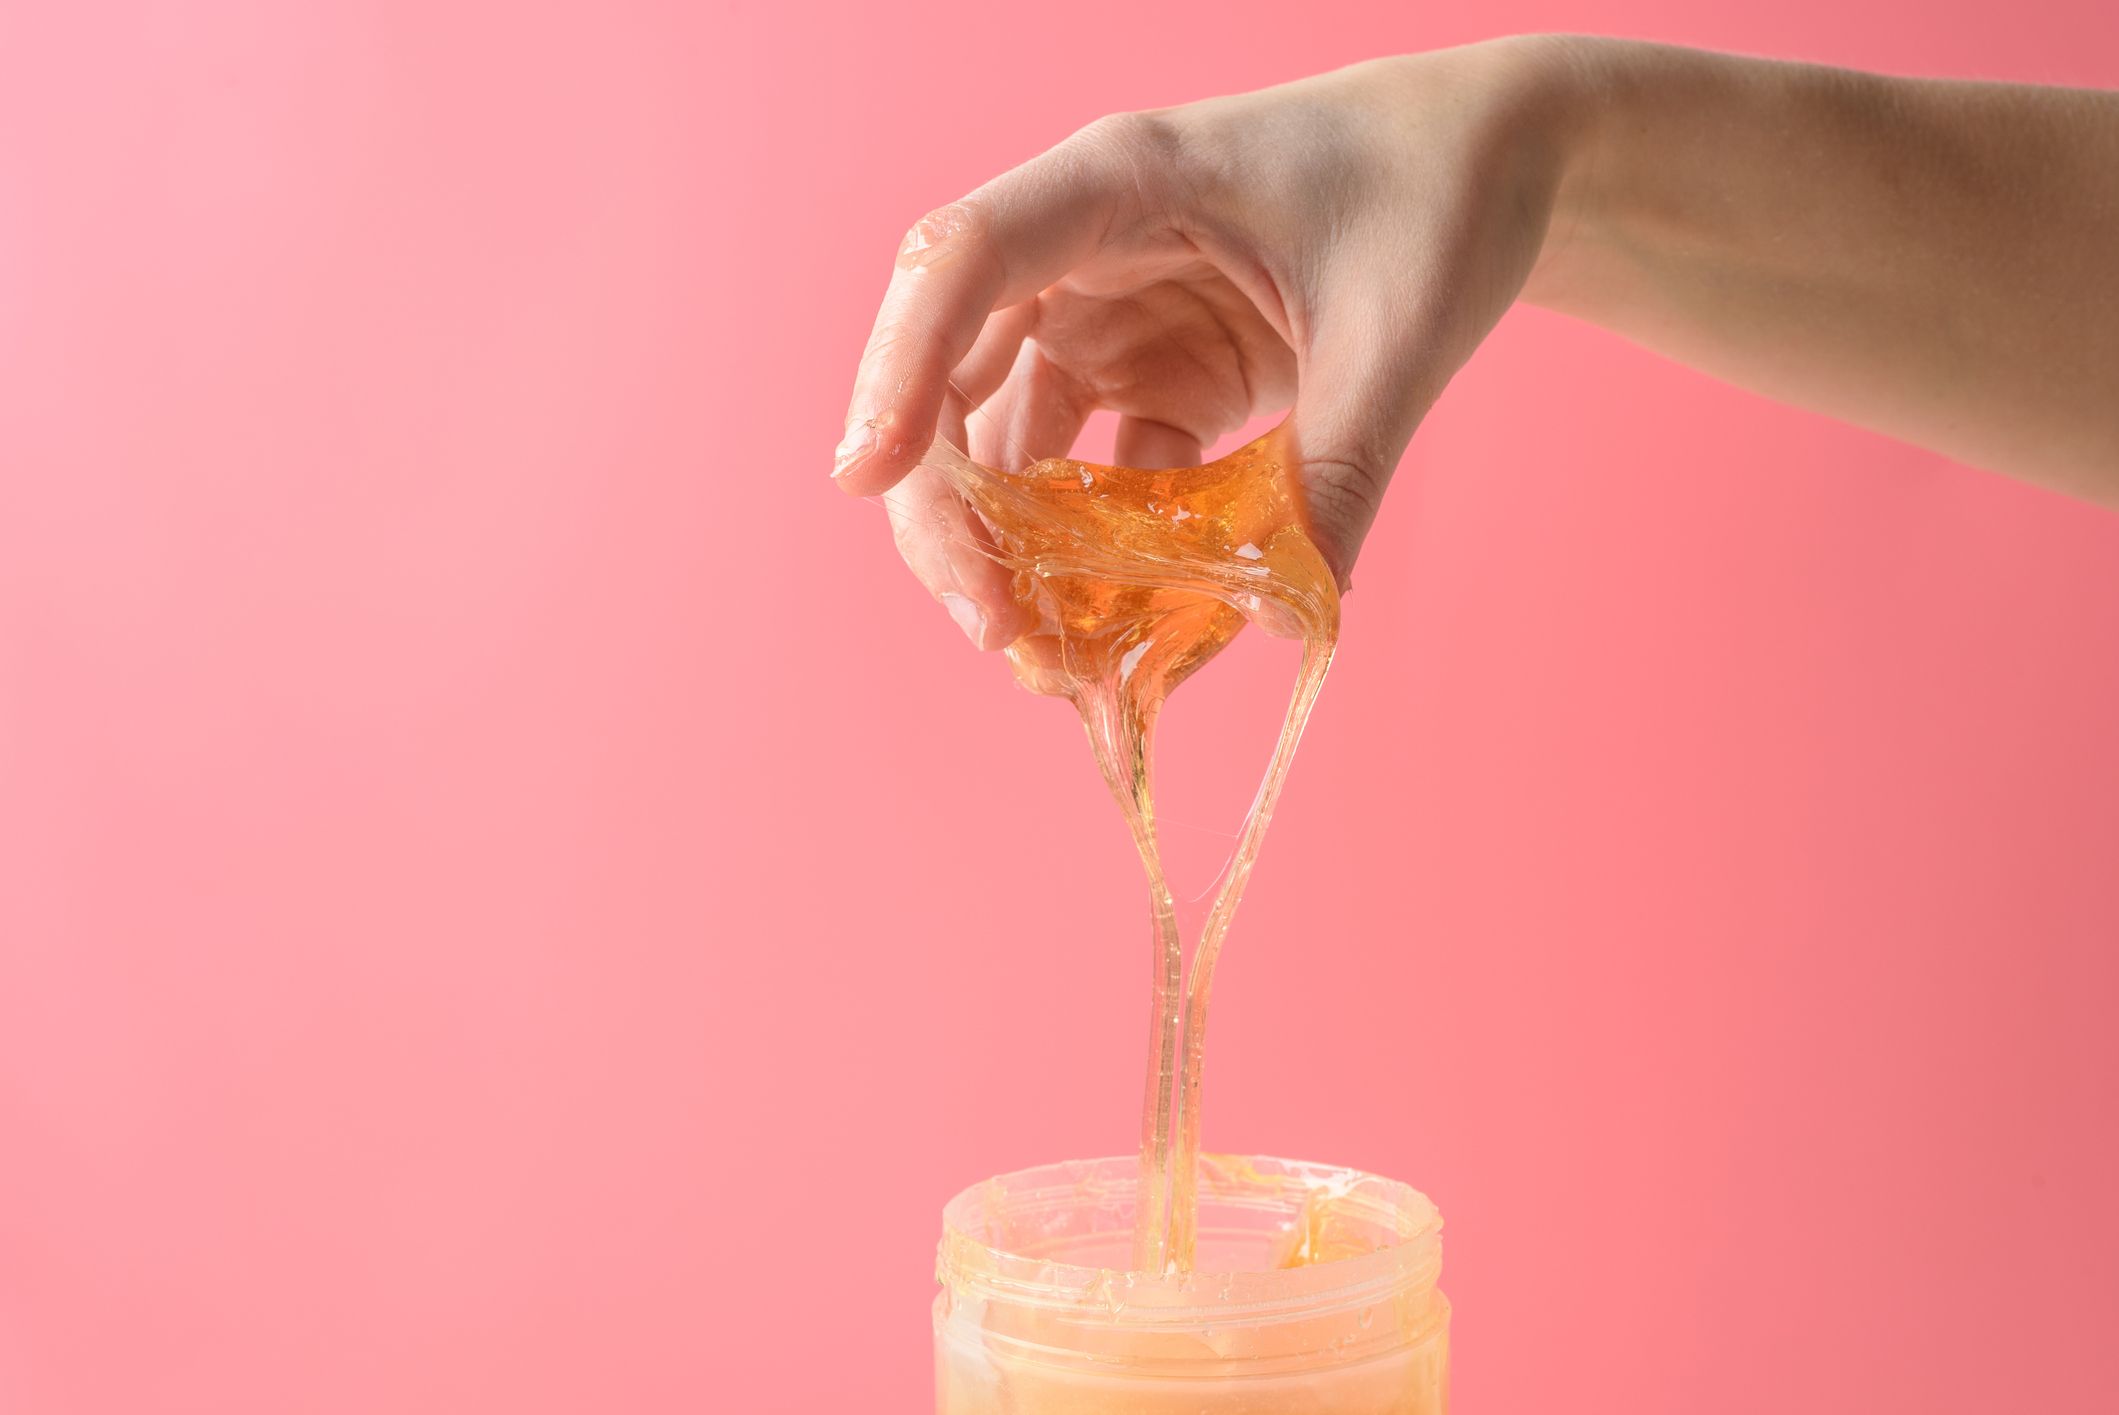
- Keep stirring gently until the mixture thickens and turns into a sticky consistency. This will take about 5-7 minutes.
- If you want to add a pleasant fragrance to your hair removal cream, this is the perfect time to mix in a few drops of your favorite essential oil. Stir well to combine.
Remember to stir gently and avoid vigorous mixing to prevent any air bubbles from forming in the mixture. This will ensure a smooth and creamy texture for your hair removal cream.
Once all the ingredients are well combined, you’re ready to move on to the next step of heating the mixture. Keep the saucepan handy as we dive into the heating process in the next step.
Step 3: Heat the mixture
After mixing the ingredients, it’s time to heat the mixture to achieve the perfect consistency for your homemade hair removal cream. Follow these steps to heat the mixture:
- Place the saucepan with the mixture over medium heat on the stovetop.
- Continue stirring the mixture gently as it heats up. Be sure to scrape the sides and bottom of the saucepan to prevent the mixture from sticking and burning.
- Heat the mixture until it reaches a temperature of around 250°F (121°C).
- Keep an eye on the mixture as it heats up to avoid overcooking or burning it. The mixture should have a thick and gooey consistency, similar to that of caramel.
Heating the mixture helps to activate the ingredients and bind them together, resulting in a smooth and creamy hair removal cream. The heat also ensures that the sugar melts completely, providing the necessary exfoliating properties to remove unwanted hair.
Be cautious while heating the mixture and avoid touching it with your hands or applying it to your skin until it has cooled down. Once the mixture reaches the desired temperature and has a thick consistency, it’s time to move on to the next step of cooling and storing your homemade hair removal cream.
Step 4: Cool and store the cream
Now that you have successfully heated the hair removal cream mixture, it’s time to allow it to cool down and store it properly for future use. Follow these steps to cool and store your homemade hair removal cream:
- Remove the saucepan from the heat and set it aside to cool. Be cautious while handling the hot mixture.
- Allow the mixture to cool down for approximately 15-20 minutes until it reaches a comfortable temperature for application.
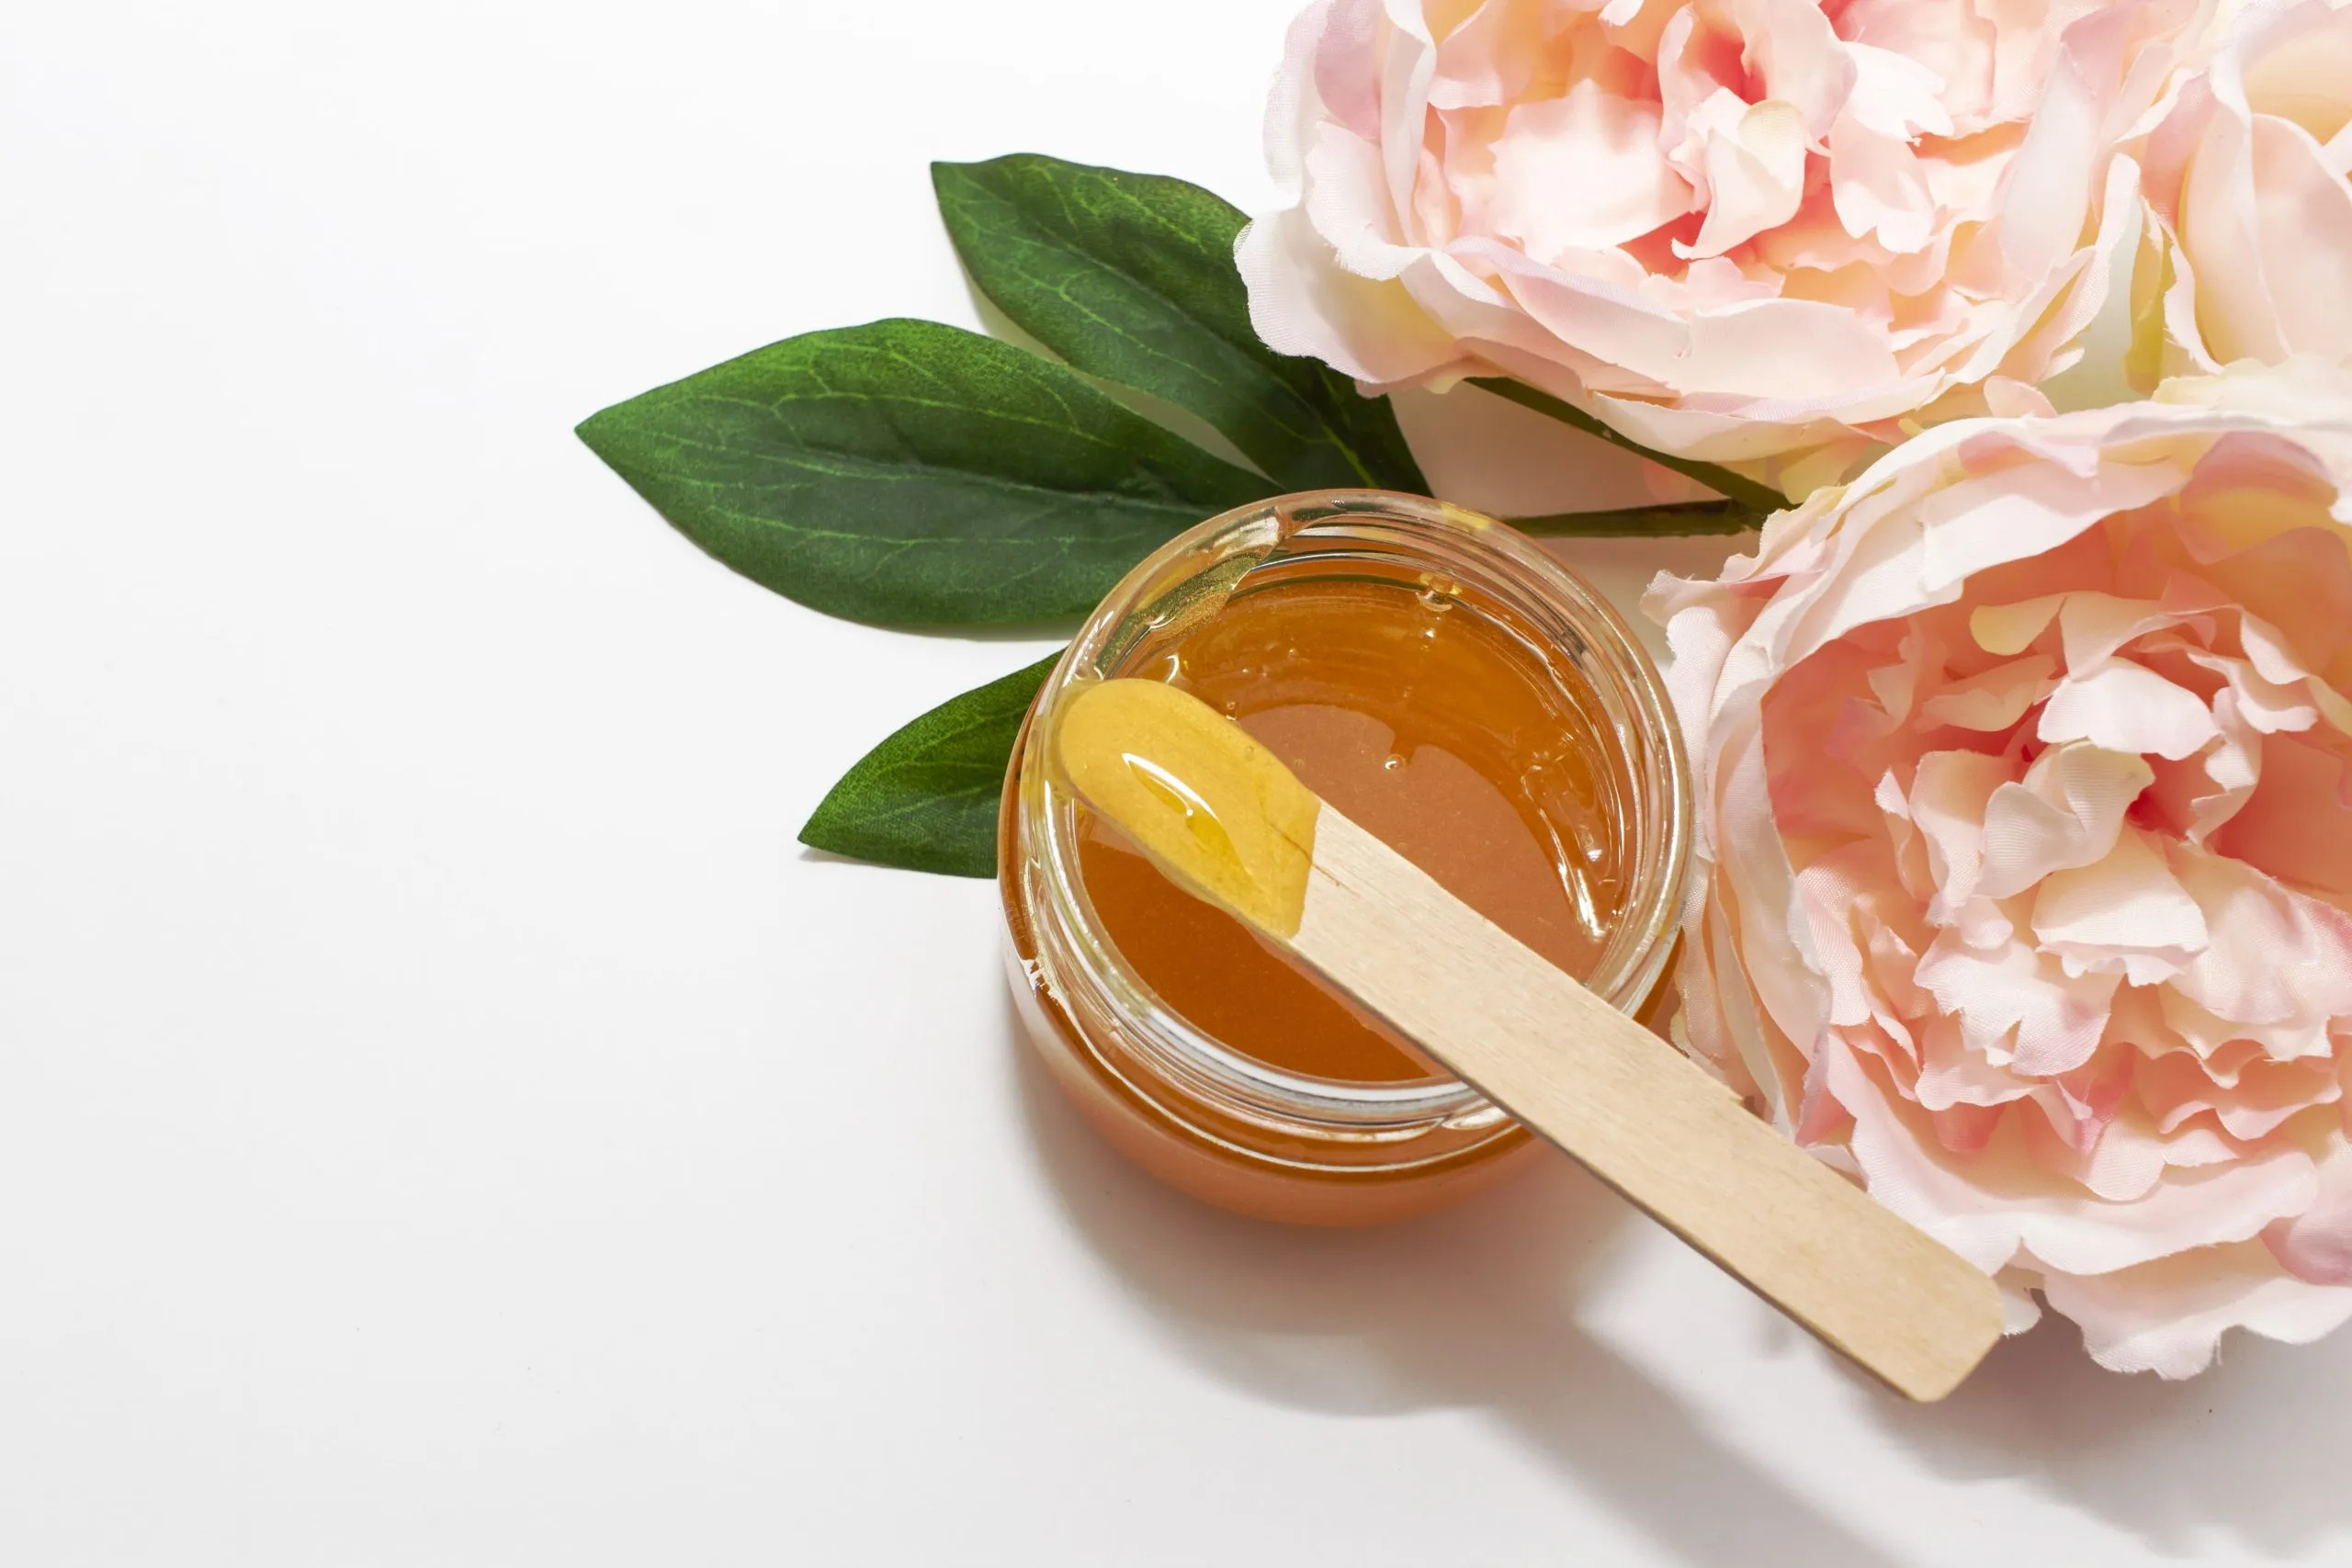
- While the mixture is cooling, prepare a clean glass jar or airtight container to store the hair removal cream.
- Once the mixture has cooled, carefully pour it into the prepared container, ensuring that it is tightly sealed to prevent any air or moisture from entering.
- Label the container with the date and contents to keep track of its freshness.
It is important to note that your homemade hair removal cream may thicken as it cools down. This is normal and expected. Simply give the cream a stir before each use to ensure a smooth consistency.
Store the hair removal cream in a cool, dry place, away from direct sunlight. Proper storage will help preserve its effectiveness and prevent any spoilage or contamination.
Now that your homemade hair removal cream is cooled and properly stored, you’re all set to enjoy its benefits whenever you need to remove unwanted hair. Just make sure to perform a patch test on a small area of your skin before applying it more broadly to check for any adverse reactions.
With your own homemade hair removal cream, you have a natural and budget-friendly solution for silky-smooth, hair-free skin.
Precautions and tips
While making and using your own hair removal cream can be a rewarding experience, it’s essential to keep a few precautions and tips in mind to ensure a safe and effective hair removal process. Here are some important points to consider:
- Perform a patch test: Before using the hair removal cream on a larger area of your skin, it’s crucial to perform a patch test on a small, inconspicuous area. This will help you check for any allergic reactions or skin sensitivities.
- Apply on clean, dry skin: Make sure to cleanse and thoroughly dry the area where you will be applying the hair removal cream. This will help the cream adhere better to the skin and provide optimal results.
- Follow the instructions: While the steps provided in this guide will give you a general idea of how to make and use the hair removal cream, it’s important to read and follow any specific instructions or recommendations provided by the recipe or source you are using.
- Avoid sensitive areas: Exercise caution when applying the hair removal cream to sensitive areas like the face, underarms, or bikini area. These areas may require a gentler formulation or different application technique.
- Don’t leave the cream on for too long: It’s important to follow the recommended time for leaving the cream on the skin before removing it. Leaving it on for too long may lead to skin irritation or discomfort.
- Moisturize after use: After using the hair removal cream, apply a soothing moisturizer to keep the skin hydrated and prevent any dryness or irritation.
- Store properly: To maintain the effectiveness and longevity of your homemade hair removal cream, store it in a cool, dry place away from direct sunlight and moisture.
Remember, everyone’s skin is unique, and what works for one person may not work the same for another. If you experience any adverse reactions or discomfort, discontinue use and consult a dermatologist.
By following these precautions and tips, you can ensure a safe and enjoyable hair removal experience with your homemade hair removal cream.
Conclusion
Congratulations! You have successfully learned how to make your own hair removal cream at home. By following the simple steps and using common household ingredients, you can now enjoy a cost-effective, natural, and customizable solution for removing unwanted hair.
Making your own hair removal cream not only saves you money but also gives you full control over the ingredients, ensuring that you’re using a product that is gentle on your skin. By avoiding harsh chemicals and artificial fragrances, you can minimize the risk of skin irritation and allergic reactions.
Remember to gather all the necessary ingredients, mix them carefully, heat the mixture to the right consistency, and store it properly for future use. Additionally, take necessary precautions such as performing a patch test and following the instructions to ensure a safe and effective hair removal experience.
Enjoy the convenience and satisfaction of having silky-smooth, hair-free skin in the comfort of your own home. With your homemade hair removal cream, you can say goodbye to the hassle and expense of salon visits and embrace a more natural and budget-friendly approach.
So, go ahead and treat yourself to a DIY beauty experience. Get ready to flaunt your smooth skin and confidently conquer the world!
