Home>How-to Guides>For All>How To Get Rid Of Skid Marks On Asphalt
For All
How To Get Rid Of Skid Marks On Asphalt
Published: July 31, 2023
Learn effective methods for removing skid marks on asphalt surfaces with this comprehensive guide. Suitable for all levels of experience and expertise.
(Many of the links in this article redirect to a specific reviewed product. Your purchase of these products through affiliate links helps to generate commission for Under-tec.com, at no extra cost. Learn more)
Table of Contents
Introduction
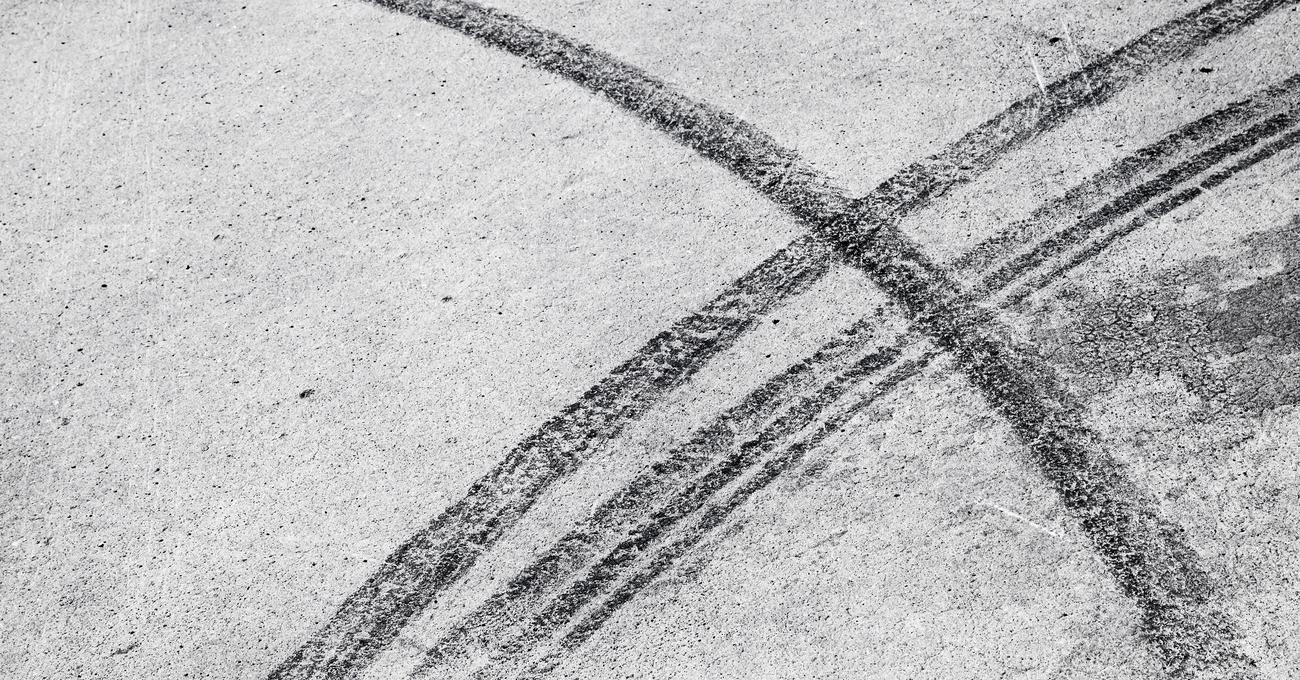
Skid marks on asphalt can be unsightly and pose a safety hazard for pedestrians and drivers alike. Whether caused by tire friction, oil spills, or other substances, these marks can detract from the appearance of your property and compromise its overall functionality. Therefore, knowing how to remove skid marks from your asphalt surface is essential for maintaining its aesthetics and ensuring the safety of those who use it.
In this article, we will provide you with a comprehensive guide on how to effectively get rid of skid marks on asphalt. Whether you’re dealing with minor marks or more stubborn stains, we will illustrate step-by-step instructions on how to clean and restore the surface. By following these simple yet effective methods, you’ll be able to remove skid marks and enhance the overall appearance of your asphalt.
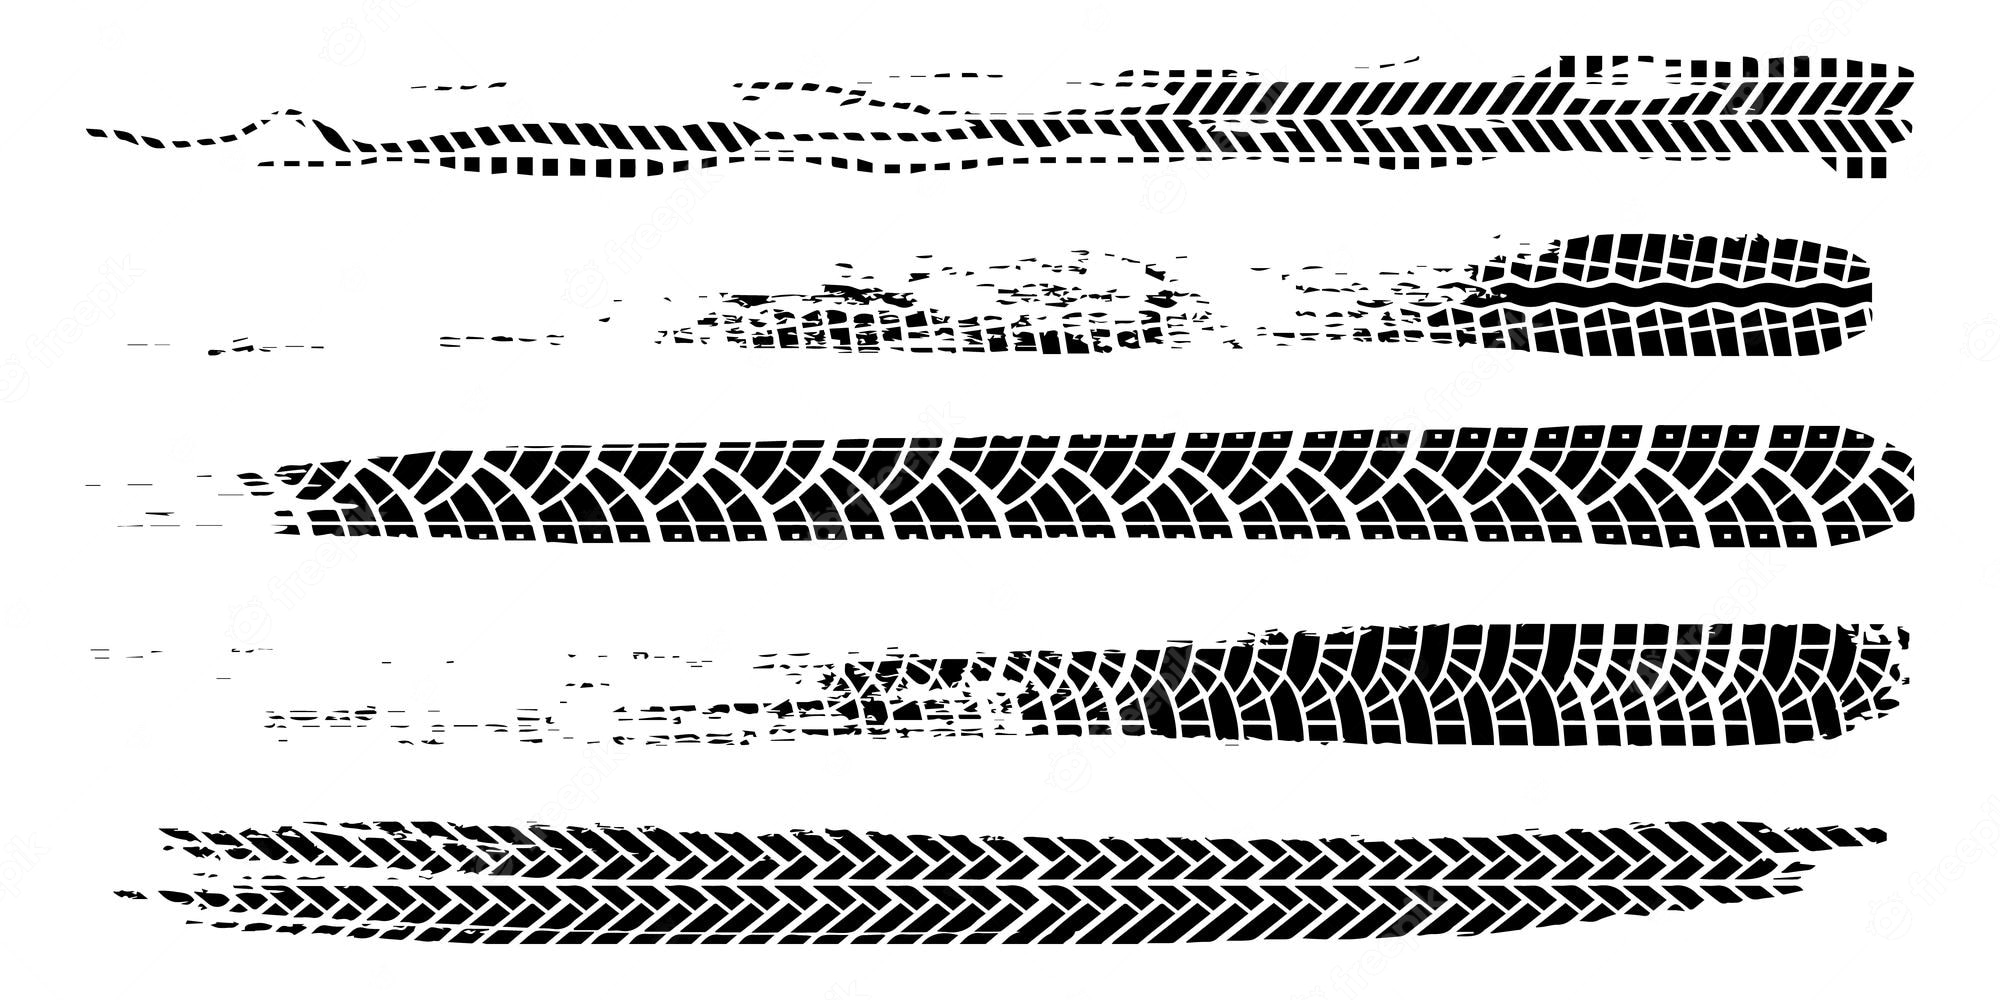
Before we delve into the cleaning process, it’s important to understand the nature of skid marks and their impact on asphalt. Skid marks are typically caused by the friction between vehicle tires and the pavement. This friction can result in the transfer of rubber from the tires onto the asphalt surface, leaving behind dark, noticeable marks.
Not only are skid marks an eyesore, but they can also affect the traction and grip of the pavement, potentially leading to accidents. Additionally, if left untreated, these marks can become ingrained into the asphalt, making them even more challenging to remove. Hence, it’s crucial to address skid marks as soon as possible to maintain the safety and visual appeal of your asphalt surface.
In the next sections, we will discuss the various tools and materials you’ll need for the cleaning process, as well as provide a detailed step-by-step guide on how to effectively remove skid marks from your asphalt. Follow along, and soon you’ll have a clean and pristine pavement, free from any unwanted marks.
Understanding Skid Marks
Skid marks are an unfortunate occurrence on asphalt surfaces, typically caused by the friction between vehicle tires and the pavement. When a vehicle brakes suddenly or the tires lose traction, the rubber from the tires gets transferred onto the asphalt, leaving dark, noticeable marks. Understanding the nature of skid marks is crucial when it comes to effectively removing them.
Skid marks can vary in size, color, and intensity depending on several factors. The composition of the tires, the speed of the vehicle, and the condition of the asphalt surface all play a role in the appearance and severity of the marks. In some cases, skid marks may appear as faint streaks, while in others, they can be thick, dark lines that are hard to miss.
It’s important to address skid marks promptly, as they not only impact the aesthetics of the asphalt, but they can also compromise the safety of the surface. Skid marks can reduce the traction and grip of the pavement, increasing the risk of accidents and slips. This is particularly problematic in high-traffic areas such as parking lots, roads, and driveways.
Furthermore, if skid marks are left untreated for an extended period, they can become ingrained into the asphalt, making them more challenging to remove. This is why it’s essential to tackle the issue as soon as you notice the marks on your pavement.
Although skid marks are commonly associated with tire rubber, other substances can also leave similar marks on asphalt. Oil spills, hydraulic fluid leaks, and even certain chemicals can all result in visible stains on the pavement. These marks, if not dealt with promptly, can accumulate and mar the appearance of the asphalt.
Now that we have a better understanding of skid marks and their impact on asphalt surfaces, let’s move on to the tools and materials you’ll need to effectively remove these marks.
Cleaning Tools and Materials
Before you begin the process of removing skid marks from your asphalt surface, it is important to gather the necessary cleaning tools and materials. Having the right supplies will ensure a more effective and efficient cleaning process. Here are the essential tools and materials you’ll need:
- Broom: Start by using a broom with stiff bristles to remove any loose dirt, debris, or loose pieces of rubber from the skid marks. This will help prepare the surface for cleaning.
- Scrub Brush: For more stubborn skid marks, you’ll need a scrub brush with stiff bristles or a wire brush. This will provide the necessary abrasion to remove the marks effectively.
- Pressure Washer: A pressure washer is a powerful tool that can be used to spray water at high pressure onto the surface, effectively stripping away the skid marks and other stains. If you don’t own a pressure washer, you can rent one from a local hardware store.
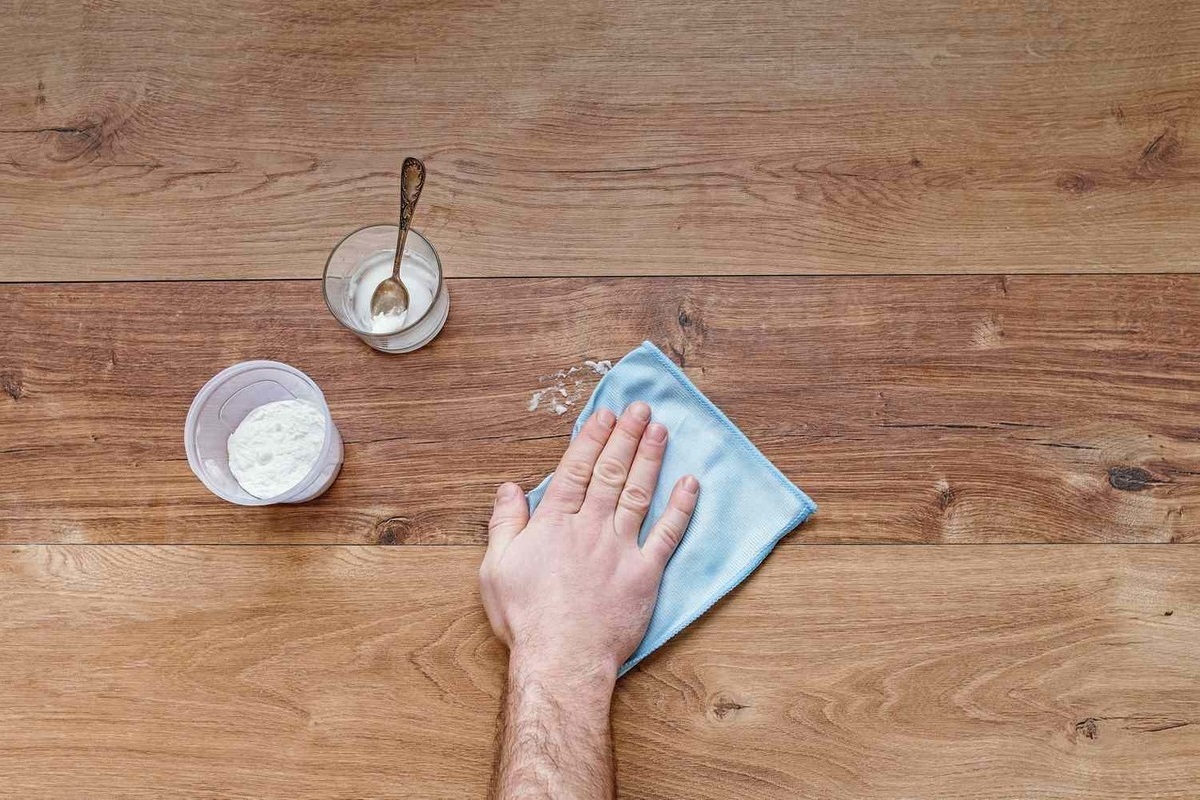
- Cleaning Solution: Depending on the severity of the skid marks, you may need a cleaning solution to help break up the rubber residue and other stains. There are commercial asphalt cleaners available, or you can make your own solution using ingredients like dish soap, baking soda, or vinegar.
- Water: You’ll need a sufficient water supply for the cleaning process. This can be in the form of a garden hose or a bucket of water, depending on the tools you’re using.
- Protective Gear: It’s important to prioritize safety during the cleaning process. Wear gloves, safety goggles, and appropriate footwear to protect yourself from any potential chemical splashes or debris.
- Sealant: After removing the skid marks, you may consider applying an asphalt sealant to protect the surface and enhance its longevity. This step is optional, but it can help prevent future skid marks and maintain the appearance of your asphalt surface.
Having these tools and materials readily available will enable you to navigate the cleaning process smoothly and effectively. With everything prepared, you’re now ready to begin removing those unsightly skid marks from your asphalt surface.
Step 1: Preparation
Before you start cleaning the skid marks on your asphalt surface, it’s important to properly prepare the area. This will ensure that the cleaning process is safer and more effective. Follow these steps to prepare the surface:
- Clear the area: Remove any objects or obstacles from the surface that could hinder the cleaning process. This includes vehicles, trash cans, or any other items in the vicinity of the skid marks.
- Sweep the surface: Use a broom with stiff bristles to sweep away loose debris, dirt, and loose pieces of rubber from the skid marks. This will help expose the marks and ensure a cleaner surface for the next steps.
- Wet the area: Use a hose or bucket of water to wet the surface before applying any cleaning solution. This will help loosen any stubborn particles and prepare the pavement for the cleaning process.
- Put on protective gear: Prioritize safety by wearing gloves, safety goggles, and appropriate footwear. This will protect you from any potential chemical splashes or debris that may arise during the cleaning process.
- Test the cleaning solution: If you’re using a commercial cleaner or a DIY solution, it’s a good idea to test it on a small, inconspicuous area of the asphalt. This will ensure that the cleaning solution does not cause any discoloration or damage to the surface before applying it to the skid marks.
By taking the time to properly prepare the area, you are setting yourself up for a more successful cleaning process. Removing any obstacles, sweeping the surface, wetting the area, and donning protective gear will help ensure your safety and allow for a more thorough removal of the skid marks. With the preparation complete, you’re now ready to move on to the actual removal of the skid marks on your asphalt surface.
Step 2: Removing Loose Debris
Once you’ve prepared the area, the next step in removing skid marks from your asphalt surface is to get rid of any loose debris. This will help pave the way for a more thorough cleaning process. Follow these steps to remove the loose debris:
- Use a broom: Start by using a broom with stiff bristles to sweep away any loose dirt, debris, or loose pieces of rubber from the skid marks. Make sure to cover the entire affected area, paying extra attention to the marks themselves.
- Work in sections: If you’re dealing with a large area with multiple skid marks, it’s best to divide the surface into smaller sections. This will allow you to focus on one area at a time and ensure a more thorough removal of the loose debris.
- Apply moderate pressure: When using the broom, apply moderate pressure and make sweeping motions to dislodge and collect the loose debris. It’s important to be gentle enough as to not damage the asphalt surface, but firm enough to remove the debris effectively.
- Collect and dispose of the debris: As you sweep, collect the loose debris into a dustpan or pile it up in a designated area. Properly dispose of the collected debris in a trash bag or bin to prevent it from scattering back onto the surface.
- Inspect the area: Once you’ve completed the sweeping process, take a close look at the skid marks and the surrounding area. Check for any remaining loose debris or stubborn particles that may need further attention.
Removing the loose debris is an important step in the cleaning process as it allows for a cleaner surface and better access to the skid marks. By using a broom to sweep away the loose dirt, debris, and rubber, you’ll be able to see the extent of the skid marks more clearly. With the loose debris removed, you’re now ready to move on to the next step: applying the cleaning solution.
Step 3: Applying Cleaning Solution
Once you have removed the loose debris from the skid marks on your asphalt surface, it’s time to apply a cleaning solution. This solution will help break down the stubborn residue and stains left behind by the skid marks. Follow these steps to apply the cleaning solution:
- Choose a cleaning solution: Depending on the severity of the skid marks, you can use a commercial asphalt cleaner or make your own cleaning solution using ingredients like dish soap, baking soda, or vinegar. Ensure the chosen solution is suitable for use on asphalt surfaces.
- Mix the solution: If you’re making your own cleaning solution, follow the instructions and mix the desired ingredients with water. For commercial cleaners, read and follow the label instructions carefully.
- Apply the solution: Using a sprayer, brush, or a cloth, apply the cleaning solution directly to the skid marks. Ensure the affected area is thoroughly covered with the solution. Allow the solution to sit for a few minutes to penetrate and break down the residue.
- Scrub the skid marks: After the solution has had some time to work, use a scrub brush with stiff bristles or a wire brush to scrub the skid marks. Apply moderate pressure and make circular or back-and-forth motions to loosen the residue and stains. Focus on one small section at a time for more effective cleaning.
- Reapply the solution if necessary: For more stubborn or older skid marks, you may need to reapply the cleaning solution and let it sit for a longer period. This will help further break down the residue and make it easier to scrub away.
Applying a cleaning solution is an important step in removing skid marks from your asphalt surface. The solution helps to break down the rubber residue and stains, making them easier to remove. Whether using a commercial cleaner or a DIY solution, it’s important to thoroughly apply the solution to the skid marks and give it some time to work. With the cleaning solution applied, you’re now ready to move on to the next step: scrubbing the skid marks.
Step 4: Scrubbing the Skid Marks
After applying the cleaning solution and allowing it some time to work on the skid marks, the next step is to scrub away the residue and stains. Scrubbing helps to agitate and lift off the stubborn marks, making your asphalt surface cleaner and more visually appealing. Follow these steps to effectively scrub the skid marks:
- Prepare your scrub brush: Ensure you have a scrub brush with stiff bristles or a wire brush ready for the task. These brushes provide the necessary abrasion to effectively scrub away the residue.
- Start scrubbing: Working in small sections, use the scrub brush to vigorously scrub the skid marks. Apply moderate pressure and make circular or back-and-forth motions to agitate and lift off the residue. Continue scrubbing until the marks start to fade or disappear.
- Focus on stubborn areas: If certain areas of the skid marks are more stubborn and resistant, spend extra time and effort on those areas. Apply more pressure and be persistent in your scrubbing to break down the residue.
- Reapply the cleaning solution if necessary: If you notice that the skid marks are not coming off easily, you may need to reapply the cleaning solution and let it sit for a bit longer. This will help further break down the residue and make the scrubbing process more effective.
- Rinse off the residue: As you scrub, periodically rinse the area with water to wash away the loosened residue and make it easier to assess your progress. This will also prevent the residue from drying back onto the surface.
Scrubbing the skid marks is a critical step in the cleaning process, as it helps to remove the stubborn residue and stains from your asphalt surface. By using a scrub brush with stiff bristles or a wire brush, and applying pressure where needed, you can effectively scrub away the marks. Remember to focus on any stubborn areas and reapply the cleaning solution as necessary. With the skid marks successfully scrubbed, you’re now ready to move on to the next step: rinsing off the asphalt.
Step 5: Rinsing Off the Asphalt
Once you have scrubbed the skid marks and removed the residue, it’s time to rinse off the asphalt surface. Rinsing helps to remove any remaining cleaning solution, loose particles, and debris, leaving your surface clean and refreshed. Follow these steps to effectively rinse off the asphalt:
- Prepare a water source: Make sure you have access to a hose with a spray nozzle or a bucket of clean water for rinsing.
- Start rinsing: Begin by spraying water onto the asphalt surface using a hose or pouring the water from a bucket. If using a hose, adjust the spray nozzle to a medium pressure mode to ensure thorough rinsing without causing any damage to the surface.
- Work in sections: Divide the surface into smaller sections and focus on one section at a time. This ensures that you rinse the surface more effectively and prevents the water from drying too quickly.
- Direct the water flow: Direct the water flow towards the skid marks and surrounding areas, ensuring that you cover all the cleaned spots. Allow the water to wash away any remaining debris, cleaning solution residue, and loosened particles.
- Repeat if necessary: If you notice any stubborn stains or residue lingering on the surface, repeat the rinsing process in those areas. Use a bit more pressure or adjust the water flow to ensure all remnants are completely removed.
- Inspect the surface: Once you have completed the rinsing process, take a close look at the surface to ensure that all skid marks, cleaning solution residue, and debris have been washed away. If needed, give the surface an additional rinse to ensure a spotless result.
Rinsing off the asphalt is a crucial step in the cleaning process as it not only removes any remaining residue and debris but also helps restore the natural appearance of your surface. By using water to wash away the skid marks and cleaning solution, you are left with a clean and refreshed asphalt surface. With the rinsing complete, you’re now ready to move on to the final step of the process: drying the surface.
Step 6: Drying the Surface
After rinsing off the asphalt surface, the final step in the cleaning process is to dry the area thoroughly. Proper drying will ensure that the surface is safe to walk or drive on and will help preserve the results of your cleaning efforts. Follow these steps to effectively dry the surface:
- Allow for natural drying: If weather conditions permit, allow the asphalt surface to air dry naturally. This involves leaving it exposed to the air and sunlight until it is completely dry. This method is ideal for smaller areas or when you have the luxury of time.
- Use a leaf blower: If you have access to a leaf blower, you can use it to help speed up the drying process. Gently blow the surface with the leaf blower, directing the airflow towards the areas that need drying. Make sure to keep the blower at a reasonable distance to avoid damaging the asphalt.
- Use absorbent materials: If you’re dealing with a larger area and need the surface to dry quickly, you can spread absorbent materials such as cat litter or sawdust over the surface. These materials will help absorb any remaining moisture and speed up the drying process.
- Inspect for dryness: Once you’ve allowed sufficient time for the surface to dry or used drying methods, inspect the asphalt to ensure it is completely dry. Check for any wet spots or signs of moisture before considering the area fully dried.
- Proceed with caution: It’s important to exercise caution when walking or driving on the freshly cleaned and dried surface. Double-check that the skid marks are completely gone and that the surface is safe to use before resuming regular activity on it.
Drying the surface is a crucial step in the cleaning process, as it ensures the removal of any remaining moisture and prevents the formation of new skid marks or stains. By allowing for natural drying or using suitable methods to expedite the process, you can have a clean and dry asphalt surface ready for use. With the surface dried, you have successfully completed the process of removing skid marks from your asphalt.
Additional Tips and Precautions
While following the step-by-step process outlined above will help you effectively remove skid marks from your asphalt surface, it’s important to keep in mind the following additional tips and precautions:
- Regular maintenance: To prevent the accumulation of skid marks and maintain the appearance of your asphalt surface, it’s important to practice regular maintenance. This includes sweeping the surface regularly, removing any spills or stains promptly, and addressing any issues such as cracks or potholes that may contribute to skid marks.
- Protective measures: Consider applying a sealant or protective coating to your asphalt surface after cleaning. This will help prevent future skid marks and make future cleaning and maintenance easier.
- Test cleaning solutions: Before applying a cleaning solution to the entire skid mark area, test it on a small, inconspicuous spot to ensure it does not cause discoloration or damage to the asphalt. Different asphalt surfaces may react differently to certain cleaning solutions.
- Be mindful of surroundings: When using a pressure washer or cleaning solution, be mindful of the surroundings. Avoid spraying or splashing nearby plants, vehicles, or other sensitive areas to prevent damage or contamination.
- Use proper techniques: When scrubbing the skid marks, use proper techniques and appropriate tools to avoid damaging the asphalt surface. Avoid using harsh or abrasive materials that can cause scratches or gouges.
- Seek professional help if needed: If you’re dealing with extensive skid marks or stubborn stains that you’re unable to remove on your own, consider seeking professional help. Professional asphalt cleaning companies have the expertise and specialized equipment to tackle even the most challenging cleaning tasks.
By following these additional tips and precautions, you can ensure a safer and more effective cleaning process, prolong the life of your asphalt surface, and keep it looking its best. Remember to practice regular maintenance and address any issues promptly to prevent the formation of skid marks in the future.
Conclusion
Removing skid marks from your asphalt surface is a crucial task for both aesthetic and safety reasons. By following the step-by-step process outlined in this guide, you can effectively eliminate skid marks and restore the appearance of your pavement. Understanding the nature of skid marks and their impact on asphalt is essential in addressing them promptly and preventing potential accidents.
Through proper preparation, including clearing the area and removing loose debris, applying a suitable cleaning solution, and using the right tools to scrub and rinse the skid marks, you can achieve a clean and pristine asphalt surface. Remember to prioritize safety by wearing protective gear and testing any cleaning solutions before proceeding. Additionally, consider regular maintenance and protective measures to prevent future skid marks.
By incorporating the additional tips and precautions provided in this guide, you can enhance the durability and longevity of your asphalt surface. However, if you encounter stubborn or extensive skid marks that you’re unable to remove, it’s wise to seek professional assistance to ensure a satisfactory result.
With the knowledge gained from this comprehensive guide, you are now equipped to effectively remove skid marks from your asphalt surface and maintain its aesthetic appeal and safety for years to come.