Home>How-to Guides>For All>How To Remove Skid Marks On Vinyl Tiles
For All
How To Remove Skid Marks On Vinyl Tiles
Modified: August 8, 2023
Discover effective tips and tricks for removing stubborn skid marks on vinyl tiles. Perfect for all types of vinyl flooring. Say goodbye to unsightly marks today!
(Many of the links in this article redirect to a specific reviewed product. Your purchase of these products through affiliate links helps to generate commission for Under-tec.com, at no extra cost. Learn more)
Table of Contents
Introduction
Welcome to our comprehensive guide on how to remove skid marks on vinyl tiles. Vinyl tiles are a popular flooring option due to their durability, affordability, and low maintenance requirements. However, over time, skid marks can accumulate on vinyl tiles, making the floor appear dirty and unsightly.
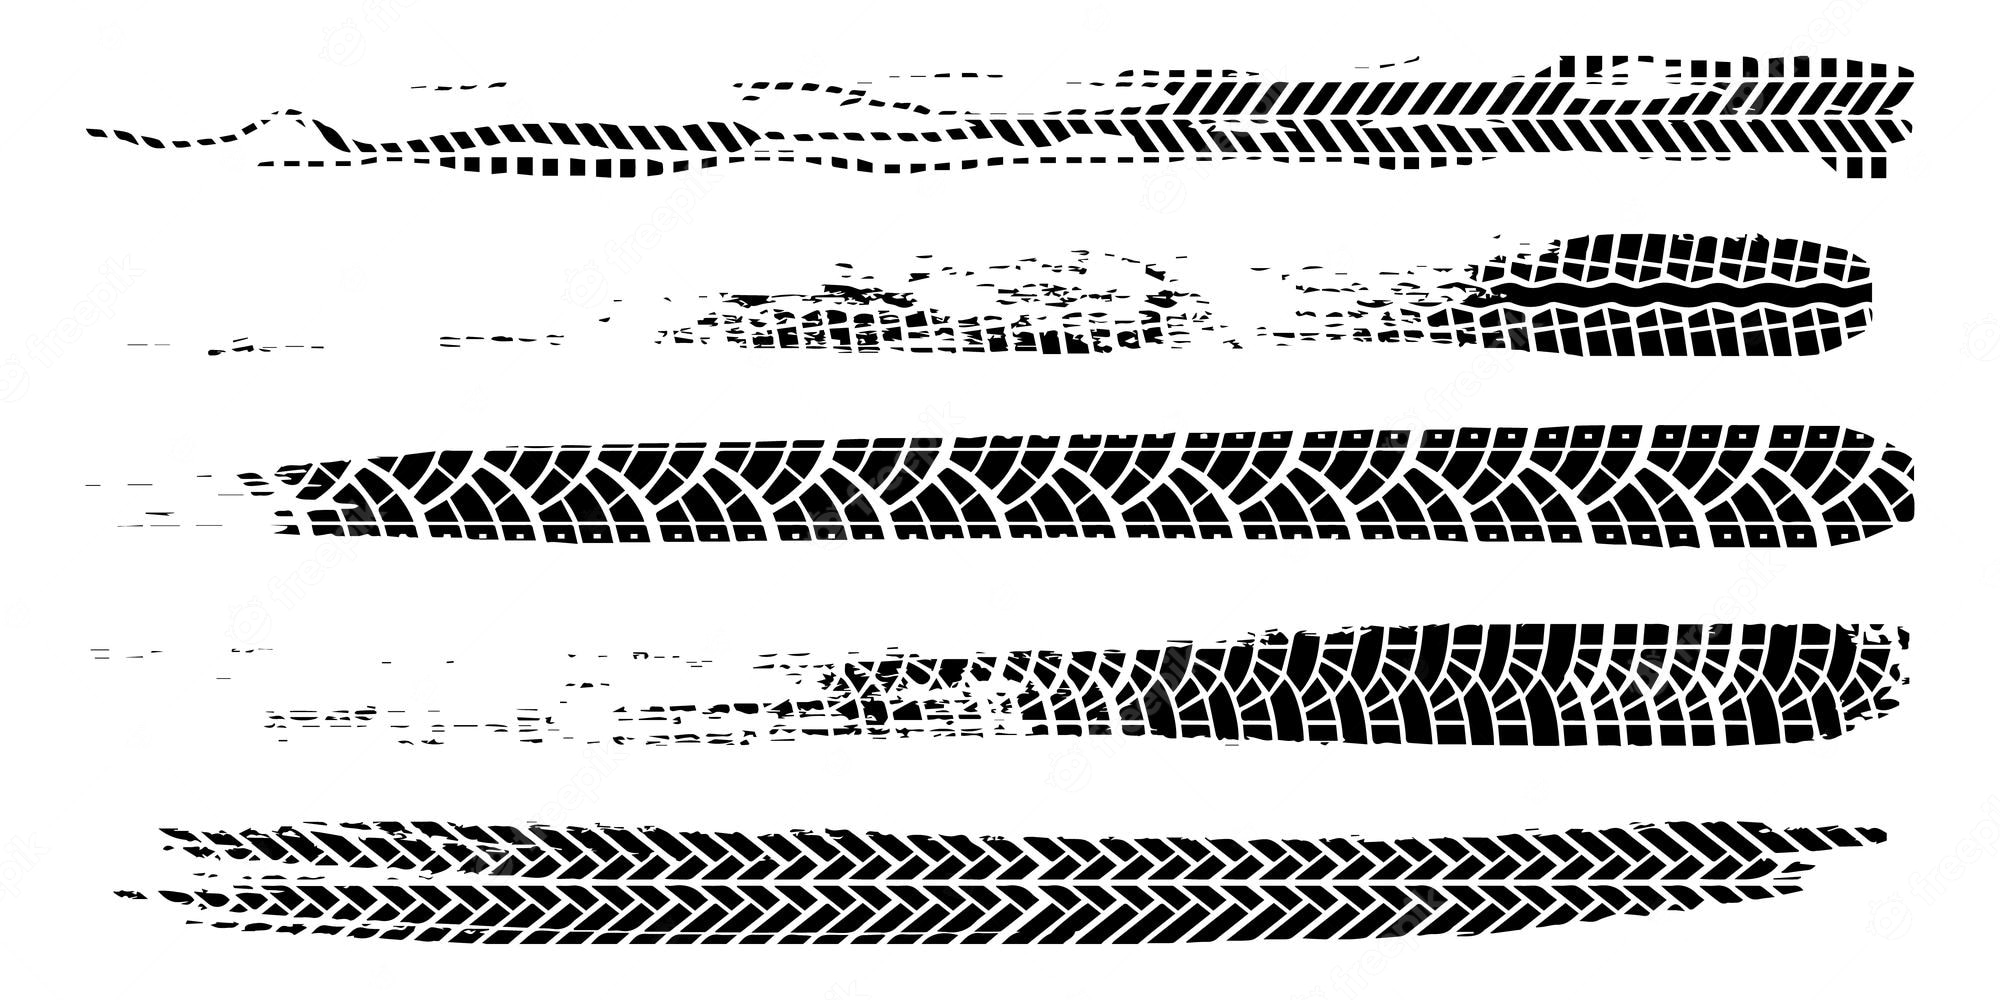
Skid marks on vinyl tiles are typically caused by the movement of objects with rubber soles or wheels, such as shoes, furniture, or even toys. Additionally, spills of substances like oil or grease can also contribute to skid marks. If left unaddressed, these marks can become stubborn and difficult to remove.
But fret not! In this guide, we’ll provide you with a step-by-step process to effectively remove skid marks on vinyl tiles, restoring the cleanliness and beauty of your floors. We’ll also share some preventive measures to help you avoid future skid marks.
Before we dive into the cleaning process, it’s essential to gather the necessary cleaning supplies. Having the right tools at hand will make the cleaning process much more efficient and effective. Here’s a list of items you’ll need:
- Mild detergent or vinyl floor cleaner
- Clean, soft cloth or mop
- Bristle brush or scrub brush (with soft bristles)
- Bucket
- Warm water
- White vinegar (optional)
Now that you’re equipped with the necessary supplies, let’s delve into the step-by-step guide on how to remove skid marks from vinyl tiles.
Understanding Skid Marks on Vinyl Tiles
Before we jump into the cleaning process, it’s important to understand what causes skid marks on vinyl tiles. Skid marks are typically the result of friction caused by the movement of objects with rubber soles or wheels over the surface of the tiles. This can happen when you walk, slide furniture, or even roll around toys or carts on the floor.
The rubber materials in shoes, furniture, and toys can leave behind residue on the vinyl tiles, creating those unsightly marks. Additionally, spills of substances like oil, grease, or even certain cleaning products can also contribute to the formation of skid marks.
Skid marks not only make your vinyl tiles look dirty, but they can also create a hazardous surface to walk on, as the marks can reduce grip and increase the likelihood of slipping. That’s why it’s crucial to address skid marks as soon as you notice them.
It’s worth noting that the severity of skid marks can vary depending on factors such as the type of rubber material, the weight or pressure applied, and the duration of contact with the vinyl tiles. Additionally, the age and condition of the vinyl flooring can also affect how easily skid marks can be removed.
Now that you have a better understanding of what causes skid marks on vinyl tiles, let’s move on to the next section, where we’ll discuss the necessary cleaning supplies you’ll need to remove those stubborn marks.
Necessary Cleaning Supplies
Before you begin the process of removing skid marks from vinyl tiles, it’s important to gather the necessary cleaning supplies. Having the right tools at hand will make the cleaning process much more efficient and effective. Here’s a list of items you’ll need:
- Mild detergent or vinyl floor cleaner: Look for a mild detergent specifically designed for vinyl floors. Avoid using harsh chemicals or abrasive cleaners, as they can damage the surface of the tiles.
- Clean, soft cloth or mop: Opt for a non-abrasive cloth or mop to avoid scratching the tiles. Microfiber cloths are a great choice as they are gentle yet effective in lifting dirt and stains.
- Bristle brush or scrub brush (with soft bristles): Use a brush with soft bristles to scrub away stubborn skid marks without causing damage to the vinyl tiles. Avoid using brushes with stiff bristles that could potentially scratch the surface.
- Bucket: You’ll need a bucket to mix your cleaning solution and to rinse your cloth or mop.
- Warm water: Warm water will help to loosen dirt and grime, making them easier to remove.
- White vinegar (optional): If your skid marks are particularly stubborn, you can add a small amount of white vinegar to the cleaning solution. Vinegar is known for its cleaning properties and can help dissolve tough stains.
It’s essential to use the right cleaning supplies to ensure the safety and longevity of your vinyl tiles. Using harsh chemicals or abrasive tools can cause discoloration, scratches, or even permanent damage to the surface. Always read the instructions on the cleaning product and test it in a small, inconspicuous area before applying it to the entire floor.
Now that you have gathered all the necessary supplies, it’s time to move on to the next section, where we’ll guide you through the step-by-step process of removing skid marks from vinyl tiles.
Step-by-Step Guide to Removing Skid Marks on Vinyl Tiles
Now that you have your cleaning supplies ready, it’s time to dive into the step-by-step process of removing those stubborn skid marks from your vinyl tiles. Follow these instructions carefully to achieve the best results:
- Preparing the Surface: Begin by clearing the area of any furniture, rugs, or obstacles. This will make it easier to access and clean the vinyl tiles. Sweep or vacuum the floor to remove any loose dirt or debris.
- Applying the Cleaning Solution: In a bucket, mix a small amount of mild detergent or vinyl floor cleaner with warm water according to the product’s instructions. If you’re dealing with particularly stubborn skid marks, you can add a small amount of white vinegar to the solution. Stir well to ensure the detergent is fully dissolved.
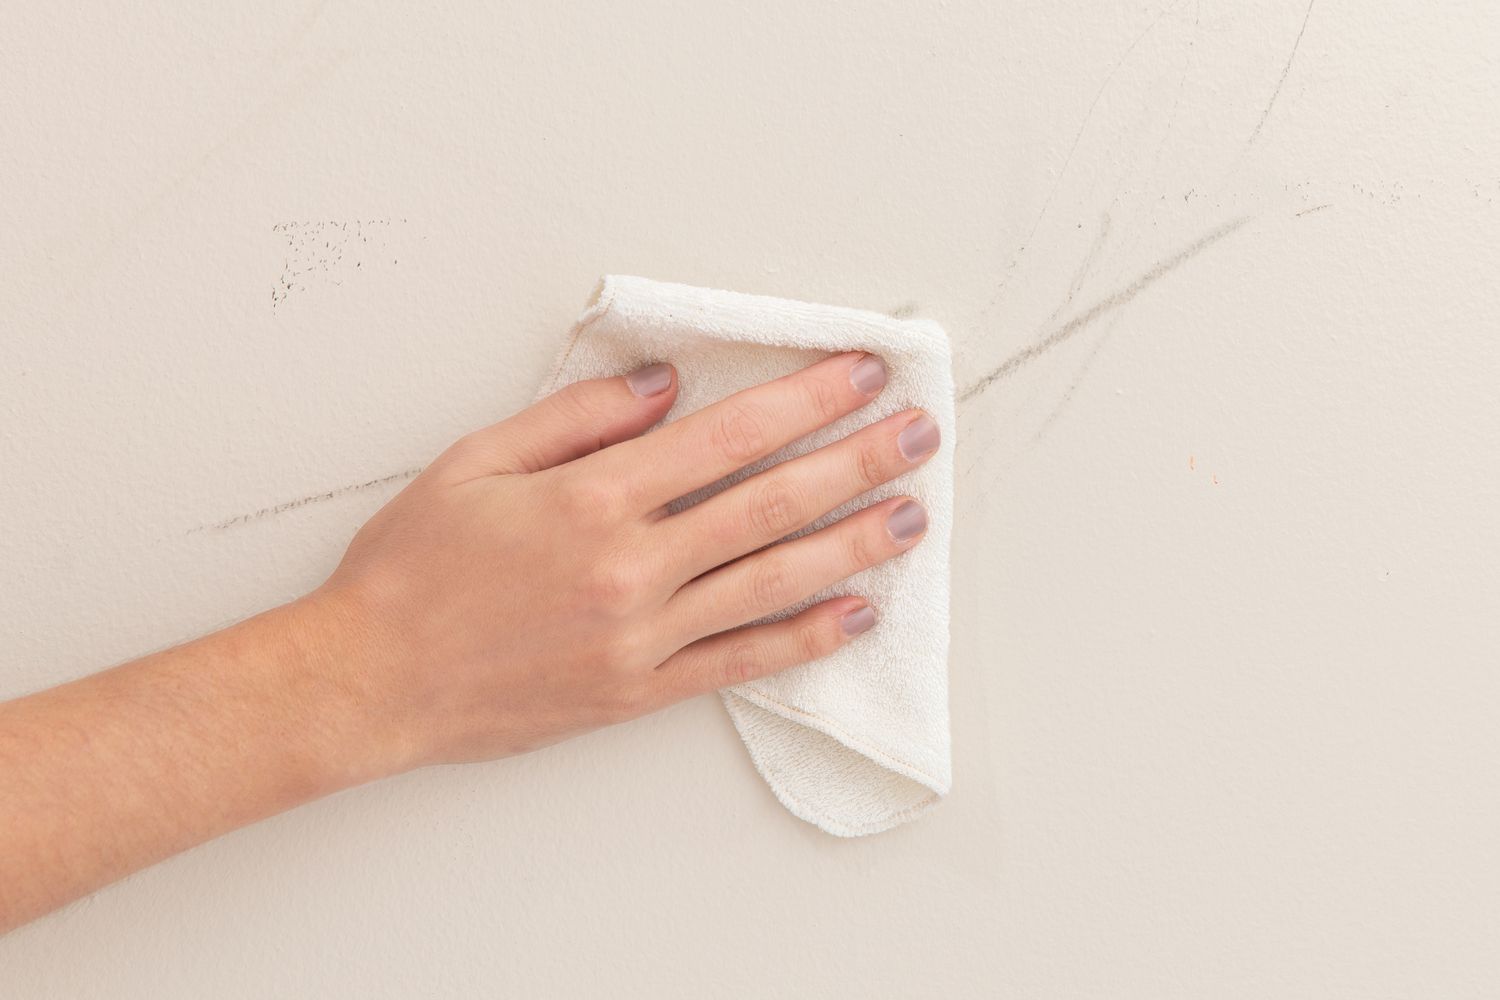
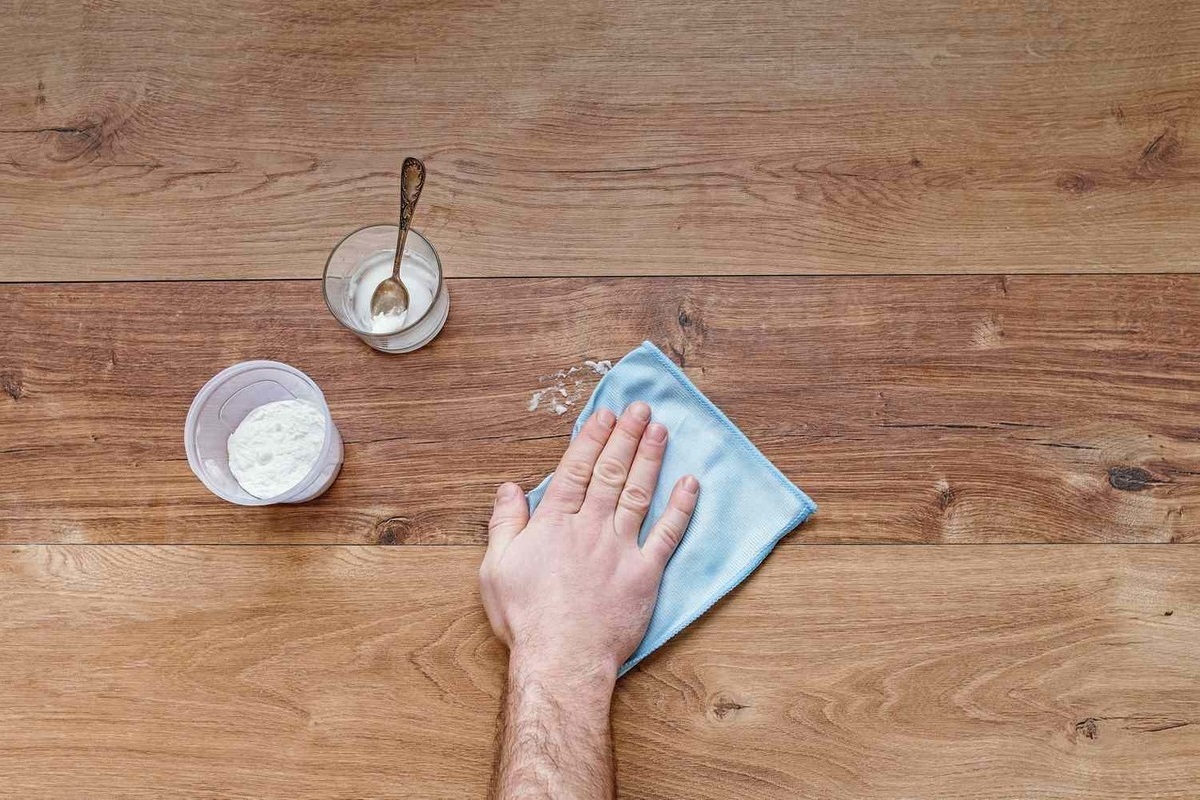
- Scrubbing the Tiles: Dip a soft cloth or mop into the cleaning solution, wring out any excess liquid, and gently scrub the skid marks on the vinyl tiles. Work in small sections to ensure thorough coverage. For more stubborn stains, use a soft-bristle brush to gently scrub the affected area in circular motions.
- Rinse and Dry the Tiles: Once you have scrubbed away the skid marks, rinse the cloth, mop, or brush with clean water and go over the tiles to remove any remaining cleaning solution. This step is important to prevent any residue from attracting dirt. After rinsing, use a clean, dry cloth or mop to remove excess moisture from the surface. Allow the tiles to air dry completely.
If the skid marks persist after following these steps, you may need to repeat the cleaning process or try a different cleaning solution. It’s important to be patient and avoid aggressive scrubbing, as this can damage the vinyl tiles.
Now that you’ve successfully removed the skid marks from your vinyl tiles, let’s move on to the next section, where we’ll share some tips on preventing future skid marks.
Preparing the Surface
Before you start the process of removing skid marks from vinyl tiles, it’s crucial to properly prepare the surface. This will ensure that you can effectively clean the tiles and achieve the best possible results. Follow these steps to prepare the surface before cleaning:
- Clear the Area: Remove all furniture, rugs, and any other objects from the area where the skid marks are present. This will give you unrestricted access to the vinyl tiles and make the cleaning process much easier.
- Sweep or Vacuum: Use a broom or vacuum cleaner to remove any loose dirt, dust, or debris from the surface of the vinyl tiles. This step is essential as it prevents dirt from scratching the tiles during the cleaning process and ensures a thorough cleanup.
- Spot Clean Stains: If there are any noticeable stains or spills on the vinyl tiles, it’s a good idea to address them individually before tackling the skid marks. Use a mild detergent or a specific stain remover suitable for vinyl floors and follow the instructions on the product. Allow the spot cleaner to work for a few minutes, then gently scrub with a soft brush or cloth and rinse off the product with clean water.
- Protect Baseboards or Walls: If your vinyl tiles are installed near baseboards or walls, it’s a good idea to protect them from any potential damage during the cleaning process. Place a towel or a piece of cardboard along the edges to act as a buffer and prevent any splashes or drips from causing damage to the paint or wallpaper.
- Check for Special Instructions: Depending on the type and brand of the vinyl tiles you have, there may be specific instructions or recommendations from the manufacturer regarding cleaning. Take a moment to check if there are any specific cleaning guidelines that you should follow to avoid any potential damage to the flooring.
By properly preparing the surface before cleaning, you’ll ensure that the skid marks on your vinyl tiles are effectively treated. This will also help to prevent any unintended damage to the flooring and ensure a thorough and successful cleaning process.
Now that the surface is prepared, let’s move on to the next section, where we’ll discuss the process of applying the cleaning solution to remove skid marks from vinyl tiles effectively.
Applying the Cleaning Solution
Once you have prepared the surface, it’s time to move on to applying the cleaning solution to remove skid marks from your vinyl tiles. Follow these steps to effectively apply the cleaning solution:
- Mix the Cleaning Solution: In a bucket, mix a small amount of mild detergent or vinyl floor cleaner with warm water, following the instructions on the product. If you’re dealing with stubborn skid marks, you can add a small amount of white vinegar to the solution. Stir well to ensure that the detergent is fully dissolved.
- Test in a Small Area: Before applying the cleaning solution to the entire floor, it’s a good idea to test it in a small, inconspicuous area first. This will allow you to ensure that the solution does not cause any adverse effects such as discoloration or damage to the vinyl tiles.
- Dampen a Cloth or Mop: Dip a clean, soft cloth or mop into the cleaning solution. Make sure to wring out any excess liquid to prevent over-saturation. The cloth or mop should be damp, not soaked, as excessive moisture can seep into the seams of the vinyl tiles and potentially cause damage.
- Start at One Corner: Begin cleaning at one corner of the room. Work in small sections, moving from one area to another, to ensure thorough coverage and prevent the cleaning solution from drying on the floor before you can rinse it off.
- Gently Scrub the Skid Marks: Using the damp cloth or mop, gently scrub the skid marks on the vinyl tiles. Apply gentle pressure and circular motions to loosen the marks. If the skid marks are stubborn, you can use a soft-bristle brush to scrub the affected area. However, be careful not to apply too much pressure or use a brush with stiff bristles that could potentially scratch the surface.
- Pay Attention to Grout Lines: If your vinyl tiles have grout lines, pay extra attention to these areas when applying the cleaning solution. Use a soft brush or old toothbrush to gently clean the grout lines and remove any dirt or grime that may have accumulated.
Remember, it’s important to work in small sections and not let the cleaning solution dry on the floor. If necessary, periodically dip the cloth or mop back into the solution and wring out any excess liquid. This will ensure that you are consistently applying a fresh cleaning solution to the skid marks.
Now that you have applied the cleaning solution to remove the skid marks, let’s move on to the next step, where we’ll discuss the process of scrubbing the tiles to effectively lift and remove the marks.
Scrubbing the Tiles
After applying the cleaning solution to the skid marks on your vinyl tiles, it’s time to move on to scrubbing the tiles. This step is crucial in lifting and removing the stubborn marks from the surface. Follow these steps to effectively scrub the tiles:
- Choose the Right Tool: Depending on the severity of the skid marks and the texture of your vinyl tiles, select a suitable bristle brush or scrub brush with soft bristles. A brush with too stiff bristles can potentially scratch or damage the surface of the tiles, so opt for something gentle.
- Start at the Edges: Begin scrubbing the tiles at the edges, working your way toward the center of the room. This ensure that you cover the entire floor and prevent missing any skid marks.
- Apply Gentle Pressure: Use the brush to gently scrub the skid marks on the vinyl tiles. Apply moderate pressure and use circular motions to dislodge the marks. Be careful not to scrub too hard, as aggressive scrubbing may scratch or damage the surface. Let the bristles do the work for you.
- Focus on Stubborn Stains: For particularly stubborn skid marks, spend a little extra time and effort gently scrubbing the area. Apply a bit more pressure and continue with circular motions until the stains start to lift.
- Be Mindful of Grout Lines: If your vinyl tiles have grout lines, pay attention to these areas as well. Scrub along the grout lines using a brush or an old toothbrush. This will help remove any dirt or grime that may have gotten trapped in the grout.
- Rinse the Brush: Periodically rinse the brush in clean water to remove any dirt, debris, or residue that may have accumulated. This will prevent any transferred dirt or debris from redepositing on the tiles as you scrub.
Remember, it’s important to maintain a gentle touch while scrubbing to avoid causing any damage to the vinyl tiles. Take your time and pay attention to the areas with the skid marks. If necessary, apply additional cleaning solution to the brush or directly to the marks to facilitate the scrubbing process.
Once you have effectively scrubbed the skid marks, it’s time to move on to the next step: rinsing and drying the tiles. This step is crucial to remove any remaining cleaning solution and ensure that your vinyl tiles are left sparkling clean.
Rinse and Dry the Tiles
After scrubbing the skid marks on your vinyl tiles, it’s important to thoroughly rinse and dry the tiles to remove any remaining cleaning solution. Follow these steps to complete the process and leave your vinyl tiles looking clean and refreshed:
- Prepare the Rinse Water: Fill a clean bucket with warm water. This will be used to rinse off the cleaning solution from the tiles.
- Rinse the Tiles: Dip a clean cloth or mop into the bucket of water, wringing out any excess liquid. Go over the tiles to gently remove any remaining cleaning solution. Rinse the cloth or mop frequently to prevent spreading the dirt or residue. This step is crucial as it ensures that no cleaning product or residue is left on the surface of the vinyl tiles.
- Dry the Tiles: After rinsing, use a clean, dry cloth or mop to remove any excess moisture from the surface of the vinyl tiles. This will help prevent streaks and water spots from forming as the tiles air dry. Ensure that the floor is completely dry before allowing foot traffic or placing furniture back on the tiles.
- Avoid Walking on Wet Tiles: While the tiles are drying, it’s important to avoid walking on them to prevent any accidental slips or new skid marks. Make sure to block off the area or use alternate routes until the tiles are completely dry.
- Inspect the Floor: Once the tiles are dry, take a moment to inspect the floor for any remaining skid marks or residue. If you notice any, you may need to repeat the cleaning process or target those specific areas with a spot cleaner or gentle scrubbing.
By thoroughly rinsing and drying your vinyl tiles, you are not only removing any remaining cleaning solution but also preventing any potential streaks or water spots. This final step ensures that your vinyl tiles are left clean, shiny, and free from skid marks.
Now that you have successfully removed the skid marks and completed the cleaning process, let’s move on to the last section, where we’ll discuss some preventive measures to help you avoid future skid marks on your vinyl tiles.
Preventing Future Skid Marks
Now that you have gone through the process of removing skid marks from your vinyl tiles, you’ll want to take preventive measures to minimize the chances of them reoccurring. Here are some helpful tips to prevent future skid marks on your vinyl tiles:
- Use Mats or Rugs: Place doormats at entryways to trap dirt and debris before it gets onto your vinyl tiles. Additionally, consider using rugs or mats in high-traffic areas to provide an extra layer of protection for your floors.
- Protect with Furniture Pads: Attach felt or rubber pads to the bottom of furniture legs to minimize the risk of skid marks caused by furniture movement. These pads create a barrier between the furniture and the vinyl tiles, reducing friction and preventing marks.
- Use Proper Cleaning Products: When it comes to regular maintenance of your vinyl tiles, use cleaning products that are specifically designed for vinyl flooring. Avoid abrasive cleaners or tools that can strip the protective layer or leave residue that could attract dirt and lead to skid marks.
- Wipe Spills Immediately: Promptly clean up any spills or stains on your vinyl tiles to prevent them from seeping into the surface or causing skid marks. Use a damp cloth or a mild cleaning solution to gently blot and clean the affected area.
- Regularly Sweep or Vacuum: Maintain a regular cleaning routine by sweeping or vacuuming your vinyl tiles to remove dirt, dust, and debris. This prevents the accumulation of particles that could potentially result in skid marks.
- Be Mindful of Footwear: Encourage household members and guests to remove their shoes before walking on the vinyl tiles. Shoes with rubber soles can leave marks, so wearing socks or slippers instead can help minimize the risk.
- Handle with Care: When moving heavy objects or furniture across your vinyl tiles, take extra precautions to avoid dragging or sliding them. Use furniture sliders or ask for assistance to lift and place items gently to prevent skid marks.
- Regular Floor Maintenance: Periodically inspect your vinyl tiles for any signs of wear, scratches, or damage. Addressing any issues promptly can help maintain the integrity of the flooring and minimize the risk of skid marks.
By following these preventive measures, you can prolong the life of your vinyl tiles and keep them looking clean and mark-free. Remember, prevention is key when it comes to avoiding skid marks and maintaining the beauty of your vinyl flooring.
With these tips in mind, you’re now well-equipped to tackle skid marks on vinyl tiles and prevent them from recurring. We hope this guide has been helpful in assisting you with the maintenance and care of your vinyl flooring. Enjoy your clean and beautiful floors!
Conclusion
Congratulations! You have successfully learned how to remove skid marks from vinyl tiles. By following the step-by-step guide and utilizing the necessary cleaning supplies, you can effectively restore the cleanliness and beauty of your vinyl floors.
Skid marks on vinyl tiles can be unsightly and make your floors appear dirty. However, with the right approach and understanding, you can easily tackle this issue. Remember to prepare the surface, apply the cleaning solution, scrub the tiles with care, and rinse and dry them thoroughly. Following these steps will help you achieve the best results without causing any damage to your vinyl flooring.
Additionally, take preventive measures to avoid future skid marks. By using mats, protecting furniture with pads, using appropriate cleaning products, cleaning up spills promptly, and maintaining regular cleaning and care routines, you can minimize the chances of skid marks reoccurring.
Always remember to consult the manufacturer’s instructions for specific cleaning recommendations for your vinyl tiles. Each type of vinyl flooring may have its own cleaning and maintenance requirements that you should consider.
We hope that this comprehensive guide has provided you with the knowledge and confidence to effectively remove skid marks from your vinyl tiles and maintain their pristine condition. With proper care and maintenance, your vinyl floors will continue to shine and enhance the aesthetic appeal of your space for years to come.
Thank you for taking the time to learn about removing skid marks on vinyl tiles. We wish you the best of luck in your cleaning endeavors!