Home>How-to Guides>For All>How To Make Skid Marks In Photoshop
For All
How To Make Skid Marks In Photoshop
Published: July 31, 2023
Learn how to create realistic skid marks in Photoshop with this comprehensive tutorial. Perfect for all skill levels.
(Many of the links in this article redirect to a specific reviewed product. Your purchase of these products through affiliate links helps to generate commission for Under-tec.com, at no extra cost. Learn more)
Table of Contents
Introduction
Skid marks are a common visual element that can add depth and realism to any graphic design or photo manipulation project. Whether you want to create a futuristic cityscape with tire tracks or add a touch of grit to a car advertisement, being able to make skid marks in Photoshop is a valuable skill for any designer.
In this tutorial, we will guide you through the step-by-step process of creating realistic and convincing skid marks in Photoshop. You don’t need to be an expert in Photoshop to follow along – our instructions are beginner-friendly and easy to understand.
We will cover everything from setting up the document to adding texture and shadows, adjusting colors, and finalizing the image. By the end of this tutorial, you’ll have the skills and knowledge needed to create skid marks that seamlessly blend into your designs.
So, let’s grab our virtual paintbrushes and get started on our journey to becoming Photoshop skid mark masters!
Materials Needed
Before we dive into the tutorial, let’s gather the materials we’ll need to create skid marks in Photoshop. Here’s what you’ll need:
- Adobe Photoshop: Make sure you have the latest version of Adobe Photoshop installed on your computer. This tutorial is based on Photoshop CC, but you can adapt the steps to older versions as well.
- Computer: You’ll need a computer or laptop with sufficient processing power to handle Photoshop smoothly.
- Graphics Tablet (Optional): While not necessary, using a graphics tablet can make the process of creating skid marks more intuitive and easier. If you don’t have one, you can still follow along with a mouse or trackpad.
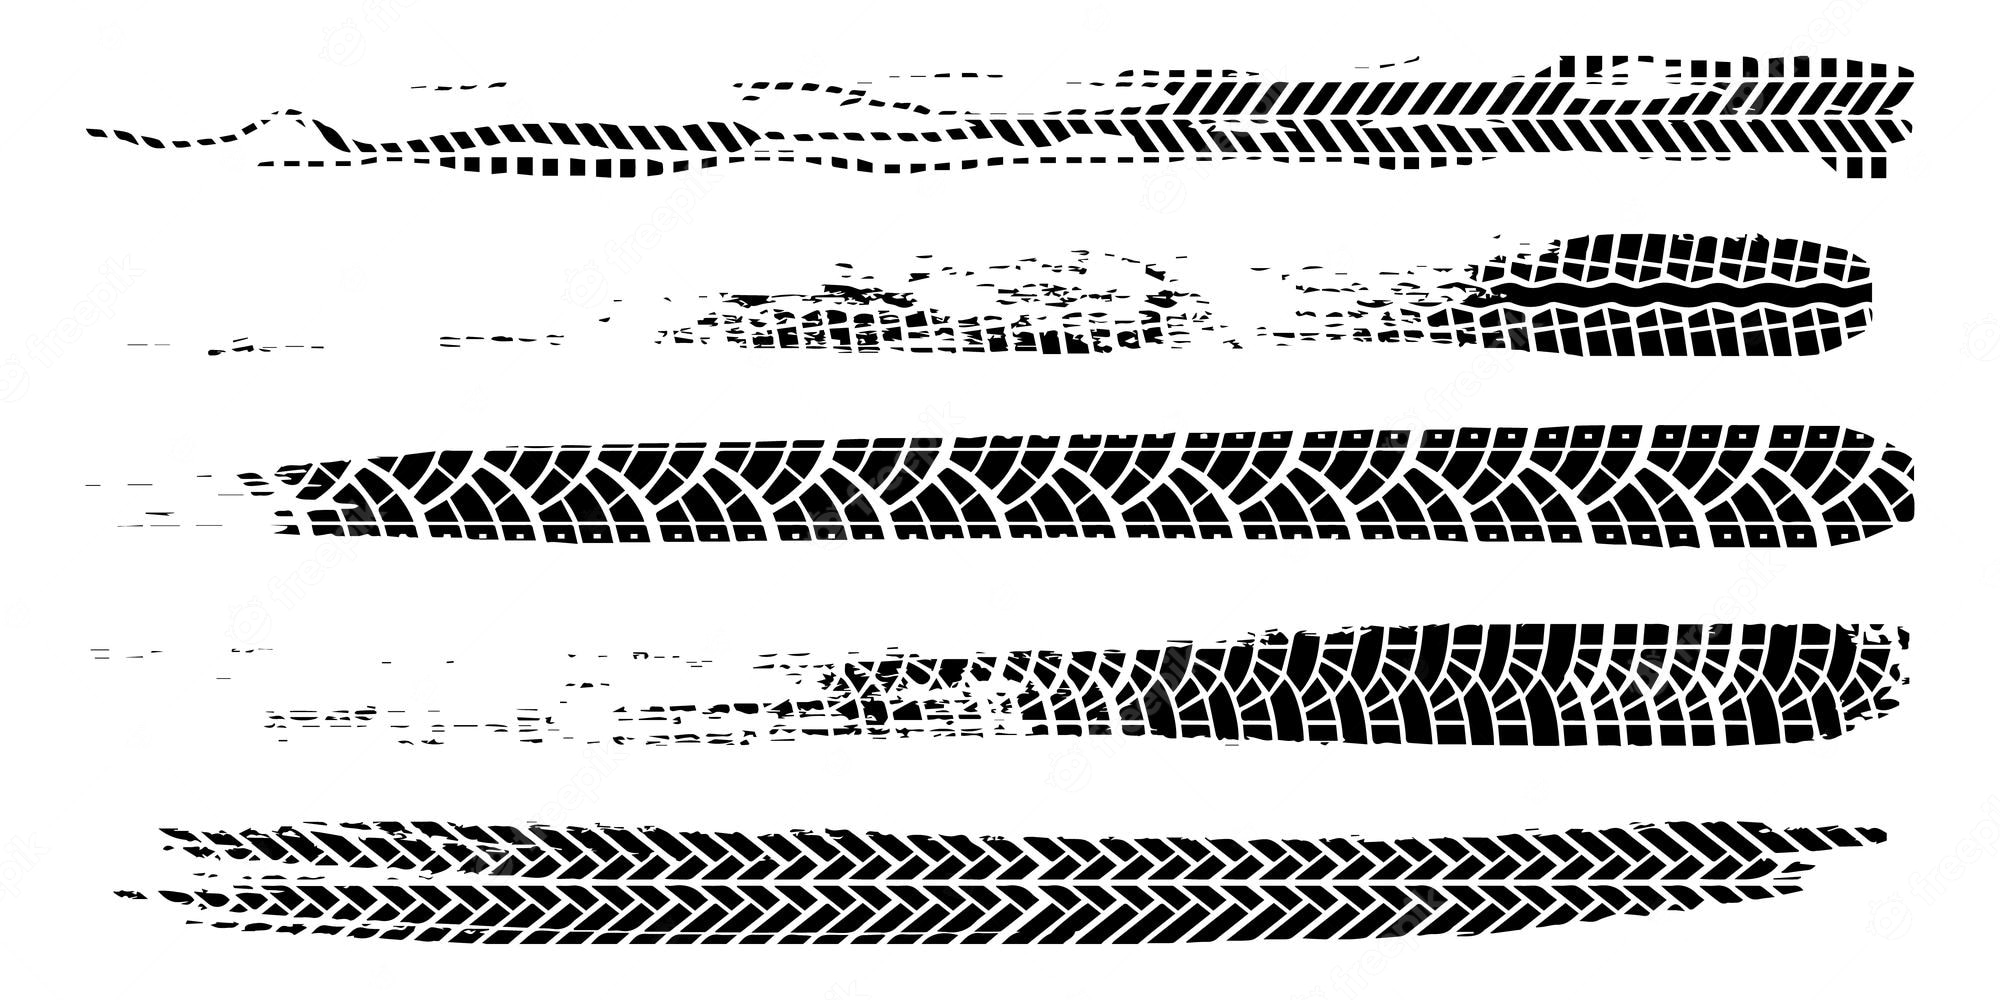
- High-Quality Tire Track Images: To ensure authenticity, it’s useful to have reference images of real tire tracks. You can either take your own photos or find high-resolution images online.
- Creative Imagination: Don’t be afraid to think outside the box and experiment with different techniques to make your skid marks unique and eye-catching.
Once you’ve gathered these materials, you’re ready to jump into the exciting world of Photoshop skid mark creation!
Step 1: Setting up the Document
The first step in creating skid marks in Photoshop is to set up the document. Follow these simple steps:
- Open Adobe Photoshop on your computer.
- Create a new document by clicking on “File” and selecting “New”.
- In the dialog box that appears, set the desired dimensions for your skid mark. You can choose the width and height based on the size you want your skid mark to be.
- Set the resolution to 300 pixels per inch (ppi) to ensure high-quality output.
- Select a transparent background for your skid mark by choosing “Transparent” from the Background Contents dropdown menu.
- Click “OK” to create the new document.
Once you’ve set up the document, you’re ready to move on to the next step: creating the background for your skid marks.
Step 2: Creating the Background
In this step, we will create the background for our skid marks. Follow these steps:
- Select the “Paint Bucket” tool from the left toolbar or press the “G” key on your keyboard to access it.
- Choose a suitable background color for your skid marks. Common choices include asphalt gray, concrete gray, or any color that matches the context of your design.
- With the “Paint Bucket” tool, click anywhere on the canvas to fill the entire background with the chosen color.
Alternatively, if you want to create a more dynamic background, you can try the following steps:
- Select the “Gradient” tool from the left toolbar or press the “G” key on your keyboard to access it.
- In the top toolbar, choose the desired gradient style and colors for your background. For example, you could use a dark gray to light gray gradient to represent a road surface.
- Click and drag the gradient tool from one side of the canvas to the other to apply the gradient effect to the background.
Once you’ve created the background, you’re ready to move on to the next step: drawing the skid marks.
Step 3: Drawing the Skid Marks
Now it’s time to start drawing the skid marks on our canvas. Follow these steps to create realistic and convincing skid marks:
- Select the “Brush” tool from the left toolbar or press the “B” key on your keyboard to access it.
- In the top toolbar, adjust the brush size and hardness to your desired settings. The size and hardness of the brush will depend on the scale and intensity of the skid marks you want to create.
- Choose a color for your skid marks. Typically, a dark gray or black color works well, but you can experiment with different shades to achieve the desired effect.
- Using short, curved brush strokes, start drawing the shape of the skid marks on the canvas. Pay attention to the direction and flow of the marks, as well as the starting and ending points.
- Vary the width and opacity of your brush strokes to create a more natural and dynamic appearance of the skid marks. This will add depth and realism to your design.
- Take inspiration from reference images of real tire tracks to guide the placement and shape of your skid marks. This will help ensure accuracy and authenticity in your design.
Continue drawing and refining the skid marks until you’re satisfied with the overall look and placement. Remember to save your work regularly to avoid losing any progress.
Once you’ve completed drawing the skid marks, you’re ready to move on to the next step: adding texture and shadows.
Step 4: Adding Texture and Shadows
To make our skid marks look more realistic and visually engaging, we’ll now add texture and shadows. Follow these steps:
- Create a new layer above the skid mark layer by clicking on the “New Layer” button in the layers panel or by pressing “Ctrl+Shift+N” (Windows) or “Cmd+Shift+N” (Mac).
- Select the new layer and set its blending mode to “Multiply”. This will allow the texture and shadows to interact with the underlying layers.
- Choose a texture brush from the brush presets or download a custom brush set that includes tire track textures.
- Adjust the brush size, opacity, and flow as needed. Start brushing over the skid marks layer, following the shape and direction of the marks. This will give the skid marks a textured appearance, mimicking the roughness of real tire tracks.
- To add shadows, create another new layer above the skid marks layer.
- Use the brush tool with a soft brush and a dark gray or black color to paint shadows beneath the skid marks. Pay attention to the light source in your design and create shadows accordingly to add depth and dimension.
- Adjust the opacity and blending mode of the shadow layer to achieve a subtle and natural shadow effect.
Continue experimenting with different textures, brush sizes, and shadow placements until you achieve the desired effect. Remember to save your work regularly throughout the process.
Once you’re satisfied with the texture and shadows on your skid marks, you’re ready to move on to the next step: adjusting the colors.
Step 5: Adjusting the Colors
Now that we have our skid marks with texture and shadows, we can further enhance them by adjusting the colors. Follow these steps to achieve the desired color tone and blend them seamlessly with your design:
- Create a new adjustment layer by clicking on the “New Fill or Adjustment Layer” button at the bottom of the layers panel.
- Choose the adjustment layer that best suits your design and desired color changes. Options such as “Hue/Saturation,” “Color Balance,” or “Curves” are excellent choices for adjusting skid mark colors.
- Use the adjustment layer’s sliders, curves, or color wheel to modify the color properties of your skid marks. Experiment with different settings until you achieve the desired look. You can alter the hue, saturation, brightness, or contrast to match the overall color palette of your design.
- Apply the adjustments specifically to the skid mark layers by clicking on the adjustment layer and selecting “Create Clipping Mask” or by directly dragging the adjustment layer onto the skid mark layer.
- Experiment with different adjustment layers and settings to create variations of skid marks in your design. This will allow you to have different colored skid marks that blend seamlessly with the overall composition.
Continue adjusting the skid mark colors until you achieve the desired effect and integration with your design. Remember to save your work regularly throughout the process.
Once you’ve completed the color adjustments, you’re ready to move on to the final step: adding the finishing touches and saving the image.
Step 6: Final Touches and Saving the Image
Now that your skid marks are looking realistic and well-integrated into your design, it’s time to add some final touches and save the image. Follow these steps:
- Review your design and make any necessary adjustments. Pay attention to the overall composition and ensure that the skid marks blend seamlessly with the background and other elements in your design.
- Consider adding additional elements such as dust particles, tire debris, or motion blur to enhance the realism of your skid marks and create a more dynamic effect.
- Once you’re satisfied with the final result, it’s time to save the image. Go to “File” and select “Save As” or “Export” to choose the desired file format (such as PNG or JPEG) and save the image to your desired location on your computer.
- Remember to save the working file in Photoshop format (.psd) so you can make any future adjustments or modifications if needed.
Congratulations! You have successfully created skid marks in Photoshop. Now you can use them in various design projects to add a touch of realism and depth.
Remember to experiment with different techniques, brush sizes, textures, and colors to create unique and customized skid marks that suit your specific design needs.
By mastering the art of creating skid marks in Photoshop, you have expanded your toolkit as a designer and gained valuable skills in image manipulation and graphic design.
Now it’s time to unleash your creativity and incorporate skid marks into your next design project!
Conclusion
Creating skid marks in Photoshop is a fun and useful skill that can elevate your design projects to a new level. By following the step-by-step instructions in this tutorial, you have learned how to make skid marks that appear realistic, convincing, and seamlessly integrated into your designs.
We started by setting up the document, creating a suitable background, and then moved on to drawing the skid marks using the Brush tool. Adding texture and shadows brought depth and realism to the skid marks, while adjusting the colors allowed us to seamlessly blend them into our design’s overall palette.
Throughout the process, we encouraged experimentation and creativity, urging you to use reference images for inspiration and customize the skid marks to suit your specific needs. By adding final touches and saving the image, you completed the skid mark creation process.
With the skills you’ve gained, you now have the ability to incorporate skid marks into various design projects, whether it’s creating futuristic cityscapes, adding grit to car advertisements, or any other creative endeavor that calls for a touch of authenticity.
Remember that practice makes perfect, and each project is an opportunity to refine your skills and explore new techniques. Don’t shy away from experimenting and trying different approaches to create unique and eye-catching skid marks that leave an impression on your audience.
So go ahead, unleash your creativity, and have fun incorporating skid marks into your designs. With each project, you’ll become more proficient in using Photoshop as a powerful tool for graphic design and photo manipulation.
Thank you for joining us on this tutorial, and we can’t wait to see the amazing skid marks you create!