Home>How-to Guides>For Women>How To Use A Wax Warmer For Hair Removal

For Women
How To Use A Wax Warmer For Hair Removal
Modified: August 5, 2023
Discover the secrets of using a wax warmer for hair removal in the comfort of your own home. Perfect for women looking for effective and hassle-free hair removal solutions.
(Many of the links in this article redirect to a specific reviewed product. Your purchase of these products through affiliate links helps to generate commission for Under-tec.com, at no extra cost. Learn more)
Table of Contents
- Introduction
- What Is a Wax Warmer?
- Benefits of Using a Wax Warmer for Hair Removal
- Choosing the Right Wax Warmer for You
- Preparing the Wax Warmer
- Choosing the Right Wax for Hair Removal
- How to Use a Wax Warmer for Hair Removal
- Tips for a Successful Hair Removal Session with a Wax Warmer
- Aftercare and Maintenance of the Wax Warmer
- Common Mistakes to Avoid When Using a Wax Warmer
- Conclusion
Introduction
Welcome to the ultimate guide on how to use a wax warmer for hair removal! If you’re tired of the hassle and pain of traditional hair removal methods like shaving and tweezing, then a wax warmer can be a game-changer for you. Whether you want to get rid of unwanted hair on your legs, arms, underarms, or bikini area, a wax warmer offers a convenient and effective solution.
A wax warmer is a device specifically designed to melt wax and maintain it at the perfect temperature for hair removal. The melted wax is then applied to the desired area, and when it cools down and hardens, it effectively removes the hair from the root. Using a wax warmer not only provides longer-lasting results compared to shaving or tweezing but also helps in slowing down hair growth over time.
In this comprehensive guide, we will delve into the various aspects of using a wax warmer for hair removal, from selecting the right wax warmer to the proper technique of hair removal. We will also cover essential tips for a successful waxing session, aftercare, and common mistakes to avoid.
So, if you’re ready to say goodbye to frequent razor burns, ingrown hairs, and stubble, and hello to smoother, hair-free skin, let’s get started on your journey to successful hair removal with a wax warmer!
What Is a Wax Warmer?
A wax warmer is a handy device used to melt wax and maintain it at a consistent temperature for hair removal. It is an essential tool for those who prefer waxing as a method of removing unwanted hair. The wax warmer typically consists of a heating element, a removable inner container, and a temperature control mechanism.
The heating element, usually located at the base of the wax warmer, provides the necessary heat to melt the wax. This element can be powered by electricity or use other heat sources such as a light bulb or a heating plate. The inner container, made of heat-resistant material like aluminum or ceramic, holds the wax and is placed on top of the heating element.
One of the key features of a wax warmer is the temperature control mechanism. It ensures that the wax stays at the optimal temperature for hair removal without scorching or overheating. The temperature control can be manual, allowing you to adjust the heat settings according to the type of wax and your preferences. Some advanced wax warmers come with digital temperature displays, providing precise control over the heating process.
Wax warmers come in various sizes and designs to accommodate different needs and preferences. Some models are small and compact, suitable for personal use, while others are larger and designed for professional use in salons or spas. Additionally, certain wax warmers have multiple compartments, allowing you to melt different types of wax simultaneously.
It’s worth noting that a wax warmer is not the same as a waxing kit. While the wax warmer provides the heat necessary to melt the wax, a waxing kit includes additional components such as applicators, pre-wax and post-wax products, and sometimes even wax beads or strips. However, many waxing kits come with a wax warmer as part of the package, making it easy to get started with hair removal.
Now that you understand what a wax warmer is and its basic components, let’s move on to explore the benefits of using a wax warmer for hair removal.
Benefits of Using a Wax Warmer for Hair Removal
Using a wax warmer for hair removal offers a range of benefits that make it a popular choice among individuals seeking a more efficient and longer-lasting hair removal method. Let’s explore some of the key advantages of using a wax warmer:
- Long-lasting results: Unlike shaving or tweezing, waxing with a wax warmer removes hair from the root, which means that it takes longer for the hair to regrow. This results in smoother skin for an extended period, with some people experiencing up to four weeks of hair-free skin.
- Reduced hair regrowth: Over time, regular waxing sessions can lead to a reduction in hair regrowth. This is because waxing weakens the hair follicles, making them produce finer and sparser hair. With consistent waxing, you may notice that the hair becomes thinner and less dense, leading to longer-lasting results with each session.
- Finer regrowth: Unlike the prickly and coarse regrowth often associated with shaving, hair regrowth after waxing tends to be finer and softer. The waxing process removes hair from the root, resulting in a tapered end when the hair starts to grow back. This not only feels smoother to the touch but also gives the appearance of softer and less noticeable regrowth.
- Exfoliation: When you wax, the process of removing the wax from the skin also helps to exfoliate the surface. This means that not only are you removing hair, but you are also getting rid of dead skin cells, resulting in smoother and more radiant-looking skin. Regular exfoliation through waxing can help improve the overall texture and tone of your skin.
- Minimal discomfort: While it’s true that waxing involves some level of discomfort, especially during the hair removal process, using a wax warmer can help minimize it. Wax warmers allow you to control the temperature of the wax, ensuring that it is heated to a comfortable level. Additionally, using high-quality wax and proper application techniques can further reduce discomfort and make the process more bearable.
- Convenience: Waxing with a wax warmer provides convenience in various ways. You can perform the hair removal process in the comfort of your own home, without having to make frequent trips to a salon. Additionally, modern wax warmers heat up quickly, saving you time and allowing you to carry out the hair removal process whenever it suits you best.
Overall, using a wax warmer for hair removal offers numerous benefits, including long-lasting results, reduced hair regrowth, finer regrowth, exfoliation, minimal discomfort, and convenience. These advantages make waxing with a wax warmer an attractive option for those seeking a more effective and efficient hair removal method.
Choosing the Right Wax Warmer for You
When it comes to selecting a wax warmer for your hair removal needs, there are a few factors to consider to ensure that you find the right one for you. Let’s explore these factors and help you make an informed decision:
- Size and Capacity: Consider the size and capacity of the wax warmer. If you are using it for personal use or smaller areas like the face or underarms, a smaller-sized wax warmer may suffice. However, if you plan on using it for larger areas like legs or multiple people, opting for a larger-sized wax warmer with a higher wax capacity would be more suitable.
- Temperature Control: Look for a wax warmer that offers temperature control options. This will allow you to adjust the heat according to the type of wax being used and your personal comfort level. Having precise temperature control ensures that the wax is heated to the optimal temperature for effective hair removal without the risk of overheating or burning.
- Heating Time: Consider the heating time of the wax warmer. Some models heat up quickly within a few minutes, while others may take a bit longer. If you prefer a faster heating process, look for a wax warmer with a shorter heating time to save you time and provide more convenience.
- Material and Durability: Pay attention to the material and build quality of the wax warmer. Look for models made of durable materials like stainless steel or high-quality plastic that can withstand frequent use without easily breaking or warping.
- Compatibility: Ensure that the wax warmer is compatible with the type of wax you intend to use. Some warmers are specifically designed for use with specific types of wax, such as hard wax or soft wax. Check the product specifications and make sure it is compatible with the type of wax you prefer.
- Safety Features: Consider the safety features offered by the wax warmer. Look for features like an automatic shut-off function or a temperature indicator to prevent the wax from overheating or causing accidents. These safety features can provide peace of mind during your waxing sessions.
- Price and Reviews: Finally, consider your budget and read reviews of different wax warmers to get an idea of their performance and reliability. While it’s essential to find a wax warmer within your budget, ensure that you prioritize quality and features that align with your needs over price alone.
By considering these factors, you can narrow down your options and find a wax warmer that suits your needs and preferences. Remember to compare different models, read customer reviews, and take into account your specific hair removal requirements to make an informed decision.
Preparing the Wax Warmer
Before you begin your hair removal session with a wax warmer, it’s essential to properly prepare the wax warmer to ensure a smooth and effective waxing process. Here are the steps to follow when preparing your wax warmer:
- Clean the Wax Warmer: Start by cleaning the wax warmer, especially if you have used it previously. Wipe the inner container and the outer surface of the wax warmer with a damp cloth to remove any residue or debris. This will ensure a clean and hygienic environment for your waxing session.
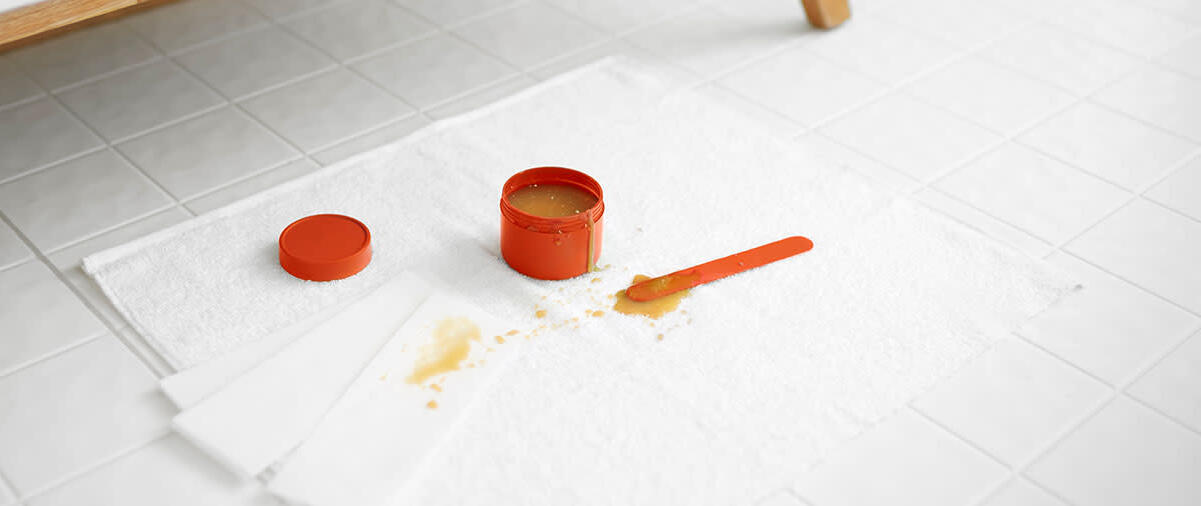
- Place the Wax Beads: If you’re using wax beads, measure the desired amount and place them in the inner container of the wax warmer. Be sure not to overfill the container as the wax will expand when melted, which could lead to overflow.
- Adjust the Temperature: Set the wax warmer to the appropriate temperature for the type of wax you are using. Refer to the instructions provided by the wax manufacturer for the recommended temperature range. Allow the wax to melt fully, stirring occasionally with a spatula to promote even heating.
- Perform a Patch Test: It’s always a good idea to perform a patch test before applying the wax to your skin. Take a small amount of melted wax and apply it to a small area on your skin. Wait for a few minutes to check for any adverse reactions such as redness or irritation. If there are no negative reactions, you can proceed with the hair removal process.
- Prepare the Skin: In addition to preparing the wax warmer, it’s crucial to prepare your skin for hair removal. Cleanse the area thoroughly to remove any dirt, oil, or lotion that may interfere with the wax’s adhesion. Ensure your skin is dry before applying the wax.
- Apply Pre-Wax Products: If you’re using pre-wax products, such as pre-wax cleansers or pre-wax oils, apply them to the area you’ll be waxing. These products help to prime the skin and create a barrier between the wax and the skin, minimizing discomfort and reducing the chance of irritation.
By following these preparation steps, you’ll ensure that your wax warmer is clean, the wax is melted at the right temperature, and your skin is ready for hair removal. Proper preparation sets the foundation for a successful and comfortable waxing session.
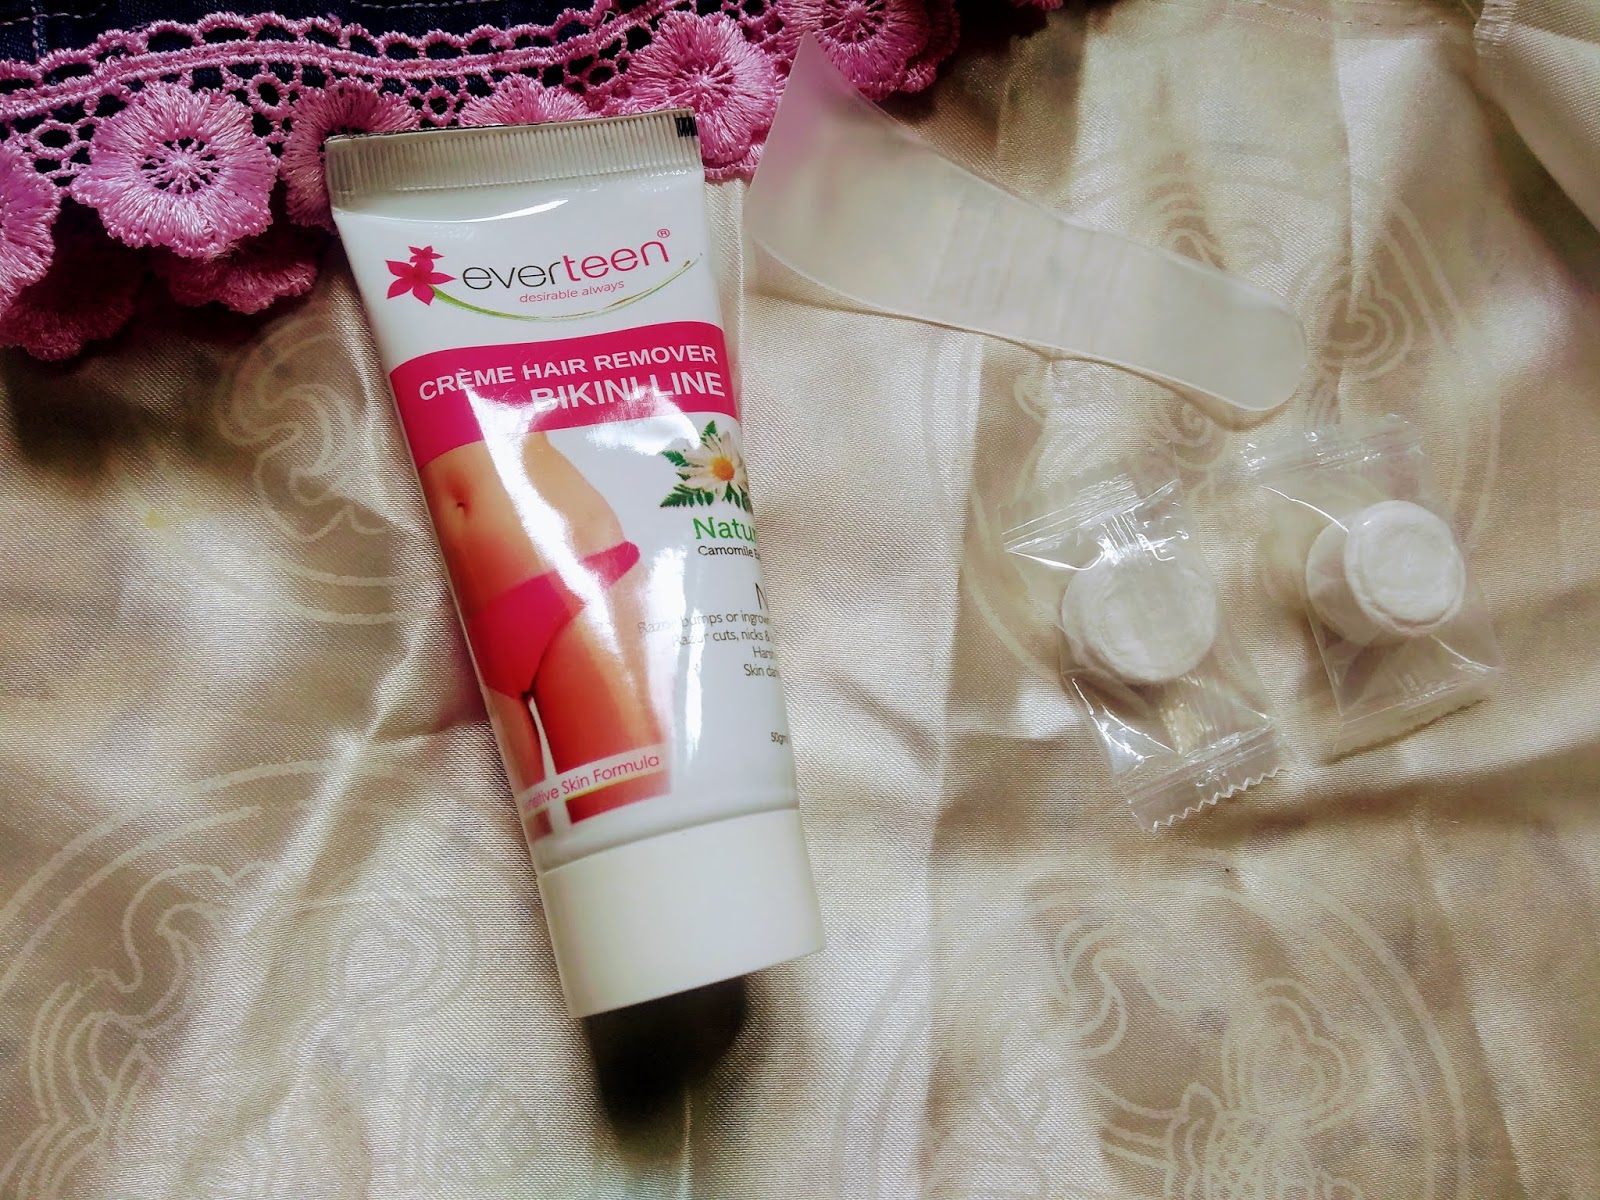
Choosing the Right Wax for Hair Removal
Choosing the right wax is crucial for a successful and effective hair removal session with your wax warmer. There are different types of wax available, each with its own unique properties and suitability for various areas of the body. Here are some factors to consider when selecting the right wax for your hair removal needs:
- Hard Wax: Hard wax is a popular choice for sensitive areas such as the face, bikini area, and underarms. This type of wax hardens on its own and is removed without the need for strips. Hard wax adheres primarily to the hair, making it less likely to pull on the skin, which can reduce discomfort and potential irritation.
- Soft Wax: Soft wax, also known as strip wax, is often used for larger areas of the body such as the legs and arms. It requires the use of cloth or paper strips for removal. Soft wax adheres to both the hair and the skin, allowing for efficient removal of shorter hair. It’s essential to apply soft wax thinly and remove it quickly to minimize discomfort.
- Stripless Wax: Stripless wax, also called film wax, is a type of hard wax that is applied at a slightly higher temperature and removed without the use of strips. It offers the convenience of hard wax with the added benefit of not requiring cloth or paper strips. Stripless wax is suitable for various areas of the body and is known for its strong grip on coarse hair.
- Scented or Unscented: Consider whether you prefer scented or unscented wax. Scented wax can add a pleasant fragrance during the hair removal process, while unscented wax is a better option for those with sensitive skin or fragrance allergies.
- Ingredients: Pay attention to the ingredients used in the wax. Look for waxes that are made with natural and gentle ingredients to minimize the risk of skin irritation or allergic reactions. Be mindful of any specific ingredients you may be sensitive to.
- Compatibility with Wax Warmer: Ensure that the wax you choose is compatible with your wax warmer. Different wax warmers may have specific requirements for the type and consistency of wax they can effectively melt. Check the product specifications or consult the wax warmer’s manufacturer to ensure compatibility.
It’s also worth mentioning that if you’re uncertain about which wax is best for your hair removal needs, consult with a professional esthetician or refer to the guidance provided by reputable hair removal brands. They can offer recommendations based on your specific skin type, hair texture, and desired waxing area.
By considering these factors and experimenting with different waxes, you can find the right wax that not only effectively removes your unwanted hair but also suits your skin’s sensitivity and personal preferences.
How to Use a Wax Warmer for Hair Removal
Using a wax warmer for hair removal is a straightforward process that can be easily mastered with a little practice. Here’s a step-by-step guide on how to use a wax warmer for hair removal:
- Prepare the Wax: Start by ensuring that the wax has melted to the desired consistency in the wax warmer. The wax should be smooth and spreadable, but not too runny or too thick. Stir the wax gently with a spatula to ensure even heating.
- Check the Temperature: Before applying the wax to your skin, test the temperature on a small area of your body, such as your wrist or inner arm. The wax should be warm, but not uncomfortably hot. If the temperature is too high, allow the wax to cool slightly before proceeding.
- Apply the Wax: Use a spatula or applicator stick to apply a thin, even layer of wax in the direction of hair growth. Start with a small section and work your way gradually to larger areas. Be careful not to apply the wax too thickly, as this can make the removal process more difficult.
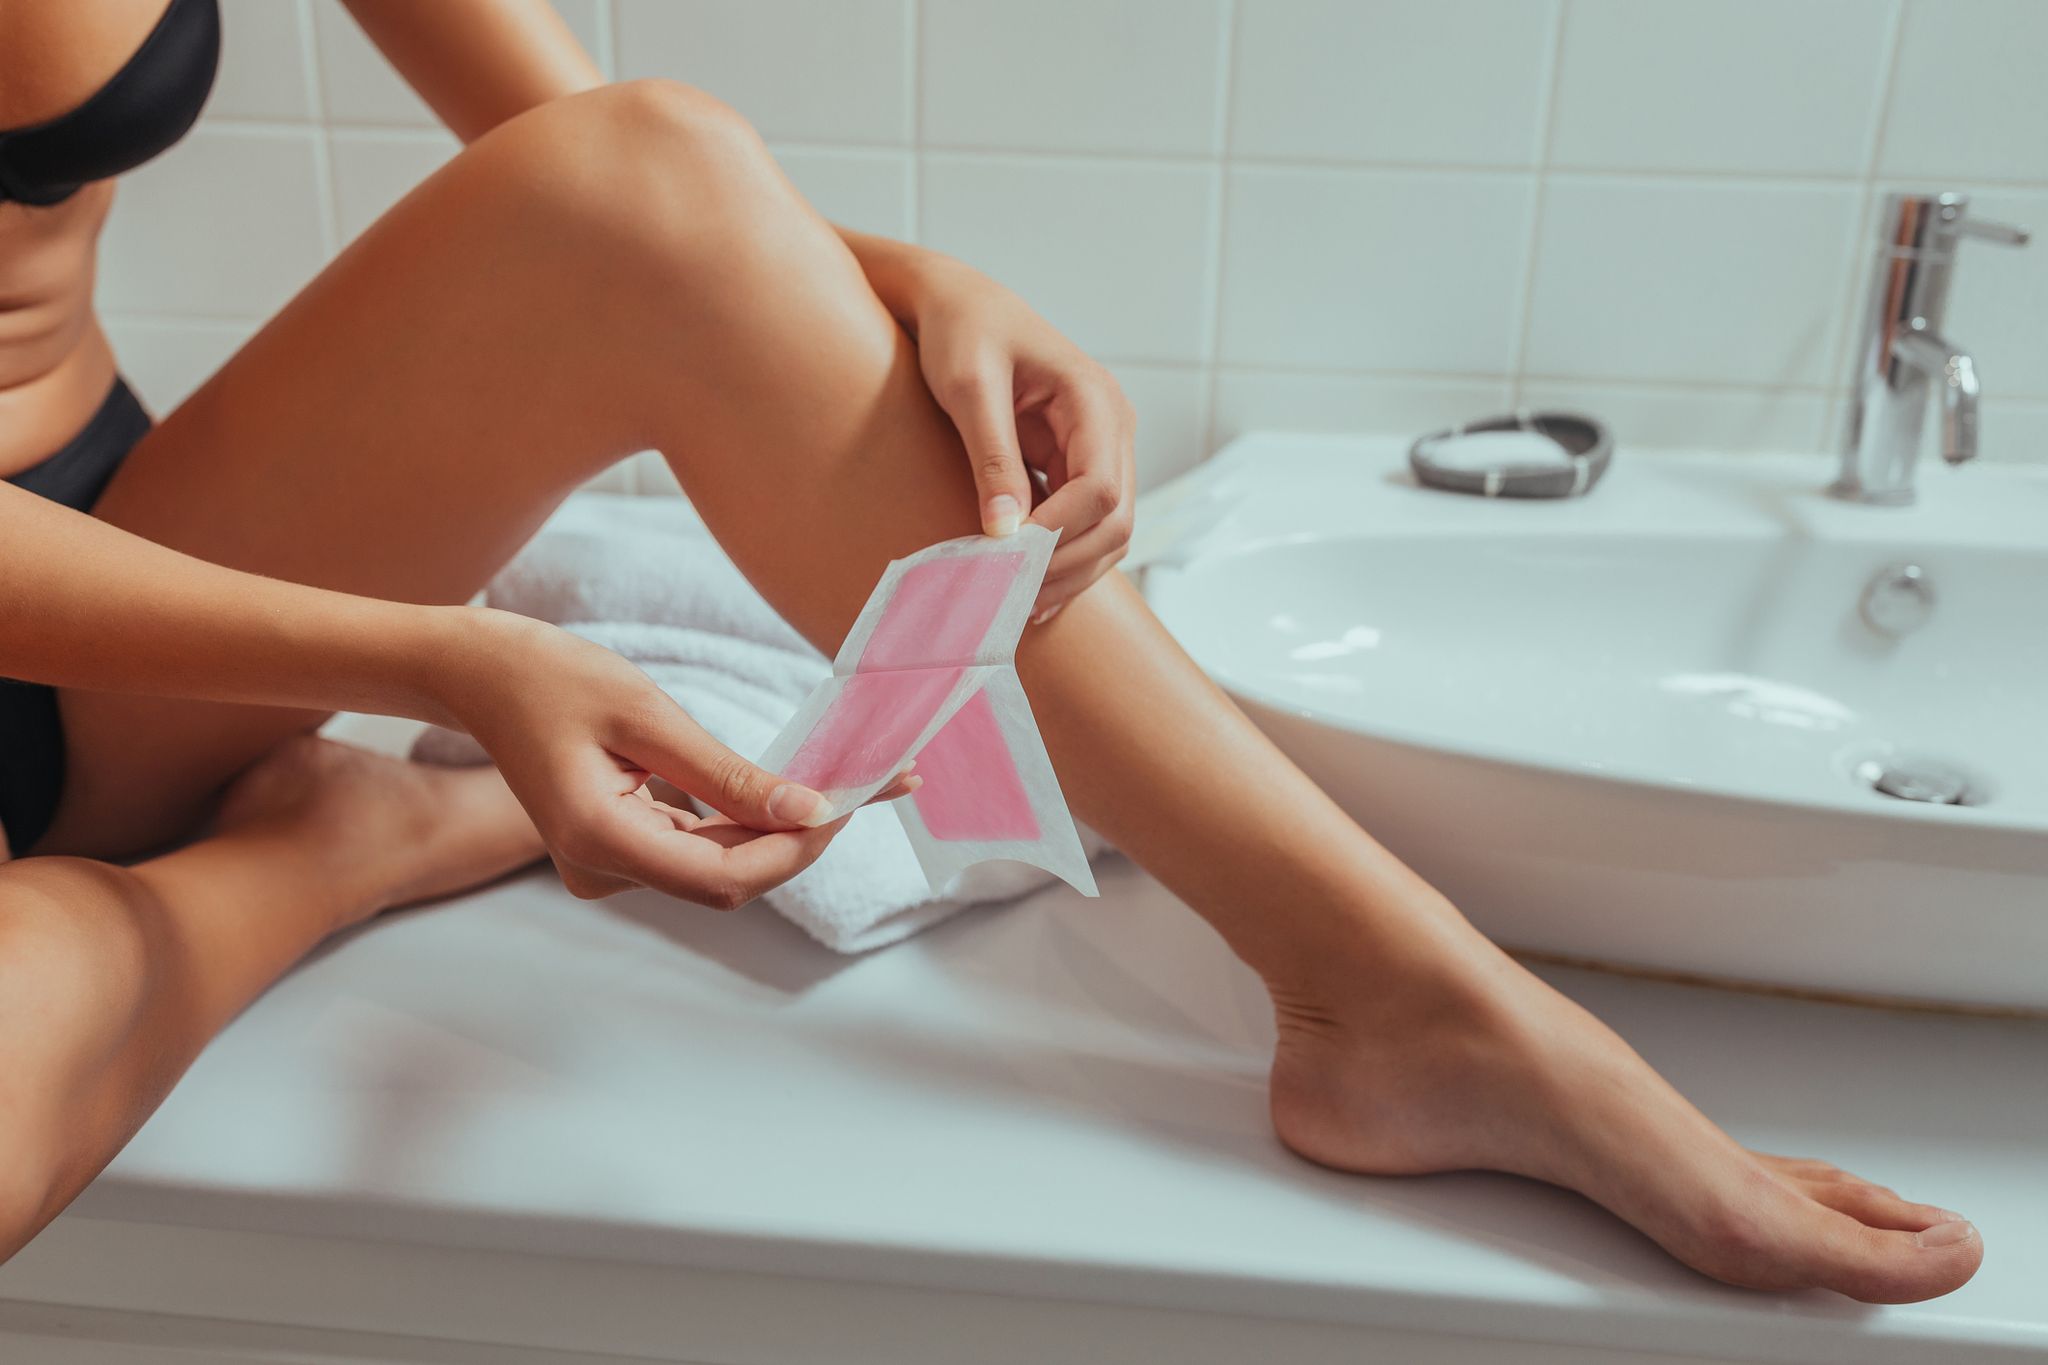
- Place a Strip or Cloth: If you’re using soft wax, immediately place a cloth or paper strip firmly over the applied wax. Press down gently to ensure the cloth adheres to the wax and hair.
- Remove the Wax: Hold the skin taut with one hand and quickly pull the strip or cloth in the opposite direction of hair growth with the other hand. Pull the strip with a swift, confident motion to ensure effective hair removal. Always pull the strip parallel to the skin, rather than straight up.
- Repeat the Process: Continue applying the wax on different sections of your skin and repeating the removal process until you have removed all the desired hair. Remember to reheat the wax if it cools down too much during the process.
- Cleanse and Soothe: After all the hair has been removed, cleanse the area with a mild cleanser to remove any wax residue. Follow up with a soothing post-wax product, such as aloe vera gel or a calming lotion, to alleviate any redness or irritation.
Remember, be cautious and follow the instructions provided by the wax manufacturer and your wax warmer’s guidelines. Each product may have slight variations in usage, so it’s important to familiarize yourself with the specific instructions for the wax and wax warmer you are using.
With practice, you’ll become more comfortable and efficient in using the wax warmer for hair removal, achieving smooth and hair-free skin that lasts longer than traditional hair removal methods.
Tips for a Successful Hair Removal Session with a Wax Warmer
To ensure a successful hair removal session with a wax warmer, it’s helpful to follow some tips and best practices. These tips can help you achieve optimal results and make your waxing experience more comfortable. Here are some valuable tips to keep in mind:
- Trim Hair to the Recommended Length: Prior to using the wax warmer, trim your hair to the recommended length. Hair should ideally be about 1/4 to 1/2 inch long for effective waxing. If the hair is too long, it may cause discomfort during the removal process. If it’s too short, the wax may not adhere properly.
- Keep the Skin Clean and Dry: Ensure that the skin is completely clean and dry before applying the wax. Remove any oils, lotions, or creams that may interfere with the wax’s ability to grip the hair. Cleanse the skin thoroughly and pat it dry to ensure maximum effectiveness.
- Apply the Wax in the Direction of Hair Growth: Apply the wax in the same direction as your hair growth. This allows the wax to adhere to the hair effectively and provides better hair removal results. Remember to always pull the strip or cloth in the opposite direction of hair growth.
- Apply Firm Pressure: When placing the cloth or paper strip over the wax, press down firmly to ensure it adheres well. This allows for better hair removal when you pull the strip later. Proper adhesion is crucial for effective and efficient hair removal.
- Pull the Strip Quickly and Parallel to the Skin: When it’s time to remove the strip, pull it quickly and parallel to the skin. Pulling parallel to the skin reduces discomfort and helps to remove the hair cleanly from the root. Avoid pulling the strip straight up as this may cause breakage or leave residual hair behind.
- Take Breaks if Needed: If you find that your skin becomes overly sensitive during the waxing process, take short breaks between sections. This allows your skin to recover and reduces the risk of excessive redness or irritation. Listen to your body and give it the rest it needs.
- Exfoliate Regularly: After a waxing session, make it a habit to exfoliate the treated area regularly, starting a few days after the waxing. This helps prevent ingrown hairs by removing dead skin cells and allowing hair to grow freely. Use a gentle exfoliating scrub or a soft-bristle brush for best results.
- Moisturize Daily: Keep your skin well-hydrated and moisturized after waxing to maintain its smoothness and prevent dryness. Apply a soothing lotion or oil daily to the waxed area to keep the skin moisturized and nourished.
By following these tips, you can enhance your hair removal experience and achieve the best possible results with your wax warmer. Practice and consistency are key, so don’t be discouraged if it takes a few attempts to perfect your technique. With time, you’ll become more confident and efficient in using the wax warmer to achieve smooth and hair-free skin.
Aftercare and Maintenance of the Wax Warmer
Proper aftercare and maintenance of your wax warmer are essential for its longevity and optimal performance. Taking care of your wax warmer ensures that it remains in good condition and continues to provide effective hair removal. Here are some important tips for aftercare and maintenance:
- Clean the Wax Warmer: After each use, clean the wax warmer to remove any remaining wax residue. Allow the wax warmer to cool down first, then wipe the inner container and the outer surface with a cloth or paper towel. For stubborn wax buildup, you can use a wax remover solution or warm water and soap.
- Remove the Inner Container: If your wax warmer has a removable inner container, take it out and clean it separately. Wash it with warm water and soap, or follow the manufacturer’s instructions for cleaning. Ensure the container is completely dry before placing it back in the wax warmer.
- Store Properly: When not in use, store your wax warmer in a clean and dry place. Keep it away from moisture, dust, and direct sunlight. Ensure that the cord is neatly wrapped and not tangled to prevent damage to the wire.
- Check the Power Cord: Regularly inspect the power cord for any signs of fraying or damage. If you notice any issues, discontinue use and replace the cord immediately to avoid electrical hazards.
- Use Quality Wax: To maintain the performance of your wax warmer, always use high-quality wax that is compatible with your device. Using low-quality or incorrect types of wax can result in poor heating and potential damage to the wax warmer.
- Follow the Manufacturer’s Instructions: Read and follow the manufacturer’s instructions for your specific wax warmer model. They provide valuable information on usage, cleaning, and maintenance that are specific to your device.
- Replace Parts as Needed: If any parts of your wax warmer, such as the power cord or the inner container, show signs of wear and tear or become damaged, replace them promptly. Using a wax warmer with damaged parts can pose safety risks and affect the performance of the device.
- Inspect the Temperature Control: Periodically check the temperature control mechanism of your wax warmer to ensure it is functioning correctly. If you notice any issues with temperature fluctuations or inaccurate readings, contact the manufacturer for troubleshooting or consider getting it professionally inspected.
By following these aftercare and maintenance tips, you can prolong the lifespan of your wax warmer and ensure consistent performance. Regular cleaning, proper storage, and adherence to safety guidelines will help you enjoy successful and safe hair removal sessions with your wax warmer for years to come.
Common Mistakes to Avoid When Using a Wax Warmer
Using a wax warmer for hair removal can be an effective and convenient method, but it’s important to be aware of common mistakes that can hinder the process and potentially lead to unsatisfactory results. By avoiding these mistakes, you can ensure a smooth and successful hair removal session. Here are some common mistakes to avoid:
- Not Testing the Temperature: Failing to test the temperature of the wax before applying it to your skin can lead to discomfort or even burns. Always perform a patch test on a small area to ensure the wax is at a safe temperature for your skin.
- Applying Thick Layers of Wax: Applying a thick layer of wax can make it more challenging to remove and may cause unnecessary pain. Remember to apply a thin and even layer of wax to achieve better adherence to the hair.
- Using the Wrong Type of Wax: Different areas of the body and skin types may require different types of wax. Using the wrong type of wax, such as soft wax instead of hard wax for sensitive areas, can lead to discomfort, skin irritation, and ineffective hair removal.
- Waxing Over the Same Area Multiple Times: Waxing over the same area repeatedly can cause unnecessary irritation and damage to the skin. Apply the wax once and remove it promptly to avoid overexposure and potential skin trauma.
- Ignoring Pre-Wax and Post-Wax Care: Neglecting to properly prepare the skin before waxing, such as not cleansing or exfoliating, can hinder the wax’s ability to adhere to the hair effectively. Similarly, skipping post-wax care, such as using soothing products or moisturizing, can lead to increased irritation and dryness.
- Pulling the Strip Upwards: Pulling the strip or cloth straight up from the skin can cause hair breakage and leave behind residual hair. Remember to pull the strip parallel to the skin and in the opposite direction of hair growth for optimal results.
- Waxing Over Sunburned or Damaged Skin: Waxing over sunburned, irritated, or damaged skin can exacerbate the condition and lead to severe pain and further damage. Avoid waxing until the skin has fully healed to prevent additional complications.
- Not Following the Instructions: Each wax product and wax warmer may have specific instructions for usage and safety. Failing to follow these instructions can result in subpar results, increased discomfort, or even damage to the wax warmer itself.
By avoiding these common mistakes, you can ensure a safer and more effective hair removal experience with your wax warmer. Take the time to familiarize yourself with proper techniques, read and follow the instructions provided by the product manufacturers, and prioritize the care and well-being of your skin during the process.
Conclusion
Using a wax warmer for hair removal is a fantastic solution for those seeking longer-lasting and more efficient results compared to traditional hair removal methods. With the right wax warmer, proper wax selection, and correct technique, you can achieve smooth and hair-free skin that lasts for weeks.
Throughout this comprehensive guide, we explored the various aspects of using a wax warmer for hair removal. We discussed what a wax warmer is, the benefits that come with its use, and how to choose the right one for your needs. We also covered important steps for preparing the wax warmer, selecting the appropriate wax, and using the wax warmer effectively for hair removal.
Additionally, we provided valuable tips for a successful hair removal session, including aftercare and maintenance suggestions to keep your wax warmer in optimal condition. Lastly, we highlighted common mistakes to avoid, helping you achieve the best possible results while minimizing discomfort and potential risks.
Remember, practice makes perfect when it comes to using a wax warmer for hair removal. With each session, you will become more familiar with the process, refine your technique, and obtain even better results. If you find waxing challenging initially, be patient and give yourself time to improve in the comfort of your own home.
Now that you have all the information and guidance you need, it’s time to take the plunge and experience the benefits of using a wax warmer for yourself. Say goodbye to short-lived results and hello to smoother, hair-free skin that lasts. Embrace the confidence and convenience that comes with using a wax warmer, and enjoy your newfound freedom from frequent hair removal sessions.