Home>How-to Guides>For Women>How To Heat Hair Removal Wax In Microwave
For Women
How To Heat Hair Removal Wax In Microwave
Modified: August 2, 2023
Learn how to quickly and easily heat hair removal wax in the microwave. Perfect solution for women on the go.
(Many of the links in this article redirect to a specific reviewed product. Your purchase of these products through affiliate links helps to generate commission for Under-tec.com, at no extra cost. Learn more)
Table of Contents
Introduction
Welcome to our guide on how to heat hair removal wax in the microwave! Waxing is a popular method of removing unwanted hair, providing long-lasting results compared to other temporary hair removal techniques. Many people choose to heat their wax in the microwave for convenience and speed. In this article, we will walk you through the process step by step, ensuring that you achieve safe and effective results.
Heating hair removal wax in the microwave is a quick and efficient way to achieve the desired temperature. It saves you the hassle of waiting for water to boil and creates a mess-free waxing experience. However, it is essential to follow safety precautions and choose the right wax for microwaving to avoid accidents and ensure the best outcome.
In the following sections, we will provide you with detailed instructions on how to safely and effectively heat hair removal wax in the microwave. We will also share tips on choosing the right wax and performing aftercare to maintain smooth and hair-free skin. Whether you are a beginner or experienced at waxing, this guide will help you achieve salon-like results from the comfort of your own home.
Before we dive into the specifics, it is important to note that microwaving hair removal wax is not suitable for all types of wax. Be sure to read the instructions provided with the wax product to ensure that it can be safely heated in the microwave. Additionally, always perform a patch test on a small area of skin beforehand to check for any adverse reactions or allergies.
Now that we’ve covered the basics, let’s move on to the safety precautions you should take before heating your hair removal wax in the microwave.
Safety Precautions
When it comes to heating hair removal wax in the microwave, it is crucial to prioritize safety. By following these precautions, you can ensure a smooth and risk-free waxing experience.
- Read the instructions: Before attempting to heat any wax in the microwave, carefully read the instructions provided by the manufacturer. Different types of hair removal waxes have varying microwave heating instructions, so it’s important to follow them precisely.
- Use microwave-safe containers: Make sure that the container you use to heat the wax is microwave-safe. Avoid metal containers, as they can cause sparks and damage your microwave. Opt for glass or microwave-safe plastic containers instead.
- Check the wax for compatibility: Not all types of hair removal wax are suitable for microwaving. Some waxes may contain ingredients that can become excessively hot or release hazardous fumes when exposed to microwave heat. Always check the packaging or consult the manufacturer to determine if your wax is safe for microwaving.
- Be mindful of temperature: Overheated wax can cause serious burns and skin damage. It’s important to heat the wax in short intervals and check the temperature frequently. Never heat the wax to the point where it is boiling or bubbling vigorously.
- Protect your skin: Before applying heated wax to your skin, perform a patch test on a small area to check for any adverse reactions. Additionally, make sure your skin is clean and free of any oils, lotions, or medications that could interfere with the waxing process.
- Protective clothing: To avoid accidentally spilling hot wax on your clothes, wear clothing that you don’t mind getting dirty. Consider using an old towel or wearing a disposable robe to protect your skin and clothing during the waxing process.
- Handle with caution: The wax will be hot after microwaving, so be careful when removing it from the microwave. Use oven mitts or towels to handle the container, and keep it away from children or pets to prevent accidental burns.
By following these safety precautions, you can minimize the risk of accidents and ensure a safe waxing experience. Now that we’ve covered the safety aspects, let’s move on to choosing the right wax for microwaving.
Choosing the Right Wax
Selecting the appropriate wax for microwaving is key to achieving optimal results. Different types of waxes are designed for specific areas of the body and have varying consistencies, temperatures, and application methods. Here are some factors to consider when choosing the right wax for microwaving:
- Type of wax: There are various types of hair removal waxes available, including soft wax, hard wax, and sugar wax. Soft wax requires the use of cloth strips for removal, while hard wax hardens on its own and can be peeled off. Sugar wax, also known as sugaring, is a natural alternative that is gentler on the skin. Consider your personal preferences and the area you plan to wax when selecting the type of wax.
- Microwave compatibility: Check the product label or instructions to ensure that the specific wax you choose is microwave-safe. This information will help you determine if the wax can withstand microwave heating without causing any damage or releasing harmful fumes.
- Targeted area: Different waxes are formulated to cater to specific areas of the body. For example, facial waxes are typically gentler and designed for sensitive skin, while body waxes are more suitable for larger areas like the legs or back. Choose a wax that is specifically formulated for the area you intend to wax to achieve the best results.
- Consistency: The consistency of the wax plays a role in the ease of application and removal. Some waxes are more flexible and adhere better to the hair, while others may be stickier or more rigid. Consider your level of experience and personal preference when deciding on the consistency of the wax.
- Scent and additives: Some waxes come in scented varieties or contain additives like aloe vera or chamomile to soothe and nourish the skin. If you have sensitive skin or prefer a specific scent, be sure to take these factors into consideration when choosing your wax.
By taking these factors into account, you can select the right wax for your needs and ensure a more comfortable and effective waxing experience. In the next section, we will guide you through the steps of preparing the wax container for microwaving.
Preparing the Wax Container for Microwaving
Before heating your hair removal wax in the microwave, it’s important to ensure that the wax container is prepared properly. Taking the necessary steps to prepare the container will help avoid any mishaps or damage during the microwaving process. Follow these guidelines to prepare the wax container for microwaving:
- Choose a microwave-safe container: Select a container that is specifically designated as microwave-safe. Look for containers made of glass or microwave-safe plastic. Avoid using containers made of metal or non-microwave-safe materials, as they can cause sparks or damage to your microwave.
- Clean the container: Ensure that the container is clean before adding the wax. Use warm soapy water and rinse thoroughly to remove any dirt, residue, or impurities that could contaminate the wax during heating.
- Dry the container: After cleaning, make sure the container is completely dry. Any moisture left inside the container can cause the wax to react unpredictably when heated, leading to potential splattering or bubbling.
- Check for cracks or damage: Inspect the container for any cracks or damage that could compromise its integrity during microwaving. Using a damaged container can lead to leaks or breakages, which can be hazardous when handling hot wax. If you notice any signs of damage, it’s best to use a different container.
- Transfer the wax into the container: If your wax comes in a container that is not microwave-safe, such as a metal tin, you will need to transfer the wax into a microwave-safe container before heating. Use a spatula or spoon to carefully transfer the wax, ensuring that it doesn’t spill or drip onto the sides of the container.
By following these steps, you’ll ensure that your wax container is ready for microwaving. Taking the time to prepare the container properly will help prevent accidents, maintain the quality of the wax, and ensure a smooth waxing process. Next, we will guide you through the process of microwaving the wax.
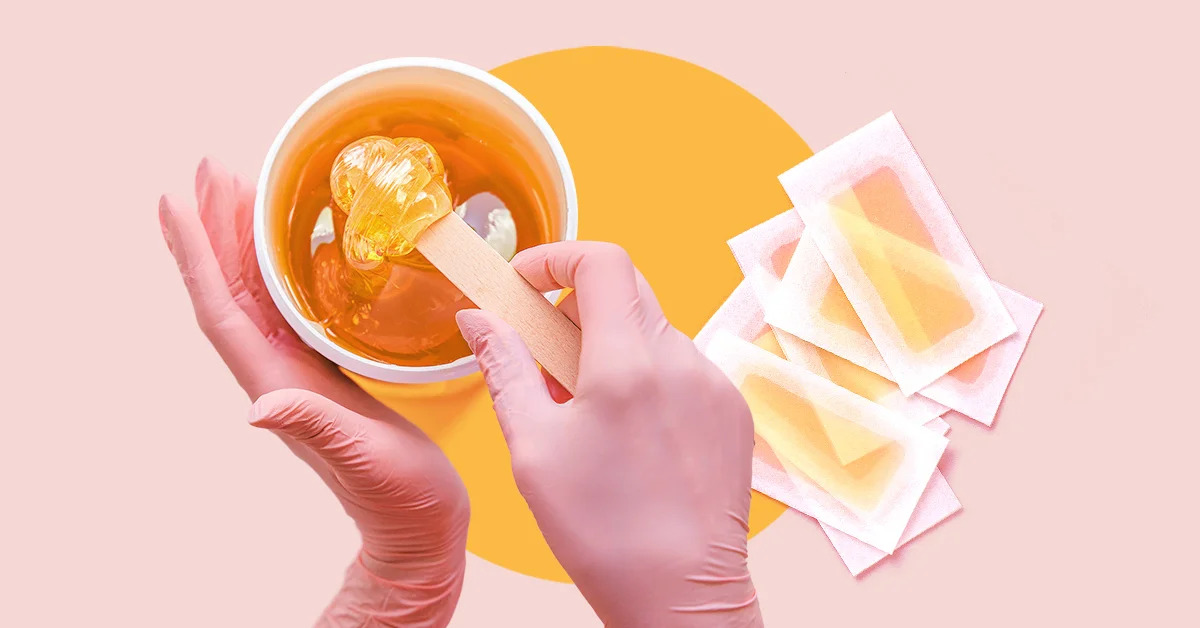
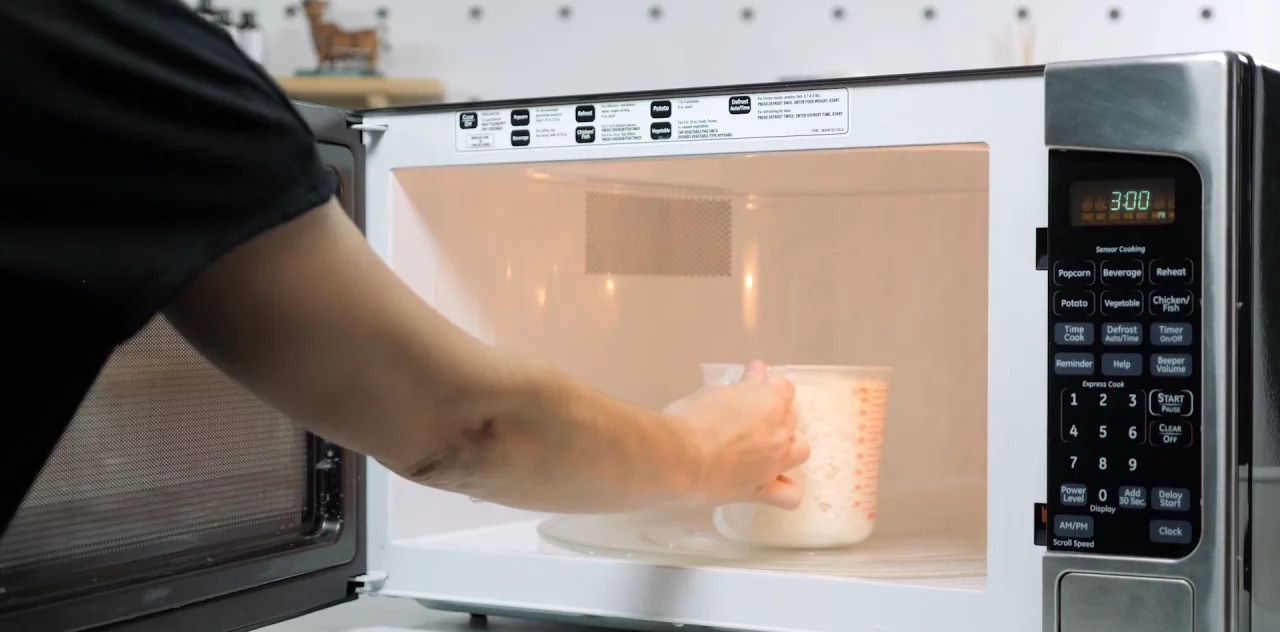
Microwaving the Wax
Microwaving hair removal wax is a convenient and efficient way to heat it to the desired temperature. Follow these steps to safely and effectively microwave your wax:
- Place the wax container in the microwave: Ensure that the container is placed in the center of the microwave and is not touching the sides or other objects. This will allow for even heating and prevent any unwanted reactions.
- Heat in short intervals: Start by heating the wax in short intervals, such as 15-30 seconds, to prevent overheating. Wax can heat up quickly, and each microwave may have different power levels, so it’s better to be cautious and gradually increase the heating time if necessary.
- Stir the wax: After each heating interval, carefully remove the container from the microwave (using oven mitts or a towel) and give the wax a gentle stir. This will help distribute the heat evenly and prevent hot spots.
- Repeat as needed: Continue heating and stirring the wax in short intervals until it reaches the desired temperature. Depending on the type of wax and the desired consistency, this may take anywhere from 1 to 3 minutes.
- Monitor the wax closely: Keep a close eye on the wax throughout the microwaving process to prevent it from becoming too hot or boiling vigorously. If you notice any signs of the wax bubbling excessively or reaching a boiling point, remove it from the microwave immediately.
It’s important to note that microwaving times may vary depending on the wattage of your microwave, the type of wax you are using, and the amount of wax in the container. Always refer to the manufacturer’s instructions for specific guidelines on microwaving their wax product.
Once you have successfully microwaved your wax, it’s important to check its temperature before applying it to your skin. In the next section, we will discuss how to test the temperature to ensure your safety during the waxing process.
Testing the Temperature
Before applying the heated wax to your skin, it is crucial to test its temperature to avoid burns or discomfort. Here are some steps to follow when testing the temperature of your hair removal wax:
- Wait for the wax to cool slightly: Allow the wax to cool for a few minutes after microwaving to reduce its temperature. This will make it safer to handle and apply to your skin.
- Use the back of your hand: Take a small amount of the wax and apply it to the back of your hand. This area is more sensitive and will give you a better indication of the wax’s temperature without risking injury to more delicate areas of your body.
- Wait and observe: Wait for a few seconds to see how your skin reacts to the wax. If it feels uncomfortably hot, wait a little longer for it to cool down further. You want the wax to be warm and pliable, but not so hot that it causes pain or burns.
- Ensure proper consistency: Check the consistency of the wax while testing its temperature. It should be a spreadable, honey-like consistency, not excessively runny or overly thick. If the wax is too hot or too cold, adjust the microwaving time accordingly and repeat the testing process.
Remember that everyone’s tolerance to heat is different, so what may be comfortably warm for one person could be too hot for another. Take your time and don’t rush the process to ensure the wax is at a safe temperature before proceeding with the application.
Once you’re satisfied with the temperature of the wax, you can move on to applying it to your skin. In the next section, we will guide you through the process of correctly applying the heated wax for effective hair removal.
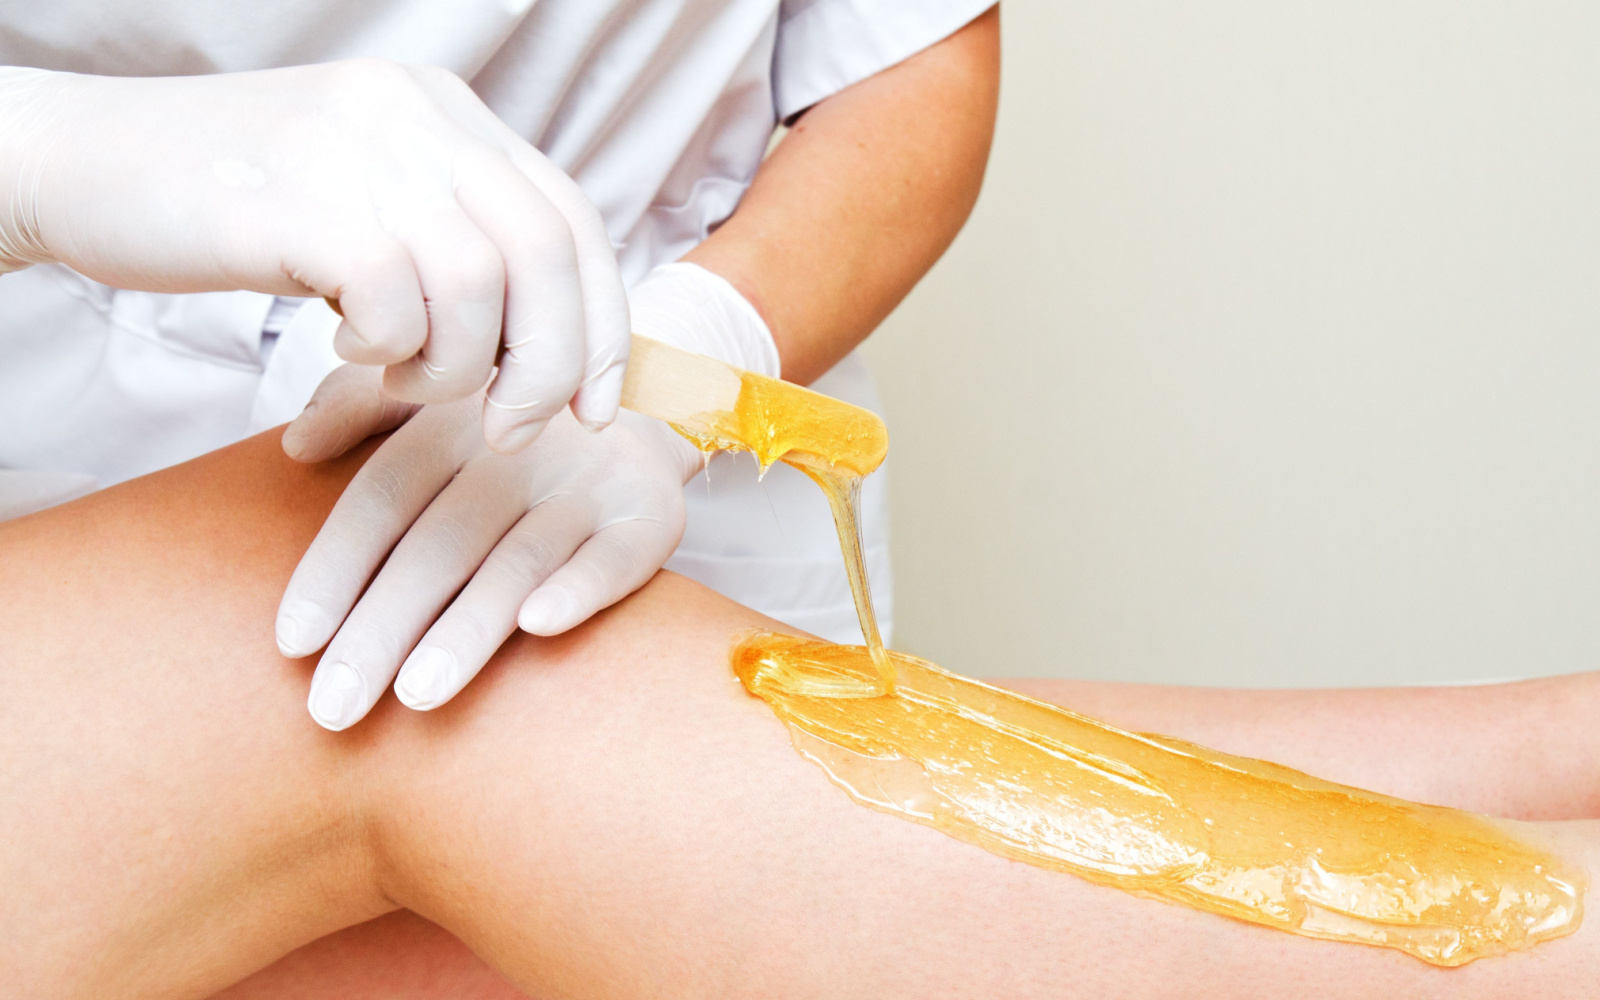
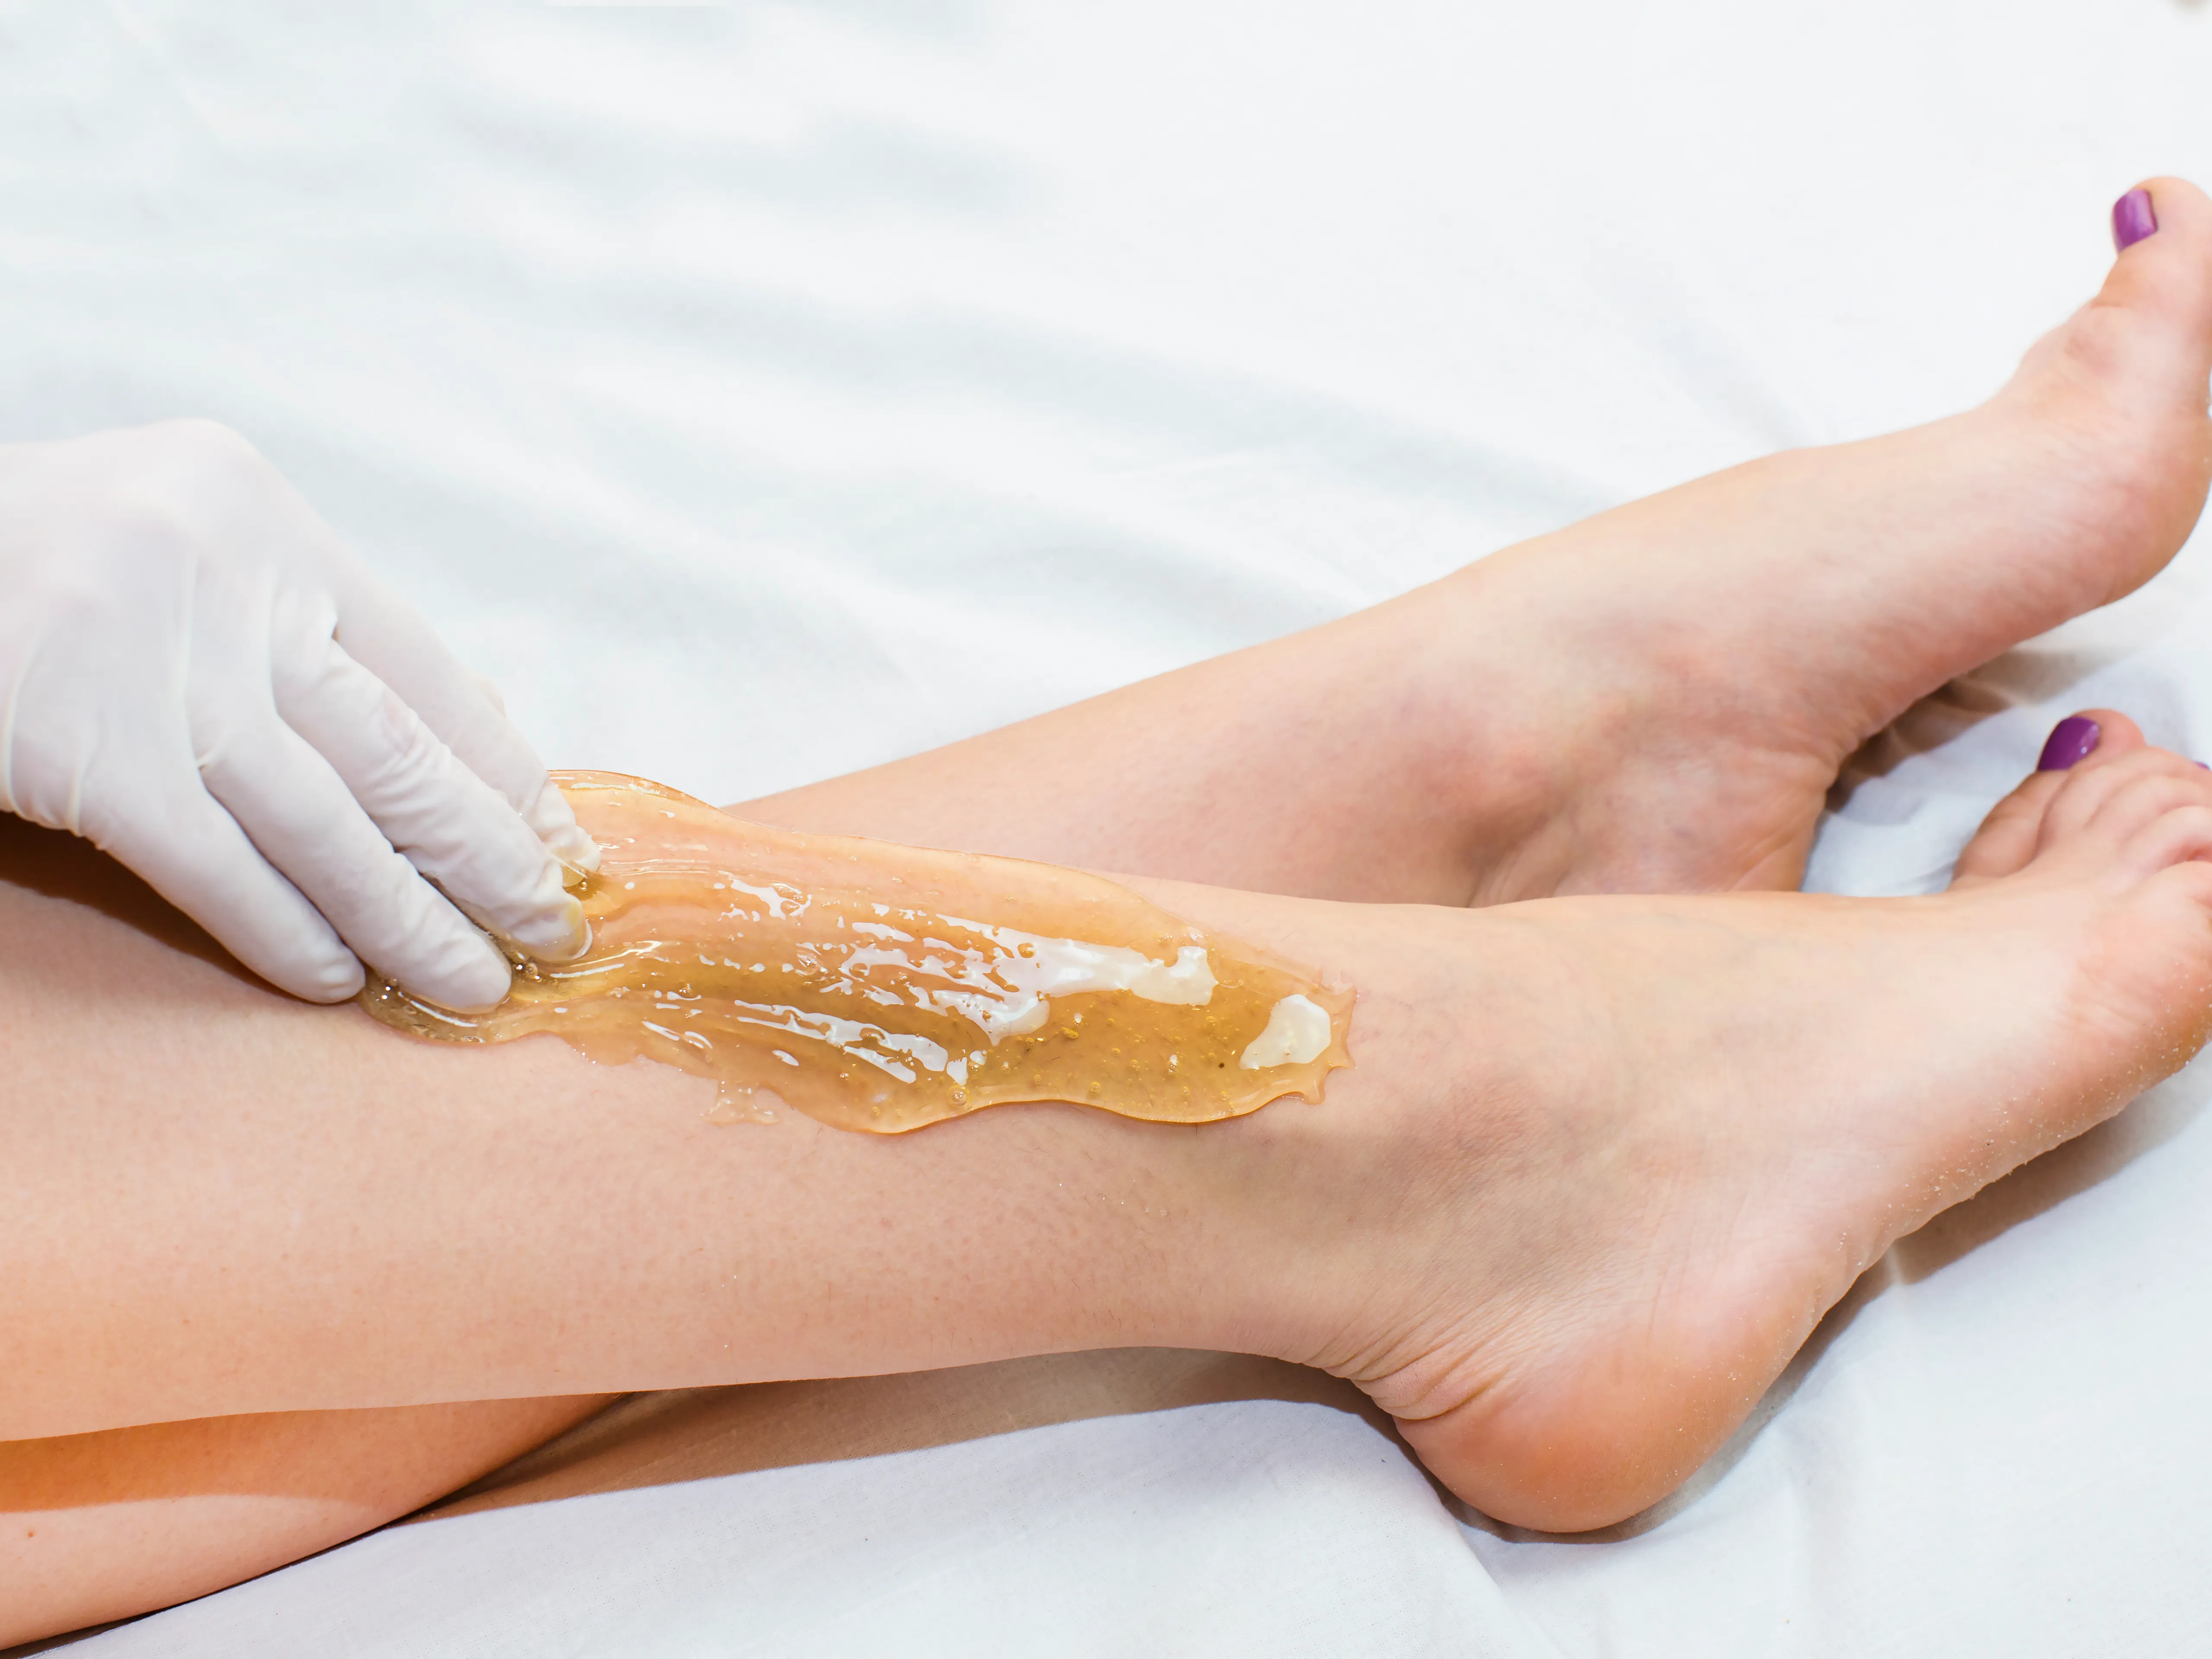
Applying the Heated Wax
Now that you have tested the temperature of your heated hair removal wax and ensured it is at a safe and comfortable level, it’s time to apply it to your skin. Follow these steps to achieve effective hair removal results:
- Prepare your skin: Before applying the wax, make sure your skin is clean and dry. Remove any oils, lotions, or other substances that could hinder the wax’s adhesion to the hair.
- Apply a thin layer of wax: Using a waxing applicator or spatula, spread a thin and even layer of wax in the direction of hair growth. Start with a small area, like the size of a credit card, to ensure that you can comfortably manage the waxing process.
- Leave a tab or edge: As you apply the wax, leave a small tab or edge at the end. This will make it easier for you to remove the wax later, as you can grip and pull it in the opposite direction of hair growth.
- Press down firmly: Press down firmly on the applied wax to ensure good contact with the hair. This will help the wax adhere to the hair and allow for effective hair removal.
- Allow the wax to cool and harden: Give the wax a few moments to cool and harden. This will allow it to grip the hair firmly and make the removal process more efficient.
- Remove the wax: Holding the tab or edge you left earlier, quickly pull the wax in the opposite direction of hair growth. Be sure to pull close to the skin and keep the motion parallel to the skin’s surface for a clean and effective removal.
- Continue the process: Repeat the application and removal process in small sections until you have achieved the desired hair removal. Remember to always apply the wax in the direction of hair growth and remove it against the direction of hair growth for the best results.
Keep in mind that waxing can be uncomfortable, especially if you are new to the process. Take breaks if needed, and remember to breathe and relax. Over time, you’ll become more accustomed to the sensation, and the process will become easier and more comfortable.
In the next section, we will provide important tips on aftercare and cleanup to help you maintain smooth and healthy skin post-waxing.
Aftercare and Cleanup
After completing the hair removal process with heated wax, it’s important to take proper care of your skin to ensure it remains smooth and healthy. Here are some essential aftercare tips to follow:
- Soothe the skin: After waxing, your skin may be slightly sensitive and may experience redness or mild irritation. Apply a soothing lotion or aloe vera gel to help calm and moisturize the skin. Avoid using any fragranced products or exfoliating the area immediately after waxing.
- Avoid hot water and exfoliation: For the first 24-48 hours after waxing, avoid hot showers, saunas, steam rooms, or any activities that may cause excessive sweating. Refrain from exfoliating the waxed area as it can further irritate the skin.
- Avoid tight clothing: Opt for loose-fitting clothing to prevent friction and irritation on the freshly waxed skin. Tight clothing can rub against the skin and cause discomfort or ingrown hairs.
- Keep the area clean: Gently cleanse the waxed area with a mild, fragrance-free cleanser to prevent any bacterial or fungal infections. Pat the area dry instead of rubbing to avoid further irritation.
- Avoid sun exposure: Direct sun exposure can aggravate the skin after waxing. If you need to be in the sun, apply a broad-spectrum sunscreen with a high SPF to protect the waxed area from harmful UV rays.
In terms of cleanup, here are some tips to help you efficiently clean up the waxing area:
- Use oil to remove residue: If there is leftover wax on your skin or any surfaces, use a small amount of baby oil or mineral oil to gently remove it. Apply the oil to a cloth or cotton pad and wipe away the residue.
- Clean waxing tools: Clean the waxing applicator or spatula with warm soapy water to remove any wax residue. Ensure that the tools are completely dry before storing them for future use.
- Dispose of wax properly: If you have any leftover wax that cannot be reused, check the product instructions or local regulations for proper disposal methods. Avoid pouring the wax down the sink or toilet, as it can cause plumbing issues.
By following these aftercare and cleanup tips, you can promote healing, prevent complications, and maintain smooth and healthy skin after waxing. In the next section, we will provide troubleshooting tips to address common challenges that may arise during the waxing process.
Troubleshooting Tips
While waxing can provide effective hair removal, it’s not uncommon to encounter some challenges along the way. Here are some common troubleshooting tips to help you address any issues that may arise during the waxing process:
- If the wax is too hot: If you find that the wax is too hot and uncomfortable to work with, allow it to cool for a few more minutes before testing the temperature again. Be patient and ensure the wax is at a safe and manageable temperature before proceeding.
- If the wax is too thick or sticky: If the wax is too thick or sticky to spread easily, it may need to be heated for a bit longer in the microwave. Heat it in short intervals and stir well to achieve a smoother consistency.
- If the wax doesn’t adhere properly: If the wax doesn’t adhere well to the hair, it may be due to residue or oils on the skin. Make sure to cleanse and dry the area thoroughly before applying the wax to ensure proper adhesion.
- If the wax doesn’t come off easily: If you’re having trouble removing the wax, try pulling more parallel to the skin’s surface instead of straight up. Pulling too upright can cause the wax to break and leave behind residue. Additionally, make sure the wax has hardened enough before attempting removal.
- If you experience excessive redness or irritation: If you notice significant redness or irritation after waxing, apply a cold compress or soothing lotion to help calm the skin. Avoid touching or scratching the area and refrain from further waxing until the skin has fully healed.
- If you encounter ingrown hairs: Ingrown hairs can occur after waxing, especially if the hair follicles become clogged. To prevent ingrown hairs, exfoliate the waxed area gently with a soft brush or exfoliating scrub a few days after waxing. This helps remove dead skin cells and allows new hair to grow properly.
Remember, practice makes perfect when it comes to waxing. It may take a few tries to get the technique right and find what works best for you. Be patient, take your time, and learn from each waxing session.
With these troubleshooting tips, you’ll be able to navigate any challenges you encounter during the waxing process. Finally, let’s wrap up this comprehensive guide to heating hair removal wax in the microwave.
Conclusion
Congratulations! You now have a comprehensive understanding of how to heat hair removal wax in the microwave. By following the step-by-step instructions provided in this guide, you can safely and efficiently heat your wax at home for effective hair removal results.
We began by discussing the importance of safety precautions and selecting the right wax for microwaving. Ensuring microwave-safe containers, checking wax compatibility, and being mindful of temperature are crucial factors to consider to have a successful waxing experience.
Next, we covered the process of preparing the wax container for microwaving, which involves choosing the right microwave-safe container, cleaning and drying the container, and checking for any cracks or damage. Proper preparation of the container is essential to avoid accidents or compromised wax quality.
We then delved into the steps of microwaving the wax, emphasizing the importance of heating in short intervals, stirring the wax for even distribution, and closely monitoring the wax to prevent overheating. Proper microwaving ensures that the wax is at the ideal temperature for effective hair removal without causing burns.
After microwaving the wax, we discussed the importance of testing the temperature on a small patch of skin to ensure it is safe and comfortable to use. This step helps prevent any adverse reactions or discomfort during the waxing process.
We then walked you through the process of applying the heated wax, focusing on preparing the skin, applying a thin and even layer of wax, and removing the wax against the direction of hair growth. Following these steps ensures smooth and successful hair removal.
To wrap up the guide, we provided aftercare tips, including soothing the skin, avoiding hot water and exfoliation, and protecting the waxed area from sun exposure. We also gave you instructions on properly cleaning up after waxing, such as using oil to remove residue and disposing of wax appropriately.
Lastly, we shared troubleshooting tips to help you address common challenges that may arise during the waxing process, such as adjusting wax temperature, improving wax consistency, and dealing with skin irritation or ingrown hairs.
By incorporating these guidelines into your waxing routine, you can achieve salon-like results from the comfort of your own home. Practice, patience, and proper technique will lead to a more comfortable and effective waxing experience over time. Happy waxing!