Home>How-to Guides>For Women>How To Remove Hair Removal Wax From Floor
For Women
How To Remove Hair Removal Wax From Floor
Modified: August 5, 2023
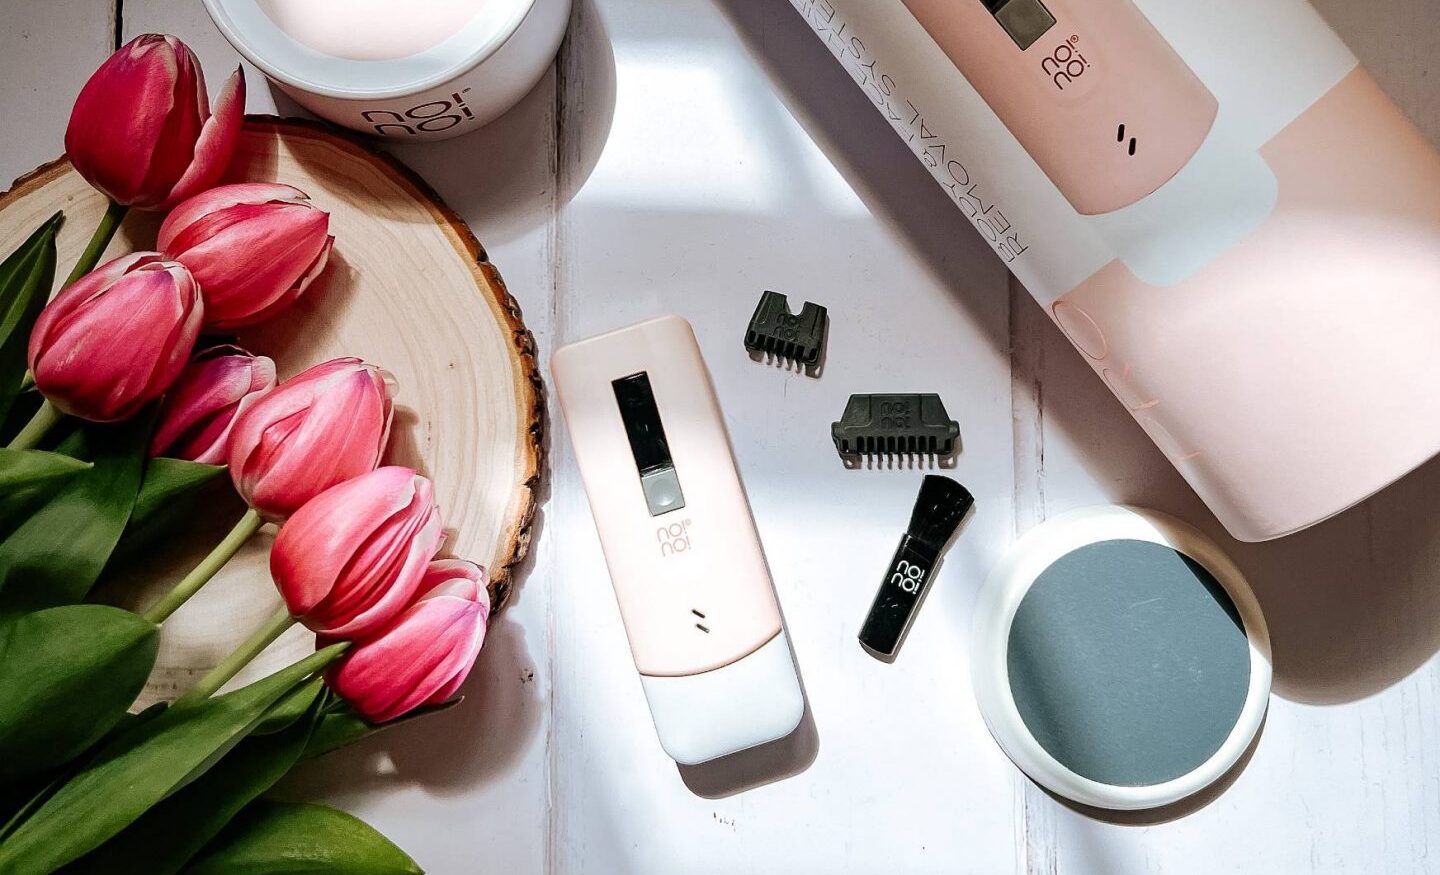
Looking for an easy way to remove hair removal wax from your floor? Our guide has you covered. Perfect for women seeking a clean and wax-free floor.
(Many of the links in this article redirect to a specific reviewed product. Your purchase of these products through affiliate links helps to generate commission for Under-tec.com, at no extra cost. Learn more)
Table of Contents
Introduction
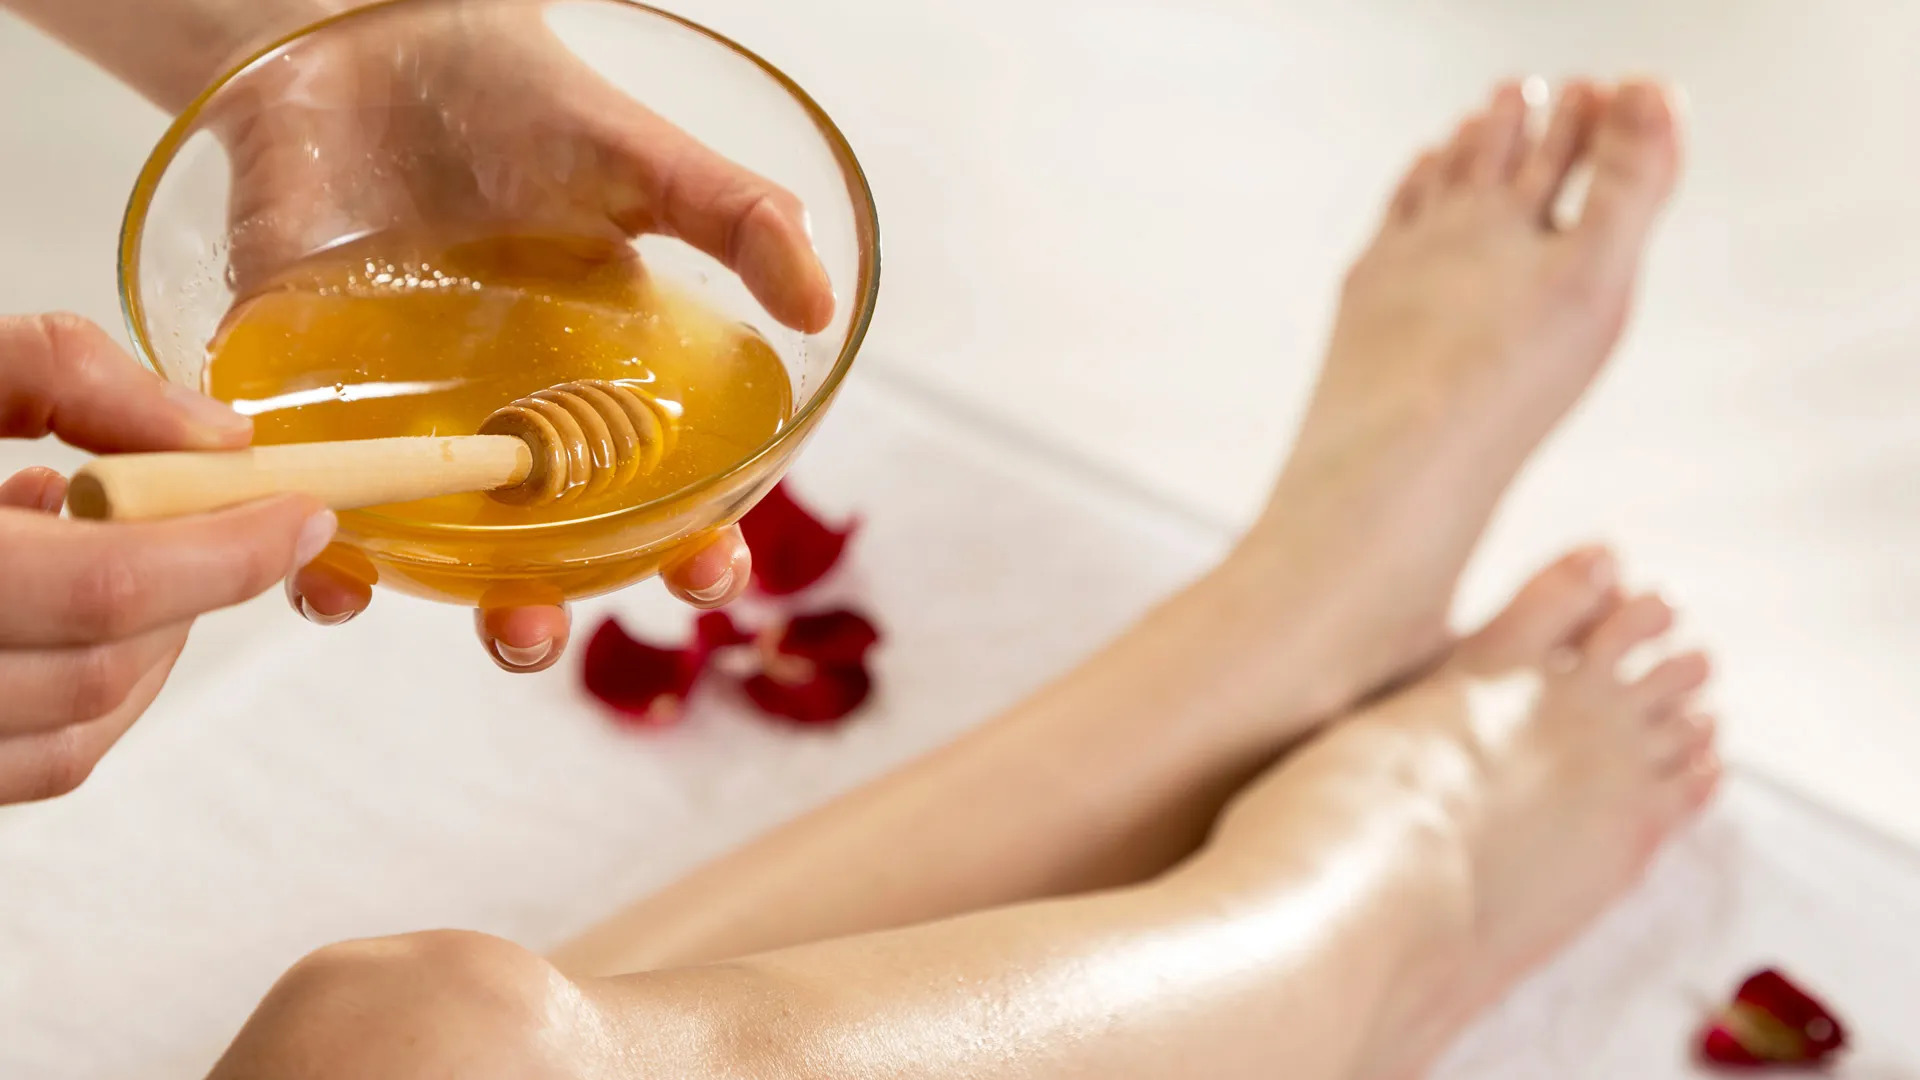
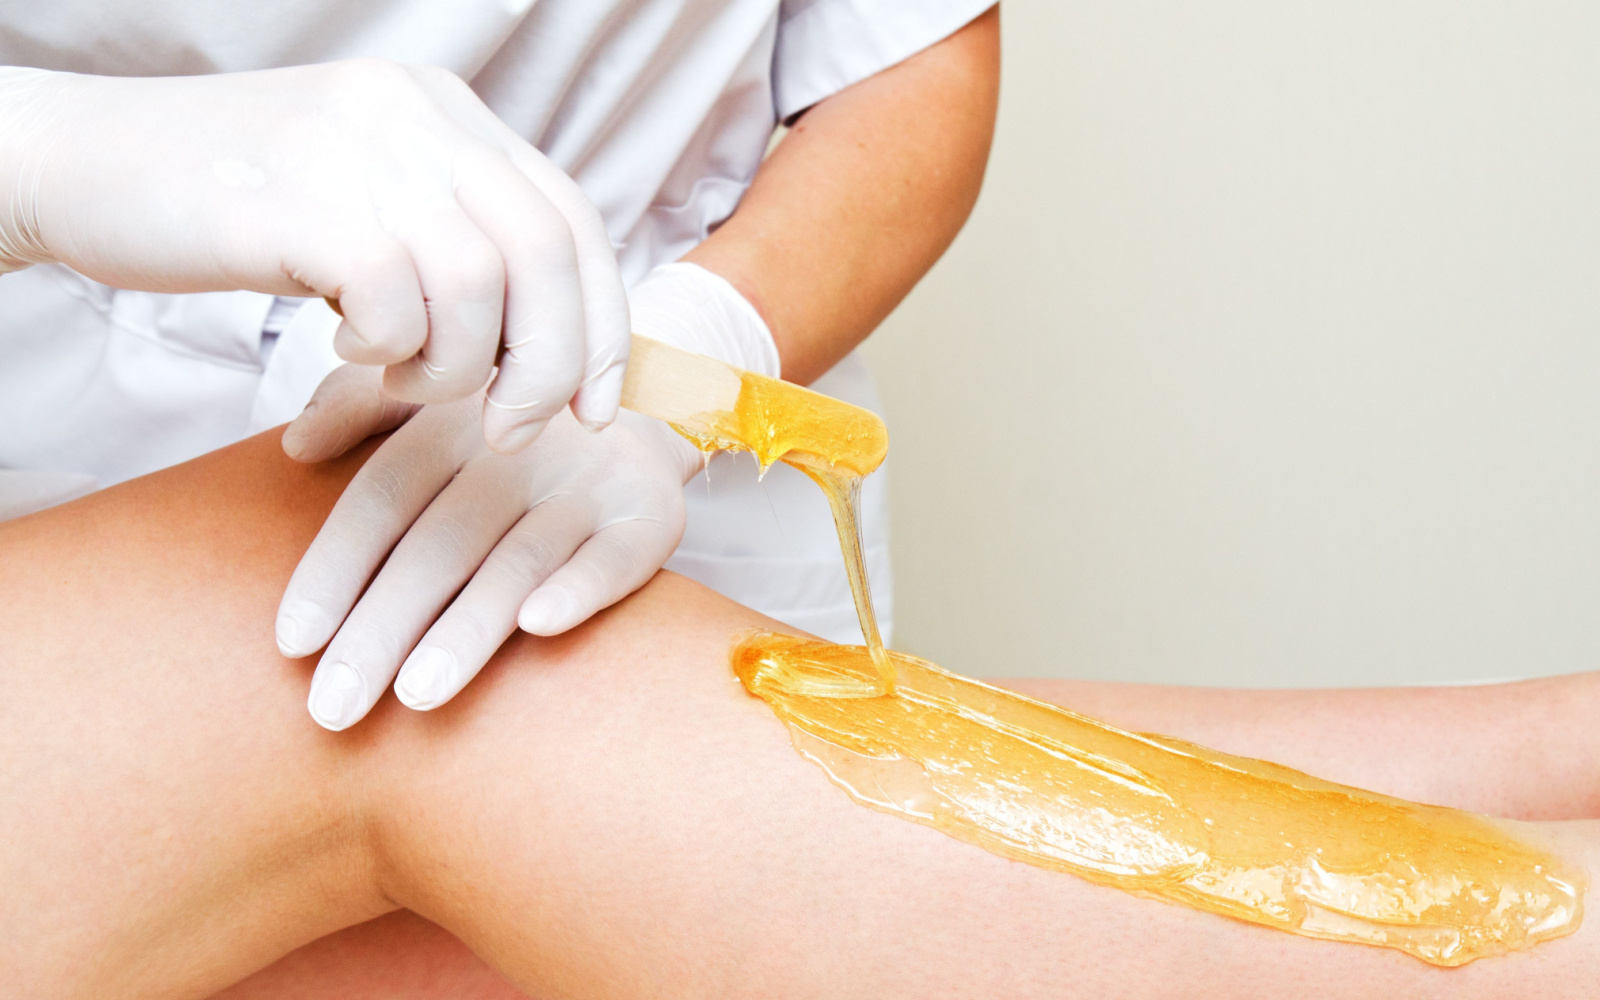
Removing hair removal wax from the floor can be a frustrating task, especially when it has hardened and adhered to the surface. Whether you accidentally spilled wax while waxing your legs or had a mishap at a salon, it’s important to address the issue promptly to prevent any damage or staining to your floor.

Hair removal wax is typically made from a combination of natural or synthetic waxes, resins, and oils. While it’s designed to stick to hair and remove it from the skin, it can also stick to various surfaces, including floors. The longer the wax remains on the floor, the harder it becomes to remove, making it necessary to tackle the issue as soon as possible.
Fortunately, with the right supplies and techniques, you can effectively remove hair removal wax from your floor without causing any further damage. This article will guide you through the step-by-step process of safely and efficiently removing wax from different types of flooring. Whether you have hardwood, tile, or laminate floors, we’ve got you covered.
Before we dive into the specific steps, let’s gather the necessary supplies you’ll need for this task. It’s essential to have everything ready beforehand to make the process smoother and more efficient. So, gather the following items:
- Scraping tool (like a plastic putty knife or spatula)
- Iron or hairdryer
- Clean cloth or paper towels
- White vinegar
- Hot water
- Mild dish soap
- Mop or sponge
- Microfiber cloth
- Polishing agent (specific to your floor type)
Now that you have all the necessary supplies ready, let’s proceed to the step-by-step process of removing hair removal wax from your floor. Follow the next section to learn how to scrape off excess wax from the surface.
Snippet:
Removing hair removal wax from the floor can be a frustrating task, especially when it has hardened and adhered to the surface. Whether you accidentally spilled wax while waxing your legs or had a mishap at a salon, it’s important to address the issue promptly to prevent any damage or staining to your floor. Hair removal wax is typically made from a combination of natural or synthetic waxes, resins, and oils. While it’s designed to stick to hair and remove it from the skin, it can also stick to various surfaces, including floors. The longer the wax remains on the floor, the harder it becomes to remove, making it necessary to tackle the issue as soon as possible.
Supplies Needed
To successfully remove hair removal wax from your floor, you will need the following supplies:
1. Scraping tool: A plastic putty knife or spatula can help you scrape off the excess wax from the surface of the floor. Make sure to choose a tool with a sturdy but non-abrasive edge to avoid scratching or damaging the floor.
2. Heat source: You will need either an iron or a hairdryer to apply heat to the wax. The heat will soften the wax, making it easier to remove.
3. Clean cloth or paper towels: These are essential for wiping away the melted wax and residue during the removal process. Opt for lint-free cloths or thick paper towels for best results.
4. White vinegar: Vinegar is an excellent natural cleaning agent that can help dissolve the remaining wax residue. It’s safe to use on most types of flooring and won’t leave behind any harmful chemical residue.
5. Hot water: You will need hot water to create a cleaning solution with the white vinegar. The heat from the water assists in breaking down the wax residue for easier removal.
6. Mild dish soap: A gentle dish soap will be used to create a solution with the hot water and vinegar. Look for a dish soap that is free from harsh chemicals and fragrances to avoid damaging the floor or leaving behind any residue.
7. Mop or sponge: A mop or sponge will be used to apply the cleaning solution and remove the wax residue from the floor. Choose a mop or sponge that is suitable for your specific floor type.
8. Microfiber cloth: After cleaning the floor, a microfiber cloth can be used to dry and polish the surface, leaving it clean and shiny.
9. Polishing agent: Lastly, you may need a suitable polishing agent specific to your floor type. This can help restore any shine or luster that may have been lost during the wax removal process.
Having these supplies readily available before starting the wax removal process will ensure a smoother and more successful experience. Now that you have everything you need, let’s move on to the step-by-step process of removing hair removal wax from your floor.
Snippet:
To successfully remove hair removal wax from your floor, you will need supplies such as a scraping tool, heat source, clean cloth or paper towels, white vinegar, hot water, mild dish soap, mop or sponge, microfiber cloth, and a polishing agent. These supplies will help you scrape off the excess wax, apply heat, dissolve the residue, and clean and polish the floor. Having these supplies ready beforehand will make the process more efficient and effective.
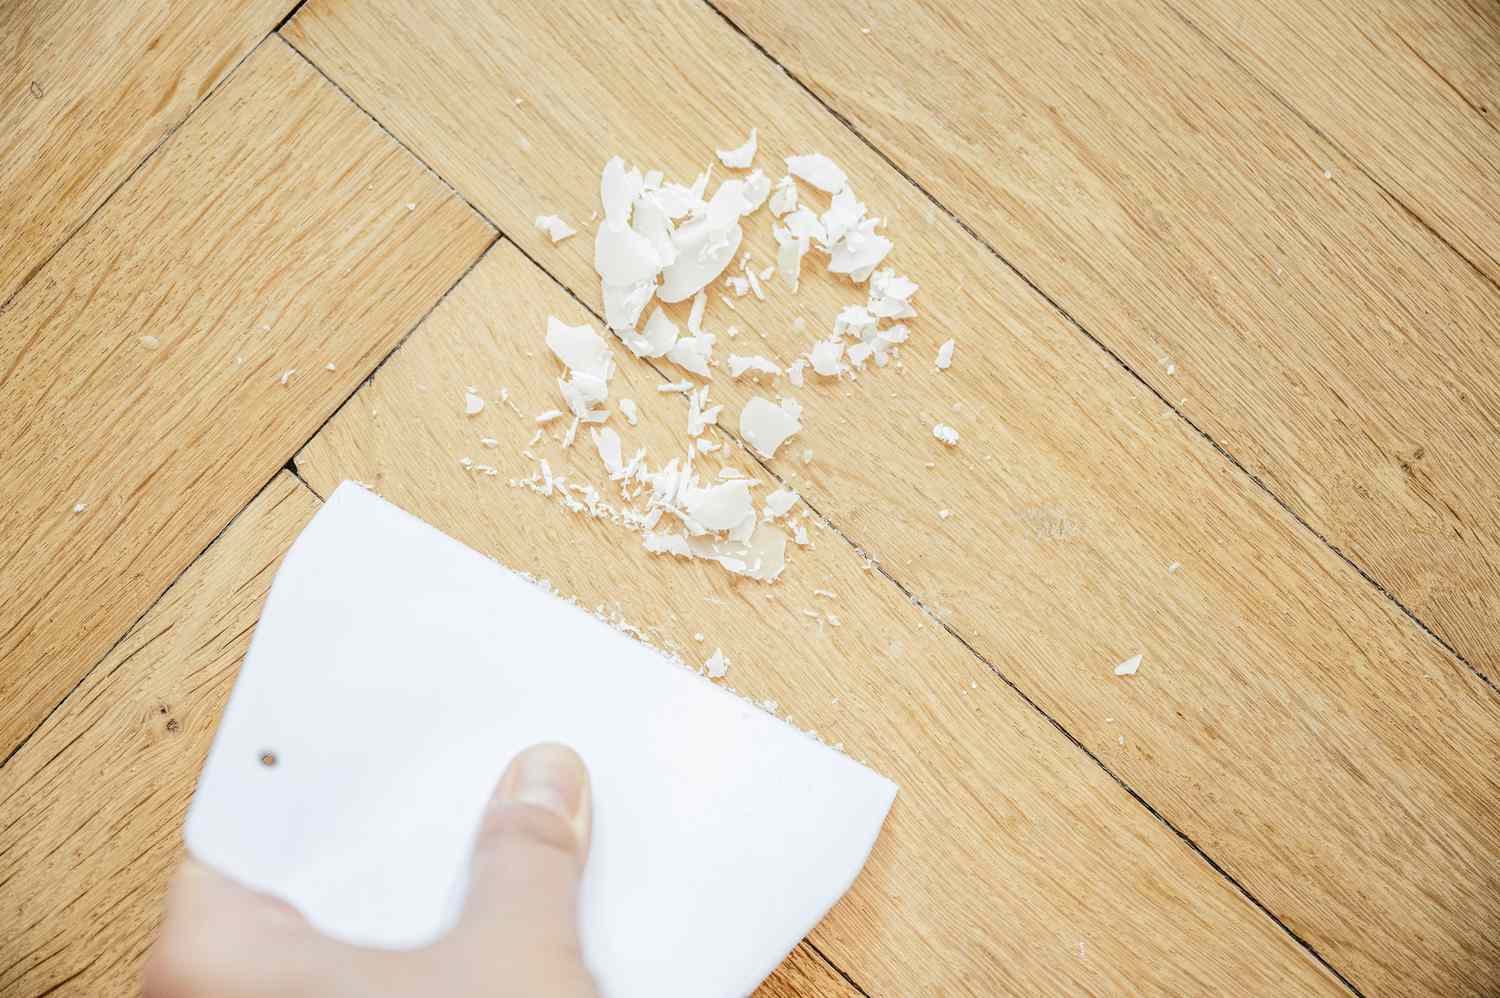
Step 1: Scrape off Excess Wax
The first step in removing hair removal wax from your floor is to scrape off as much of the excess wax as possible. This will help minimize the amount of wax you need to melt and remove later on. Follow these steps to effectively scrape off the excess wax:
1. Begin by letting the wax cool and harden completely. This will make it easier to handle and scrape off without smearing it further.
2. Once the wax is hardened, take a scraping tool, such as a plastic putty knife or spatula, and gently pry up a corner of the wax.
3. Apply light pressure and slowly slide the scraping tool underneath the wax, lifting it off the floor’s surface. Be careful not to scratch or damage the floor in the process. Continue scraping until you have removed as much of the excess wax as possible.
4. If the wax is particularly stubborn or hard to remove, you can try chilling it with an ice pack or an ice cube wrapped in a cloth. This can help harden the wax even more, making it brittle and easier to scrape off.
5. After scraping off the wax, dispose of it properly. Do not flush it down the toilet or pour it down the drain, as it can cause clogs.
Snippet:
The first step in removing hair removal wax from your floor is to scrape off as much of the excess wax as possible. Begin by letting the wax cool and harden completely, then use a scraping tool, like a plastic putty knife or spatula, to gently pry up a corner of the wax. Apply light pressure and slowly slide the scraping tool underneath the wax, lifting it off the floor’s surface. If the wax is stubborn, you can try chilling it with ice to make it more brittle. After scraping off the wax, dispose of it properly. This step will minimize the amount of wax you need to remove later on and make the process easier.
Step 2: Apply Heat to the Wax
After scraping off the excess wax, the next step is to apply heat to the remaining wax residue. Heating the wax will soften it, making it easier to remove from the floor. Here’s how to apply heat effectively:
1. Choose the appropriate heat source based on your floor type. For hard surfaces like tile or laminate, you can use an iron. Set the iron to a low to medium heat setting without steam. For more delicate surfaces like hardwood, use a hairdryer on the low heat setting.
2. Plug in the iron or turn on the hairdryer and give it a few minutes to warm up.
3. Hold the iron or hairdryer a few inches above the wax residue. Move it in a slow and circular motion, evenly distributing the heat.
4. As the wax begins to soften, you will notice it melting and becoming more pliable. Avoid leaving the heat source in one spot for too long to prevent damage to the floor.
5. Use a clean cloth or paper towel to gently blot and lift away the melted wax. Be careful not to rub the wax into the floor, as this can spread it further.
6. Continue applying heat and blotting until you have removed as much of the wax residue as possible.
7. If the wax starts to harden again during the process, reapply heat as needed to keep it soft and manageable.
Snippet:
After scraping off the excess wax, the next step is to apply heat to the remaining residue. Choose the appropriate heat source for your floor type, such as an iron for hard surfaces or a hairdryer for delicate surfaces. Hold the heat source a few inches above the wax residue and move it in a circular motion to evenly distribute the heat. As the wax softens, carefully blot and lift away the melted wax using a clean cloth or paper towel. Avoid rubbing the wax into the floor. Continue applying heat and blotting until you have removed as much wax residue as possible. If the wax hardens, reapply heat as needed. Applying heat will make the wax more pliable and easier to remove.
Step 3: Remove Residue with Vinegar Solution
Once you have softened the wax residue with heat, the next step is to remove the remaining residue using a vinegar solution. Vinegar is a natural and effective cleaner that can help dissolve the wax and leave your floor sparkling clean. Follow these steps to remove the residue using a vinegar solution:
1. Mix equal parts white vinegar and hot water in a bucket or bowl. The acidity of vinegar will help break down the wax residue without causing any damage to most types of flooring.
2. Soak a clean cloth or sponge in the vinegar solution. Make sure it’s not dripping wet, but well-saturated.
3. Gently scrub the wax residue with the vinegar-soaked cloth or sponge. Apply light pressure and work in small circular motions to lift the wax from the floor’s surface.
4. Continue scrubbing until you have removed as much of the residue as possible. Rinse the cloth or sponge frequently and wring it out to remove excess moisture and wax.
5. If the residue is stubborn, you can add a small amount of mild dish soap to the vinegar solution for extra cleaning power. Make sure to rinse the area thoroughly after cleaning to remove any soap residue.
6. Once you have removed the wax residue, use a clean cloth or paper towels to dry the floor.
7. Inspect the floor closely for any remaining wax residue. If necessary, repeat the vinegar solution cleaning process until the floor is completely free from wax.
Snippet:
To remove the remaining wax residue, create a vinegar solution by mixing equal parts white vinegar and hot water. Soak a cloth or sponge in the solution, then gently scrub the residue using small circular motions. Rinse the cloth or sponge frequently to remove excess wax. If the residue is stubborn, adding mild dish soap to the solution can provide extra cleaning power. Dry the floor with a clean cloth or paper towels after removing the residue. Inspect the floor for any remaining wax, and repeat the cleaning process if necessary. The vinegar solution effectively dissolves the wax residue, leaving your floor clean and free from any sticky residue.
Step 4: Clean the Floor Thoroughly
After removing the wax residue, it is important to thoroughly clean the floor to ensure that no traces of wax or cleaning agents remain. This step will leave your floor looking fresh and pristine. Follow these steps to clean the floor thoroughly:
1. Fill a bucket with warm water and add a small amount of mild dish soap. Mix until suds form.
2. Dip a mop or sponge into the soapy water solution and wring out any excess liquid. You want the mop or sponge to be slightly damp, not dripping wet.
3. Start mopping the entire floor, paying extra attention to the areas where the wax residue was present. Move the mop or sponge in a back-and-forth or circular motion, working your way across the floor.
4. Rinse the mop or sponge frequently in the soapy water solution and continue mopping until the entire floor is clean. Avoid using excessive water, as it may damage certain types of flooring.
5. If the floor has any stubborn stains or spots, you can spot clean them using a cloth or sponge soaked in the soapy water solution.
6. Once you have thoroughly cleaned the floor, rinse out the mop or sponge and fill the bucket with clean water.
7. Use the clean water to rinse the entire floor, removing any remaining soap or cleaning solution.
8. Dry the floor using a clean cloth or allow it to air dry completely.
Snippet:
After removing the wax residue, it’s important to thoroughly clean the floor to eliminate any traces of wax or cleaning agents. Create a soapy water solution by mixing mild dish soap with warm water. Dip a mop or sponge into the solution and wring out excess liquid. Begin mopping the entire floor, focusing on the areas where the wax residue was present. Rinse the mop or sponge frequently and continue mopping until the floor is clean. For stubborn stains, spot clean with a soapy water solution. Rinse the floor with clean water to remove any residue. Dry the floor using a clean cloth or allow it to air dry. Thorough cleaning will ensure that your floor is free from any remaining wax or cleaning solution, leaving it looking fresh and spotless.
Step 5: Polish and Restore the Floor
After cleaning the floor and ensuring that all wax residue has been removed, it’s time to polish and restore the floor’s natural shine. This step will help revive the appearance of the floor and give it a polished finish. Follow these steps to polish and restore your floor:
1. Determine the appropriate polishing agent for your specific floor type. Different types of flooring, such as hardwood, laminate, or tile, may require different products. Consult the manufacturer’s recommendations or seek advice from a professional if you are unsure.
2. Apply a small amount of the polishing agent to a clean, dry microfiber cloth. Make sure to follow the product instructions to achieve the best results.
3. Gently rub the polishing agent onto the floor, working in small sections. Use circular motions to evenly distribute the product and restore the floor’s shine.
4. Pay special attention to areas that may have been affected by the wax removal process, as they may appear dull or lackluster.
5. Continue polishing the floor until you have covered the entire surface, ensuring that the polishing agent is evenly applied.
6. Allow the polish to dry according to the product instructions. This will usually take a few minutes.
7. Once the polish is dry, use a clean microfiber cloth to buff the floor in the same circular motions. This will further enhance the shine and remove any excess residue.
8. Inspect the floor closely to ensure that the polish has been evenly applied and the surface has a renewed luster.
Snippet:
With the wax residue removed and the floor cleaned, it’s time to polish and restore its natural shine. Determine the appropriate polishing agent for your floor type and apply it to a clean, dry microfiber cloth. Gently rub the polishing agent onto the floor in small sections, using circular motions. Pay attention to areas affected by the wax removal process. Continue polishing until the entire floor is covered. Allow the polish to dry and then buff the floor using a clean microfiber cloth. This will enhance the shine and remove any residue, leaving your floor looking revitalized. Inspect the floor to ensure that the polish has been evenly applied and the surface has a renewed luster. Polishing and restoring the floor will give it a polished finish and bring back its natural shine.
Conclusion
Removing hair removal wax from your floor may seem like a daunting task, but with the right supplies and techniques, it can be done effectively. By following the step-by-step process outlined in this guide, you can safely remove the wax residue and restore the beauty of your floor.
Start by scraping off the excess wax using a scraping tool, being careful not to damage the floor. Applying heat to the remaining wax residue will soften it, making it easier to remove. Use an iron or hairdryer to melt the wax and blot it away with a clean cloth or paper towel.
Afterwards, remove any remaining residue with a vinegar solution. The acidity of white vinegar helps dissolve the wax without harming the floor. Scrub the floor with a vinegar-soaked cloth or sponge, rinsing frequently to remove the residue.
Next, thoroughly clean the entire floor with a mild dish soap and water solution. Mop the floor and rinse with clean water to ensure that all cleaning agents are removed.
Finally, polish and restore the floor to its former glory. Use a suitable polishing agent for your floor type and apply it with a microfiber cloth. Buff the floor to achieve a shiny and polished finish.
By following these steps, you can successfully remove hair removal wax from your floor and maintain its pristine condition. Remember to always refer to the manufacturer’s guidelines for your specific floor type and take extra precautions to prevent any damage during the wax removal process.
With a little patience and the right approach, you can have a clean, wax-free floor that looks as good as new. So, don’t let a wax spill dampen your spirits. Take action and restore the beauty of your floor today!
Snippet:
Removing hair removal wax from your floor can be achieved through a step-by-step process that involves scraping off excess wax, applying heat, removing residue with a vinegar solution, thoroughly cleaning the floor, and finally, polishing and restoring its shine. By following these steps and using the necessary supplies, you can effectively remove the wax and restore the beauty of your floor. With a little effort and attention to detail, your floor can be wax-free and looking as good as new. Take action and restore the beauty of your floor today!