Home>How-to Guides>For Men>How To Make Boxer Briefs

For Men
How To Make Boxer Briefs
Modified: August 26, 2023
Learn how to make high-quality boxer briefs for men with our step-by-step guide. Get the perfect fit and comfort with these DIY boxer briefs.
(Many of the links in this article redirect to a specific reviewed product. Your purchase of these products through affiliate links helps to generate commission for Under-tec.com, at no extra cost. Learn more)
Table of Contents
Introduction
Welcome to the world of DIY fashion! In this article, we are going to show you how to make your own boxer briefs. Whether you’re tired of spending a fortune on store-bought underwear or just want to add a personal touch to your wardrobe, this step-by-step guide will help you create custom-fitted and stylish boxer briefs.
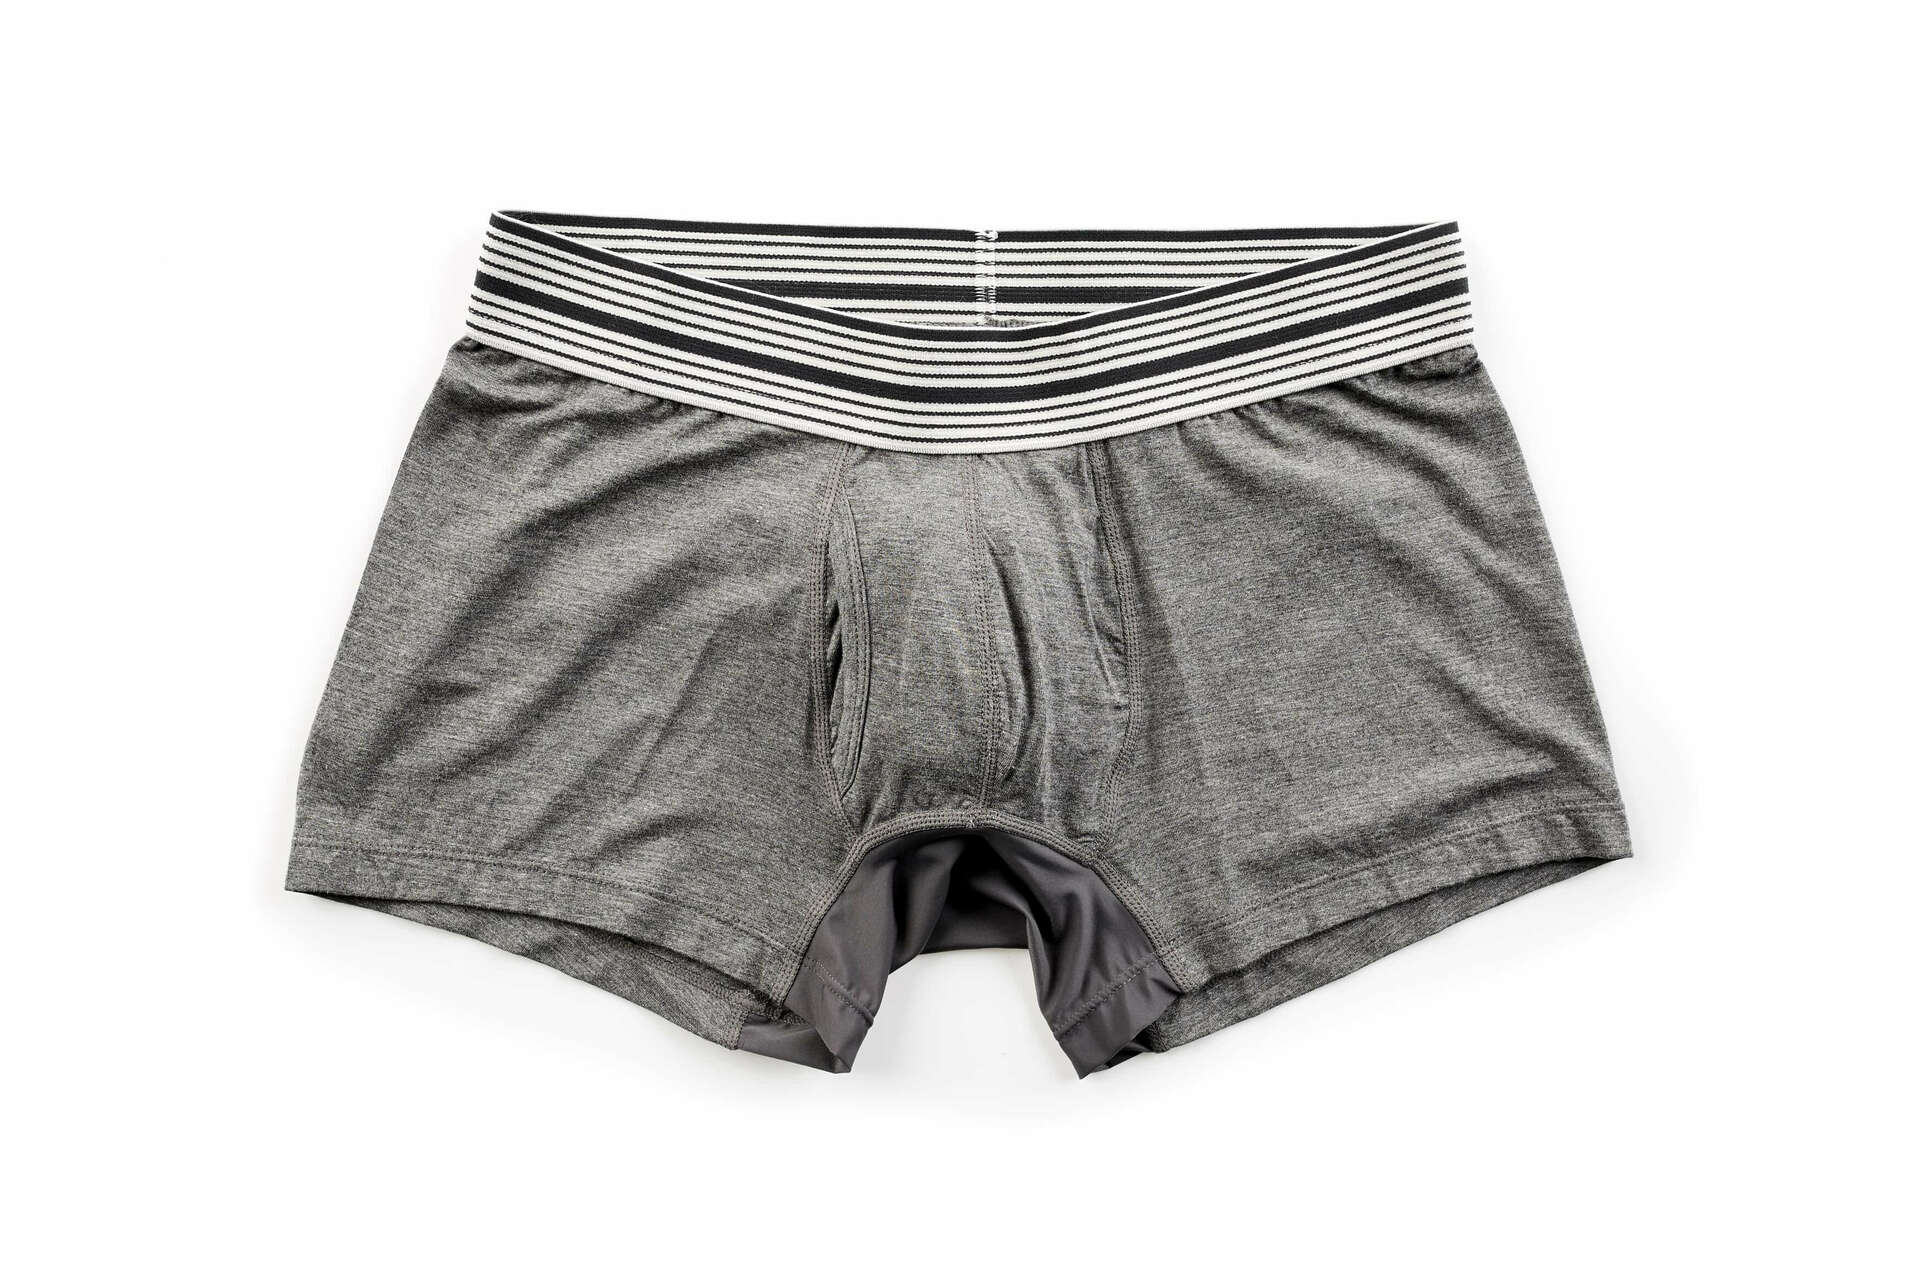
Boxer briefs are a popular choice for men as they combine the support of briefs with the comfort and coverage of boxers. By making your own, you can choose the perfect fabric, customize the fit, and even add fun patterns or designs to reflect your personal style.
Don’t worry if you’re new to sewing; making boxer briefs is a beginner-friendly project that doesn’t require advanced skills or complicated techniques. With just a few basic materials and a sewing machine, you’ll be well on your way to creating your very own pair of comfortable and fashionable underwear.
Not only is making your own boxer briefs cost-effective, but it also allows you to take control of the quality and durability of the garment. You’ll have complete control over the fabric choice, ensuring that you select a soft and breathable material that suits your preferences. Additionally, by using high-quality thread and sewing techniques, you can guarantee that your boxer briefs will last longer than store-bought alternatives.
Ready to get started on this exciting DIY adventure? Grab your measuring tape, fabric, and sewing machine, and let’s dive into the step-by-step process of making your very own boxer briefs!
Materials Needed
Before you begin making your own boxer briefs, gather the following materials:
- A soft and comfortable fabric of your choice, such as cotton or jersey. Choose a fabric that has a little stretch to ensure a snug fit.
- Elastic for the waistband and leg openings. Look for elastic that is around 1 inch wide for a secure and comfortable fit.
- Thread that matches your fabric. It’s important to use a high-quality, durable thread to ensure your boxer briefs withstand regular wear and washing.
- A sewing machine. While it is possible to sew boxer briefs by hand, a sewing machine will give you professional-looking results in less time.
- Pins or clips to hold the fabric in place while sewing.
- A fabric marker or chalk to mark your measurements and sewing lines.
- A ruler or measuring tape to take accurate measurements.
- Scissors for cutting the fabric and elastic.
- A ruler or straight edge for drawing straight lines.
- An iron and ironing board for pressing the fabric.
Gathering all of these materials before you start will ensure a smooth and uninterrupted sewing process. Having everything at hand will minimize the need for searching and allow you to focus on creating your personalized boxer briefs.
Step 1: Taking Measurements
The first step in making your own boxer briefs is to take accurate measurements of your body. This will ensure that the finished garment fits you perfectly. Follow these steps to get precise measurements:
- Waist Measurement: Use a measuring tape to measure around your natural waistline, where your boxer briefs will sit comfortably.
- Hip Measurement: Measure around the fullest part of your hips, ensuring that the measuring tape is parallel to the ground.
- Thigh Measurement: Measure around the widest part of your thigh, taking care not to pull the measuring tape too tight.
- Rise Measurement: Measure from your natural waistline to the desired rise of your boxer briefs. The rise is the distance between the waistband and the crotch seam.
Once you have these measurements, it’s time to calculate the dimensions for the front and back panels of your boxer briefs. Divide the waist measurement by two and add 1 inch for ease. This will give you the width of each panel. For example, if your waist measurement is 32 inches, each panel should be 17 inches wide.
Next, measure the length from your natural waistline to your desired leg length. Add 1 inch for the hem allowance. This will give you the length of the panels.
Finally, measure the circumference of your thigh and subtract 1 inch for ease. This will give you the width of the leg openings.
By taking accurate measurements and calculating the panel dimensions, you can ensure that your boxer briefs will fit you comfortably and provide the desired level of coverage and support. Taking the time to get these measurements right will result in a pair of boxer briefs that you’ll love wearing.
Step 2: Cutting the Fabric
Now that you have the measurements for your boxer briefs, it’s time to cut the fabric. Follow these steps:
- Prepare your fabric by washing and drying it according to the manufacturer’s instructions. This will prevent any shrinkage after sewing.
- Lay out your fabric on a flat surface, making sure it is smooth and free of wrinkles.
- Using your fabric marker or chalk, mark the dimensions for the front and back panels based on the measurements you took in Step 1. Use a ruler or straight edge to draw straight lines.
- Next, measure and mark the dimensions for the leg openings on the bottom corners of the front and back panels. These measurements should be half the width of your thigh measurement.
- Carefully cut along the marked lines to separate the front and back panels of your boxer briefs.
Ensure that you cut the fabric accurately and smoothly to avoid any uneven edges or imperfections that may affect the final fit and appearance of your boxer briefs.
Remember to label each cut piece of fabric to avoid confusion during the sewing process. You can use small pieces of scrap fabric or sticky notes to indicate which panel is the front and back.
Now that you have your fabric panels ready, move on to the next step of sewing the front panel of your boxer briefs.
Step 3: Sewing the Front Panel
With the fabric panels cut, it’s time to start sewing your boxer briefs. Follow these steps to sew the front panel:
- Grab the front panel piece of fabric and fold it in half, right sides facing each other.
- Align the raw edges of the fabric and pin or clip them in place to secure.
- Using a sewing machine and a straight stitch, sew along the raw edges, leaving about a 1/2-inch seam allowance. Backstitch at the beginning and end to secure the stitches.
- Once you’ve sewn the side seams, press them open with an iron to create a smooth finish.
- Turn the fabric right side out, and you’ll see the front panel of your boxer briefs taking shape.
Make sure to sew with even seam allowances and maintain a consistent stitch length for a polished and professional look.
By sewing the front panel first, you’re setting the foundation for the rest of the boxer briefs. This panel will provide the support and structure needed for a comfortable fit. Once the front panel is complete, you can move on to sewing the back panel in the next step.
Step 4: Sewing the Back Panel
Now that you have completed the front panel of your boxer briefs, it’s time to sew the back panel. Follow these steps:
- Take the back panel piece of fabric and fold it in half, right sides facing each other, just like you did with the front panel.
- Align the raw edges of the fabric and pin or clip them in place.
- Using a sewing machine and a straight stitch, sew along the raw edges, leaving about a 1/2-inch seam allowance. Remember to backstitch at the beginning and end to secure the stitches.
- Press the side seams open with an iron to create a neat appearance.
- Like with the front panel, turn the fabric right side out to reveal the back panel of your boxer briefs.
By sewing the back panel, you’re creating the portion of the boxer briefs that will provide coverage and shape to the rear. This step is crucial for achieving a well-fitted and comfortable end result.
Throughout the sewing process, make sure to handle the fabric with care and maintain consistent seam allowances to ensure a professional finish. Taking the time to sew with precision will yield boxer briefs that not only fit well but also look great.
Once you’ve completed sewing the back panel, you’re ready to move on to the next step of attaching the waistband.
Step 5: Attaching the Waistband
Attaching the waistband is an essential step in making your boxer briefs. It provides support and ensures a comfortable fit around your waist. Follow these steps to attach the waistband:
- Measure and cut a piece of elastic for the waistband. It should be the same length as your waist measurement, minus 2 inches to achieve a snug fit.
- Overlap the ends of the elastic by 1 inch and secure them together using a zigzag stitch on your sewing machine. This joint will create a smooth and secure waistband.
- Divide the elastic and the waistband opening of the boxer briefs into four equal sections and mark with pins or clips.
- Match up the pins or clips on the elastic with the corresponding marks on the waistband opening.
- Using a zigzag stitch, sew the elastic to the inside of the waistband, stretching it slightly as you sew. This will help the elastic gather the fabric and ensure a comfortable fit.
- Once you’ve sewn all the way around, trim any excess fabric and elastic, leaving a clean edge.
Attaching the waistband may seem tricky at first, but with practice, you’ll become more comfortable with the process. Make sure to sew the elastic securely but not too tightly, as you want the waistband to be comfortable and stretchy.
With the waistband attached, you’re one step closer to completing your very own custom boxer briefs. The next step is sewing the leg openings, which will provide the final touches to the garment.
Step 6: Sewing the Leg Openings
Now that you have attached the waistband, it’s time to focus on sewing the leg openings of your boxer briefs. This step is crucial for ensuring a comfortable and secure fit around your thighs. Follow these steps to sew the leg openings:
- Measure and cut two pieces of elastic for the leg openings. Each piece should be the same length as your thigh measurement, minus 1 inch.
- Overlap the ends of each piece of elastic by 1 inch and secure them together using a zigzag stitch, just like you did for the waistband.
- Pin or clip the elastic to the leg opening of one of the boxer briefs, aligning the raw edges.
- Using a zigzag stitch, sew the elastic to the inside of the leg opening, stretching it slightly as you sew. This will create a snug fit around your thighs.
- Repeat the same process for the other leg opening, ensuring that the elastic is evenly distributed and sewn securely.
- Trim any excess fabric and elastic, leaving a clean edge.
When sewing the leg openings, be careful not to pull the elastic too tightly, as it should provide a comfortable and flexible fit. Take your time to sew efficiently and maintain consistent stitch quality throughout the process.
Once you’ve completed sewing the leg openings, you’re nearing the final stages of making your custom boxer briefs. The last step involves adding any finishing touches or embellishments to personalize your garment.
Step 7: Adding Finishing Touches
With most of the construction completed, it’s time to add those final finishing touches to your homemade boxer briefs. These steps will enhance the overall appearance and durability of your garment:
- Inspect the seams for any loose threads and trim them as needed. This will give your boxer briefs a clean and polished look.
- If desired, you can reinforce the crotch area by stitching a double line of stitches along the seam. This will add extra strength and longevity to the garment.
- Try on the boxer briefs and check the fit. Make any necessary adjustments, such as trimming the length or taking in the sides, to achieve your preferred fit.
- Once you’re satisfied with the fit, fold over and press the waistband and leg openings. This will create a neat and finished appearance.
- For added comfort, you can also topstitch along the waistband and leg openings, about 1/4 inch from the edge. This will help the fabric lay flat and prevent the elastic from twisting or rolling.
- Finally, give your boxer briefs a final press with an iron to ensure all seams are flat and any wrinkles are eliminated.
Adding these finishing touches will elevate the overall quality and appearance of your homemade boxer briefs. Taking the time to pay attention to these details will make your garment look professionally-made and increase its durability over time.
Now that you’ve completed the final steps, it’s time to step back and admire your handiwork. You have successfully made your own customized pair of boxer briefs, tailored to your measurements and style.
Remember to wash and care for your boxer briefs according to the fabric’s instructions to ensure they stay in good condition for a long time to come. Enjoy wearing your one-of-a-kind creation!
Conclusion
Congratulations! You have successfully completed the journey of making your own boxer briefs. By following this step-by-step guide, you’ve learned how to measure, cut, and sew fabric to create a personalized and comfortable garment.
Making your own boxer briefs not only allows you to save money but also gives you the freedom to choose the fabric, fit, and style that best suits your preferences. You can create a unique wardrobe staple that reflects your personality and provides optimal support and comfort.
Throughout this process, you’ve acquired valuable sewing skills and knowledge. From taking accurate measurements to sewing different panels and attaching elastic, you’ve gained hands-on experience that can be applied to future sewing projects.
Remember to take your time and pay attention to detail. Sewing is both a skill and an art, and practice will only make you better. Don’t hesitate to experiment with different fabrics, colors, and patterns to create a collection of boxer briefs that truly stands out.
Now that you have the skills to make your own boxer briefs, you can confidently embark on more DIY fashion projects. From creating t-shirts and pajama pants to sewing accessories and embellishments, the possibilities are endless.
So embrace your creativity, unleash your sewing talents, and enjoy the satisfaction that comes with wearing something you’ve made with your own two hands. With a little time and effort, you can continue to expand your handmade wardrobe and express your unique style.
Happy sewing!

