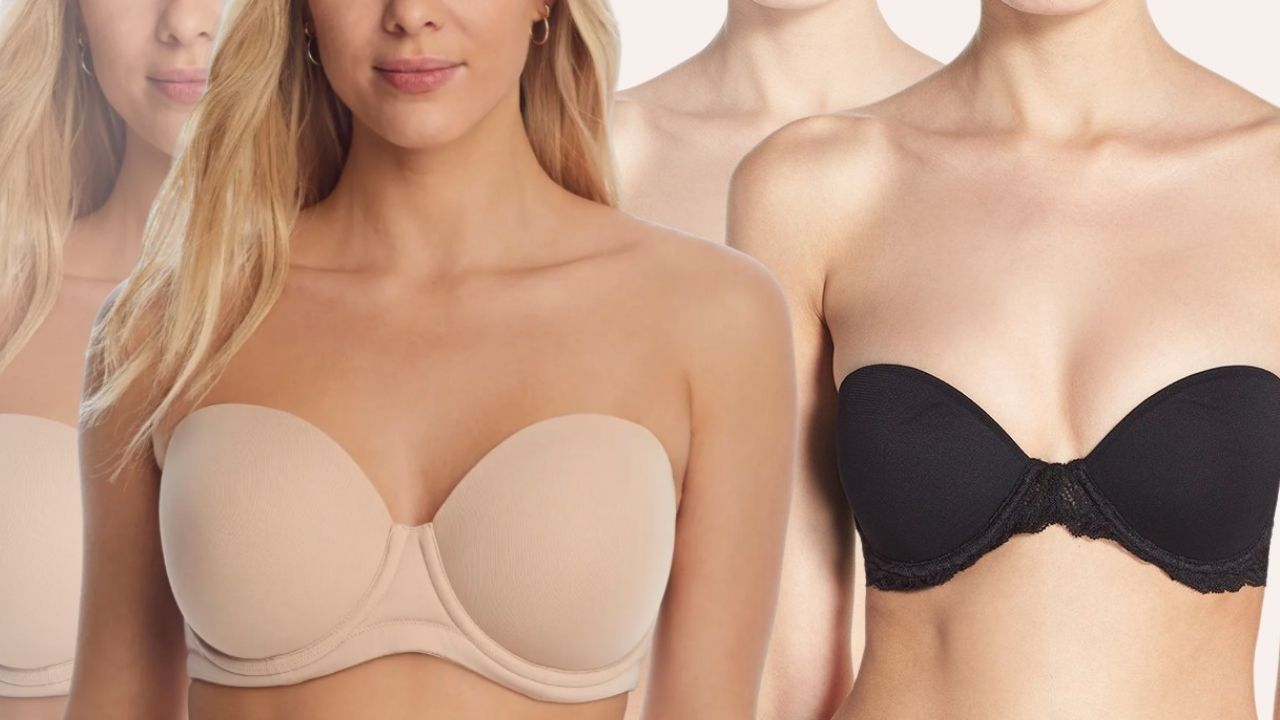
Home>How-to Guides>For Women>How To Turn A Bra Into A Strapless Bra

For Women
How To Turn A Bra Into A Strapless Bra
Modified: August 26, 2023
Discover how to transform your regular bra into a comfortable and stylish strapless bra for women. Step-by-step guide for a convenient fashion hack.##
(Many of the links in this article redirect to a specific reviewed product. Your purchase of these products through affiliate links helps to generate commission for Under-tec.com, at no extra cost. Learn more)
Table of Contents
Introduction
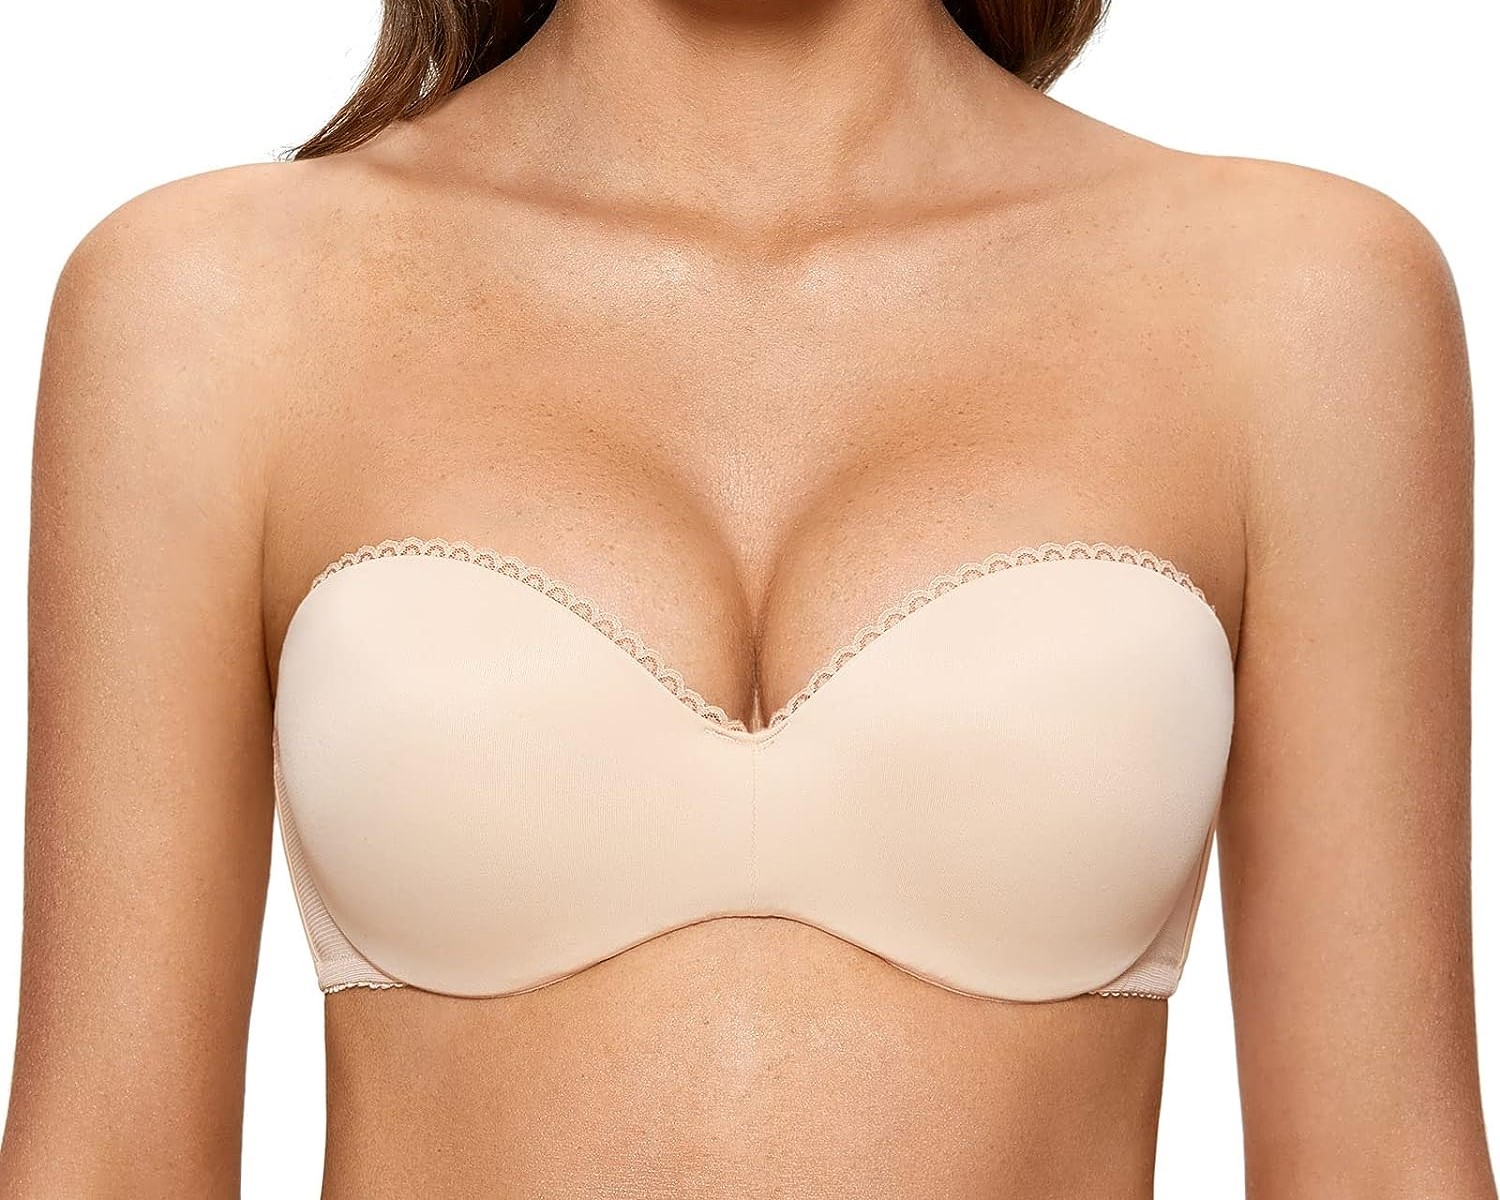
Every woman knows that finding the perfect bra can be a challenge. But what happens when you have a beautiful bra with straps that just don’t work with your outfit? Instead of resigning yourself to a day of discomfort or completely forgoing your favorite bra, why not learn how to turn a regular bra into a strapless bra?
Converting a bra into a strapless style not only gives you more versatility in your wardrobe choices, but it can also save you money by repurposing a bra that you already own. With just a few simple steps, you can transform your bra into a strapless option that provides the support and comfort you need.
In this article, we will guide you through the process of turning a regular bra into a strapless bra. We will cover everything from choosing the right bra to properly attaching and adjusting the shoulder straps. So, if you’re ready to unlock the potential of your bra collection, let’s get started!
Choosing the Right Bra
Before you begin the process of converting a regular bra into a strapless bra, it’s important to choose the right bra as your starting point. Not all bras are suitable for this transformation, so follow these guidelines to ensure success:
- Supportive Structure: Look for a bra that offers good support and has a sturdy underwire. This will ensure that your strapless bra will have the necessary structure to provide lift and support.
- Smooth Cups: Opt for a bra with smooth, seamless cups to avoid any visible lines or textures showing through your clothing. A seamless cup will give a more polished look when the straps are removed.
- Good Fit: It is crucial to choose a bra that fits you well in the band and cup size. A bra that is too tight or too loose will not only be uncomfortable but may also affect the success of your strapless conversion.
- Convertible Option: If possible, select a bra that already has detachable straps or a convertible design. This style of bra is designed to be worn with or without straps, making the conversion process easier.
Once you have found the right bra, you are ready to move on to the next step of converting it into a strapless bra.
Gather the Necessary Materials
Before you begin the process of transforming your bra into a strapless style, make sure you have all the necessary materials at hand. Having everything ready will ensure a smoother and more efficient process. Here are the materials you will need:
- Scissors: You will need a good pair of scissors to cut any necessary straps or extra fabric during the conversion process.
- Matching Thread: Choose a thread color that matches your bra to ensure a seamless finish. It’s best to use a strong thread to ensure durability.
- Pins: Having some pins handy will help keep the bra fabric in place while you work on it. These will come in handy when aligning the cups or attaching the shoulder straps.
- Elastic Band: You may need a thin elastic band to add extra support at the back of the bra. This will help keep it in place when wearing it as a strapless bra.
- Needle: A needle will be useful for hand-sewing certain parts of the bra, such as attaching the shoulder straps or securing the elastic band.
- Measuring Tape: It’s always helpful to have a measuring tape on hand to ensure precision and accuracy when making adjustments to the bra.
Make sure you have all these materials ready before you begin altering your bra. This will save you time and make the process much smoother.
Removing the Bra Straps
The first step in turning your regular bra into a strapless bra is to remove the bra straps. Follow these steps to do it correctly:
- Put on the bra and adjust the shoulder straps to a comfortable length.
- If your bra has detachable straps, unhook them from the back of the bra and set them aside. If the straps are not detachable, proceed to the next step.
- Locate the attachment point of the bra straps on each side of the bra. It’s usually near the cup or at the back of the bra.
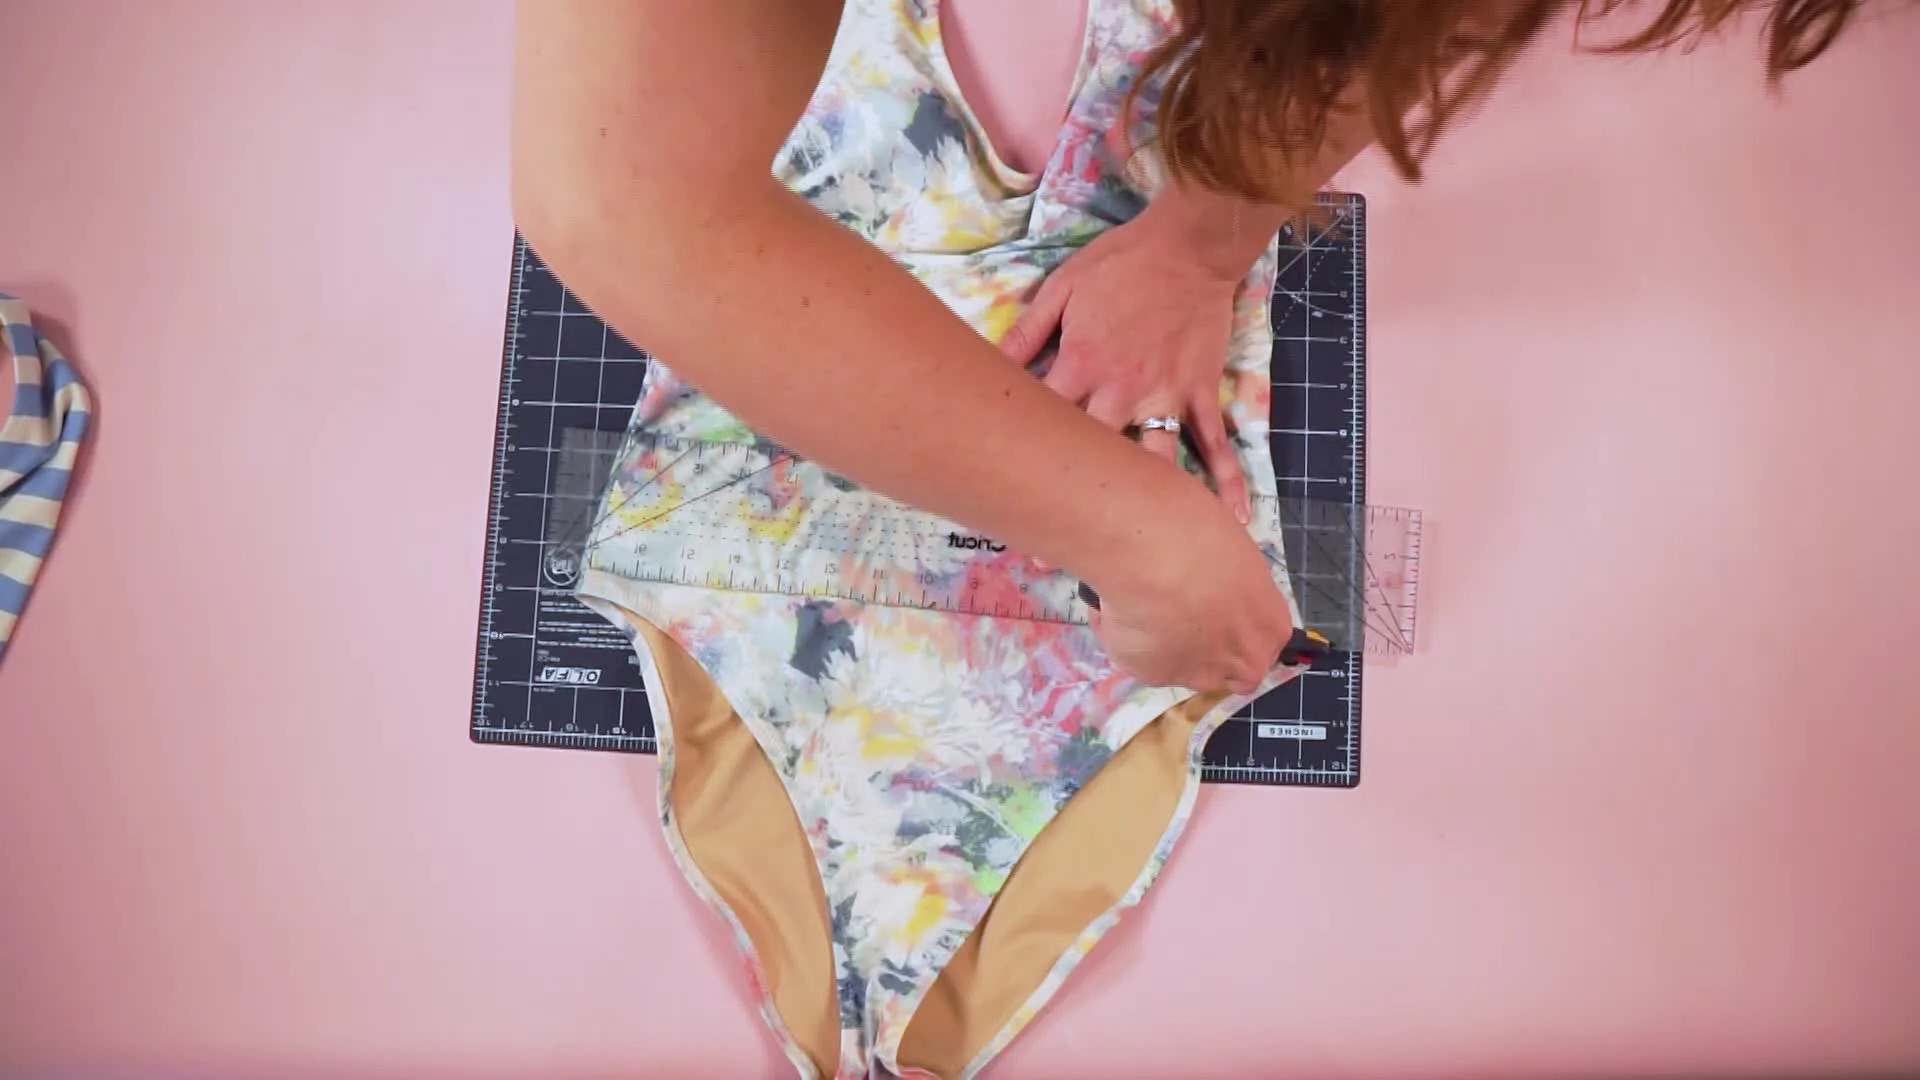
- Using a pair of scissors, carefully cut through the stitching that holds the straps to the bra. Take care not to cut through the main fabric of the bra.
- Remove any excess thread or fabric from the attachment points to ensure a clean finish.
- Repeat the process on the other side of the bra to completely remove both straps.
Once you have successfully removed the bra straps, you’re one step closer to having your strapless bra. Now, let’s proceed to the next step!
Sewing the Bra Cups Together
Once the straps have been removed from your bra, the next step is to sew the bra cups together. This will create a seamless look and provide the necessary support when wearing the bra as a strapless style. Follow these steps to sew the bra cups together:
- Put on the bra and adjust the cups so they are positioned correctly on your breasts.
- Use pins to hold the cups in place, ensuring they are aligned properly.
- Thread your needle with matching thread and knot the end.
- Starting from one side of the center gore, begin sewing the two cups together using small, discreet stitches. Be sure to sew through both layers of fabric to create a secure bond.
- Continue sewing along the top edge of the cups, using even stitches and maintaining the alignment as you go.
- If there is excess fabric or padding between the cups, you may need to trim it or stitch it down to create a smoother, more seamless look.
- Once you have stitched the cups together, tie off the thread and cut any excess.
It is important to sew the cups together securely to ensure that they do not come apart when wearing the strapless bra. Take your time and pay attention to detail to achieve a professional-looking finish.
Making and Attaching the Shoulder Straps
After sewing the bra cups together, the next step is to make and attach shoulder straps to your strapless bra. This will provide extra support and ensure a secure fit. Follow these steps to create and attach the shoulder straps:
- Using a measuring tape, determine the desired length of your shoulder straps. Keep in mind that they should be adjustable to accommodate different outfits and personal preferences.
- Cut two pieces of elastic band to the desired length for your shoulder straps.
- Take one end of an elastic band and fold it over by about half an inch. Sew across the folded end to secure it.
- Attach the folded end of the elastic band to the side of the bra cup where the strap was originally attached. Sew it in place, making sure to sew through both layers of fabric for added stability.
- Repeat the process on the other side of the bra cup with the second elastic band.
- Try on the strapless bra and adjust the shoulder straps to the desired length. Make sure they are evenly positioned and provide a comfortable fit.
- If necessary, sew a small elastic loop onto the back center of the bra to help secure the shoulder straps and prevent them from slipping off.
Creating and attaching the shoulder straps will give your strapless bra the support and security it needs, allowing you to confidently wear it all day long.
Testing and Adjusting the Strapless Bra
Once you have completed the steps to convert your regular bra into a strapless style and have attached the shoulder straps, it is time to test and make any necessary adjustments. Follow these guidelines to ensure the strapless bra fits correctly:
- Put on the strapless bra and check if it feels secure and supportive. Move around and perform different movements to ensure it stays in place.
- Adjust the length of the shoulder straps as needed to achieve the desired fit and level of support. They should not be too tight or digging into your shoulders, nor too loose and sliding off.
- If the bra feels too loose around the band, you can consider adding a thin elastic band to the back for extra support. Simply sew it in place so that it sits snugly against your skin.
- Check for any areas of discomfort or pressure points on your skin. If you notice any, make small adjustments to the bra to alleviate the discomfort.
- Test the strapless bra with different outfits to see how it looks and feels. Make sure it remains invisible under clothing and provides the desired lift and shape.
- If you encounter any issues or discomfort, don’t hesitate to make further adjustments or consult a professional tailor for assistance.
Remember, the success of your strapless bra conversion lies in the fit and comfort it provides. Take the time to test and adjust the bra until you are satisfied with the results.
Conclusion
Converting a regular bra into a strapless bra is a practical and cost-effective way to maximize the use of your lingerie collection. By following the steps outlined in this article, you can transform your bra into a versatile and comfortable strapless option.
Remember to choose a bra with a supportive structure, smooth cups, and a good fit as your starting point. Gather all the necessary materials before you begin the conversion process to ensure a smooth and efficient experience.
Start by removing the bra straps carefully, then sew the bra cups together to create a seamless look. Next, make and attach the shoulder straps, ensuring they are adjustable and provide the desired level of support.
Once the strapless bra is complete, it’s important to test and make any necessary adjustments. Ensure the bra fits securely, feels comfortable, and remains invisible under different outfits. If needed, you can add additional support with a thin elastic band.
With your newly converted strapless bra, you can confidently wear a variety of outfits without compromising on comfort or style. Take pride in your resourcefulness and creativity in repurposing your existing lingerie pieces.
So, go ahead and give it a try – unlock the potential of your bra collection by turning them into versatile and fashionable strapless options!
