Home>How-to Guides>For Women>How To Make A Bodysuit

For Women
How To Make A Bodysuit
Published: July 31, 2023
Learn how to make a stylish bodysuit for women with our step-by-step tutorial. Create a flattering and comfortable garment to suit any occasion.
(Many of the links in this article redirect to a specific reviewed product. Your purchase of these products through affiliate links helps to generate commission for Under-tec.com, at no extra cost. Learn more)
Table of Contents
Introduction
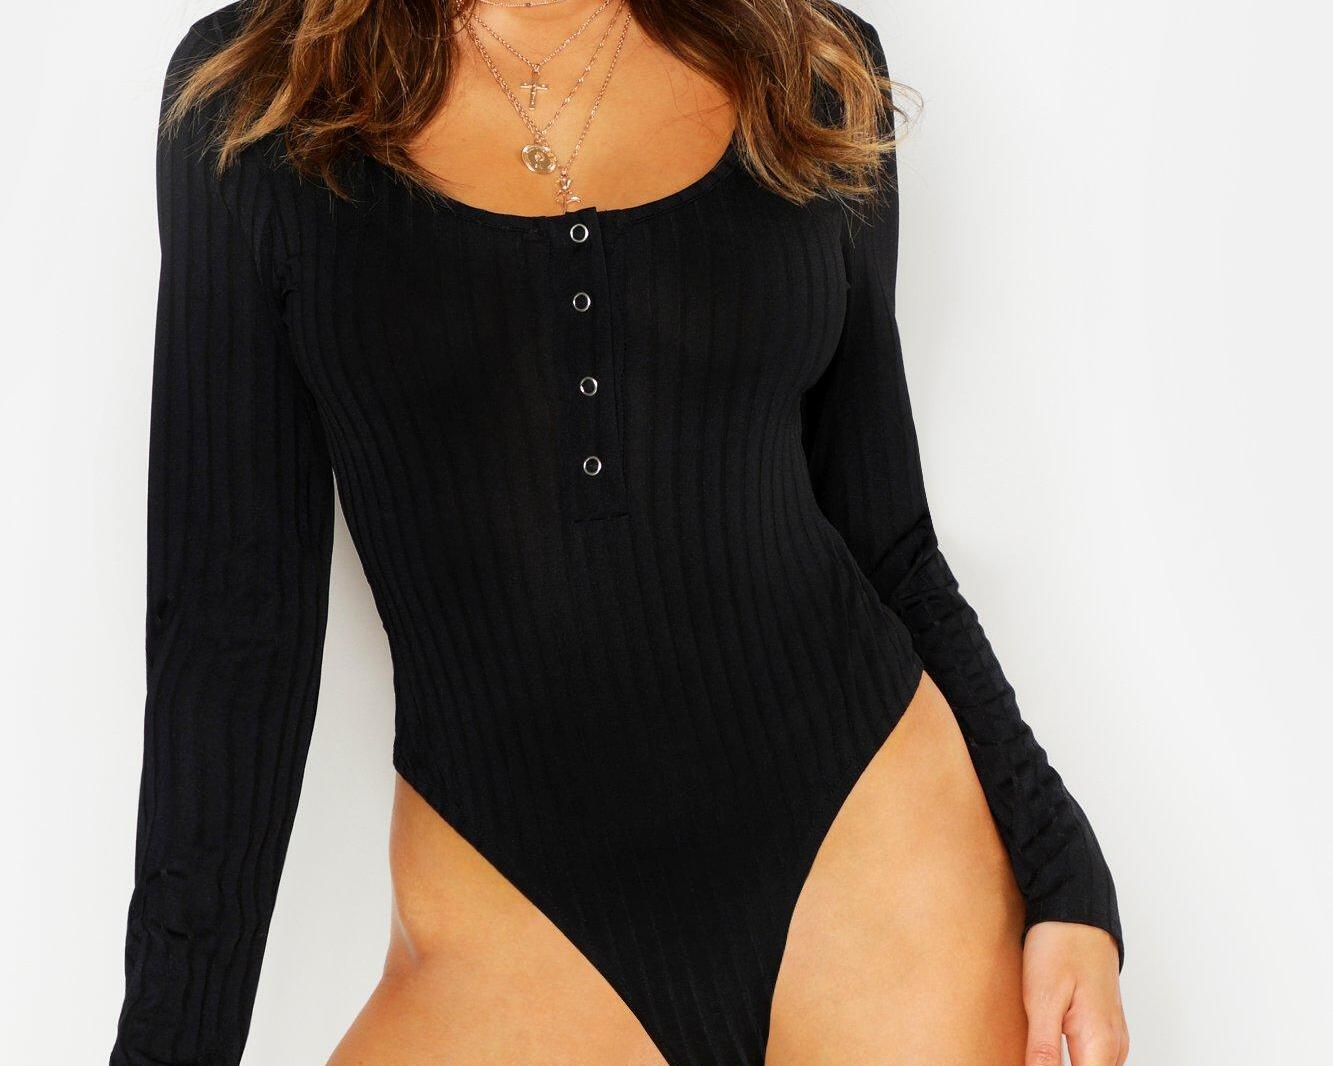
Welcome to the world of bodysuits! A bodysuit is a versatile and stylish clothing option that is gaining popularity among women of all ages. Whether you’re looking for a sleek and form-fitting style or a comfortable and casual option, a DIY bodysuit allows you to tailor the design to your exact preferences. In this article, we will guide you through the process of making a bodysuit from scratch, providing you with the necessary steps and materials needed.
Creating your own bodysuit not only allows you to express your personal style, but it also gives you the freedom to customize the fit and fabric choice. Whether you’re a novice or an experienced seamstress, this article will provide you with all the information you need to successfully make your own bodysuit.
From taking accurate measurements to choosing the perfect fabric, creating a bodysuit requires attention to detail and a good understanding of sewing techniques. Don’t worry if you’re new to sewing – we will break down the process step by step, making it easy for beginners to follow along.
So, grab your sewing machine, gather your supplies, and let’s dive into the wonderful world of DIY bodysuits. Get ready to unleash your creativity and craft a fashionable piece that perfectly suits your unique style. With a little patience and determination, you’ll soon have a one-of-a-kind bodysuit that you can proudly wear wherever you go.
Materials Needed
Making a bodysuit requires a few essential materials that you’ll need to gather before getting started. Here’s a list of the materials you’ll need:
- Fabric: Choose a fabric that has a good amount of stretch, such as spandex, cotton-spandex blend, or nylon-spandex blend. Make sure to consider the color or pattern that you want for your bodysuit.
- Elastic: You’ll need elastic for the leg openings, armholes, and neckline to ensure a snug fit without being too tight.
- Thread: Select a thread color that matches or complements your fabric choice.
- Snaps or zippers: Depending on your preferred closure method, you’ll need snaps or zippers to fasten the crotch area of the bodysuit.
- Measuring tape: A flexible measuring tape is essential for taking accurate measurements of your body.
- Pins: Use pins to hold the fabric in place while cutting and sewing.
- Scissors: Invest in a good pair of fabric scissors for cutting the fabric accurately.
- Sewing machine: While it is possible to sew a bodysuit by hand, using a sewing machine will save time and provide a more professional finish.
- Pattern paper: If you are not using a commercial pattern, you will need pattern paper to create the pattern for your bodysuit.
These are the basic materials you’ll need to make a bodysuit. Depending on your design preferences, you may also want to consider additional embellishments such as lace, ribbons, or appliques to add a personalized touch to your creation.
Now that you have all the necessary materials, let’s move on to the next step: taking accurate measurements to ensure a perfect fit for your bodysuit.
Step 1: Taking Measurements
Before you can start creating your bodysuit, it’s essential to take accurate measurements of your body. This step is crucial to ensure that your bodysuit fits you perfectly and flatters your figure. Here’s a guide on how to take the necessary measurements:
- Bust: Wrap the measuring tape around the fullest part of your bust, ensuring that it is parallel to the floor.
- Waist: Measure the narrowest part of your waist, usually around the belly button area.
- Hips: Measure the fullest part of your hips, ensuring that the measuring tape is parallel to the floor.
- Torso Length: Start from the shoulder and measure down to the crotch area, following the curve of your body.
- Leg Opening: Measure around the top of your thigh, where you would like the leg opening of your bodysuit to sit.
It’s important to note that these are general measurement guidelines, and you may need to take additional measurements depending on your body shape and the style of bodysuit you want to create. If you’re unsure about any measurements, don’t hesitate to seek assistance from a sewing professional or refer to online resources that provide detailed measurement guides.
Once you have all your measurements, be sure to write them down and keep them handy for the next steps in the bodysuit-making process. Accurate measurements will be crucial when it comes to creating your pattern and cutting the fabric.
Now that you have your measurements ready, let’s move on to step two: choosing the perfect fabric for your bodysuit.
Step 2: Choosing the Fabric
The fabric you choose for your bodysuit will greatly impact its comfort, fit, and overall look. When selecting the fabric, keep in mind that it should have a good amount of stretch to allow for ease of movement. Here are a few factors to consider when choosing the perfect fabric for your bodysuit:
- Stretch: Look for fabrics that have at least 20% stretch in both horizontal and vertical directions. Options like spandex, cotton-spandex blends, or nylon-spandex blends work well for bodysuits.
- Weight: Consider the weight of the fabric based on the desired drape of your bodysuit. Light to medium-weight fabrics are typically preferred for a comfortable and flattering fit.
- Opacity: Determine whether you want your bodysuit to be sheer, semi-opaque, or opaque. This will depend on your personal style and the occasion you’ll be wearing it for.
- Pattern and Texture: Decide if you want a solid color or prefer a patterned fabric. Additionally, pay attention to the texture of the fabric as it can add dimension and interest to your bodysuit.
- Care Instructions: Consider the care requirements of the fabric. Choose a fabric that is machine washable and easy to maintain.
Remember to visualize your finished bodysuit when selecting the fabric. Think about how the color, pattern, and texture will complement your body shape and personal style. If possible, it’s always a good idea to purchase a small sample of the fabric to see how it stretches and feels against your skin before committing to it for your bodysuit.
By taking the time to choose the right fabric, you’ll ensure that your bodysuit not only fits well but also makes you feel confident and comfortable when wearing it. Once you’ve selected your fabric, it’s time to move on to step three: creating the pattern for your bodysuit.
Step 3: Creating the Pattern
Creating a pattern is a crucial step in making a bodysuit that fits you perfectly. While commercial patterns are readily available, making your own pattern allows for customization and ensures a more personalized fit. Here’s how you can create a pattern for your bodysuit:
- Trace a Fitted Shirt: If you have a well-fitting shirt or bodysuit, place it on top of pattern paper and trace around the edges. This will serve as a guide for the basic shape of your bodysuit.
- Adjust for Stretch: Keep in mind that the fabric you choose for your bodysuit will have stretch. To account for this, add a small amount of negative ease to your pattern. Negative ease means the finished measurements of your bodysuit will be slightly smaller than your body measurements, ensuring a snug fit.
- Mark Crotch Length: Measure the length from the front waistline to the back waistline, passing through the crotch area. Mark this measurement on your pattern paper as it will help determine the correct crotch depth and prevent any fitting issues.
- Draw Neckline and Leg Openings: Use a French curve ruler or a round object to draw smooth and even curves for the neckline and leg openings. These curves can be adjusted based on your style preferences.
- Add Seam Allowance: Add a seam allowance of ⅜ to ½ inch around the edges of your pattern. This will give you enough room to sew the pieces together and create a clean finish.
Remember, creating a pattern may require some trial and error, especially if it’s your first time. Don’t be discouraged if it’s not perfect on the first try. Make adjustments as needed until you’re satisfied with the overall shape and fit of the pattern.
Once you have your pattern ready, it’s time to move on to step four: cutting the fabric for your bodysuit.
Step 4: Cutting the Fabric
Now that you have your pattern ready, it’s time to cut the fabric for your bodysuit. Follow these steps to ensure accurate and clean cuts:
- Prepare the Fabric: Lay your fabric flat on a clean and smooth surface. If necessary, iron out any wrinkles or creases to ensure accurate measurements and cuts.
- Place the Pattern: Carefully place the pattern pieces on top of the fabric, aligning them with the grainline as indicated on the pattern. Pin the pattern pieces to the fabric to secure them in place.
- Trace and Cut: Use a fabric marker or chalk to trace around the edges of the pattern pieces onto the fabric. Remove the pattern pieces and use fabric scissors to cut along the traced lines. Take your time and cut as accurately as possible.
- Marking Notches and Darts: If your pattern includes notches or darts, use small snips or markings on the fabric to indicate their placement. Notches help with aligning the pieces during the sewing process, while darts provide shaping for a better fit.
When cutting the fabric, it’s essential to follow the grainline indicated on the pattern. The grainline ensures that the fabric stretches in the right direction, improving the fit and drape of the bodysuit. Be mindful of the pattern layout and make efficient use of the fabric, especially if you’re working with limited yardage.
Once you’ve finished cutting all the fabric pieces, double-check that you have everything you need before moving on to the next step. Now that your fabric is ready, it’s time to start sewing your bodysuit.
Step 5: Sewing the Bodysuit
With the fabric pieces cut and ready, it’s time to start sewing your bodysuit. Follow these steps to sew your bodysuit together:
- Prepare Your Sewing Machine: Set up your sewing machine with the appropriate needle and thread. Refer to your machine’s manual for specific instructions.
- Pin and Sew the Shoulder Seams: Match the shoulder seams of the front and back bodysuit pieces, right sides together. Pin them in place and sew along the shoulder seams using a stretch stitch or a zigzag stitch to allow for flexibility.
- Attach the Neckline Binding: To create a clean and professional finish for the neckline, cut a strip of fabric slightly shorter than the length of the neckline. Fold it in half lengthwise, right sides facing out, and pin it to the neckline. Sew along the edge, stretching the binding slightly to fit as you sew.
- Sew the Side Seams: With right sides together, match the side seams of the front and back bodysuit pieces. Pin them in place and sew along the side seams, starting from the armhole and ending at the leg opening. Use a stretch stitch or a zigzag stitch for added flexibility.
- Insert Sleeves (if applicable): If your bodysuit has sleeves, attach them following the pattern instructions. Match and sew the sleeve seams, and then attach them to the corresponding armholes of the bodysuit.
- Attach the Leg Opening Elastic: Measure the elastic for the leg openings, taking into account the desired tightness. Pin the elastic to the wrong side of the fabric, stretching it slightly as you go. Use a zigzag stitch to sew the elastic, making sure to stretch it evenly as you sew.
- Add Snaps or Zippers: Depending on your closure choice, sew the appropriate snaps or attach the zipper to the crotch area of the bodysuit following the pattern instructions.
Throughout the sewing process, be sure to try on the bodysuit periodically to ensure a proper fit. Make any necessary adjustments as you go along, such as taking in or letting out seams or adjusting elastic tension.
Take your time with sewing and pay attention to details. Use sharp fabric scissors to trim any excess fabric or loose threads for a neat and polished finish.
Once you’ve completed sewing all the necessary seams and closures, you’re almost done! All that’s left is to add those finishing touches in the next step.
Step 6: Adding Snaps or Zippers
The closure method you choose for your bodysuit will determine how it is secured around the crotch area. Common closure options include snaps and zippers. Follow these steps to add snaps or zippers to your bodysuit:
- Snaps:
- Place the front and back pieces of the bodysuit right sides together, aligning the crotch seams.
- Mark the positions where the snaps will be placed along the crotch seam.
- Attach the corresponding halves of the snaps to the marked positions, ensuring that they line up when closed. Follow the instructions provided with your snap kit for proper installation.
- Test the snaps to make sure they securely fasten and release.
- Zippers:
- Place the front and back pieces of the bodysuit right sides together, aligning the crotch seams.
- Choose either an invisible zipper or a regular zipper for your bodysuit.
- Measure the length required for the zipper along the crotch seam and mark the position.
- Following the instructions provided with your zipper, attach the zipper tape to the marked position, ensuring that it is centered and aligned.
- Test the zipper to make sure it opens and closes smoothly.
When adding snaps or zippers, be careful not to catch any extra fabric or distort the shape of the bodysuit. Take your time and sew accurately to achieve a clean and professional finish.
Remember, the closure method you choose will depend on your personal preference and the overall design of your bodysuit. Whichever option you go for, make sure it provides a secure and comfortable closure for ease of wearing and removing the bodysuit.
With the snaps or zipper successfully added, your bodysuit is almost complete! Just a few more finishing touches in the next step, and it’ll be ready to wear.
Step 7: Finishing Touches
Once you’ve added the snaps or zipper, it’s time to add those final finishing touches to your bodysuit. These small details can elevate the overall look and ensure a polished finish. Here are a few suggestions for adding those extra touches:
- Elasticated Edges: To create a clean and snug fit, consider adding elastic along the edges of the neckline and armholes. Measure the length required for each area, cut the elastic accordingly, and sew it in place using a stretch stitch.
- Lace Trim: For a feminine and delicate touch, you can sew lace trim along the leg openings or neckline. Choose a lace trim that complements your fabric and sew it carefully and evenly in place.
- Embellishments: Add personal flair to your bodysuit by incorporating decorative elements such as appliques, sequins, or beads. Sew these embellishments carefully onto the fabric, ensuring they are securely attached.
- Hemming: Take the time to hem any raw edges of the bodysuit that may be exposed. Fold the fabric over, encasing the raw edge, and sew it in place using a straight stitch or a zigzag stitch.
- Pressing: To give your bodysuit a professional finish, use an iron to press the seams and any folded edges. This will help flatten any wrinkles and give your bodysuit a clean and crisp appearance.
Remember to follow the instructions provided with any embellishments or trims you decide to use. Take your time and sew these finishing touches carefully to ensure they are securely attached and won’t come undone with wear or washing.
Once you’ve added these extra details, give your bodysuit a final examination. Check for loose threads, any areas that may require reinforcement, and make any necessary adjustments or repairs.
With all the finishing touches complete, your handmade bodysuit is ready to be worn and showcased. Try it on, admire your craftsmanship, and enjoy the satisfaction of creating a one-of-a-kind garment that fits perfectly and reflects your personal style.
Conclusion
Congratulations! You’ve completed the journey of creating your very own bodysuit from scratch. Through the careful selection of materials, accurate measurements, and precise sewing techniques, you’ve achieved a customized garment that fits your body perfectly and reflects your unique style.
By making your own bodysuit, you’ve not only saved money but also gained the satisfaction of creating something truly special. It’s a testament to your creativity, skill, and dedication to the art of sewing.
Remember, this is just the beginning of your bodysuit-making journey. You now have the knowledge and experience to continue experimenting with different designs, fabrics, and embellishments to create even more stunning bodysuits.
Keep practicing, refining your techniques, and exploring new ideas. With each project, you’ll continue to enhance your sewing skills and produce garments that are truly unique and tailored to your preferences.
Don’t forget to share your creations with others, whether it’s wearing your bodysuit with confidence or showcasing it on social media or in your local sewing community. By sharing your experiences, you’ll inspire and empower others to embark on their own sewing adventures.
So, go ahead and embrace the joy of making bodysuits. Let your creativity soar, and enjoy the satisfaction of wearing garments that are a true reflection of your personal style and craftsmanship.

