Home>How-to Guides>For All>How To Fold A Robe For A Gift
For All
How To Fold A Robe For A Gift
Modified: July 30, 2023
Learn how to fold a robe for a gift and create a beautiful presentation for all occasions. Impress your loved ones with this thoughtful gesture.
(Many of the links in this article redirect to a specific reviewed product. Your purchase of these products through affiliate links helps to generate commission for Under-tec.com, at no extra cost. Learn more)
Table of Contents
Introduction
Are you looking for a creative and unique way to present a robe as a gift? Folding a robe in an elegant and attractive manner not only shows attention to detail, but also adds a special touch to the presentation. Whether you are preparing a gift for a friend, family member, or loved one, this article will guide you through the step-by-step process of folding a robe for a gift.
By following these simple instructions, you can create a beautifully folded robe that is sure to impress the recipient. Whether you are a seasoned gift wrapper or a novice, this technique is easy to learn and can be customized to suit your personal aesthetic or the occasion.
In this article, we will outline the tools and materials you will need, as well as the step-by-step instructions for folding a robe for a gift. By the end of this guide, you will have the knowledge and skills to fold a robe in a way that is visually appealing and perfect for any gift-giving occasion. So, let’s get started and learn how to fold a robe for a gift that is sure to impress!
Tools and Materials
Before you begin folding the robe, there are a few tools and materials you will need. Gathering these items in advance will ensure a smooth and efficient folding process. Here’s what you’ll need:
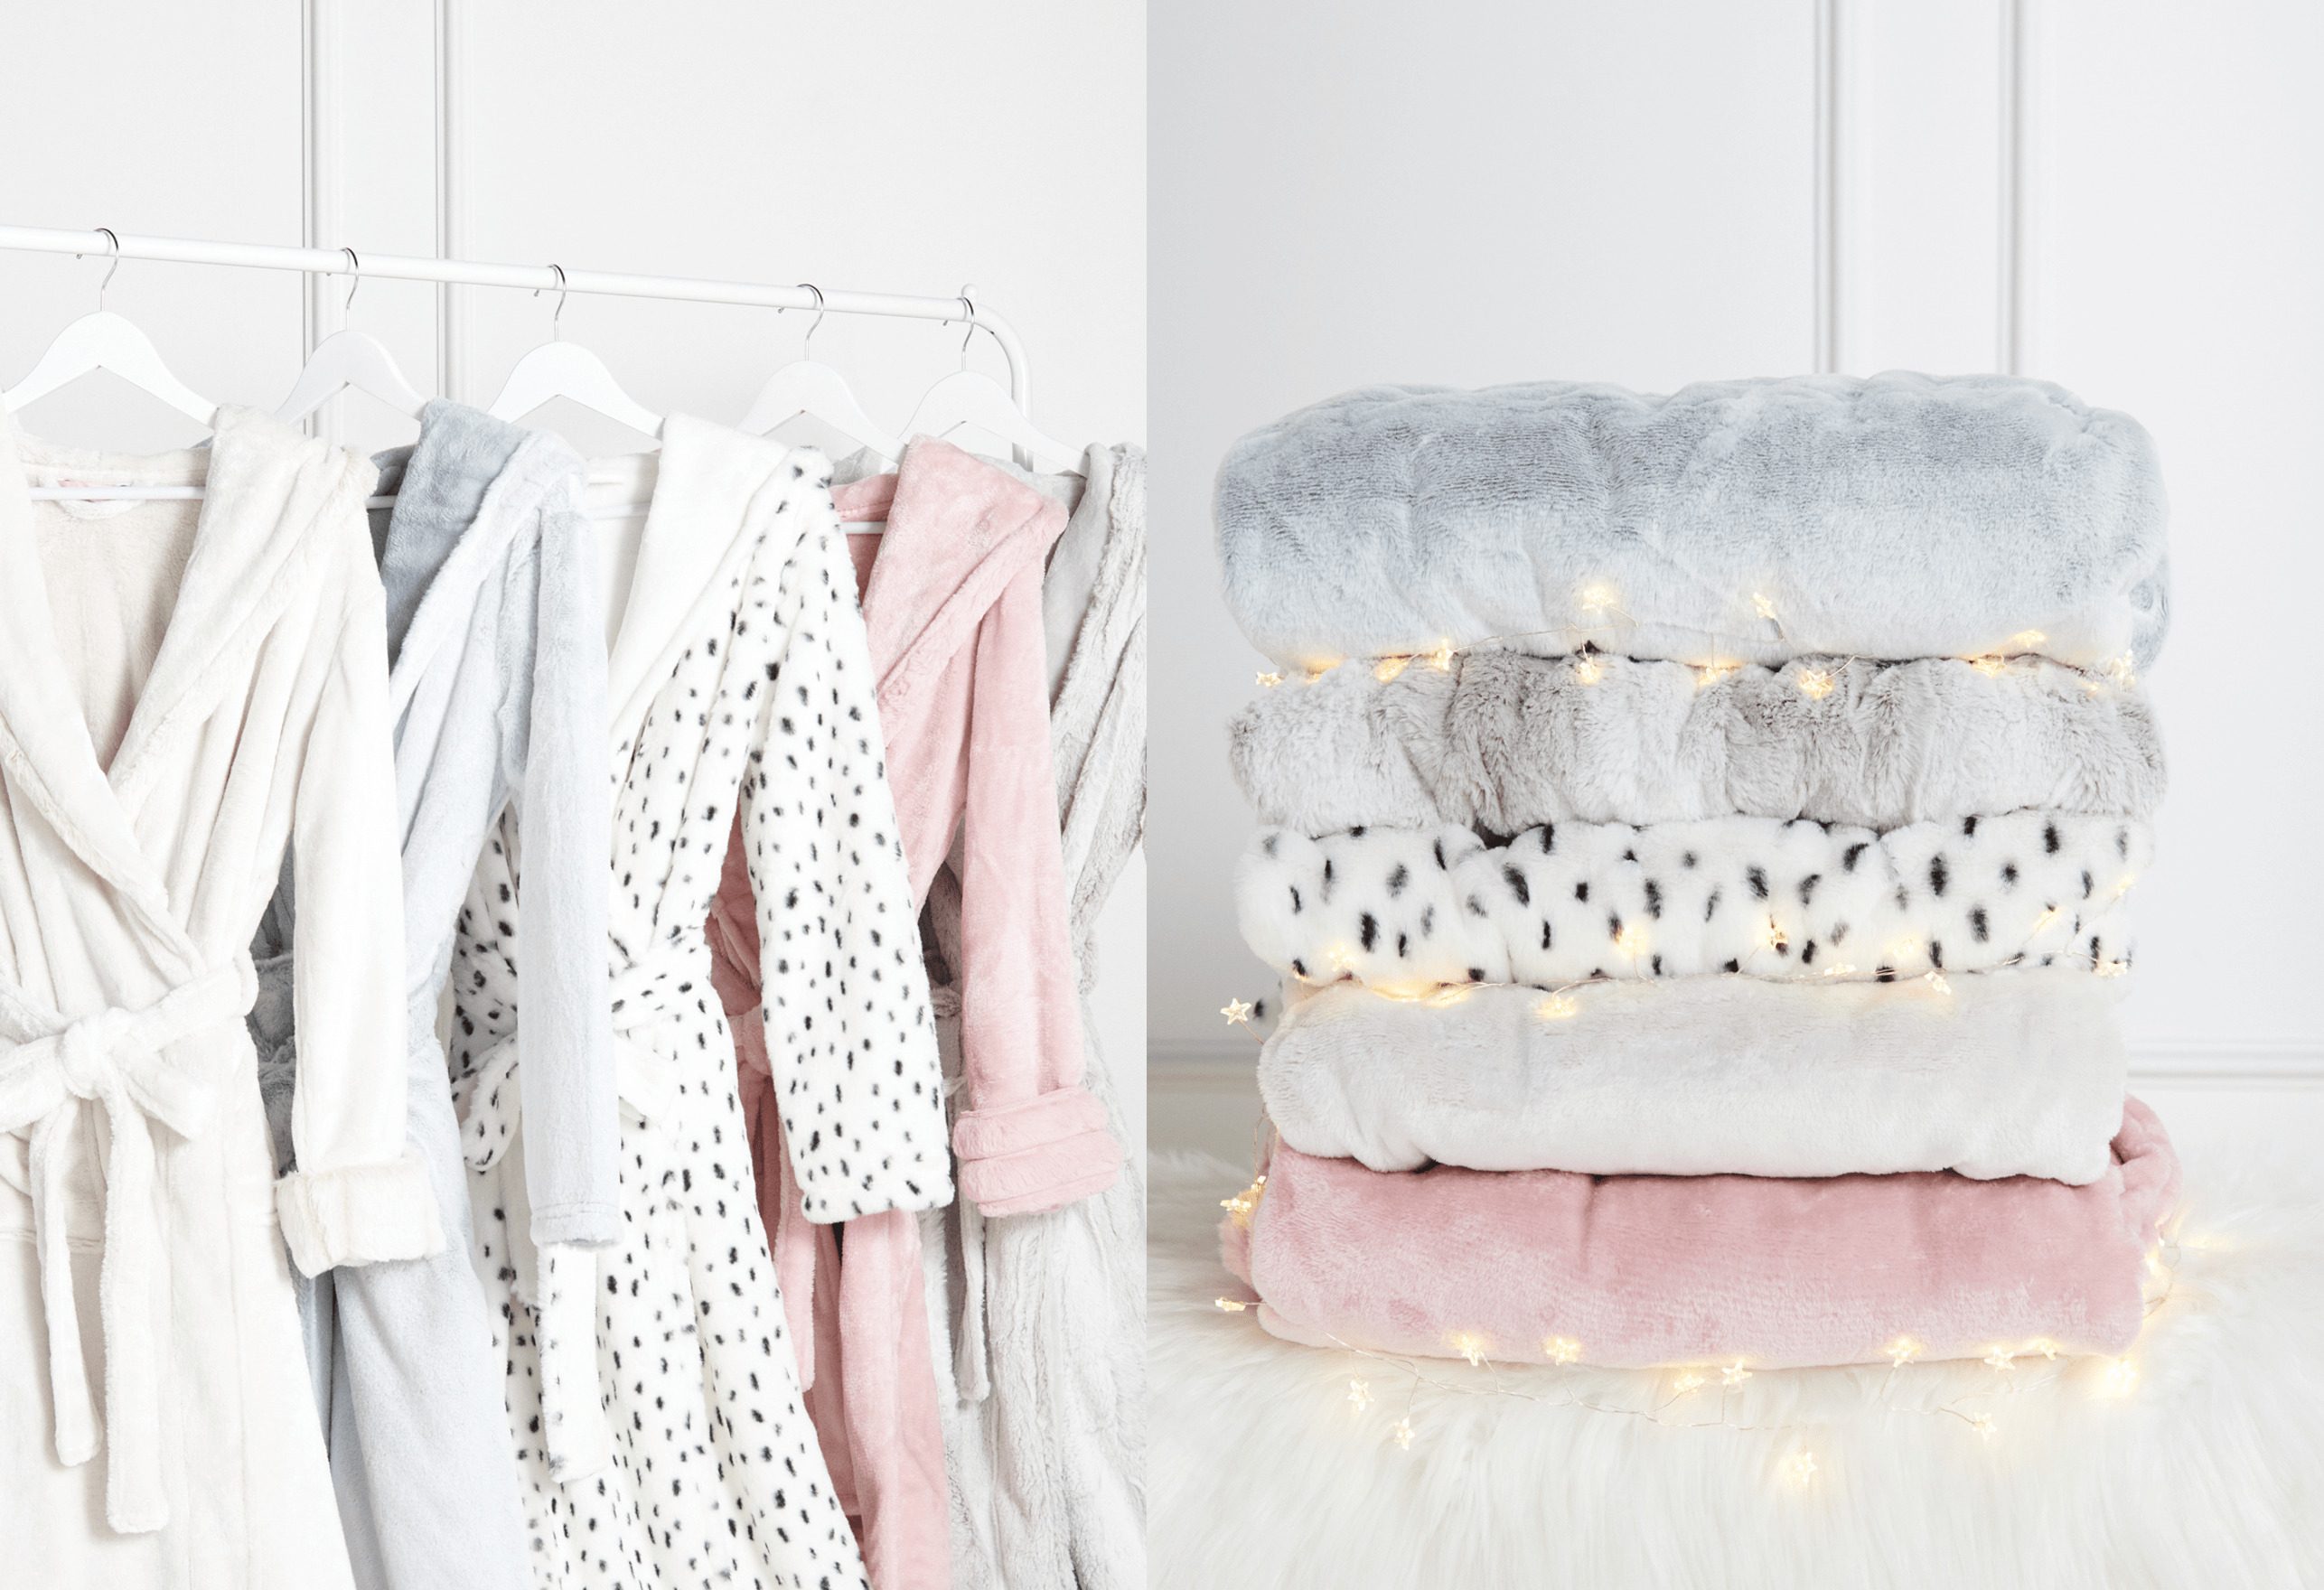
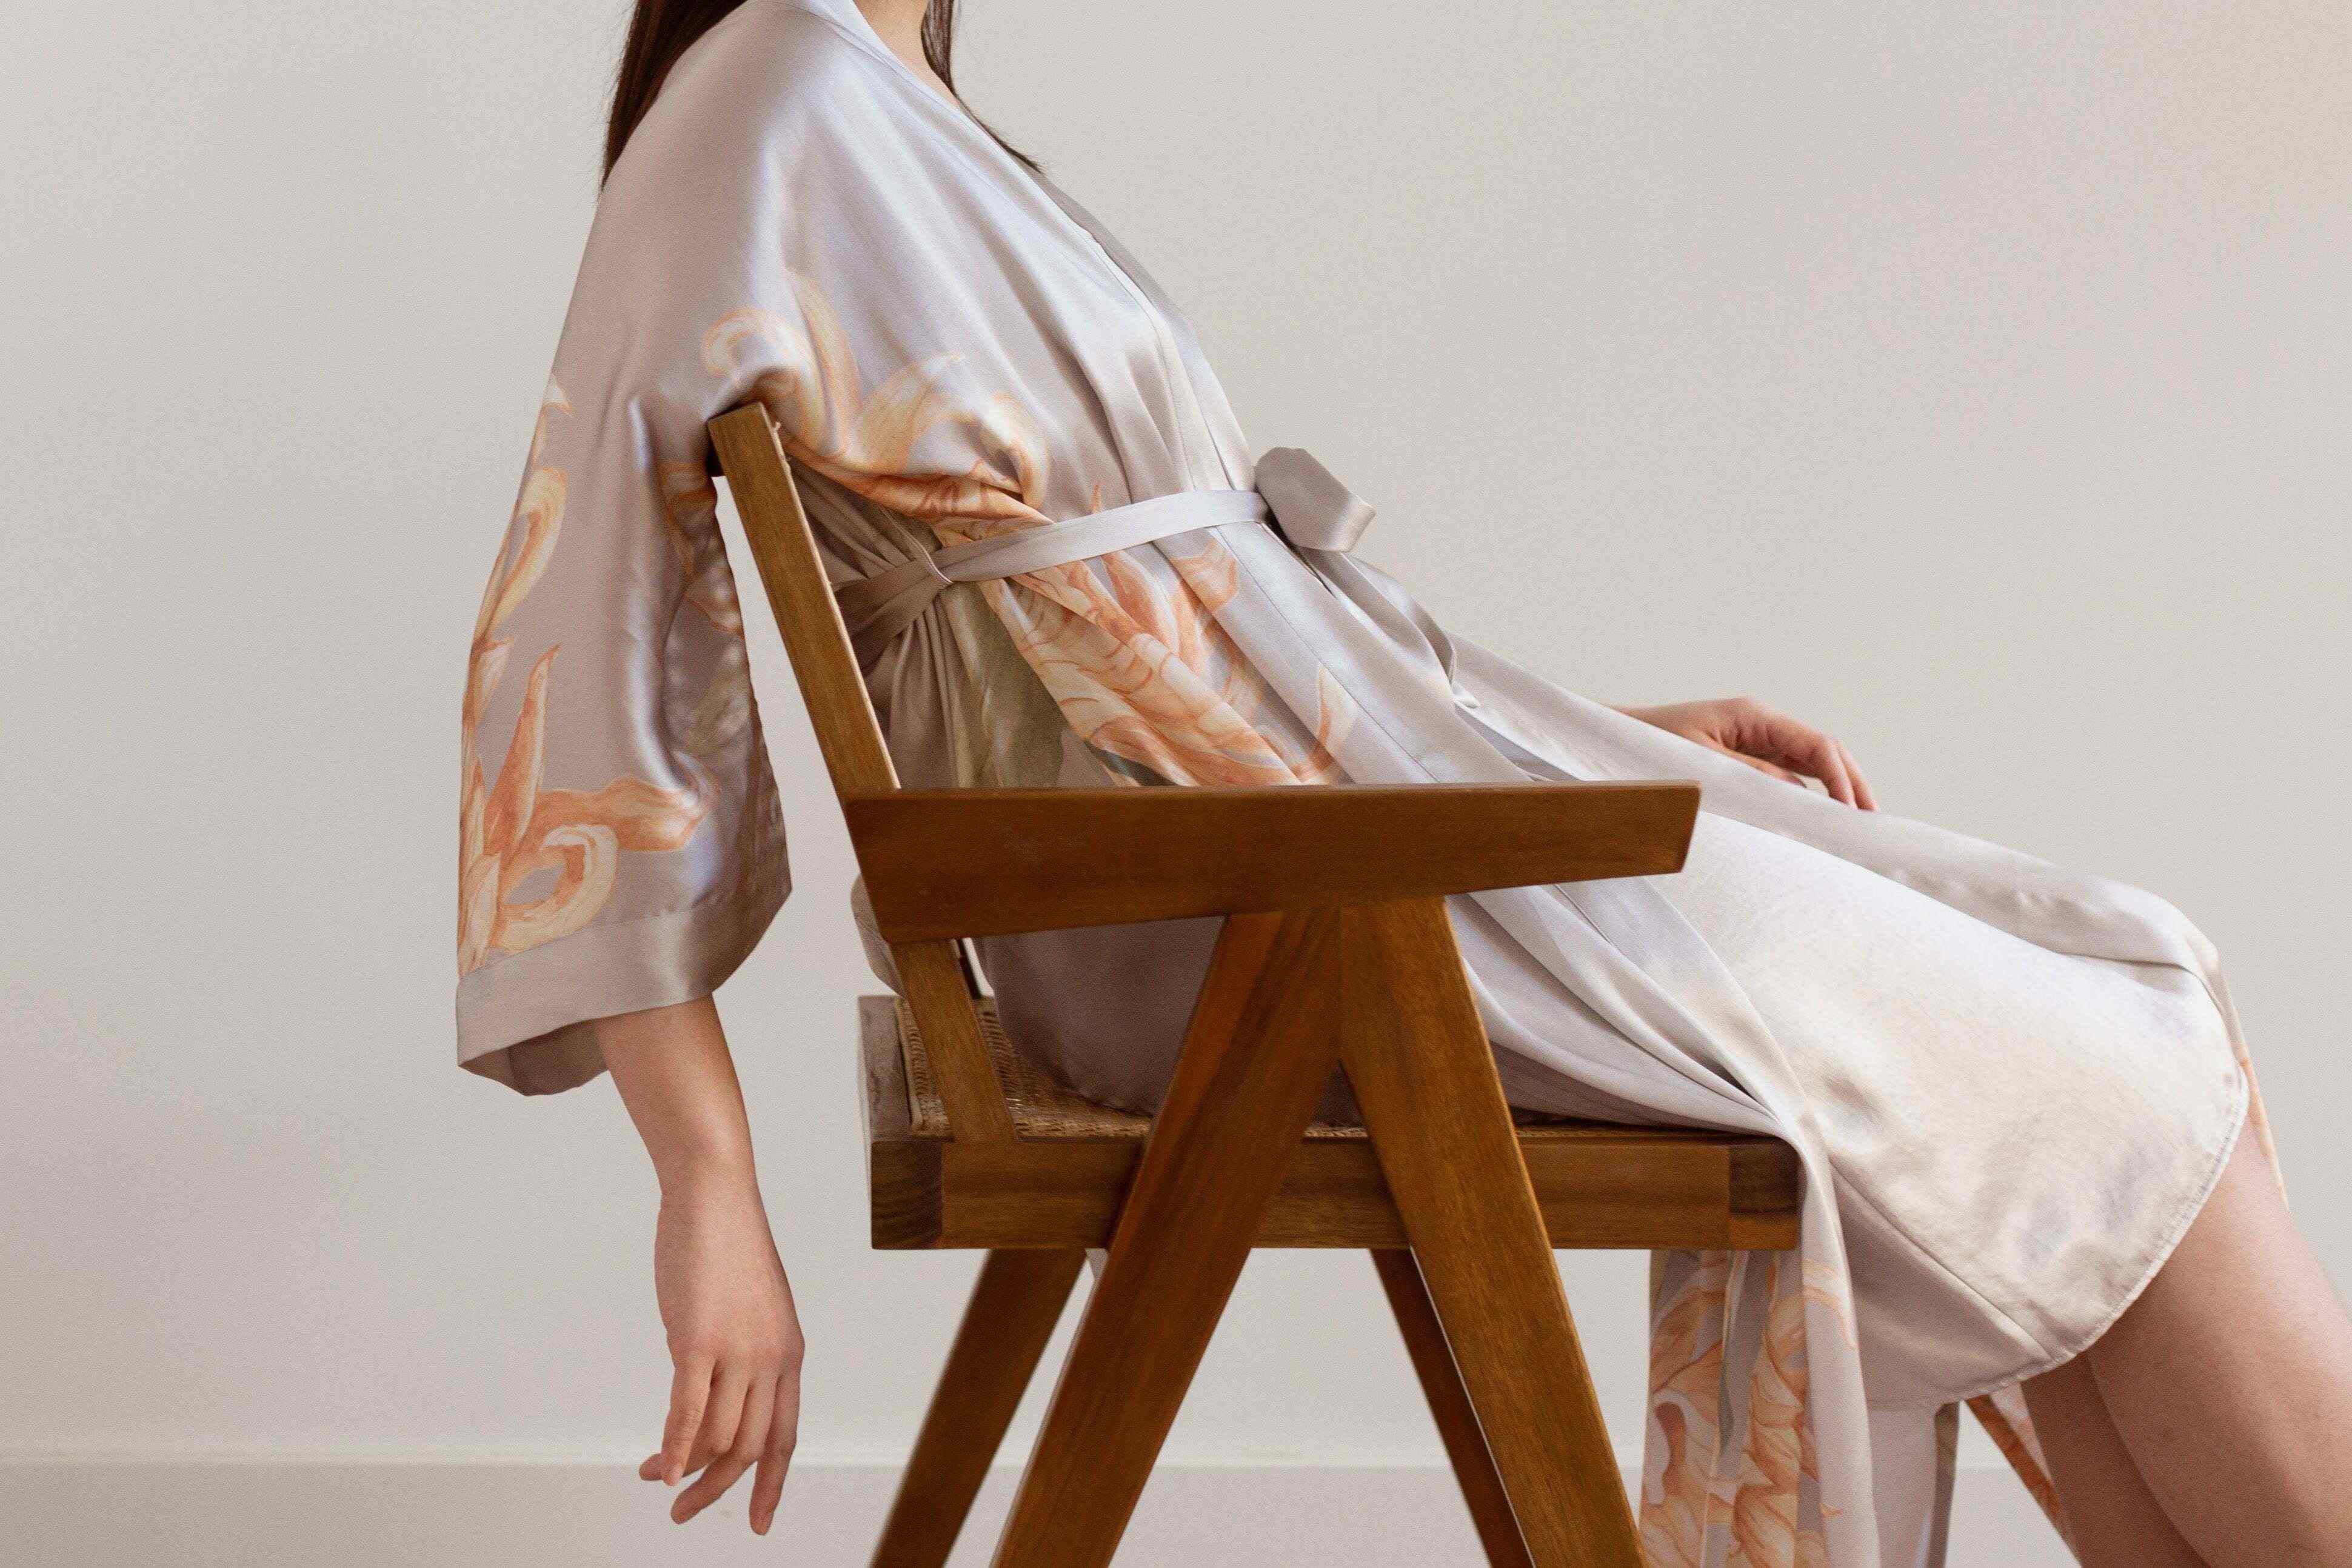
- Robe: Choose a robe that is clean, wrinkle-free, and suitable for the occasion. Consider the recipient’s preference and the style of the robe.
- Flat Surface: Find a clean and spacious flat surface, such as a table or bed, where you can comfortably lay out the robe for folding.
- Ribbon or Bow: To secure the folded robe, you will need a ribbon or a decorative bow. Choose a ribbon that complements the color of the robe and adds a touch of elegance.
Optional:
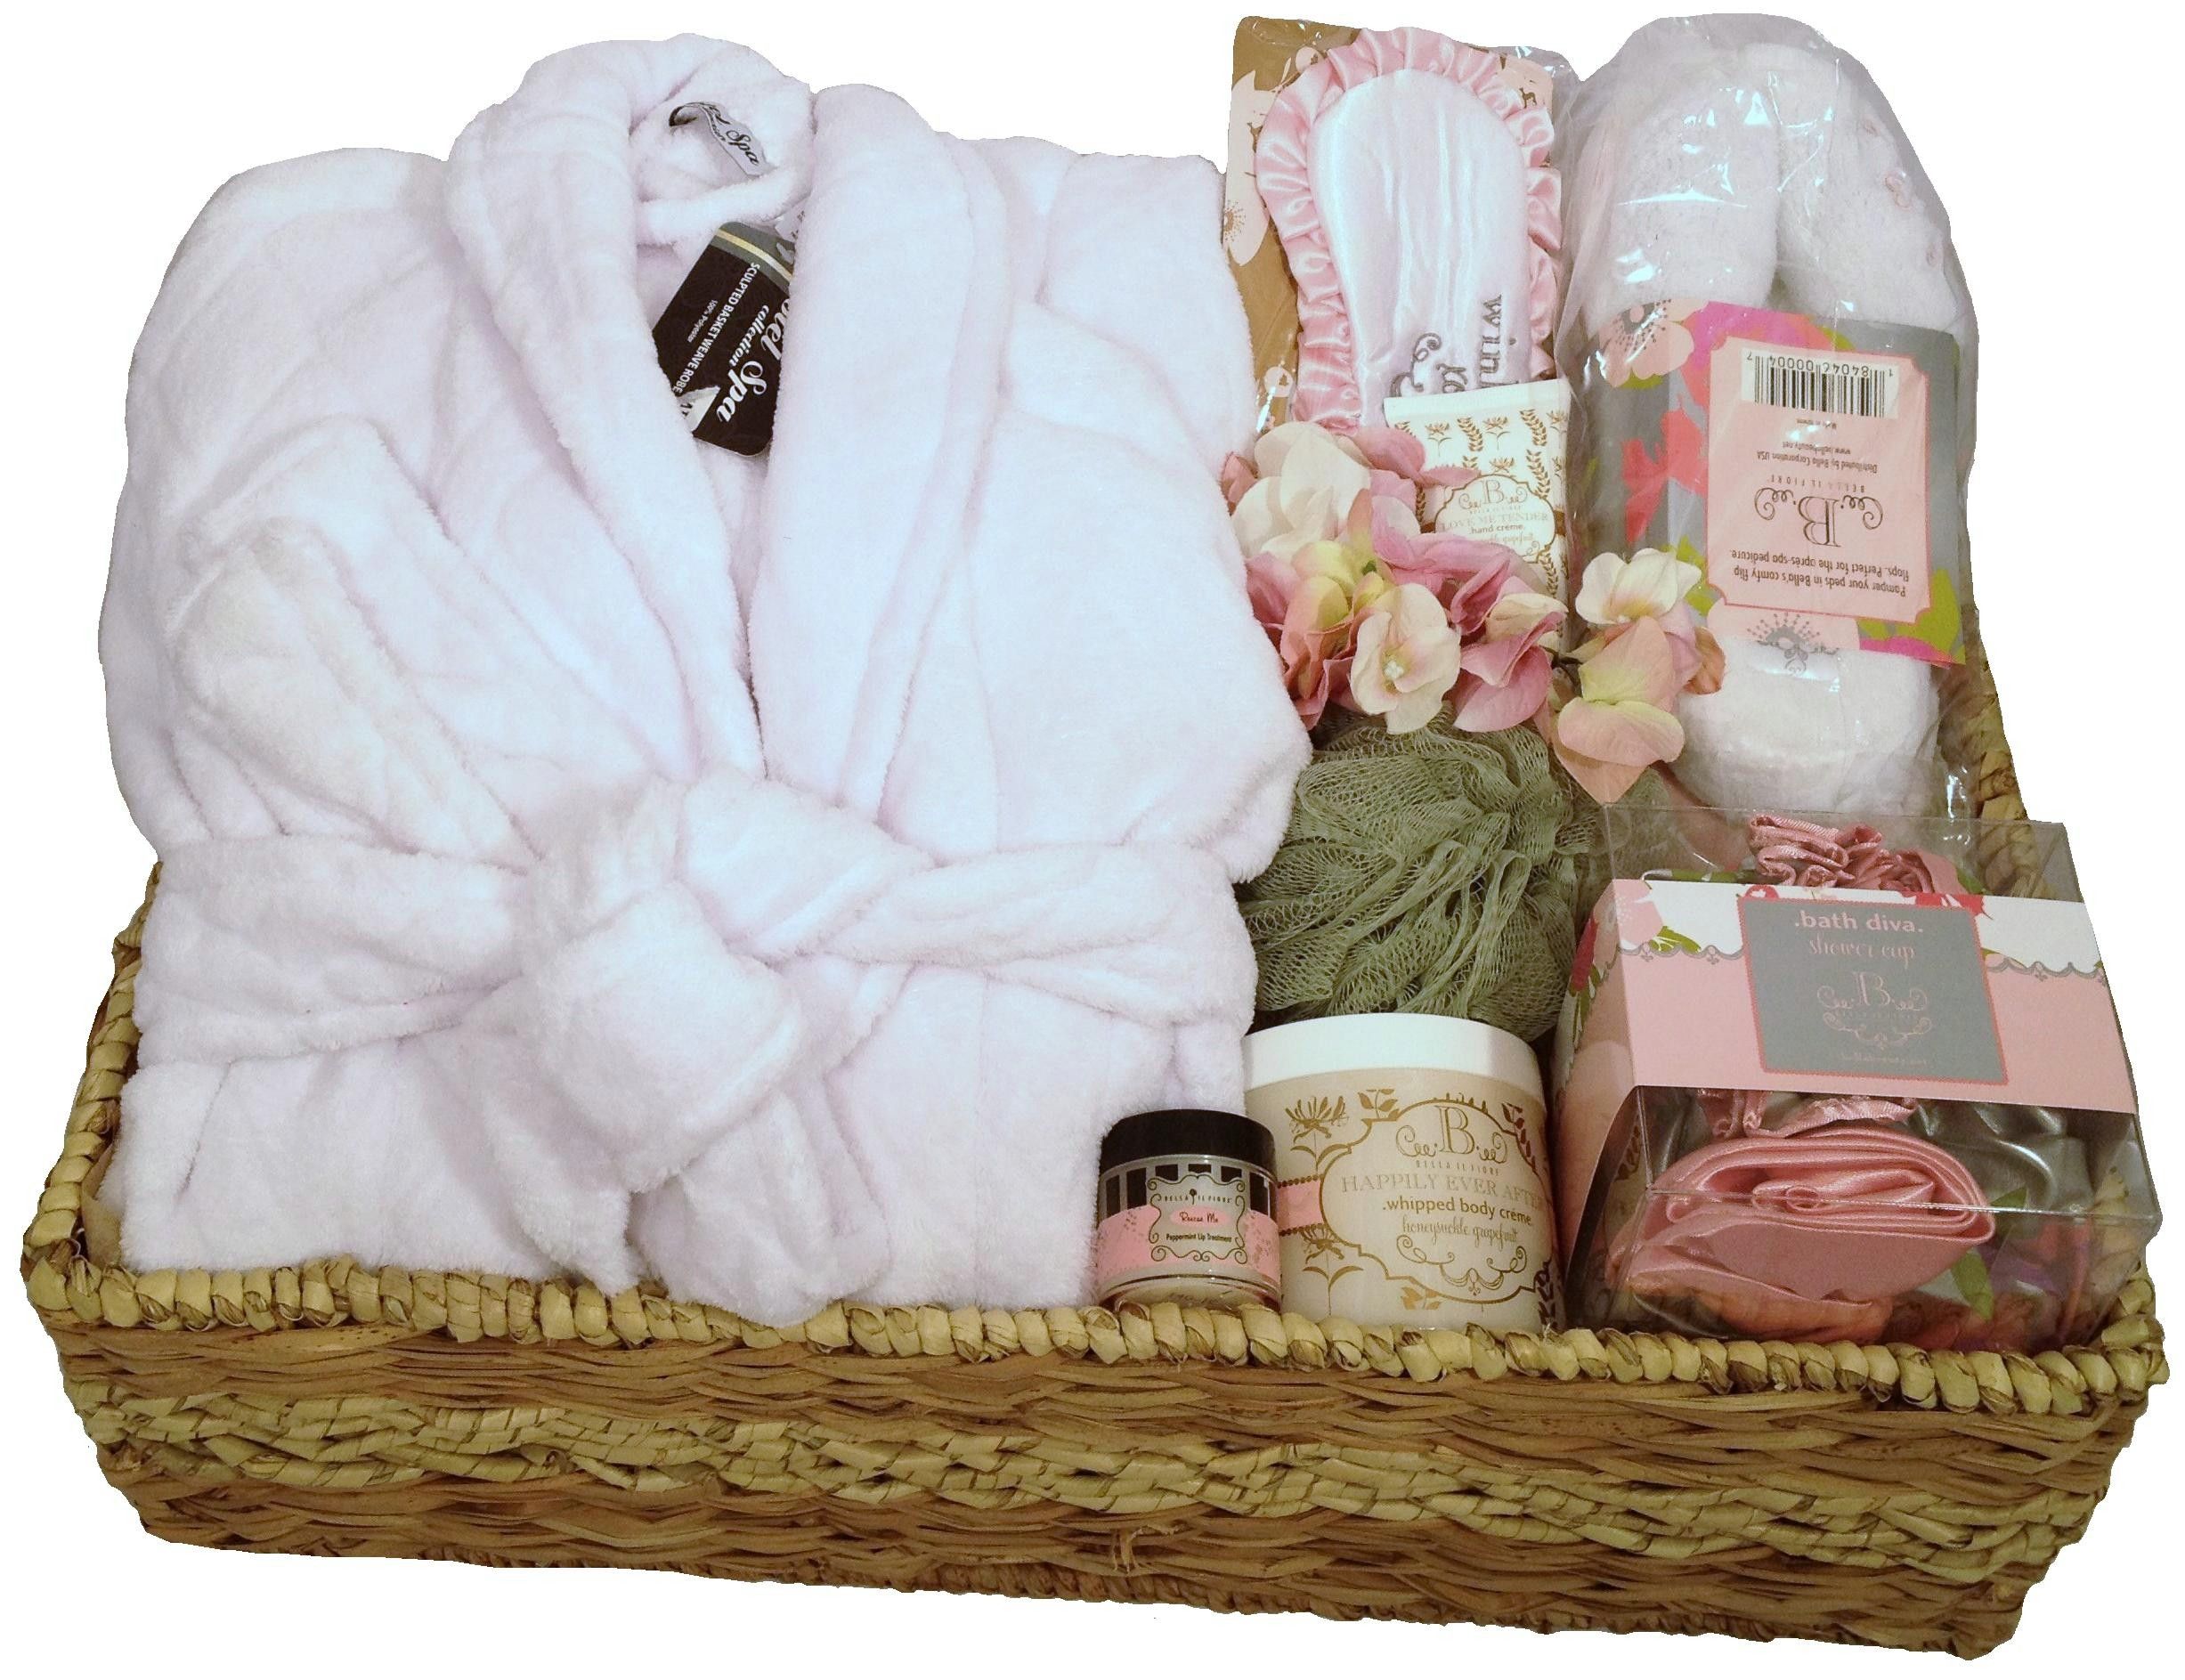
- Gift Box: If you’d like to add an extra layer of presentation, consider placing the folded robe in a decorative gift box. Make sure the box is large enough to accommodate the folded robe.
- Tissue Paper: To add an extra flair to the gift, you can place tissue paper inside the gift box before placing the folded robe.
With these tools and materials ready, you are equipped to begin folding the robe in a way that will make it truly stand out as a gift. Remember to choose high-quality materials that will elevate the overall presentation and make the recipient feel special.
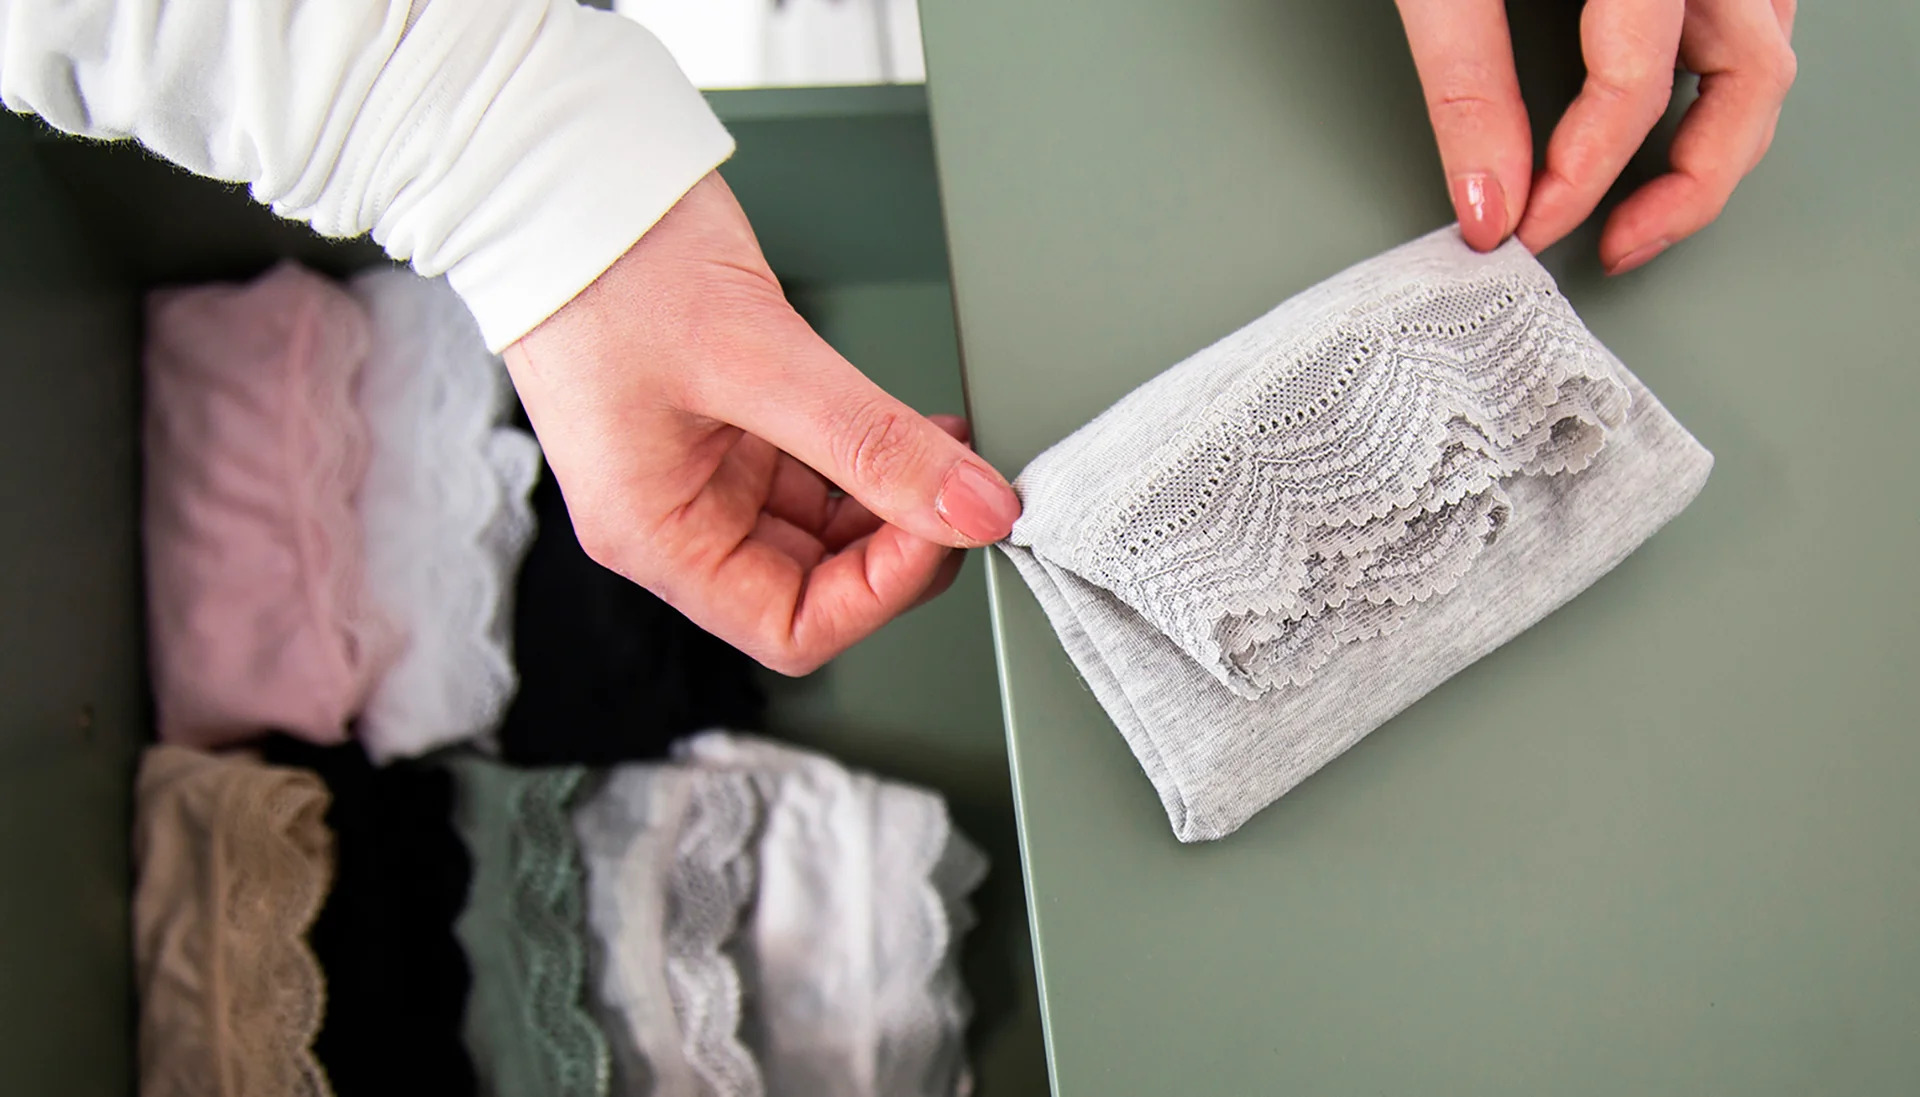
Step 1: Lay the Robe Flat
The first step in folding a robe for a gift is to lay it flat on a clean surface. This will allow you to work with the robe more easily and ensure a neat and uniform fold. Follow these instructions:
- Start by finding a spacious, flat surface such as a table or bed.
- Gently unfold the robe and shake it lightly to remove any wrinkles.
- Smooth out the fabric with your hands to ensure it is evenly laid out.
- Arrange the robe so that the front side is facing up and the sleeves are fully extended.
- Make sure the edges of the robe are straight and aligned.
- Smooth out any wrinkles or creases, paying special attention to the collar and cuffs.
Laying the robe flat is an important first step as it sets the foundation for the subsequent folds. Take your time to ensure the robe is properly aligned and any wrinkles are smoothed out. By starting with a well-prepared robe, you will achieve a more polished and professional-looking fold.
Step 2: Fold the Sleeves Inward
Once you have laid the robe flat, the next step is to fold the sleeves inward. This step creates a more compact and neat appearance for the folded robe. Follow these instructions to fold the sleeves inward:
- Locate the sleeves of the robe.
- Take one sleeve and fold it diagonally towards the center of the robe, aligning the edge of the sleeve with the edge of the body.
- Repeat the same process with the other sleeve, folding it diagonally towards the center of the robe.
- Ensure that the ends of the sleeves are neatly tucked in and aligning with the rest of the robe.
- Smooth out any wrinkles or creases as you fold the sleeves inward.
Folding the sleeves inward not only creates a more compact shape, but it also adds a touch of elegance to the folded robe. Take your time to fold the sleeves neatly and ensure they are aligned with the body of the robe. This step sets the stage for the next folds and creates a more streamlined appearance for the overall presentation.
Step 3: Fold the Robe in Half
After folding the sleeves inward, it’s time to fold the robe in half. This step further compactifies the robe and prepares it for the final folds. Follow these instructions to fold the robe in half:
- Ensure that the sleeves are neatly tucked in.
- Fold one side of the robe towards the center, aligning the edge with the middle of the robe.
- Repeat the same process with the other side of the robe, folding it towards the center and aligning the edges.
- Make sure the folded edges are straight and symmetrical.
- Smooth out any wrinkles or creases that may have formed during the fold.
Folding the robe in half not only creates a more compact and manageable size, but it also adds structure and balance to the overall fold. Take your time to ensure the edges are aligned and the robe is folded evenly. This step brings the robe closer to its final presentation form and sets the stage for the next folds.
Step 4: Fold the Bottom Part Upwards
With the robe folded in half, it’s time to fold the bottom part upwards. This step adds a finishing touch to the overall fold and creates a clean and polished appearance. Follow these instructions to fold the bottom part of the robe upwards:
- Ensure that the robe is still neatly folded in half.
- Take the bottom part of the robe and fold it upwards towards the top, creating a straight edge.
- Align the edge of the folded bottom part with the top edge of the robe.
- Smooth out any wrinkles or creases that may have formed during the fold.
Folding the bottom part upwards helps to create a more compact and presentable shape for the robe. By aligning the edges and smoothing out any wrinkles, you ensure that it looks clean and professional. This step brings the robe closer to its final presentation form and sets the stage for the final touch.
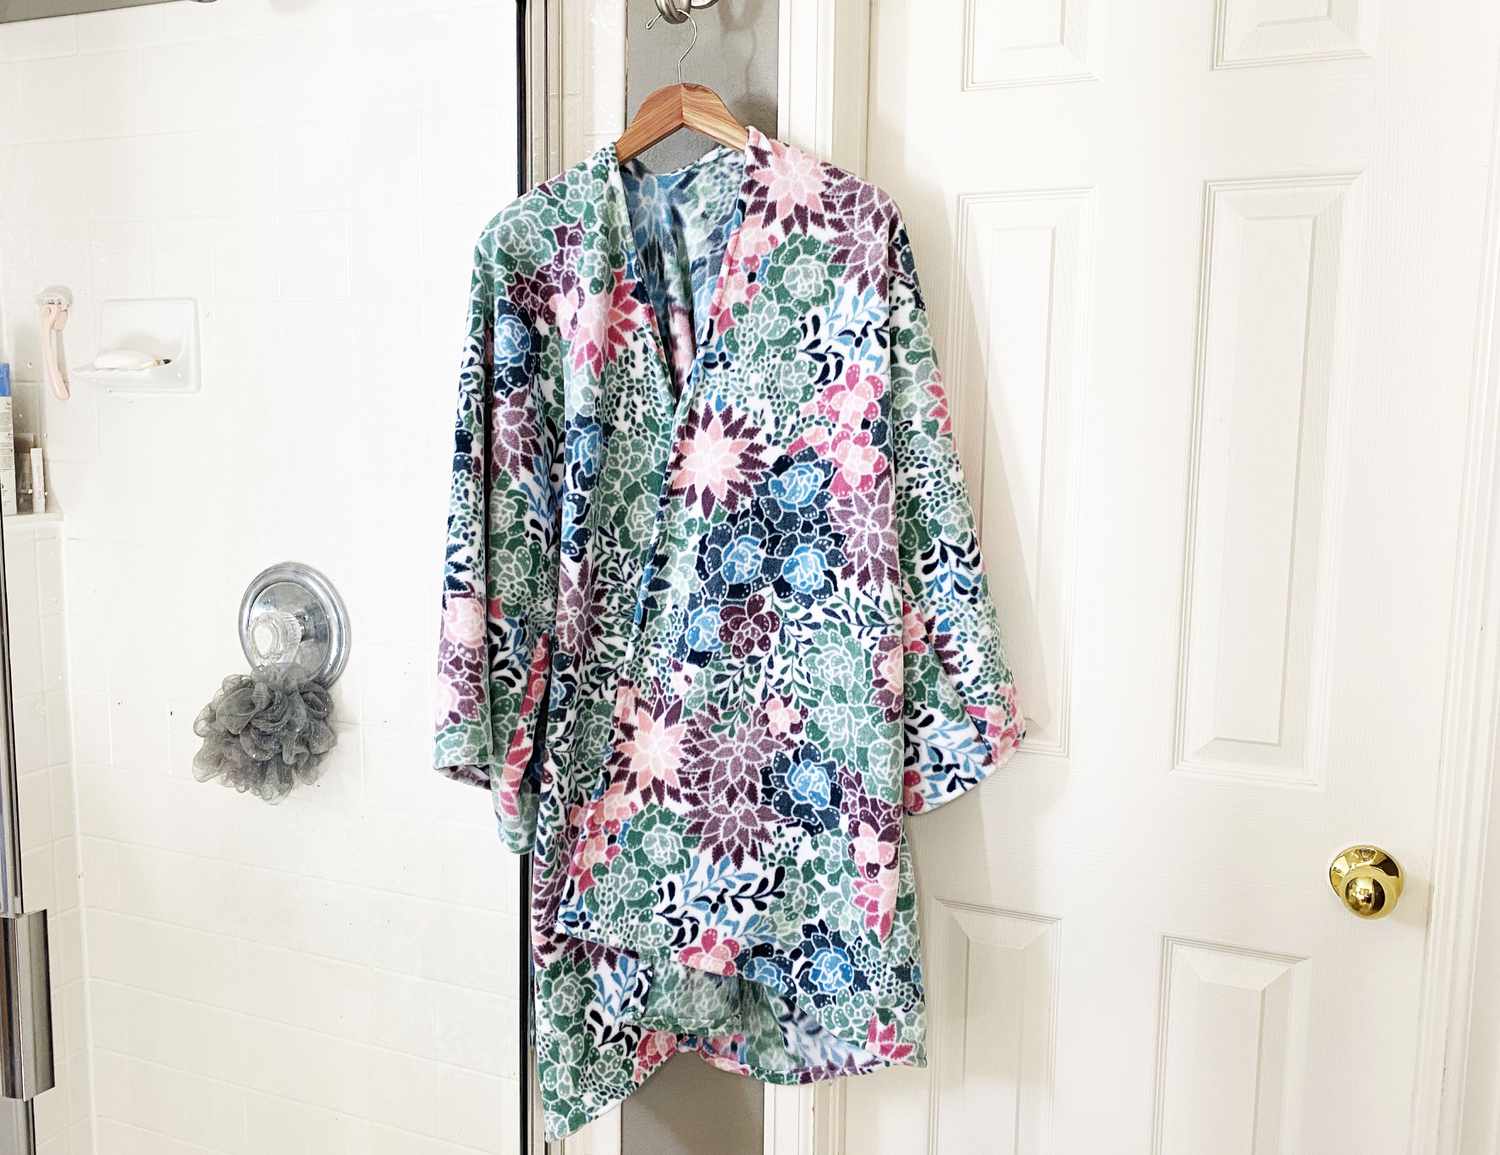
Step 5: Secure the Folded Robe with Ribbon or a Bow
After folding the robe to perfection, it’s time to add a final touch by securing it with a ribbon or a bow. This step adds a decorative element and enhances the overall presentation of the folded robe. Follow these instructions to secure the folded robe:
- Choose a ribbon or a decorative bow that complements the color and style of the robe.
- Wrap the ribbon around the folded robe, making sure it is snug but not too tight.
- Tie a secure knot or a bow to keep the ribbon in place.
- Adjust the position of the bow or ribbon to ensure it is centered and aesthetically pleasing.
- Gently fluff the bow or adjust the ribbon loops to create a visually appealing arrangement.
Adding a ribbon or a bow not only secures the folded robe but also adds a touch of elegance and sophistication. It serves as a decorative element and makes the folded robe more visually appealing. Take your time to adjust the ribbon or bow to achieve the desired look. With the robe securely fastened, your folded robe is now ready for gifting!
Conclusion
Congratulations! You have successfully learned how to fold a robe for a gift. By following the step-by-step instructions outlined in this article, you can create a beautifully folded robe that is sure to impress the recipient. Here’s a recap of the folding process:
- Lay the robe flat on a clean surface.
- Fold the sleeves inward towards the center of the robe.
- Fold the robe in half, aligning the edges.
- Fold the bottom part upwards, creating a straight edge.
- Secure the folded robe with a ribbon or a bow for a finishing touch.
Remember to take your time and pay attention to detail while folding the robe. Smooth out any wrinkles or creases as you go and ensure that the edges are straight and aligned. By using high-quality materials and adding a decorative element, such as a ribbon or a bow, you can elevate the presentation of the folded robe even further.
Whether you are preparing a gift for a birthday, anniversary, or any other special occasion, a well-folded robe adds a personal and thoughtful touch. It shows that you have taken the time and effort to present the gift in an elegant and unique way. So go ahead and impress your loved ones with your newfound skill of folding a robe for a gift.
Now that you have mastered this folding technique, feel free to explore other creative ways to present different gifts. With a little practice and some imagination, you can create beautiful and impressive gift presentations that will make your recipients feel truly special.