Home>How-to Guides>For Women>How To Make Suspenders With Ribbon
For Women
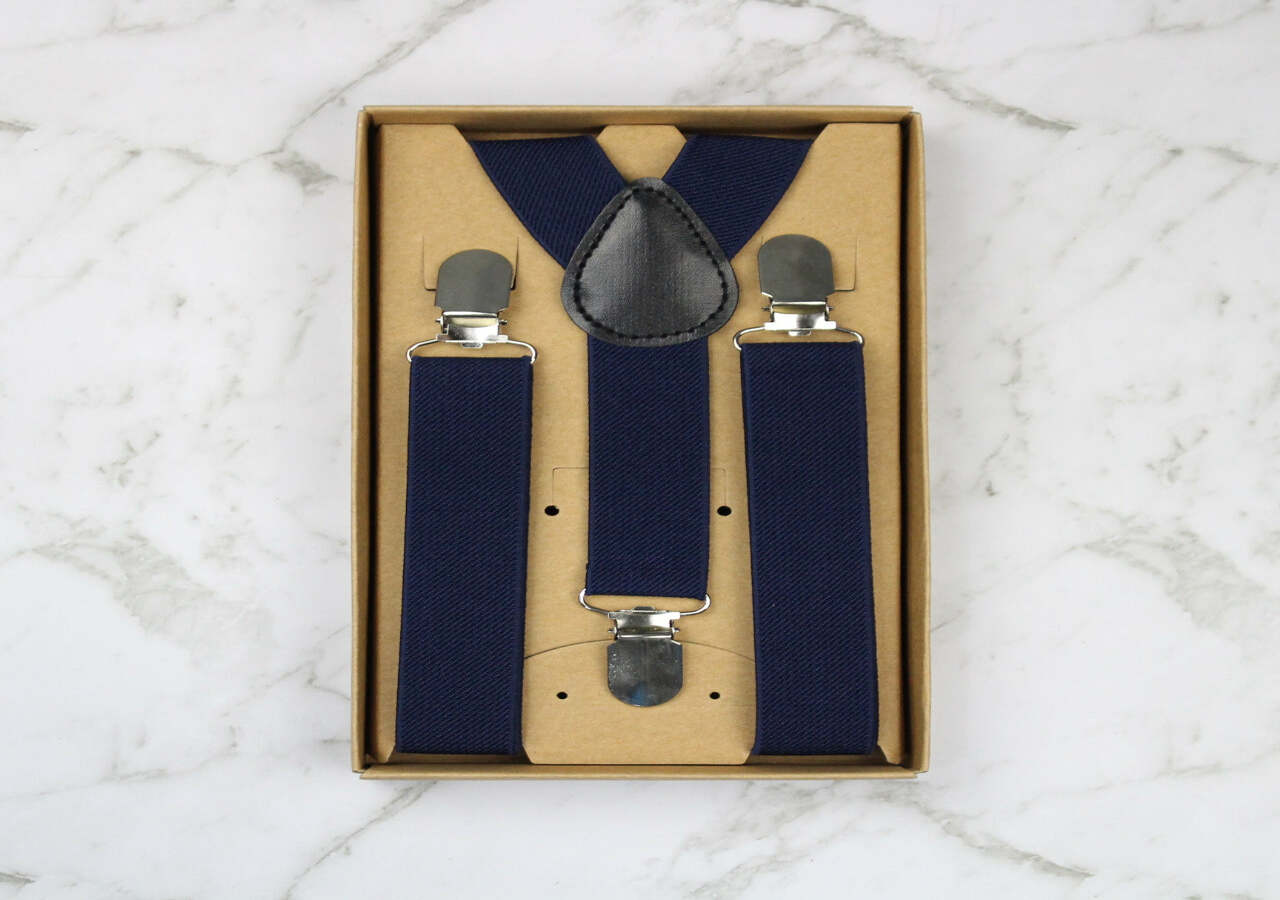
How To Make Suspenders With Ribbon
Modified: August 24, 2023
Learn how to make stylish suspenders for women with ribbon in just a few simple steps. Add a unique touch to your outfit!
(Many of the links in this article redirect to a specific reviewed product. Your purchase of these products through affiliate links helps to generate commission for Under-tec.com, at no extra cost. Learn more)
Table of Contents
Introduction
Suspenders, also known as braces, are a stylish and practical accessory that can add a touch of elegance to any outfit. Traditionally worn by men, suspenders are now becoming increasingly popular among women as well. They can be a versatile addition to your wardrobe, whether you want to add a retro flair to a dress or keep your pants up in a unique and fashionable way.
Making your own suspenders with ribbon is a fun and creative project that allows you to customize them to your own personal style. Not only is it a cost-effective alternative to buying pre-made suspenders, but it also gives you the freedom to choose from a wide range of colors, patterns, and materials.
In this article, we will guide you through the steps of creating your own suspenders using ribbon. Whether you’re a seasoned DIY enthusiast or a beginner looking for a new project, this guide will provide you with the necessary information to make stylish and comfortable suspenders that are tailored to your measurements.
So, gather your materials, unleash your creativity, and let’s get started on making your very own set of ribbon suspenders.
Materials Needed
Before you begin making your suspenders, gather the following materials:
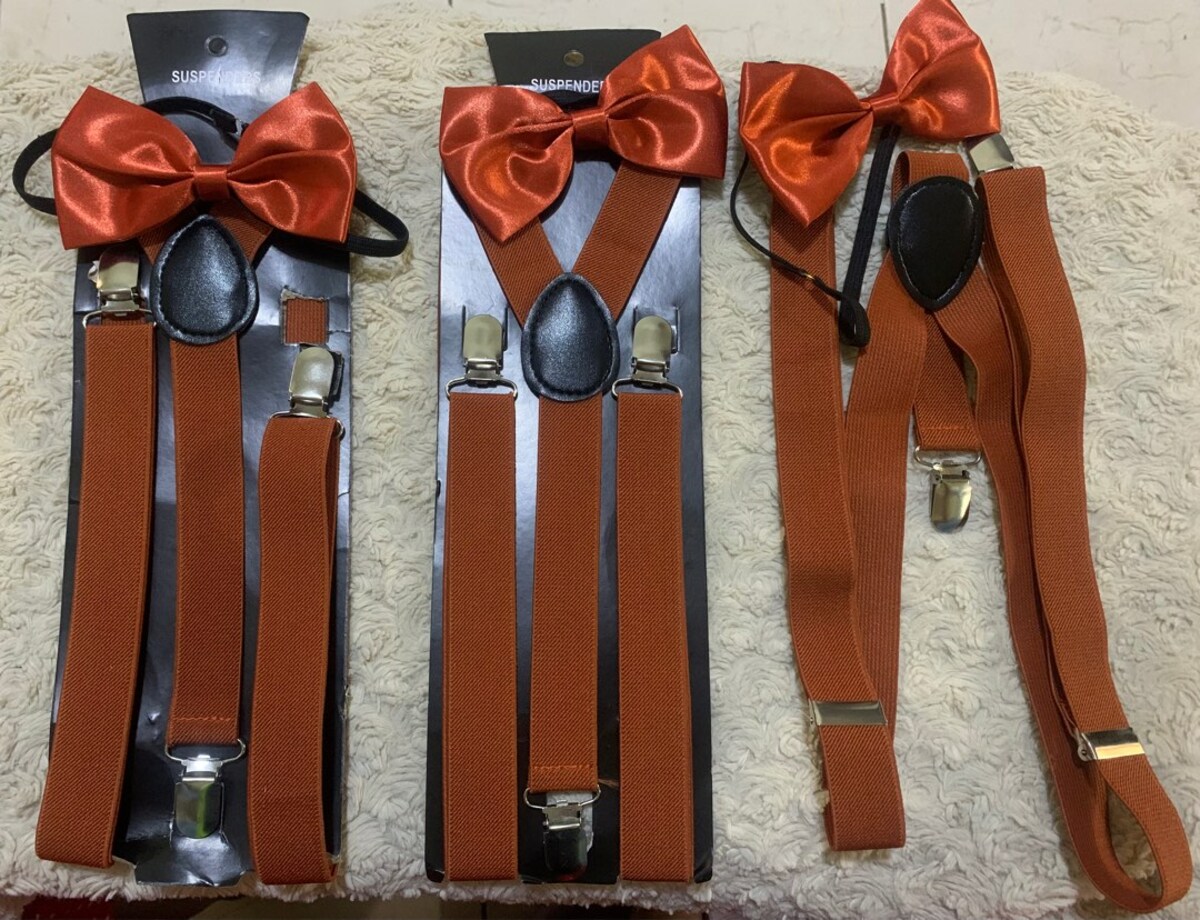
- Ribbon: Choose a high-quality ribbon of your preferred color, pattern, and width. Make sure it is strong enough to hold up your pants or skirt.
- Fasteners: You will need two suspender clips or buttonhole fasteners to attach the suspenders to your pants or skirt.
- Thread: Select a thread color that matches or complements the color of your ribbon.
- Needle or Sewing Machine: Depending on your sewing skills and preferences, you can use a needle and thread or a sewing machine to sew your suspenders.
- Scissors: A good pair of sharp scissors will be needed to cut the ribbon and trim any excess.
- Measuring Tape: Accurate measurements are essential to ensure the suspenders fit you properly. A flexible measuring tape will come in handy.
- Adjusters: Look for suspender adjusters or slider buckles that will allow you to adjust the length of the suspenders to your preference.
- Fabric Glue (optional): If you’re not confident in your sewing skills, you can use fabric glue to secure the ribbon ends and prevent fraying.
Having these materials ready before you start the project will streamline the process and ensure that you don’t have to pause midway to gather essential supplies. Now that you have everything you need, let’s move on to the step-by-step process of making your own suspenders with ribbon.
Step 1: Measure and Cut Ribbon Strips
The first step in creating your own suspenders with ribbon is to measure and cut the ribbon strips according to your desired length. This will depend on your body measurements and personal preference.
1. Using a flexible measuring tape, measure the distance from the front waistband of your pants or skirt, over your shoulders, and down to the back waistband. This will give you the length of the suspenders.
2. Add a few inches to the measured length to allow for adjustment and overlap. This will ensure a comfortable fit and flexibility in adjusting the suspenders to your liking.
3. Once you have determined the desired length, cut two equal ribbon strips of that length.
4. It’s important to choose the right width for your suspenders. For a more delicate and feminine look, opt for narrower ribbons. If you prefer a bolder and more statement-making style, choose wider ribbons.
5. Use sharp scissors to carefully cut the ribbon to the desired width.
Remember to have a steady hand and use the measuring tape as a guide to ensure accuracy. Taking precise measurements and cutting the ribbon strips correctly will lay the foundation for well-fitting and comfortable suspenders.
Now that you have your ribbon strips cut to the appropriate length and width, you’re ready to move on to the next step: attaching the fasteners.
Step 2: Attach Fasteners
Now that you have your ribbon strips cut to the right length, it’s time to attach the fasteners that will secure your suspenders to your pants or skirt.
There are a few options you can choose from when it comes to fasteners:
- Suspender Clips: These are metal clips specifically designed for suspenders. They have a series of teeth that grip onto the fabric to hold the suspenders in place. To attach the clips, fold one end of each ribbon strip over by about an inch and sew it securely to create a loop. Slide the suspender clip onto the looped end and secure it in place by sewing it shut or using a strong fabric glue.
- Buttonhole Fasteners: If your pants or skirt have buttonholes in the waistband, you can use buttonhole fasteners to attach the suspenders. Sew buttonhole tabs onto the ends of the ribbon strips, making sure they align with the buttonholes in your garment. Then simply button the fasteners onto the corresponding buttonholes to secure the suspenders.
Make sure to sew or glue the fasteners securely to prevent them from coming loose while wearing the suspenders.
When attaching the fasteners, keep in mind the desired placement of your suspenders. They can be positioned closer to the center or set wider apart, depending on your personal style and comfort. Take a moment to visualize how they will sit on your body and experiment with different placements before attaching the fasteners permanently.
Once you have successfully attached the fasteners to your ribbon strips, it’s time to move on to the next step: sewing or gluing the ribbon ends.
Step 3: Sew or Glue Ribbon Ends
With the fasteners securely attached to your ribbon strips, the next step is to ensure that the ends of the ribbon are neatly finished to prevent fraying and maintain a polished look.
There are two common methods you can use to sew or glue the ribbon ends:
- Sewing: Fold the raw edge of each ribbon end under by about half an inch to create a clean edge. Use a needle and thread that matches the color of the ribbon, and sew a straight stitch along the folded edge to secure it in place. Be sure to backstitch at the beginning and end of the stitching to reinforce the seam.
- Fabric Glue: If you prefer not to sew, you can use fabric glue to secure the ends of the ribbon. Apply a small amount of fabric glue to the raw edge of the ribbon, fold it over to create a clean edge, and press down firmly to bond the fabric together. Allow the glue to dry completely before moving on to the next step.
Both methods will effectively prevent the ribbon from fraying and give your suspenders a professional finish. Choose the option that best suits your sewing skills and preference.
It’s important to ensure that the ribbon ends are securely finished so that they don’t come apart while you’re wearing the suspenders. Take your time to sew or glue them carefully and double-check that they are secure.
Now that the ends of your ribbon strips are neatly finished, it’s time to move on to the next step: attaching adjusters to customize the length of your suspenders.
Step 4: Attach Adjusters
Attaching adjusters to your suspenders allows you to customize the length to ensure a comfortable fit. Adjustable suspenders also offer the flexibility to style them in different ways, depending on your outfit or personal preference.
Here’s how to attach the adjusters:
- Take one of the ribbon strips and slide an adjuster onto it. The adjuster should have a small bar in the middle and two slots on either side.
- Fold the end of the ribbon over by about an inch to create a loop.
- Pass the folded end of the ribbon through one slot of the adjuster, making sure it is securely held in place.
- Bring the folded end of the ribbon back over the adjuster and through the other slot, creating a loop around the adjuster.
- Adjust the loop until it is tightened snugly against the adjuster.
- Sew across the ribbon near the adjuster to secure it in place. Make sure to sew through all layers of the ribbon to ensure a strong attachment.
- Repeat these steps for the other ribbon strip and adjuster.
Ensure that the adjusters are positioned symmetrically on each ribbon strip for a balanced and uniform look.
Attaching the adjusters not only allows you to adjust the length of the suspenders but also adds a stylish and functional detail to your creation.
With the adjusters securely attached to your ribbon strips, it’s time to move on to the next step: creating the back straps for your suspenders.
Step 5: Create Back Straps
Creating back straps for your suspenders will help distribute the weight and provide extra support, ensuring a comfortable fit and preventing the suspenders from slipping off your shoulders.
Here’s how you can create the back straps:
- Measure the desired length of your back straps. This will depend on your body size and personal preference. It’s usually recommended to keep them slightly shorter than the front straps.
- Cut two equal lengths of ribbon for the back straps.
- Fold each ribbon in half lengthwise and sew along the open edge to create a narrow tube.
- Turn the tubes inside out to hide the seam and create a smooth finish.
- Press the back straps flat with an iron to ensure they lay flat when worn.
By creating back straps, you’re adding an essential element to the functionality and comfort of your suspenders. The back straps will help distribute the tension and keep the suspenders securely in place.
With the back straps ready, we can move on to the next step: attaching the back straps to the ribbon strips.
Step 6: Attach Back Straps to Ribbons
Attaching the back straps to the ribbon strips is an essential step in ensuring proper fit and functionality of your suspenders. This will help secure the suspenders in place and prevent them from sliding off your shoulders.
Here’s how you can attach the back straps to the ribbons:
- Take one end of a back strap and fold it over by about an inch to create a loop.
- Position the looped end of the back strap over the center of one ribbon strip, making sure it is aligned with the edge.
- Sew a straight stitch across the ribbon strip, securing the looped end of the back strap in place.
- Repeat the same process for the other end of the back strap, attaching it to the opposite end of the same ribbon strip.
- Repeat steps 1-4 for the other back strap, attaching it to the second ribbon strip in the same manner.
Ensure that the back straps are attached symmetrically and aligned with the ribbons to maintain a balanced and aesthetically pleasing look.
Attaching the back straps provides additional support and stability to your suspenders, ensuring a comfortable fit that stays in place throughout the day.
Now that the back straps are securely attached to the ribbon strips, let’s move on to the final step: adjusting and securing your suspenders.
Step 7: Adjust and Secure Suspenders
With all the components of your suspenders in place, it’s time to make the final adjustments and ensure that they fit comfortably and securely.
Here’s what you need to do:
- Put on the pants or skirt you plan to wear with your suspenders.
- Hold the front straps of the suspenders and position them over your shoulders.
- Check the length of the straps to ensure they are equal and adjust them as needed. You can do this by sliding the adjusters up or down until the suspenders are at your desired length.
- Once you have adjusted the length, secure the adjusters in place by sliding the small bar in the adjusters up against the back straps.
- Double-check that the suspenders are sitting comfortably on your shoulders and not pulling too tight or hanging too loosely.
- If the suspenders tend to slip off your shoulders, consider adding silicone grip strips to the inside of the back straps. These will provide extra traction against your clothing and help keep the suspenders in place.
- Go through a range of movements, such as sitting, standing, and walking, to ensure that the suspenders stay in place and provide the desired level of support.
Make any necessary adjustments until you achieve a comfortable and secure fit.
Once you’re satisfied with the fit of your suspenders, wear them with confidence and style. They are now ready to be showcased as a unique and personalized accessory to elevate any outfit.
By following these steps, you have successfully created your own stunning suspenders with ribbon.
Enjoy the sense of accomplishment that comes with a DIY project, and embrace the versatility and individuality that your homemade suspenders bring to your wardrobe.
Conclusion
Congratulations on successfully making your own stylish suspenders with ribbon! This fun DIY project allows you to showcase your creativity and personalize your wardrobe with a unique accessory. Whether you’re looking to add a touch of retro elegance or a fashion-forward statement piece, suspenders can be a versatile addition to any outfit.
Throughout the step-by-step process, you have learned how to measure and cut ribbon strips, attach fasteners, sew or glue ribbon ends, attach adjusters, create back straps, and secure your suspenders in place. These techniques ensure that your suspenders are not only fashionable but also functional, providing the perfect fit and support.
Remember to select high-quality materials and take accurate measurements to achieve the best results. Don’t hesitate to experiment with different ribbon colors, patterns, and widths to match your personal style. Adding embellishments or personal touches can also make your suspenders truly unique and reflective of your individuality.
By making your own suspenders, you not only save money but also have the opportunity to create an accessory that perfectly complements your style and personality. So, go ahead and rock your new suspenders confidently, knowing that you’ve put your heart and skill into making them.
Now that you have mastered the art of making suspenders with ribbon, continue to explore your creativity and try different variations and styles. Whether you make them for yourself or as a gift for someone special, homemade suspenders are sure to make a fashionable statement.
Enjoy the satisfaction and pride that comes from creating your own unique fashion piece, and have fun showcasing your new suspenders with confidence and flair!